In the world of E-Commerce, having a professional and appealing website is crucial for attracting and retaining customers. An important element of this are the pages that provide information, offer contact options, and strengthen customer trust. In this tutorial, you will learn how to easily and effectively create pages in Shopify. All steps are explained clearly and comprehensibly so that you can optimize your Shopify store.
Key Findings
You will learn how to:
- Quickly create pages such as legal notice and contact pages,
- Edit content on pages,
- Set visibility settings for pages.
Step-by-Step Guide
1. Overview of Blog Posts
Before we delve into creating pages in Shopify, let's take a quick look at the area of blog posts. These can be found in the Shopify dashboard under Blog Posts. Here you can view all your previous posts.
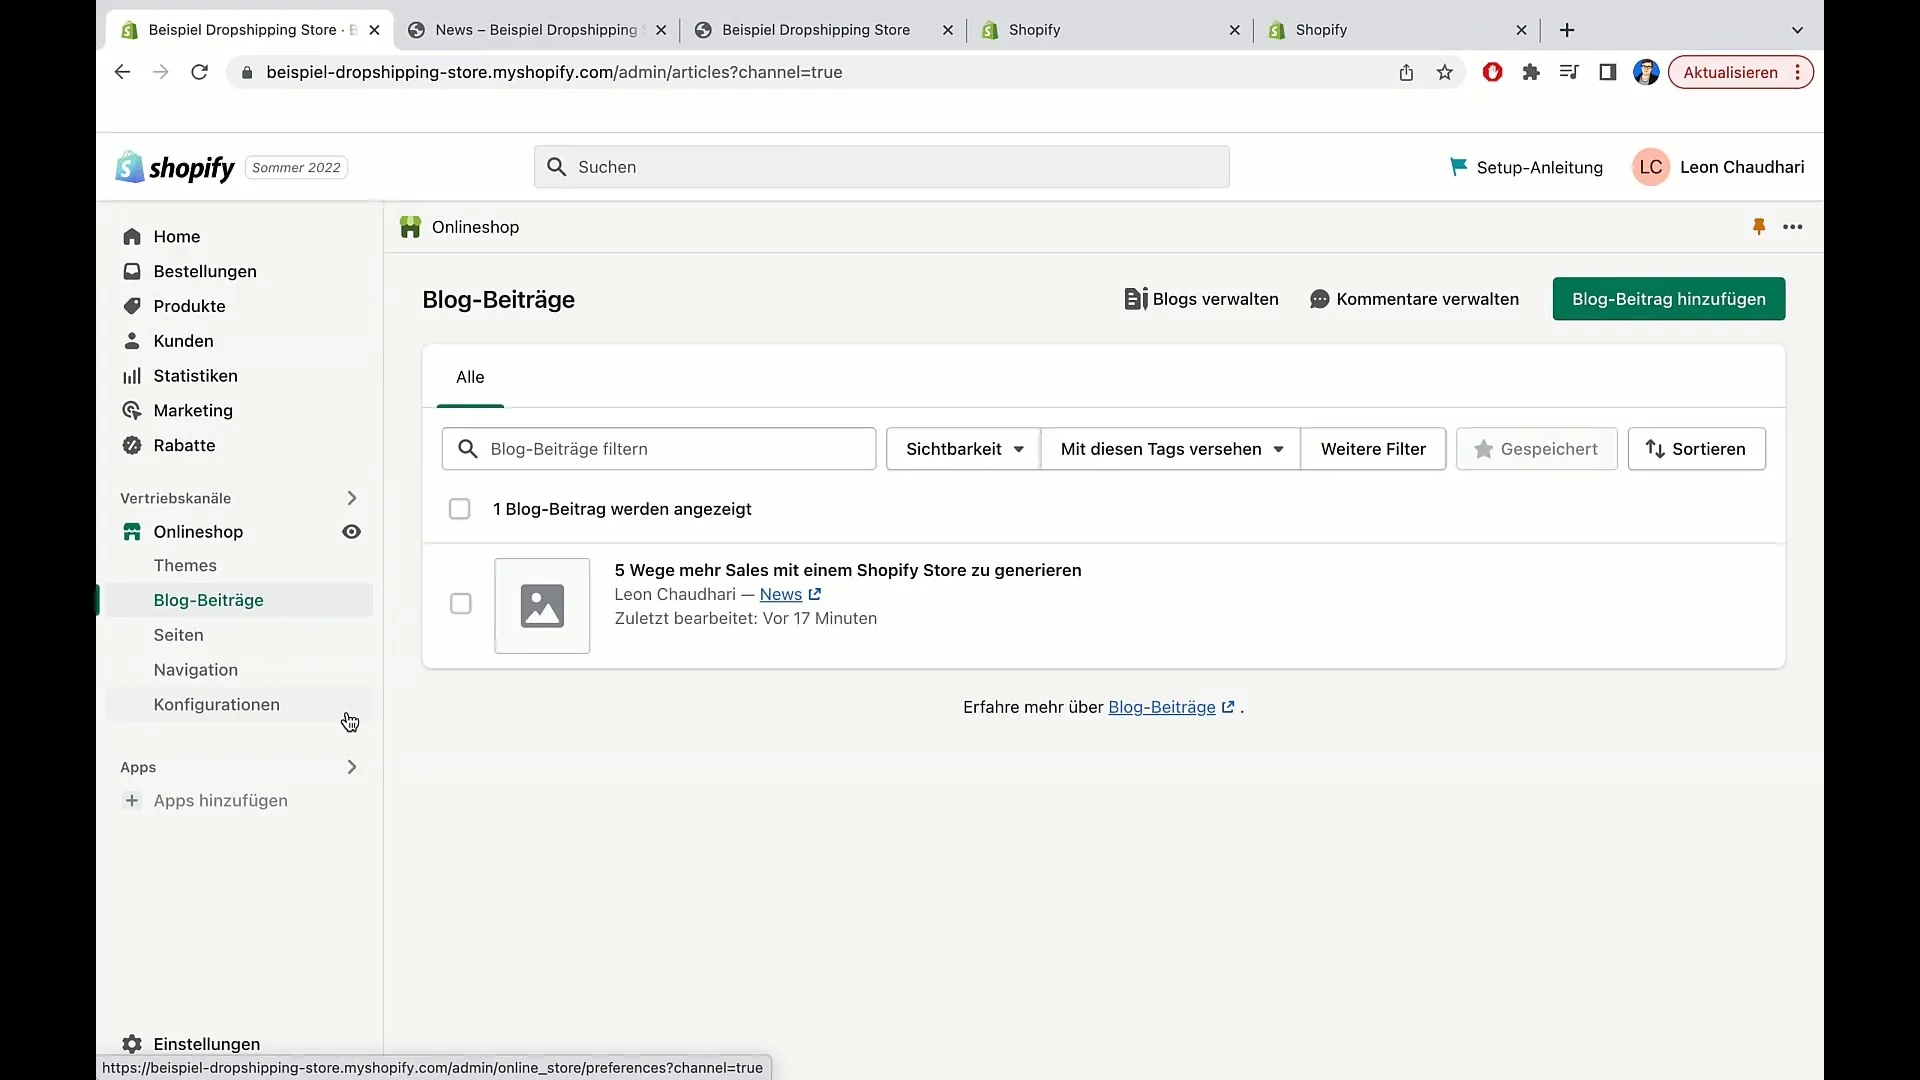
In addition, you have the option to filter posts to quickly find relevant information. You can search for specific terms, change post visibility, or sort the list by author or date.
2. Creating a Contact Page
To create a new page, you can find the Pages section in your Shopify dashboard. Here, you can manage existing pages or create new ones. Let's start by creating a contact page.
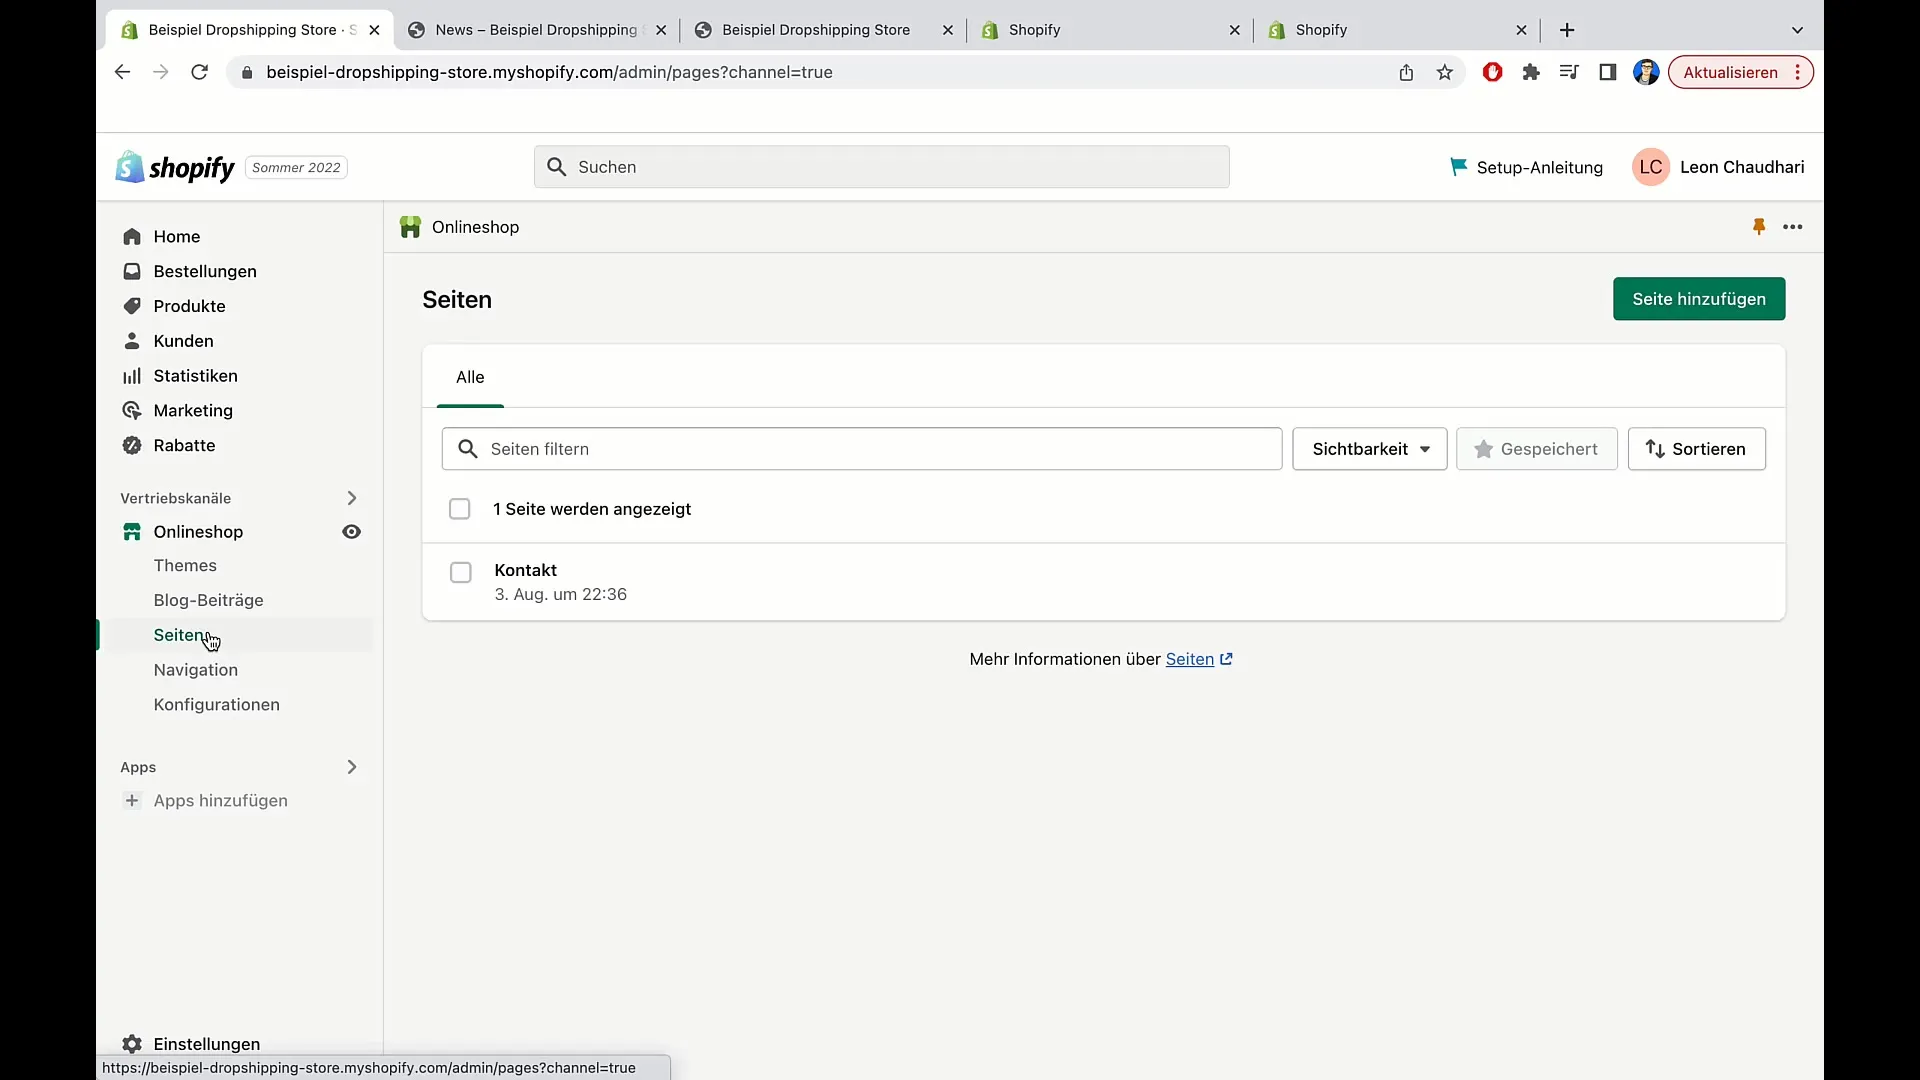
Click on Add Page. You will then be prompted to enter a title for the page. For example: "Contact". In this area, you can now also add the content, let's make space for input.
In the next step, simply save the page by clicking Save. The content will now be published, and you can make changes at any time.
3. Editing Content
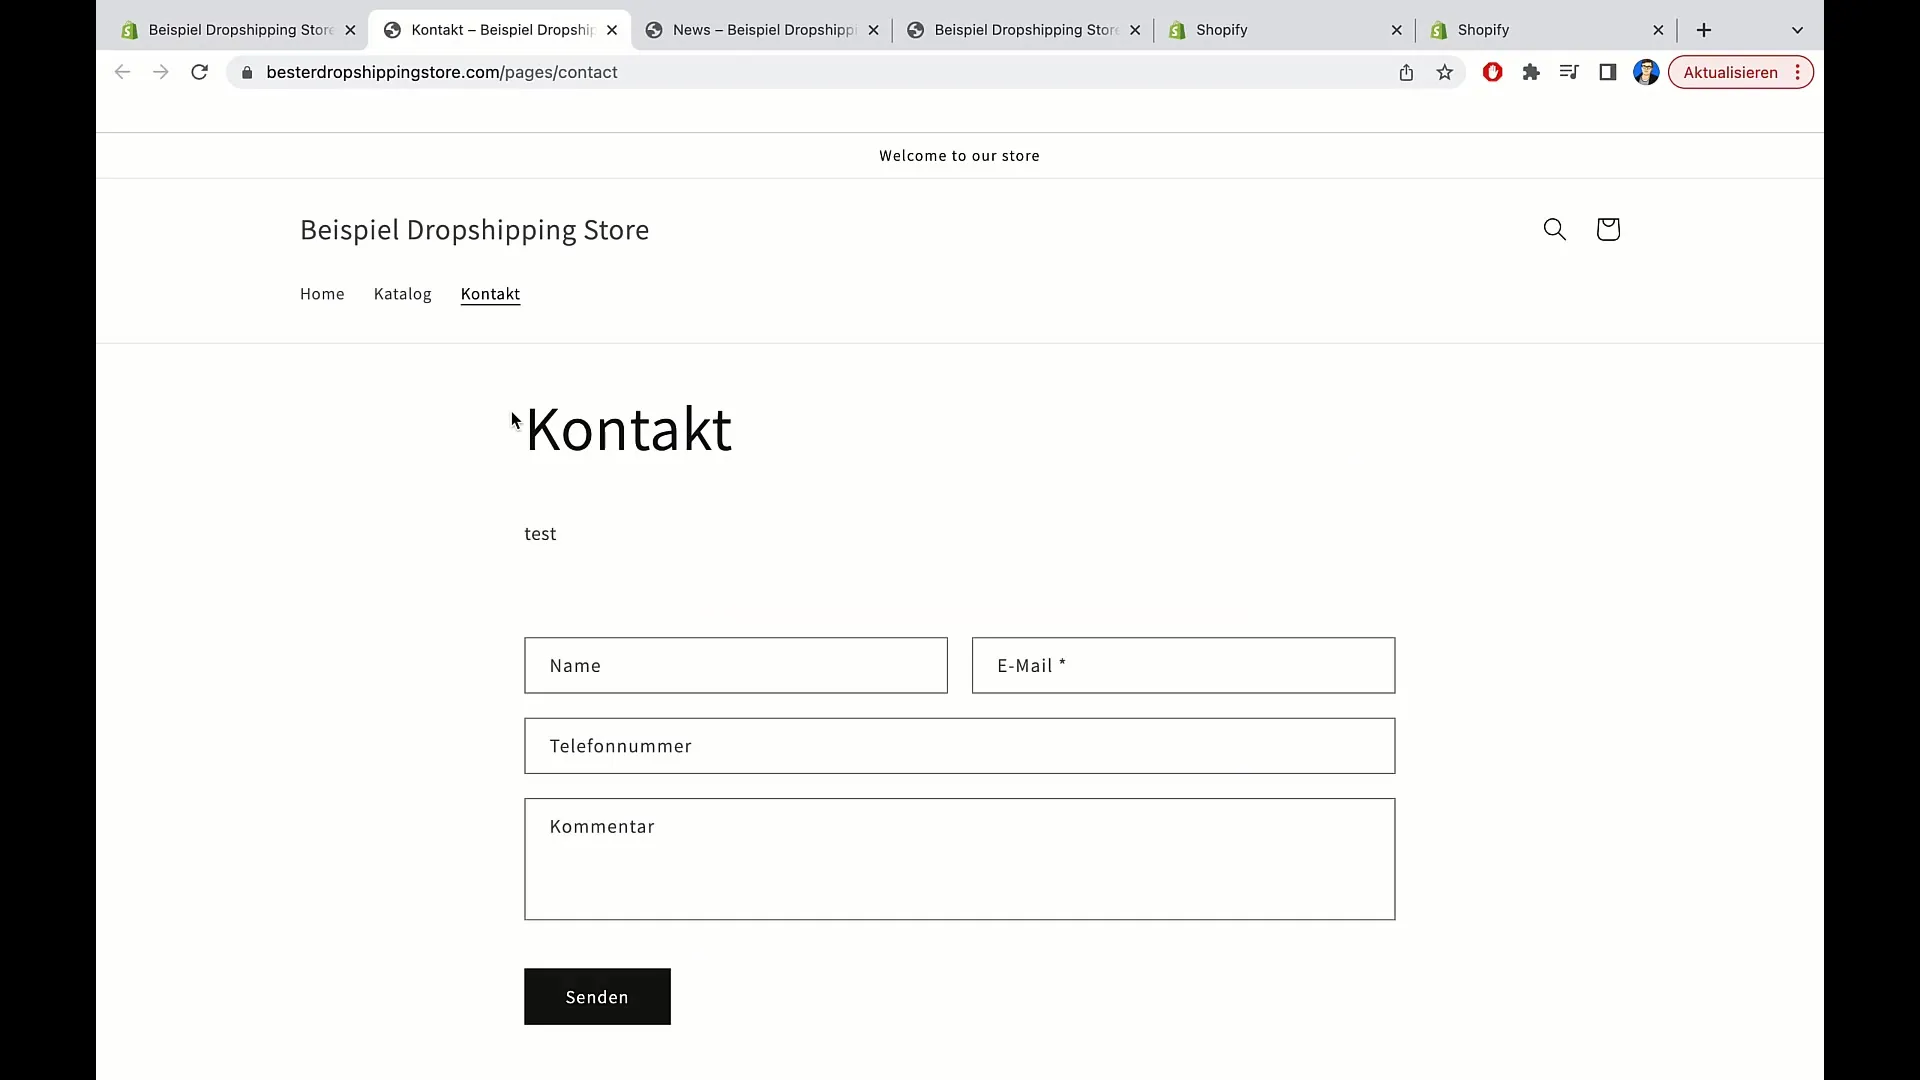
Changes to the page may take some time to be reflected. So, if you don't see immediate updates while editing your contact page, stay calm – it often only takes a few seconds to minutes.
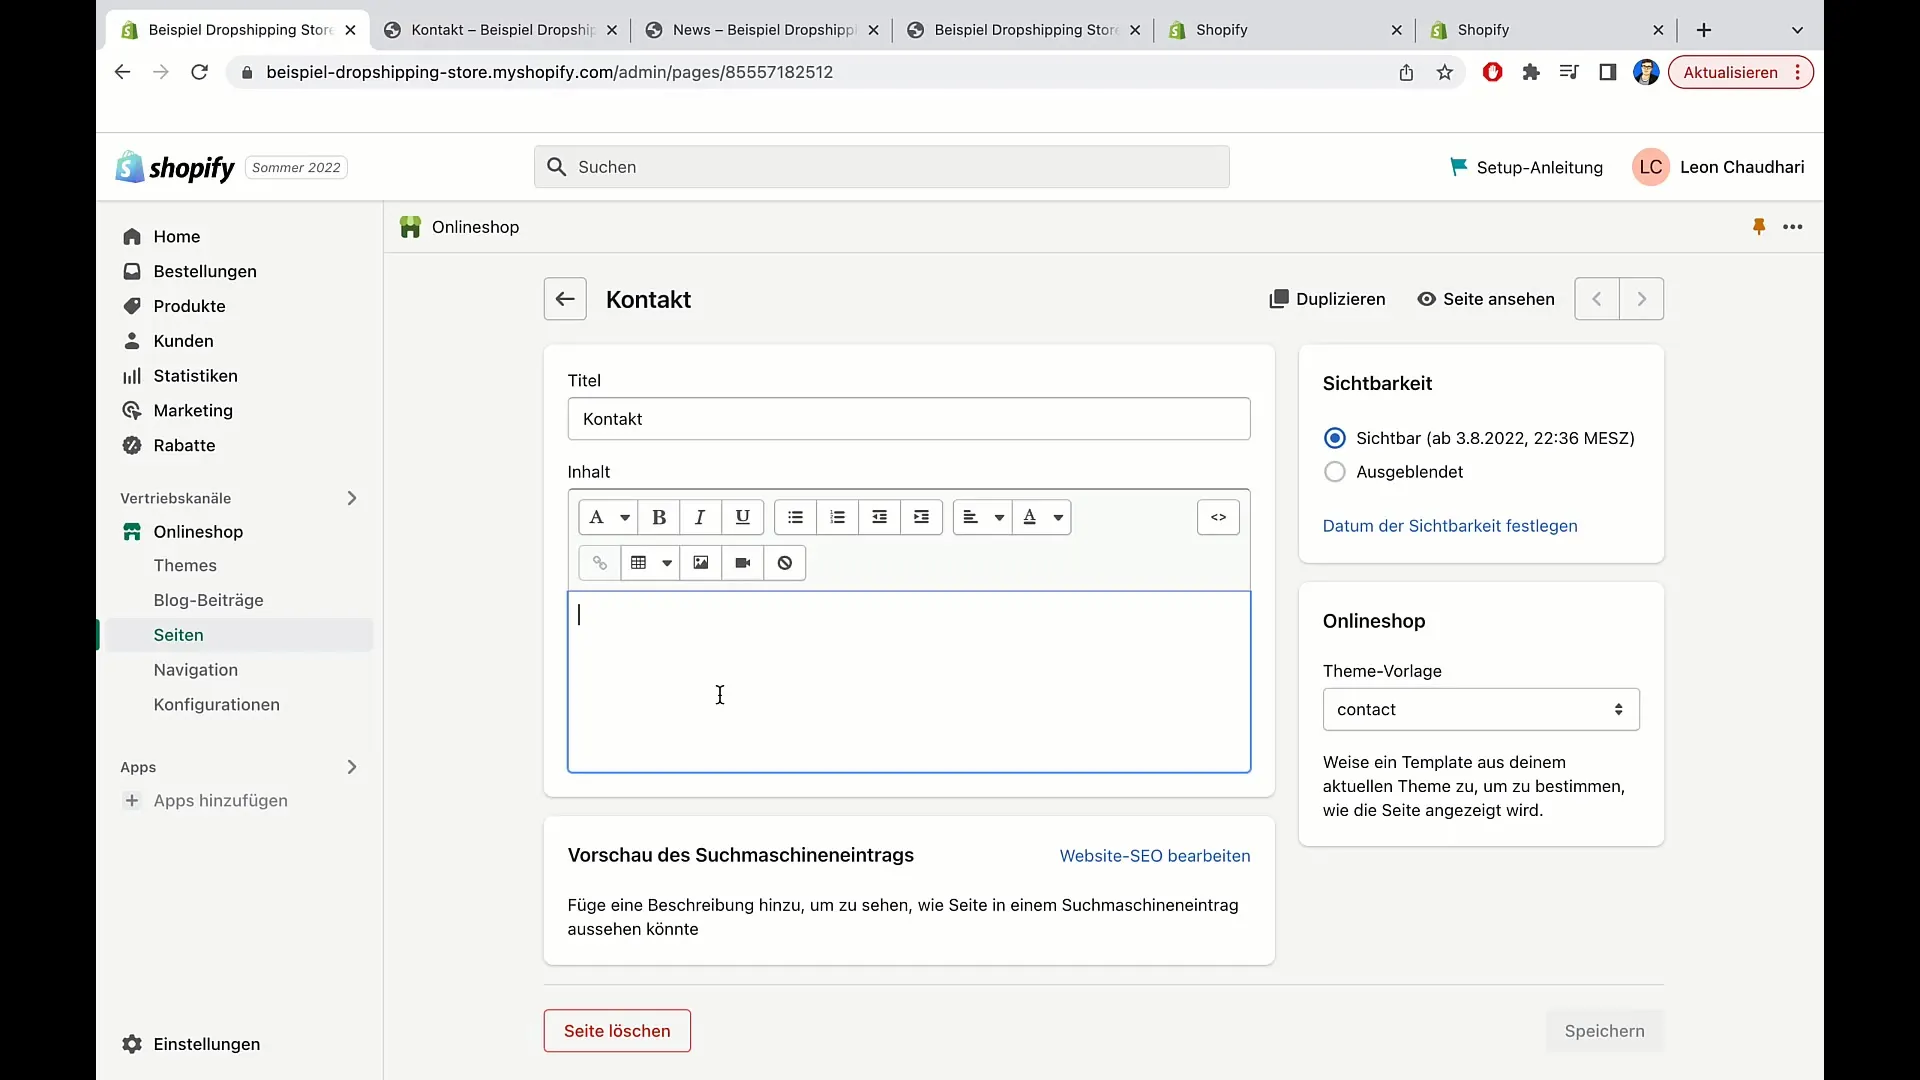
To review the page content, simply refresh the page, and you should see the changes. If the changes are not displayed after a reasonable wait time, check if you have saved the page correctly.
4. Adding More Pages
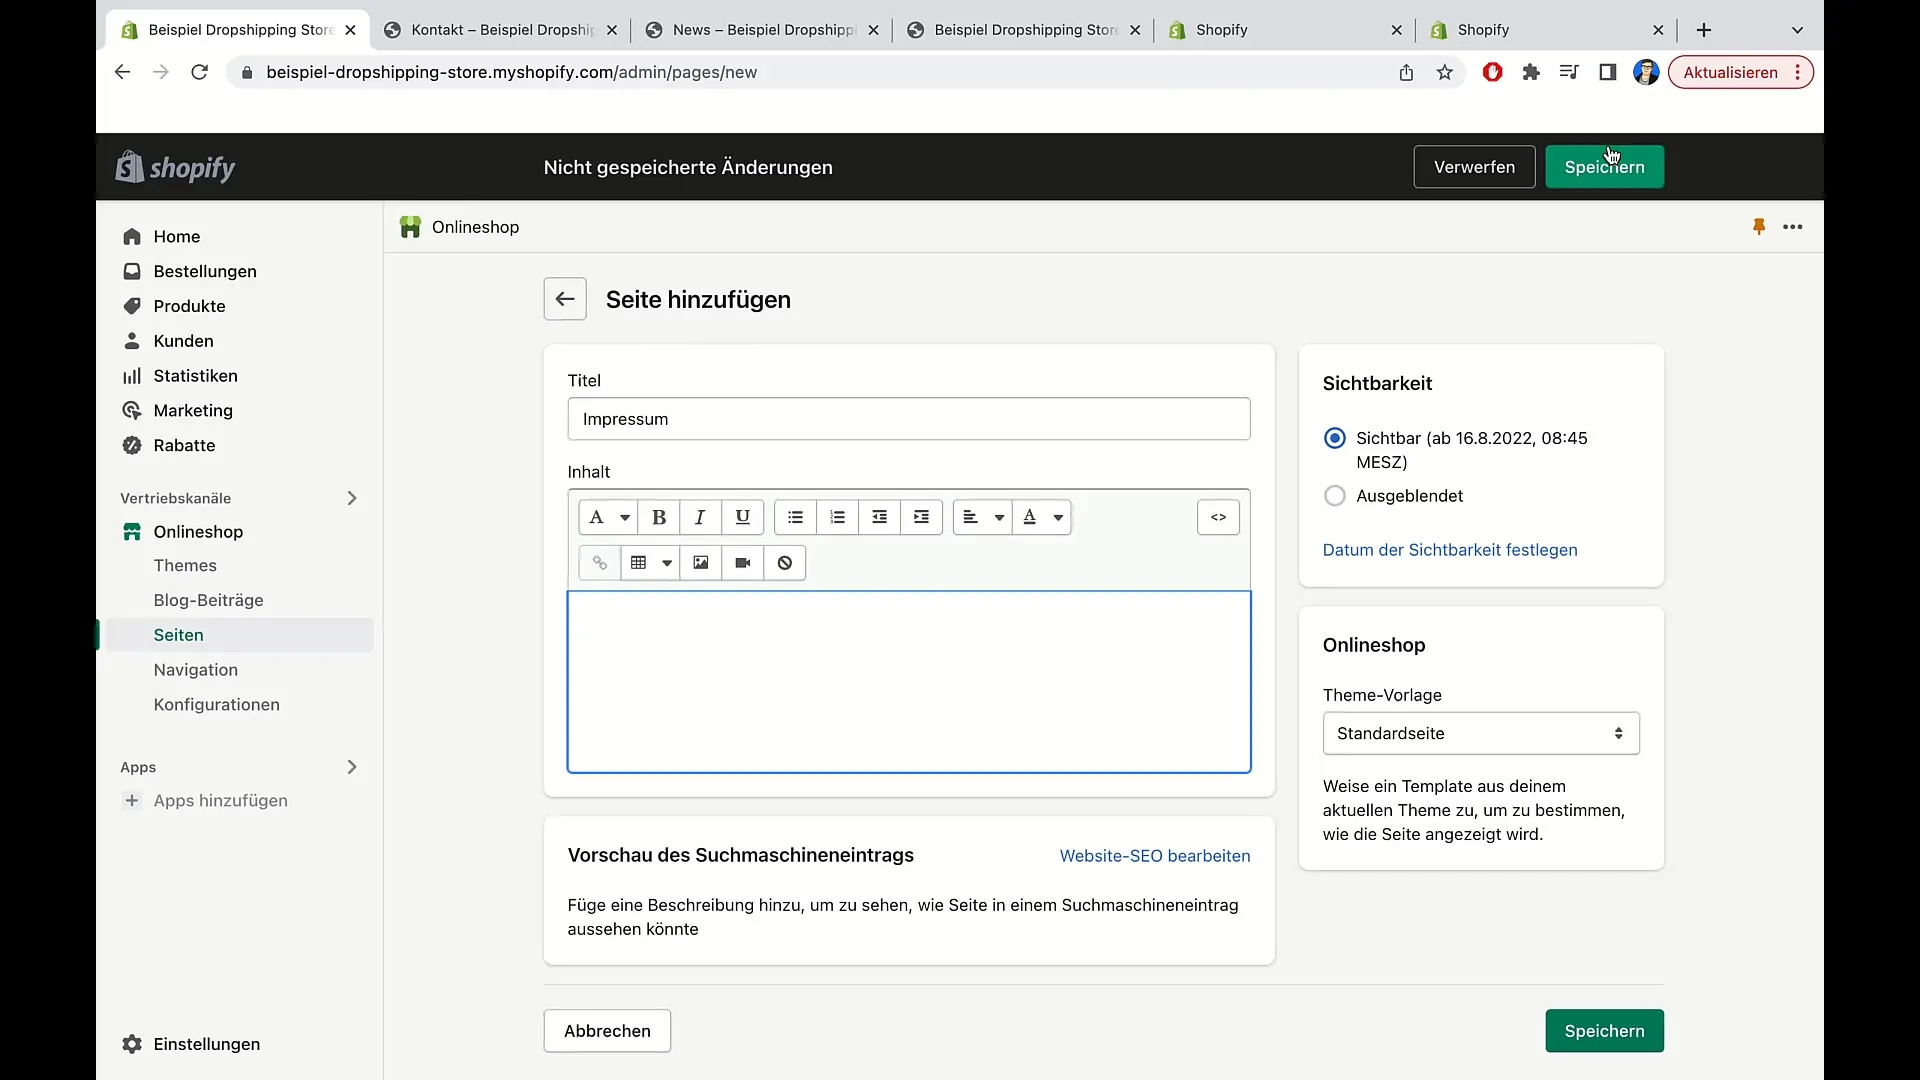
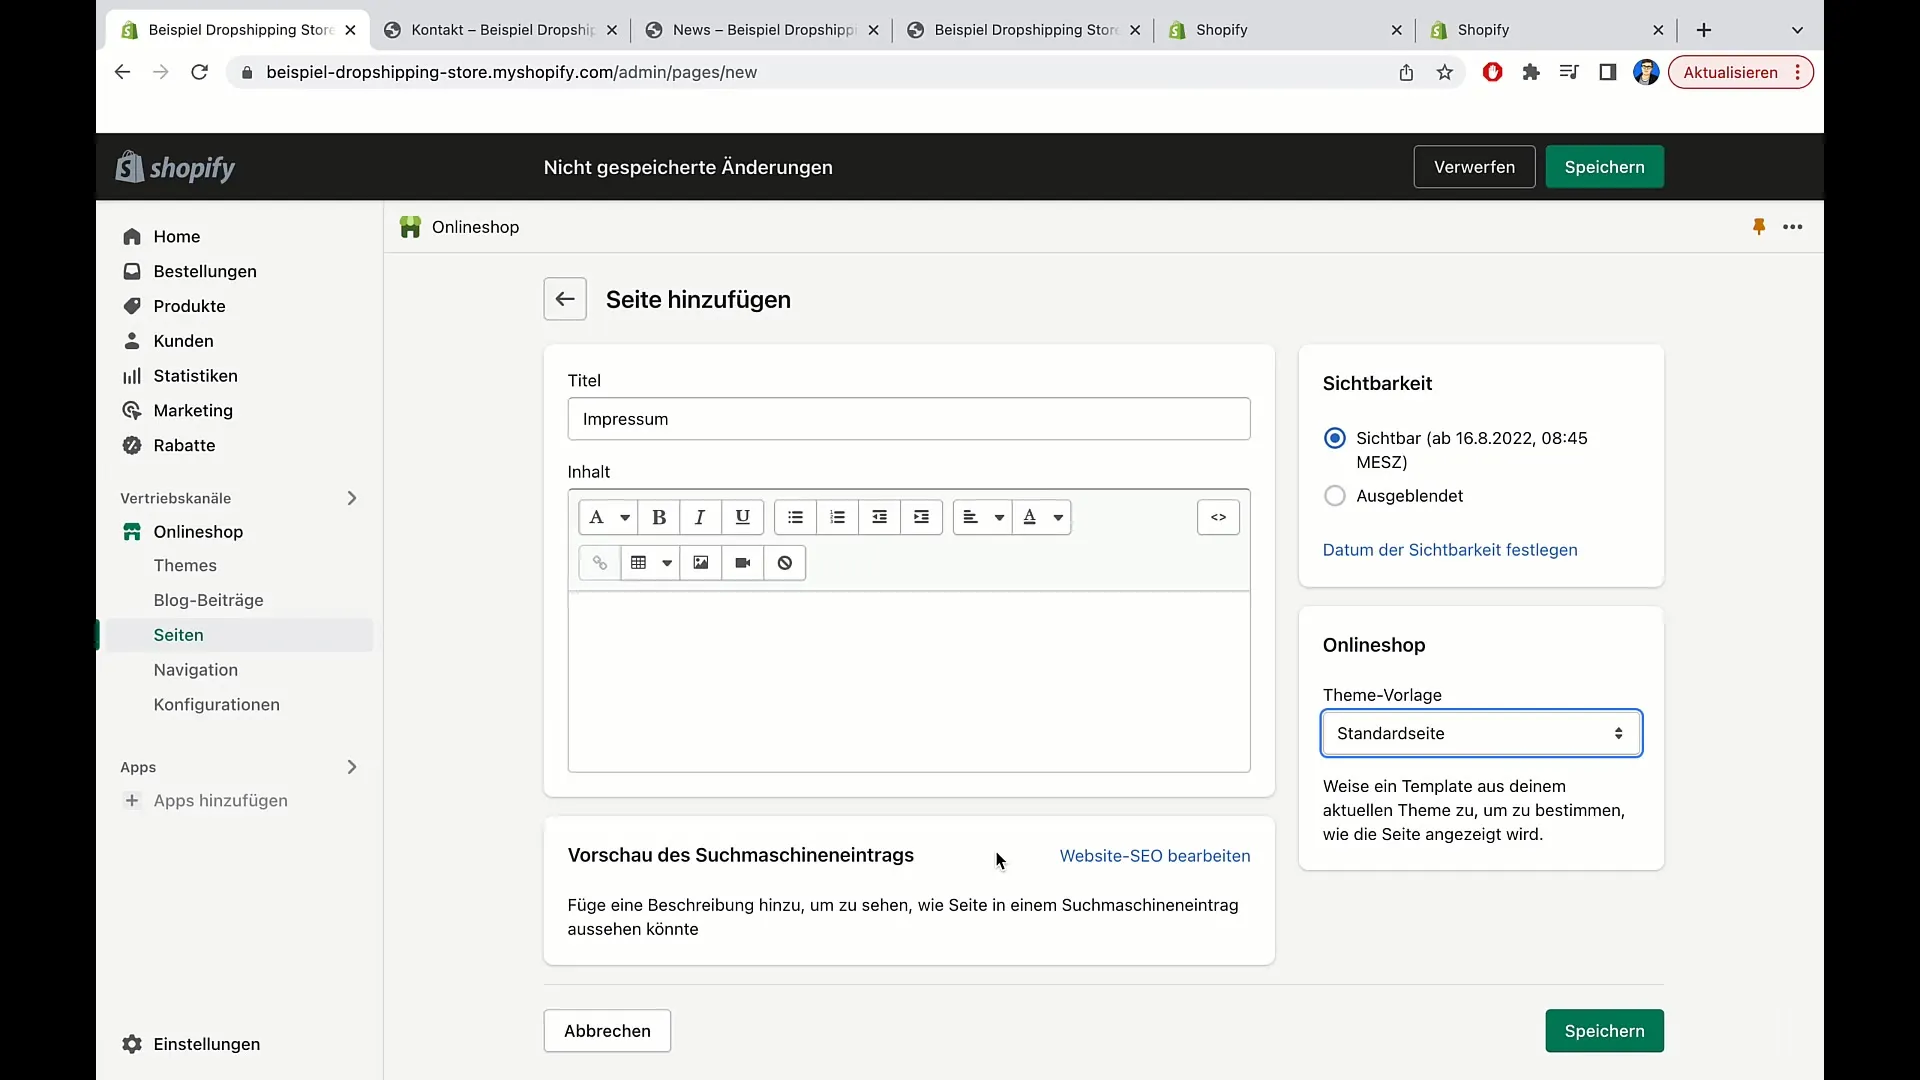
Once you have created your contact page, you can add more pages. A common example is an imprint page. Go back to your pages area and click on Add Page.
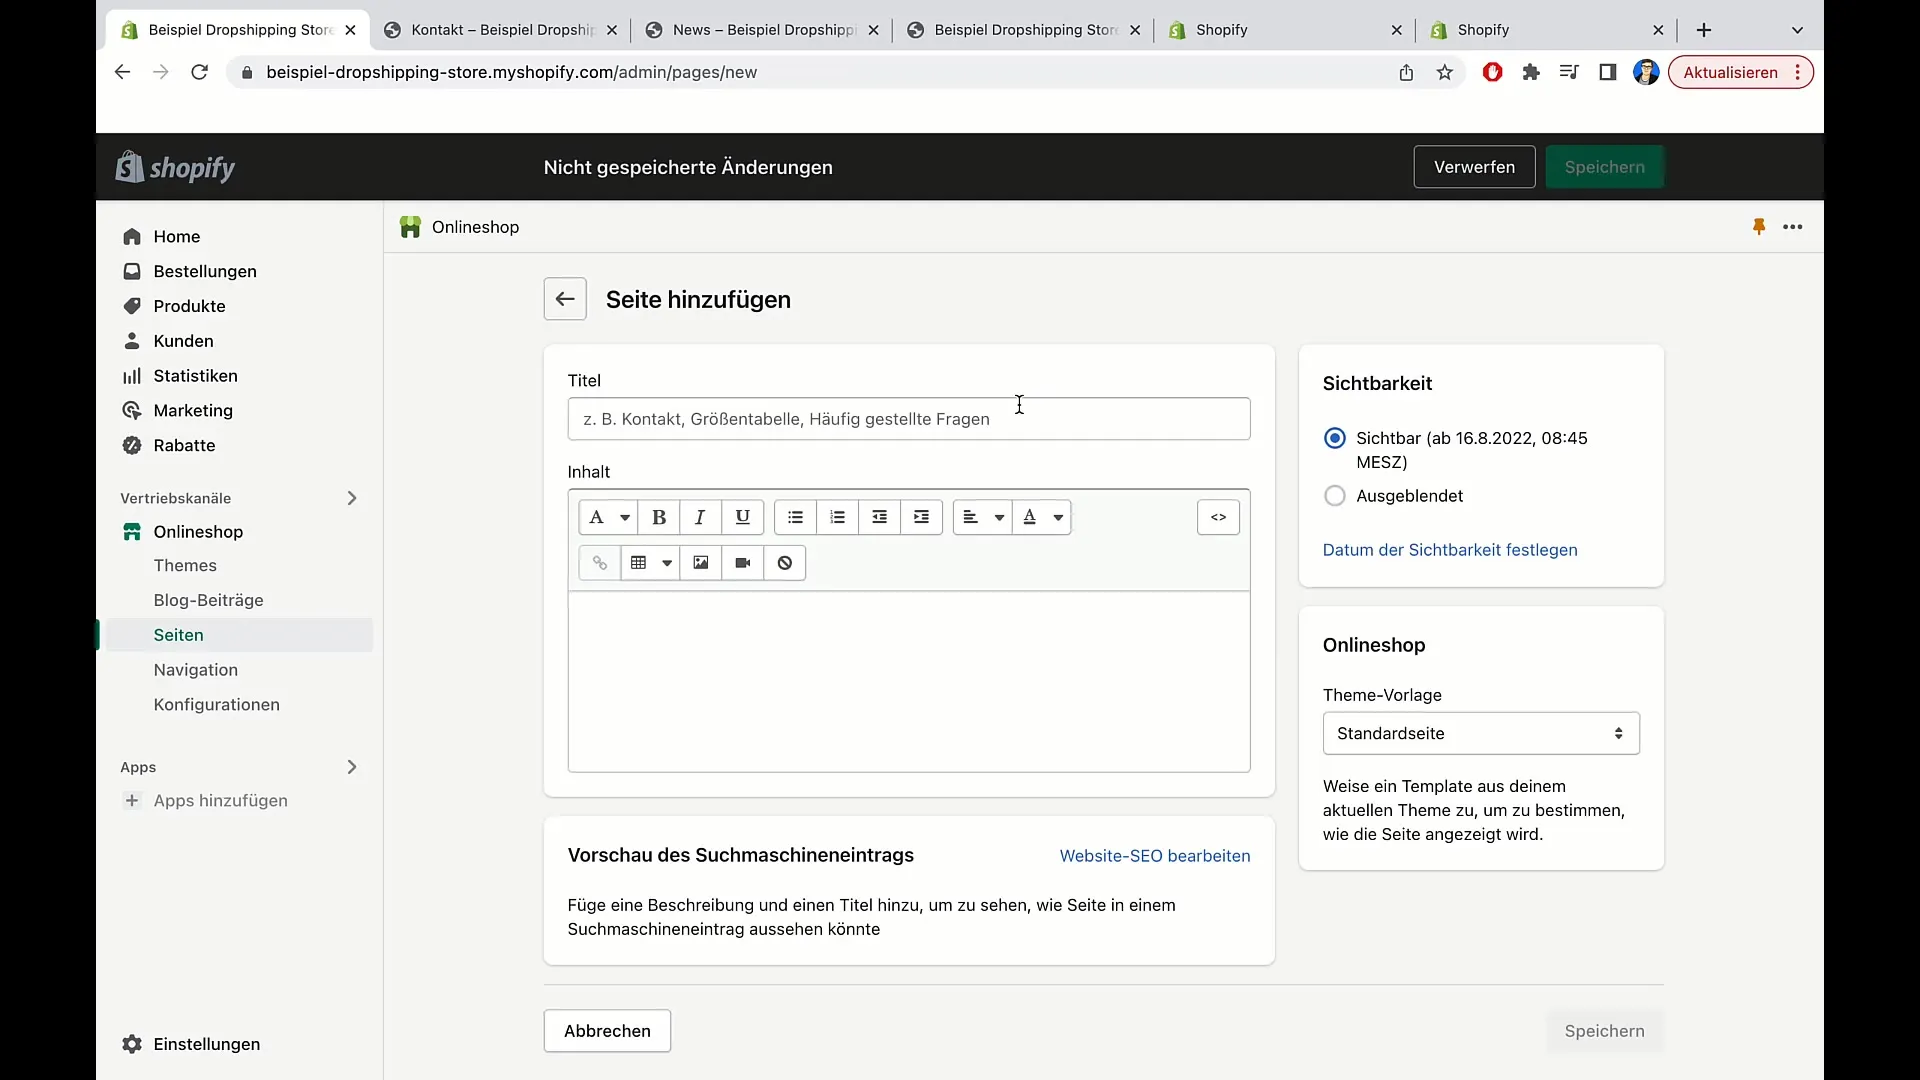
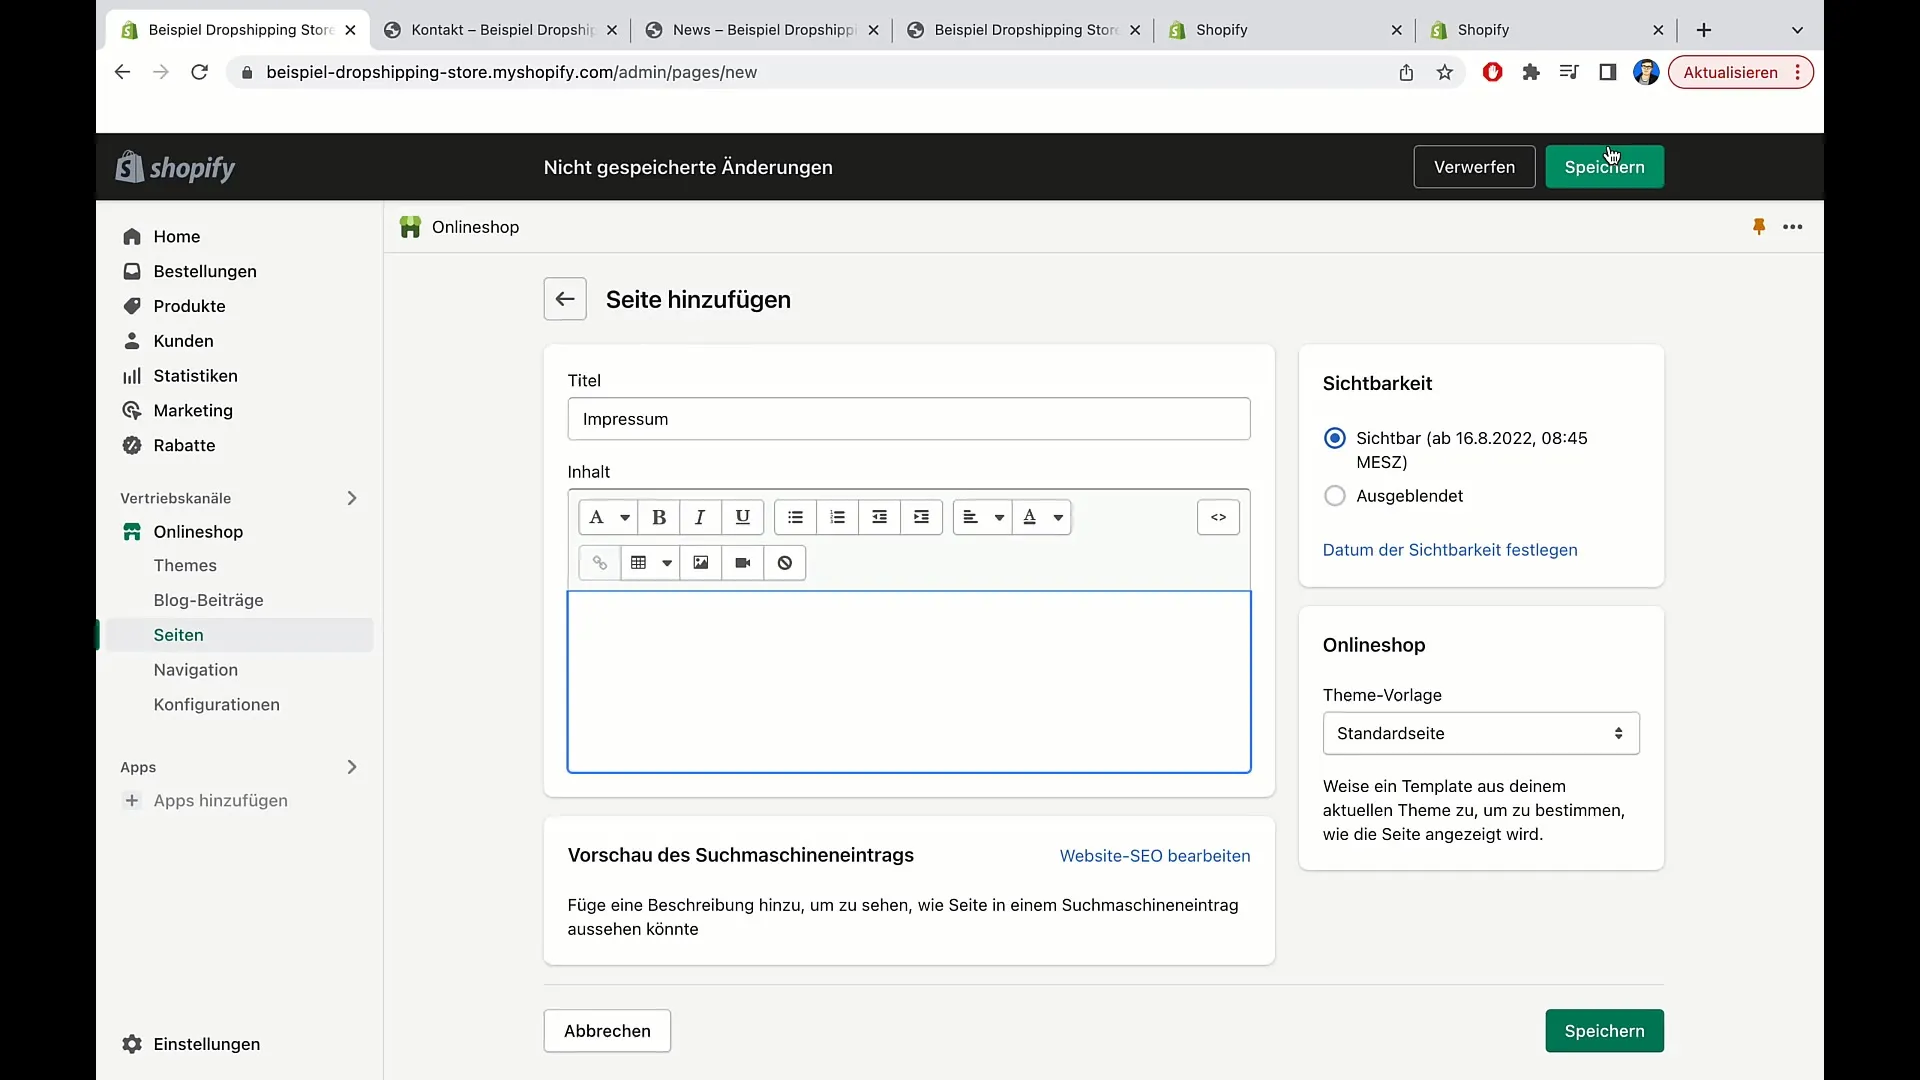
Enter "Imprint" as the title. Here you can enter all necessary imprint information that is legally required. Save this page with a click on Save.
5. Page Visibility
When creating a new page, you also have the option to set visibility. For example, you can specify that the page should only be visible on a certain date. You can select the date and time in the visibility field.
I recommend setting the visibility to "Immediate" if you want to publish the page.
6. Choose Templates for Pages
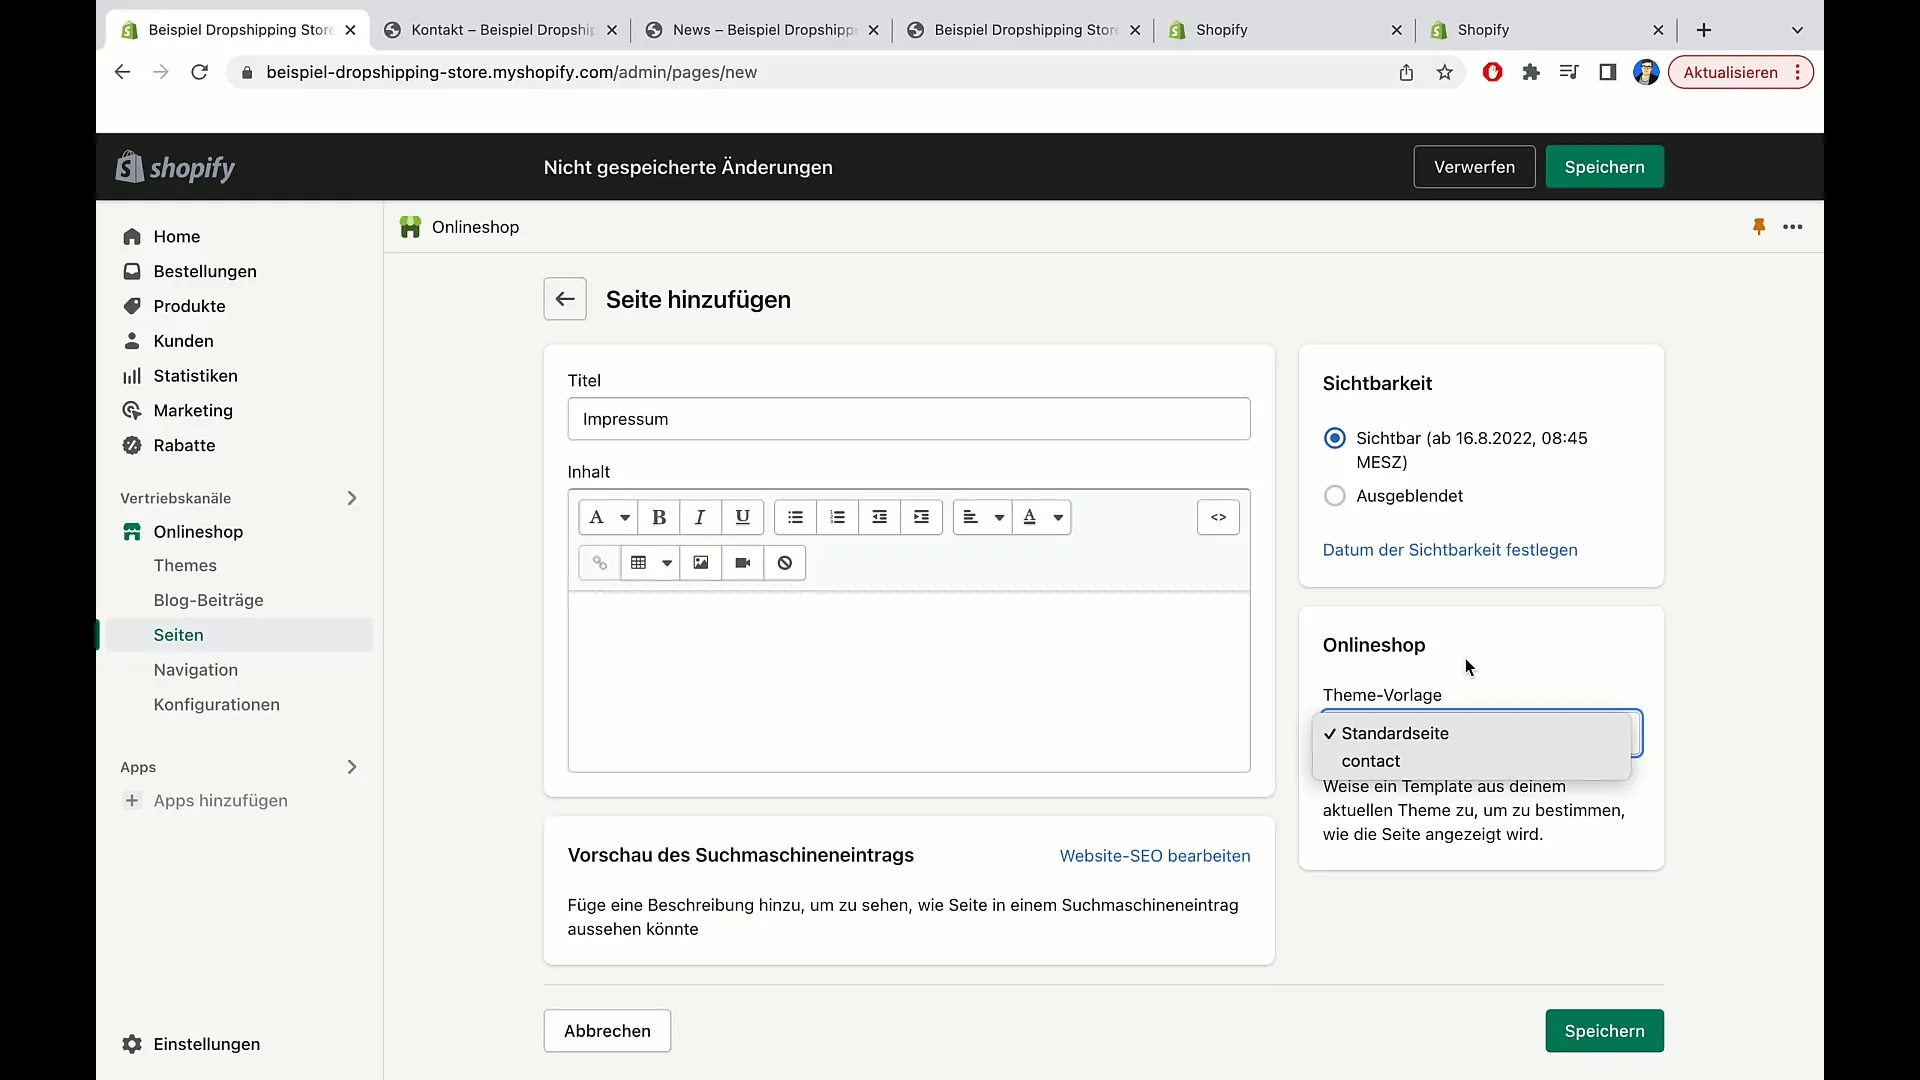
Shopify offers you the option to choose templates for your pages. You can choose between a standard page or a contact page. The standard page is ideal if you want to provide general information, while the contact page already contains a form for customer inquiries.
If you choose the standard page, you can customize the page title and content to your liking.
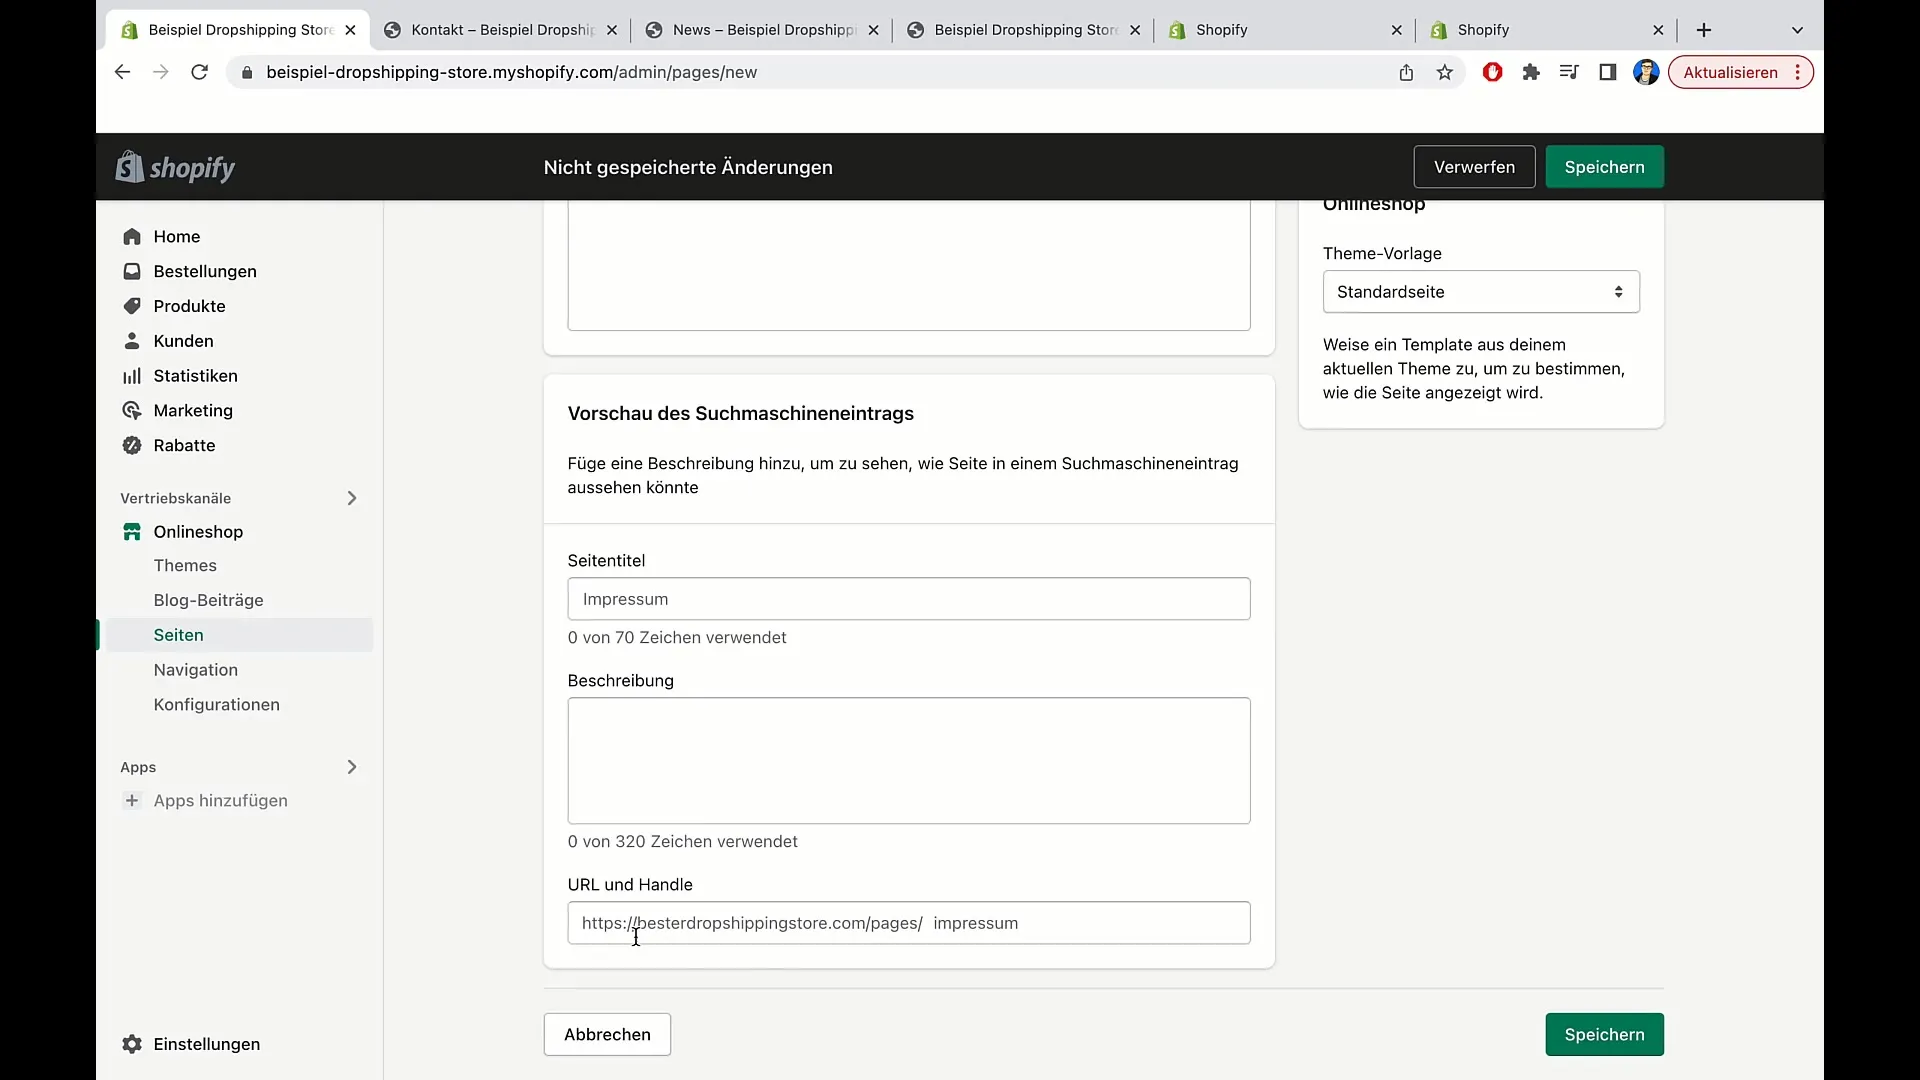
Here again, provide the opportunity for Search Engine Optimization (SEO) by filling in the title and description.
7. Completing the Editing Process
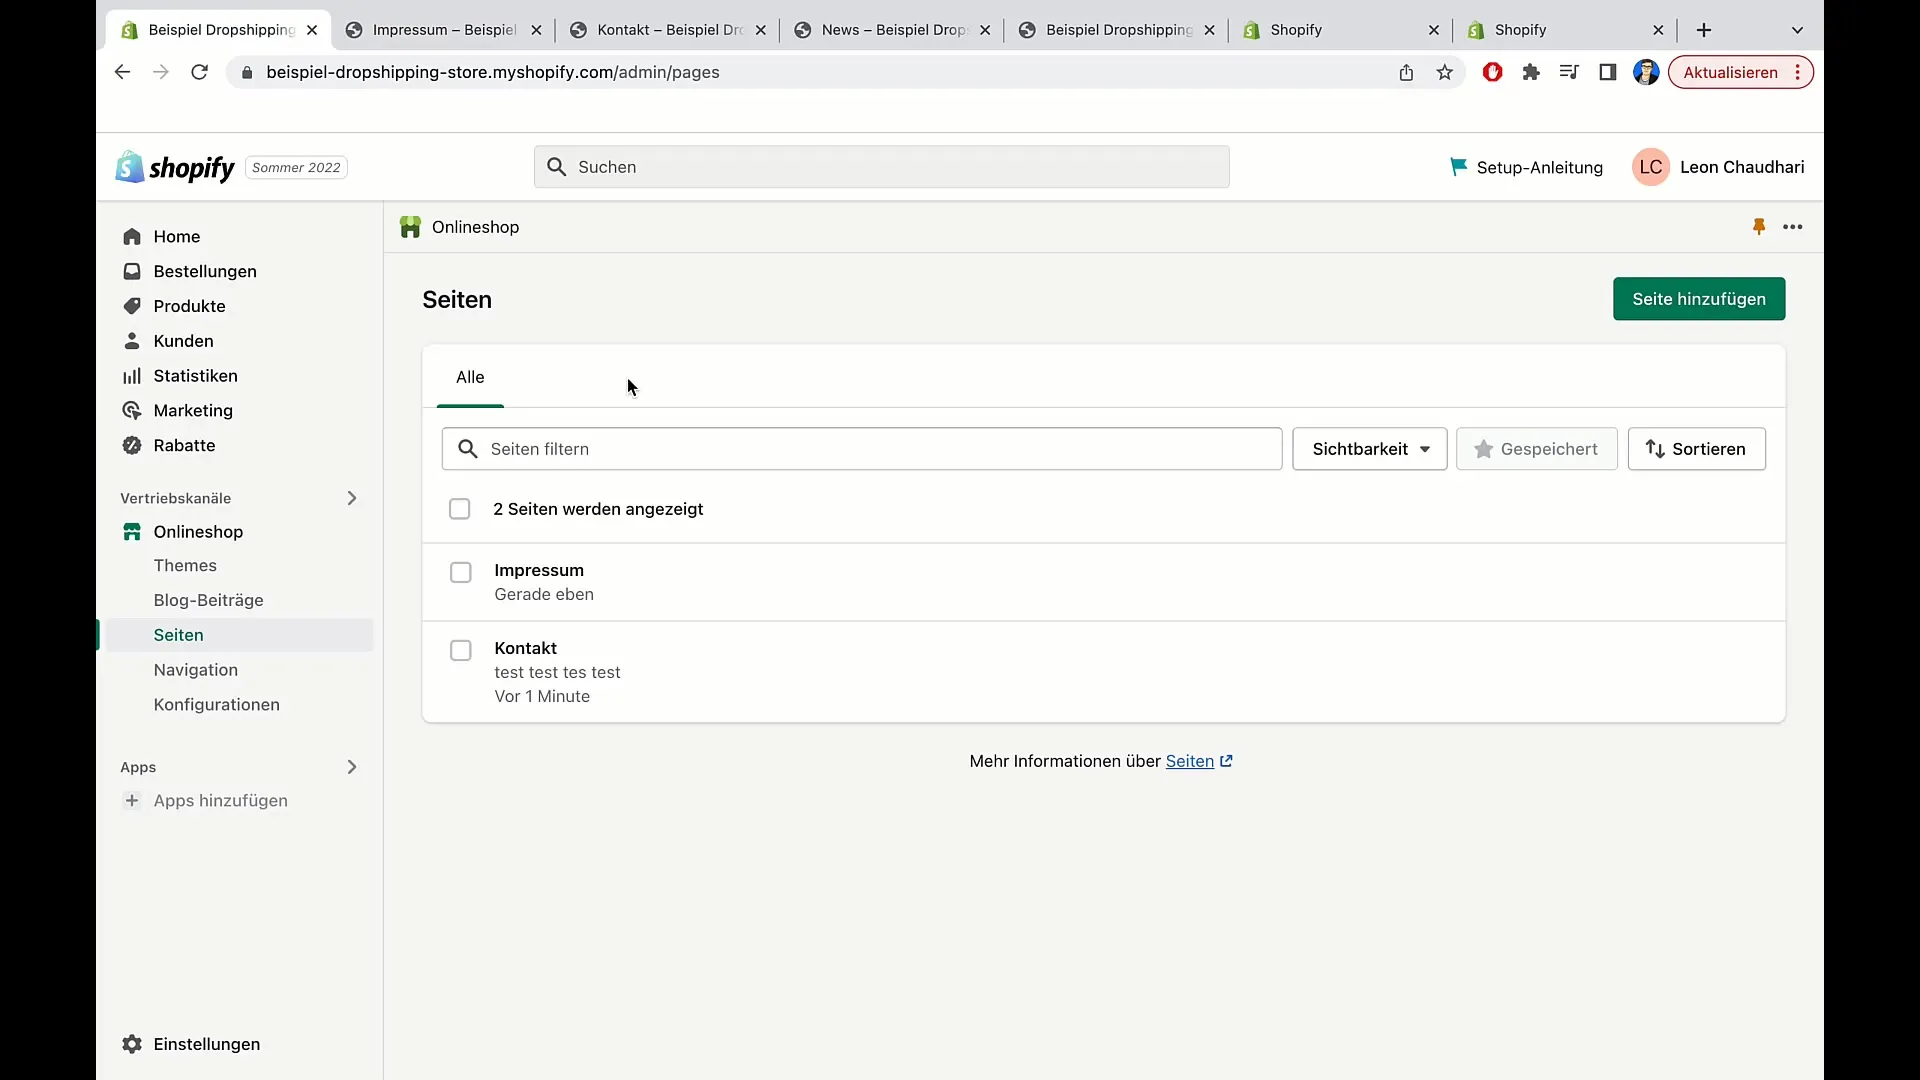
After entering all the desired information, you can click Save to secure the changes. Now, the new page will be listed in the pages section of your Shopify dashboard.
When you subsequently visit the page, it should display exactly the content you entered.
Summary
In this tutorial, you have learned how to easily create pages and edit your content in Shopify. You have understood how important visibility and template selection are. With this knowledge, you can give your online shop a professional structure that helps your visitors easily find the information they need.
Frequently Asked Questions
How do I access the pages section in Shopify?You can find the pages section in your Shopify dashboard under the Pages menu.
Can I change the visibility of a page?Yes, you can set the visibility either immediately or for a specified date.
What is the difference between a standard page and a contact page?The standard page is for general information, while the contact page provides a form for customer inquiries.
How long does it take for changes on my page to be visible?Changes should be visible within a few minutes, but it may occasionally take a bit longer.


