In e-commerce it is essential to correctly provide legal information such as the imprint, the General Terms and Conditions (GTC), and the privacy policy. In this tutorial, I will show you how to create these pages in your Shopify store and integrate them into the navigation. This is an important step to comply with legal requirements and gain the trust of your customers.
Key Takeaways
- An imprint, GTC, and a privacy policy are legally required for online shops.
- The pages can be easily created in the Shopify admin area.
- To make the pages visible, they should be integrated into the footer menu.
Step-by-Step Guide
Step 1: Create Pages
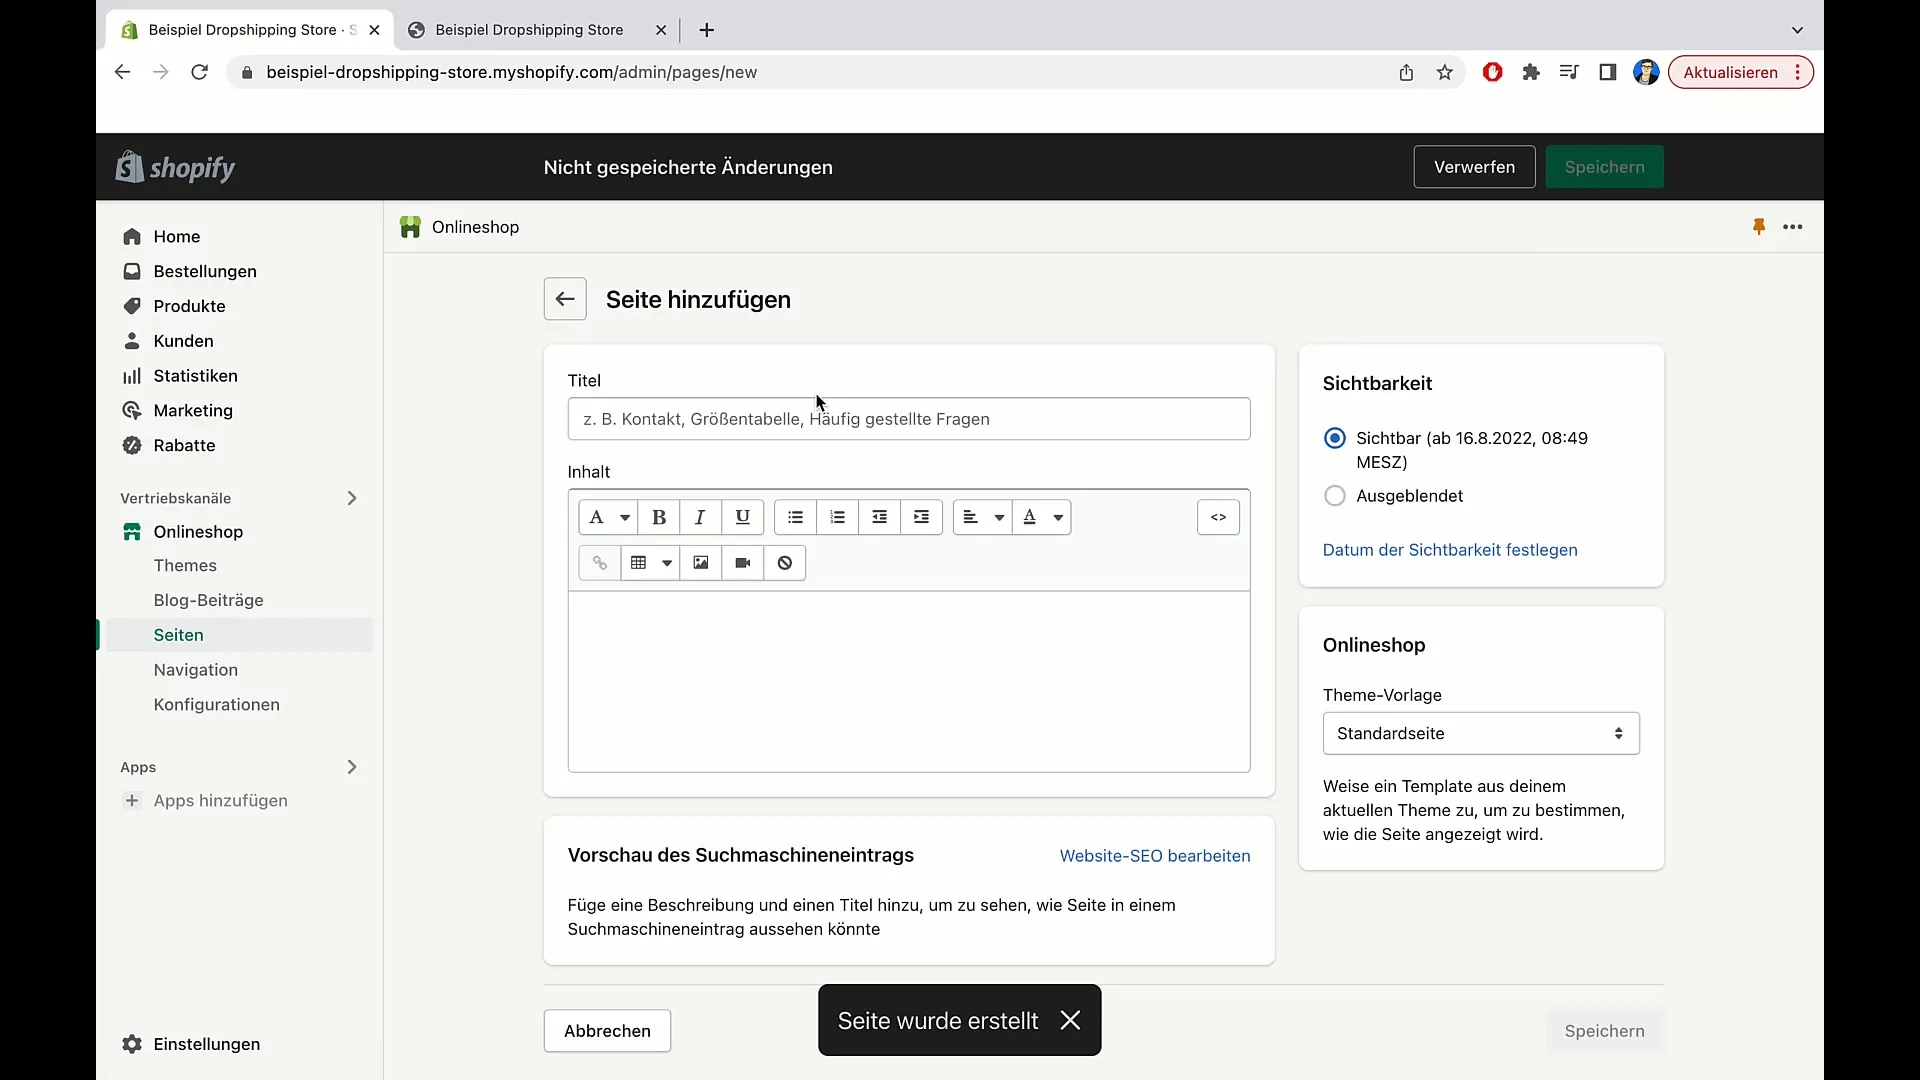
First, you need to create the necessary pages in your Shopify store. Go to the admin area of your store. Click on "Pages" and then on "Add page". The first step is to create an imprint page.

To create the imprint, enter "Imprint" in the title. Insert the required information such as your contact details in the text field. Here it is important to consider the relevant legal information.
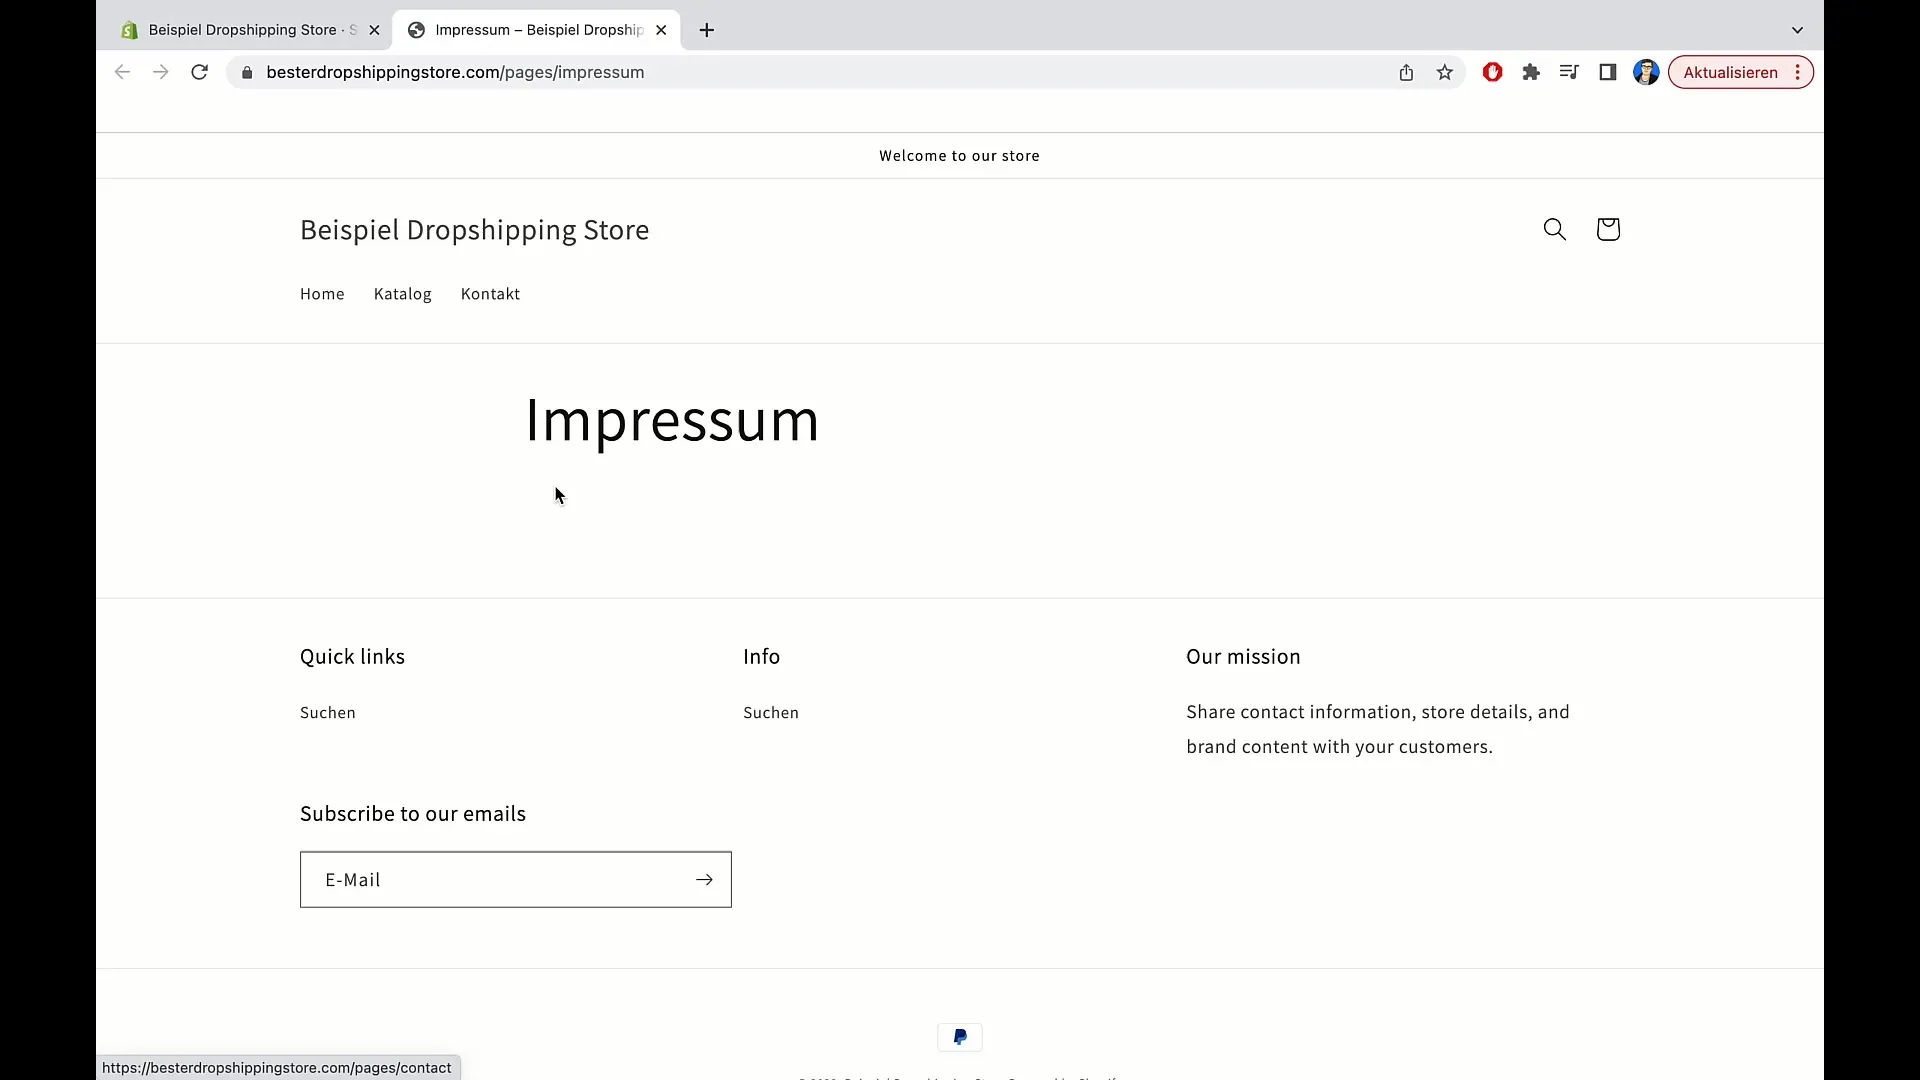
Next, click again on "Add page" to create your GTC. Enter "GTC" and draft or copy the required text into the text field.

Don't forget to create the privacy policy as the third important legal page. Click on "Add page" again and name the page "Privacy Policy". Here, you should insert all information relevant to the handling of personal data.
Step 2: Adjust Navigation
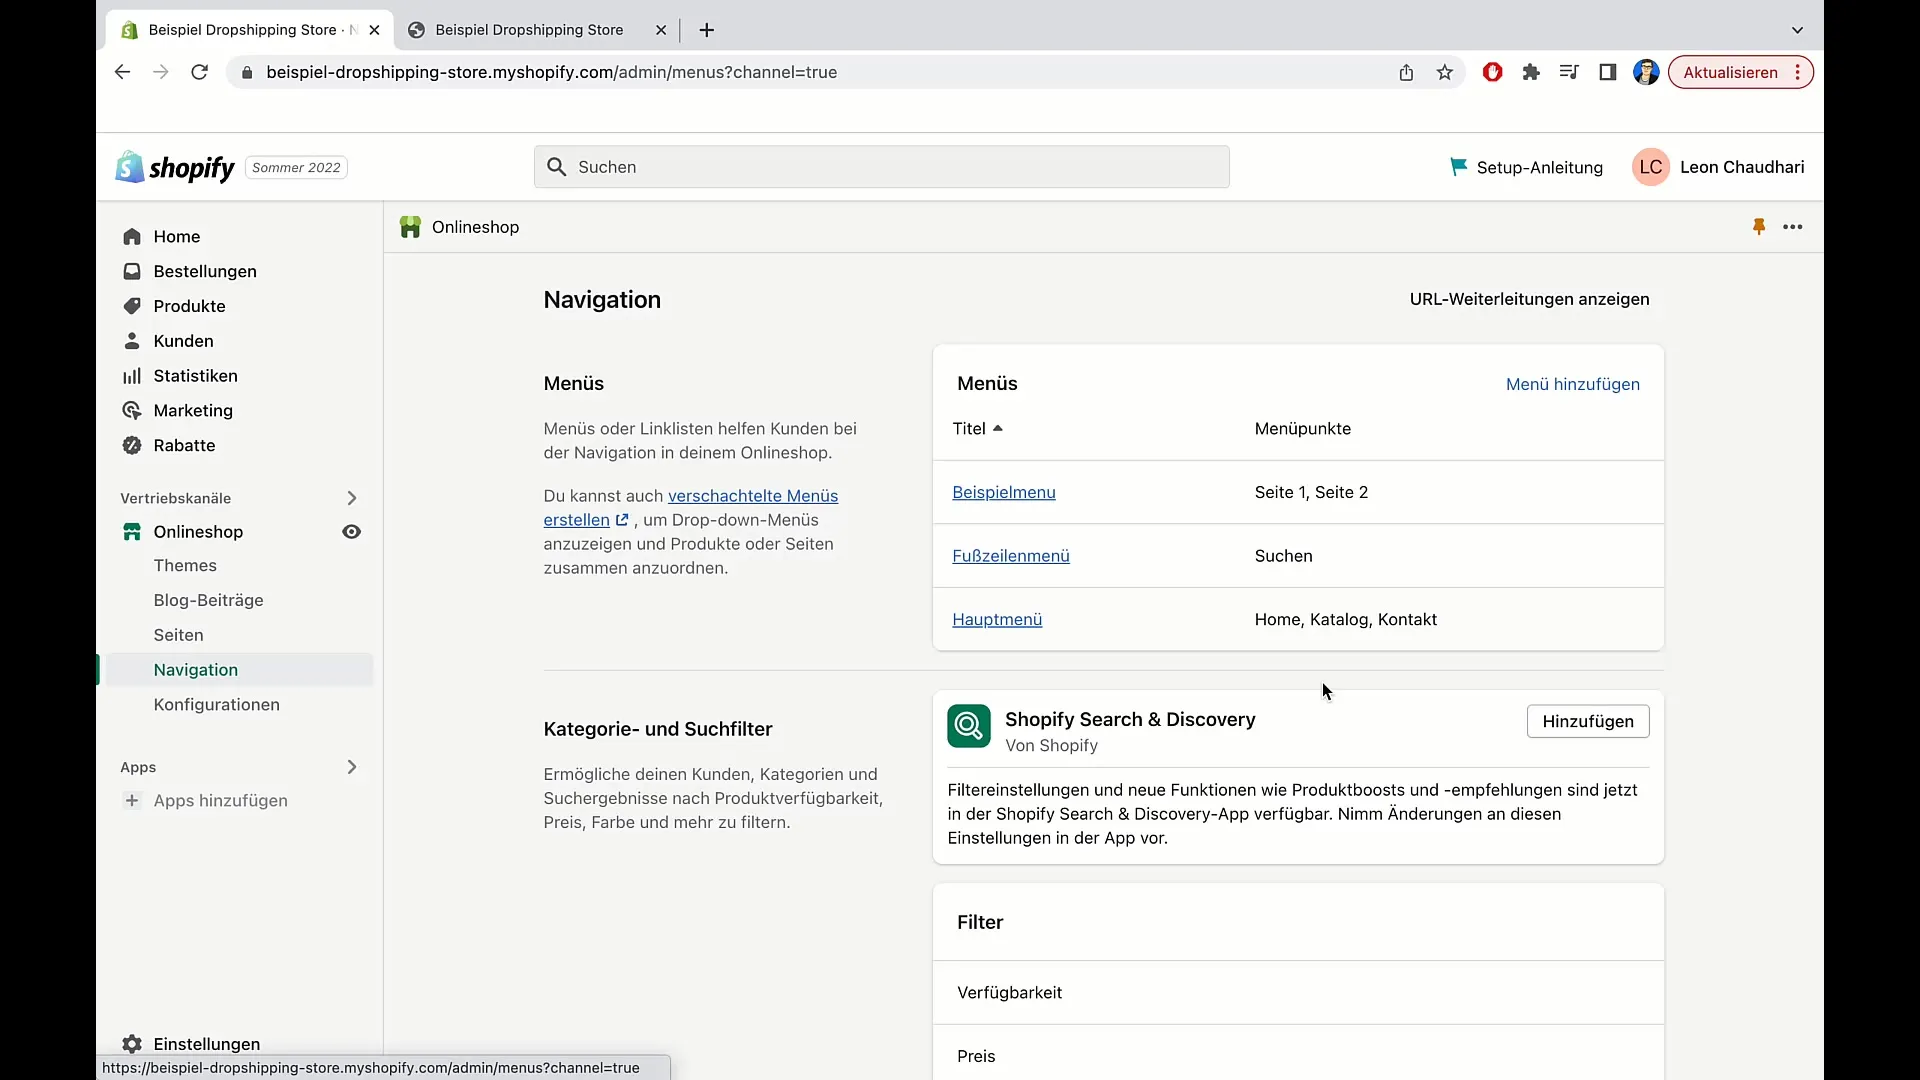
After creating the pages, you need to integrate them into the navigation of your Shopify store. Go to "Navigation" in the admin area.
Here you will find your menu options. You will see a main menu and a footer menu. Since we want the legal pages in the footer menu, select this menu.
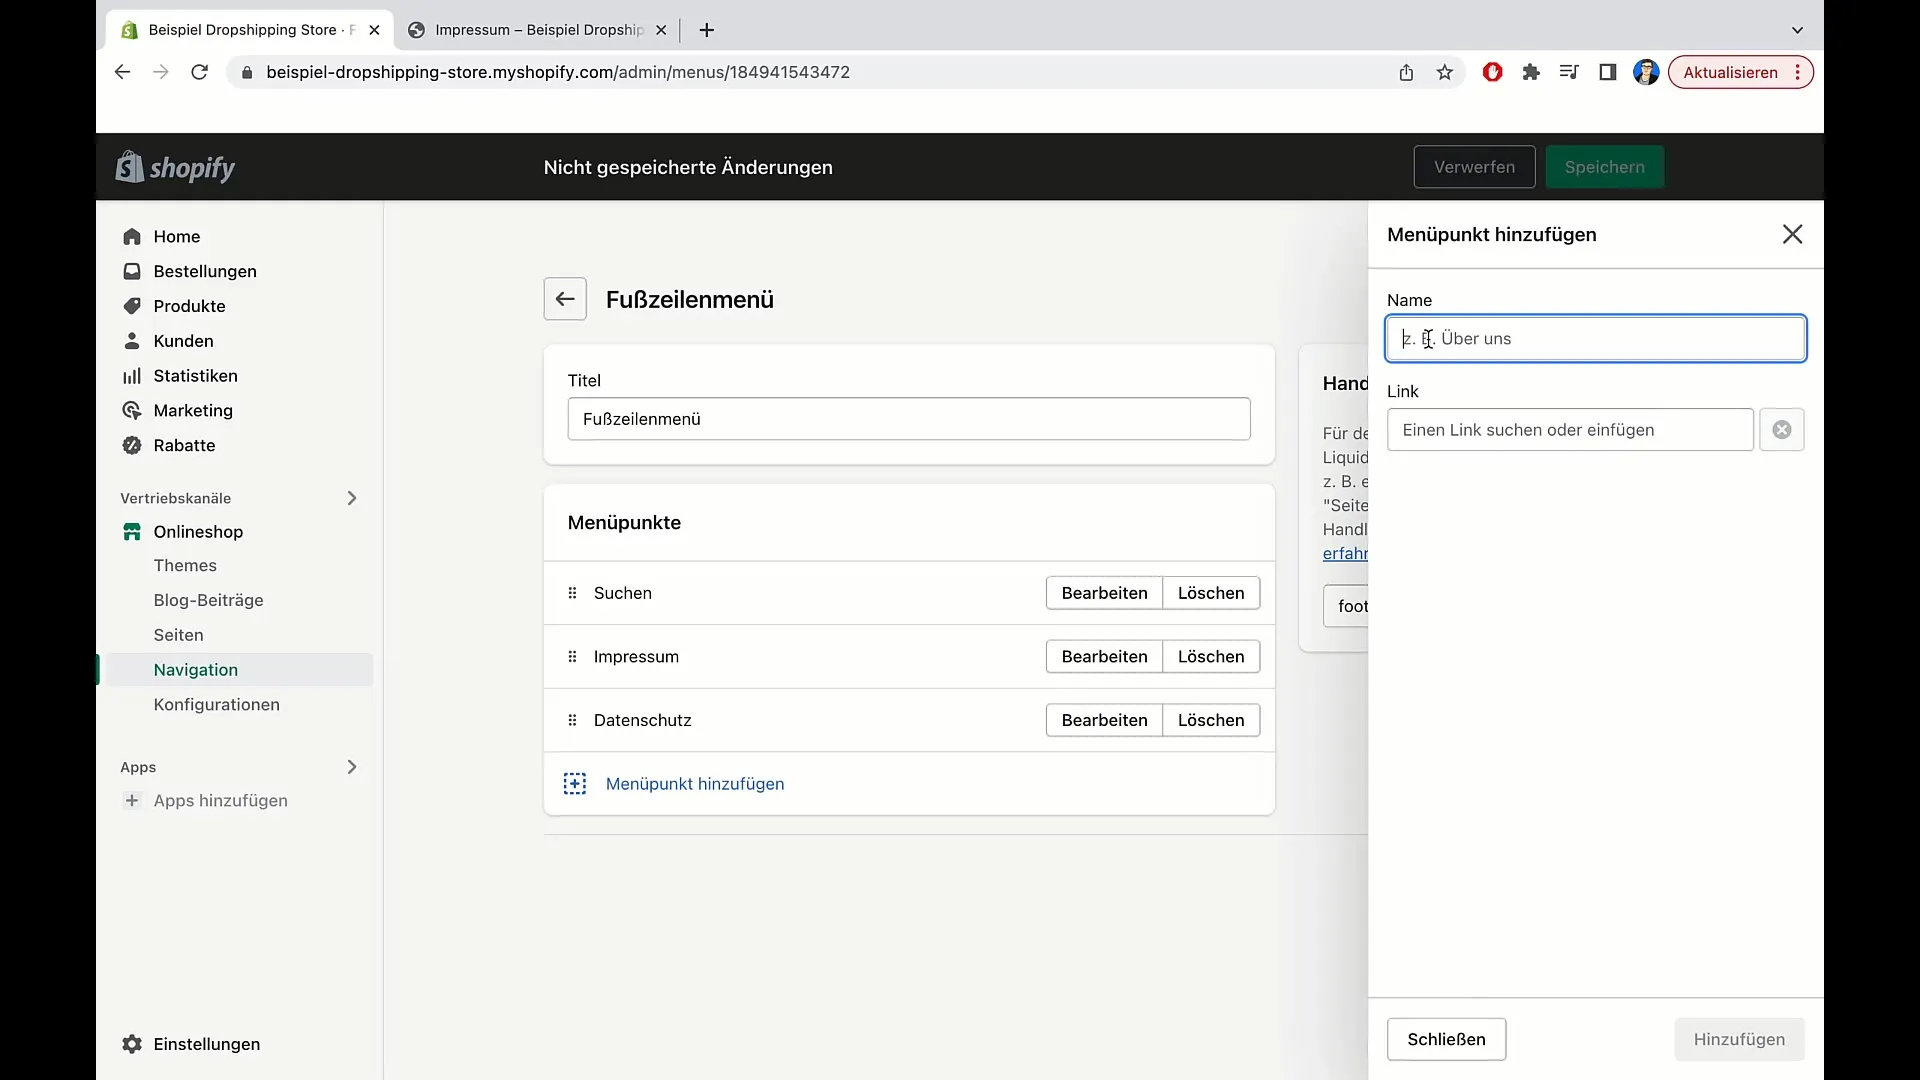
Now you can select "Add menu item" to link your new pages. As the first item, add the "Imprint" by entering "Imprint" in the name field and then adding the link to the respective page.

After adding the imprint, repeat this step for the privacy policy by entering "Privacy Policy" as the name and creating the link for it.

Finally, add the GTC by creating "GTC" as a new menu item and appending the link.
Step 3: Save and Review Changes
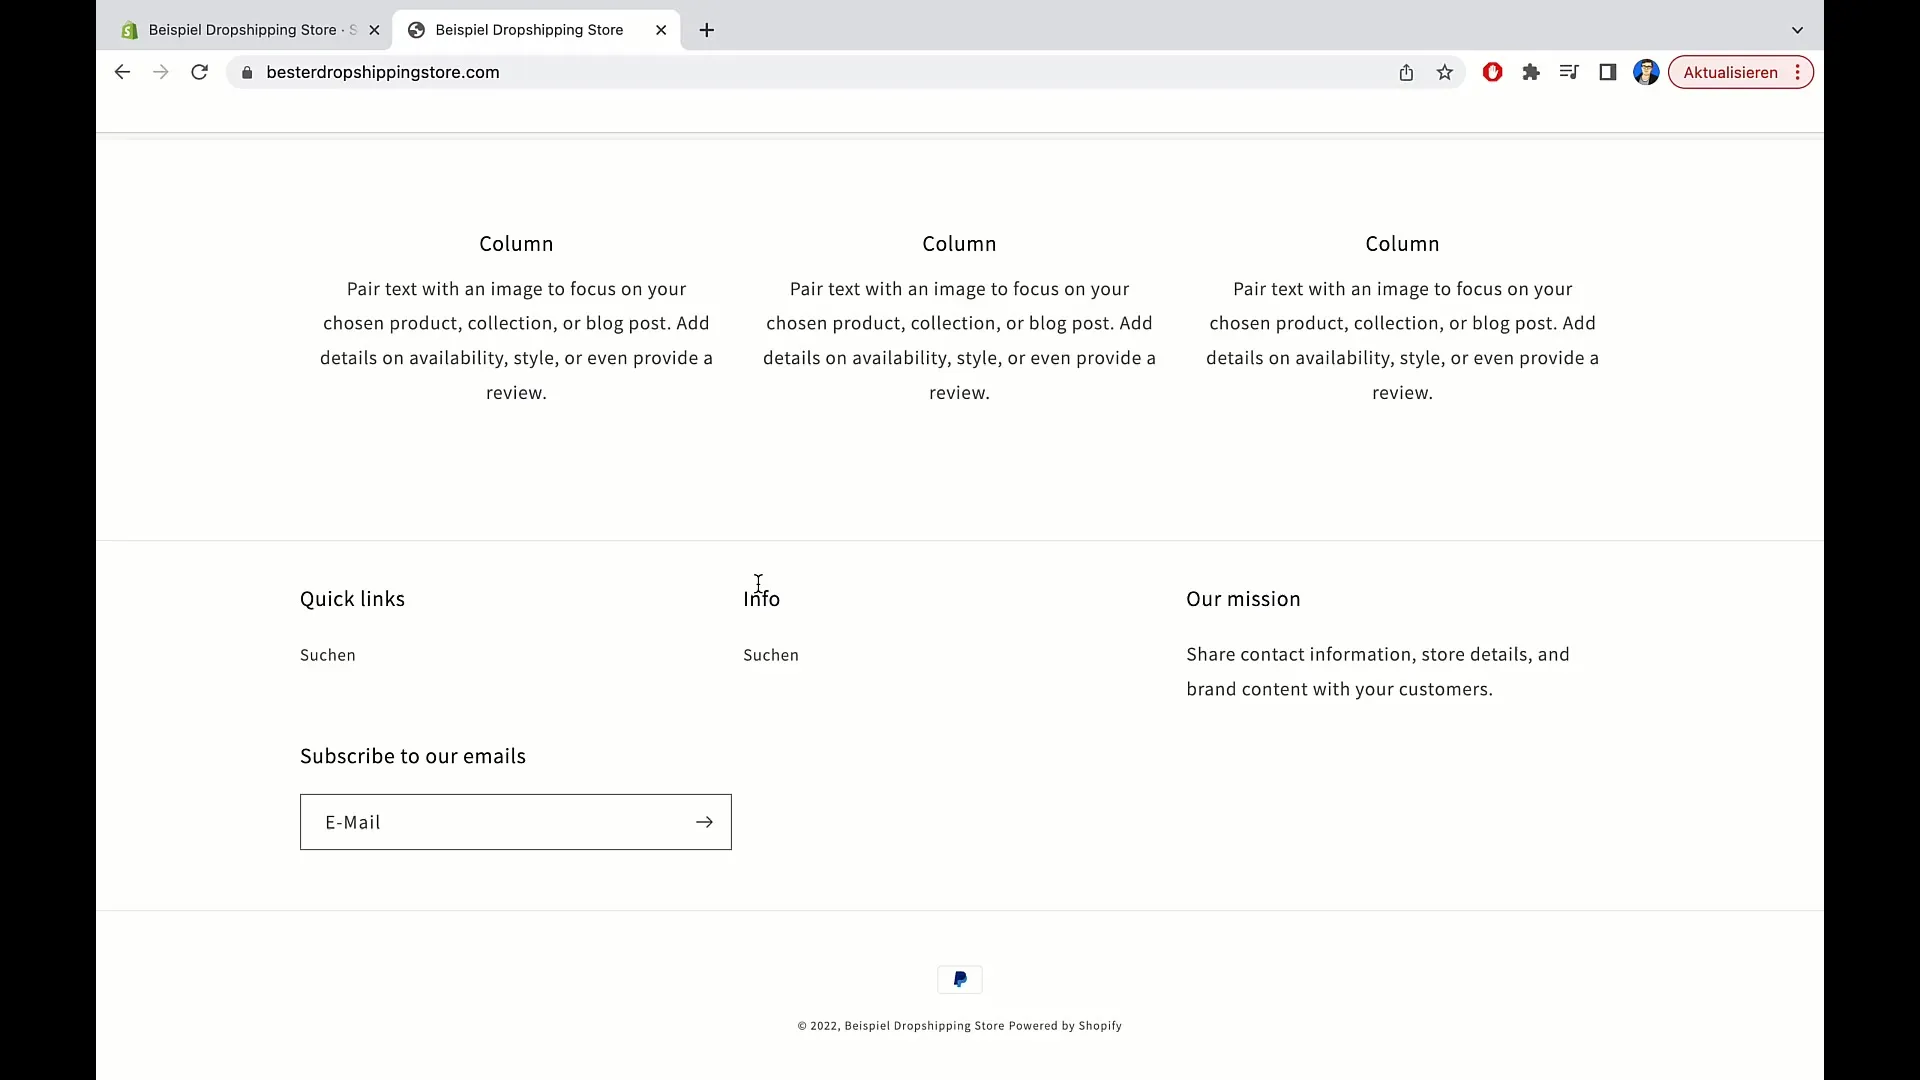
After adding all three legal pages to your menu, click on "Save" to secure your changes. To ensure everything is set up correctly, refresh the webpage and check the footer of your shop.
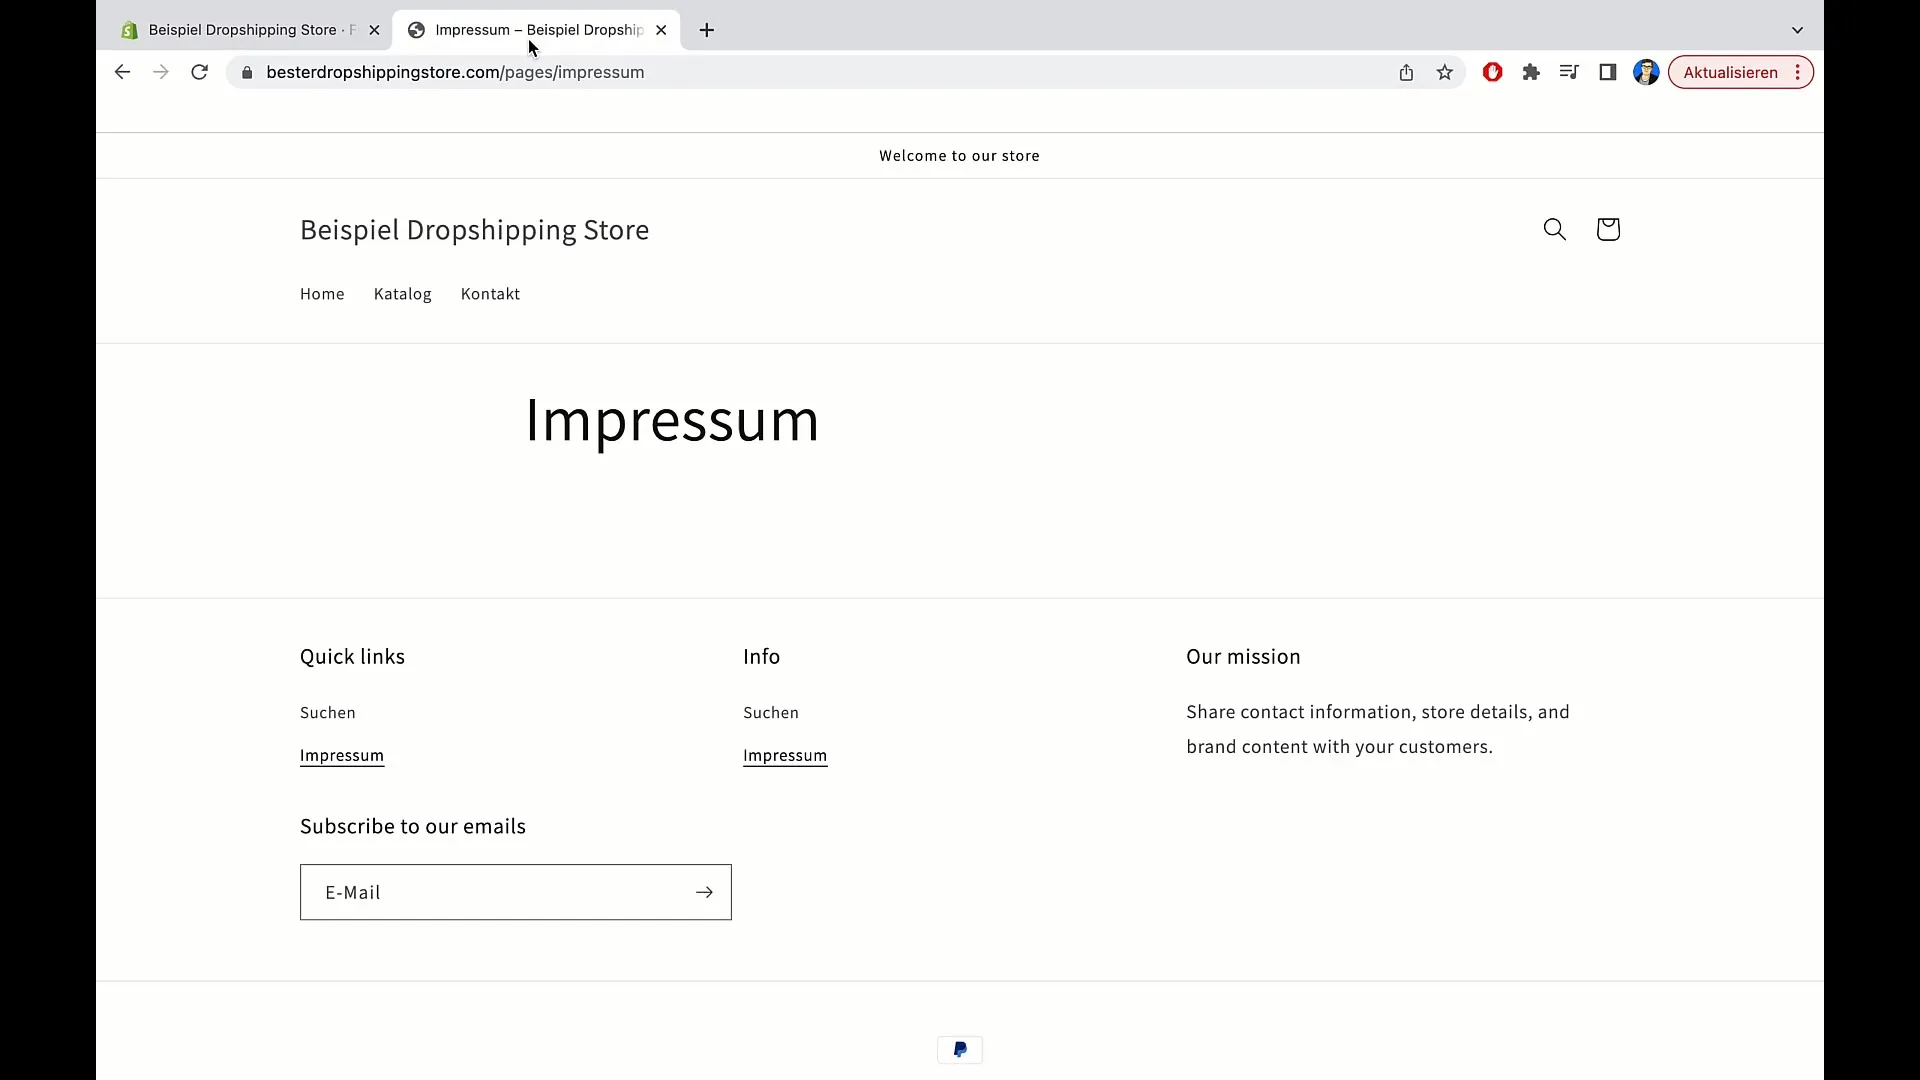
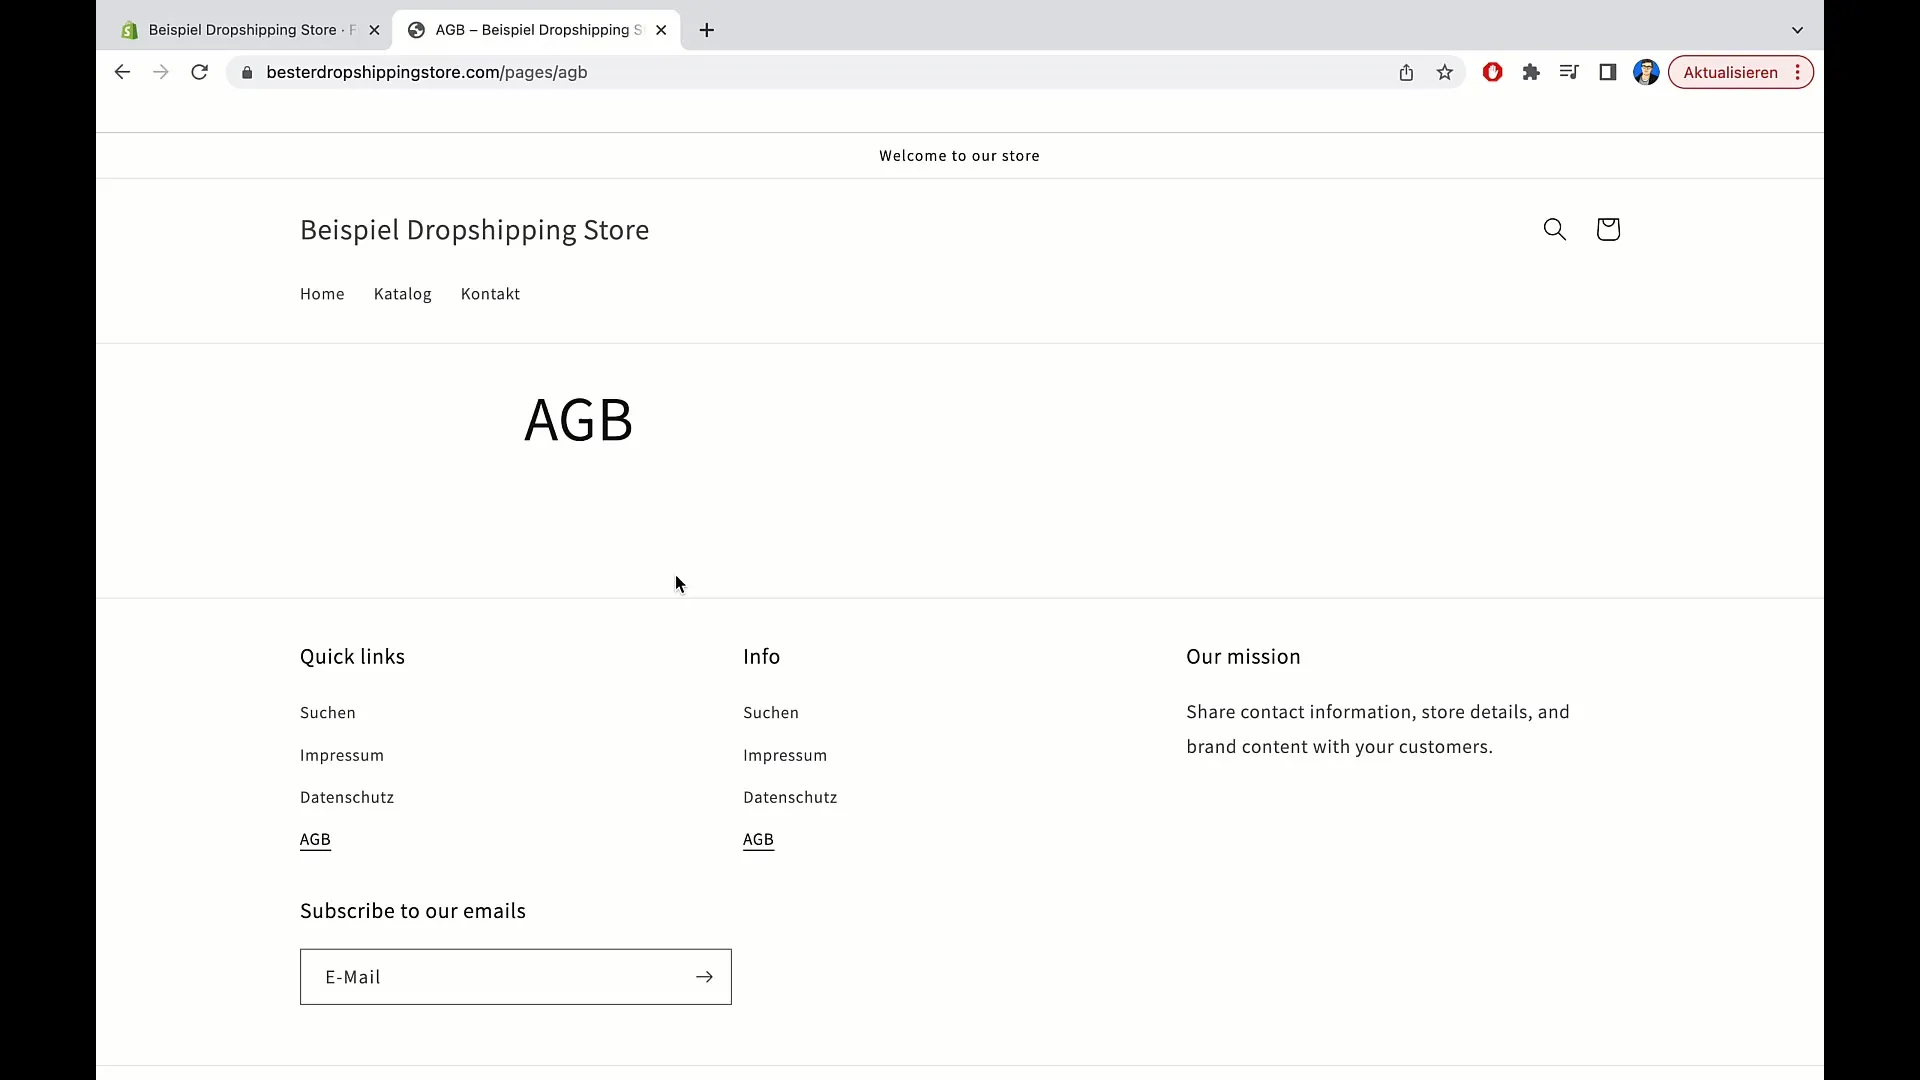
You should now be able to see the links to the imprint, privacy policy, and GTC. Test the links by clicking on them to ensure they lead to the correct pages.
Step 4: Change the arrangement of the links
If you want to change the arrangement of the links in the footer menu, go back to the menu and drag the items into the desired order. You can move the imprint all the way to the right and arrange the other items as needed.
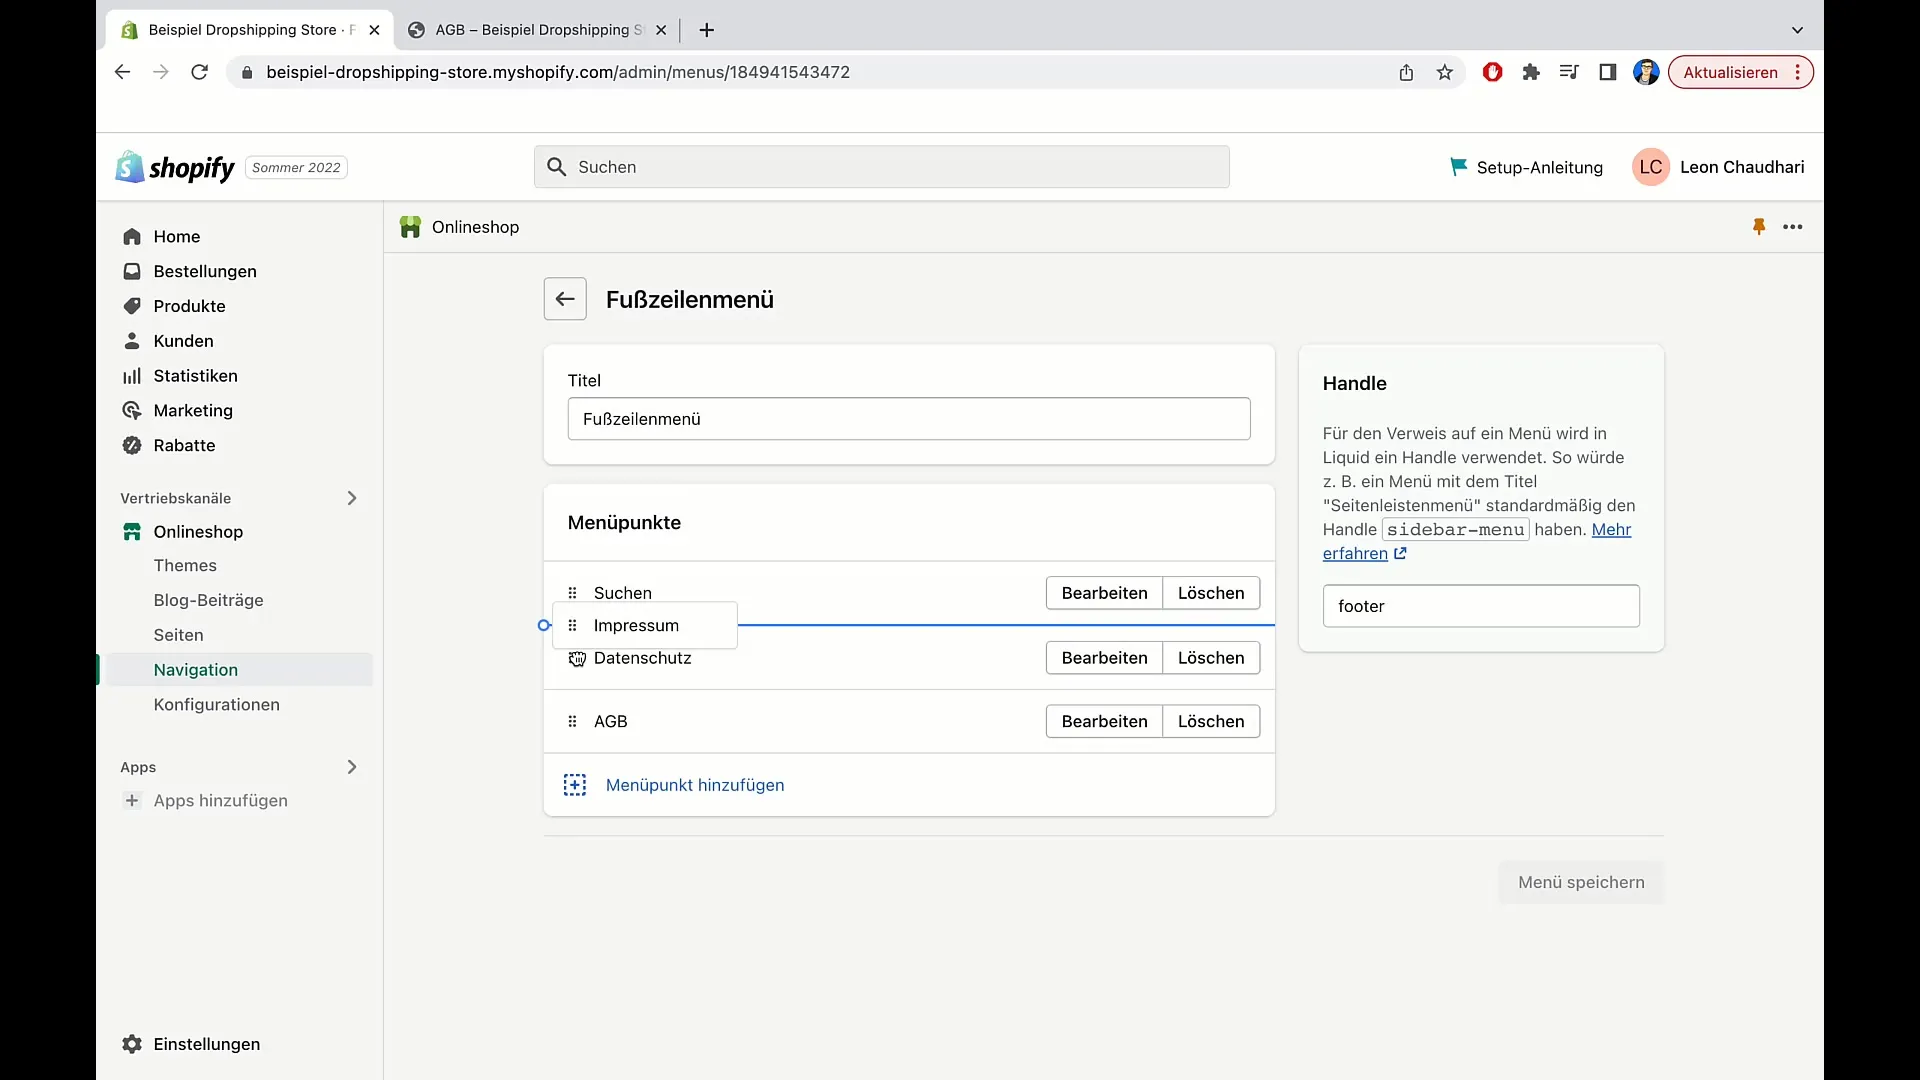
Save the changes again and refresh your page to ensure that the new arrangement is effective.
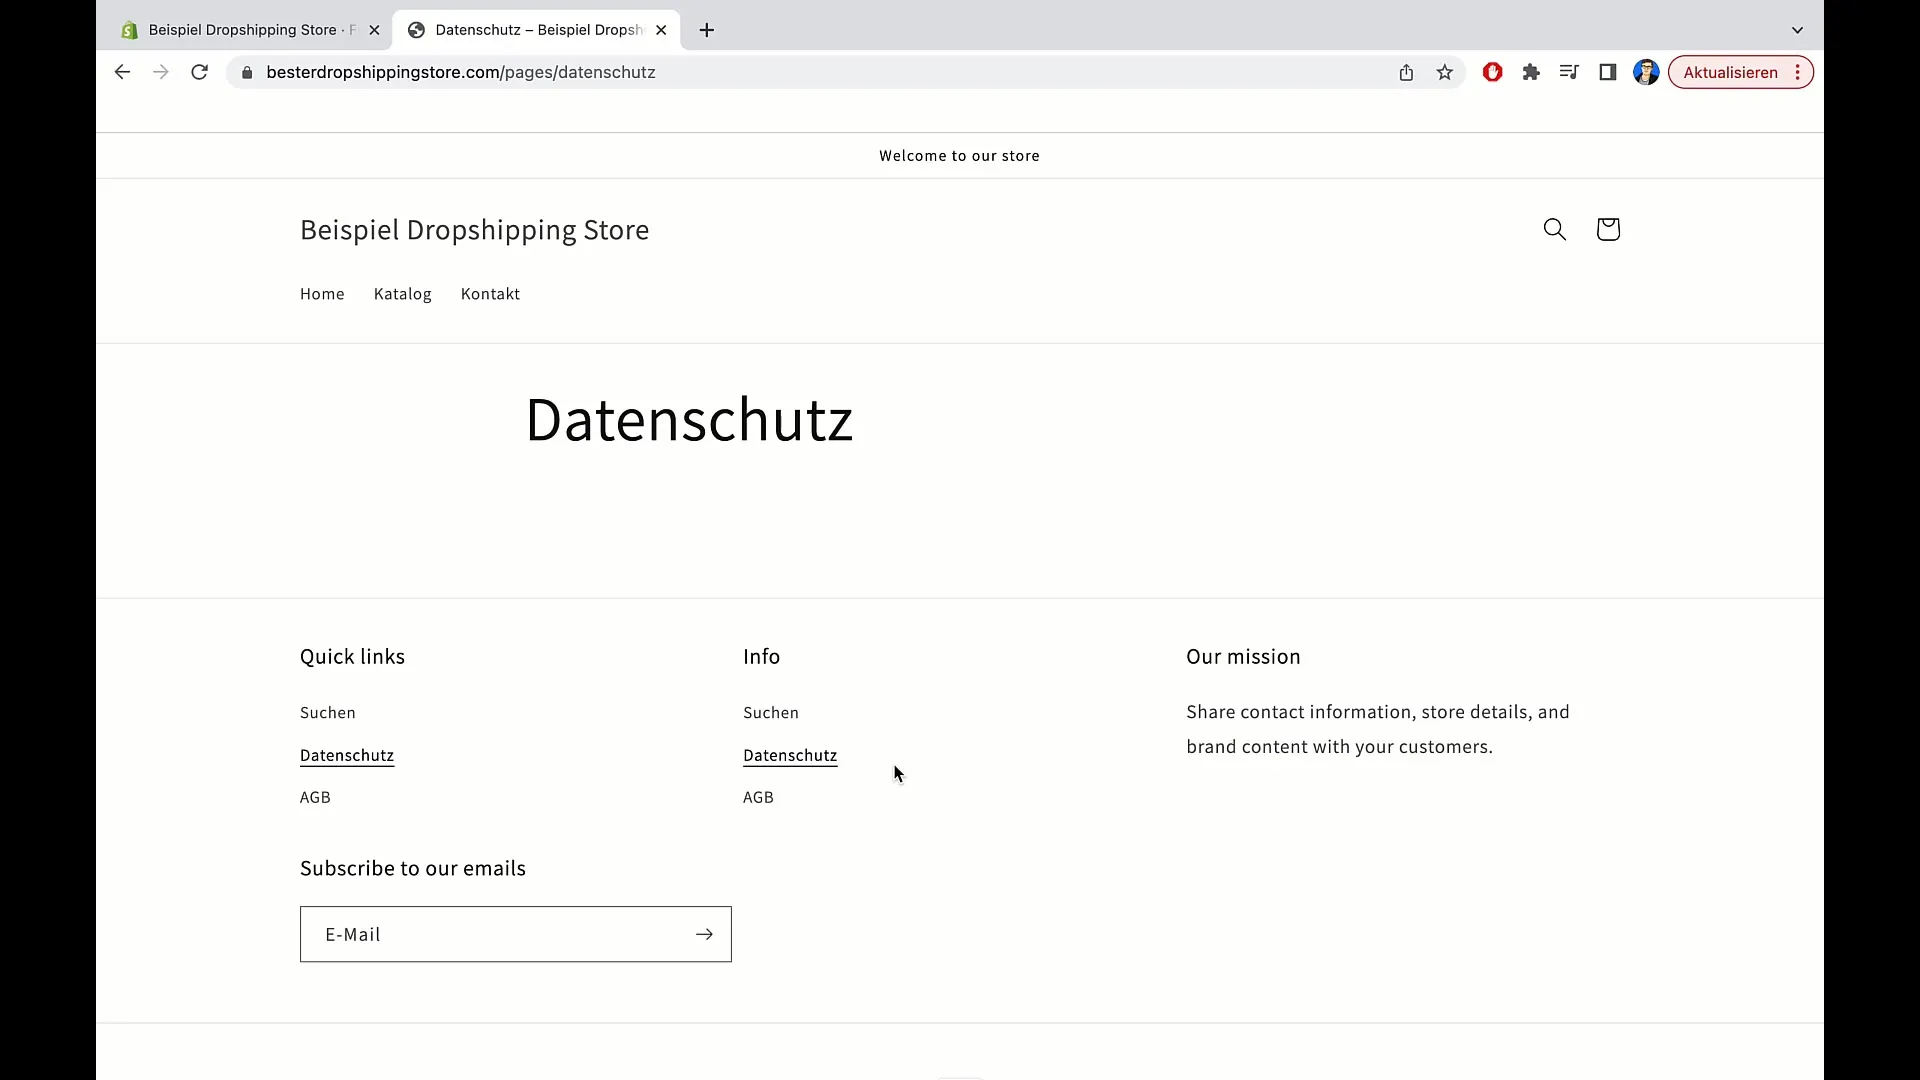
Now you should see the links in the desired order, improving the user-friendliness of your online shop.
Summary
In this guide, you have learned how to add an imprint, terms and conditions, and a privacy policy to your Shopify store and integrate them into the navigation. These steps are crucial to meet the legal requirements in e-commerce and strengthen the trust of your customers.
Frequently Asked Questions
How do I add legal pages to Shopify?You can create legal pages by clicking on "Pages" in the admin area and then selecting "Add Page."
Where do I integrate the legal information?The information should be integrated into the footer menu of your Shopify page.
Do I have to write the legal texts myself?It is advisable to have the texts reviewed by a lawyer to ensure legal security.
How can I change the order of the links?You can rearrange the links in the footer menu by drag-and-drop into the desired order.
Do the links work on mobile devices?Yes, the links should be displayed correctly on mobile view settings as well.


