In this guide, I will show you how to create orders in Shopify. There may be situations where an order is not placed directly by the customer. Perhaps a customer wants a custom order or has already paid for another order and now wants a different product. I will explain the steps to create an order in these special cases.
Key Insights
Creating orders in Shopify is simple and flexible. You can add both regular products and custom items. Additionally, you can mark orders as paid, enter customer information, and manage the shipping status. This is especially helpful for when customers have specific requests or for returns.
Step-by-Step Guide
To create an order in Shopify, follow these steps:
First, log into your Shopify account. Then go to the upper left corner of your dashboard and click on "Orders." This is the first step to manage orders and create new orders. Here you will later find an overview of your orders.
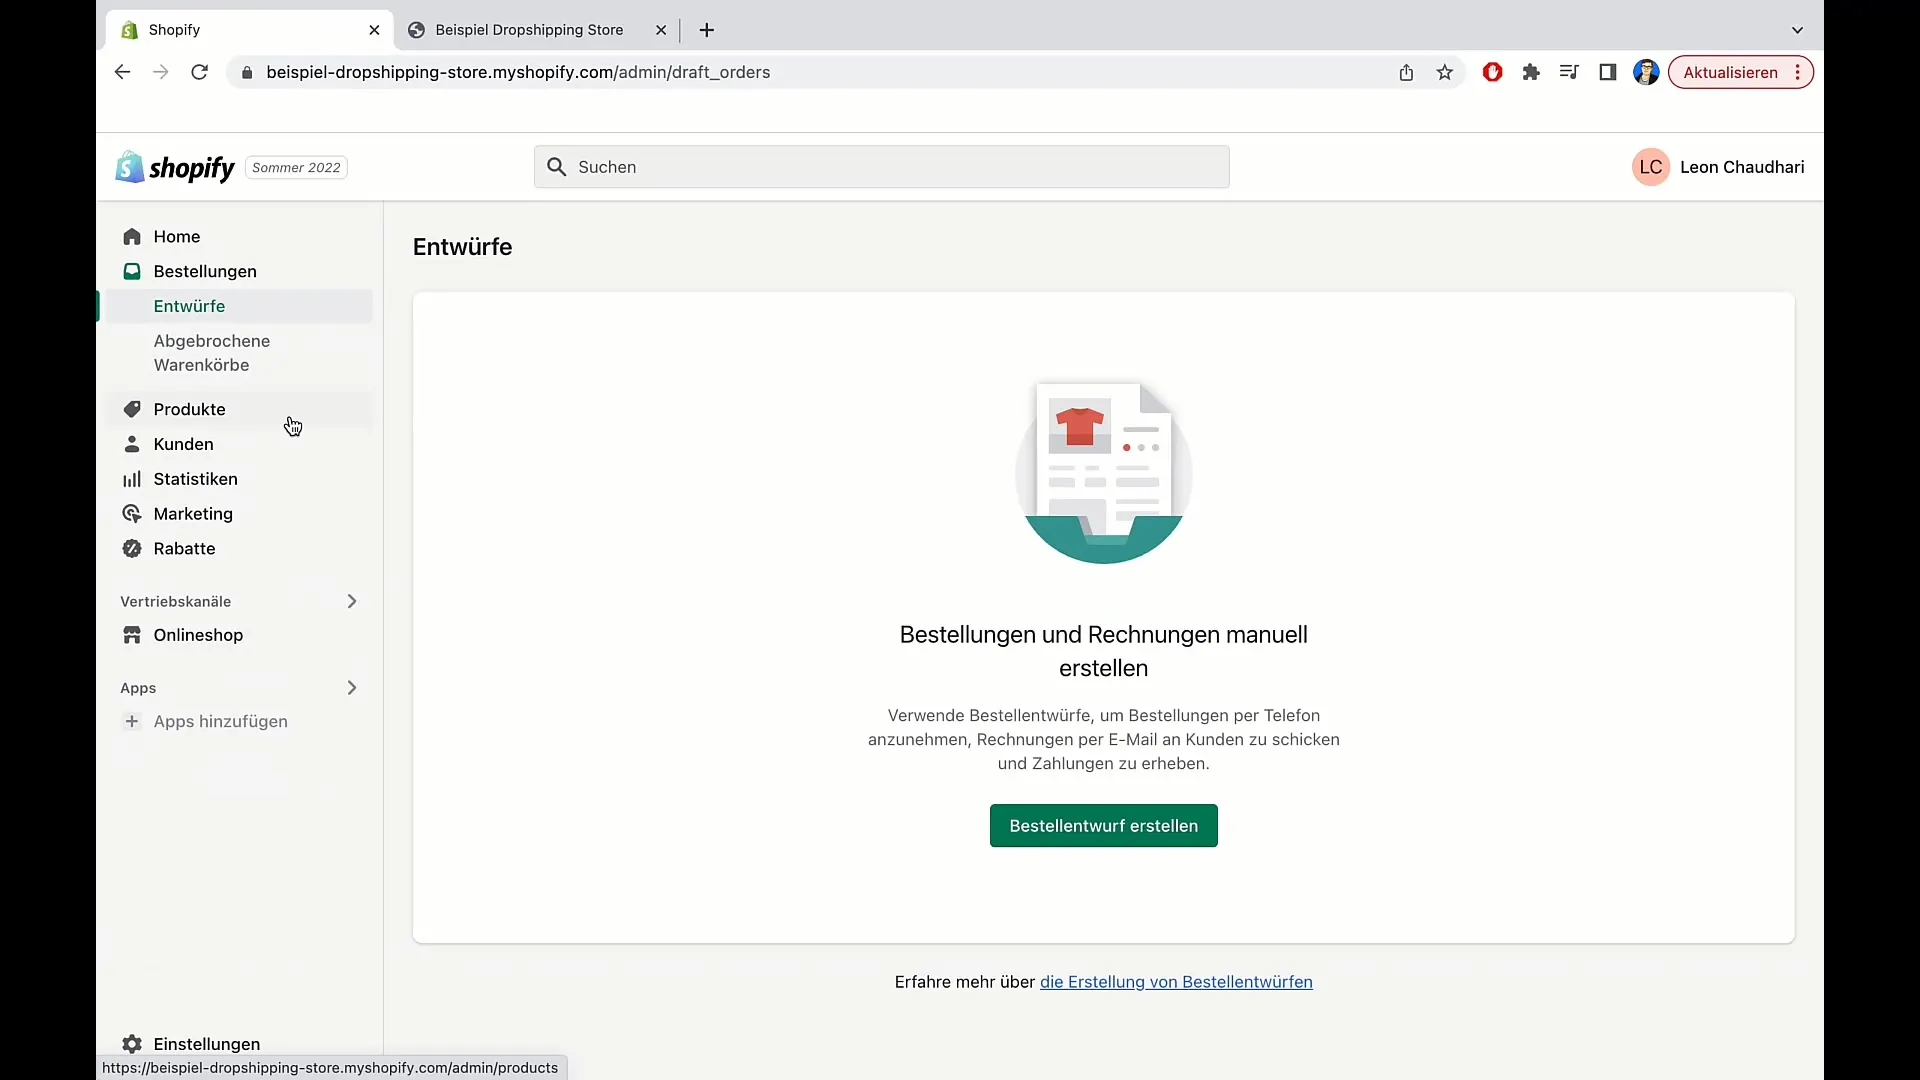
After clicking on "Orders," you will have the option to go to "Drafts." Here you can view all the drafts you have created, if any, and create new orders.
To create a draft order, click on "Create Draft Order." This will open a new page where you can customize your order.
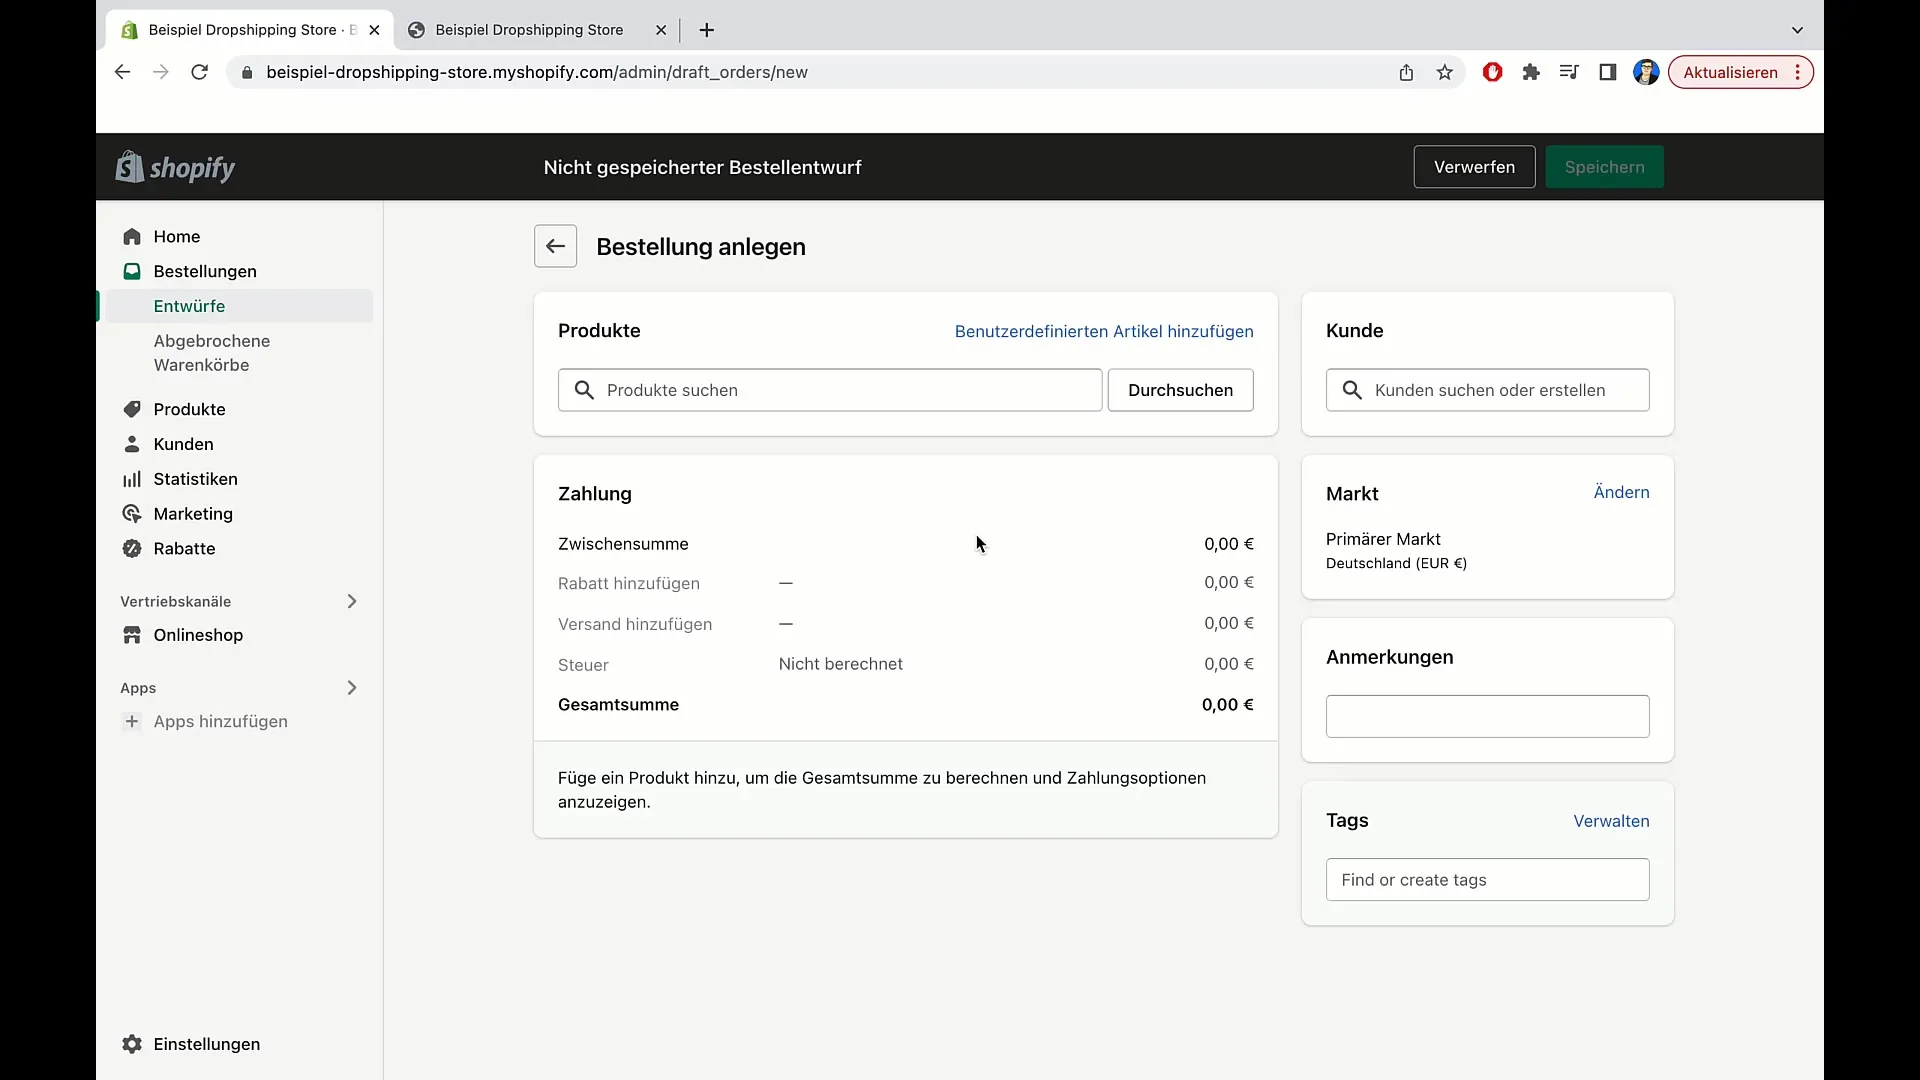
Now you can select a product. If you want to add an existing product, you can do so. Alternatively, you have the option to add a custom item. This is useful if a customer has a specific requirement, such as wanting to change the color of a T-shirt.
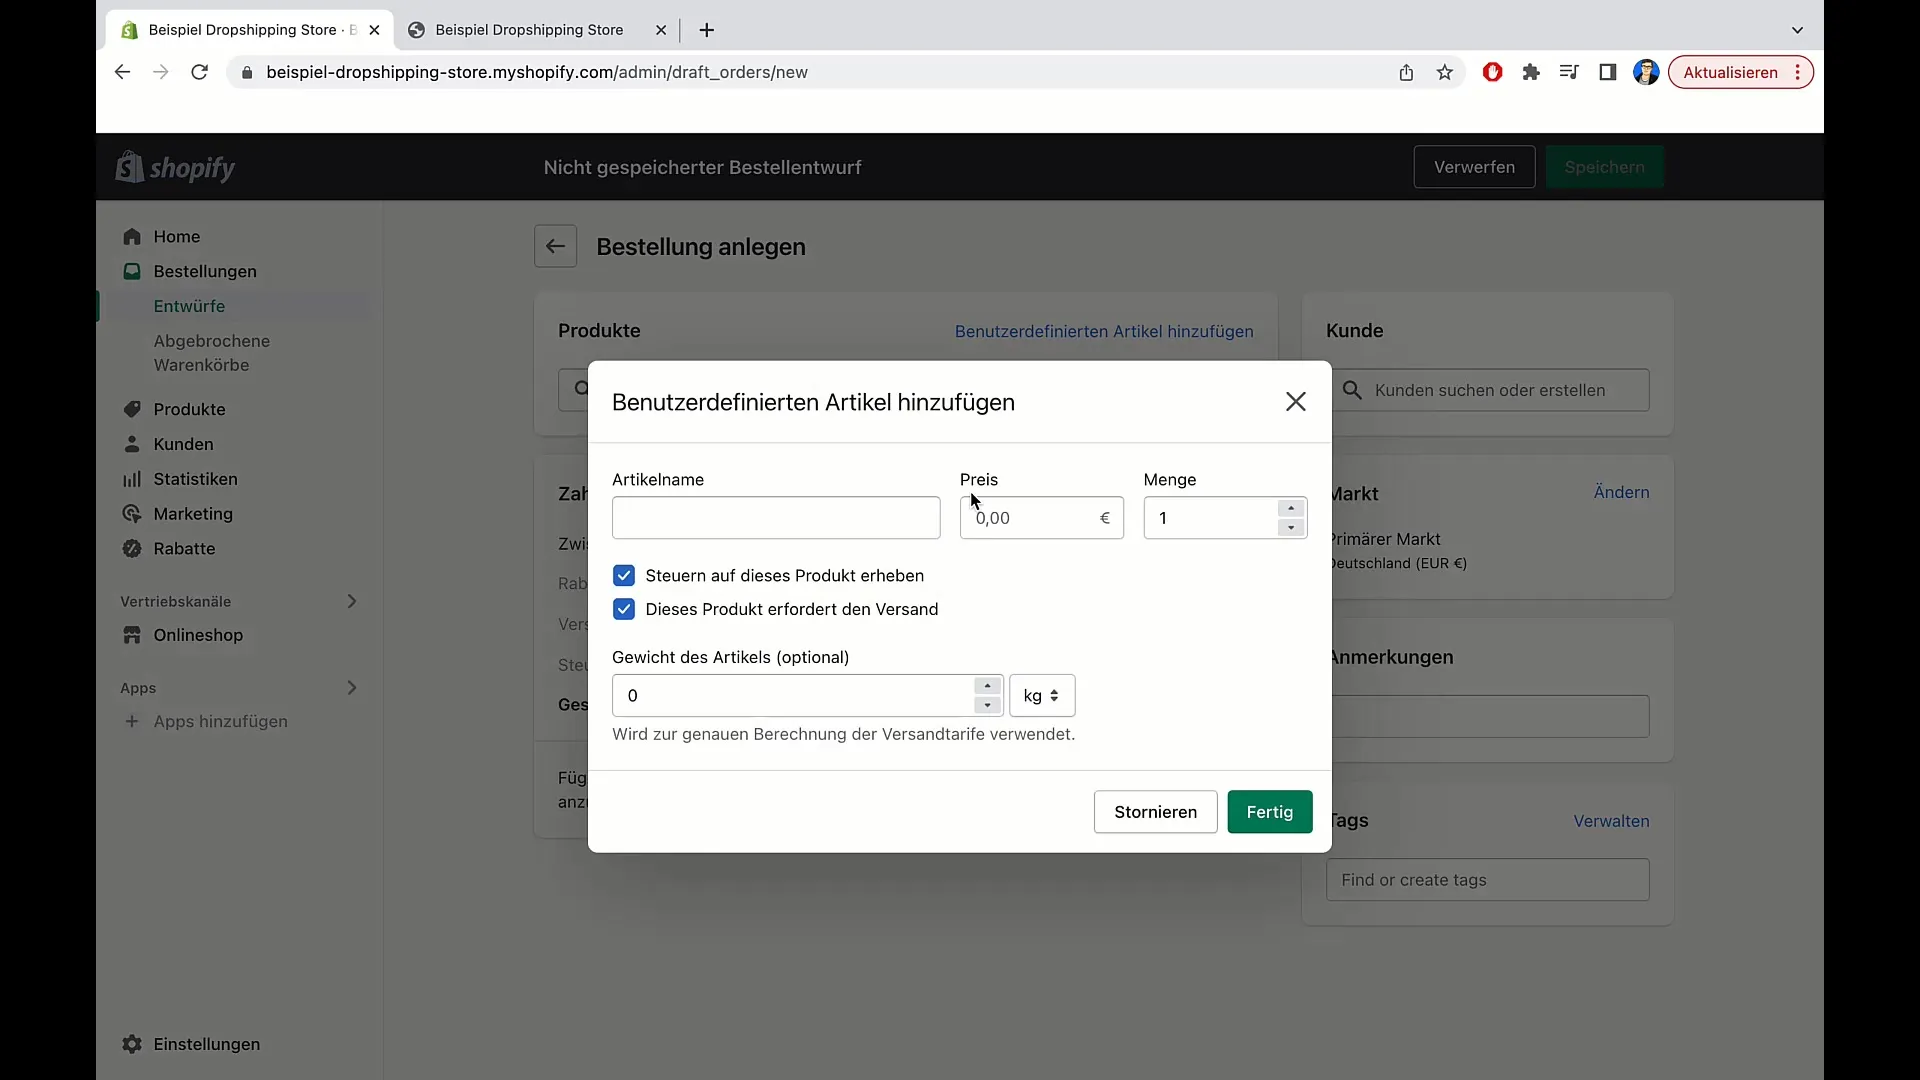
Click on "Add Custom Item" and enter the details. Name the item, set the price, specify the quantity, and enter the weight. Once the item is ready for shipping, activate the corresponding field.
After entering the information, you will see all the details on the right side. Here, the subtotal is displayed, taxes should be calculated at a later time. Currently, we are only showing the product price.
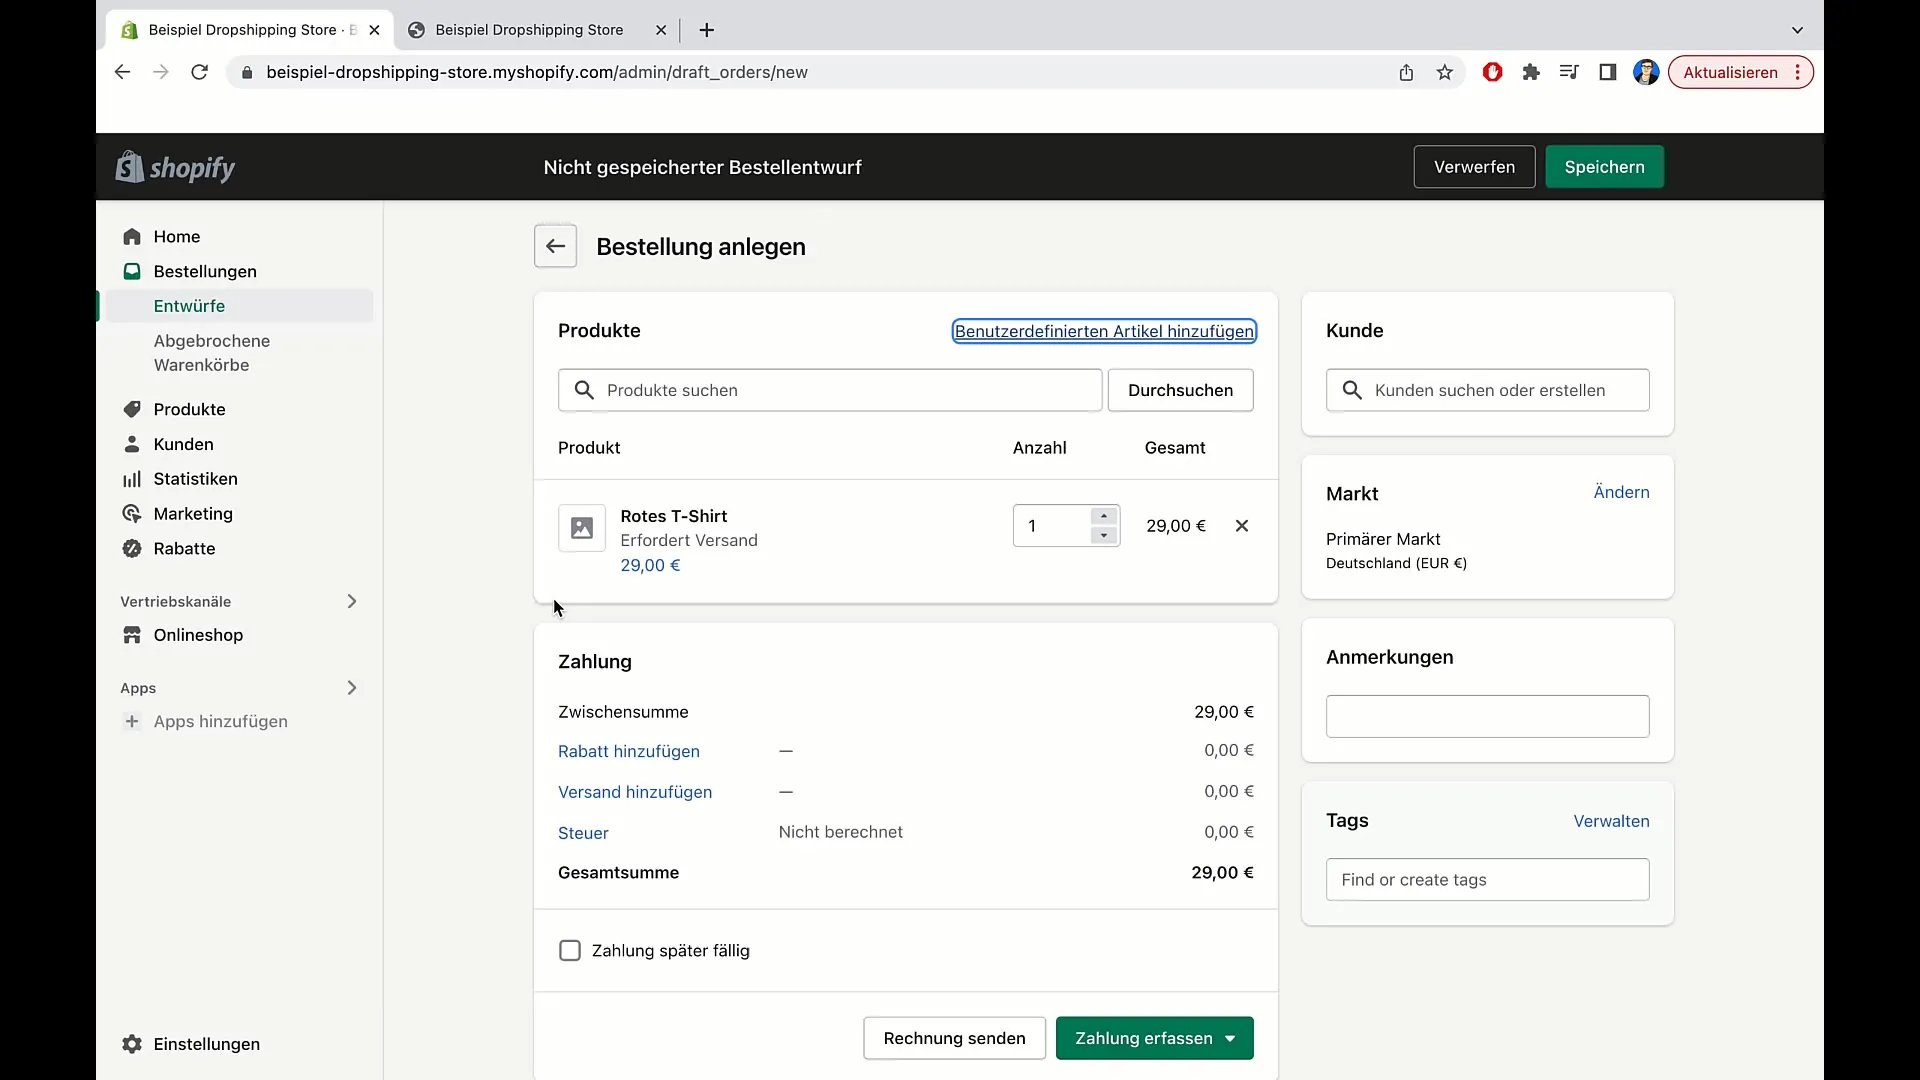
Now you need to capture the payment. Click on "Capture Payment" to set whether the customer has already paid or if you want to add their credit card information. In our example, we assume the customer has already paid. Click on the appropriate option to mark the order as paid.
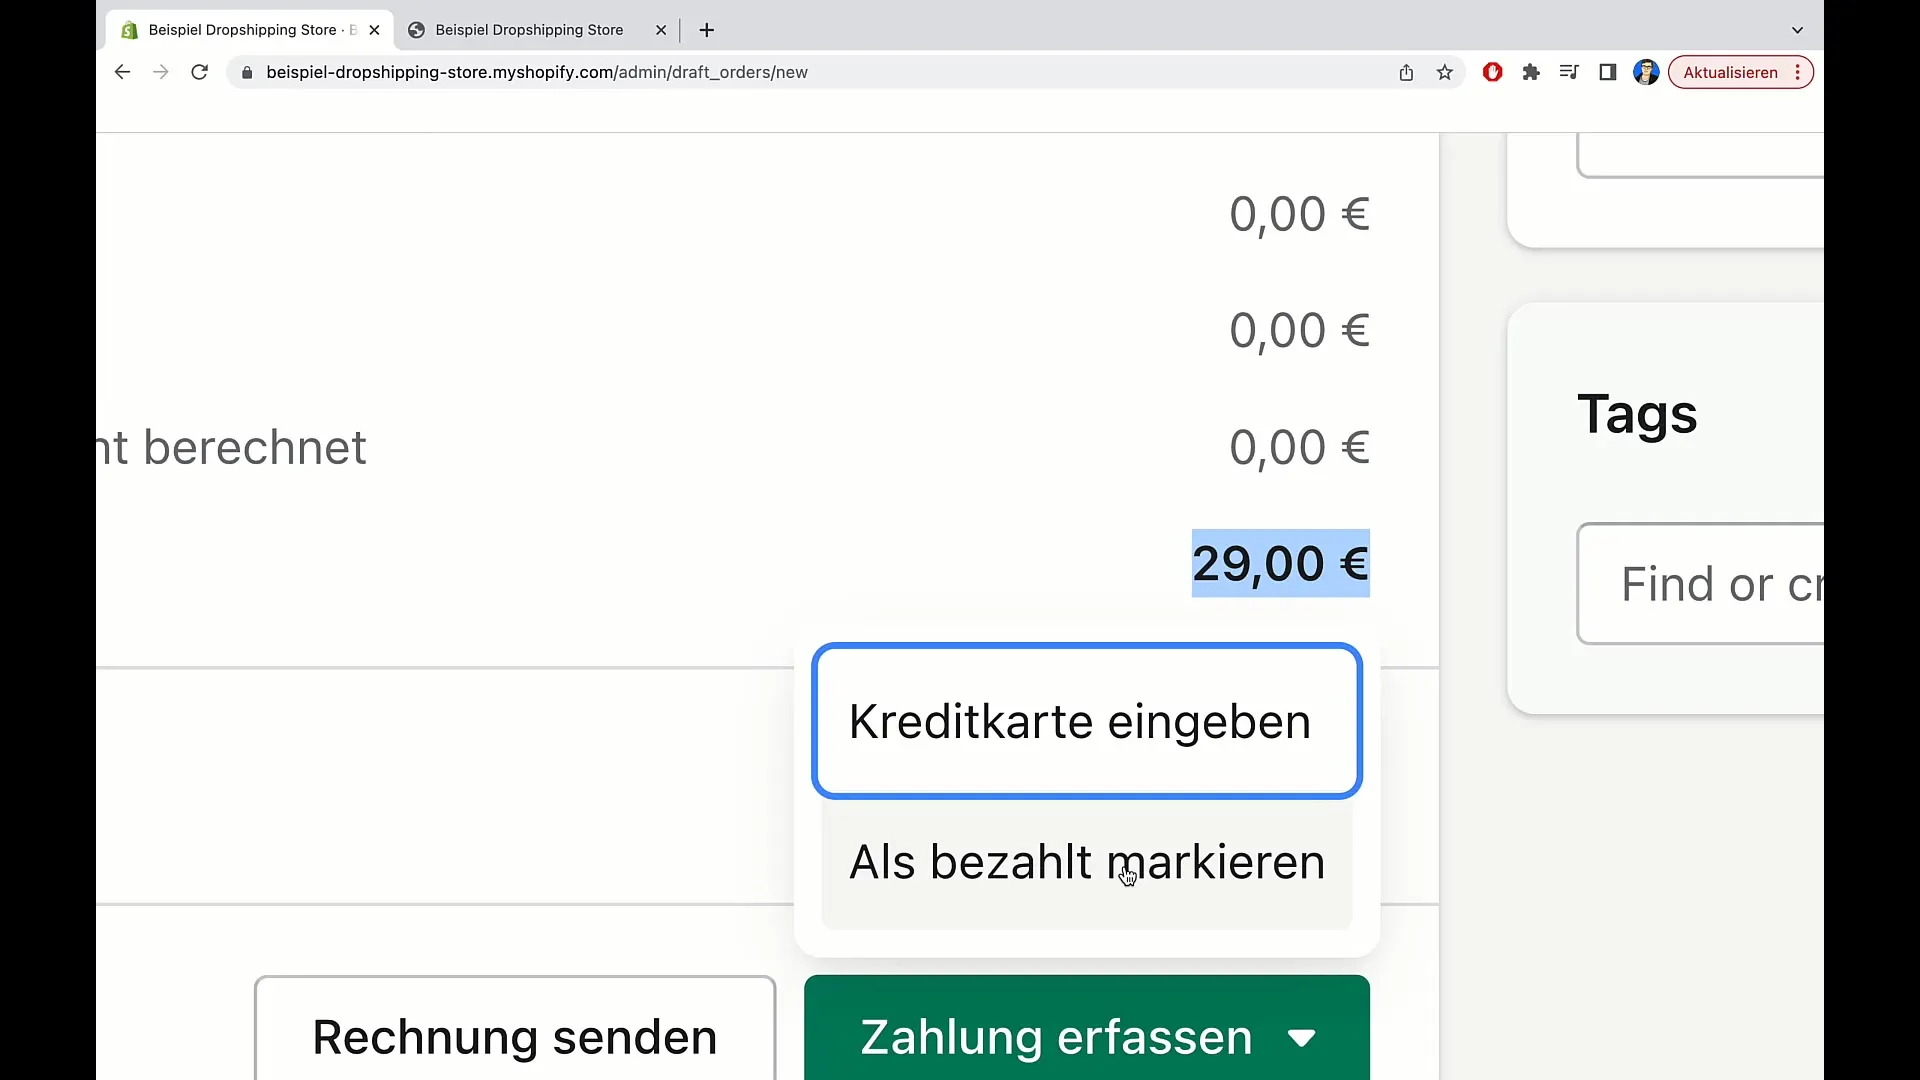
Once you have captured the payment, an order will be created. Now you will see the order number and the status indicating that the order has been paid but not fulfilled yet.
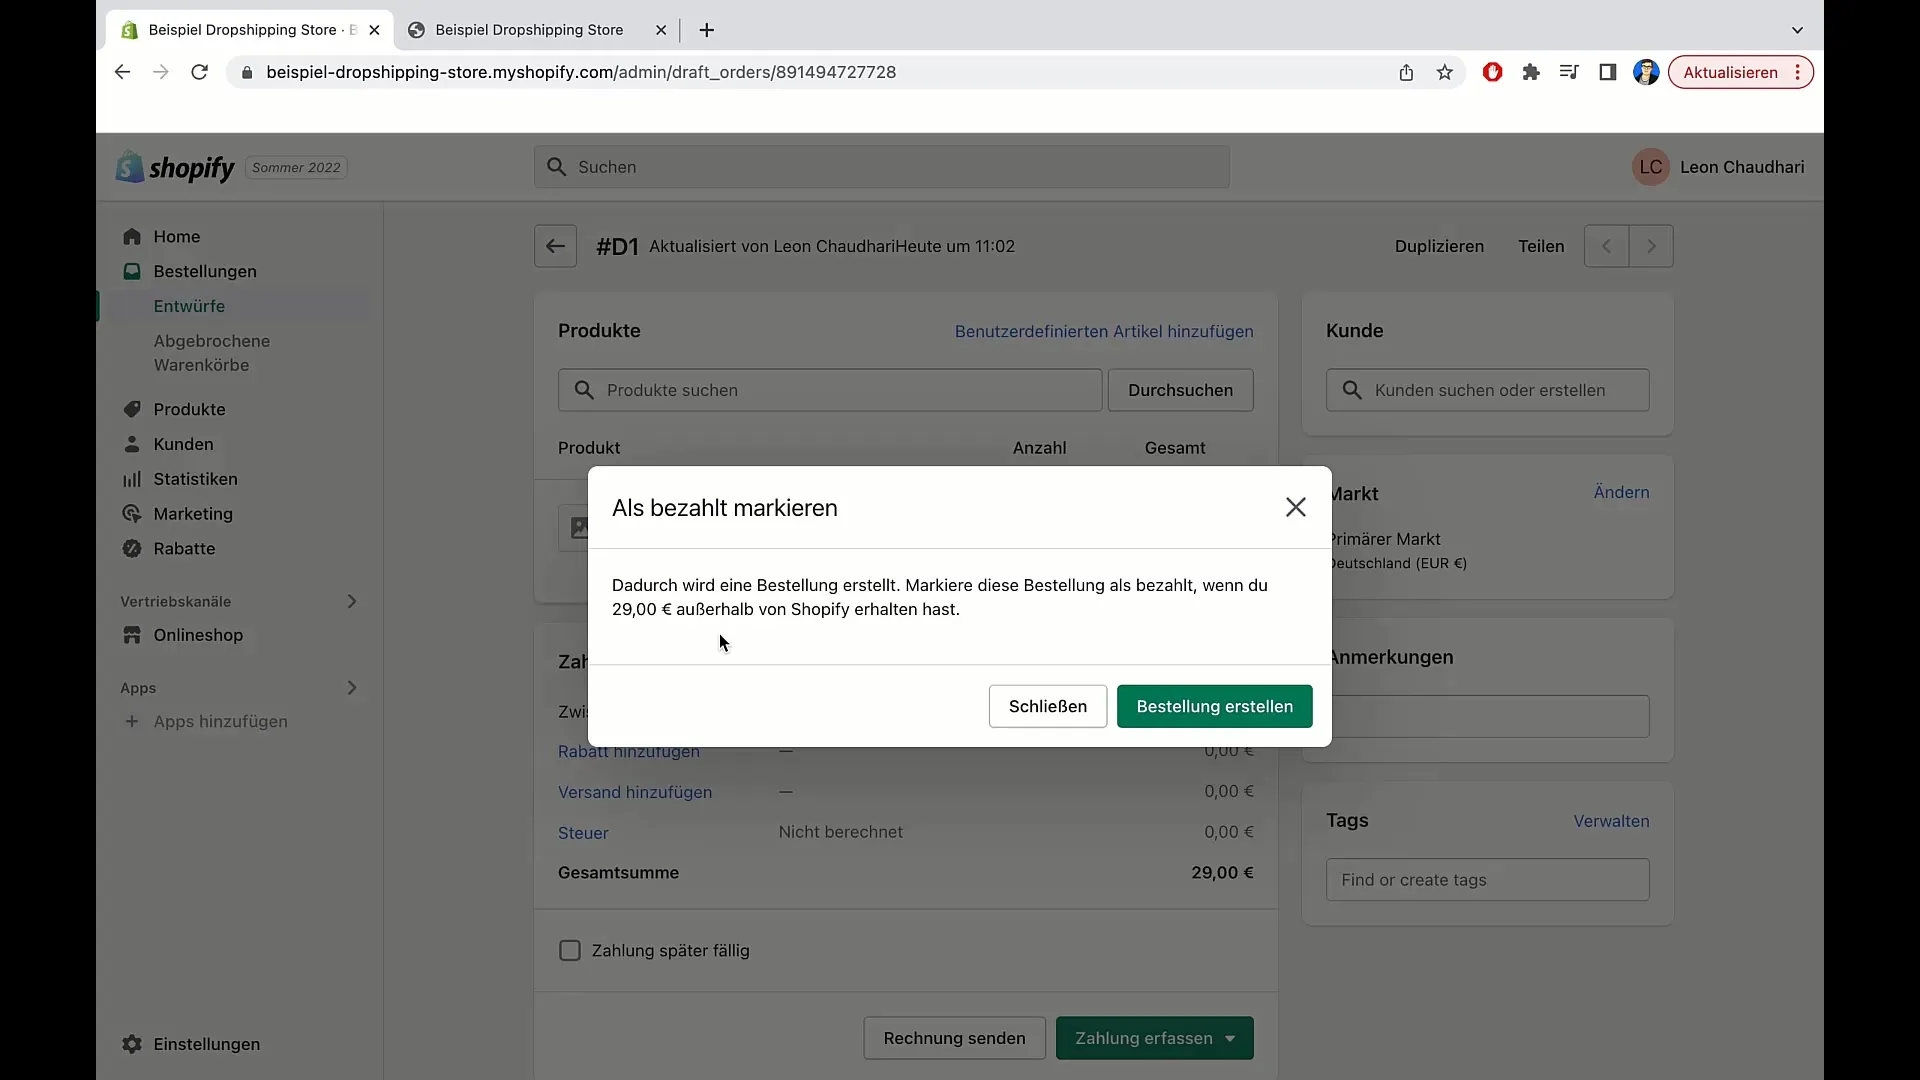
To edit the order, you can fulfill the items. Click on "Fulfill" to prepare the shipment of the items. Here, you can also leave comments and notes on specific customer requirements.
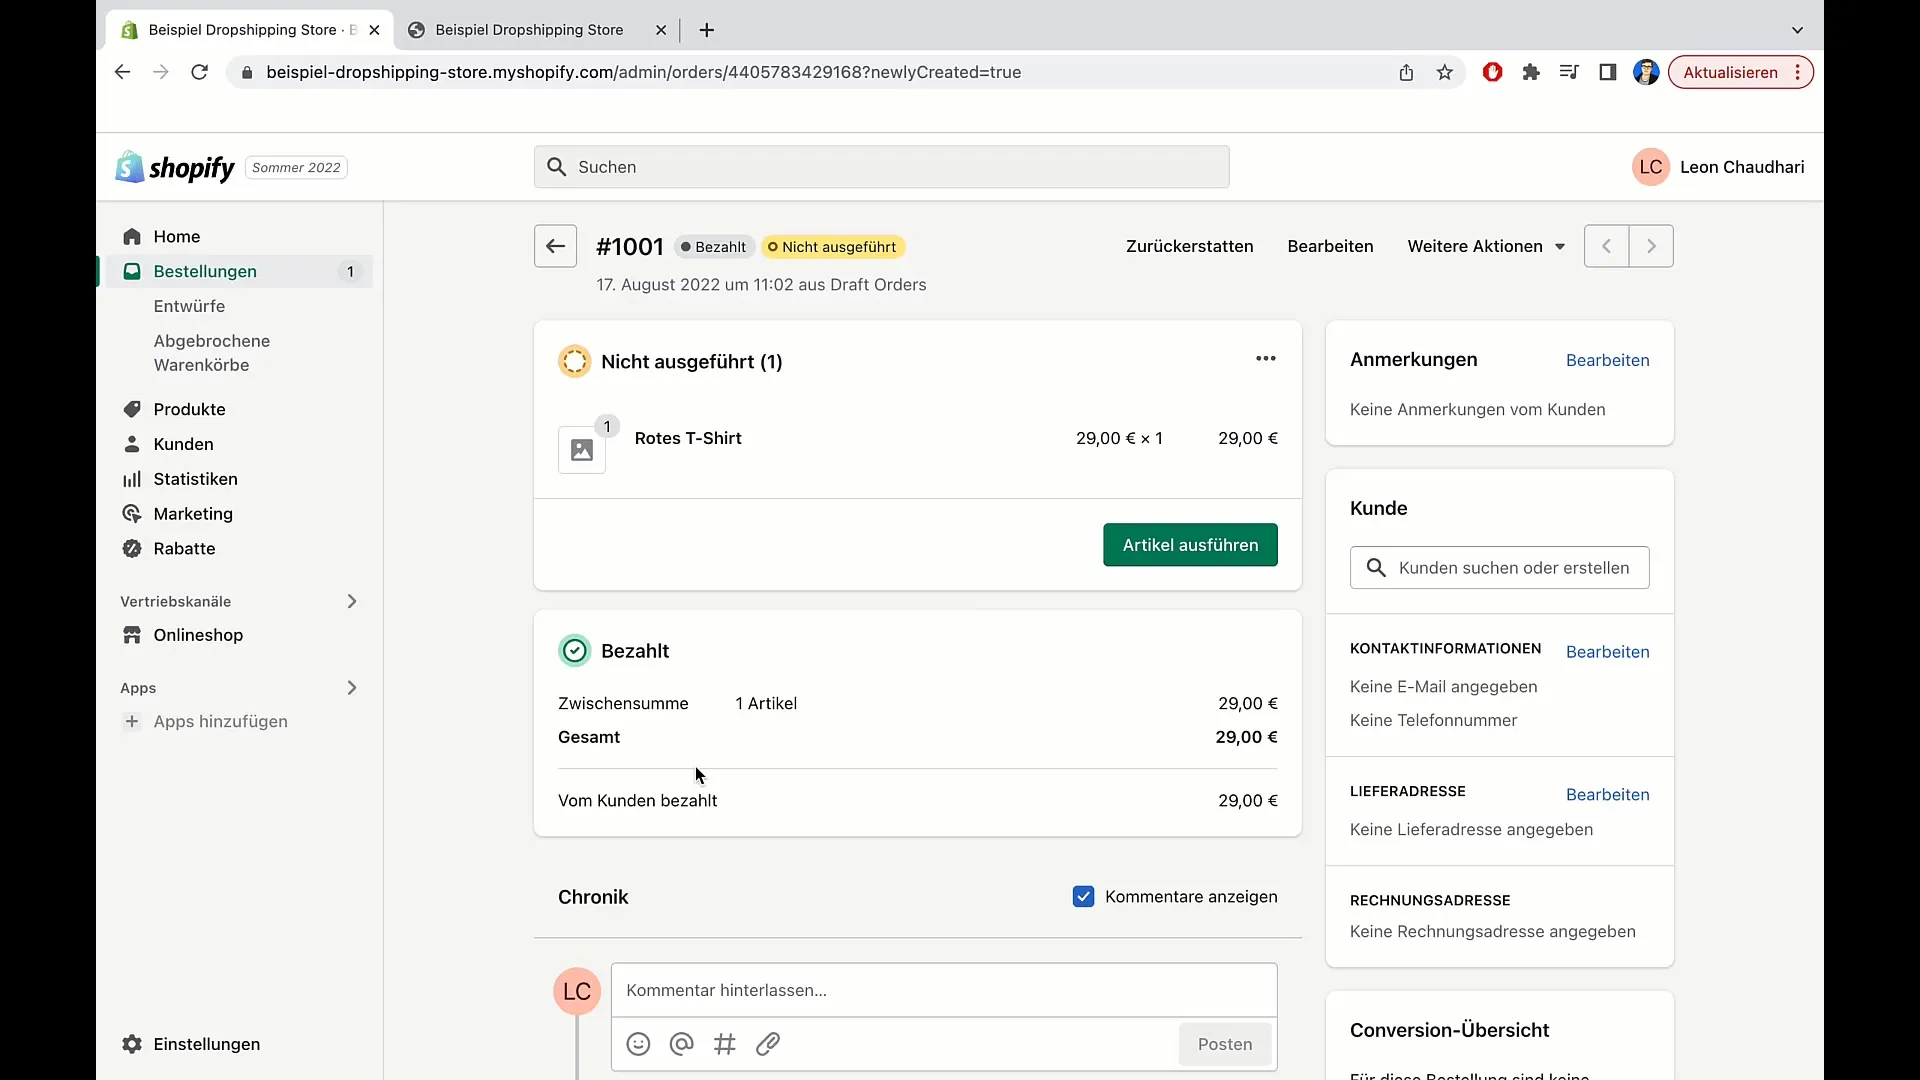
It is also important to add customer information. You will see the customer's contact information, including email address and phone number. To ensure the order is correctly fulfilled, you can edit the shipping and billing addresses.
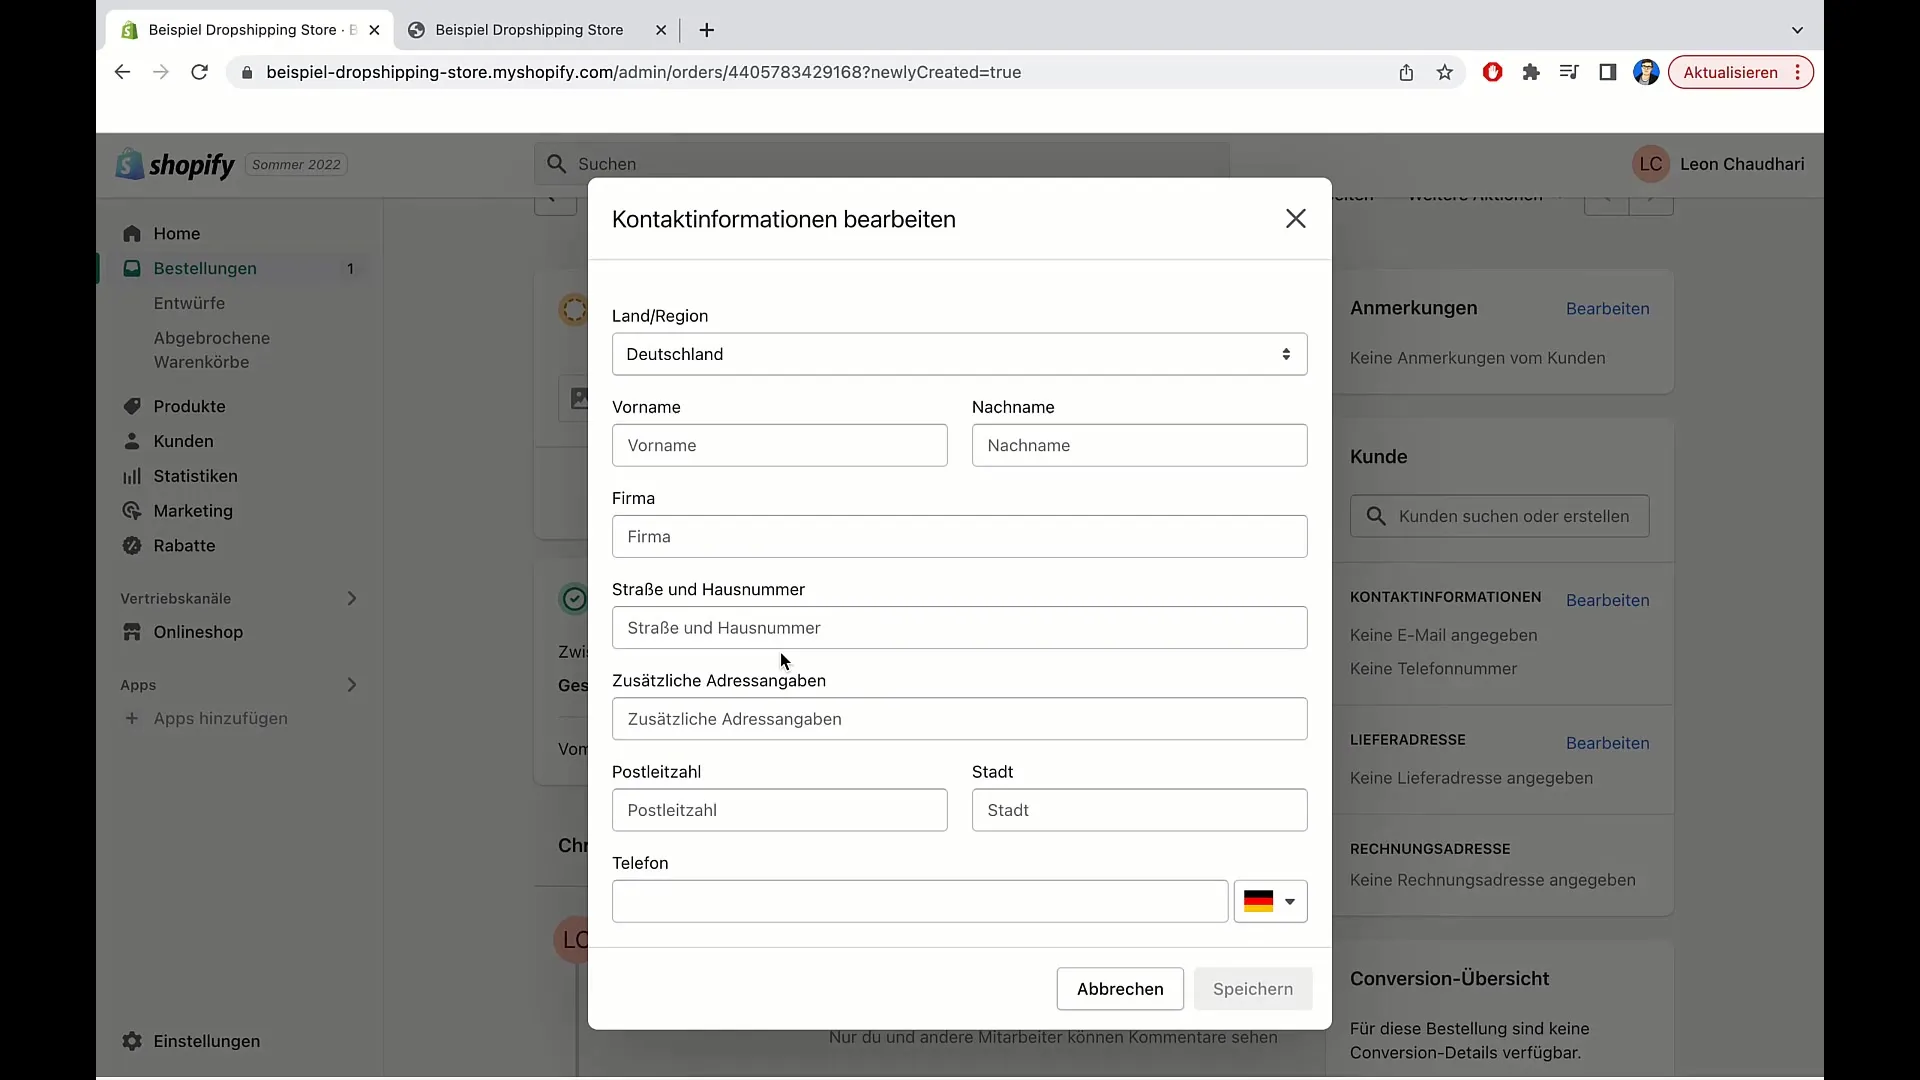
Click on "Edit" to enter the address and save the changes. Note that the correct contact information for shipping and possible inquiries is essential.
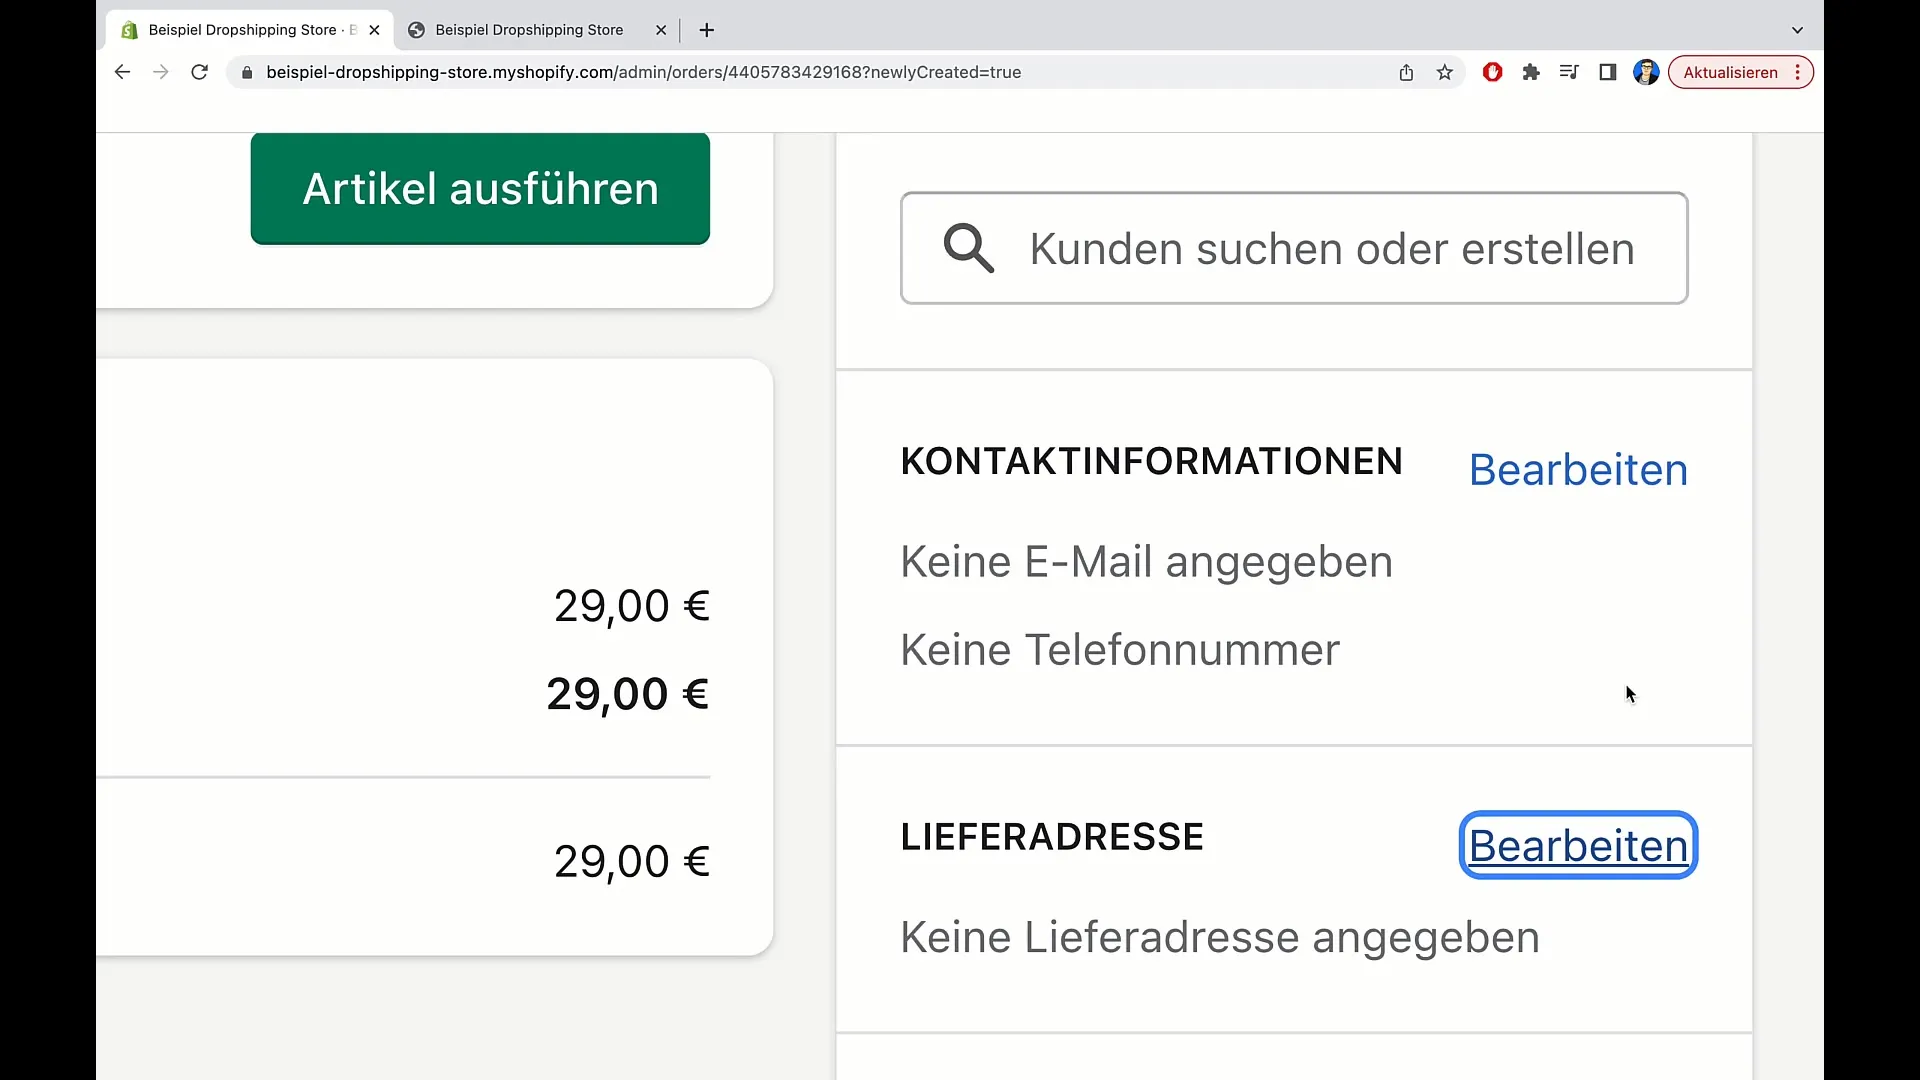
If you are sure that all information is correct, you can proceed with the order. Click on "Execute items" to initiate the shipment.
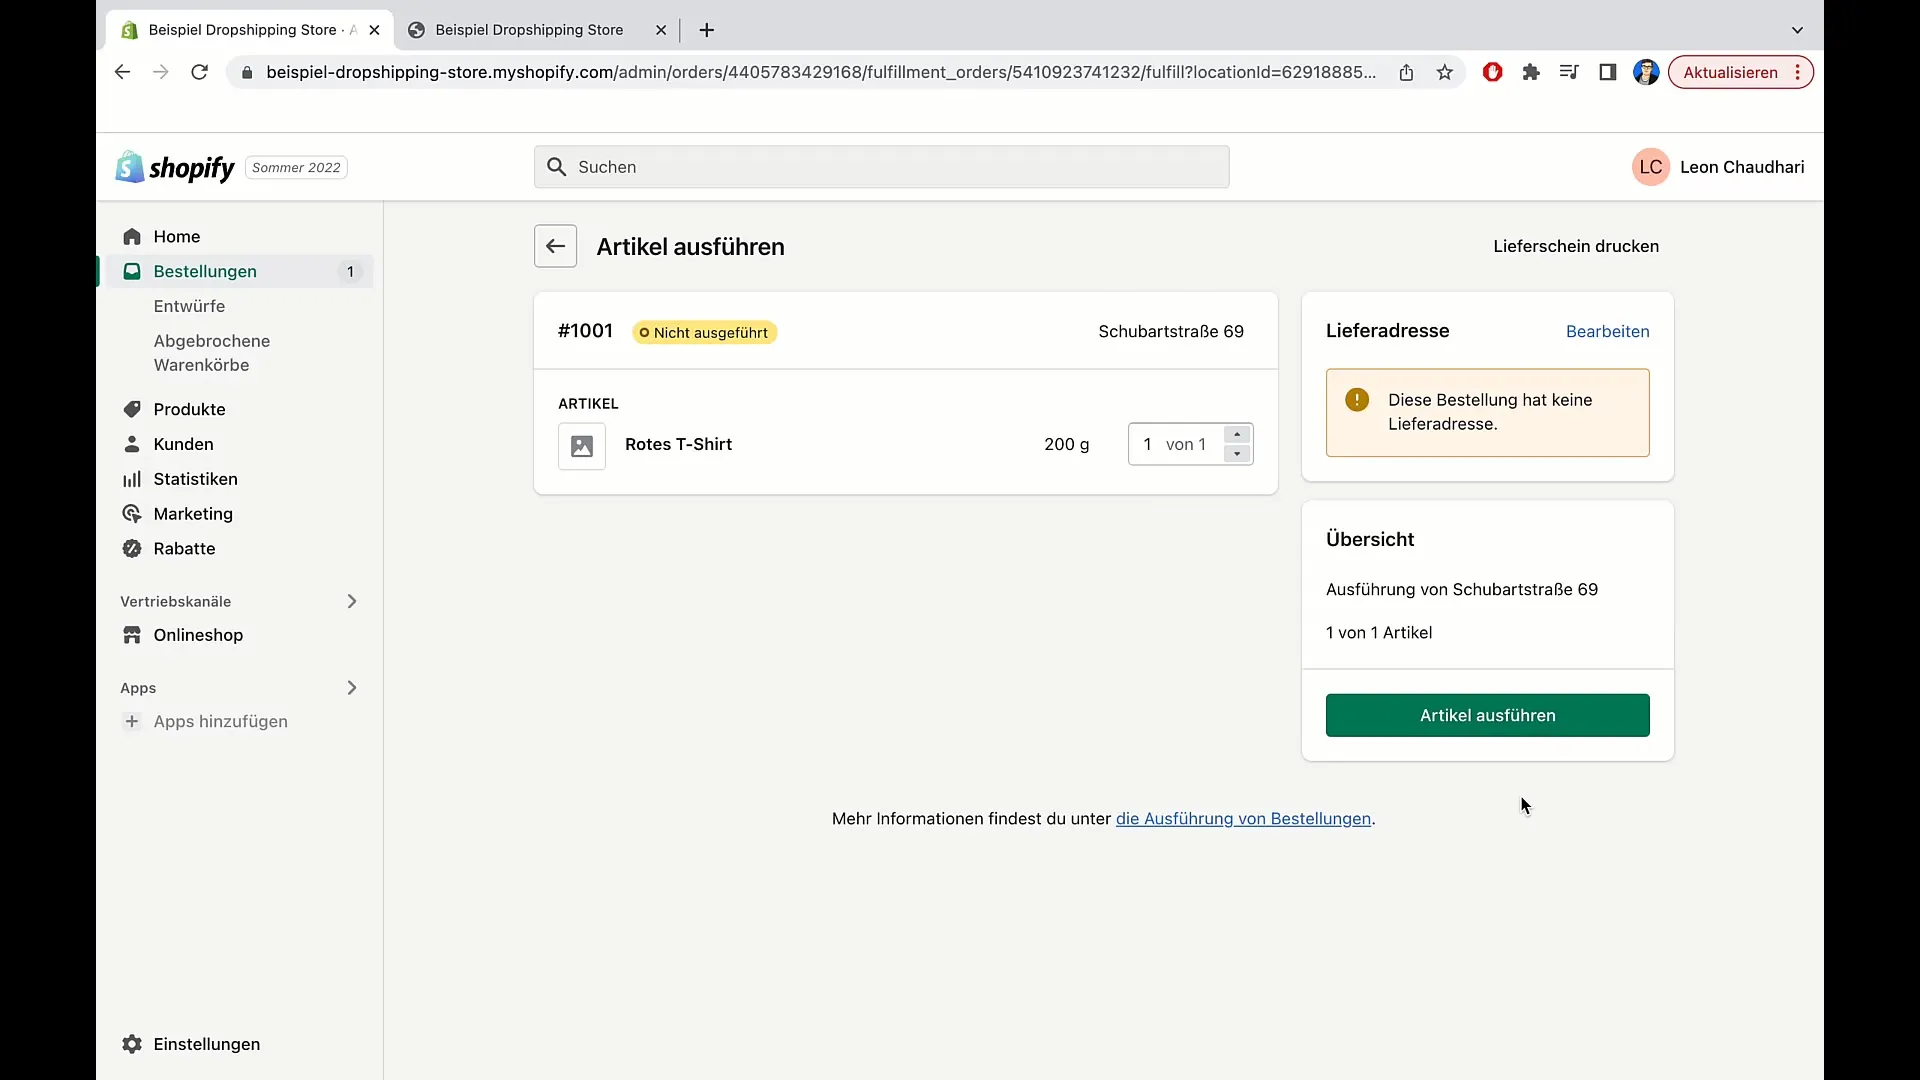
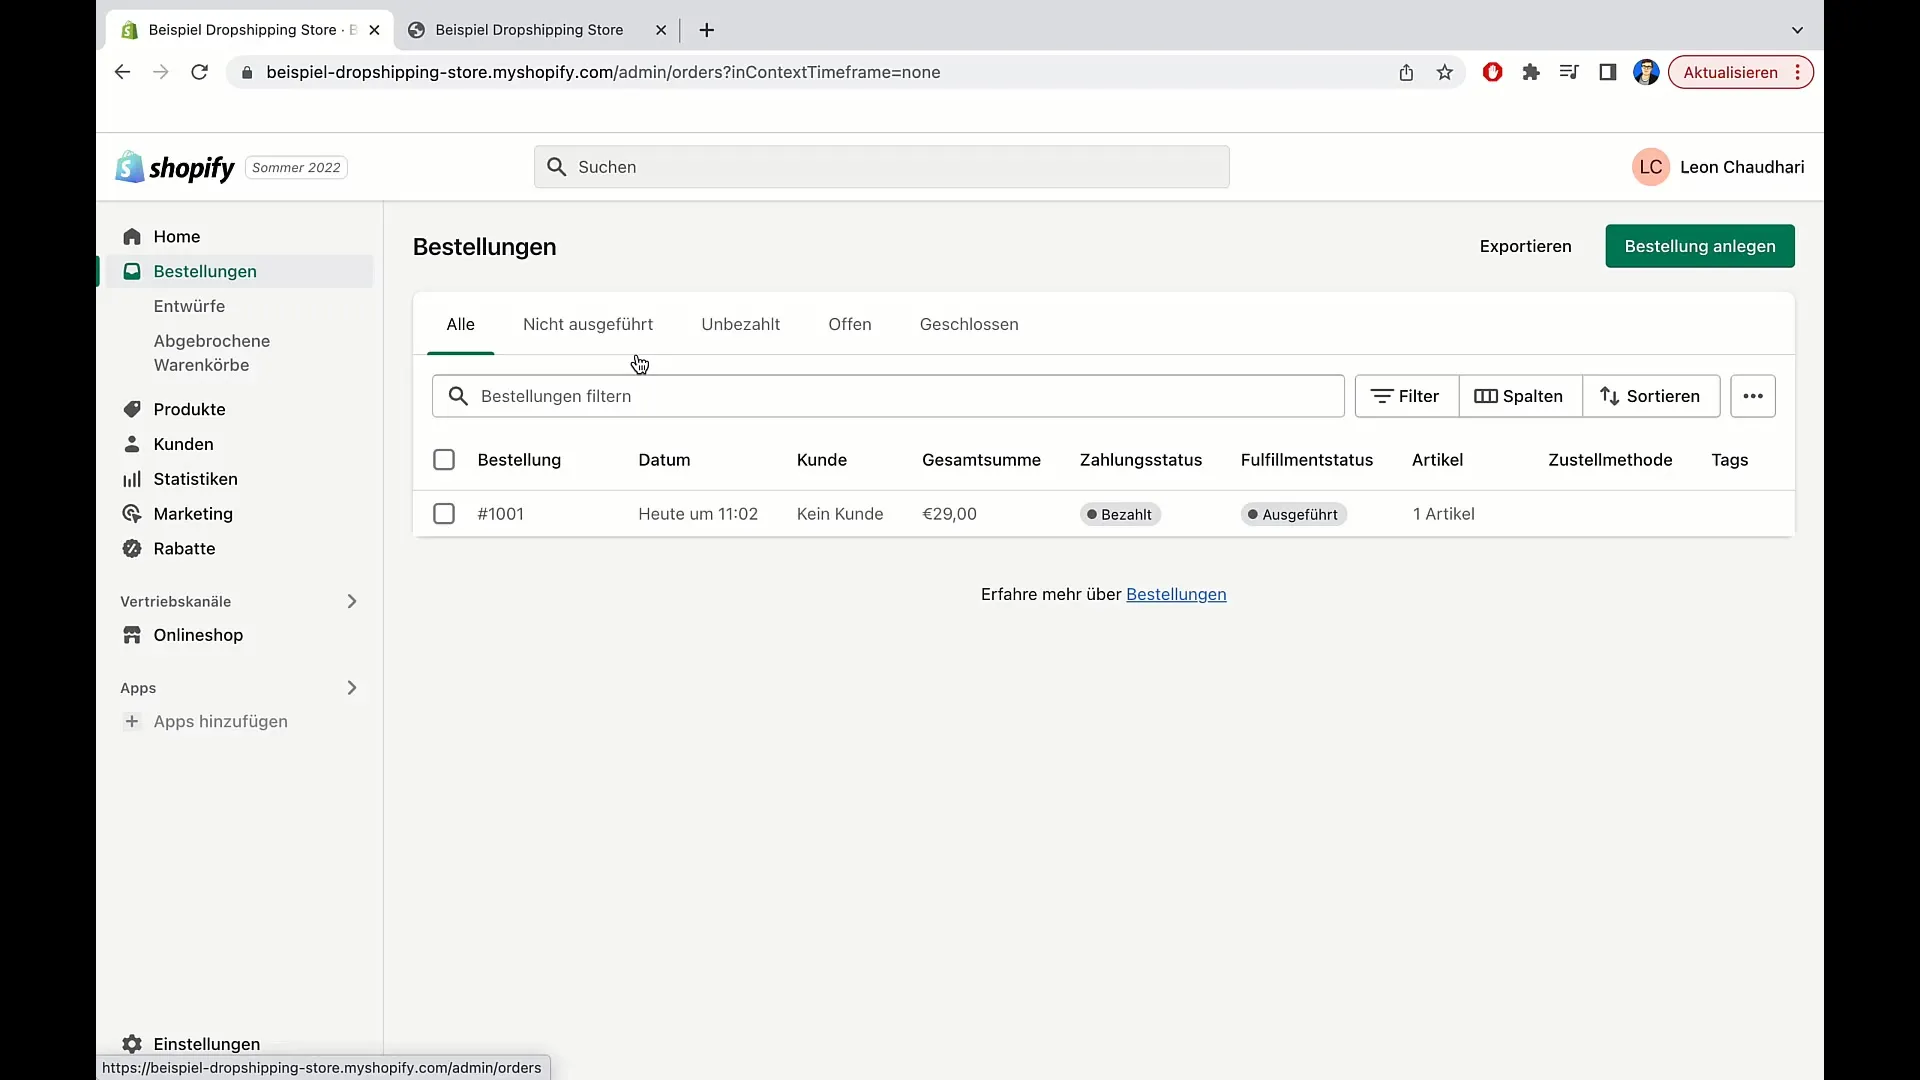
After you have executed the order, the status will change to "executed". This indicates that the product has been shipped.
Summary
In this guide, you have learned how to create and manage orders in Shopify. We have discussed both the creation of regular orders and the handling of custom items. Through these steps, you can better meet your customers' needs and ensure that their orders are processed correctly and completely.
Frequently Asked Questions
How do I create an order in Shopify?To create an order, go to "Orders", select "Drafts", and click on "Create order draft".
Can I add custom items?Yes, you can add custom items by clicking on "Add custom item".
What should I do if the customer has already paid?You can mark the order as paid by selecting the appropriate option before creating the order.
How do I edit the shipping and billing address?Click on "Edit" next to the address fields to enter the information and then click on "Save".
How do I execute an order?Click on "Execute items" to send the order and change the status to "executed".


