In this tutorial, you will learn how to effectively integrate Shopify Payments into your online shop. Shopify Payments offers you and your customers a flexible and easy way to accept payments in your Shopify store without having to set up separate accounts for each payment provider. In the following guide, I will walk you through the activation process step by step and explain the key benefits.
Key Insights
- Shopify Payments bundles various payment options, including PayPal, Google Pay, and Apple Pay, into a single platform.
- You do not need separate accounts for each payment provider.
- Activating Shopify Payments improves your shop's conversion rate.
- You need to provide some basic information about your company in order to use Shopify Payments.
Step-by-Step Guide
To activate Shopify Payments, follow these steps:
Step 1: Access your Shopify store
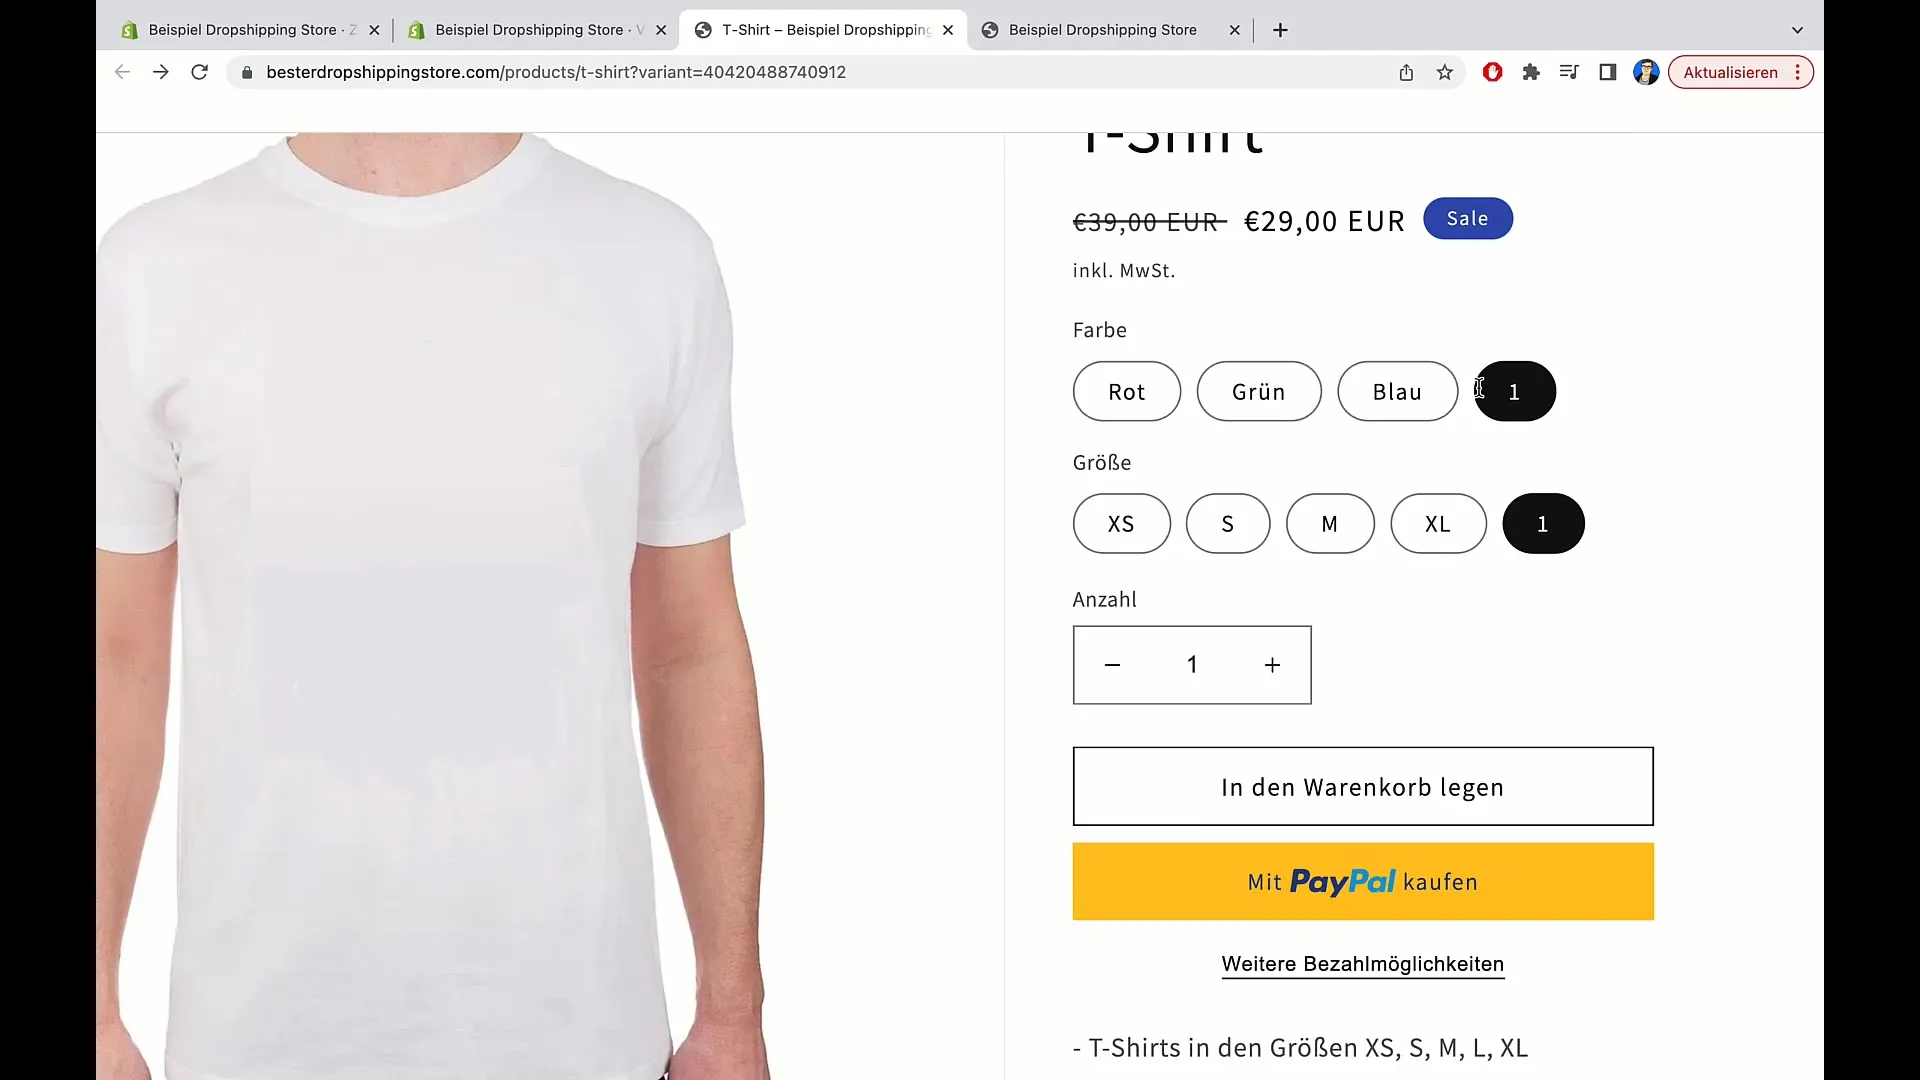
First, you need to log into your Shopify store. You will see the products that have already been uploaded to the store. For example, your product currently costs €29 and can only be purchased via PayPal. In this step, you can check which payment options are currently available.
Step 2: Check additional payment options
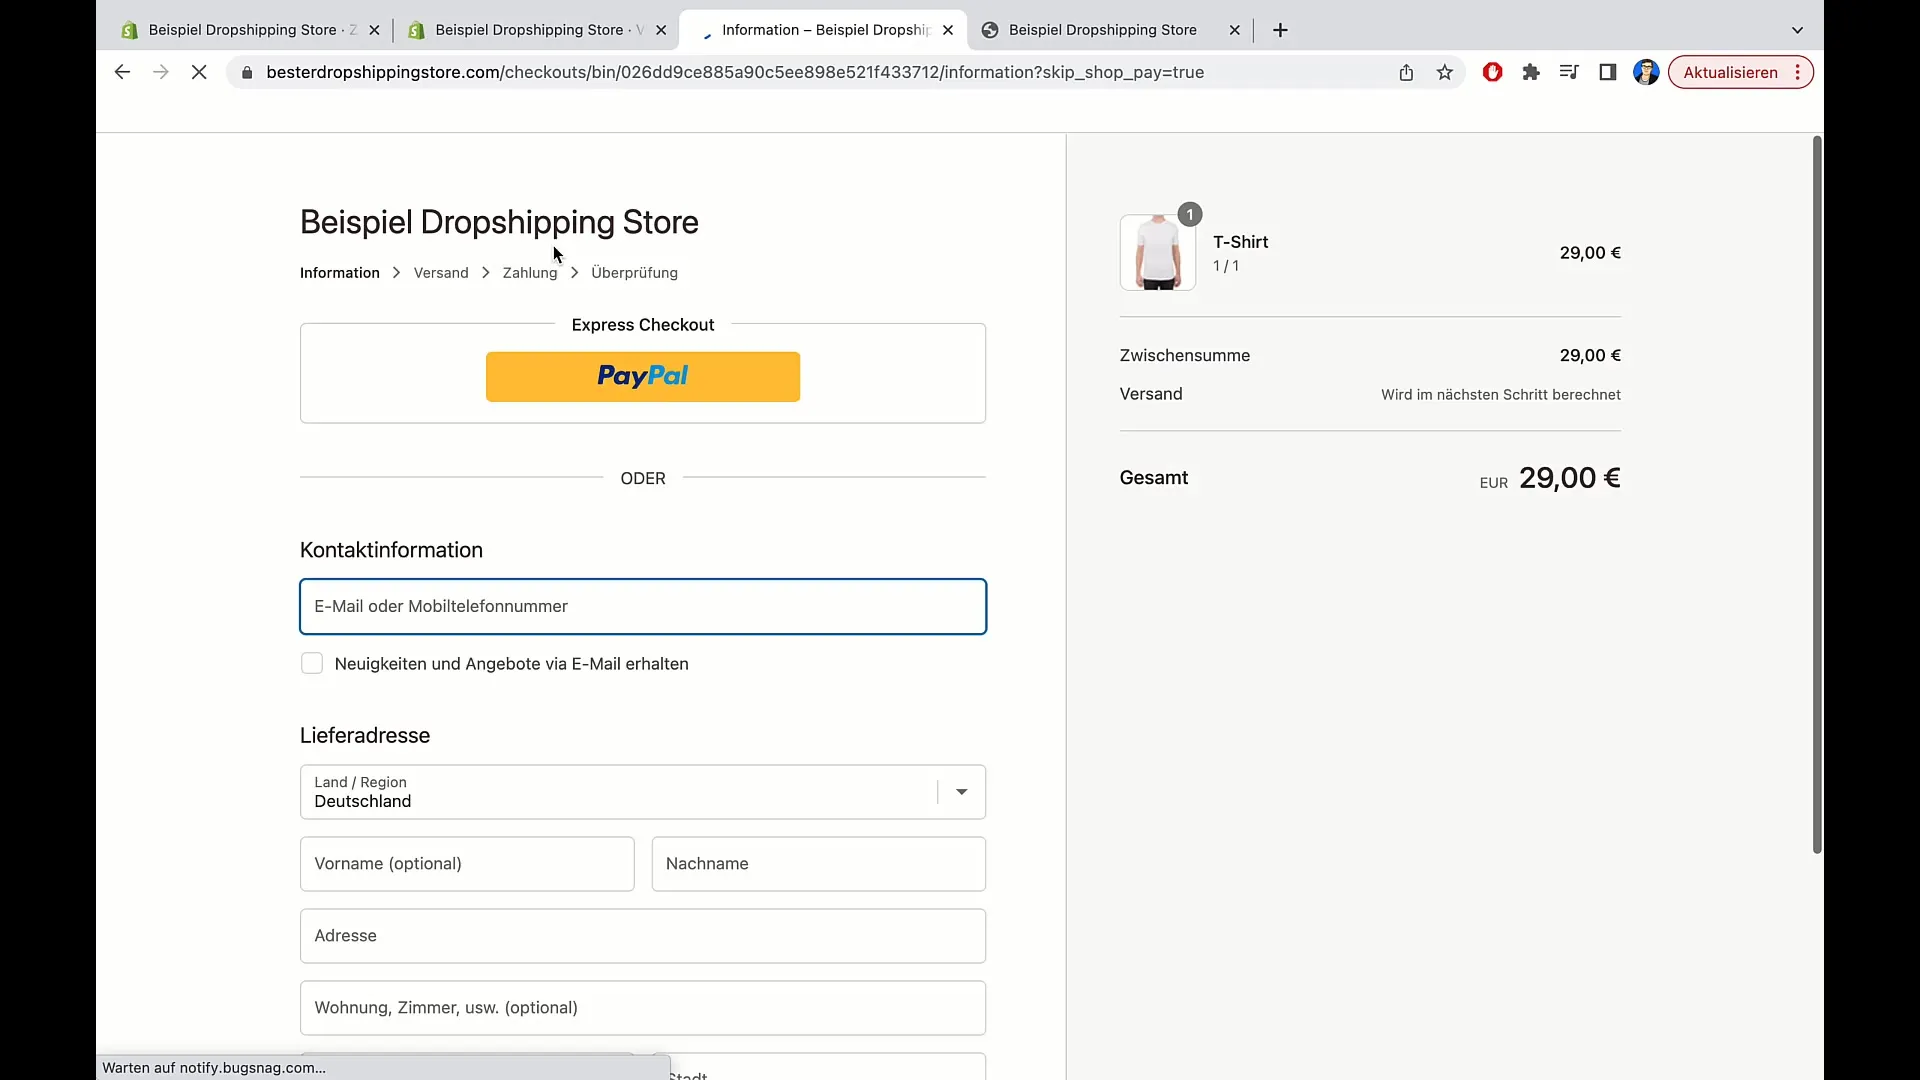
Click on "additional payment options." Here you can see that currently only PayPal is available as a payment option. This is the only way your customers are given to purchase the product. To offer customers a more diverse selection, it is necessary to activate Shopify Payments.
Step 3: Information about Shopify Payments
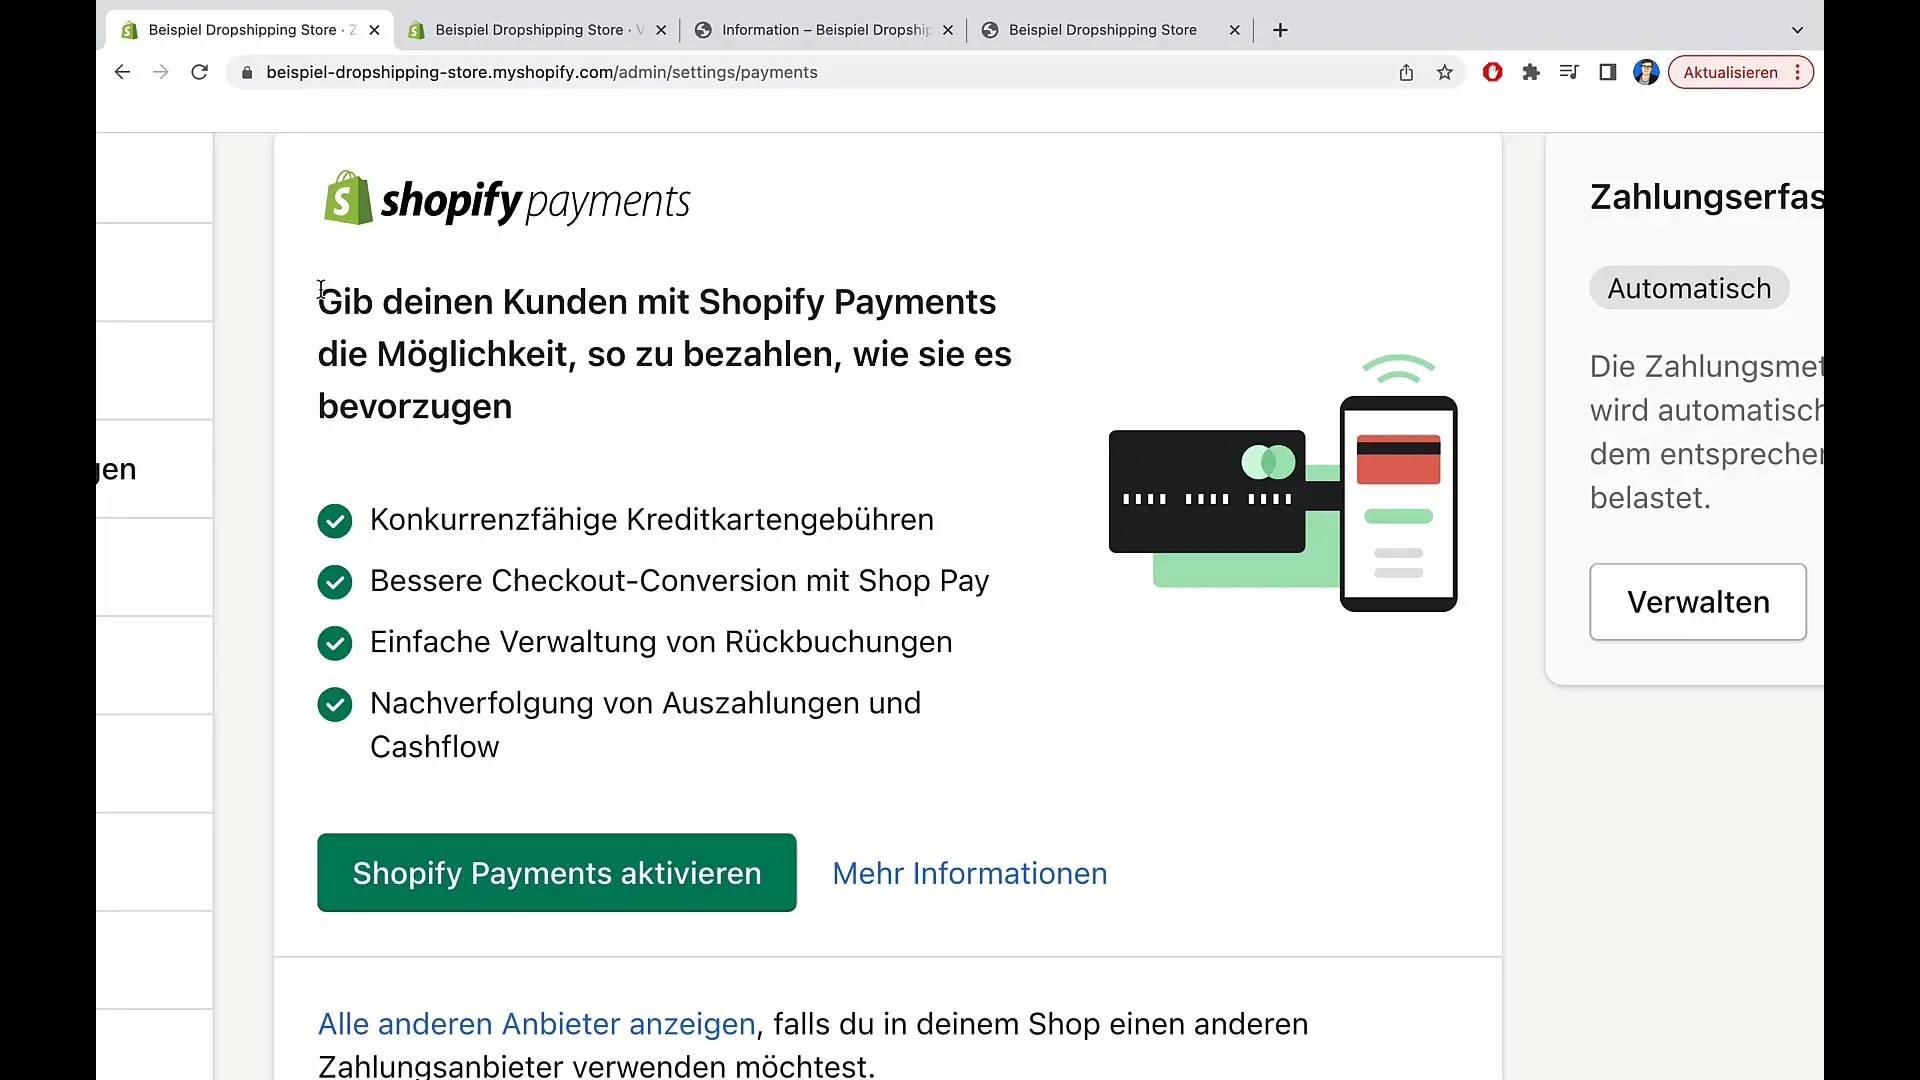
Here comes Shopify Payments into play. Shopify Payments is Shopify's payment provider that can offer you various payment options. For example, customers can pay with PayPal, Google Pay, and Apple Pay without the need for separate accounts for these services. This allows for easier management and a higher conversion rate.
Step 4: Activate Shopify Payments
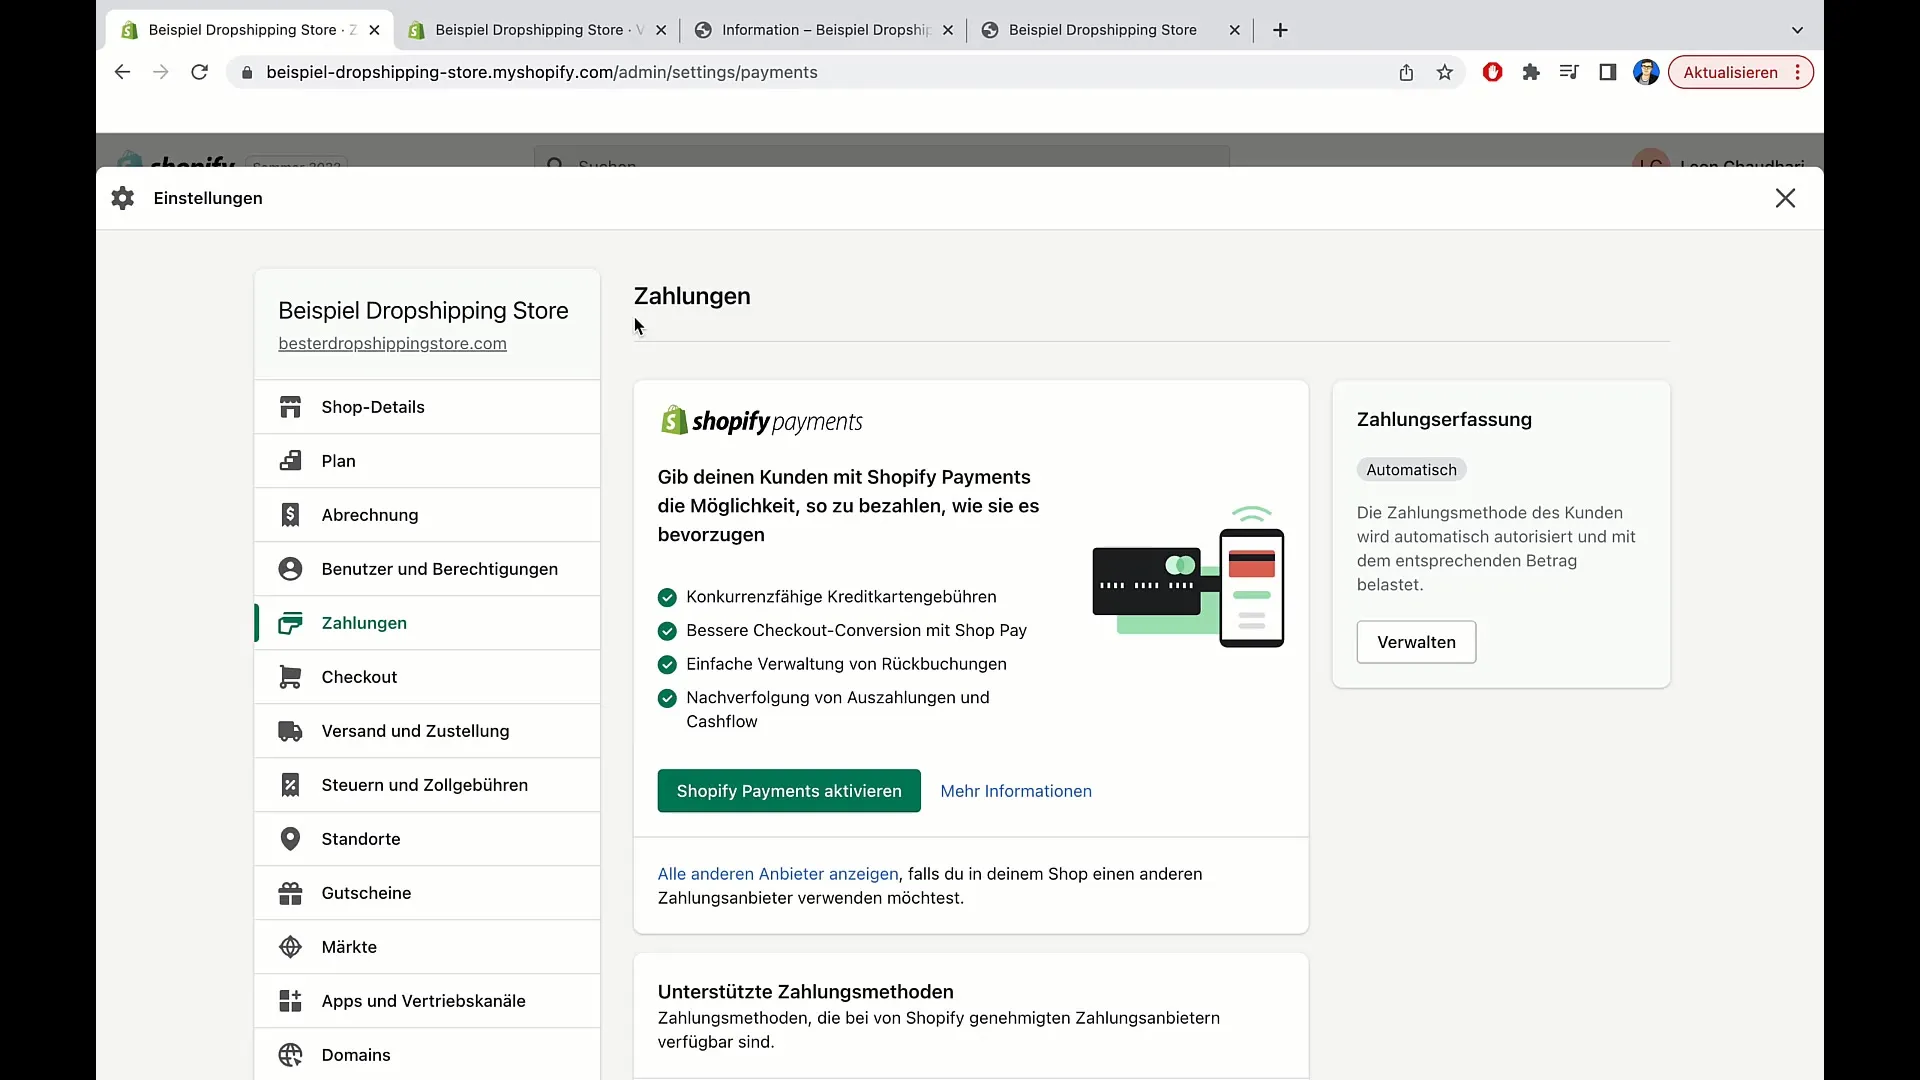
To activate Shopify Payments, go to the settings in your Shopify store. Click on the icon at the bottom left of the screen. Here you will find the settings for your store. You may already see some options displayed, but look for "payment" and click on it.
Step 5: Activation in the payment settings
In the payment settings, you will find the option to "enable Shopify Payments." Just click on it. It will show you that with Shopify Payments, you can offer your customers a variety of payment options, simplifying the checkout process for them.
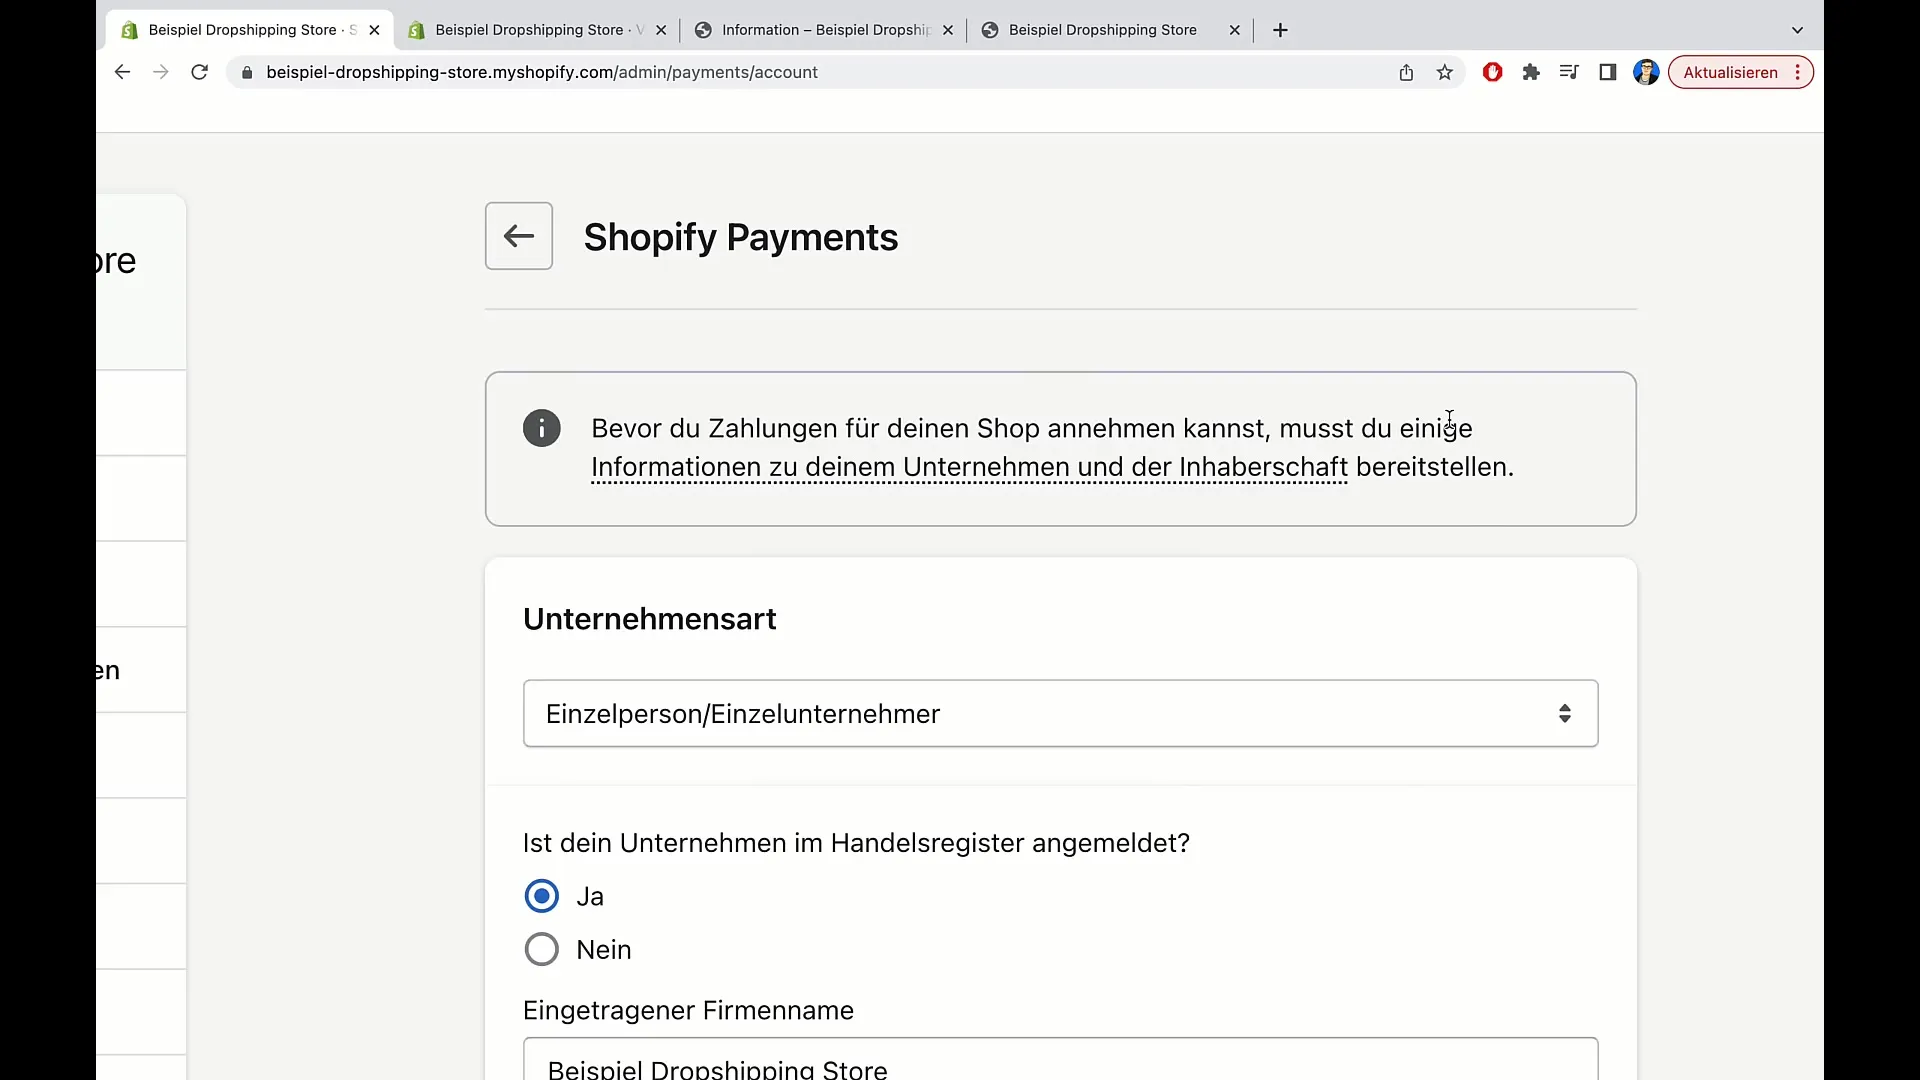
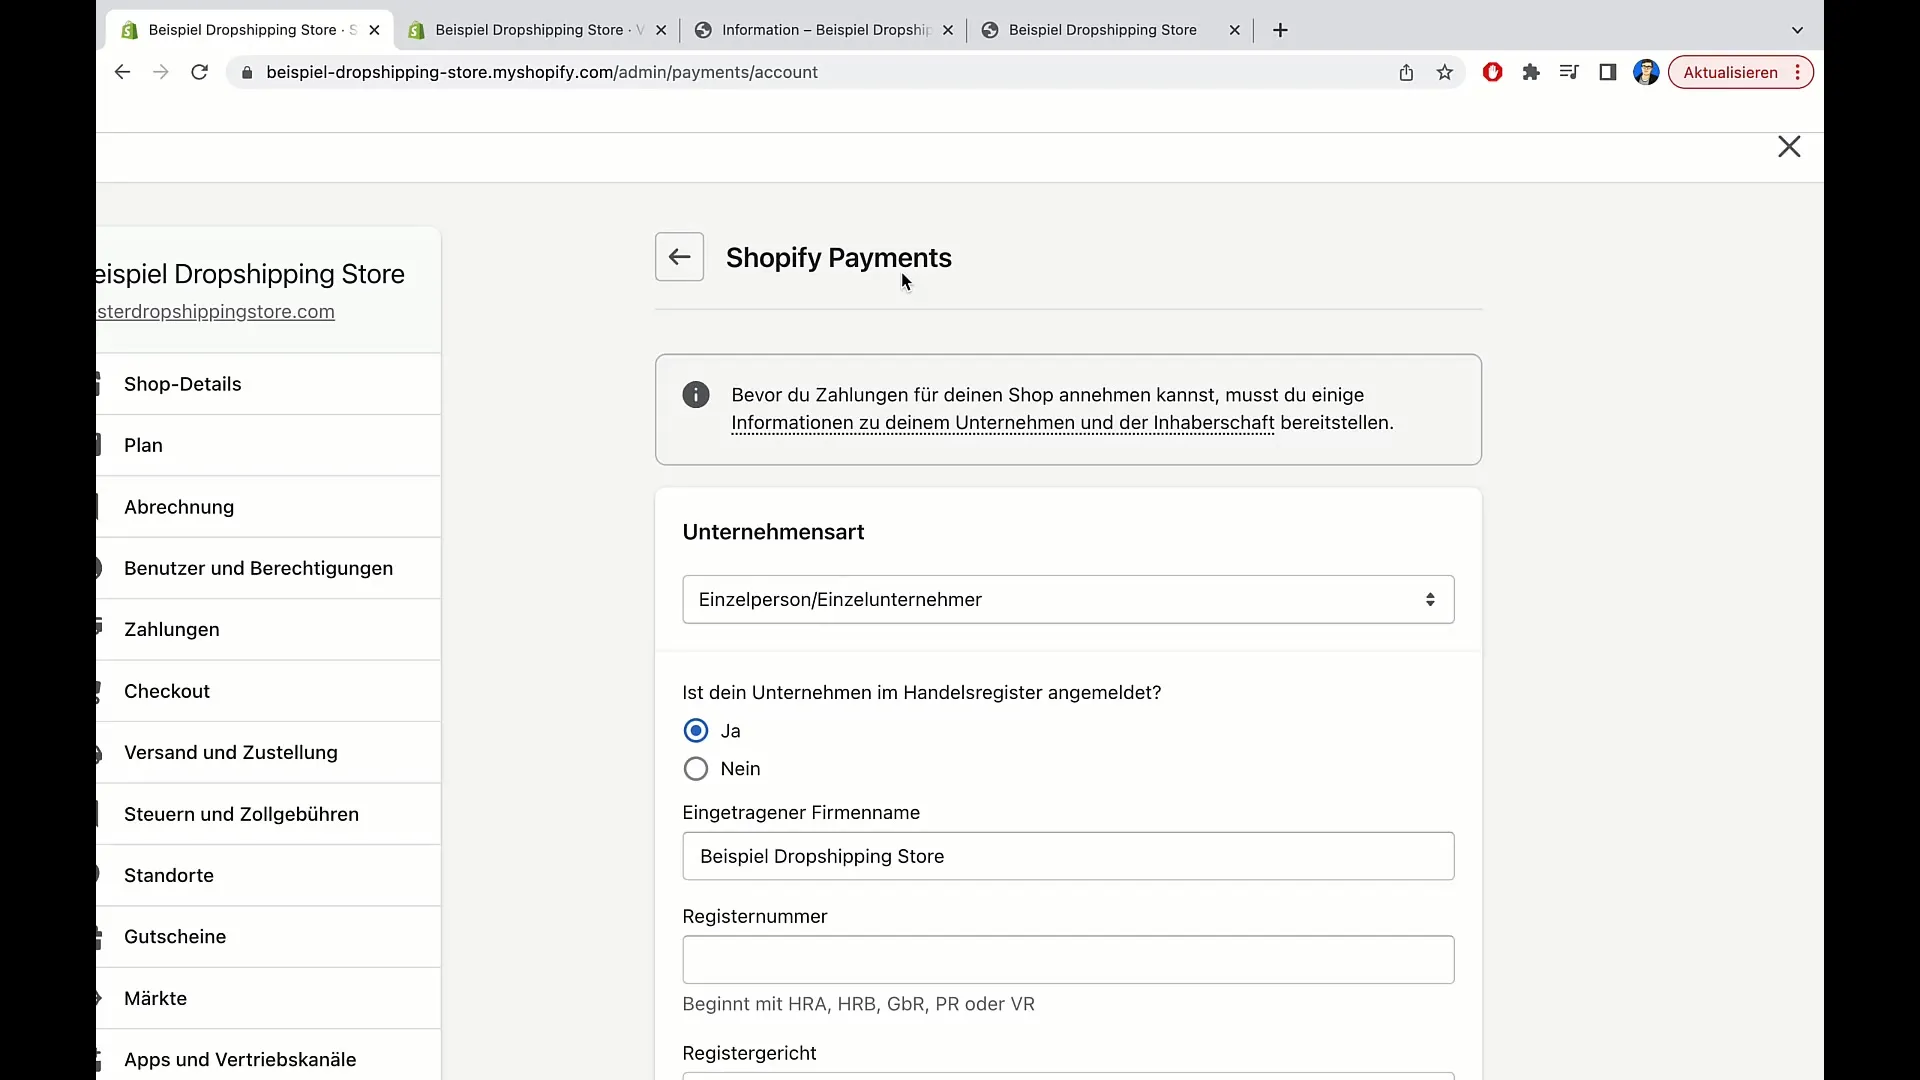
Step 6: Enter company information
After activating Shopify Payments, you will be prompted to enter some important information about your company. This information is necessary before you can accept payments. Scroll down and enter all the necessary details.
Step 7: Confirmation and Completion
Once you have provided all the required information, confirm your entries. It may take a few minutes for your Shopify activation to be approved. But don't worry: after everything is accepted, you can go back to your store and check the other payment options. You will see that now various options are available, providing your customers with greater flexibility in payment.
Summary
In this guide, you have learned how to activate Shopify Payments in your online shop to integrate a variety of payment methods. This not only improves the user experience but also the conversion rate.
Frequently Asked Questions
How do I activate Shopify Payments?Go to the settings of your Shopify store and select the payment options to activate Shopify Payments.
What are the benefits of Shopify Payments?It offers a bundle of payment options, simplifies accounting, and improves the conversion rate.
Do I need to create separate accounts for payment providers?No, you do not need separate accounts for payment providers when using Shopify Payments.
How quickly is Shopify Payments activated?It may take a few minutes for Shopify Payments to be active in your store after you have provided the necessary information.


