Let's first take a look at the improved polygon reduction. For the comparison test of the new polygon reduction generator from Release 19 with the old polygon reduction deformer from Release 18, I used a high-resolution 3D scan of a chocolate casting model from Hans Brunner GmbH with exactly 844302 polygons or 422153 points.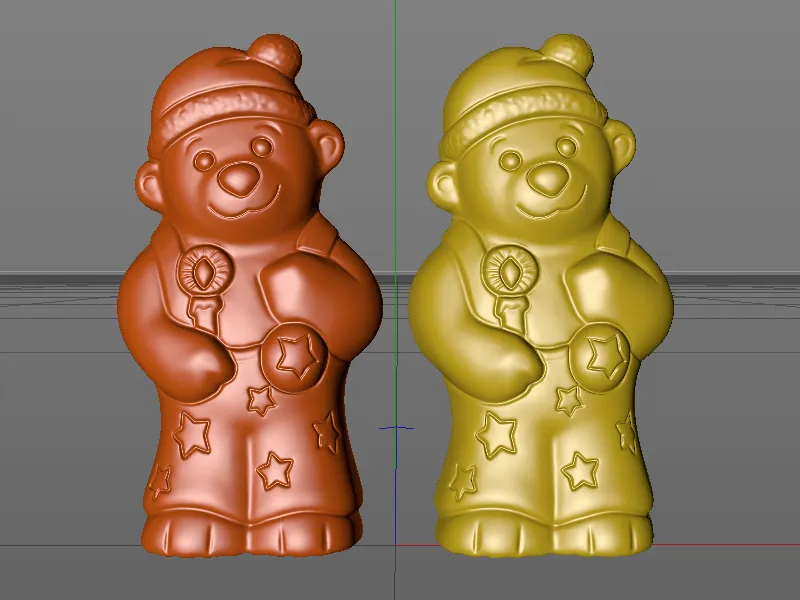
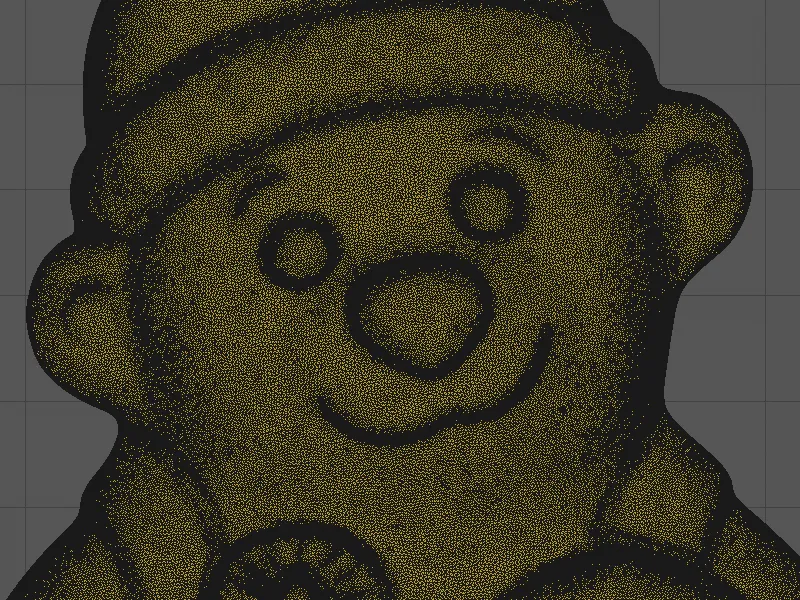
In order to recognize any points at all in the constant shading (lines) display mode, it is necessary to zoom in quite close to the 3D model.
Polygon reduction with the new polygon reduction generator
If you are looking for polygon reduction in the Deformer menu, you will come up empty in Cinema 4D Release 19. The old polygon reduction deformer no longer exists, but is still supported when opening older files.
The new polygon reduction is implemented as a generator and can be found in the Create>Modeling menu.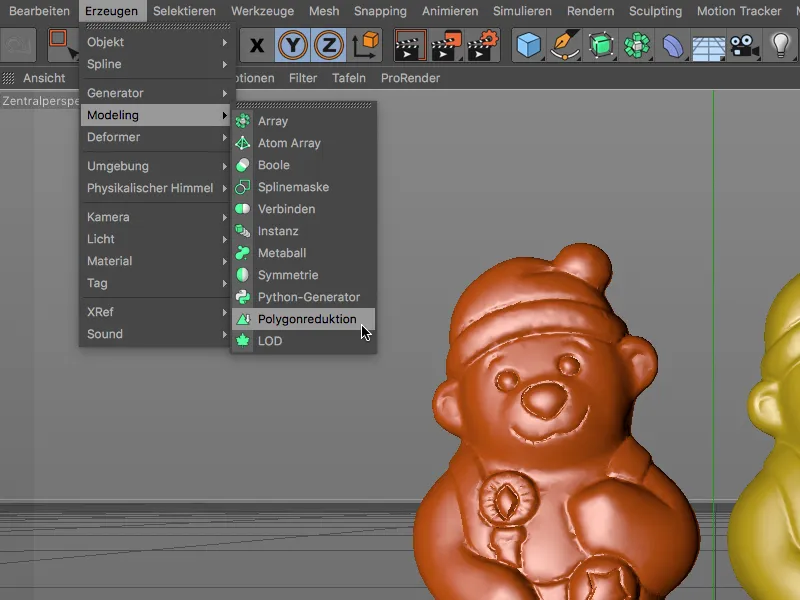
To compare the quality of the reduction of the two polygon reducers, I have reduced the orange bear model with the old polygon reduction deformer and the yellow bear model with the new polygon reduction generator by 95% of the polygons it contains.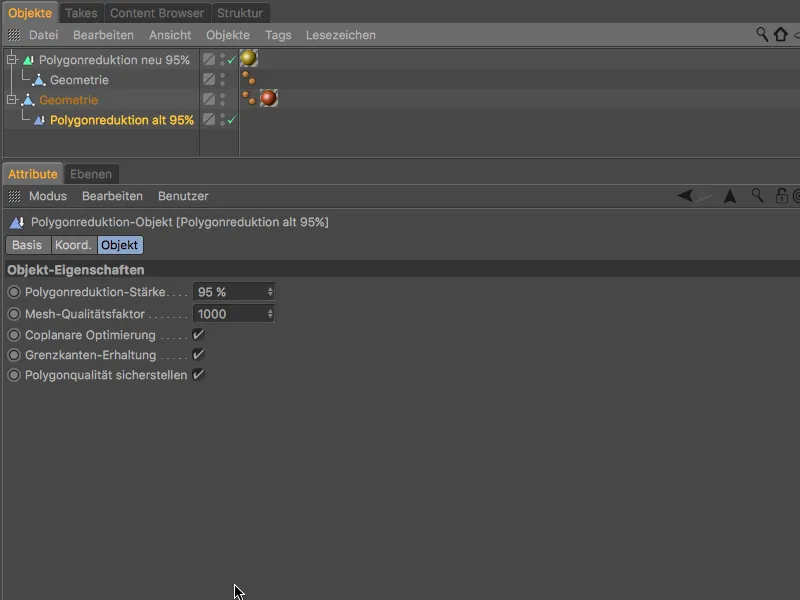
The main element of both polygon reducers is the slider with which the reduction strength can be set. The new generator also immediately displays the resulting number of triangles, points and edges.
For specially shaped 3D objects with edges, the 3D contour and also an existing UV development can be retained by adjusting the adjacent polygons.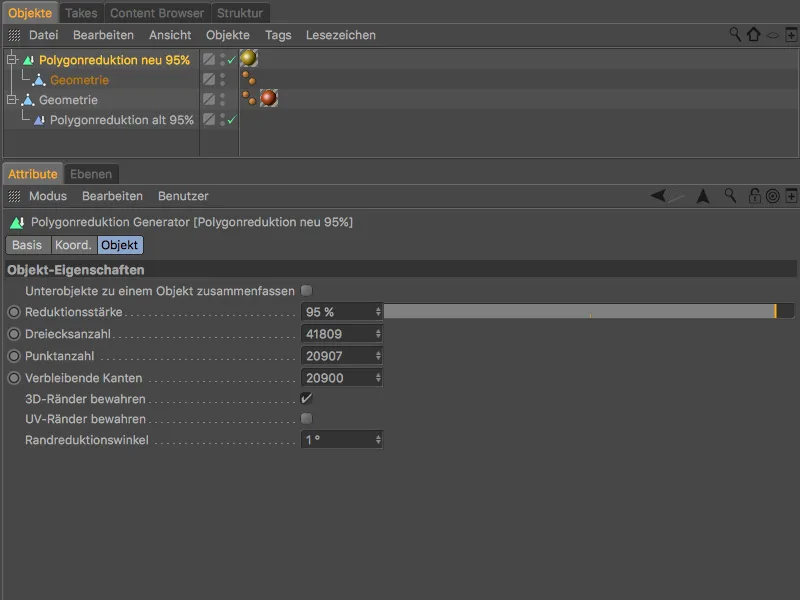
If we look at the result of the two polygon reducers in Gouraud shading mode, we can already see the first differences. The mesh of the yellow bear model appears softer and of higher quality, while the orange bear model already shows clear problems in the critical areas.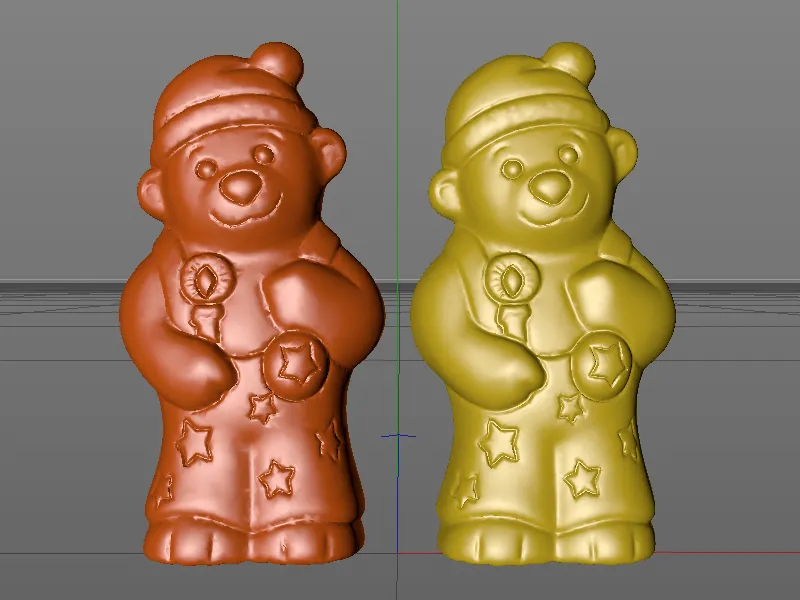
The differences become particularly clear when we look at the polygon mesh of the two bear models.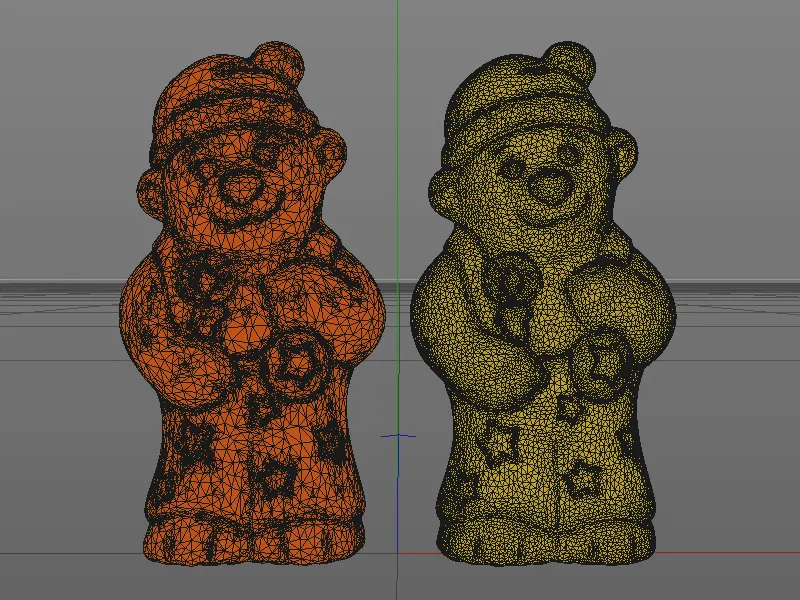
While the mesh of the orange bear looks very inhomogeneous and chaotic, ...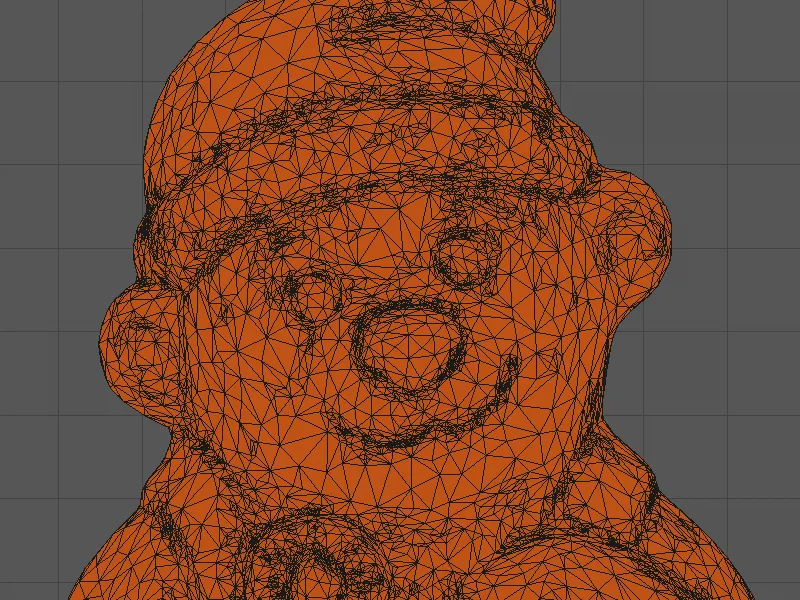
... the mesh of the yellow bear shows much more even polygon sizes and a very homogeneous distribution of the polygons.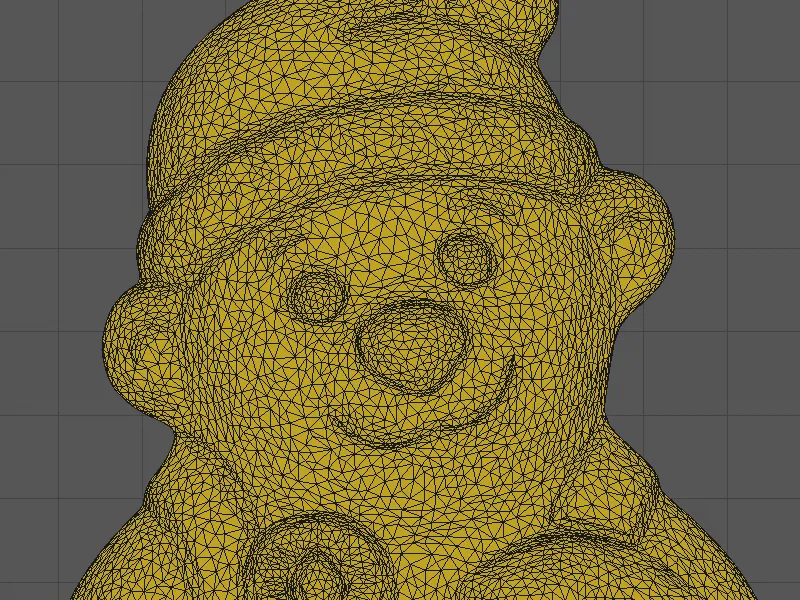
Variable level of detail (LOD) with polygon reduction
One possible use of the new polygon reduction would be, for example, to generate variants of the bear model with different resolutions and show or hide them depending on the distance to the camera. In this way, the performance of 3D games, for example, can be significantly increased.
Cinema 4D Release 19 has the so-called LOD object (level-of-detail object) in the Visualize and Studio variants to ensure that the object versions are shown or hidden automatically.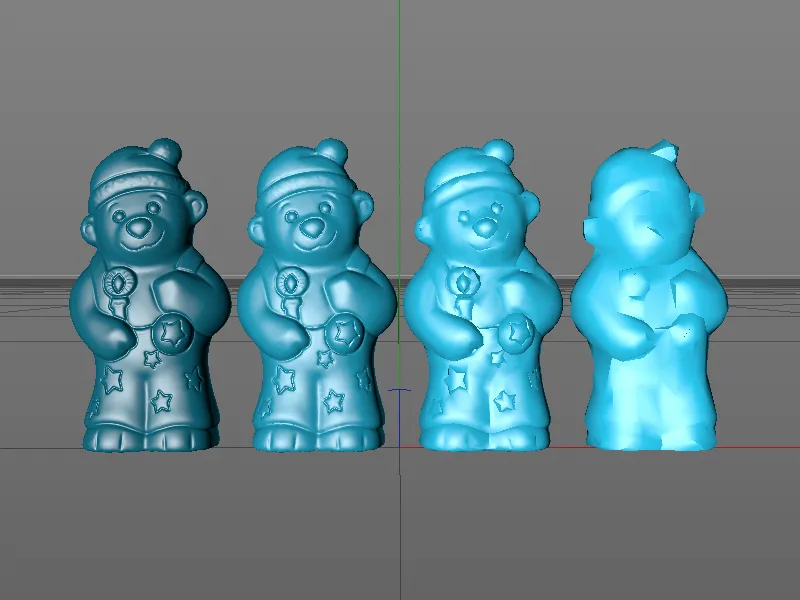
I created the four bear models in our example using the polygon reduction generator with different reductions and finally converted them into the resulting object using the Mesh>Convert>Convert State to Object command. Convert state to object to create the resulting polygon object.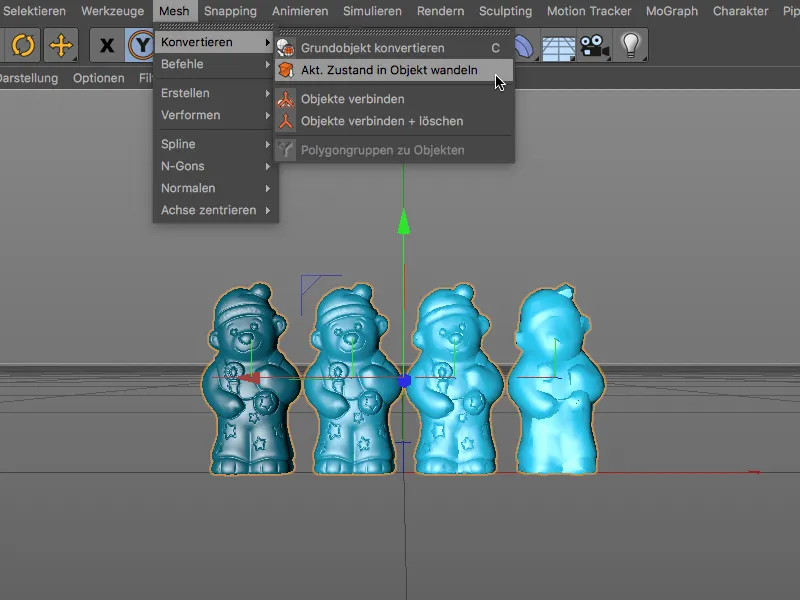
The reductions range from 80 % for close-ups to 99.9 % if the camera is very far away from the bear model. To ensure that all bear model versions have the same position, the x-coordinate of all four bears is set to 0.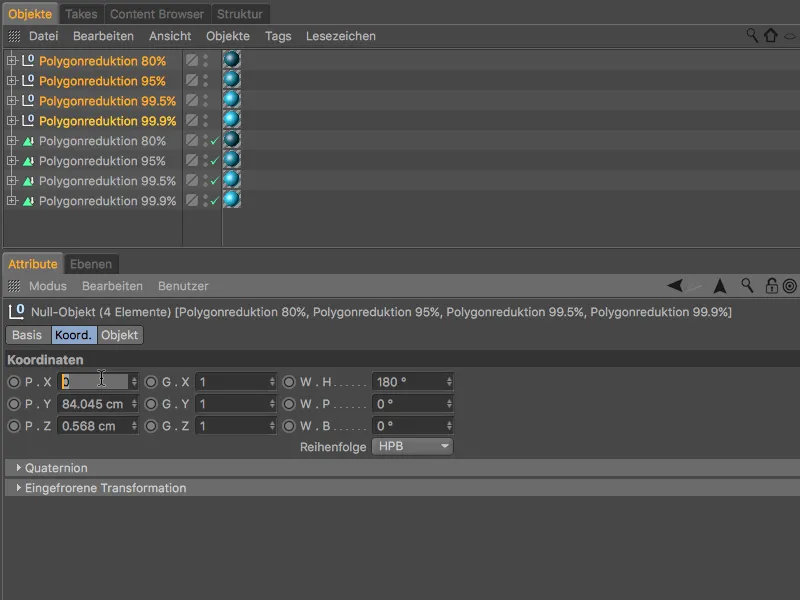
To use the four bear model versions for the variable level of detail, they must be subordinated tothe LOD object. This is done in a single step by selecting the four objects and calling up the LOD objectvia the modeling objectspalette while holding down the Alt and Command keys.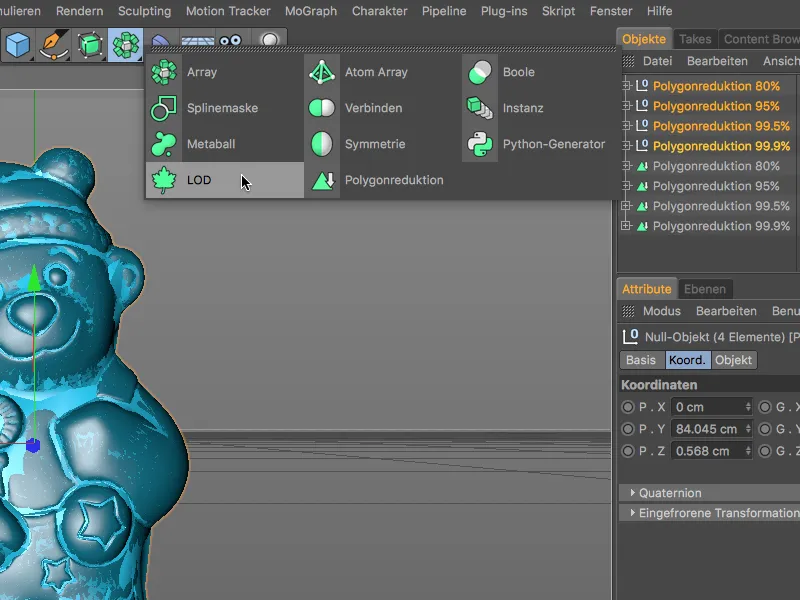
In the settings dialog of the LOD objectin the Attribute Manager, we find the four bear models created as LOD levels on the object page. Display options can be defined separately for each of the four levels. The sub-objects LOD mode is already correct, as the contained sub-objects are to be used for the variable LOD.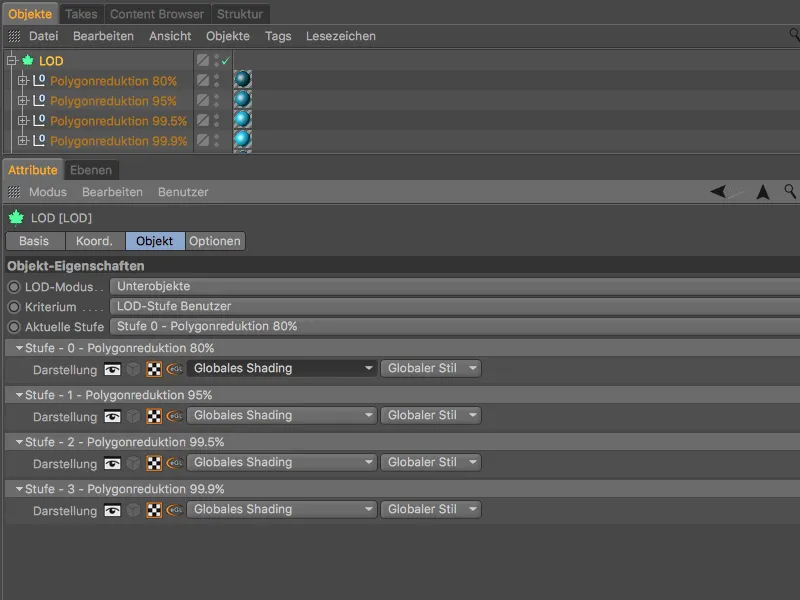
The only thing missing is the criterion according to which the LOD objectshould decide which LOD level is to be used to display the object. As the bear model should be based on the distance to the camera, the Camera distance entry is required as a criterion.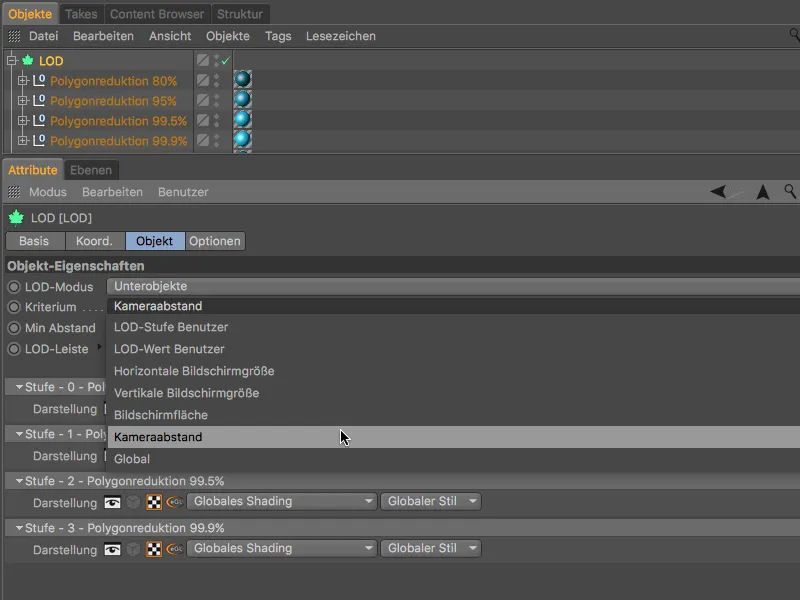
After selecting the criterion, the settings dialog of the LOD objectshows four coloured areas in the LOD bar, one area for each bear model. At the moment, these four distance ranges are the same size and are distributed over the minimum and maximum camera distance entered one line above.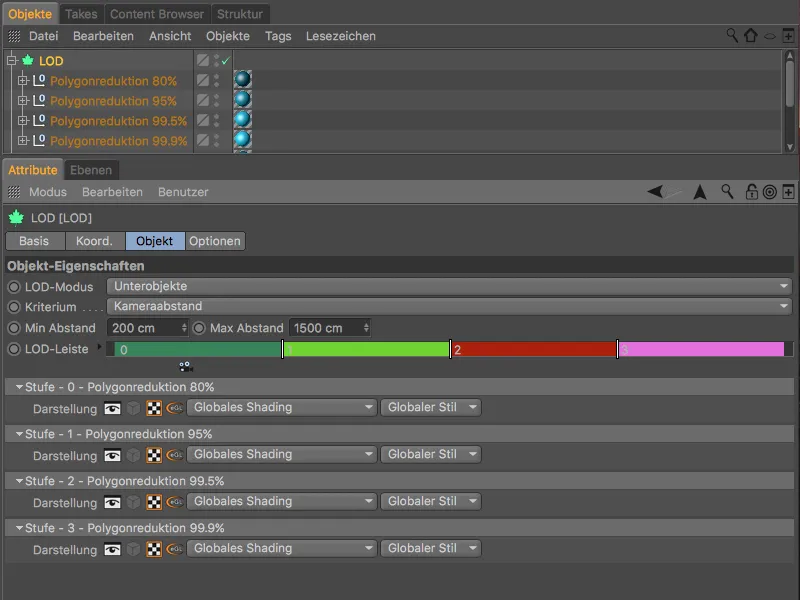
The work of the LOD objectcan also be tested in the 3D view. If the camera distance is in the area of the top level, the bear shows its best quality, ...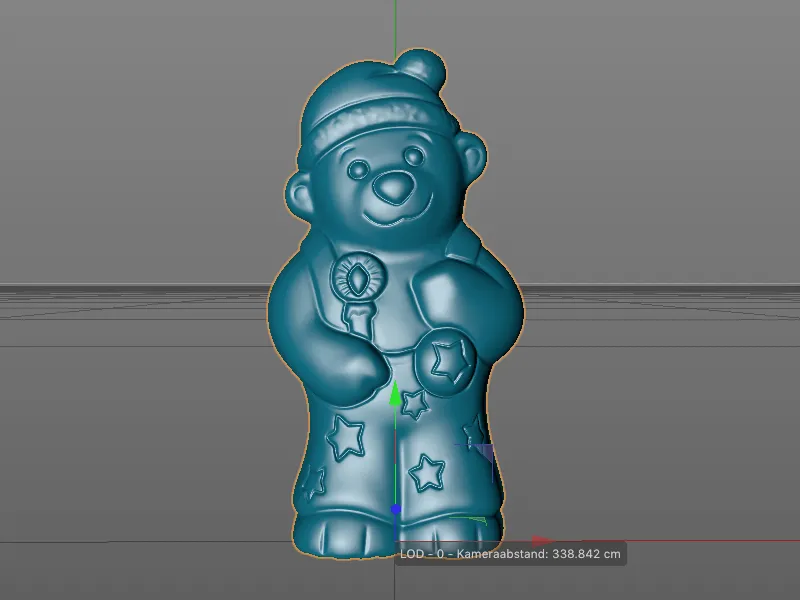
... as soon as the camera distance increases, the LOD objectswitches to the next level when the next distance range is reached. The current value range of the camera can be seen from the small camera symbol below the LOD bar.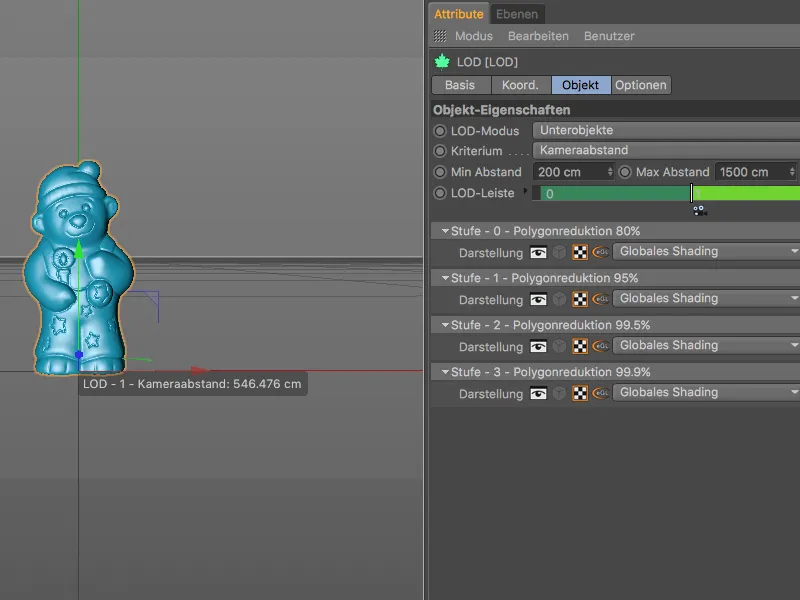
By testing the switching points in the 3D view, you can quickly see whether the change to the next level is too early or too late. In this case, the bear should still be visible in the higher-resolution LOD level.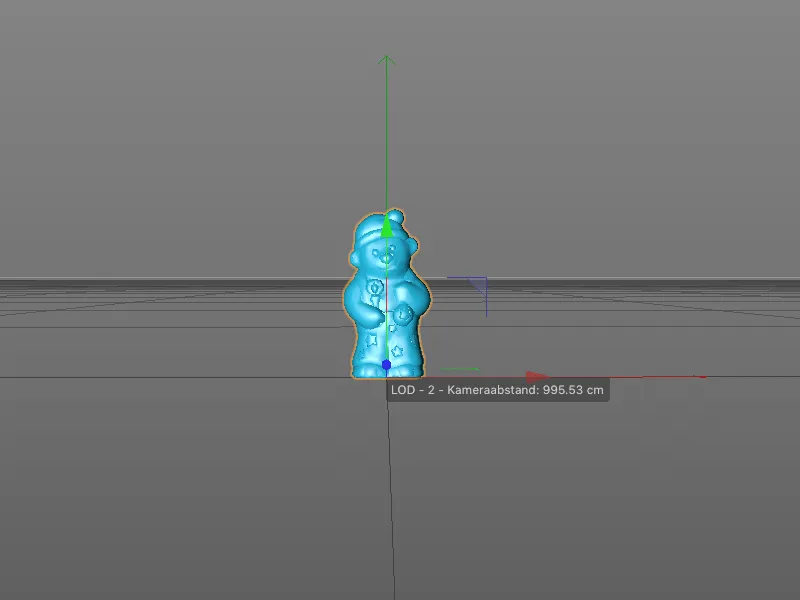
To adjust a switching point, simply grab the line between the distance ranges and pull the range up to behind the desired camera position.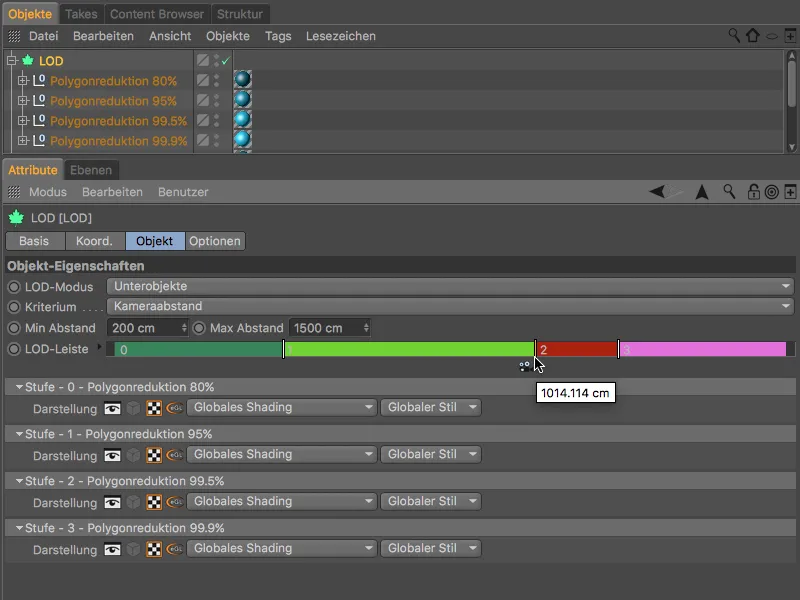
As a rule, the lowest quality LOD version will only be used when the object is clearly in the background of the scene.
Variable level of detail (LOD) with automatic simplification
The LOD objectalso offers its own option for reducing or simplifying objects. In this case, no different objects are required as LOD levels. A single, subordinate object and the Simplification setting as LOD mode in the settings dialog are sufficient.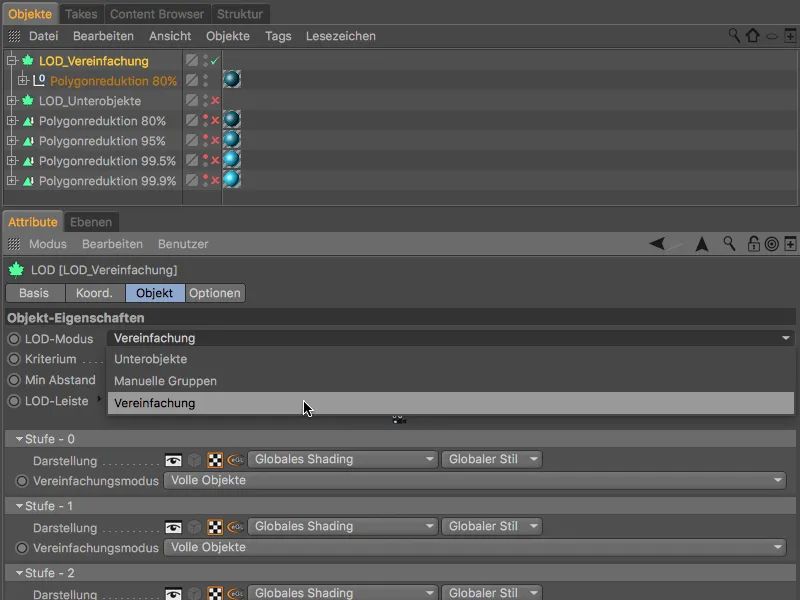
In the respective display options of the LOD levels, the LOD objectthen offers a decimation similar to polygon reduction , a convex hull, the display of the bounding box cuboid or a null objectin addition to the original, high-resolution version (full objects).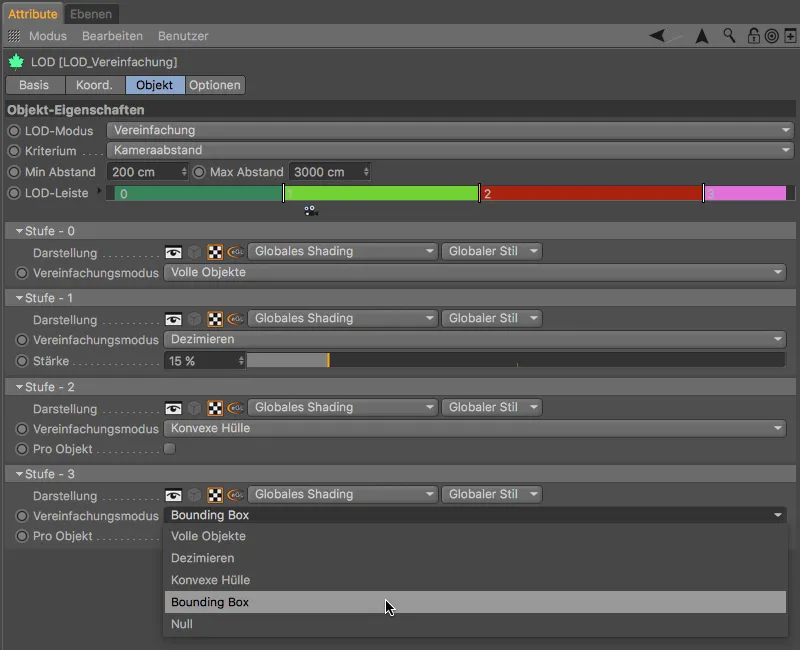
Not all objects are suitable for decimation; often entire pieces of the object are removed.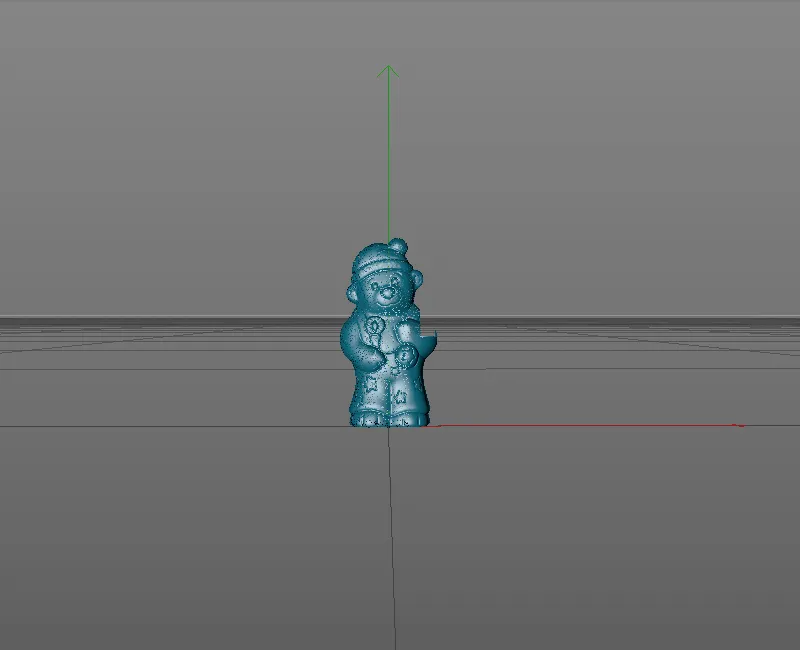
The convex hull works well, but is more likely to be used with a large camera distance.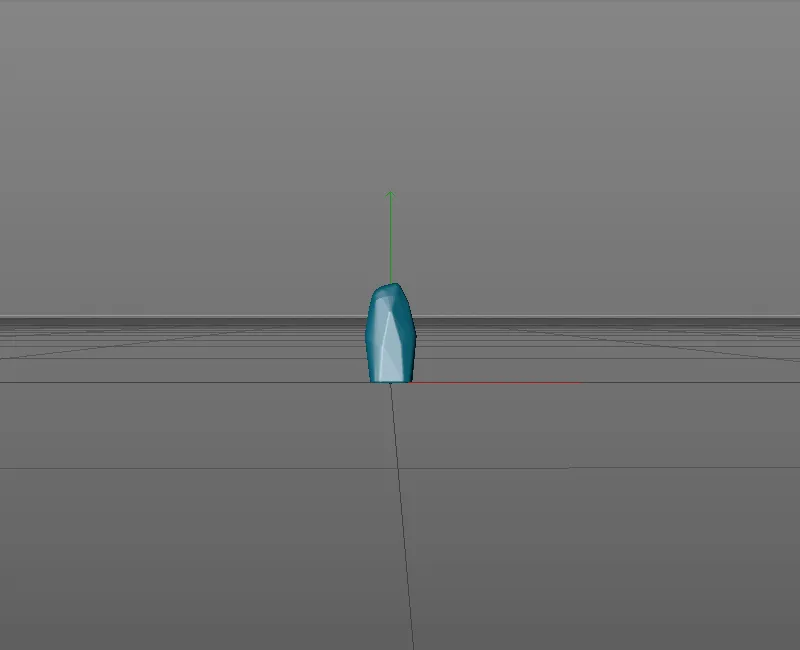
This is not the case with the bounding box, which refers to the complete dimensions of the 3D object.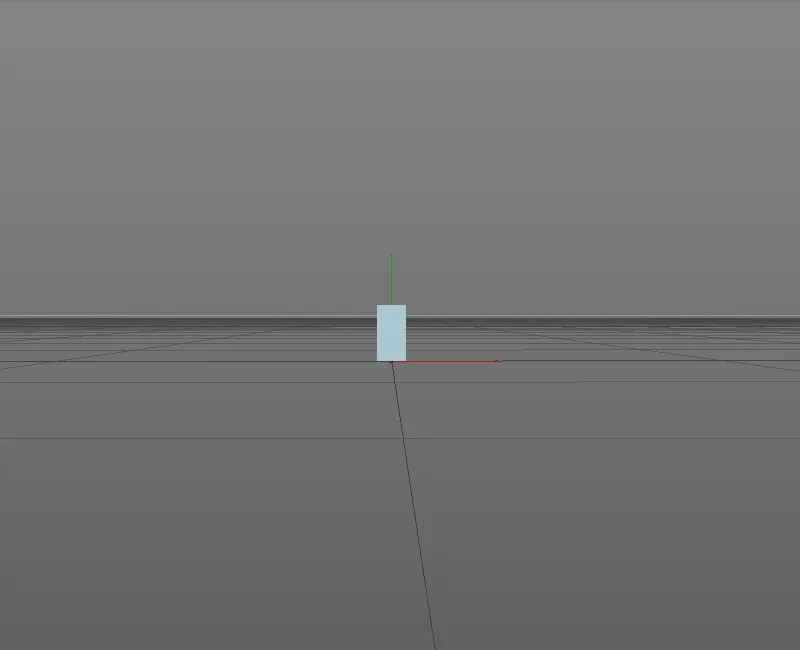
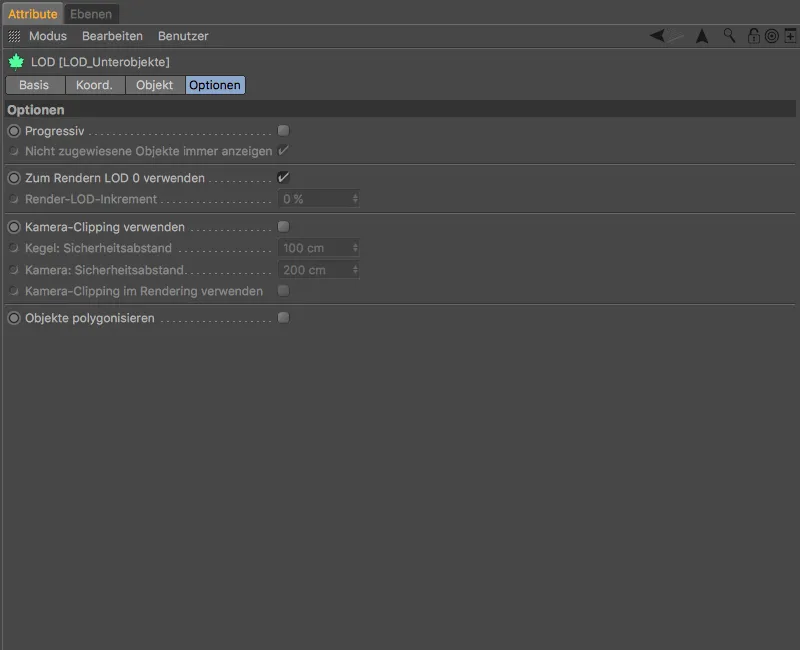
In addition to the functions on the object pageof the settings dialog for determining the LOD areas and levels, the options pageoffers further possibilities for adjustment.
With the Progressive option, for example, you can achieve smoother switching between the LOD levels of sub-objects by keeping the other LOD levels hidden. The Polygonize objects option ensures that sub-objects that contain deformers also function as LOD level objects.