Note : The tutorial "Making the fire glow" is a text version of the accompanying video training by Marco Kolditz. The texts may therefore have a colloquial style.
Steps 1-10
Step 1
So, now you're moving towards another one of those magical moments in image editing, and this still white fire will almost look like a real blazing fire.
To do this, first click on the "Rough contours" layer and create a group from it.
Either drag this layer onto the folder icon or simply press Ctrl+G and you have created a group.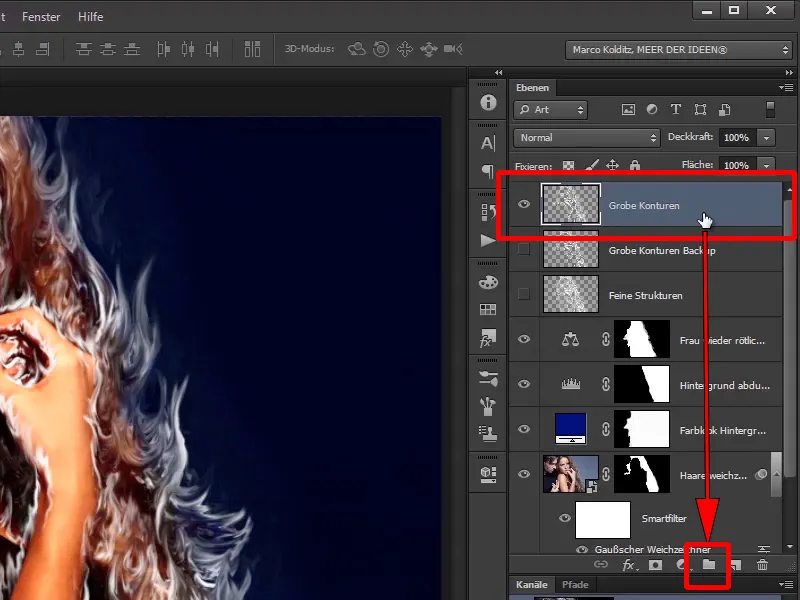
Rename this to "Woman's fire".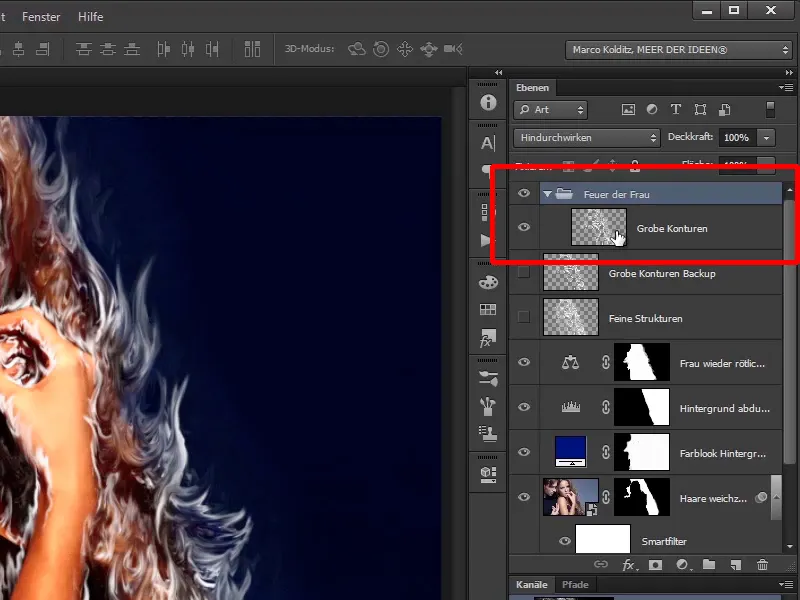
Step 2
You will now duplicate the "Rough contours" layer. Press the Alt key again , drag the layer over itself and rename it "Shimmer".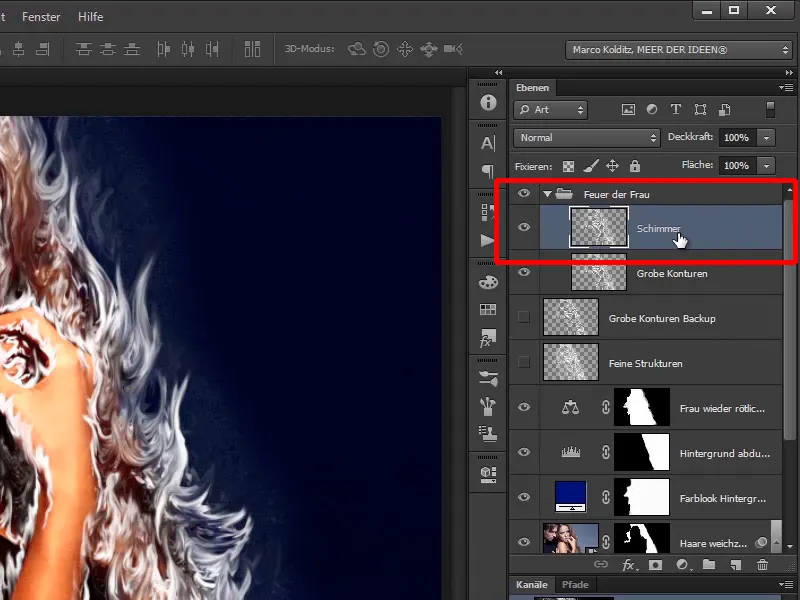
Step 3
Shimmer, what could that mean now? Well, you want to use the "Shimmer" layer to make the fire shimmer or glow a little, and to do this you will now create a Smart Object from this layer. Right-click on the layer and select Convert to smart object.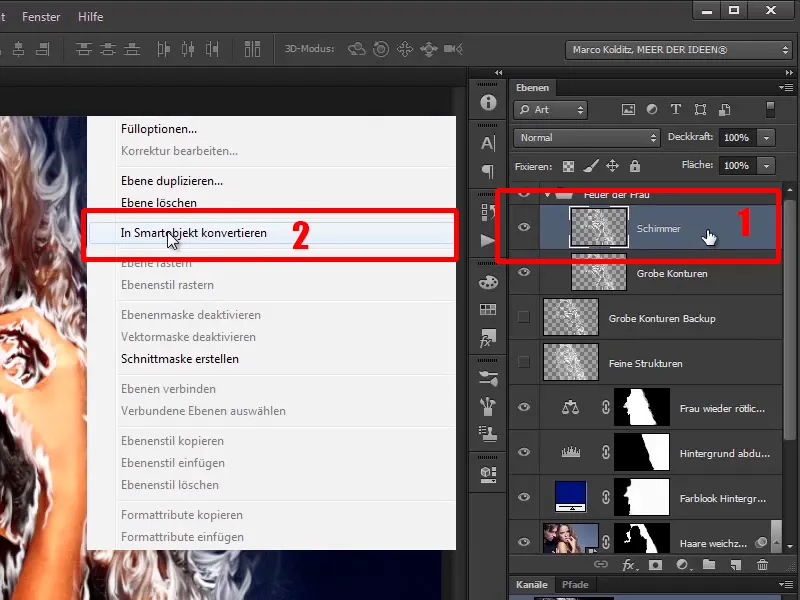
Step 4
This will allow you to edit all the filters you have applied to this layer afterwards, in this case especially here; you know exactly what you need to adjust right now, but you should always convert layers where you use filters into smart objects beforehand. This is highly recommended.
Now select Filter>Blur Filter>Gaussian Blur.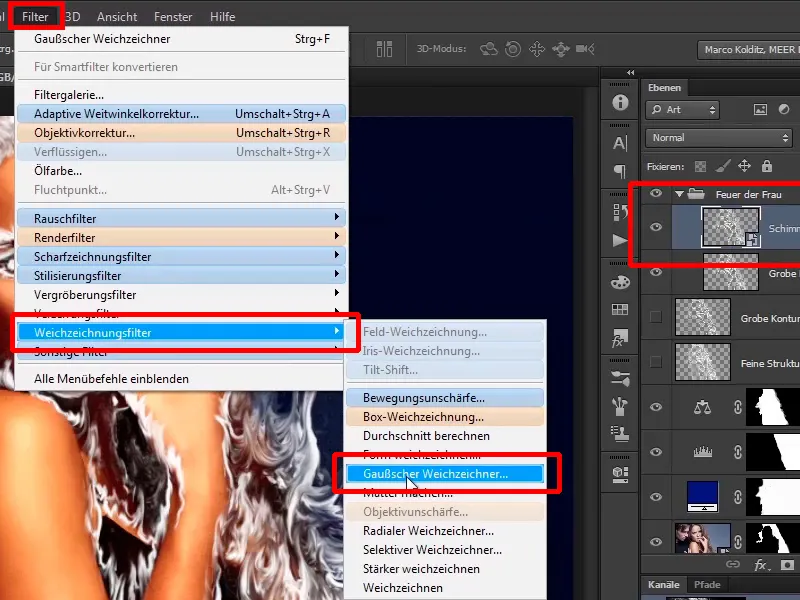
Step 5
And in this case you have already selected the correct value, Radius: 36.0 pixels. If you now reduce it, less will happen and at 36, the fire will start to glow and that is exactly what you want to achieve.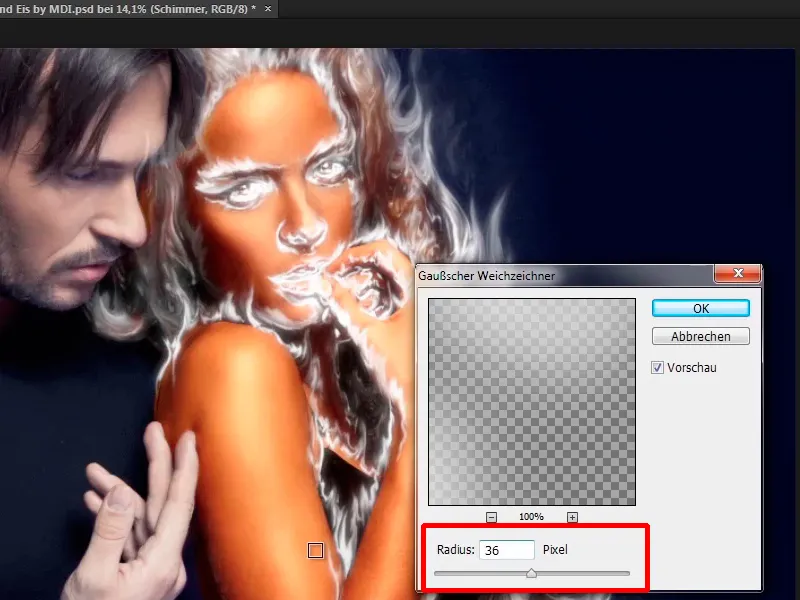
Step 6
Now close this group briefly so that you have also activated this group ...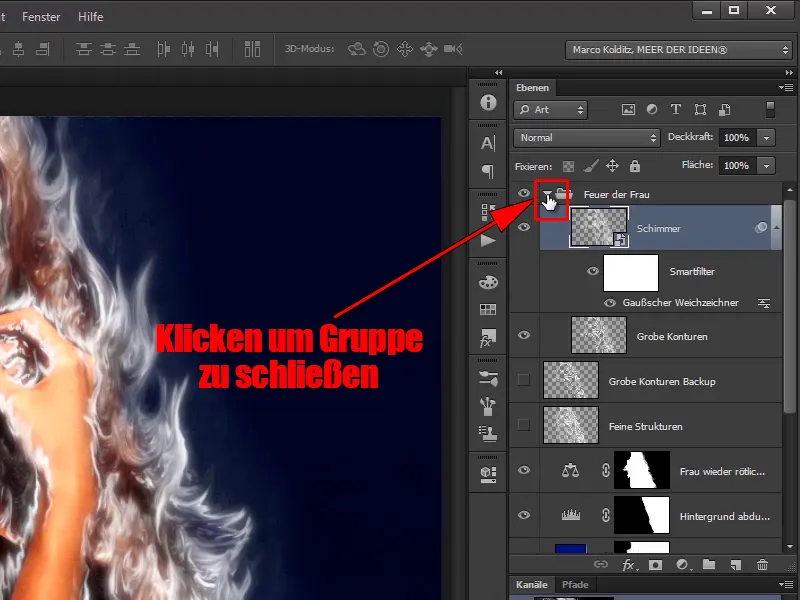
Step 7
... and now select the colored area via the New adjustment layer icon.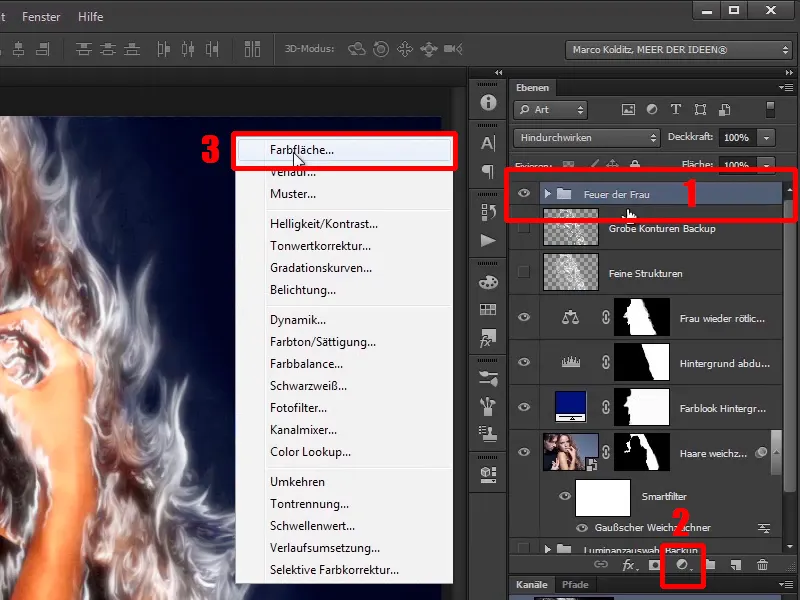
Step 8
This means that you will now create another color plane layer with an orange tone, in this case 255 red, 102 green, 0 blue. Click OK again.
Step 9
This is the orange value you want, and this is what you now call the "Color of Fire".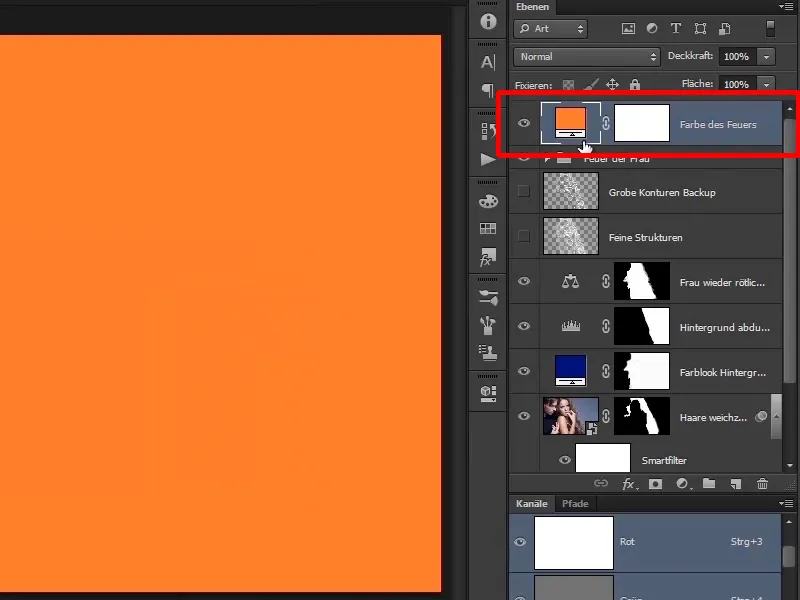
Step 10
Now create a clipping mask from this so that this "color area" layer really only affects the content of this group, i.e. this icon appears between here and then you click ...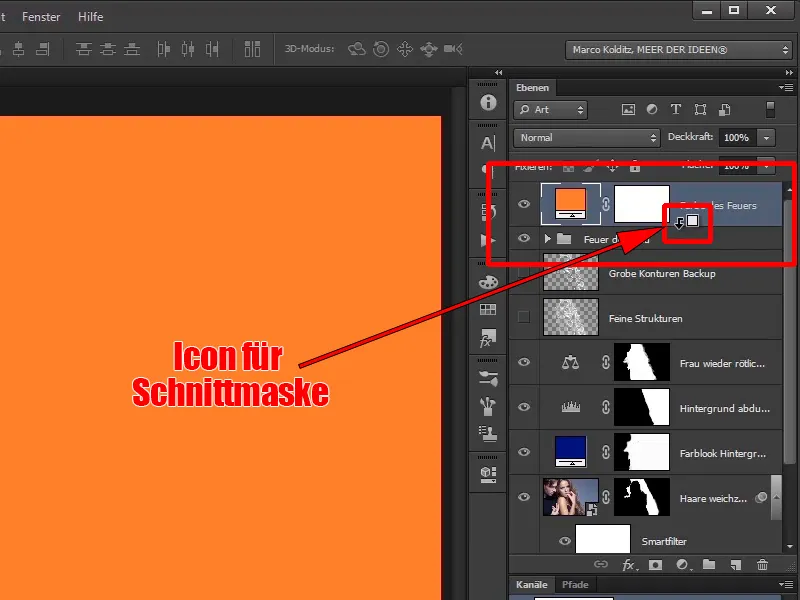
... and this fire will only affect the fire in this folder or group.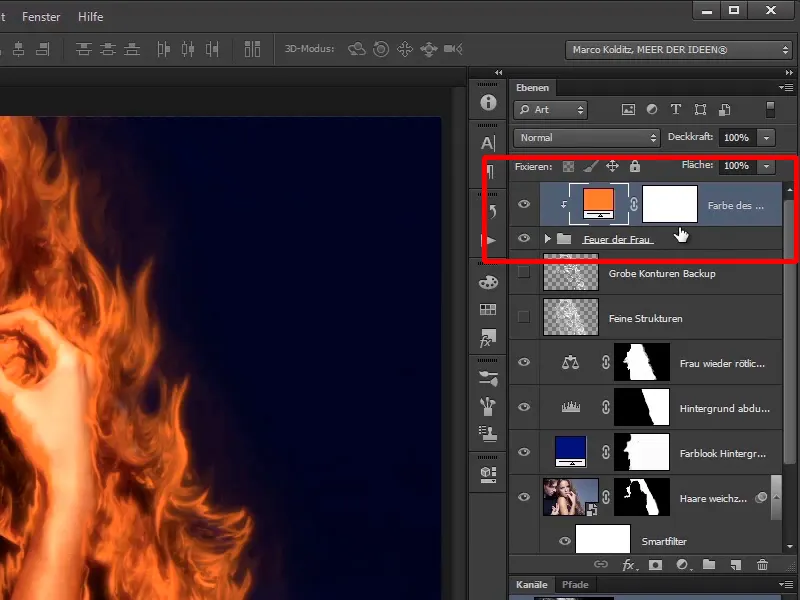
Let's continue: Steps 11-20
Step 11
Now you can of course remove the fire from the eyes and mouth area and also a little from the hands. To do this, click on the "Woman's fire" group ...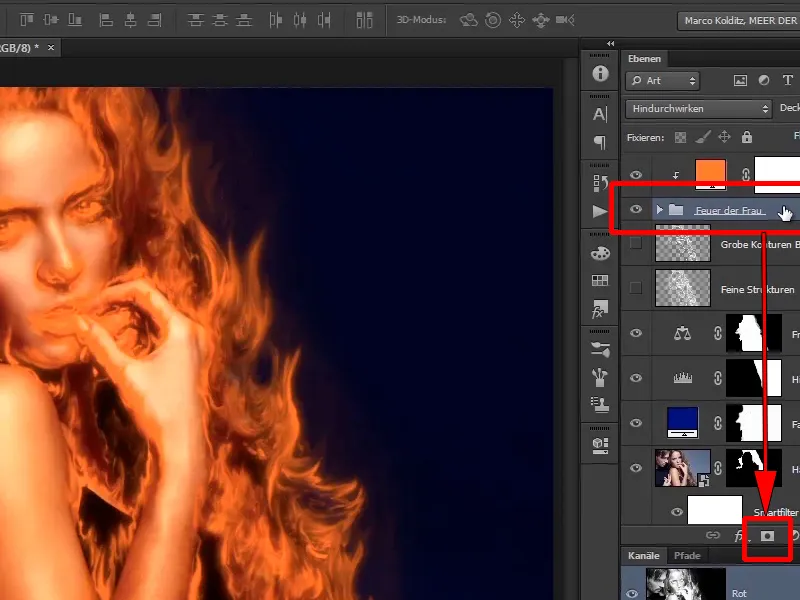
... create another mask,...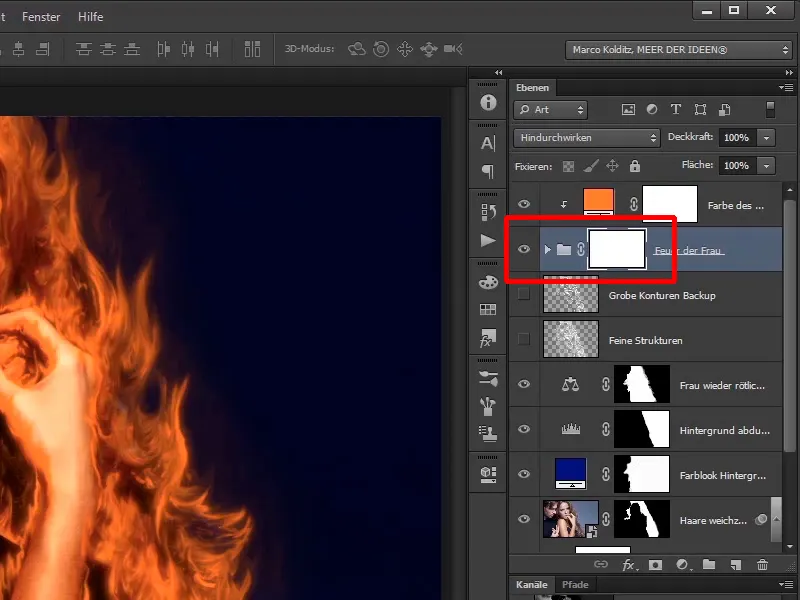
Step 12
... take a brush and this time use the X button to switch to a black foreground color and zoom in a little on the image.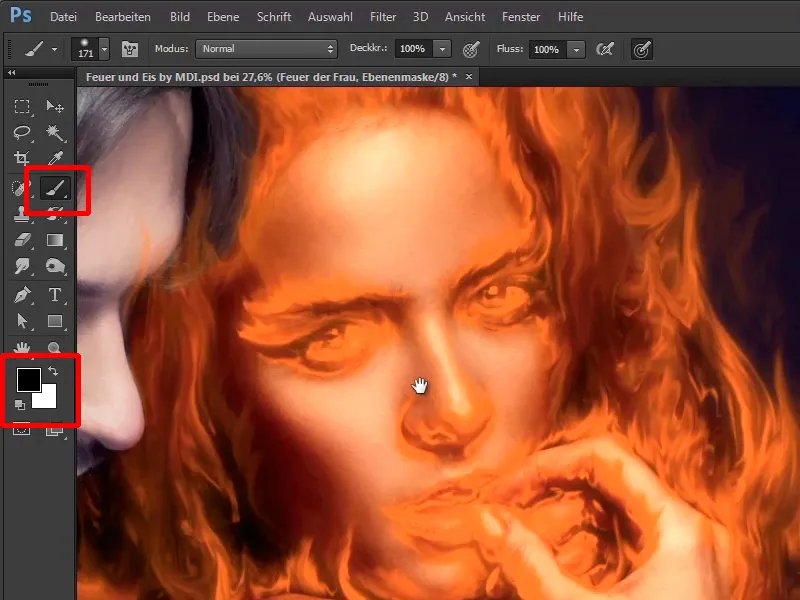
Step 13
Now you can use a soft brush (hardness 0%) and a lower opacity of 46% to paint out the areas that should not be affected as much.
Step 14
Because you have a soft brush, you also have nice soft transitions. The eyelids can still be a little fiery, but the eyes should stand out and look nice.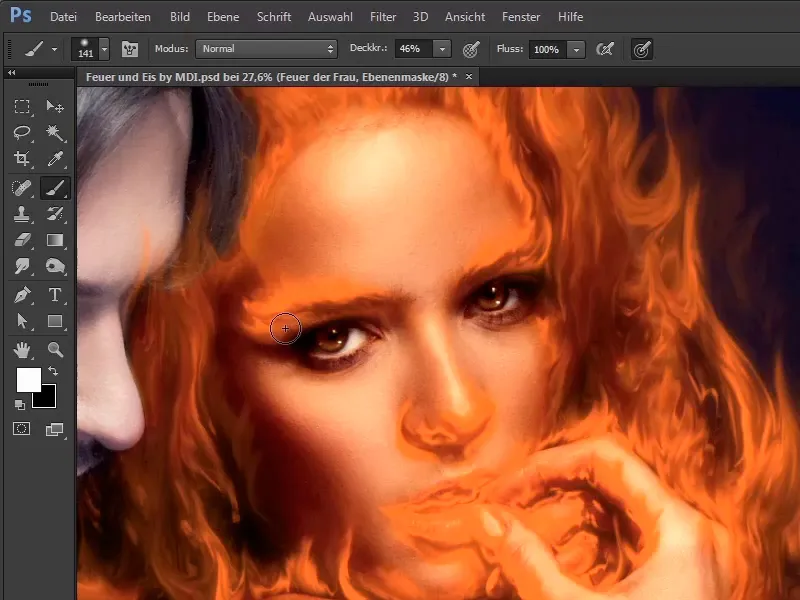
Step 15
She has beautiful eyes, there's no other way to put it, and that looks pretty good. You can use the X button to change again if you want to paint in a bit of fire, with a lower opacity of 26%. The nose is also a little too orange, too much fire here on the contours.
Step 16
Reduce the opacity a little more, to 14%. You can take more time here too. Take your time with the mouth, you will also have to remove the flames. Create a little more transition on the chin. The more time you take here, the more precisely you work, the more beautiful the results will be, of course.
Step 17
Draw upwards a little with the brush, as I said, use a soft brush to create beautiful transitions. Then work a little more on the hands so that they come back. This allows you to get a lot more out of it.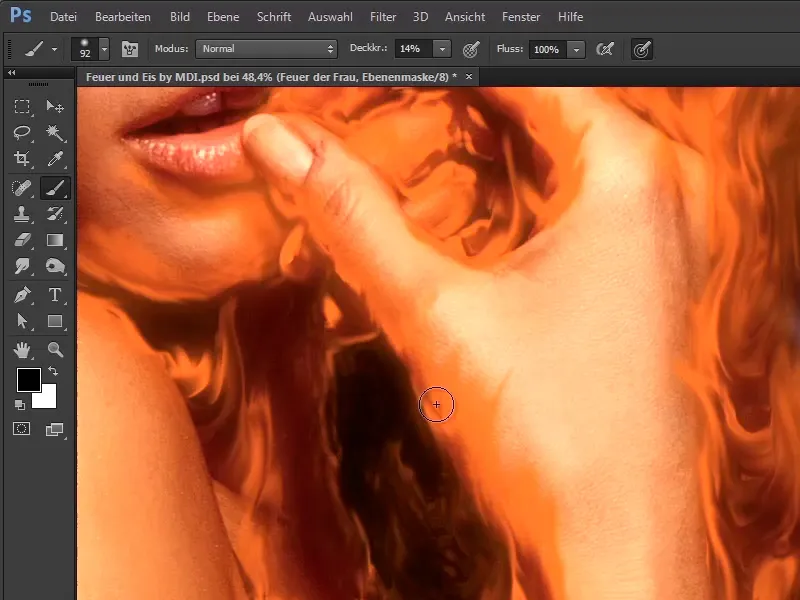
Step 18
This already looks really good; take a look at it as a whole.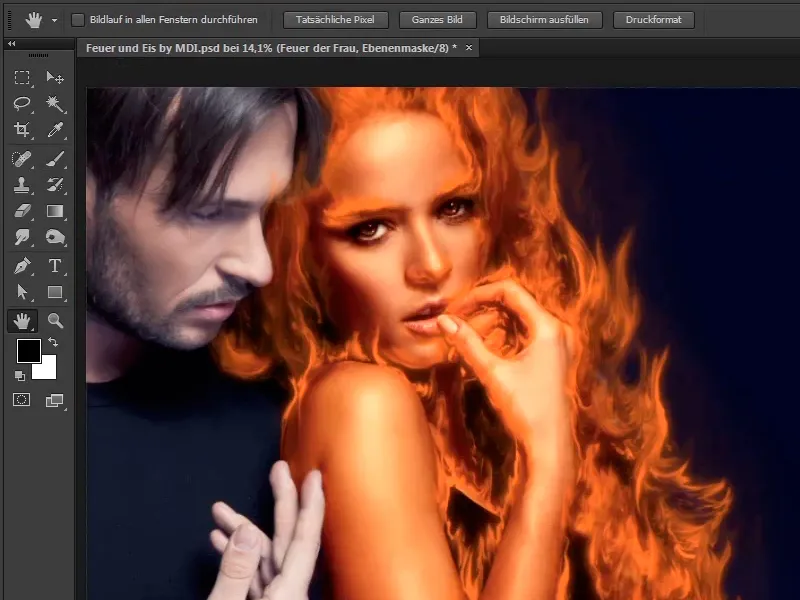
Step 19
Maybe make the eyes a little darker again, it may look, well, not exactly burnt, but fire also leaves traces, and the hand can still be a little freed from the fire. Even a little fire on the lips. So you can take your time. Marco adjusts it now and in one, two, three we'll continue.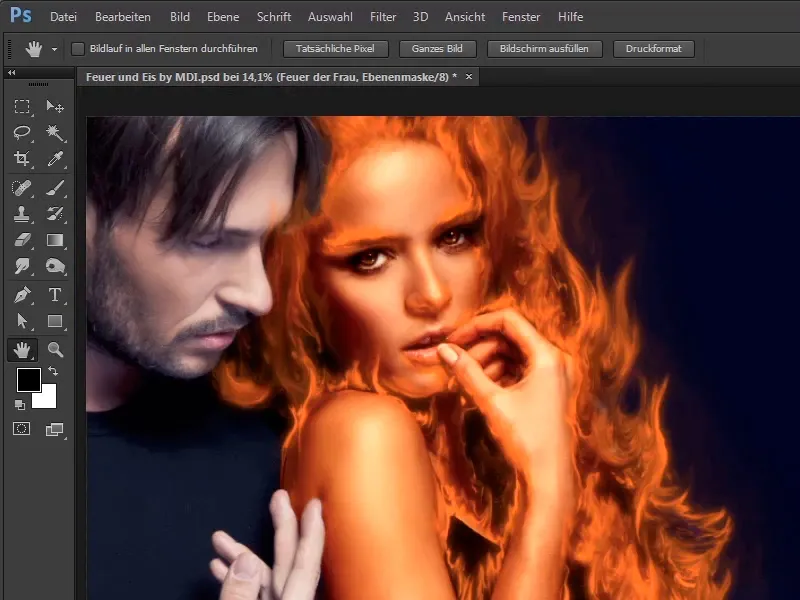
Step 20
Now the mask has been adjusted so that the eyes, nose and mouth are nicely exposed from the fire.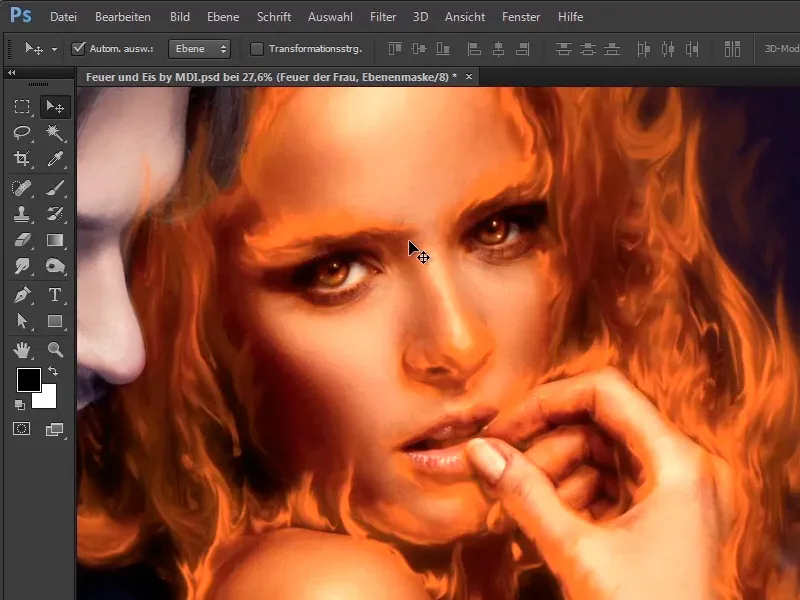
Steps 21-30
Step 21
You can also see this again by holding down the Shift key and clicking on this layer ...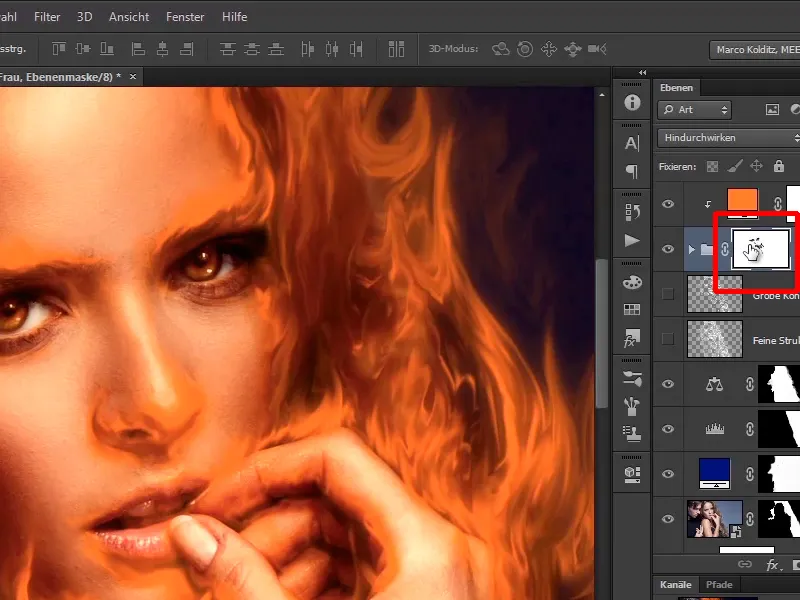
... to deactivate the mask and then press the Shift key again to see the effect of the mask.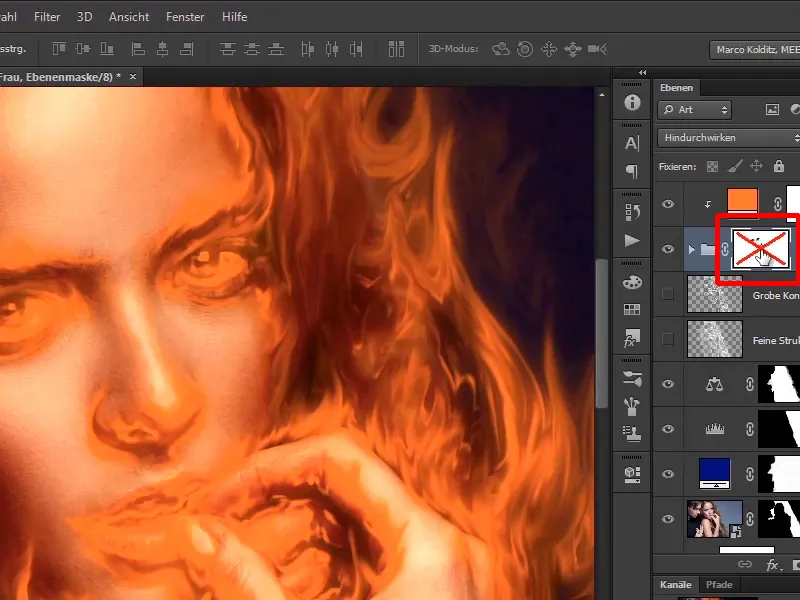
Step 22
The beautiful eyes are now removed from the fire, the nose no longer burns like before and overall it looks very good.
What's still missing are highlights in the fire, i.e. the fire is still quite orange, and it's orange throughout, and fire also has color nuances. In this case, a little yellow would be good so that everything glows a little more.
And you can do this as follows: Click on the top layer and now create a new layer above it, this time by holding down the Alt key. So you hold down the Alt key, click on this new layer symbol...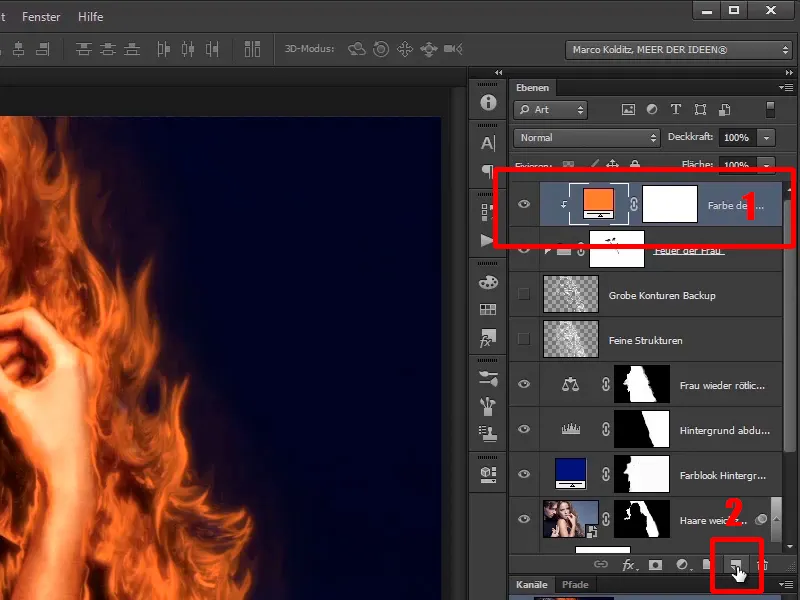
... and this dialog box opens.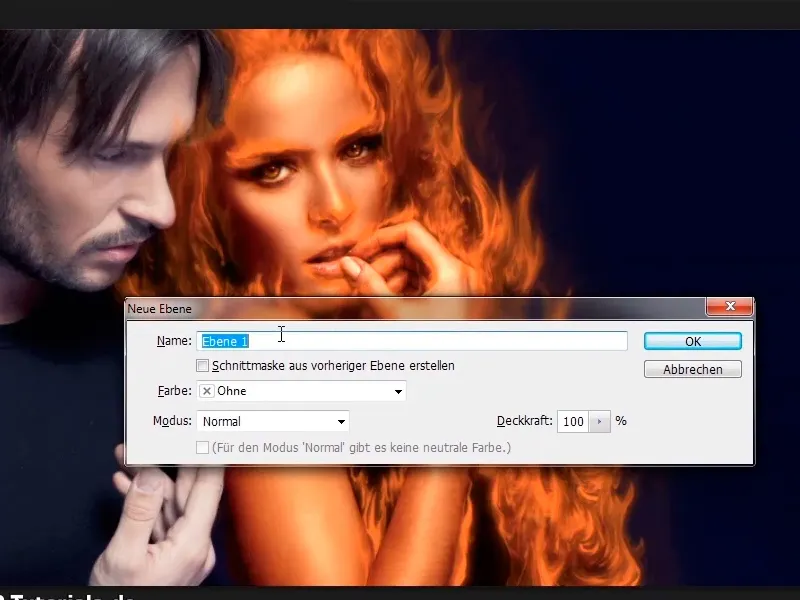
Step 23
This dialog box is really something, because you can create a new layer here and name it directly, in this case "Highlights of fire".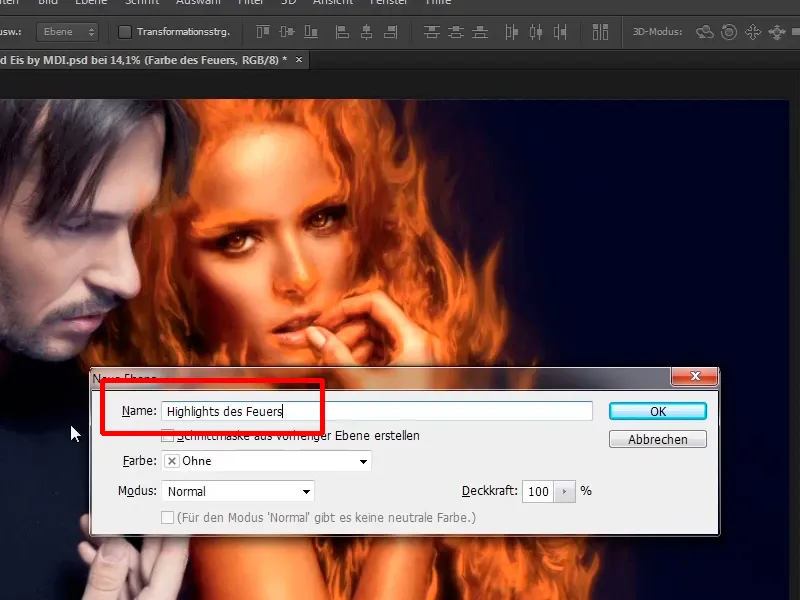
Step 24
You can also select a blending mode directly, in this case you use the " Ineinanderkopieren" mode, because with this mode you can paint light and dark into the image and darken or lighten the image in this way.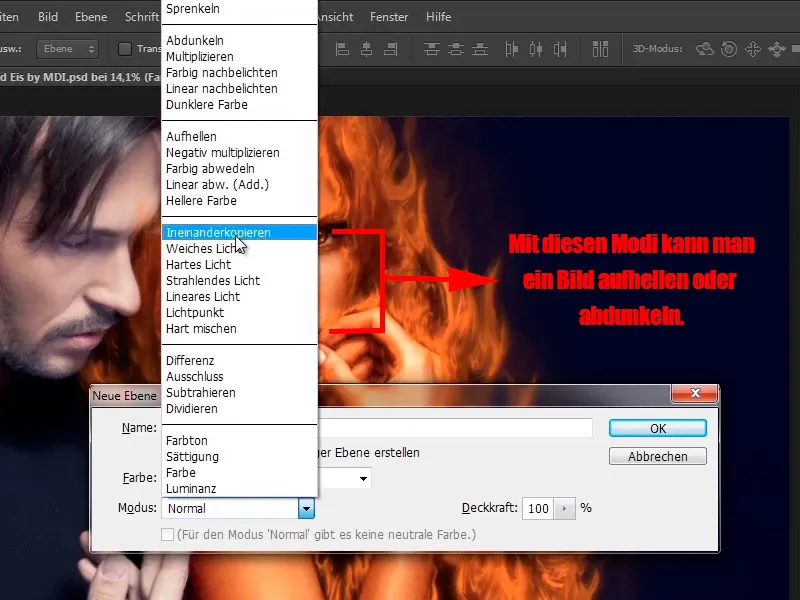
Step 25
And you fill this layer directly with a 50% gray, Marco will explain why in a moment.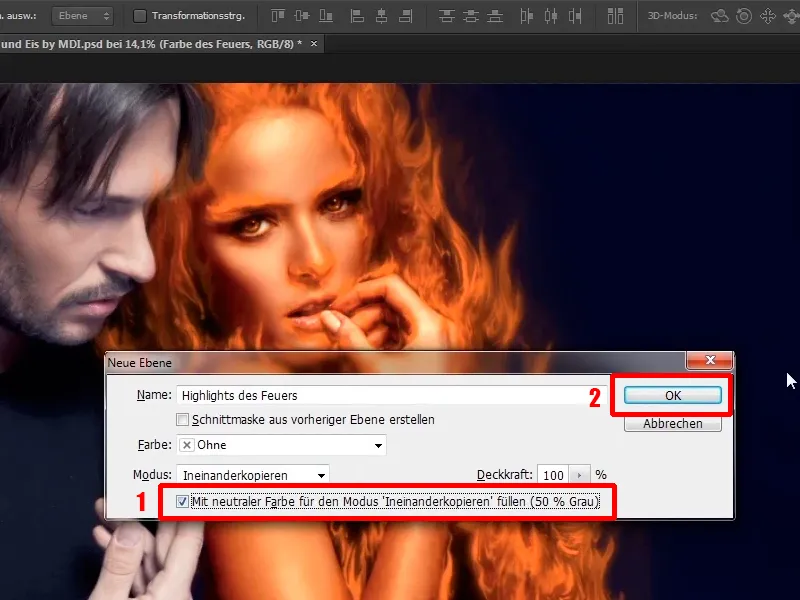
Step 26
You can see in the preview: It's gray, nothing has changed in the image.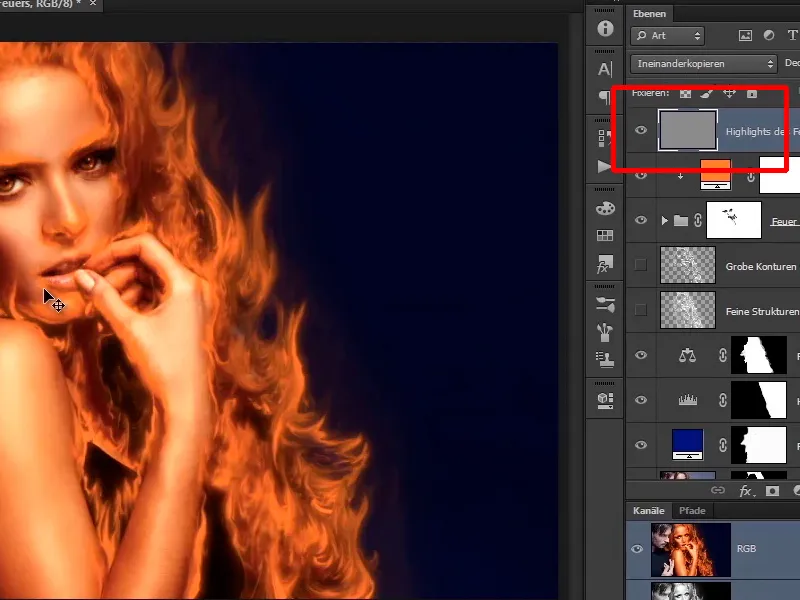
Step 27
Set this blend mode to Normal for a moment and you'll see: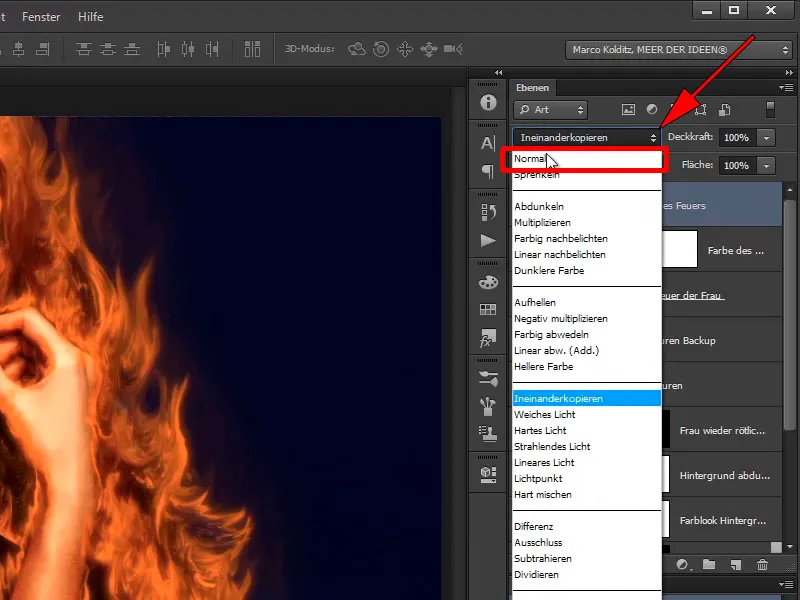
Everything is gray, just as you filled it.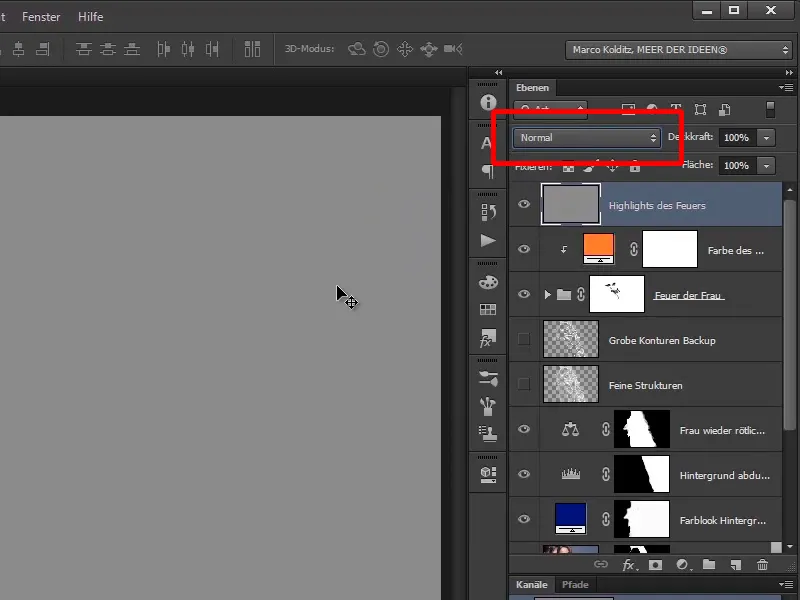
Step 28
And as soon as you use one of these blending modes, in this case Overlay, this gray becomes transparent.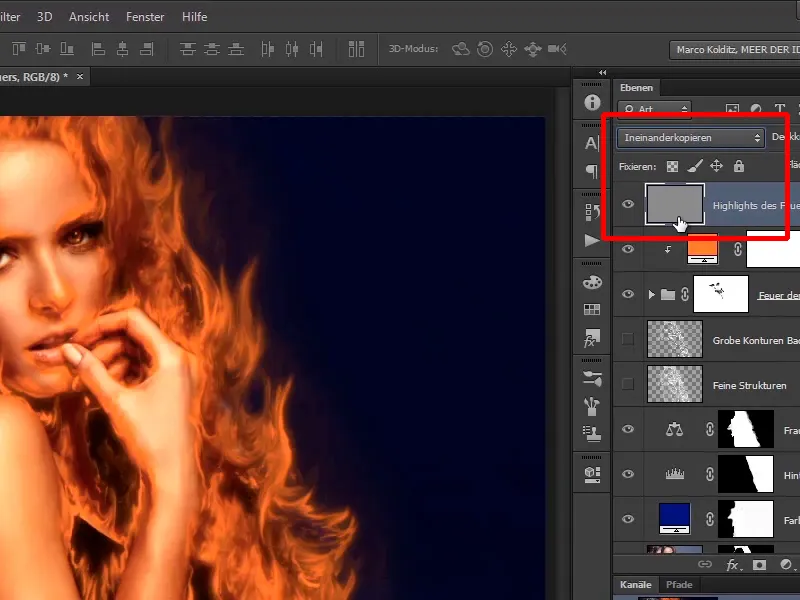
Step 29
As soon as you paint light on this gray layer, the areas in the image become lighter, and as soon as you paint dark, these areas in the image become darker. This means that you can lighten and darken images using this technique. You will now do the same.
To do this, either select the post-exposure to darken something, but in this case you want to lighten something, i.e. you are using the dodger here.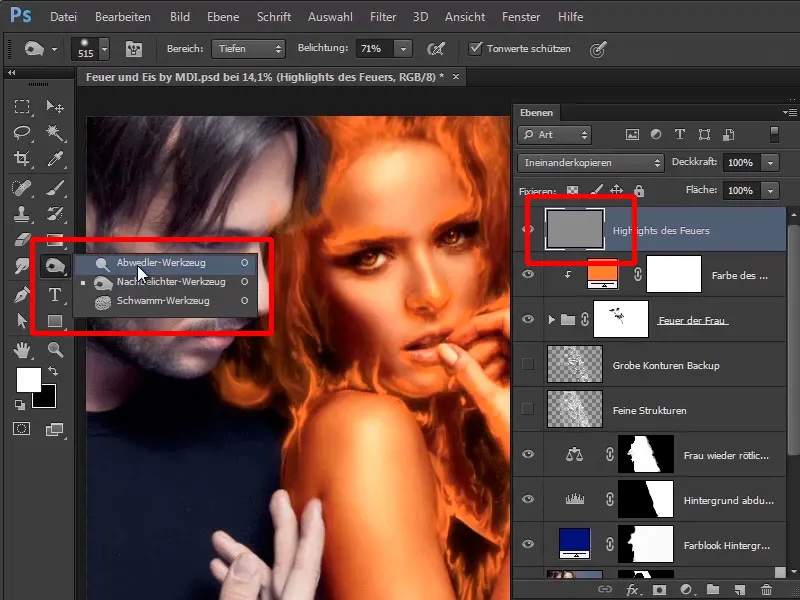
Step 30
Here above you have highlights, for example, it doesn't really matter, you can go for midtones here and use an exposure of 62%.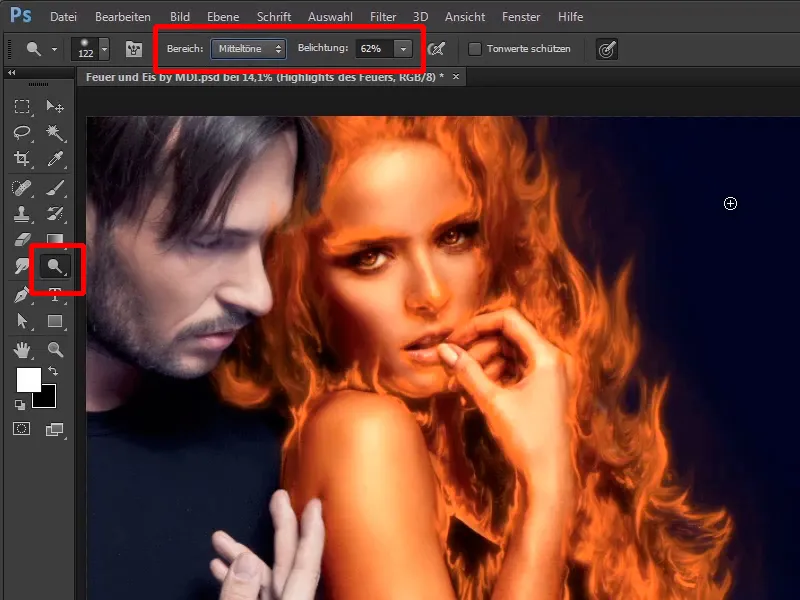
The last steps
Step 31
And with this dodge you can carefully lighten areas in the picture, and in this case you lighten the gray, and if you lighten the gray, then the areas in the picture where you paint over it will also become a little brighter.
You can zoom in a little, and again you can take your time. Make the brush a little smaller and here you can determine how the fire should look. Paint a few highlights into the fire.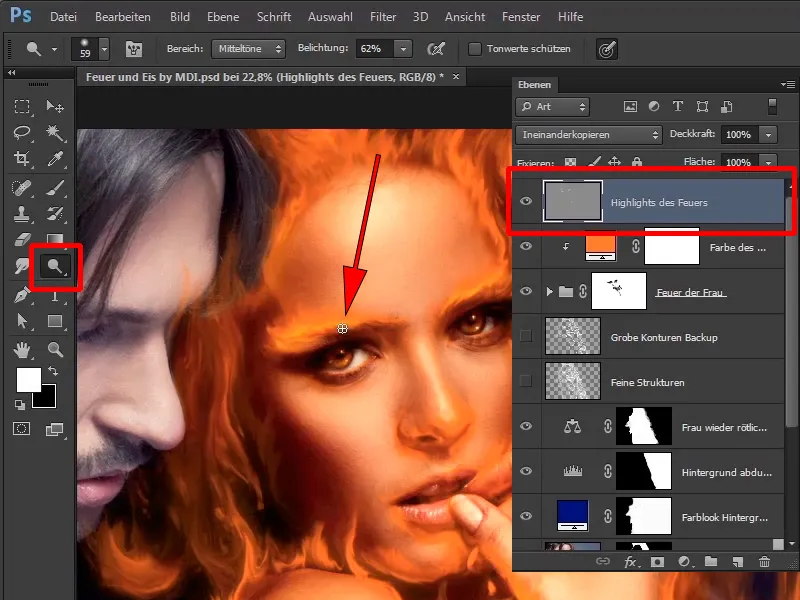
Step 32
You have to think about it: Where should the fire have a really nice yellowish glow? As I said, you can take your time here and always smudge in the direction of the fire. This will make everything more contrasting and exciting.
Also with this flame, which flutters a little around the man's forehead. Again, take your time and adjust everything nicely. A pen tool or graphics tablet is also really ideal here. This way, you can actually draw in a few highlights for each flame to make it all look more exciting.
And as you can see, everything becomes a little more realistic.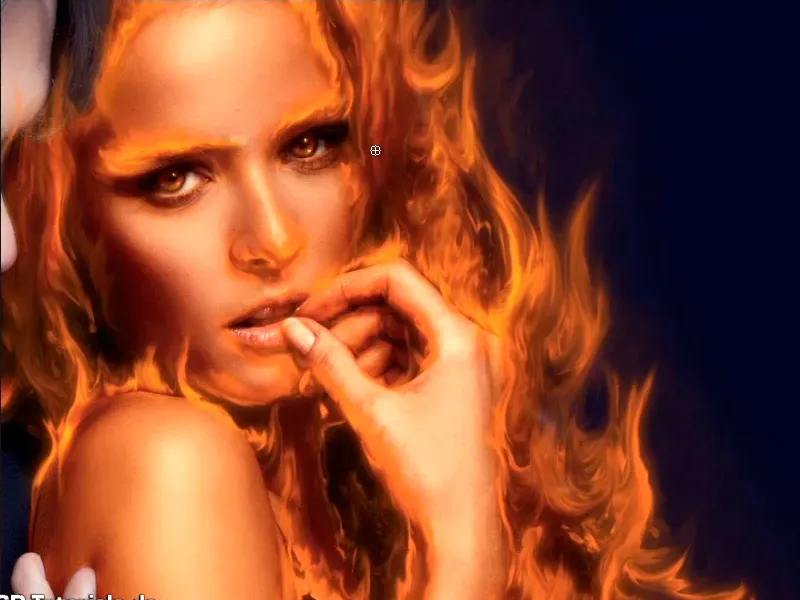
Step 33
Of course, you should make sure that you only paint on the flames and not over the skin, although this is not necessarily so tragic because it can glow a little.
But in general, you should concentrate on the fire in this step. It looks really great how everything starts to glow here.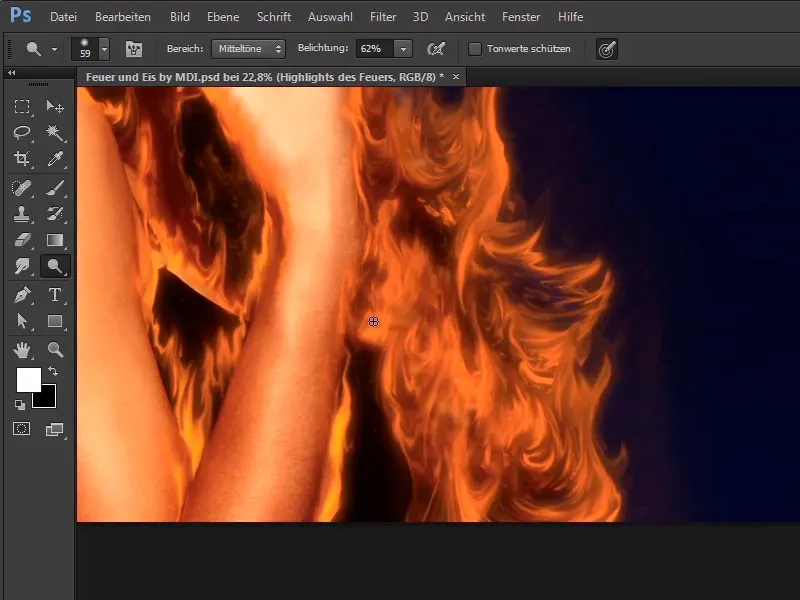
Step 34
A little time jump and you can see how Marco has adjusted the highlights of the fire a little more with a little more time and it really looks like it's all burning and you'll still have to adjust it further. In the next video tutorial, you'll see how to paint little sparks into the picture and you'll make the poor woman here at the side shiver a little.
