In this tutorial, you will learn how to create a product in Printify. You will step by step get to know the process, from signing up on the website to selecting and customizing products all the way to launching your design. Printify offers a variety of products that can be printed or designed, and I will show you how to make the most out of this platform.
Key Insights
- Signing up on the Printify website is the first step.
- You have access to an extensive product catalog.
- You can browse products by categories and filter by popularity.
- It's important to consider the printing providers and their locations.
Step-by-Step Guide
Step 1: Signing Up on Printify
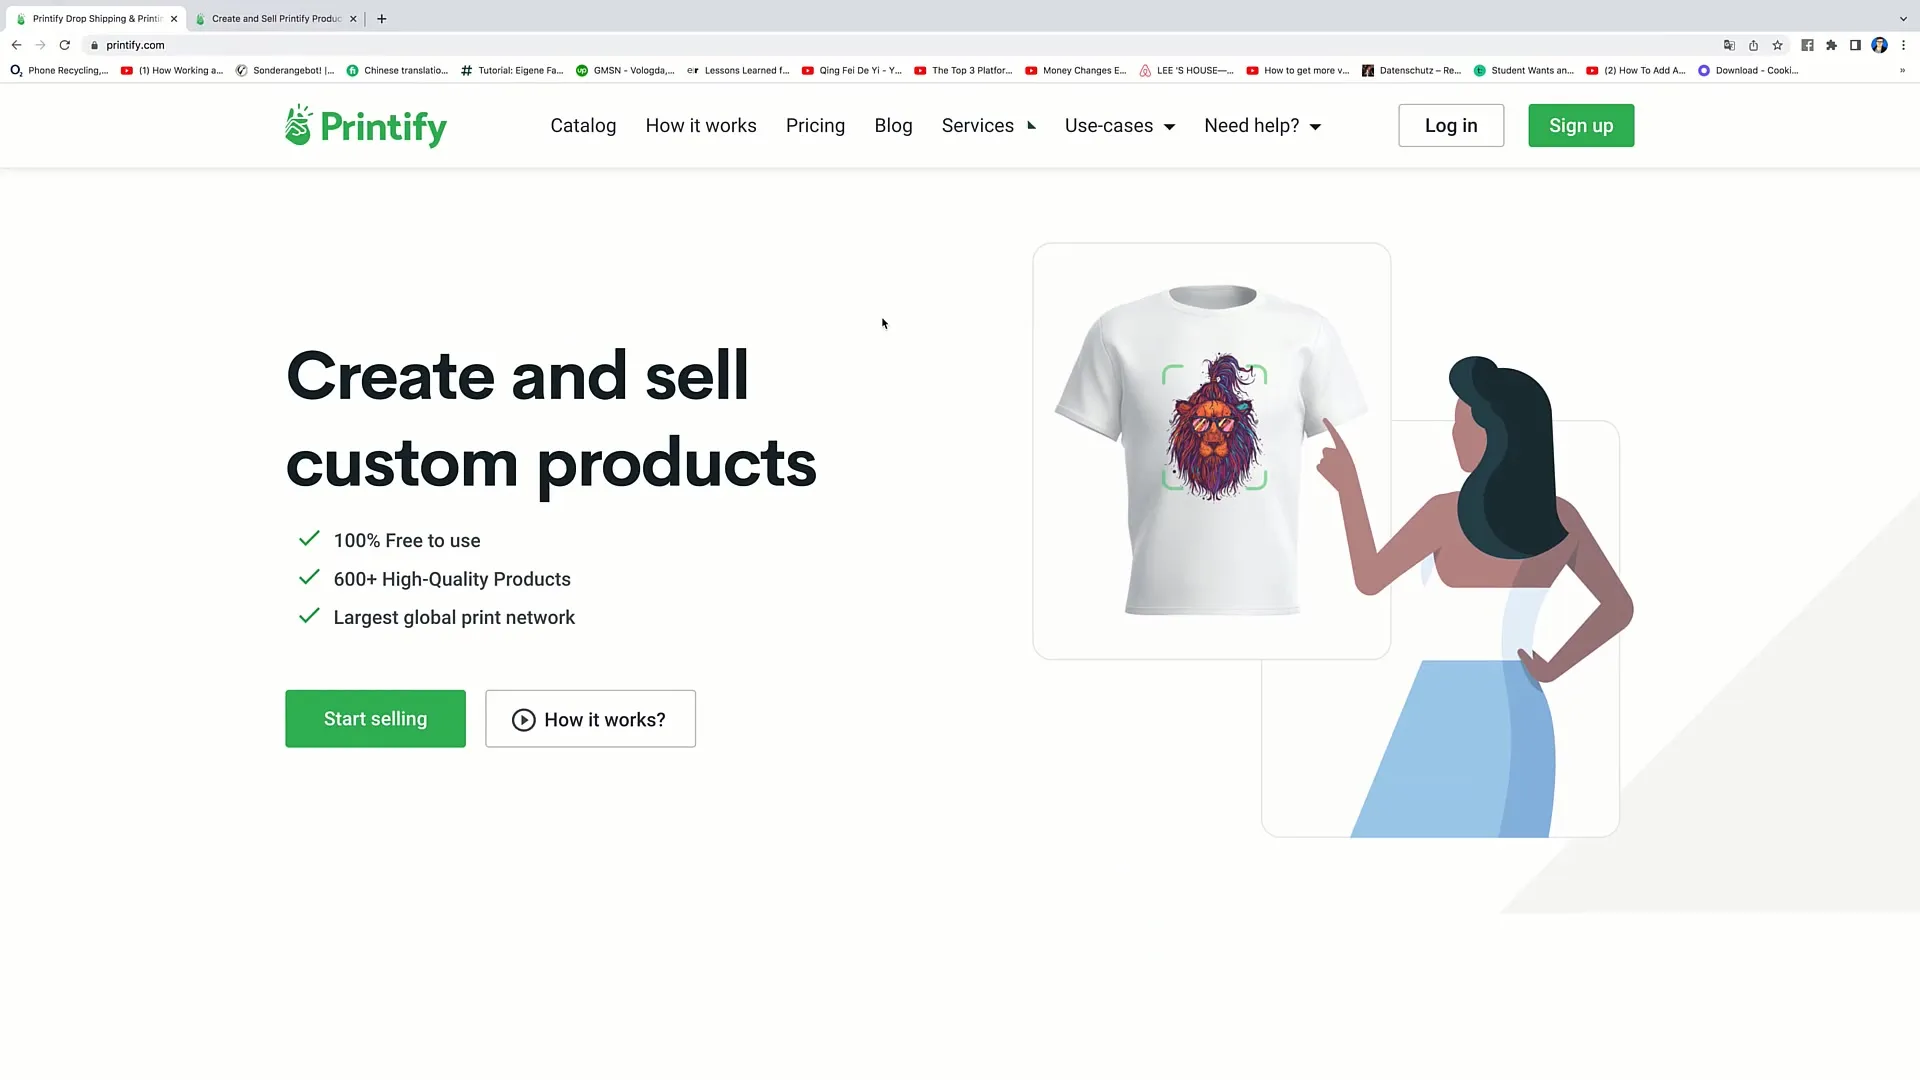
To create products on Printify, you need to visit the website first. Click on the upper right corner of the page where you will find the "Signup" option. After signing up, you can start creating designs directly in your account.
Step 2: The Product Catalog
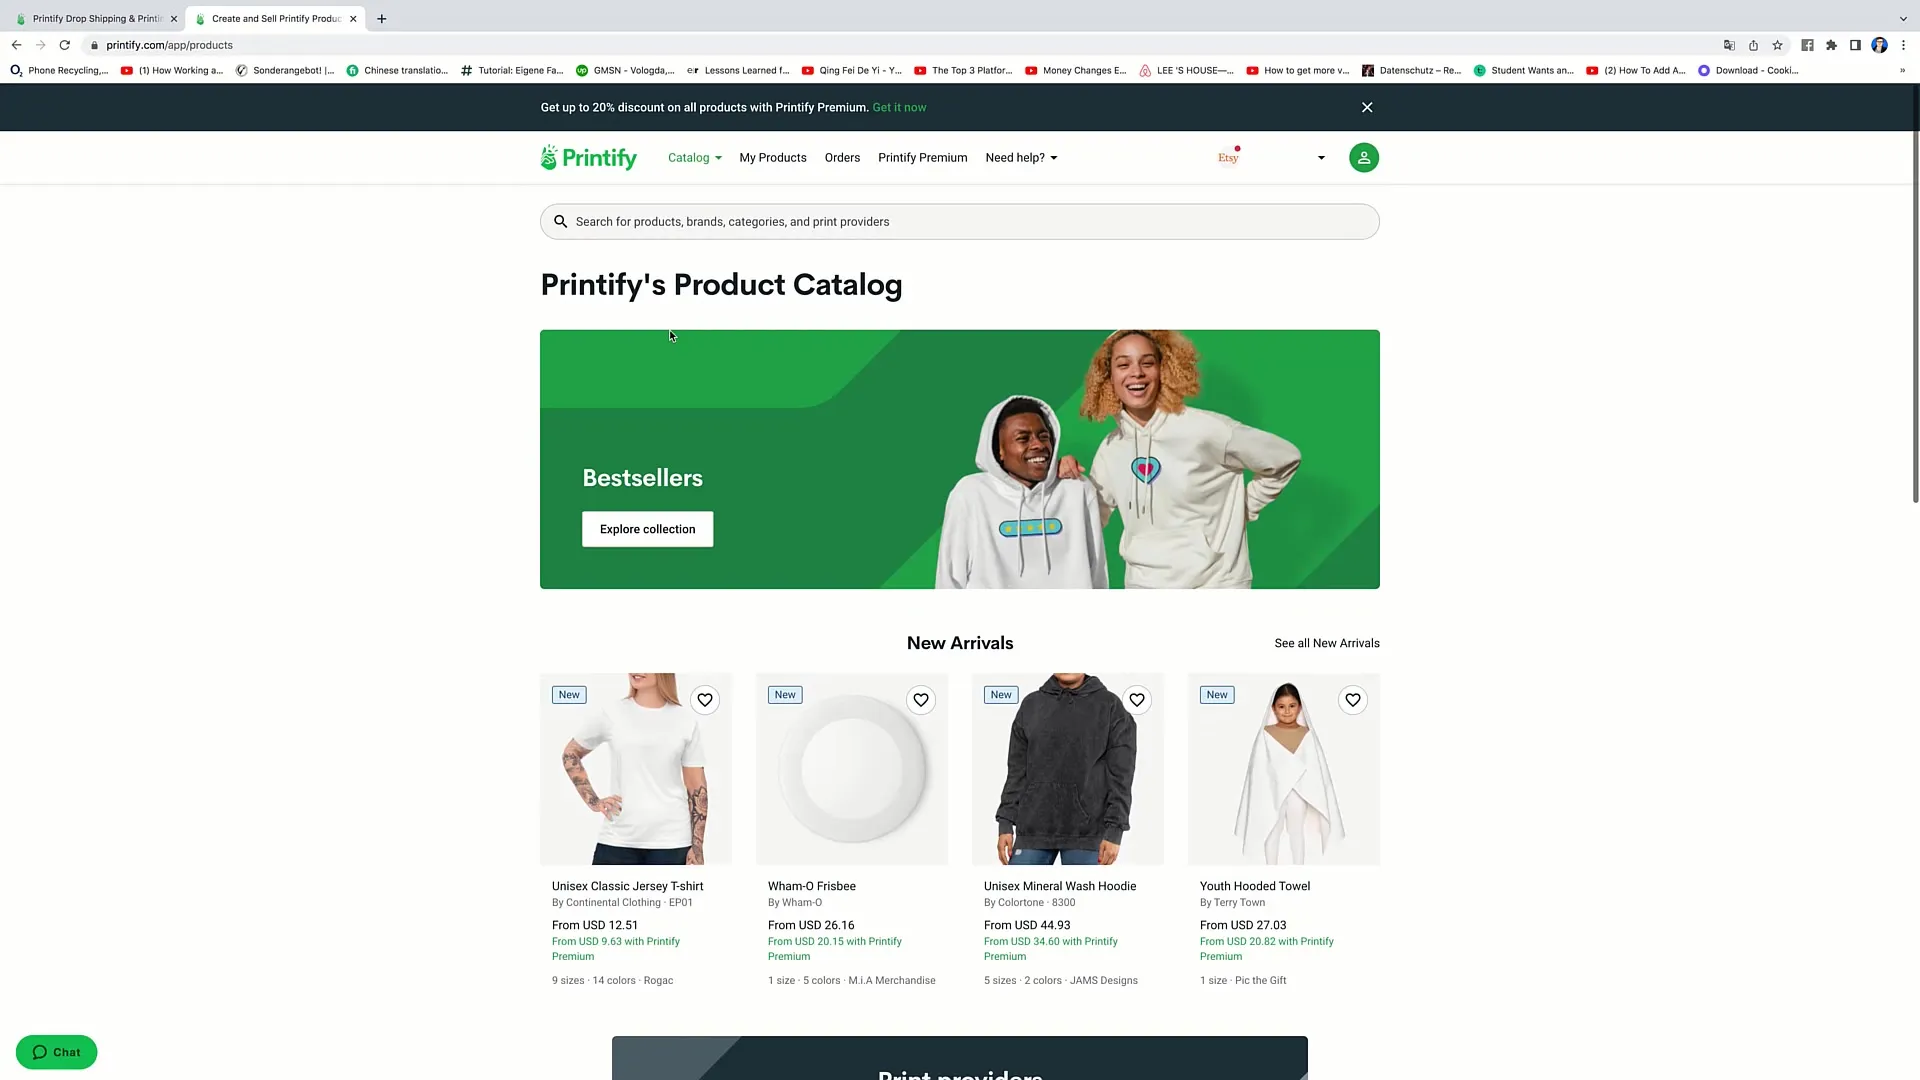
Once you are signed in, you will access the catalog. There you will see various tabs, including "Featured Products", "Bestsellers", and "New Arrivals". Here, you can choose from different products and view their details.
Step 3: Product Selection
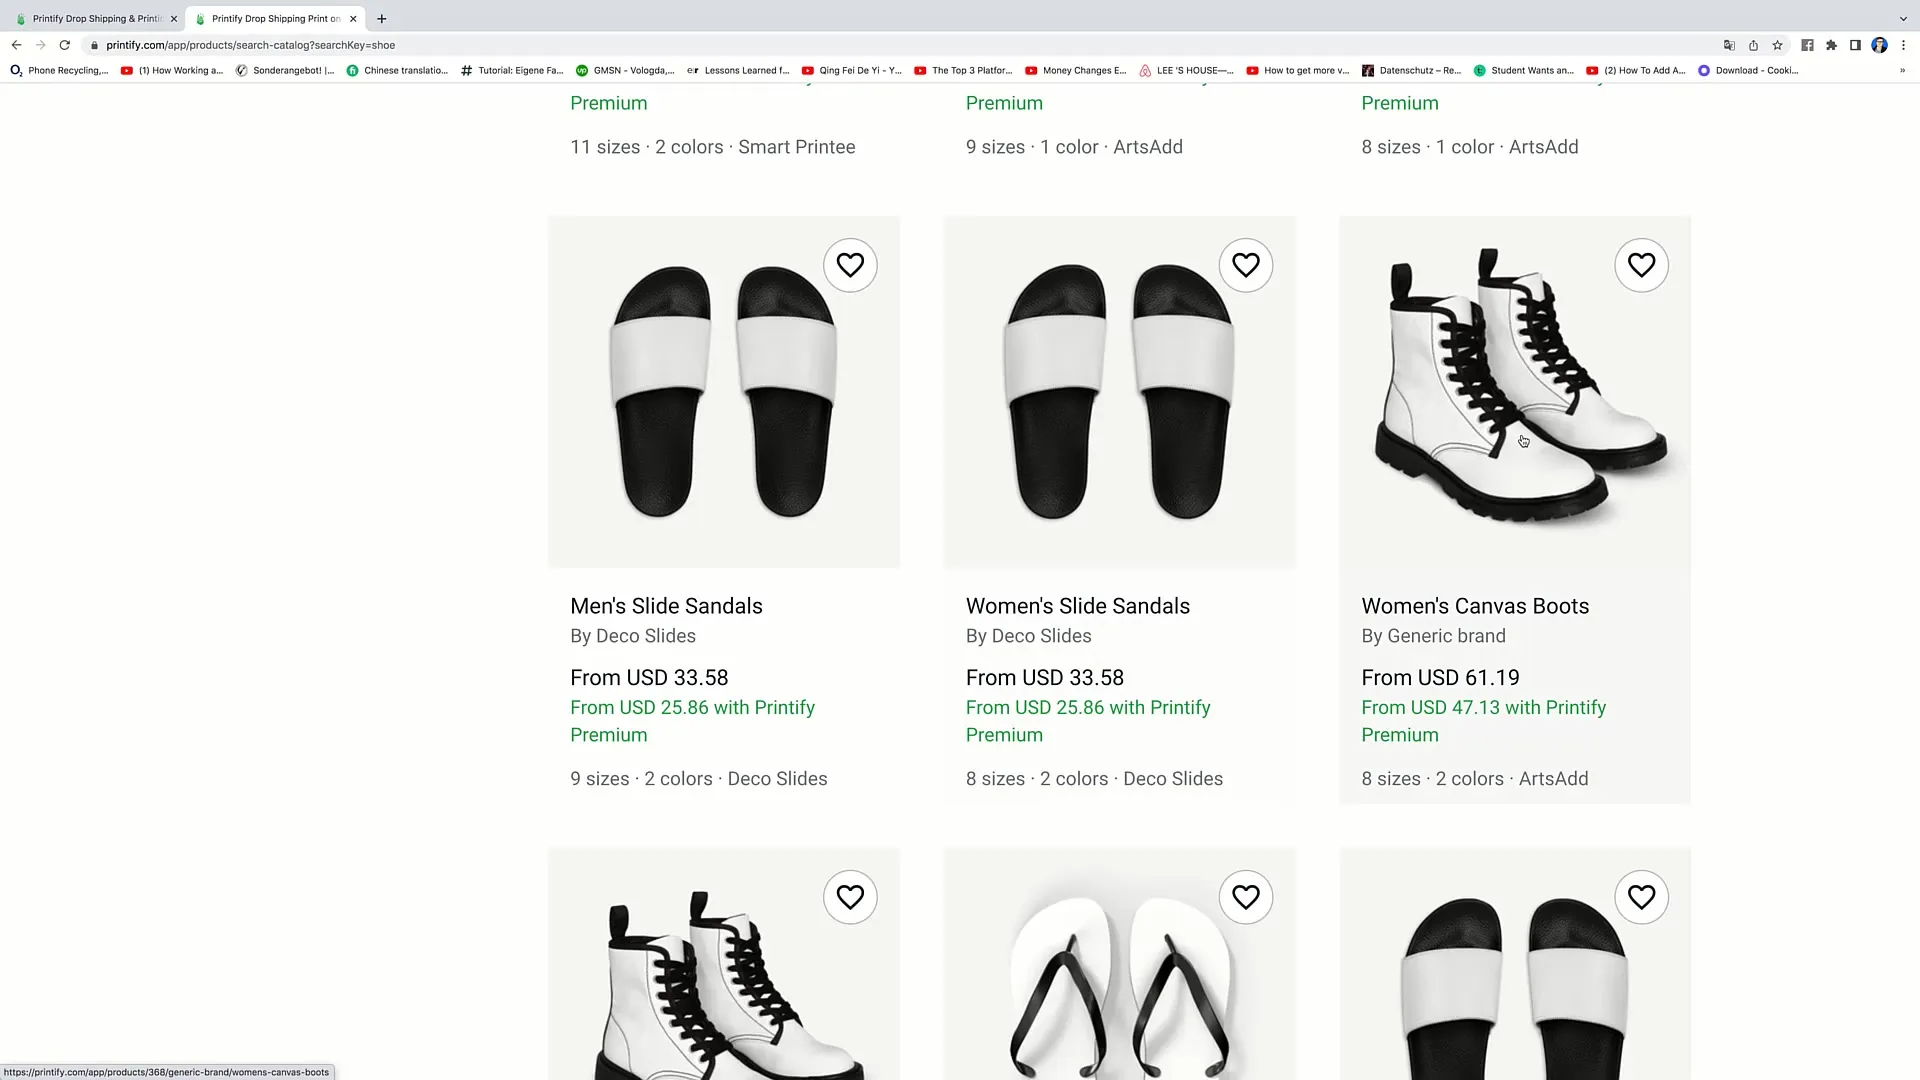
You can click on each product to learn more about it. For example, in the Featured Products section, you can search for T-shirts, Hoodies, or even special items like Bento Boxes. This range offers a variety of design options that can make your potential merchandise stand out.
Step 4: Using Filters
To refine your search, you can use the filter options on the left side. You can filter by categories such as colors, product size, or printing method to find exactly the product you are looking for.
Step 5: Viewing Product Details
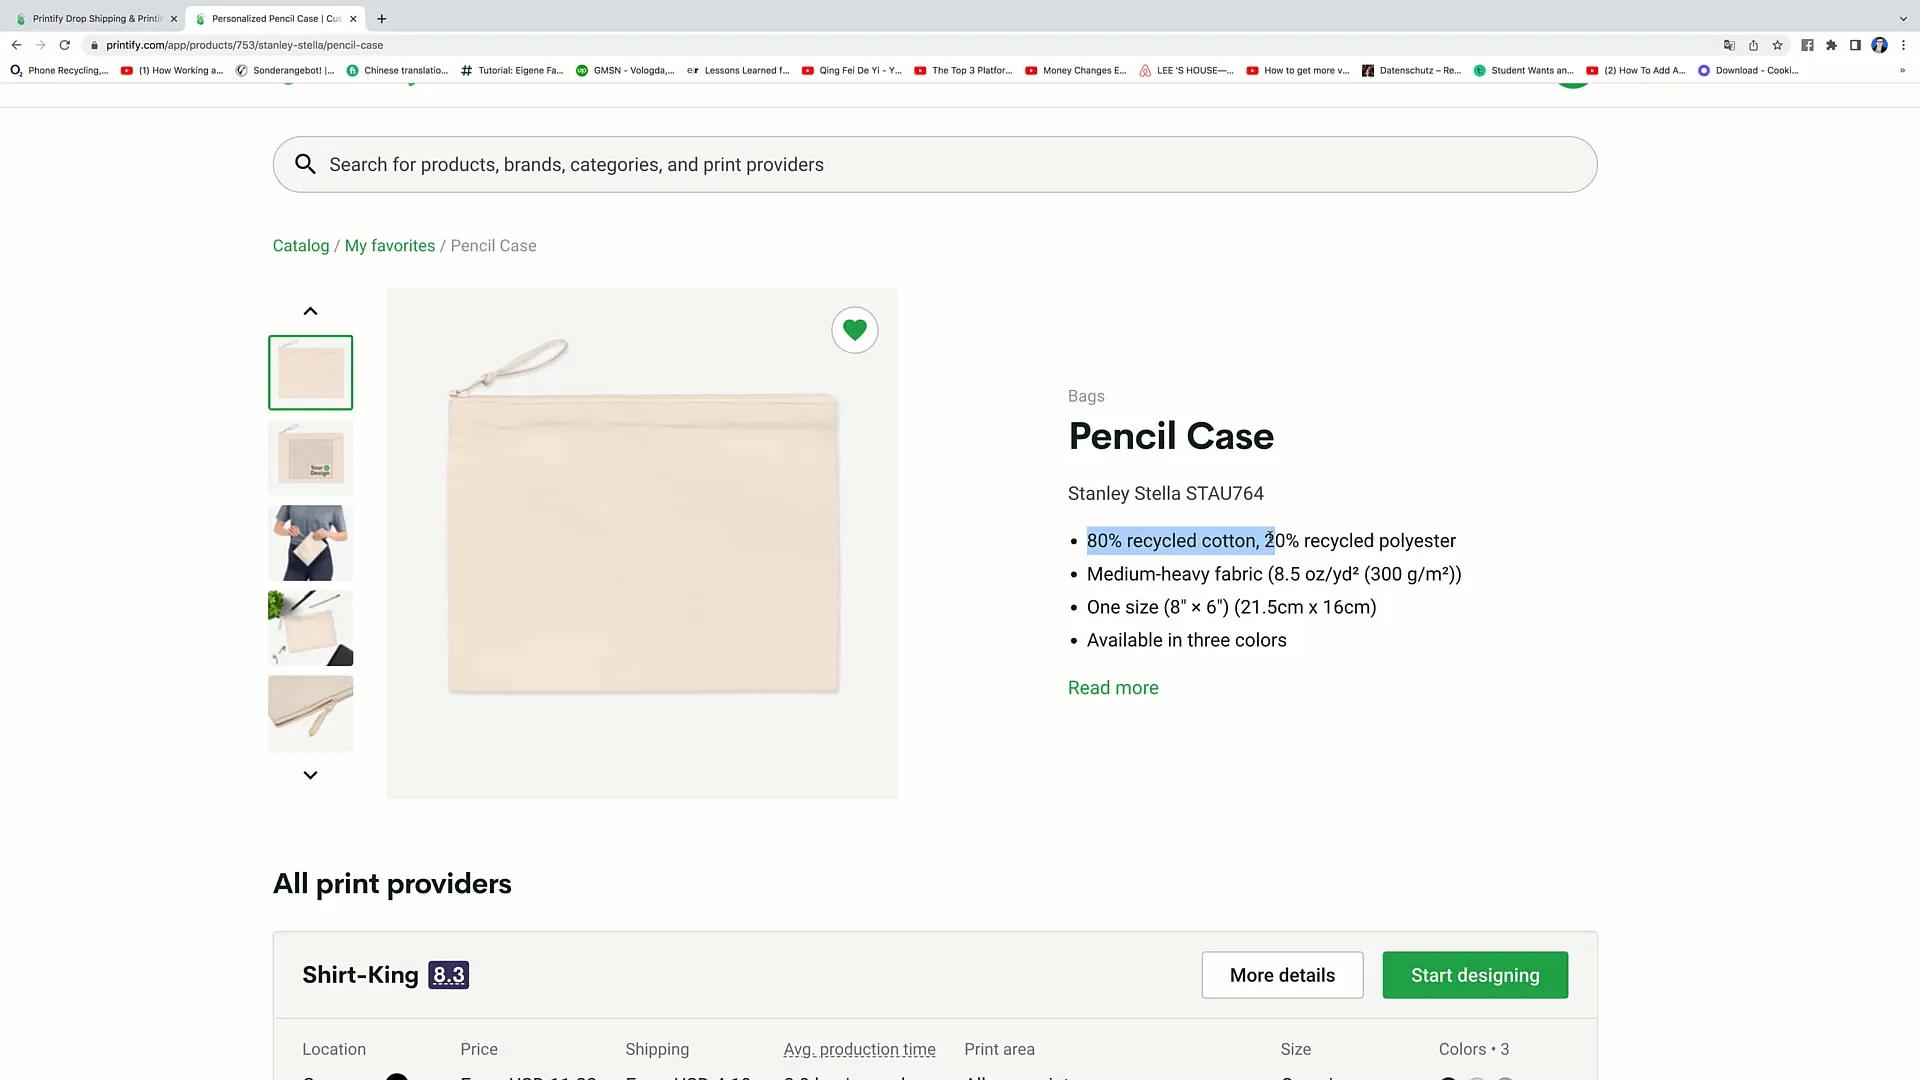
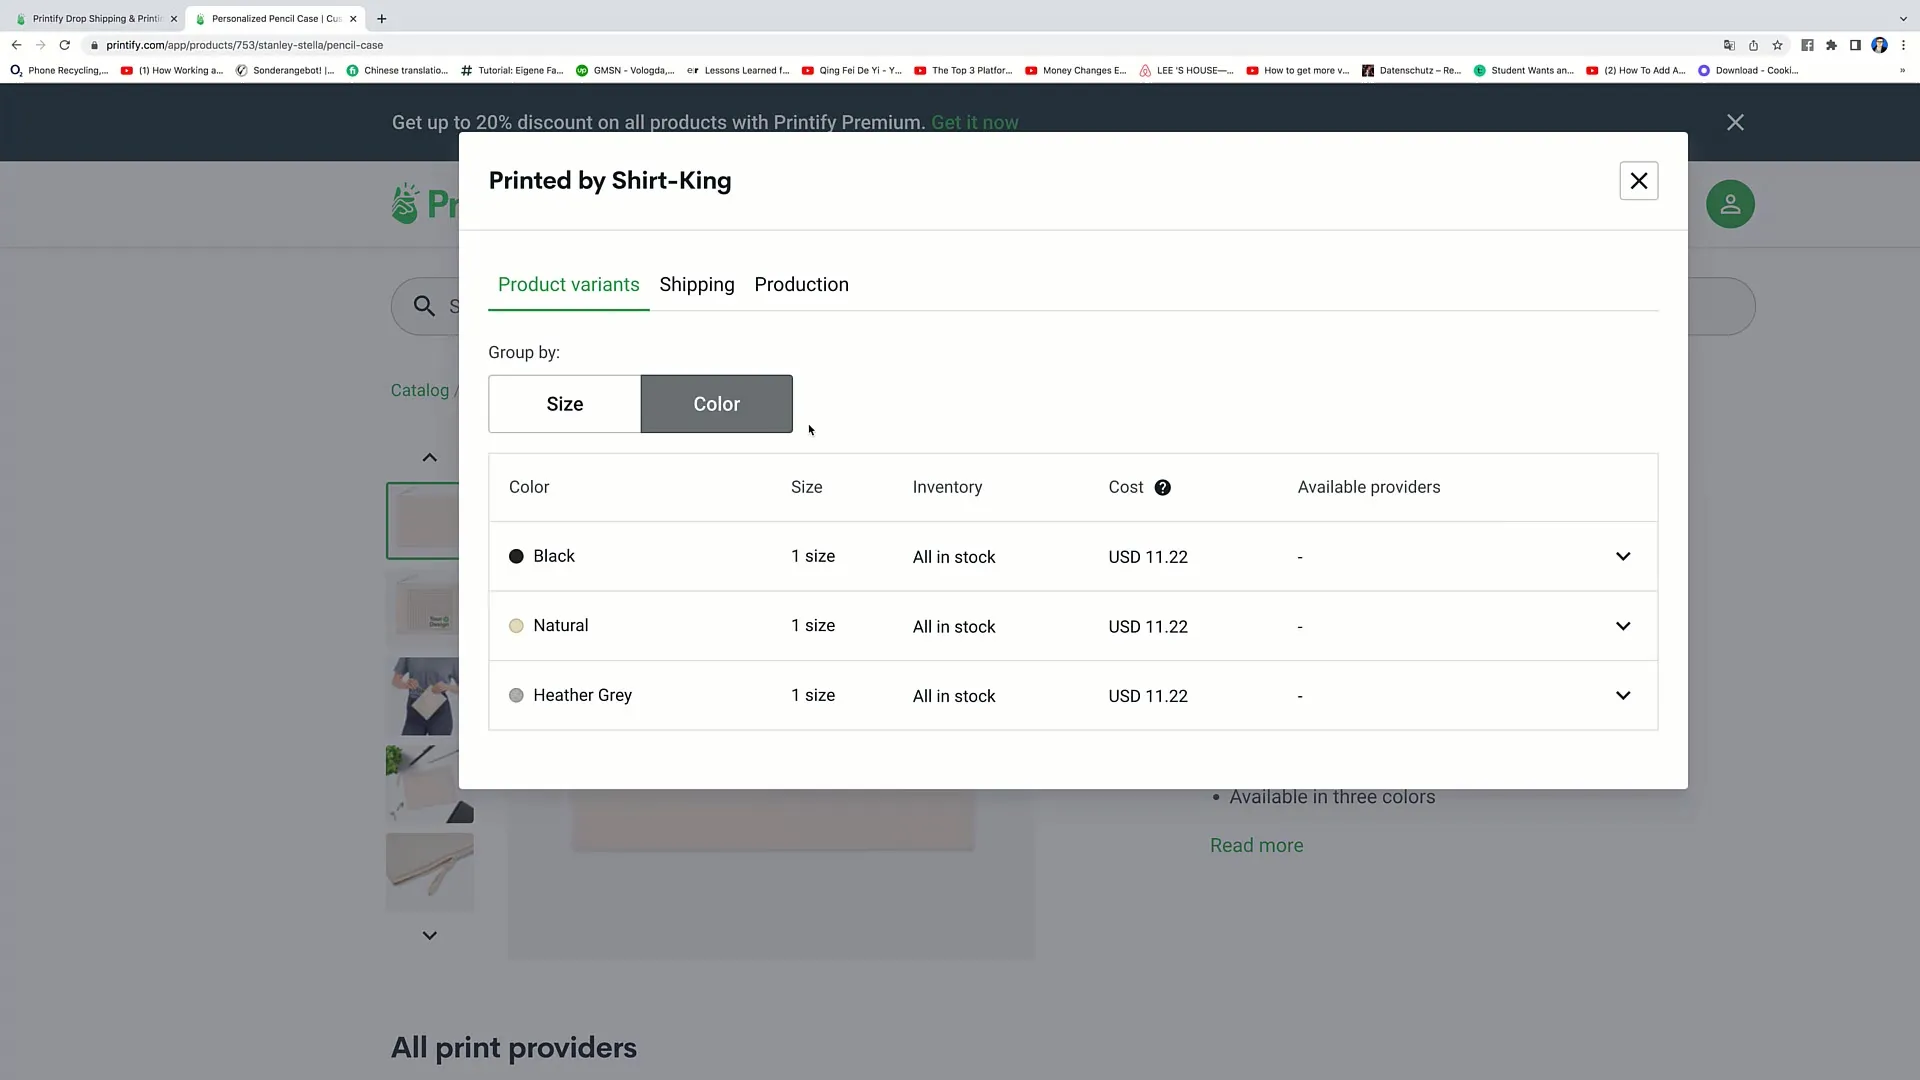
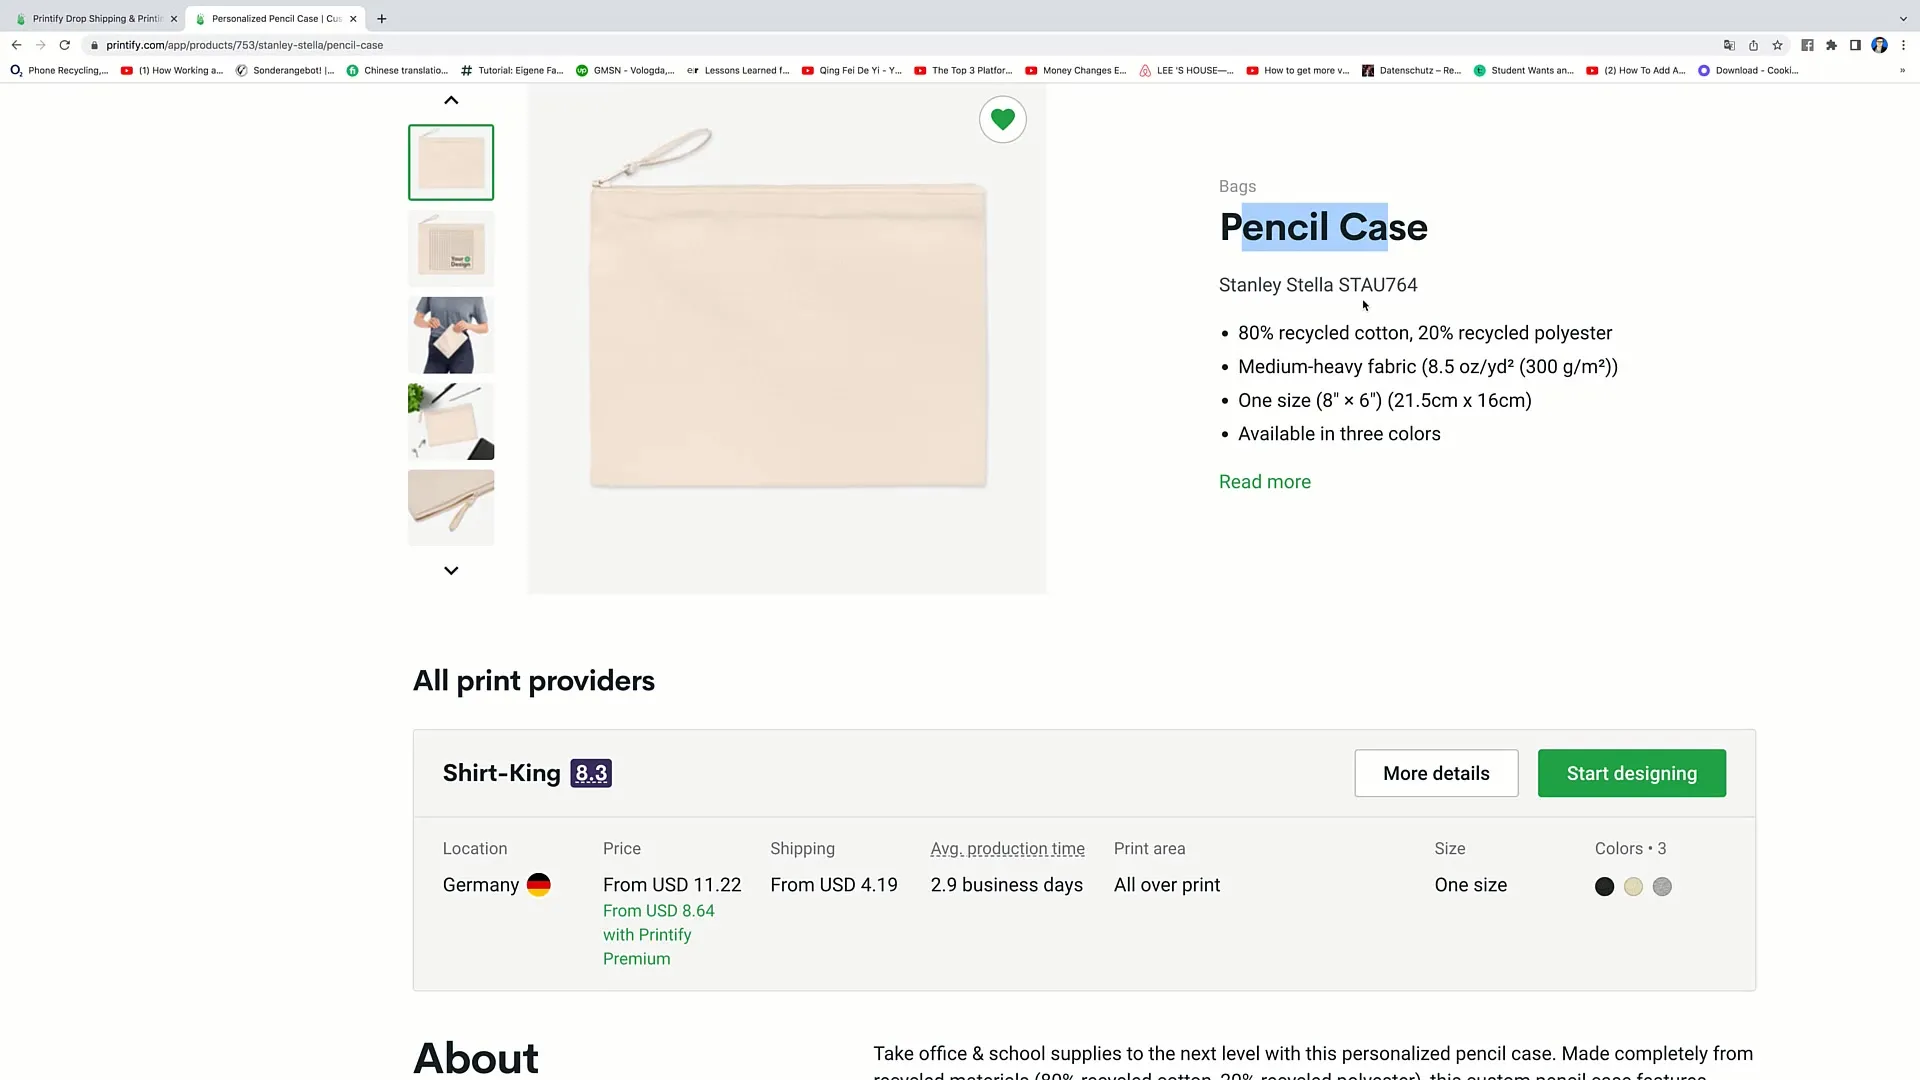
Once you have found an interesting product, click on it to learn more details. Each product displays key features, such as material, weight, and available colors. It's important to take note of this information to ensure the product meets your requirements.
Step 6: Selecting a Printing Provider
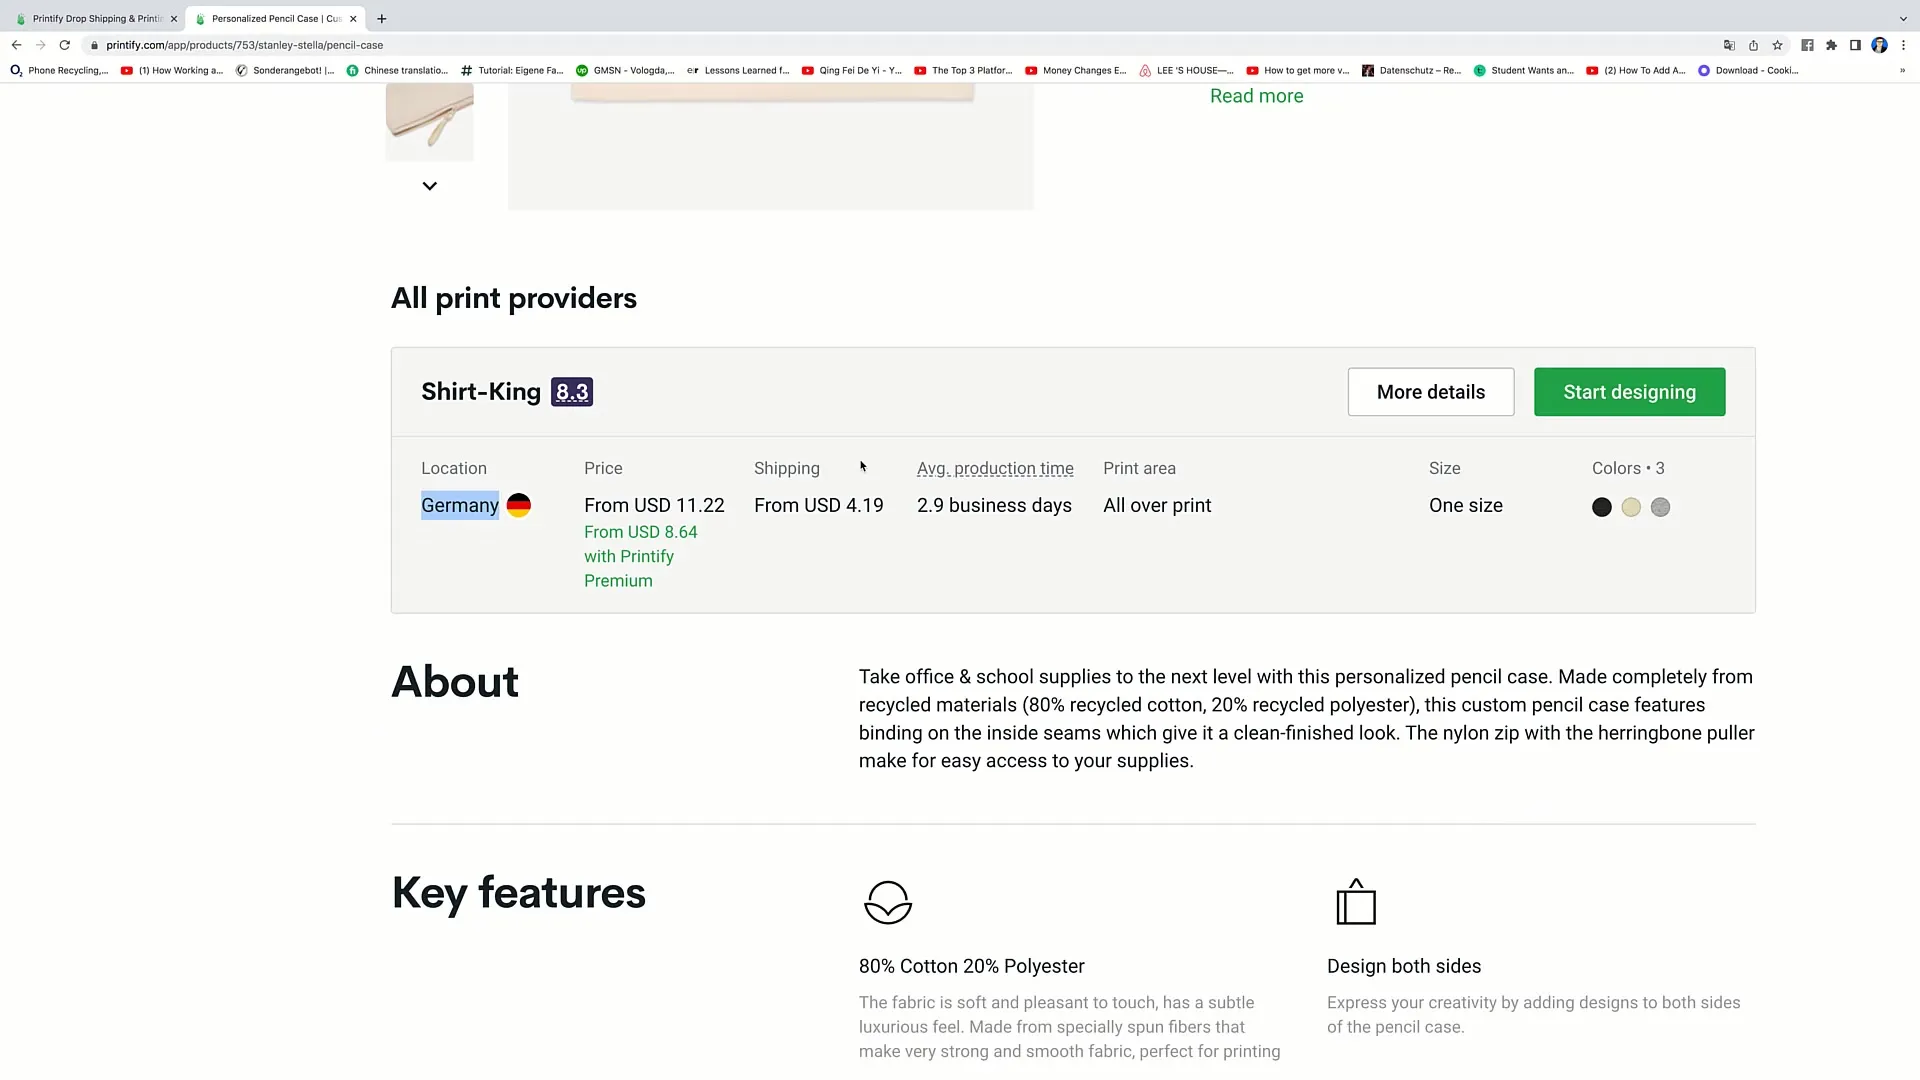
After selecting the products, it is crucial to choose the right printing provider. Pay attention to where the provider is located, especially if you plan to sell internationally. A provider in your country can ensure faster delivery times. Avoid providers that produce only in another country if you are not willing to accept longer delays.
Step 7: Product Placement Details
Once you have the product and printing provider information, you can proceed to design your product. Click on "Start Designing" and you will be redirected to Printify's design tool where you can creatively design your product.
Step 8: Creating a Design
In the design tool, you can personalize your chosen product. Upload your designs or use the available design tools to create your custom layout. It's important to ensure that your design is in the correct resolution and supports the file formats.
Summary
In this guide, you have learned how to create a product in Printify. You have learned to navigate the platform, search through the various product offerings, and start the design process. Printify offers you many opportunities to create your own merchandise and sell it successfully.
Frequently Asked Questions
How do I sign up for Printify?You go to the Printify website and click on "Signup" to create an account.
Can I view multiple products at the same time?Yes, you can browse different categories and filter the products by popularity or newest arrivals.
How do I find the printing providers for my product?You can view the printing providers on the product page and should pay attention to the location information to optimize shipping times.
What should I do if my desired product is not available?Check the availability on the product page; sometimes a product may be sold out or on backorder.
Can I upload my own designs?Yes, you can upload your designs and customize them in the design tool.


