In this tutorial, I will show you step by step how you can design products in Printify. Printify is a popular platform for print-on-demand that allows you to create and sell custom-designed products. Whether you want to design socks, t-shirts, or other items, this guide will help you create and successfully launch your product.
Key takeaways
When designing products in Printify, it is important to pay attention to the right product selection, the quality of the designs, and understanding market demand. Additionally, you should keep an eye on production times and provider reviews to ensure the best possible customer experience.
Step-by-step guide
To start your own online shop and design products in Printify, follow these steps.
Step 1: Sign Up for Printify
First, you need to sign up for Printify. Go to the Printify website and create an account. Once you have signed up, you can explore your dashboard.
Step 2: View Products
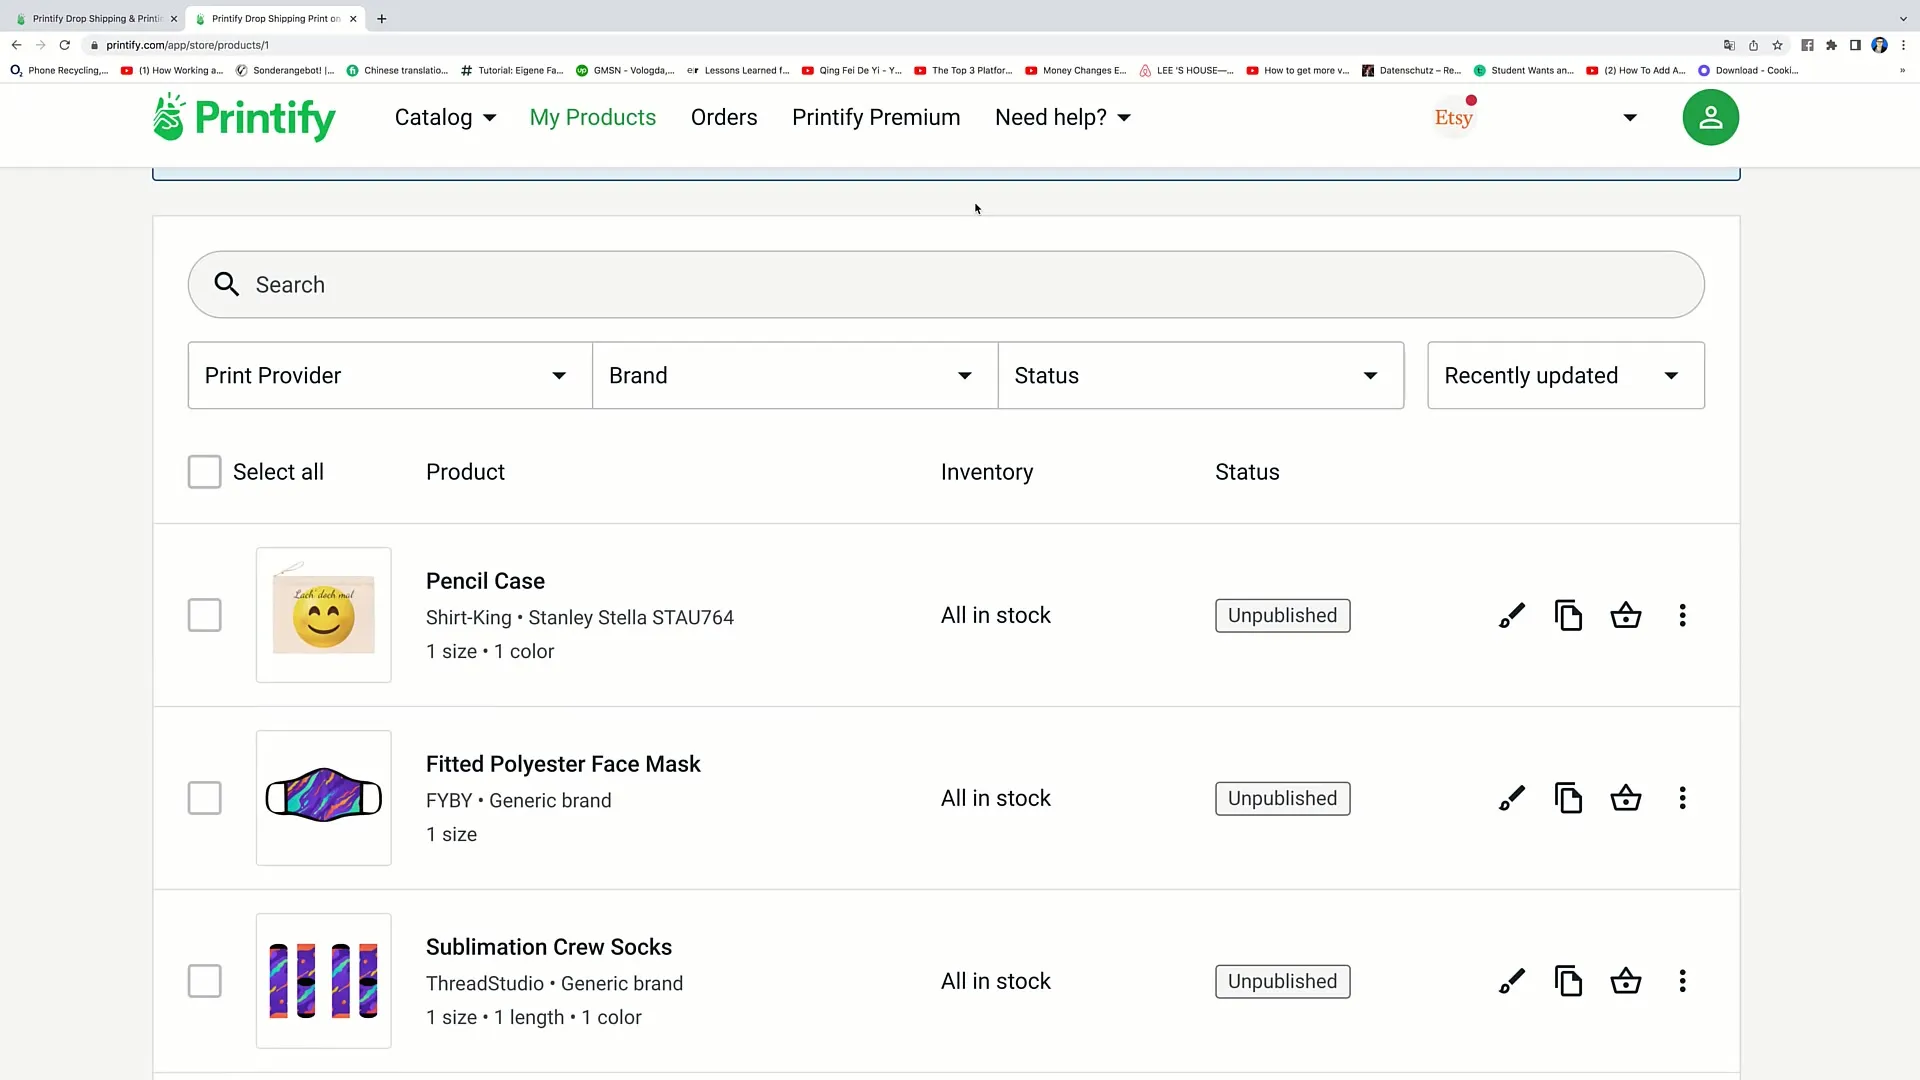
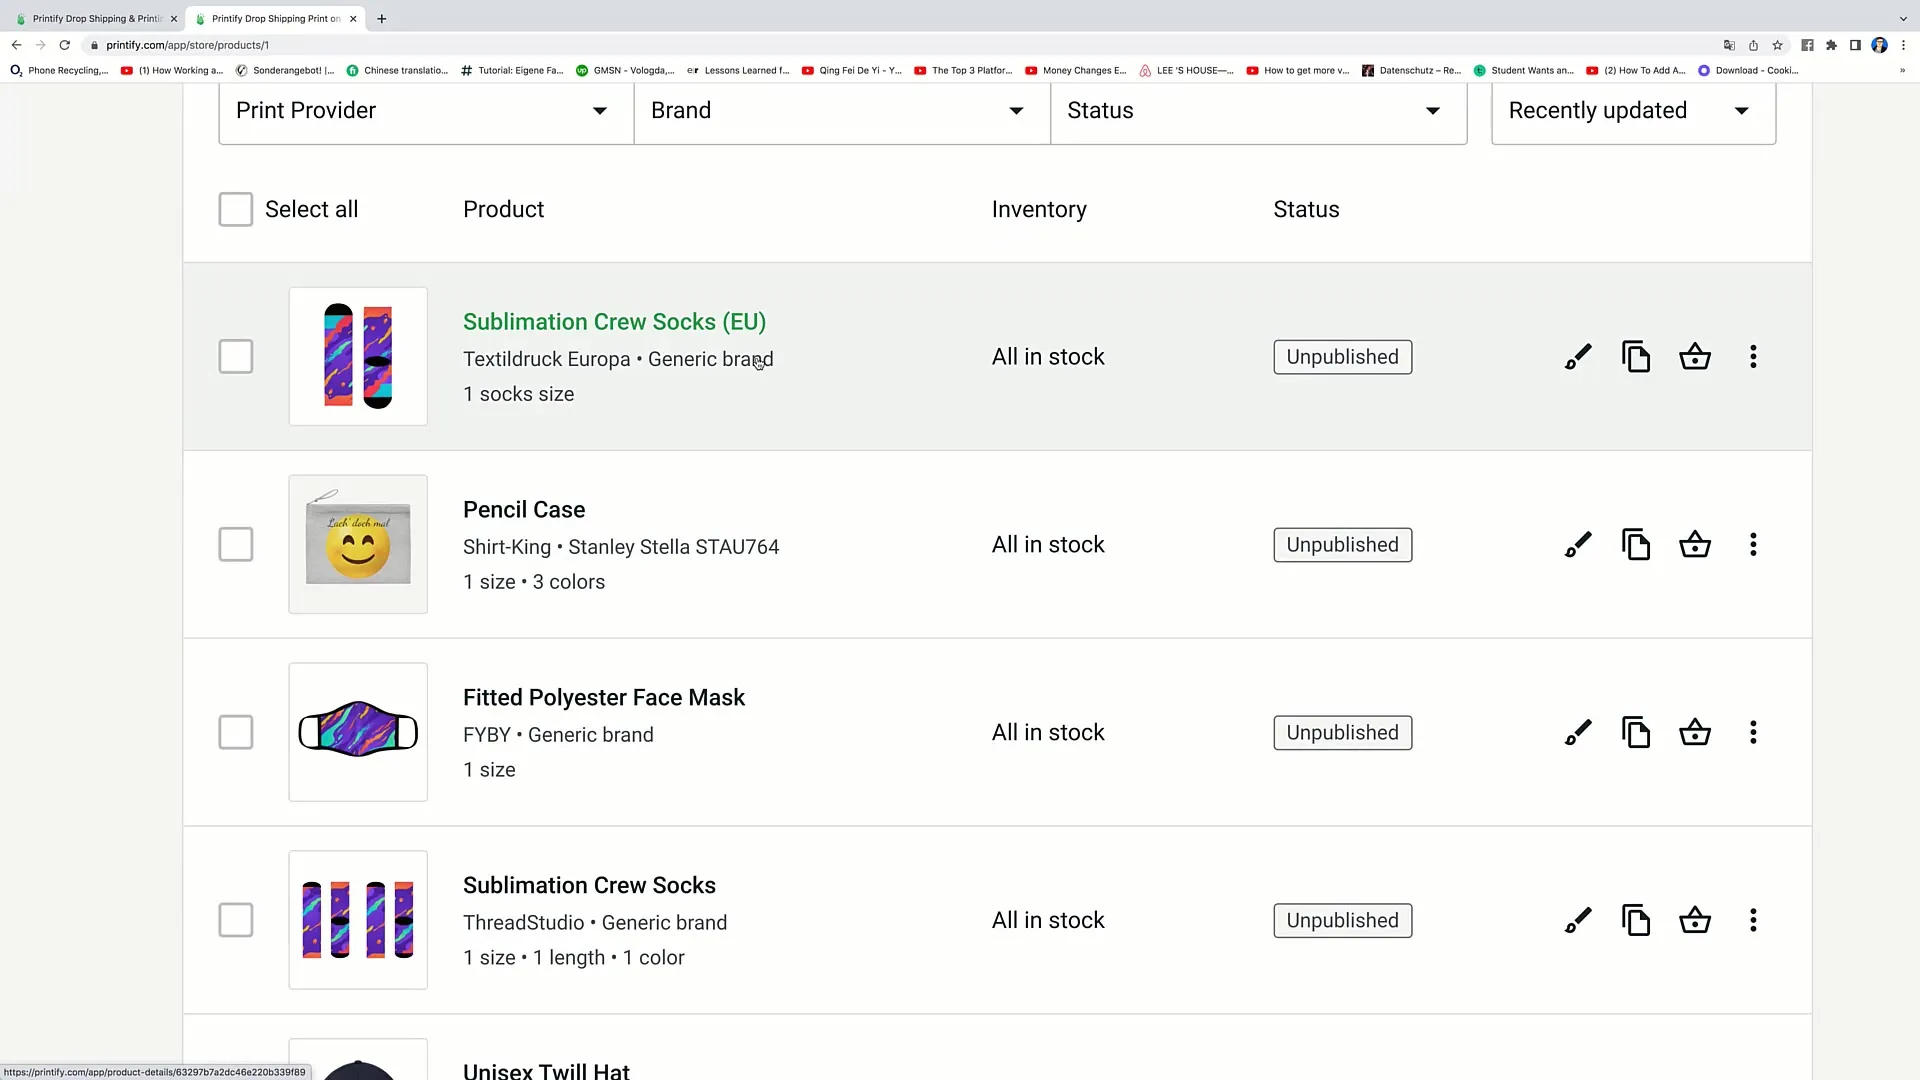
Navigate to your dashboard and click on "My Products." There you will see all the products you have created so far. You can edit, duplicate, or delete already designed products.
Step 3: Edit a Product
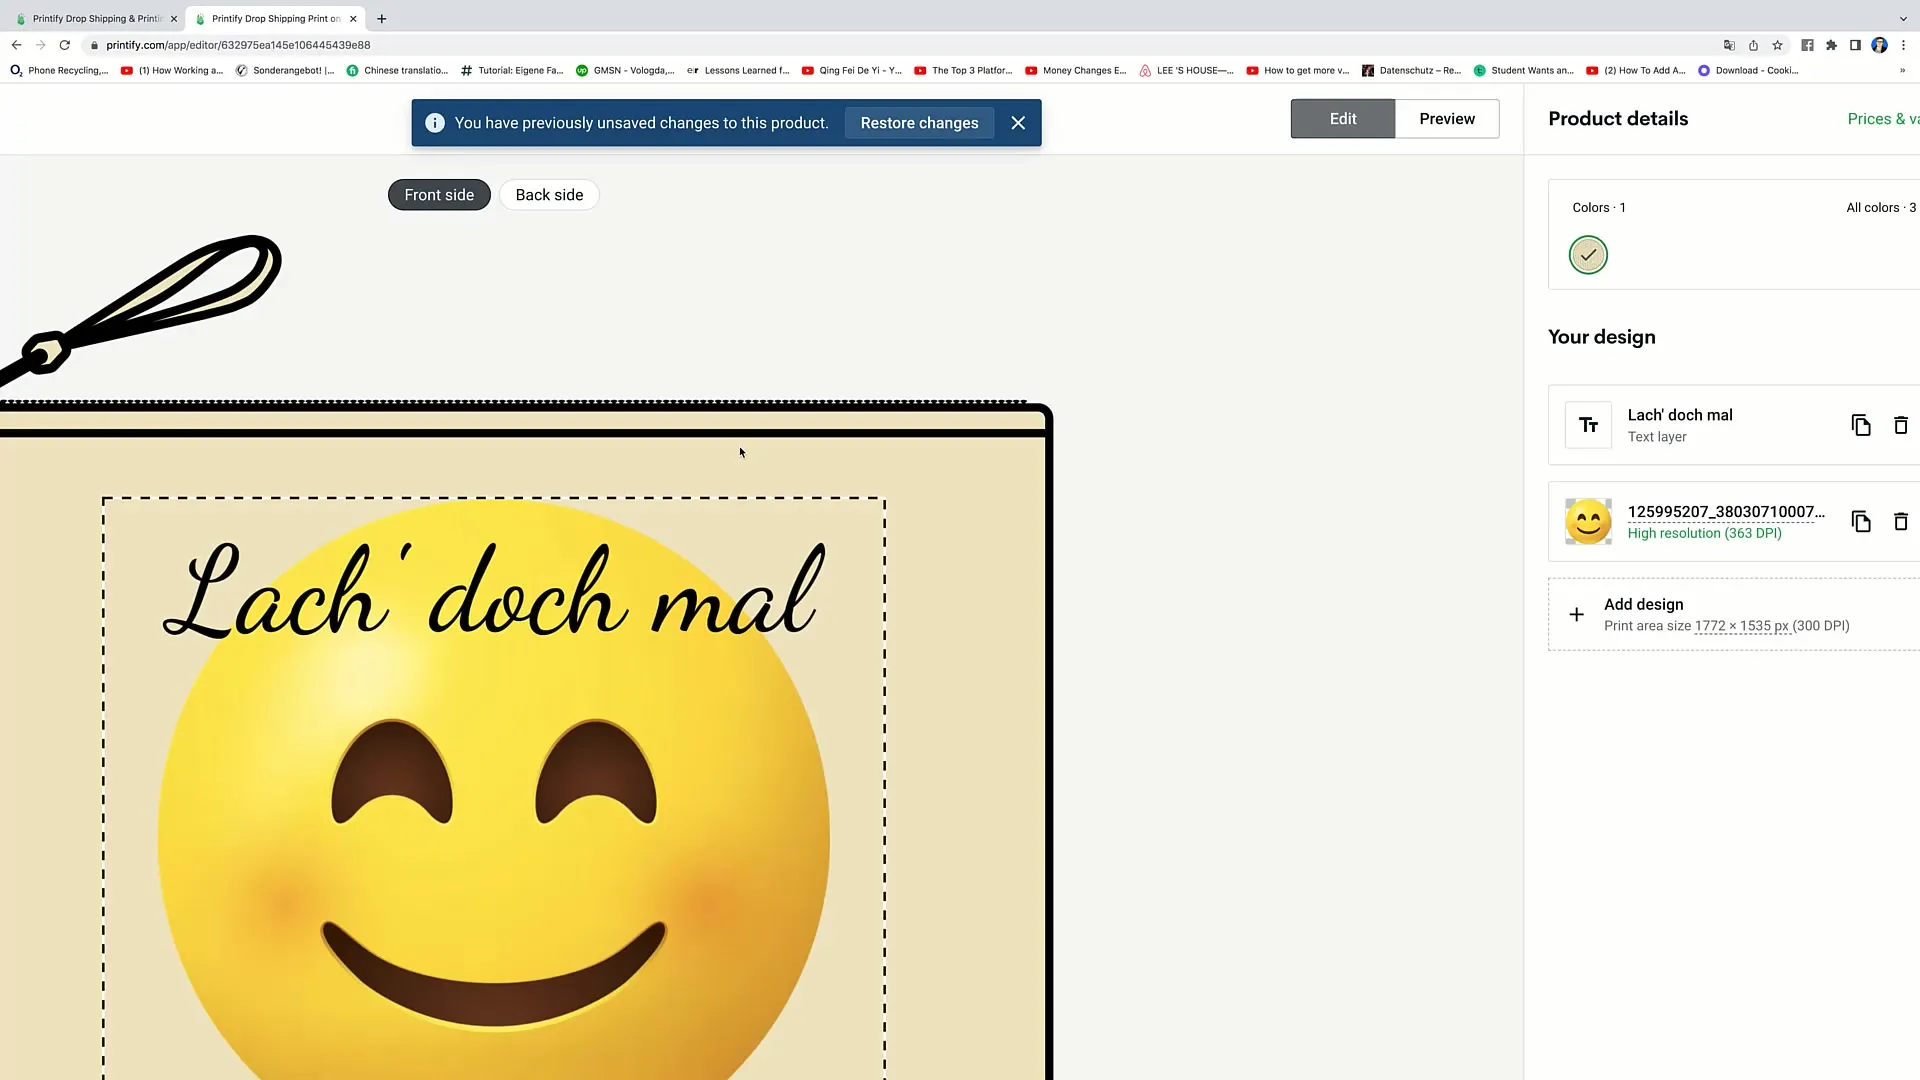
To edit an existing product, click on the small paintbrush icon next to the product. This will take you to the editing interface where you can make changes.
Step 4: Adjust Product Information
In the editing interface, you can choose the color variants for your product. Simply click on the desired colors and set them for sale. After making the changes, remember to click "Save Product" to save your changes.
Step 5: Duplicate and Delete Products
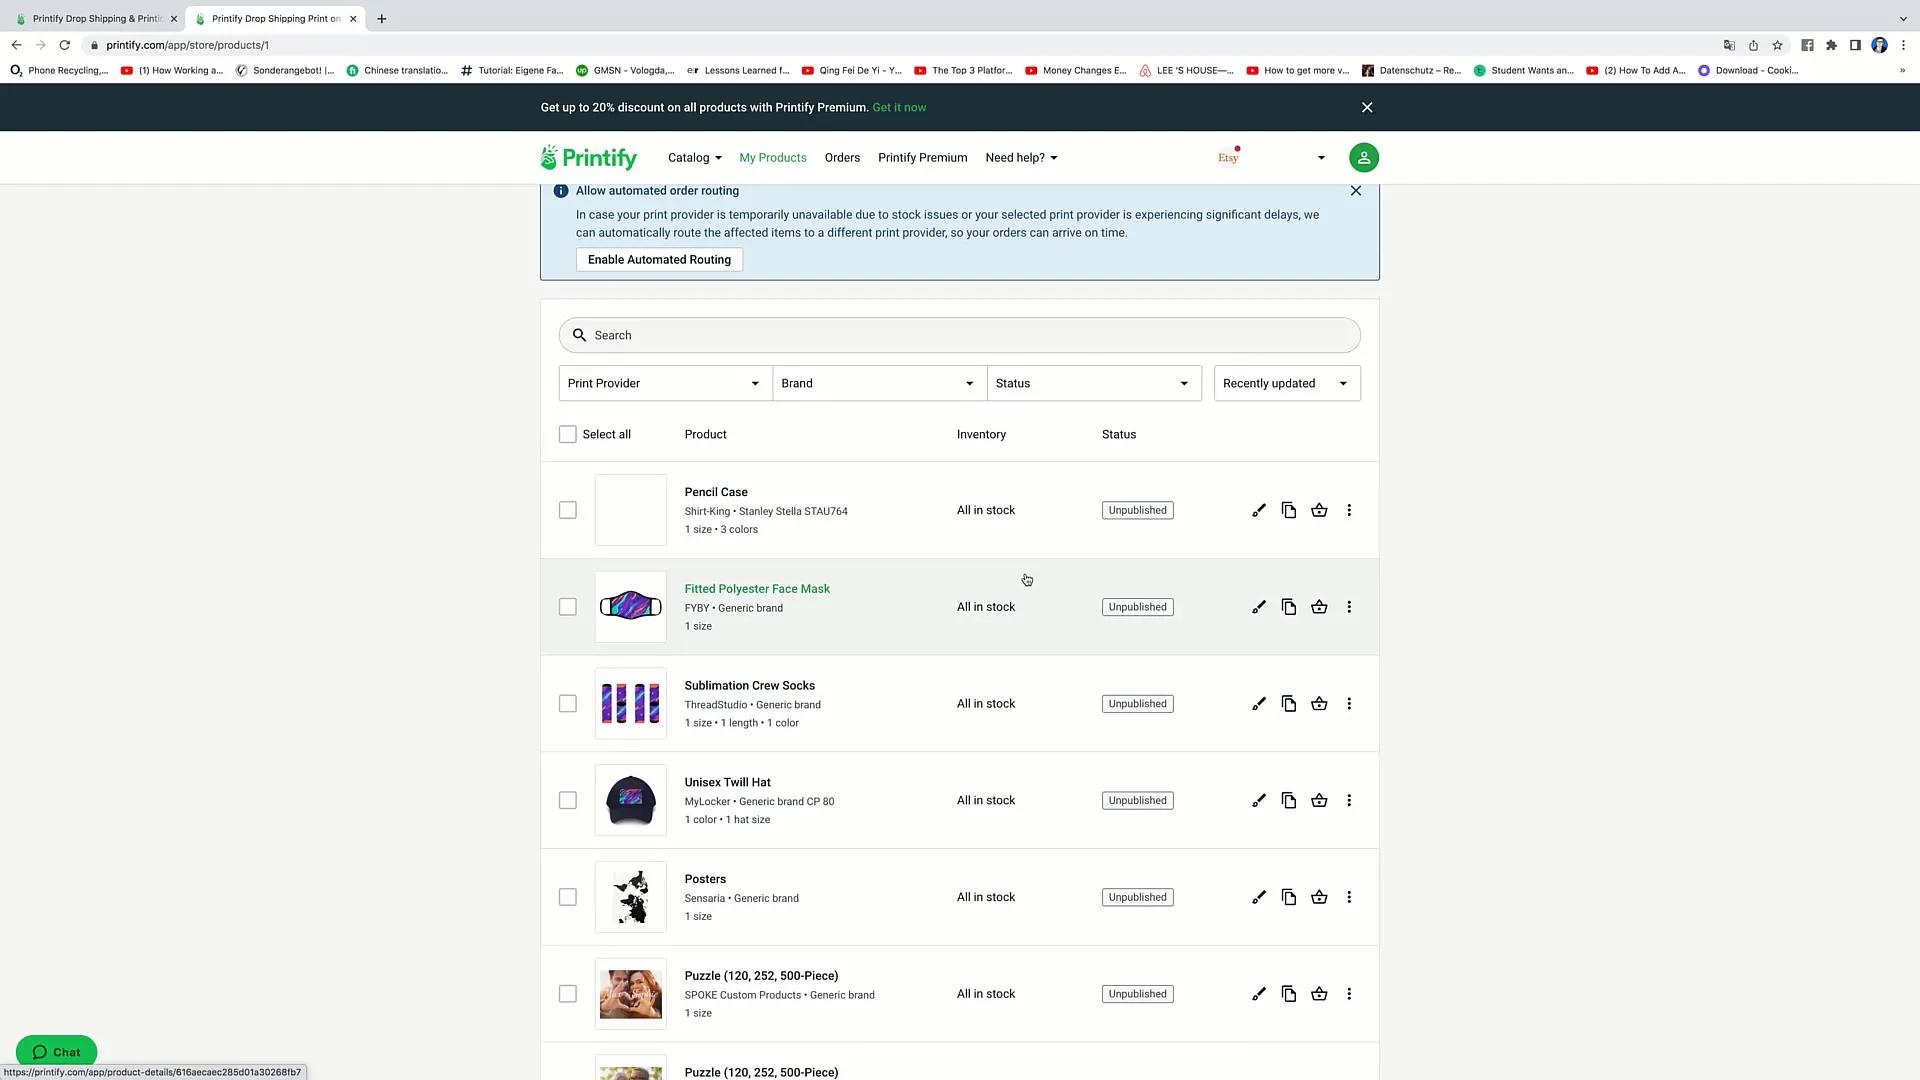
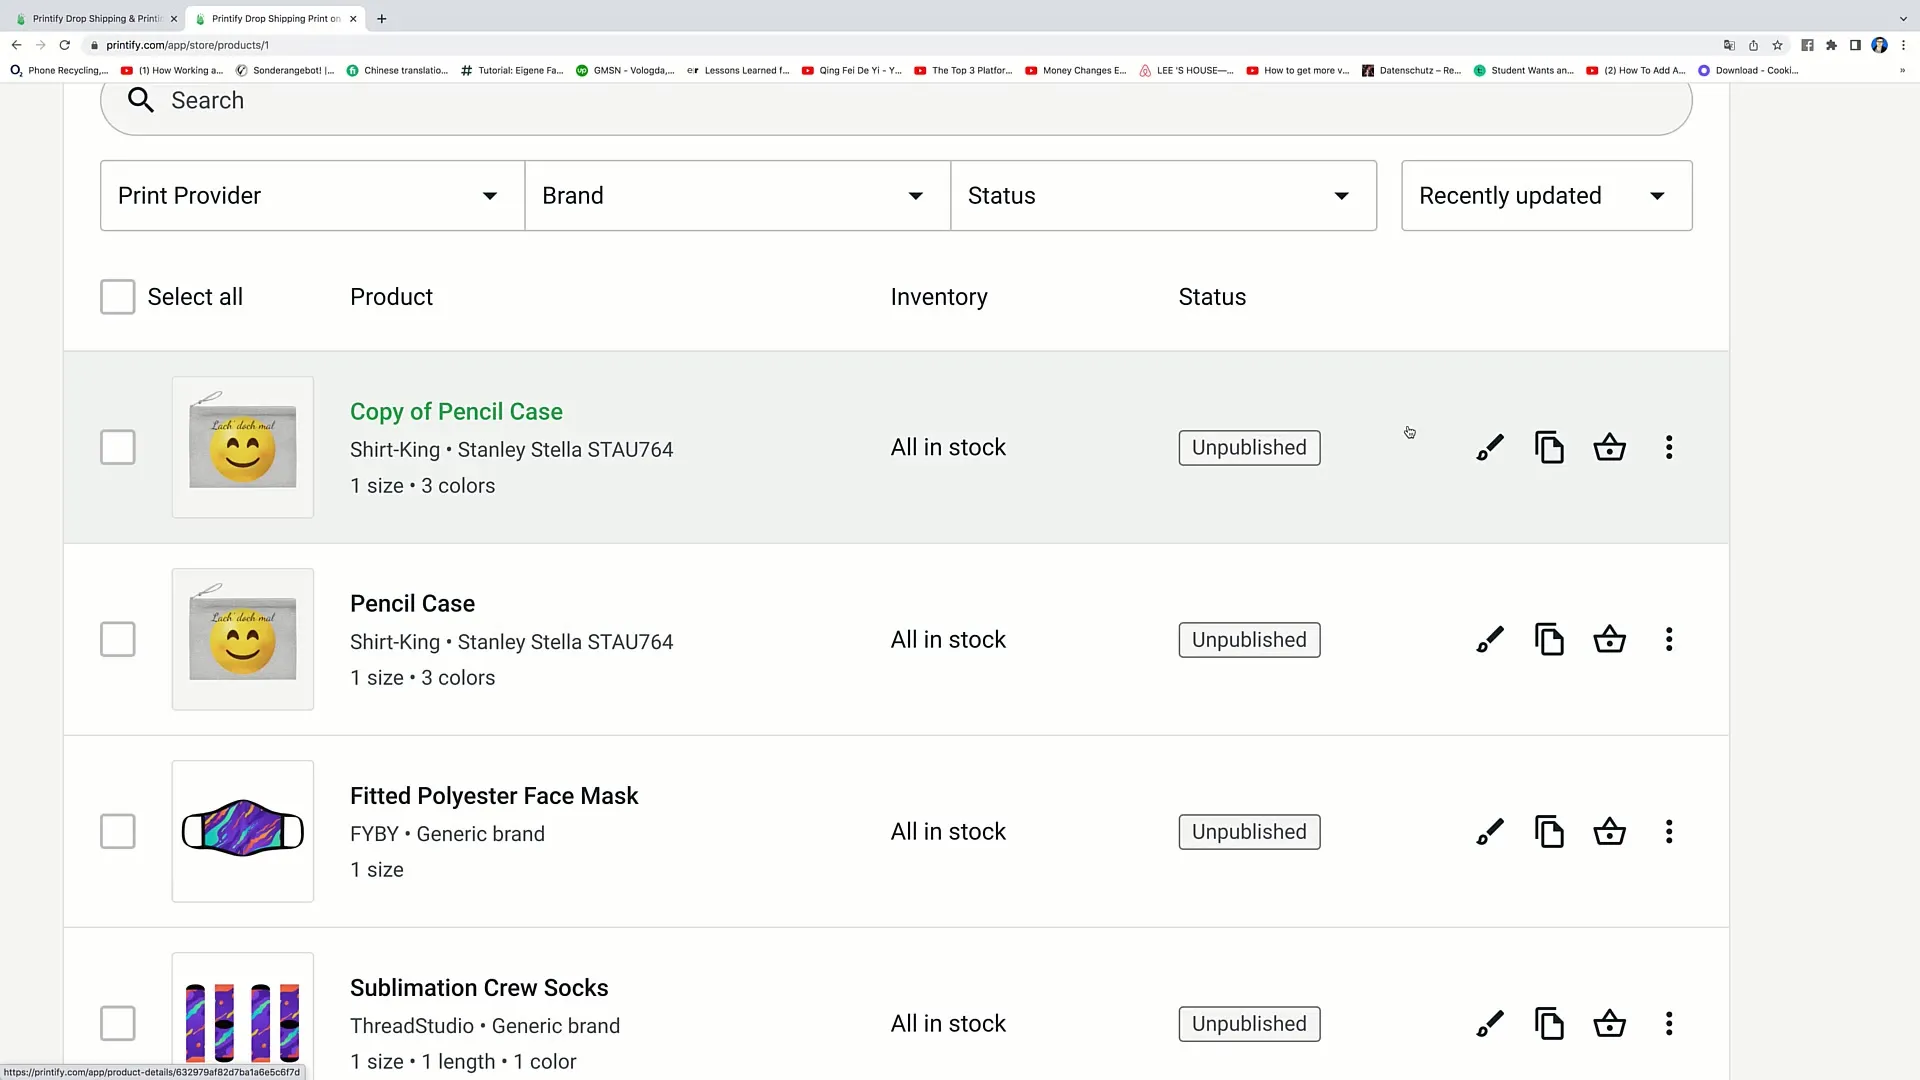
If you want to duplicate a product, you can do so by clicking on "Duplicate." If you wish to delete the product, click on the three dots to the right of the product and select "Delete."
Step 6: Add a New Product
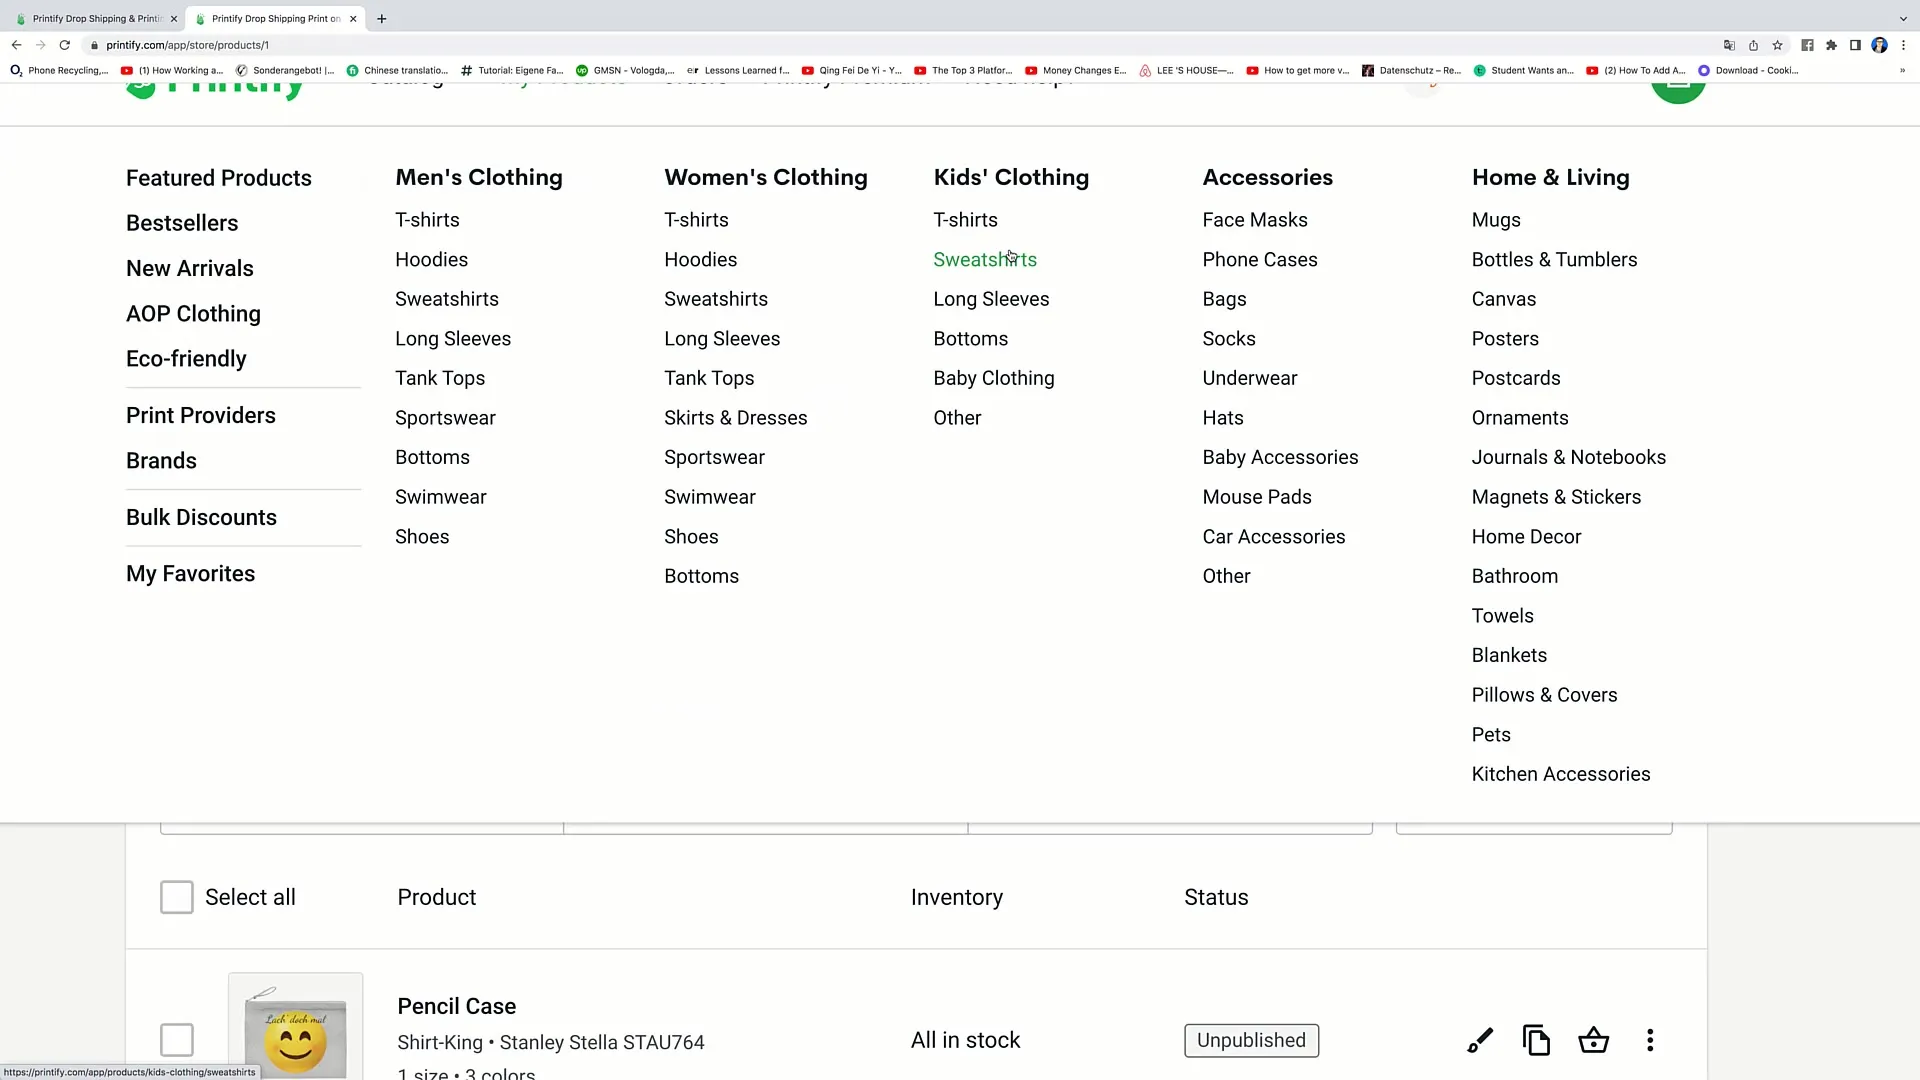
To add a new product, first go to "Catalog." There you can choose from various product categories. For example, if you want to design socks, click on "Socks."
Step 7: Compare Products
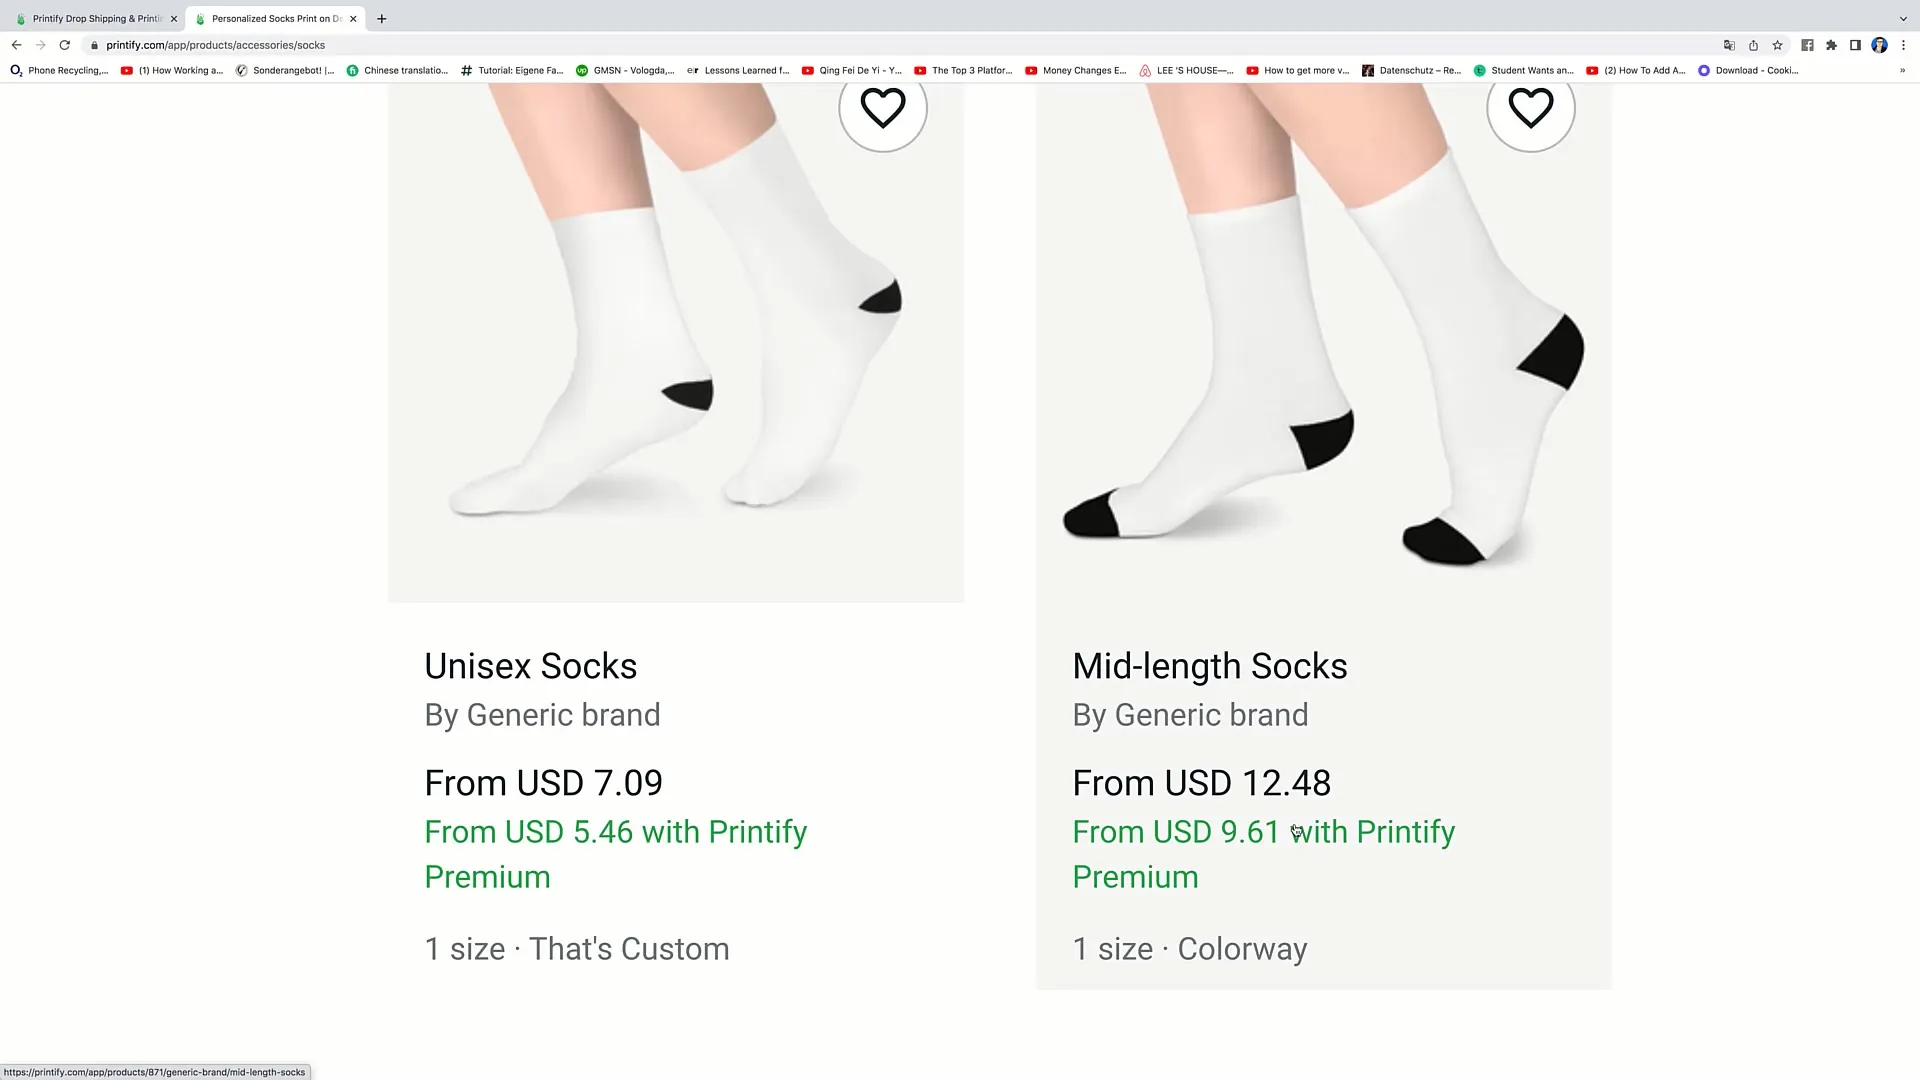
It is important to compare the prices and features of different products. Pay attention to which features are important to your customers. Also, consider which products offer a higher margin to maximize your profit.
Step 8: Select Products
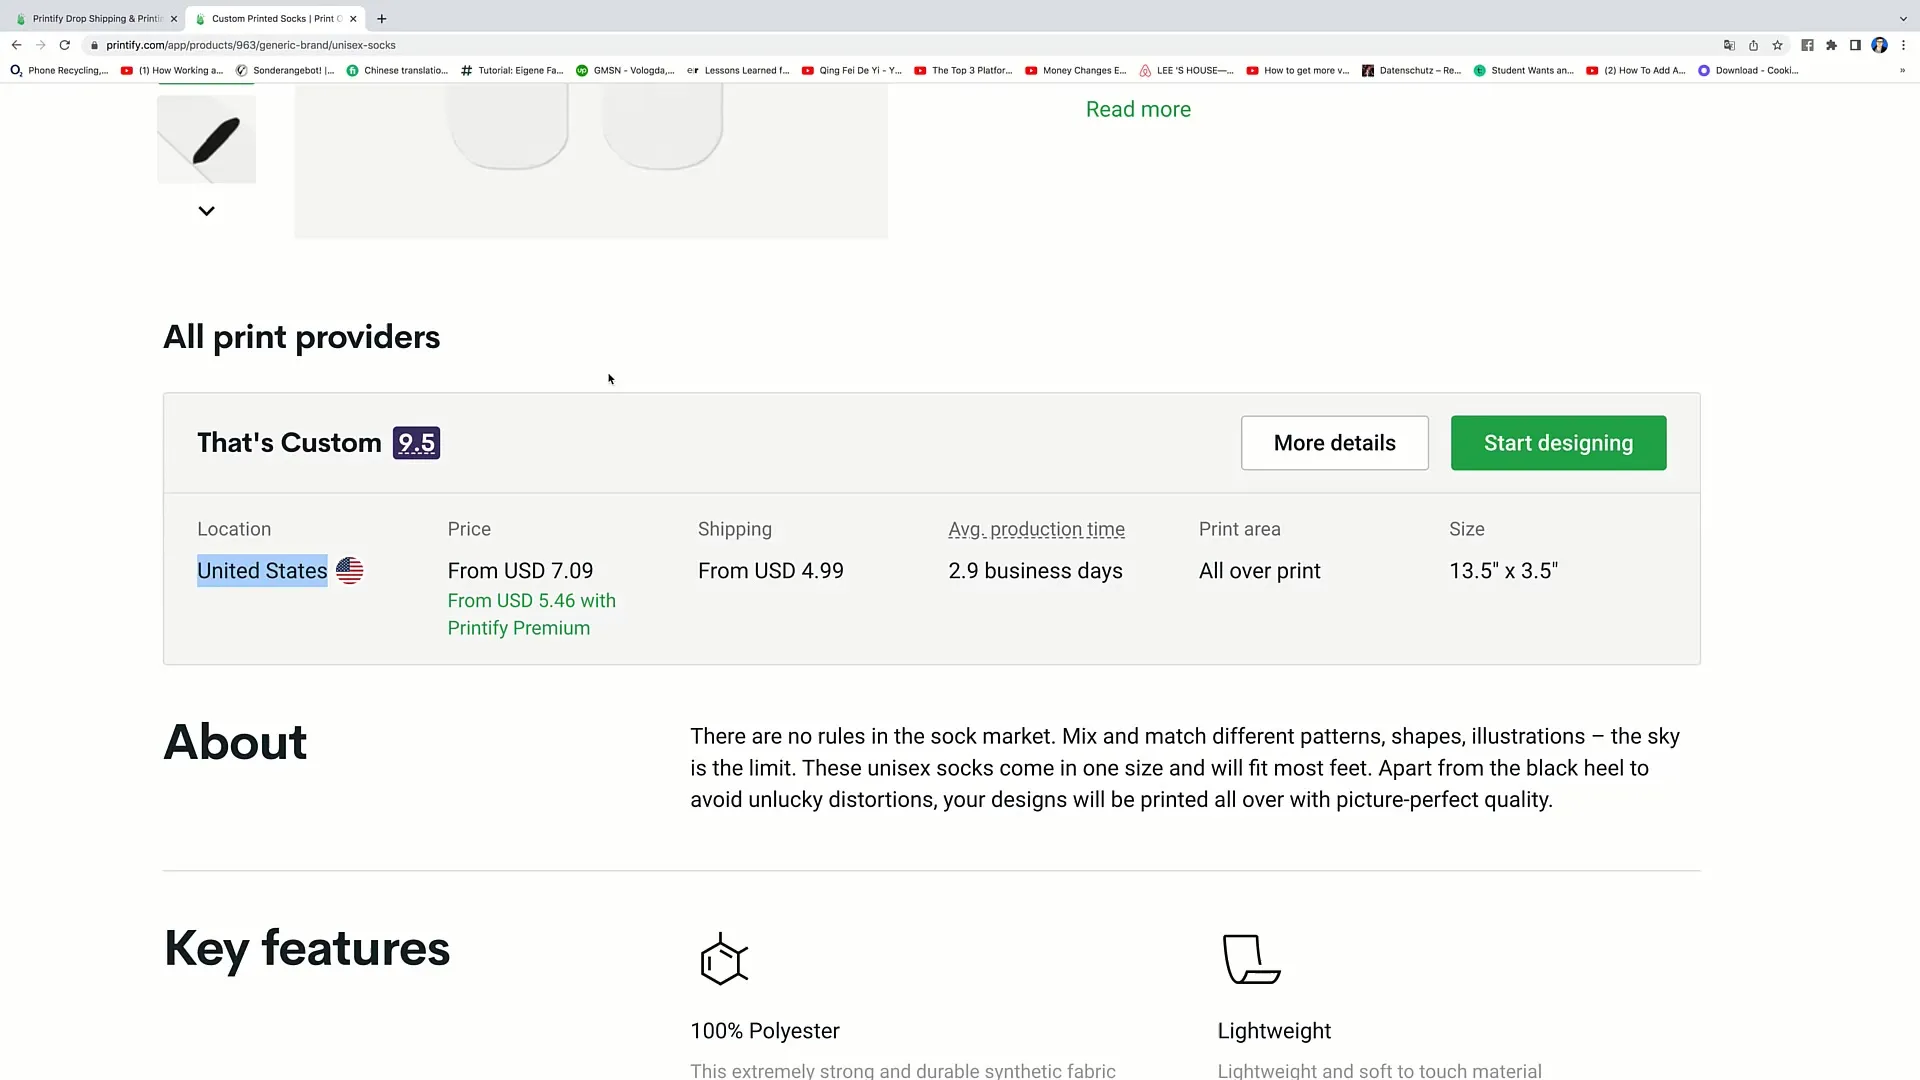
Once you have found the right socks for your design, click on the product to learn more about it. Pay attention to the production locations and delivery times to ensure that your product reaches customers on time.
Step 9: Create Design
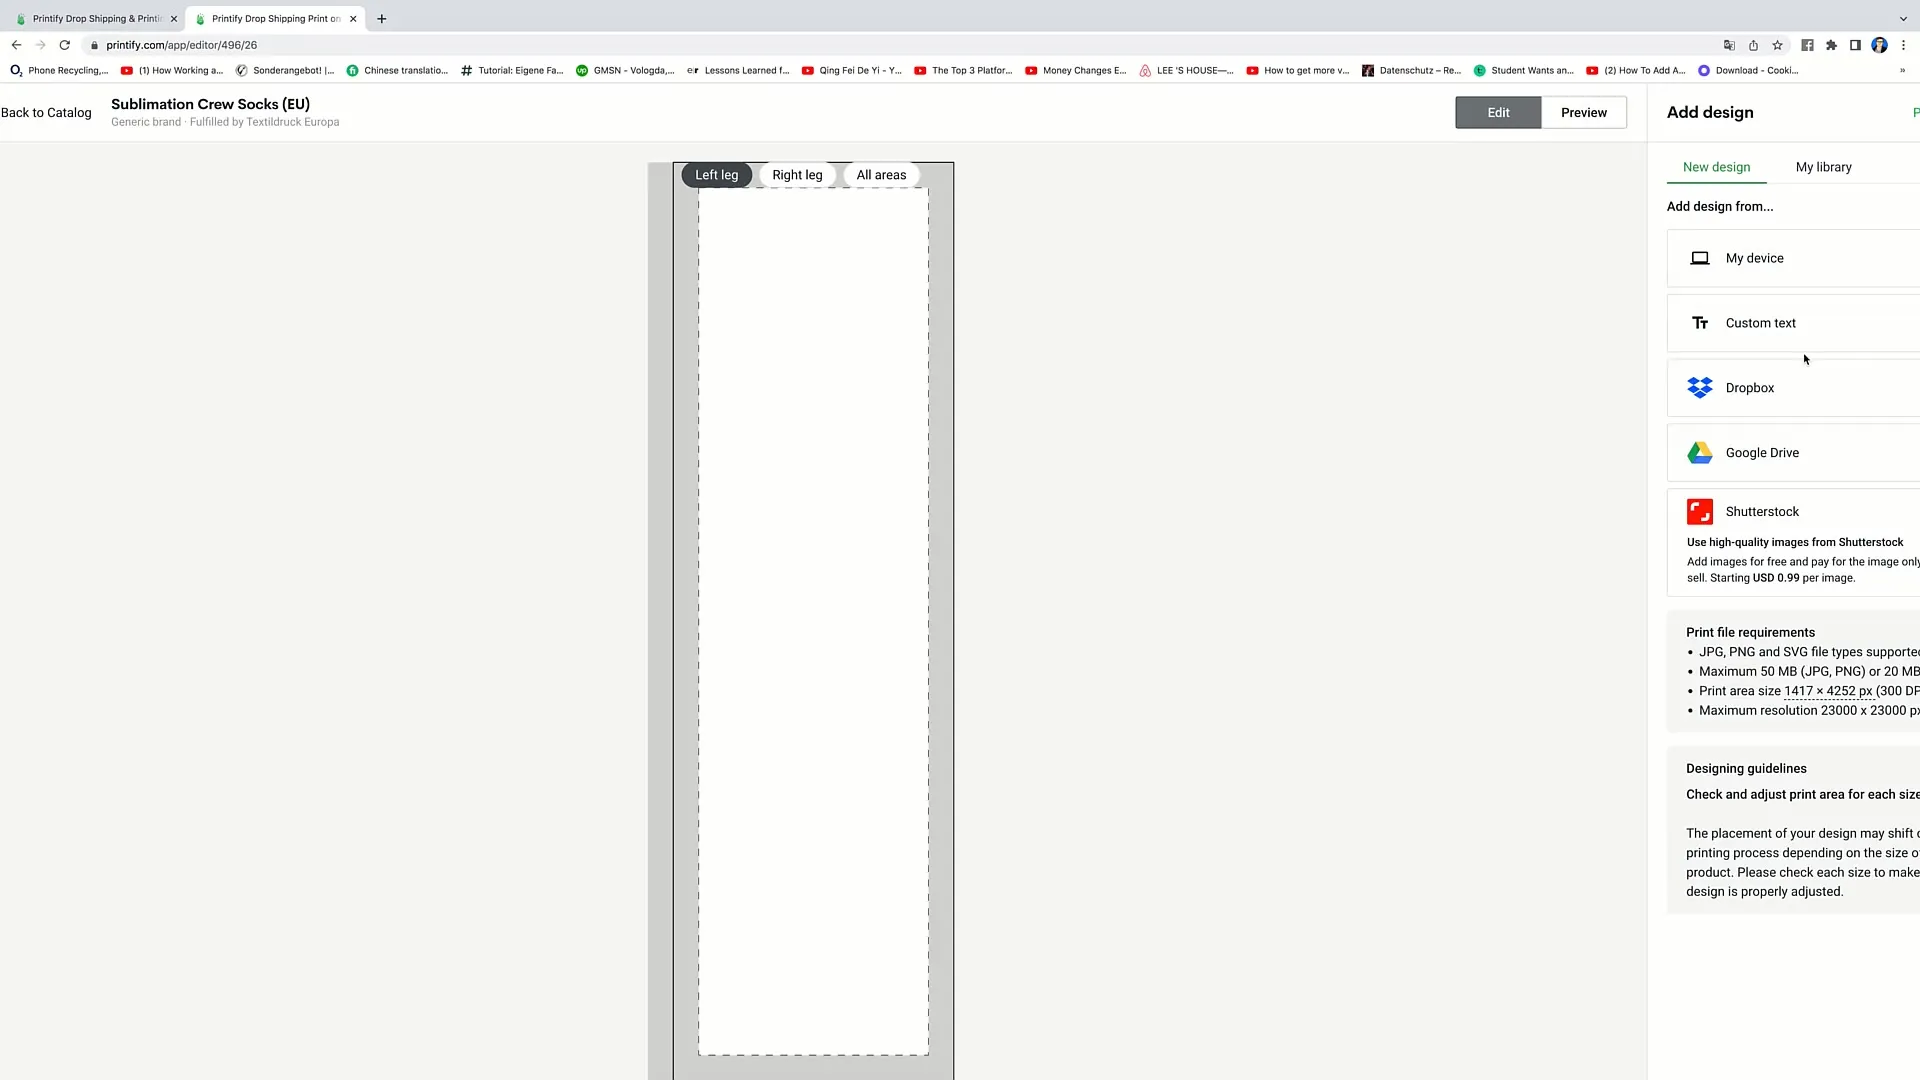
Click on "Start designing" to begin designing your product. You can upload designs, add text, and adjust the placement. Make sure your design has a high resolution to ensure print quality.
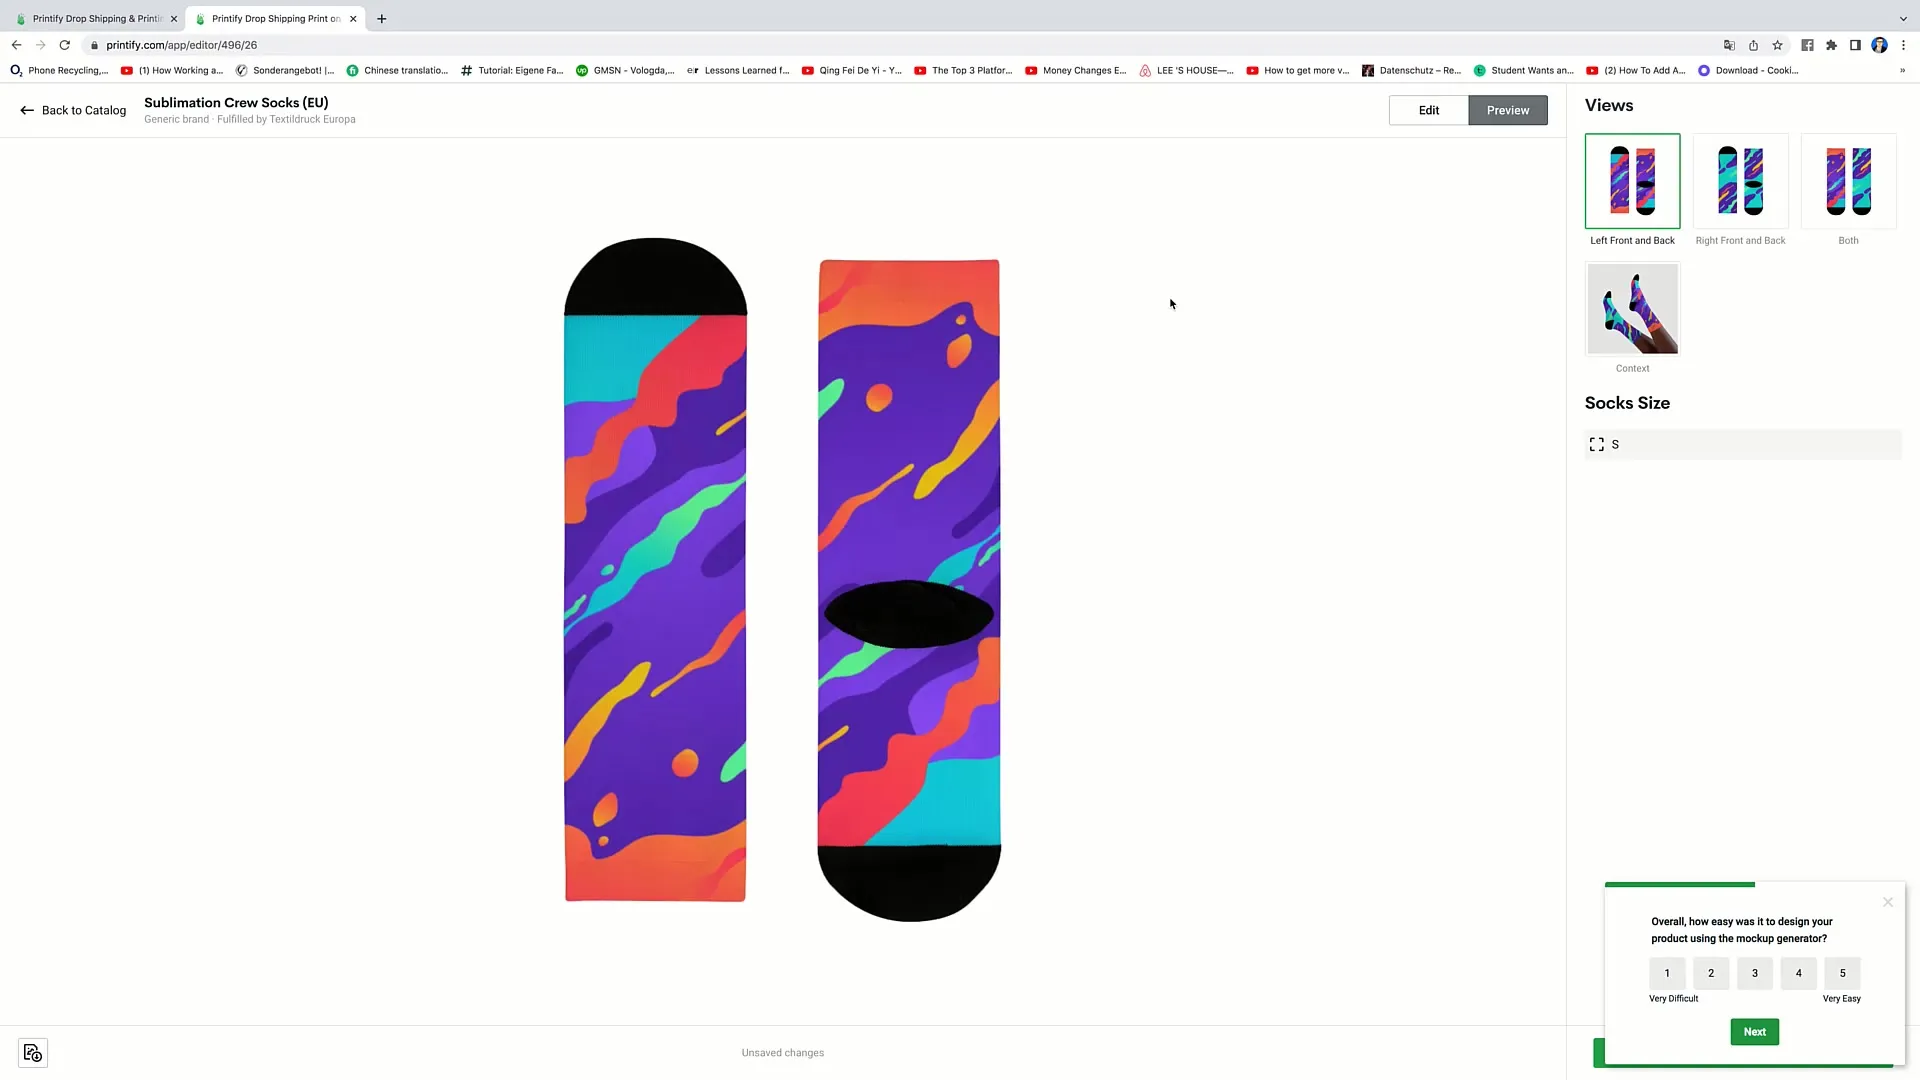
Step 10: Product Preview
After you have created your design, you can display a preview of your product. This way you can see how it will look in the end.
Step 11: Quality Assurance
Before putting the product up for sale, have a sample sent to you. This way you can check the print quality and ensure that the product meets your customers' expectations.
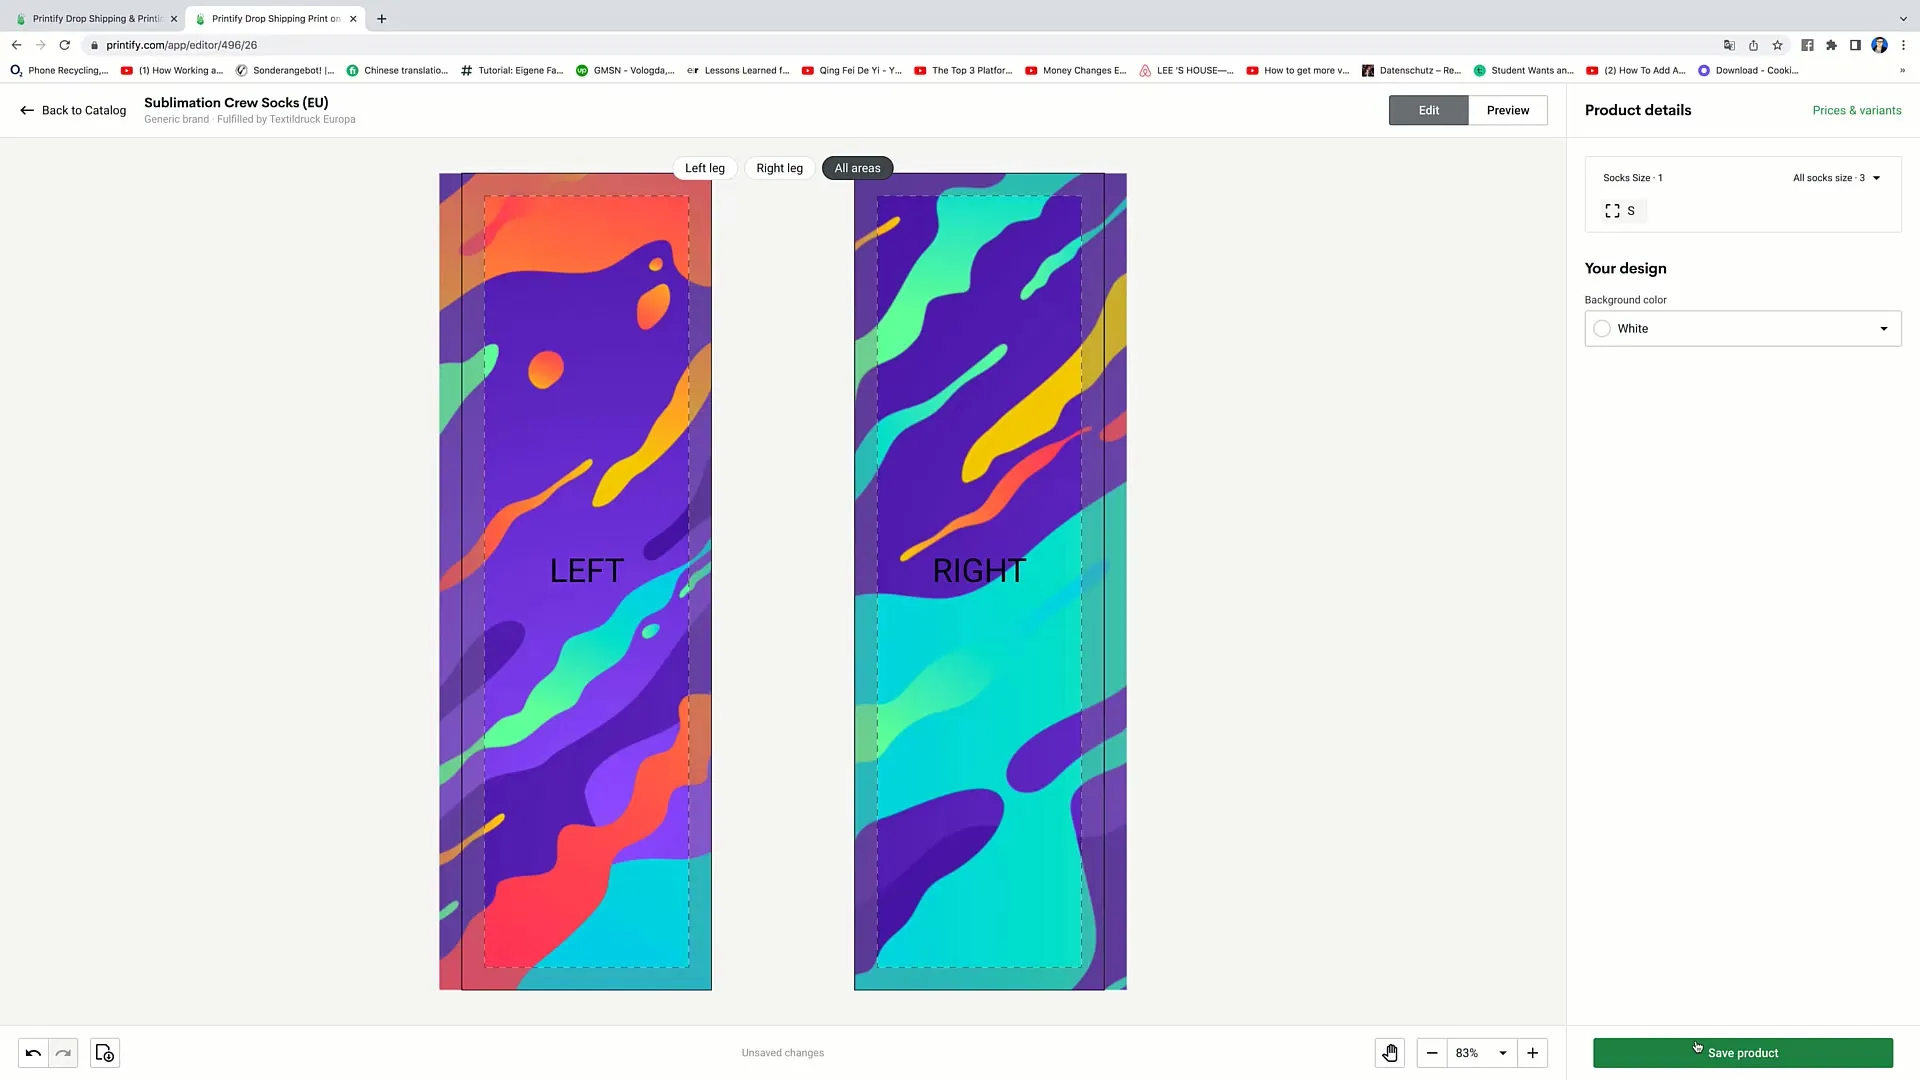
Step 12: Save Changes
If you are satisfied with the design, click on "Save Product" to save it. Your product is now ready for sale.
Summary
In this guide, you have learned how to design products in Printify step by step. It is important to make careful decisions about product selection, use high-quality designs, and pay attention to your customers' needs. This sets the foundation for a successful E-Commerce business.
Frequently Asked Questions
How do I sign up for Printify?Go to the Printify website and create an account.
What can I design in Printify?You can design a variety of products, including clothing, accessories, and household items.
How can I ensure the quality of my designs?Pay attention to high resolution when designing and have a sample sent to you before putting the product up for sale.
How can I compare product prices?In the product catalog view, you can compare the prices and features of different products.
How do I save changes to a product?Simply click on "Save Product" to save your changes.


