In this tutorial, I will show you how to create Facebook Instant Forms to generate leads for your e-commerce business. We will guide you through the entire process step by step, from customizing the display to publishing the form. With the right settings, you can effectively collect the email addresses of potential customers and optimize your marketing strategy. Let's get started!
Key Insights
- With Facebook Instant Forms, you can easily collect email addresses from prospects.
- The choice of form type influences the quality and quantity of leads collected.
- You should add your privacy policy and ensure transparent communication.
- A clear call-to-action increases the likelihood of users filling out your form.
Step-by-Step Guide
Step 1: Set Ad Name
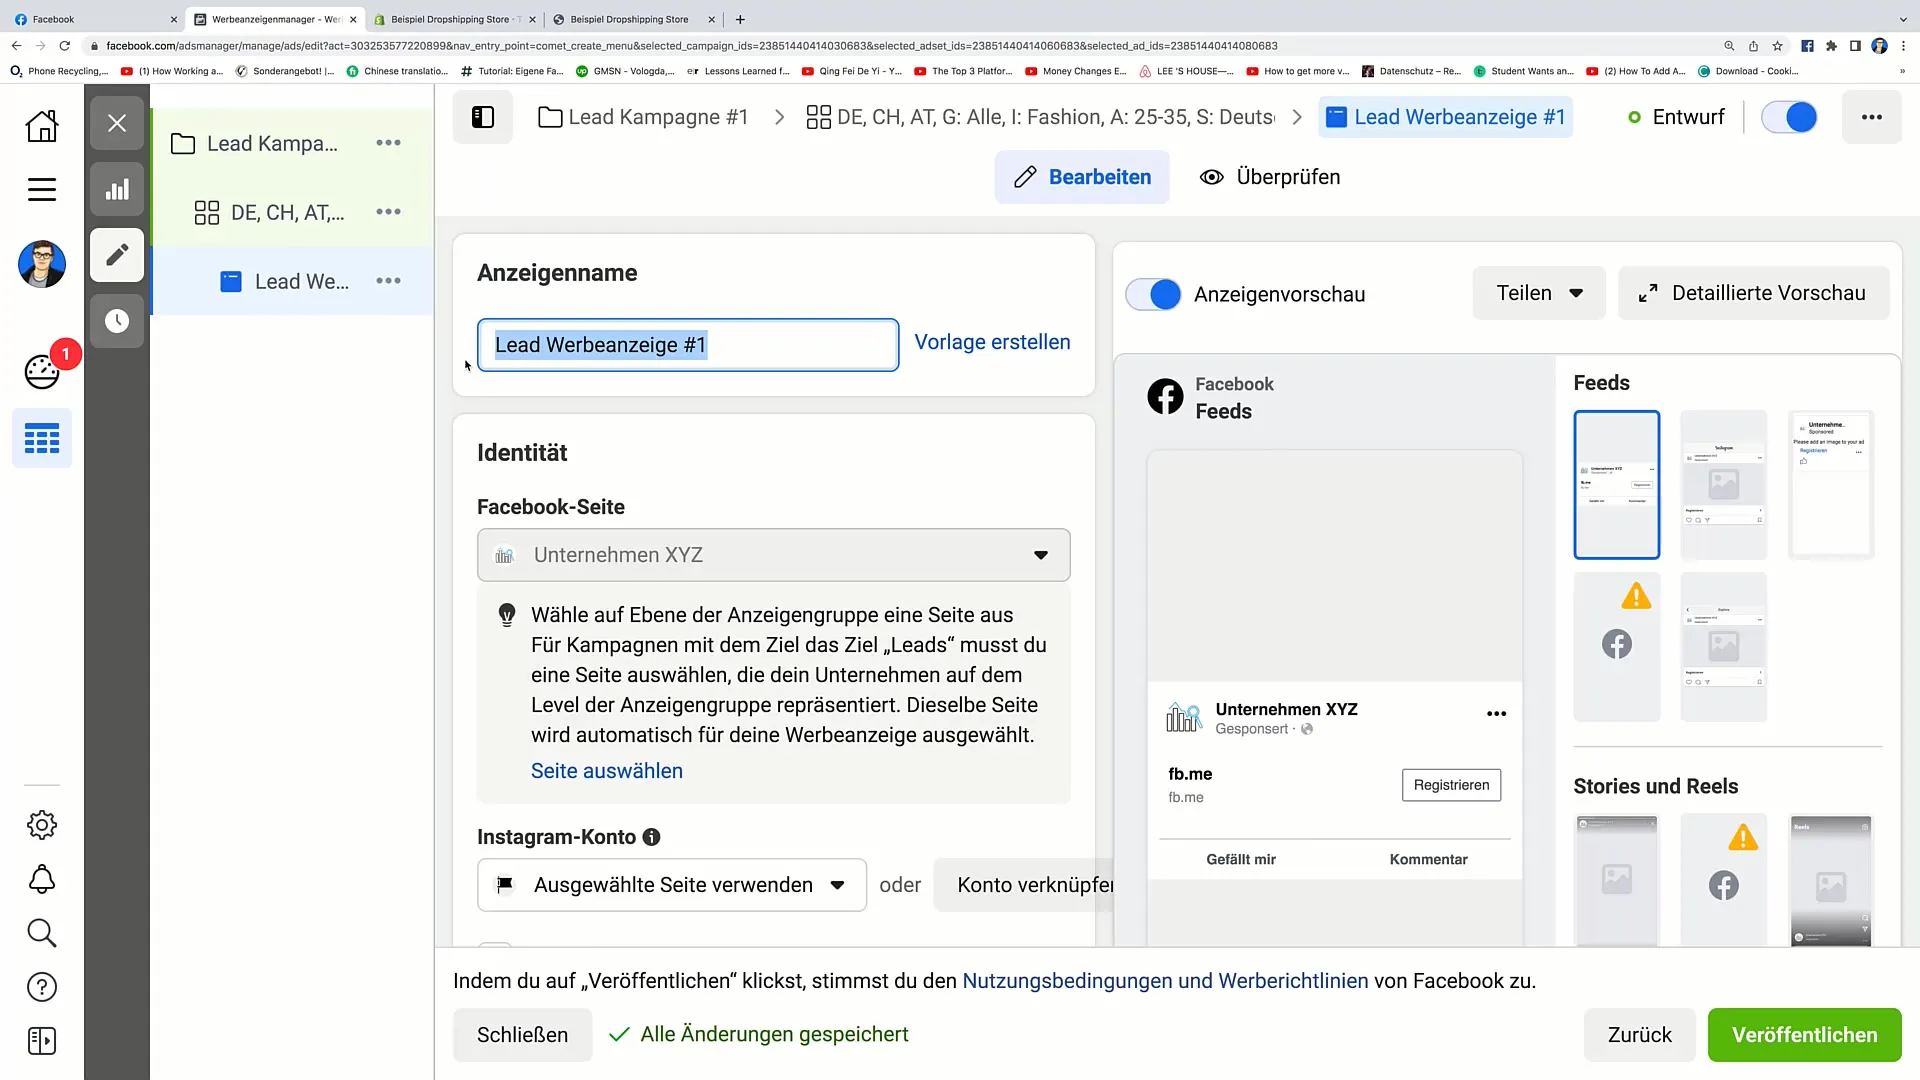
First, we start by setting the ad name in the Ad Manager. If you want, you can enter a specific name for your ad here to easily keep track of it later.
Step 2: Connect Facebook Page
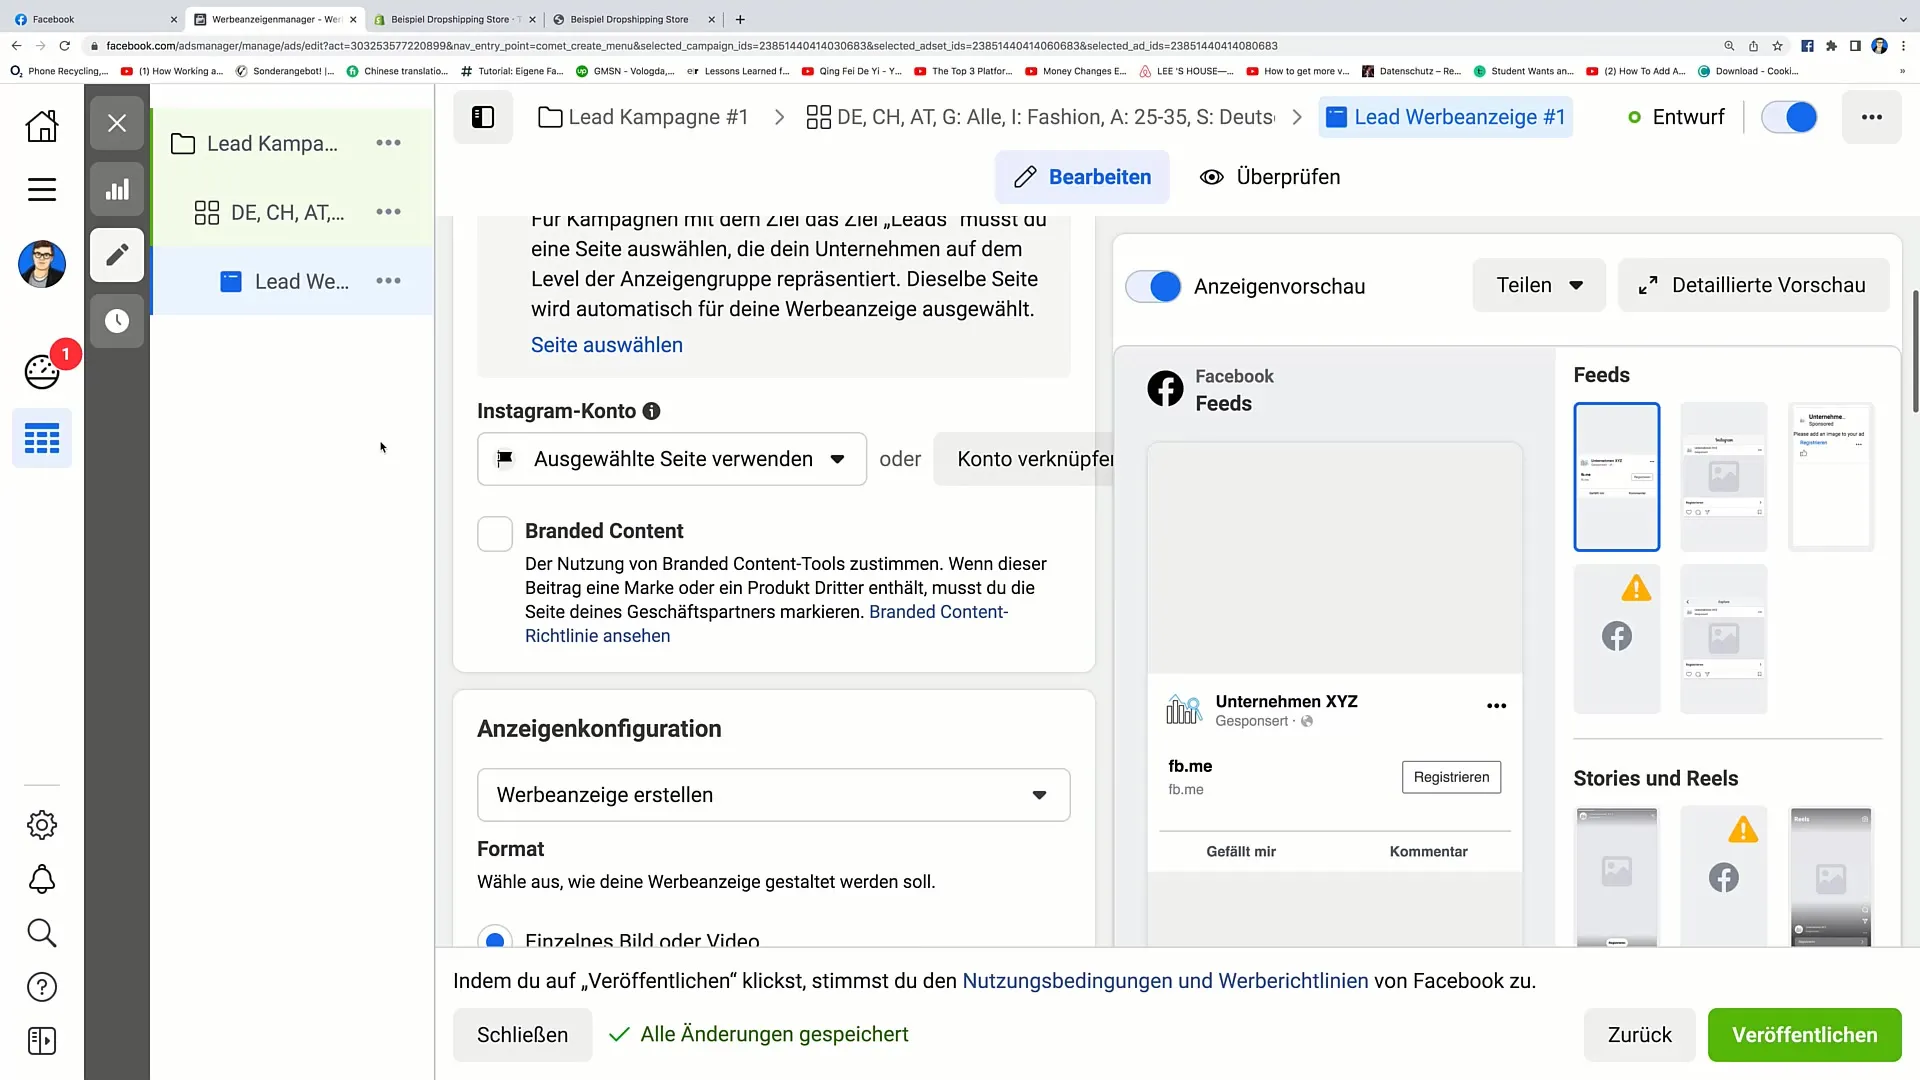
It is important to select your Facebook page to be associated with the ad. This enhances the visibility of your advertisement and ensures that users can easily find your company. You can even link your Instagram account to your Ad Manager to increase the reach of your campaign.
Step 3: Create Ad
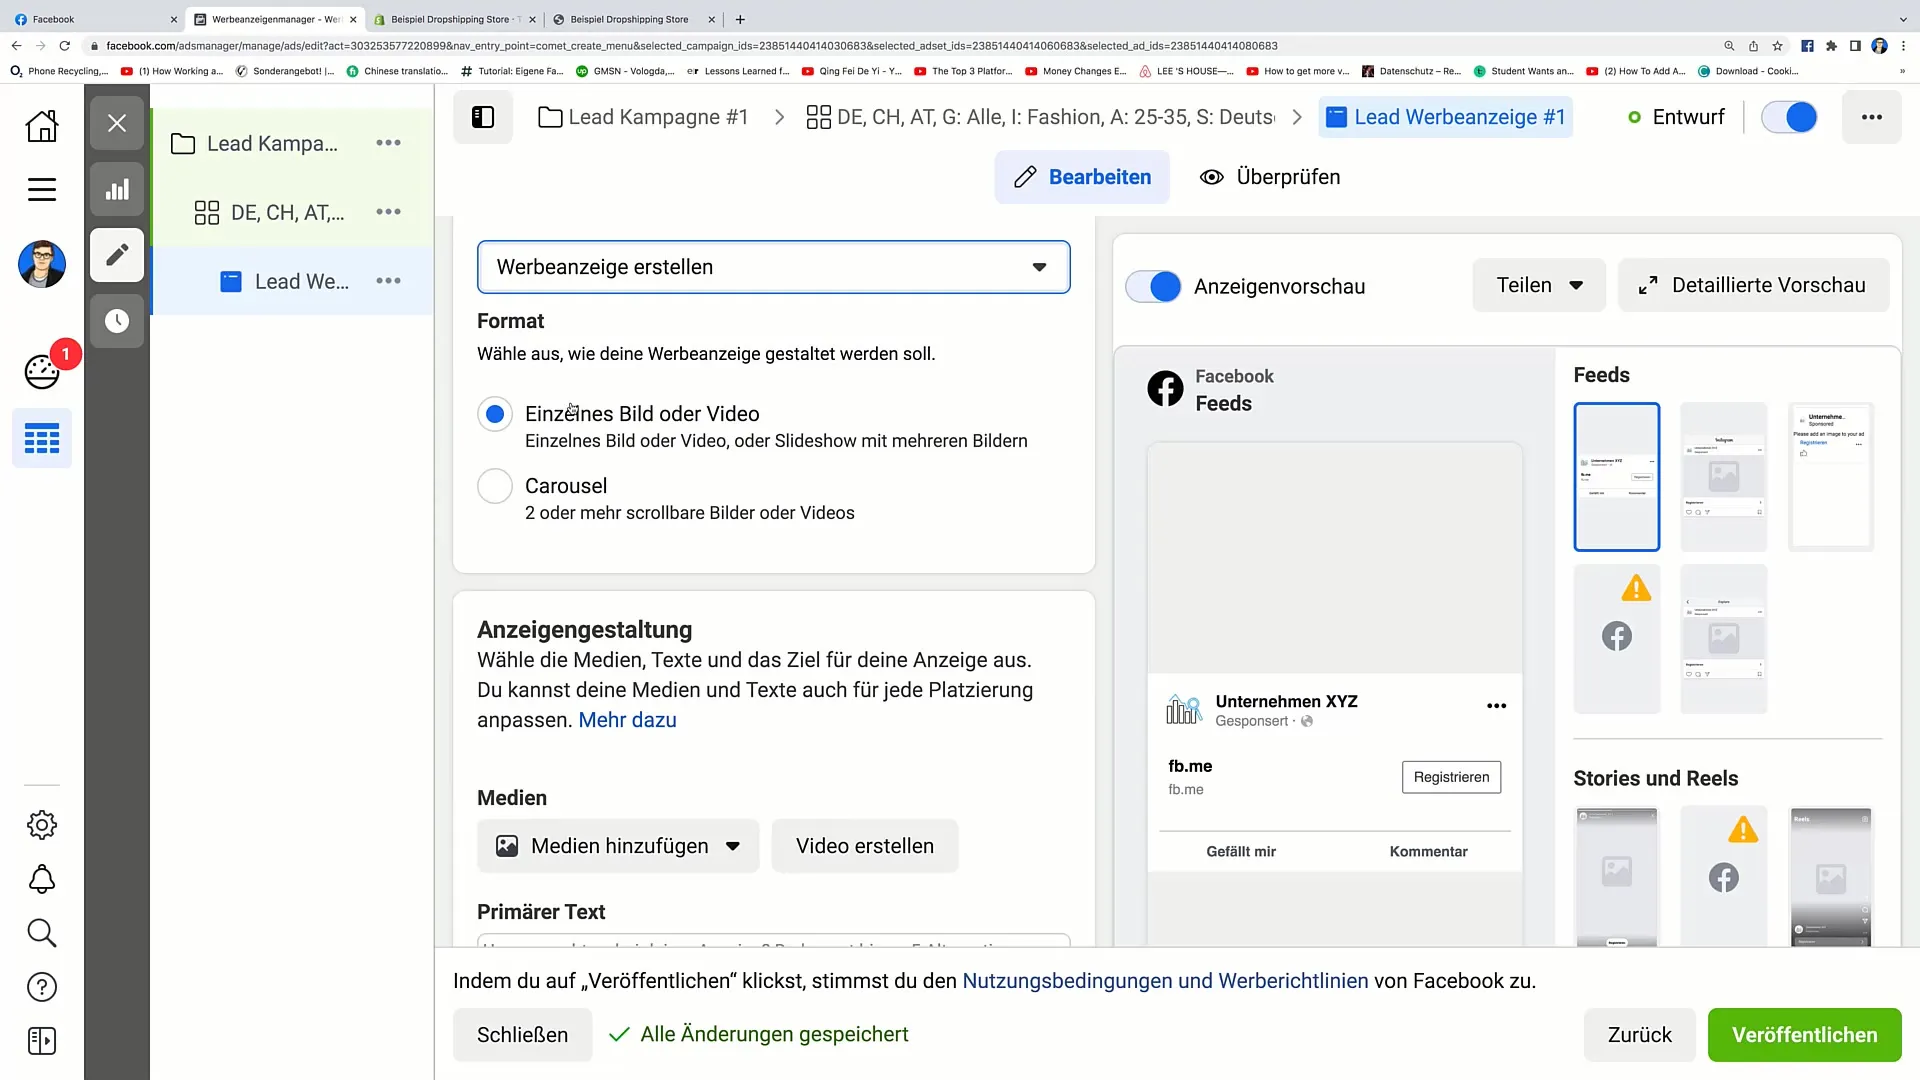
Now it's time to create a new ad. Click on "Create Ad" to do so. Depending on the format you choose (Single Image or Video), you will have different options to design your ad.
Step 4: Add Media
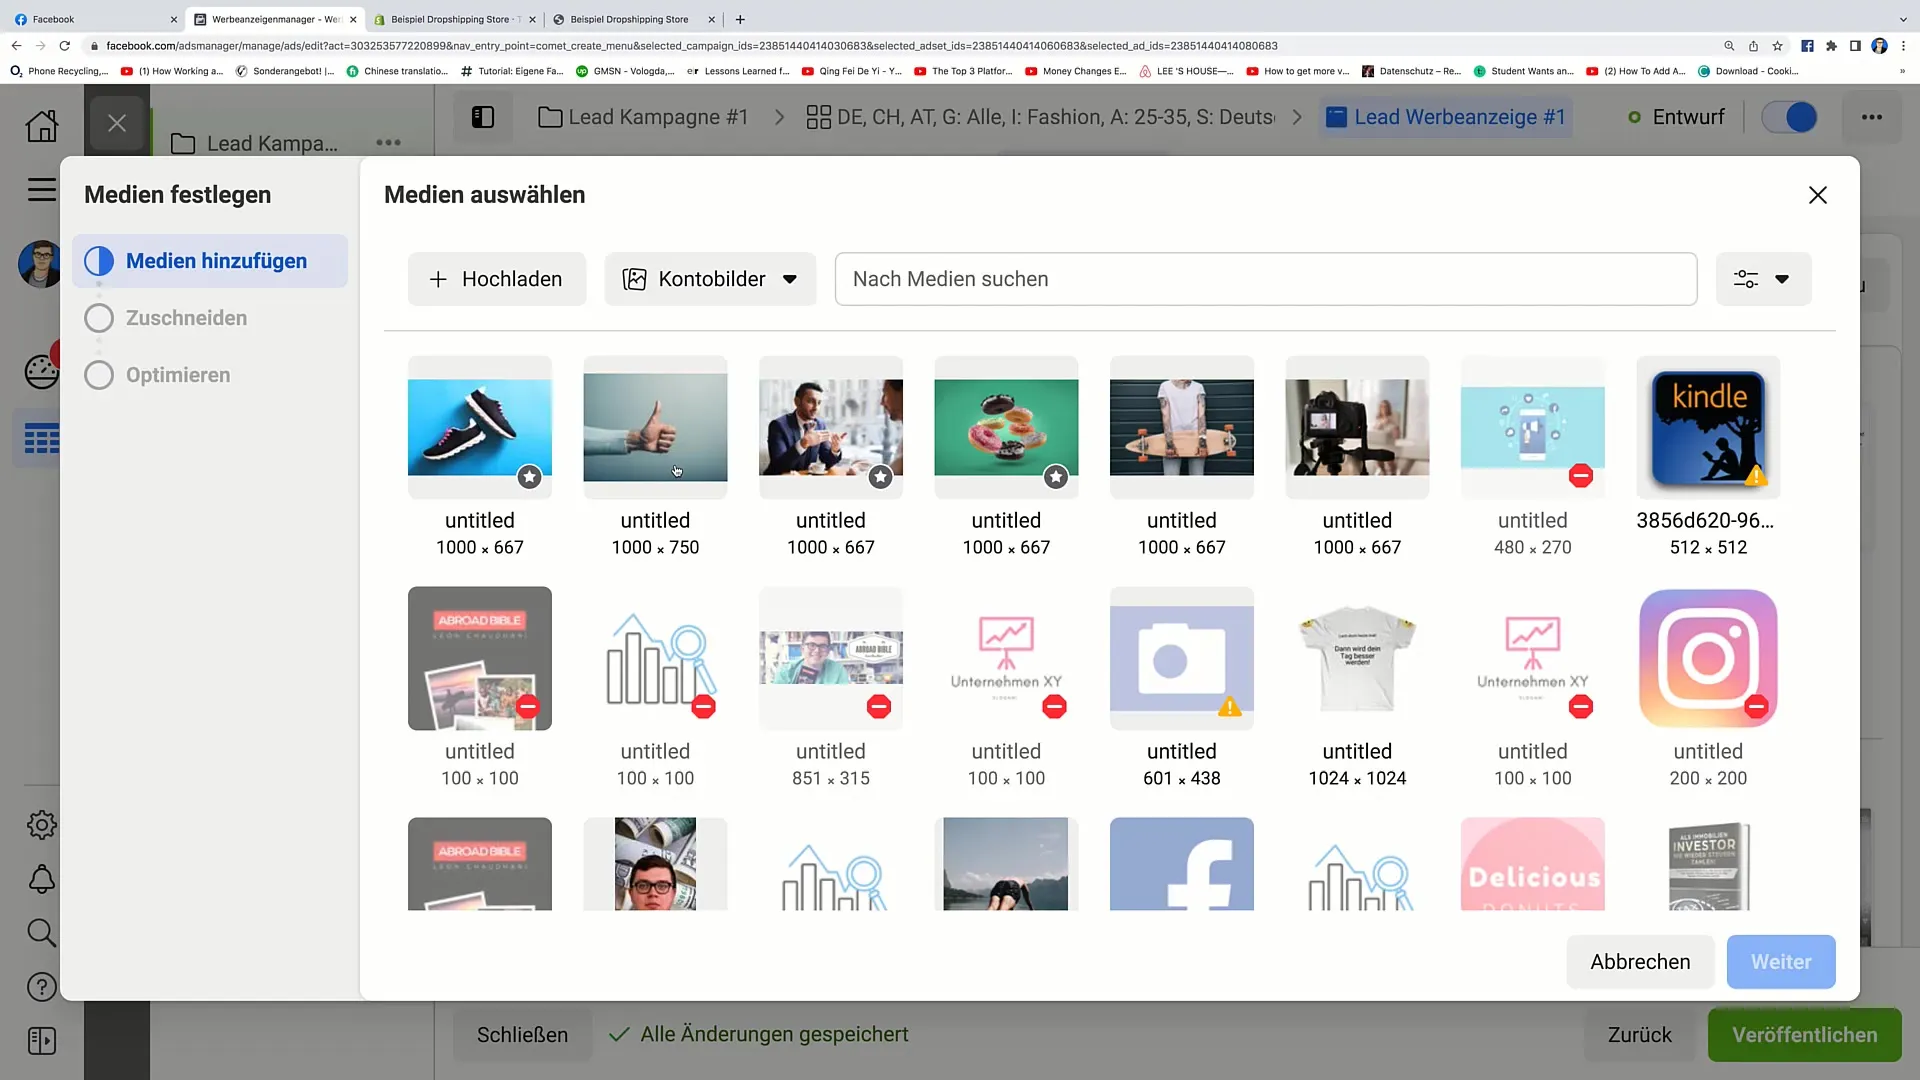
Click on "Add Media" and choose an appealing image or video that fits your campaign. Make sure the chosen image is of high quality to attract the users' attention.
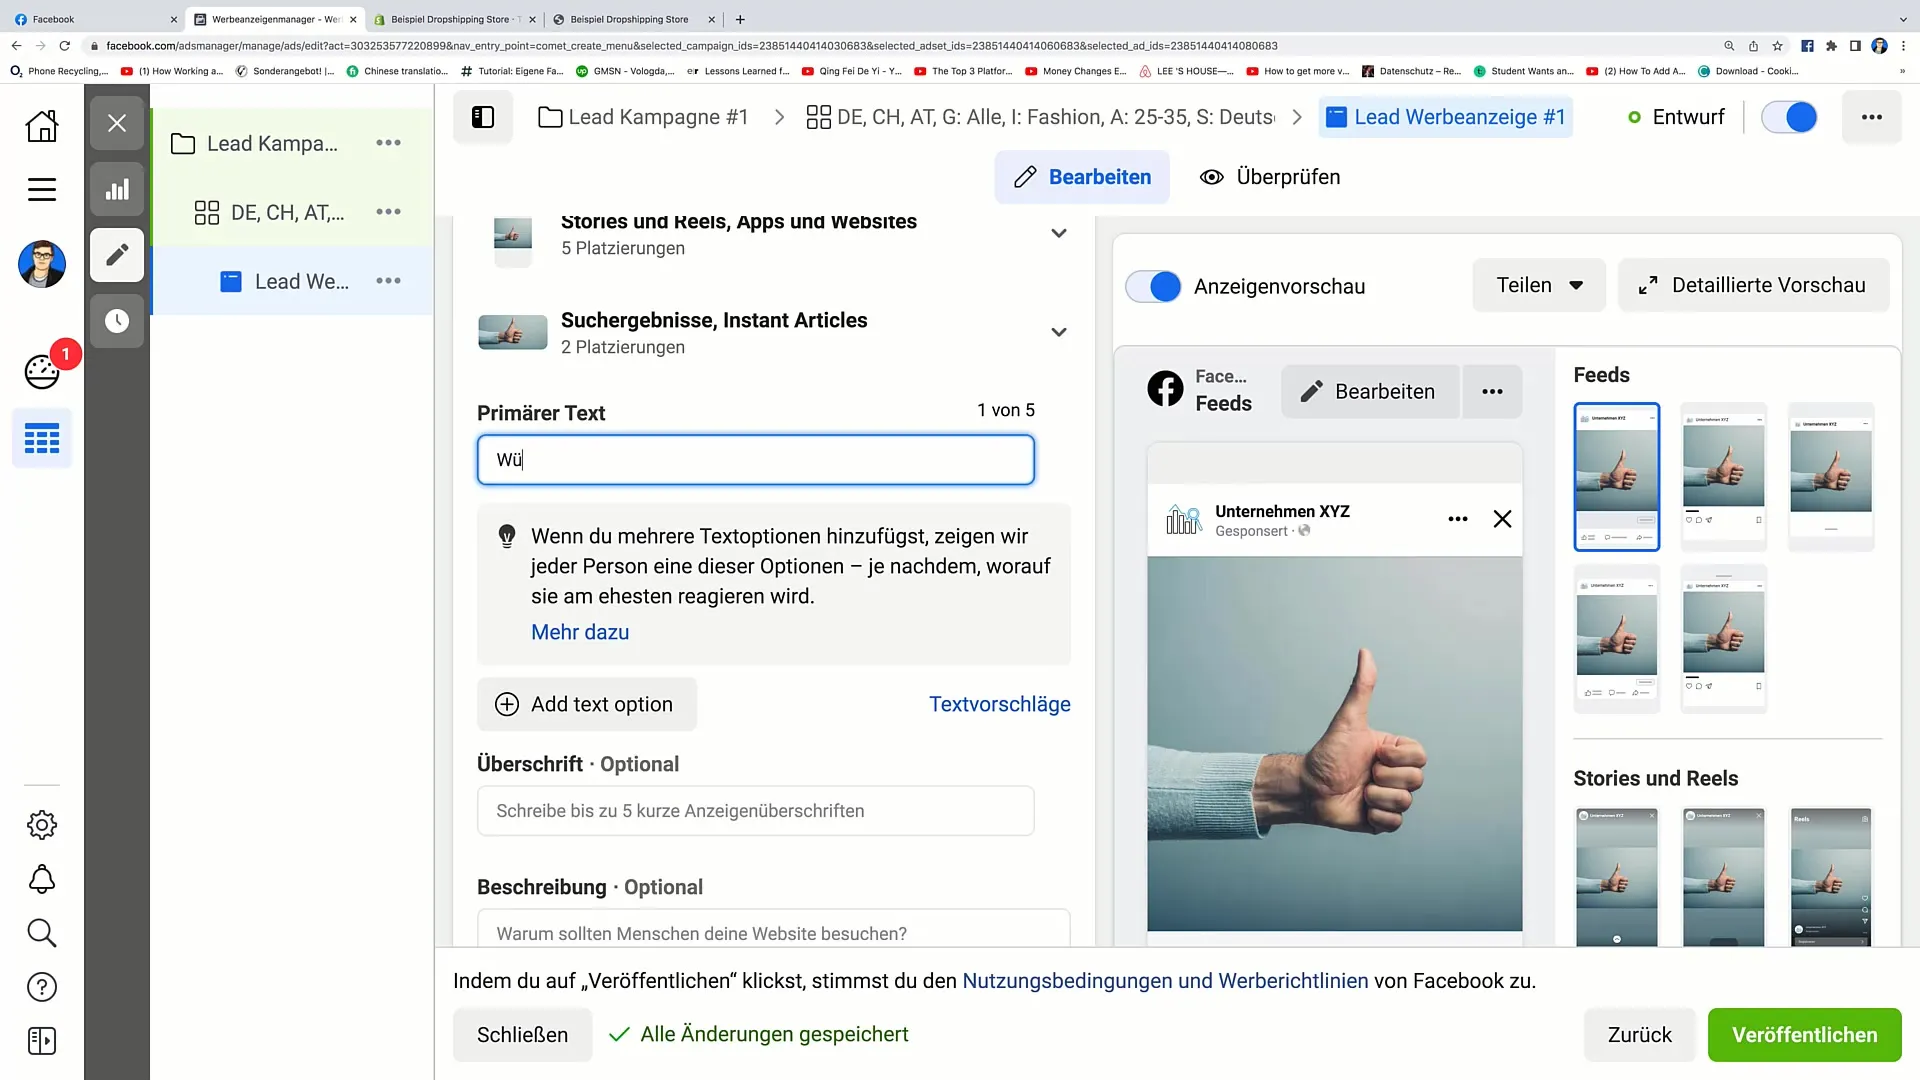
Step 5: Set Primary Text
Here you can insert the primary text of your ad. A compelling message motivates users to fill out your form. For example, you could write: "Would you like to save 20% on your next purchase?"
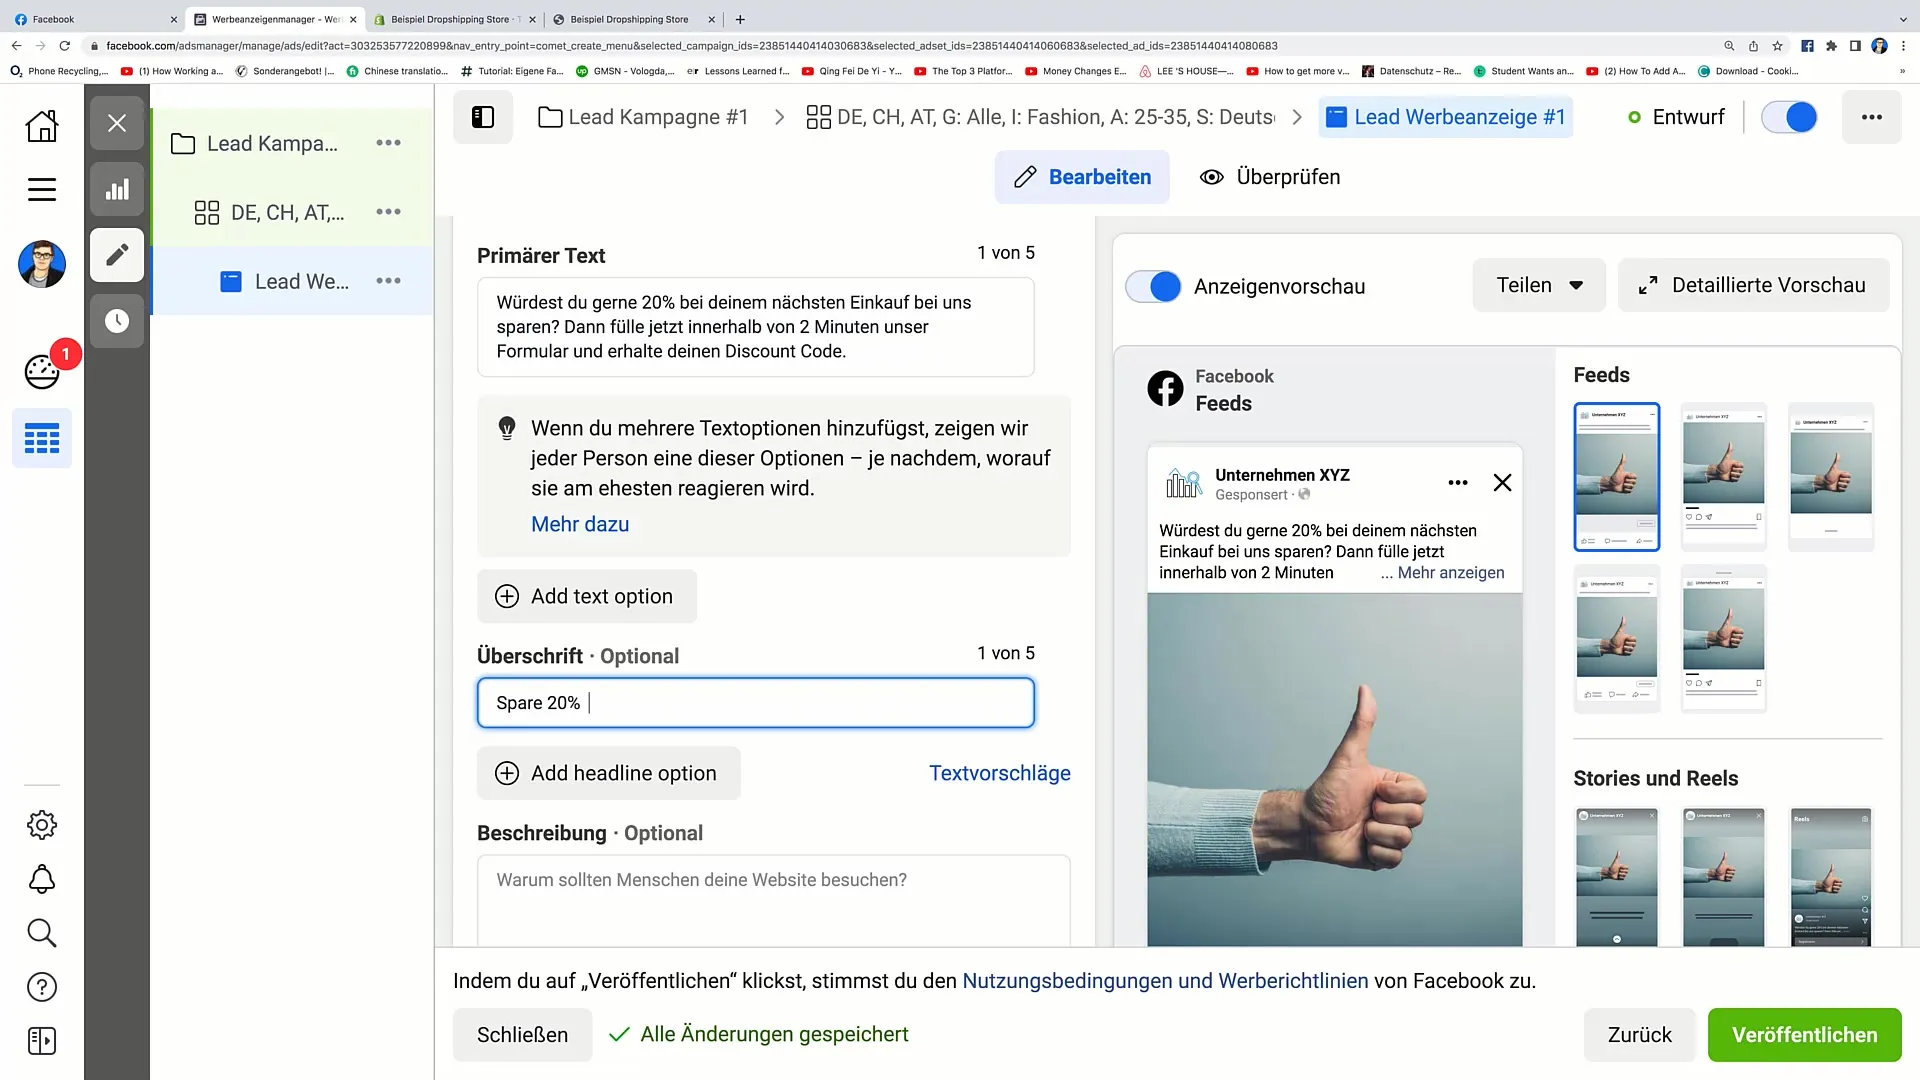
Step 6: Add Headline and Description
Set the headline to "Save 20% on your next purchase." Under the description, you can create further incentive by phrasing something like: "If you want to save money, this is your chance!"
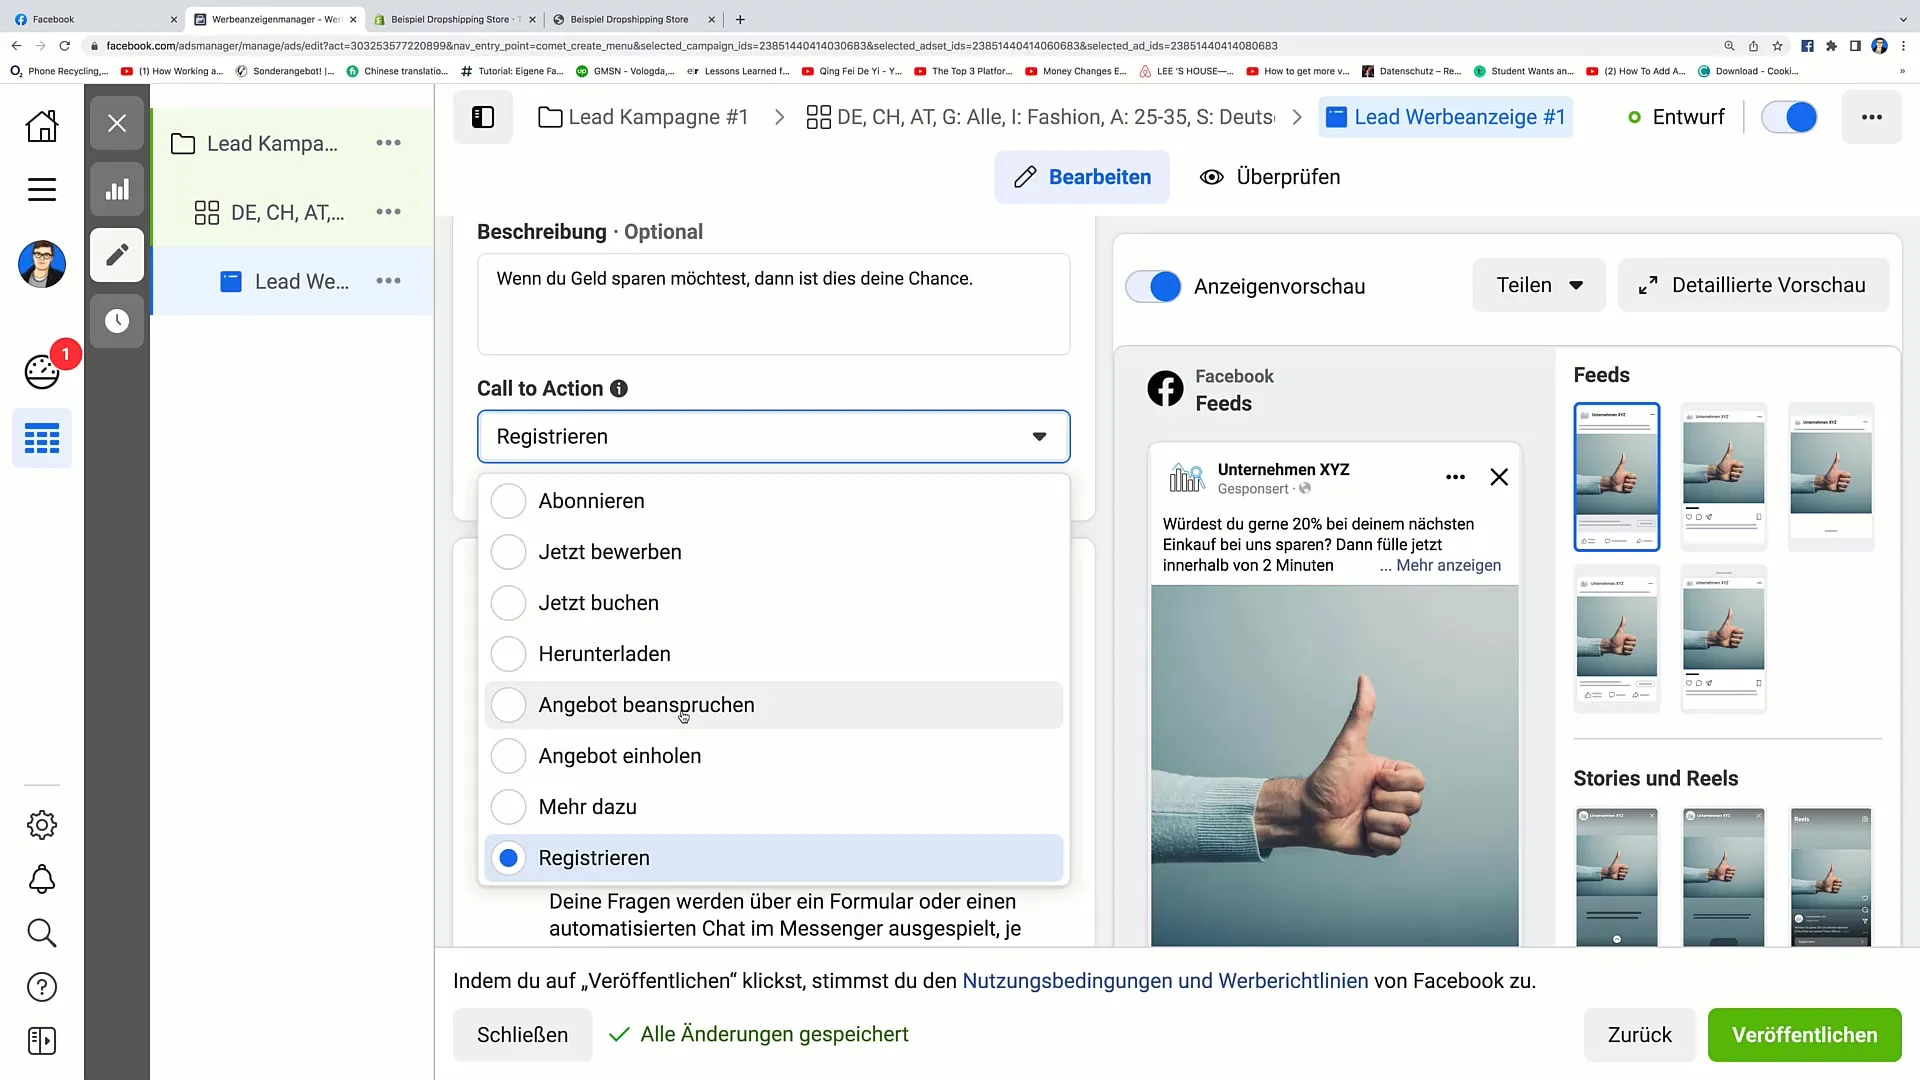
Step 7: Set Call-to-Action
An effective Call-to-Action (CTA) is crucial. You can choose from different options such as "Book Now" or "Request Offer." Select the CTA that best fits your offer.
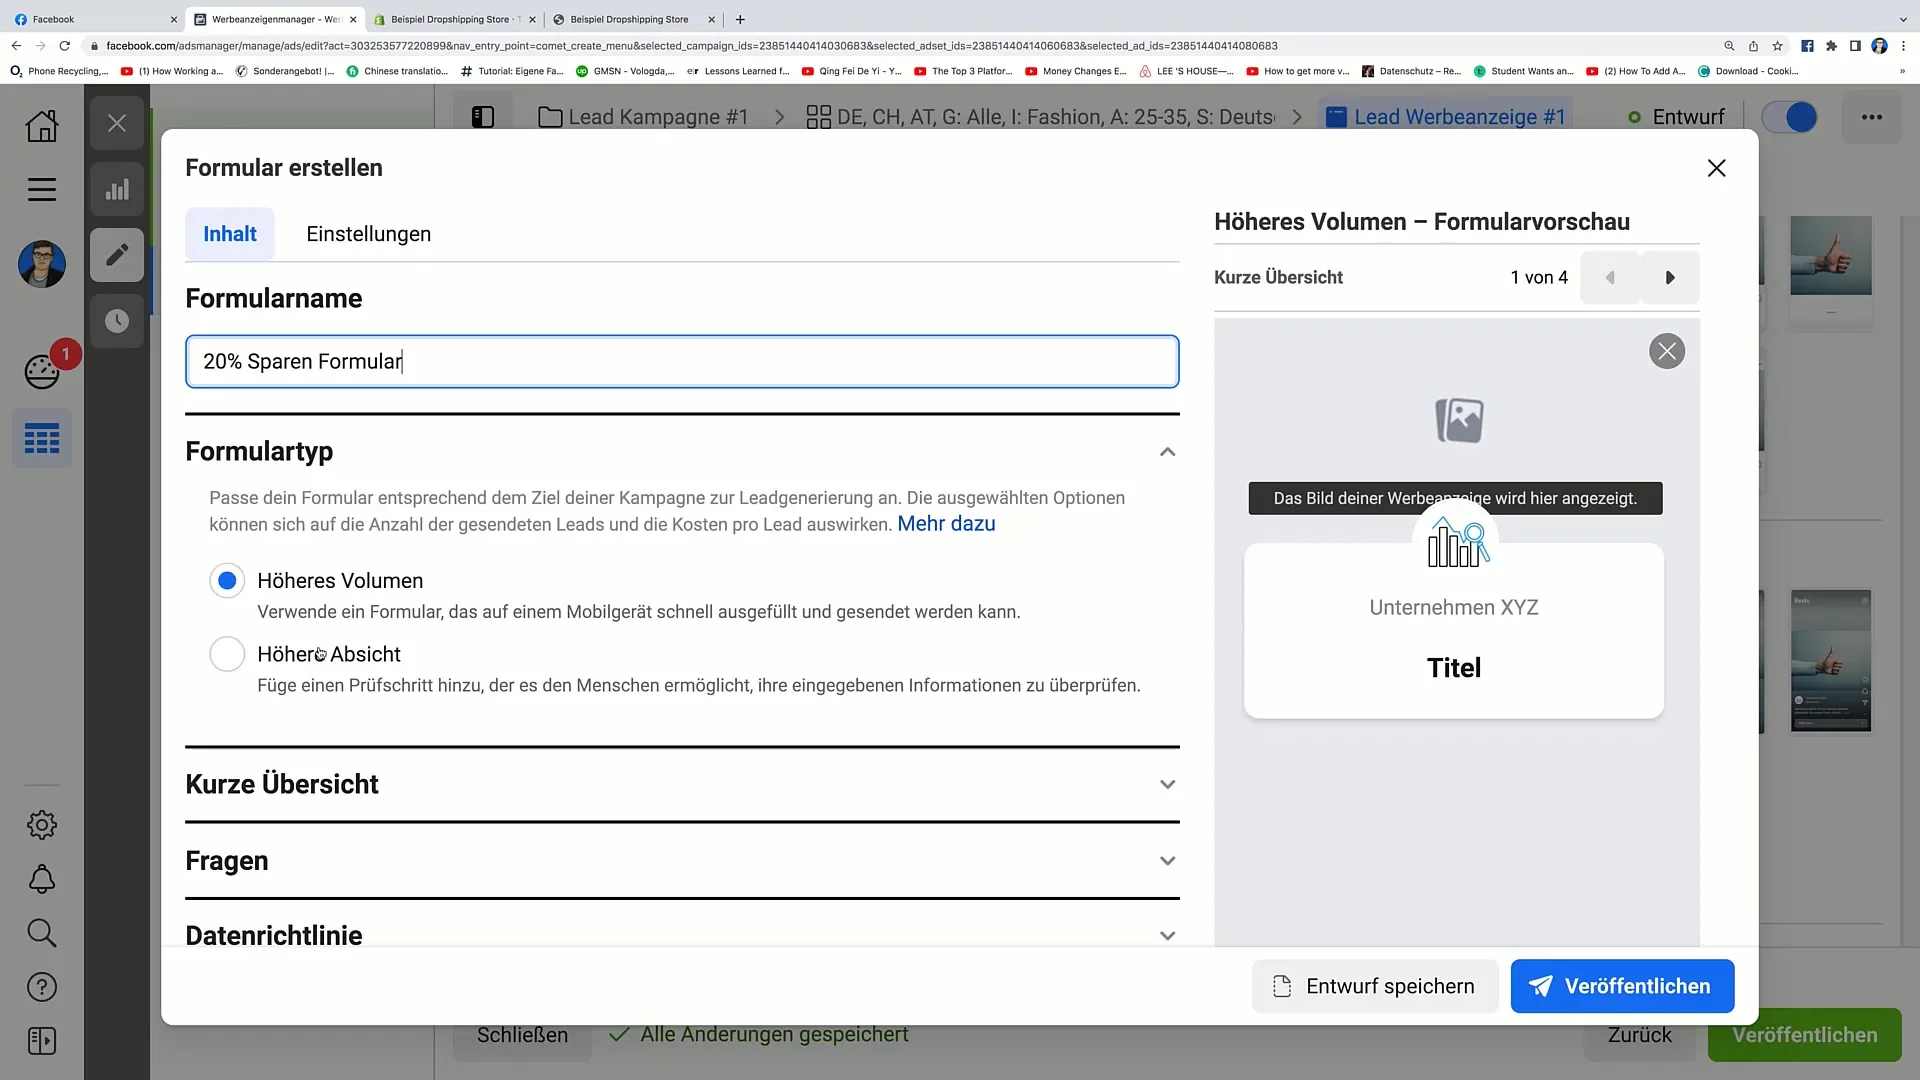
Step 8: Create Instant Form
Now we are at the crucial step: creating the Instant Form. Click on "Create Form" and give your form a memorable name, such as "Save 20% Form."
Step 9: Choose Form Type
Choose the form type that best suits your goals. You can choose between a high-volume form or one with higher intention. The type has a significant impact on how many email addresses you can collect.
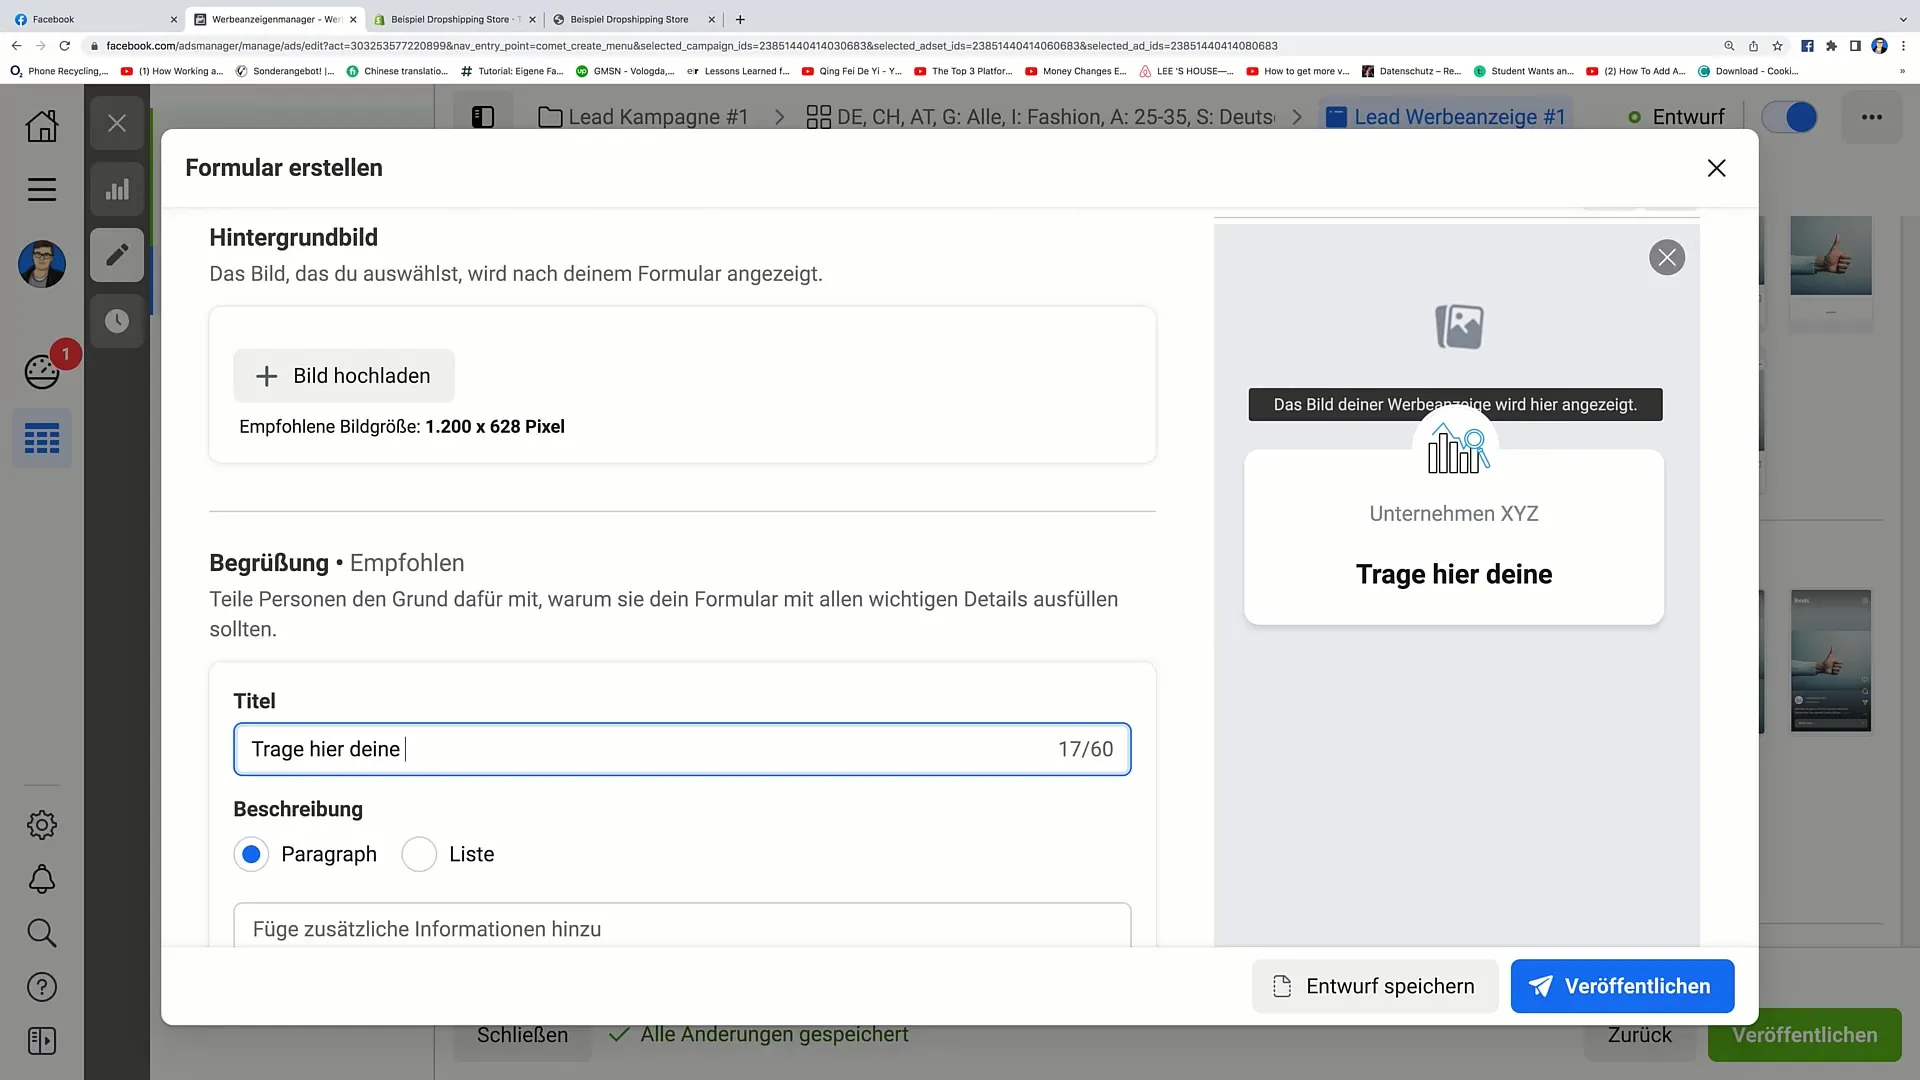
Step 10: Add Background Image and Description
Add an appealing background image and write a brief greeting, such as "Enter your data here and save 20%". Ensure that the information is clear and understandable.
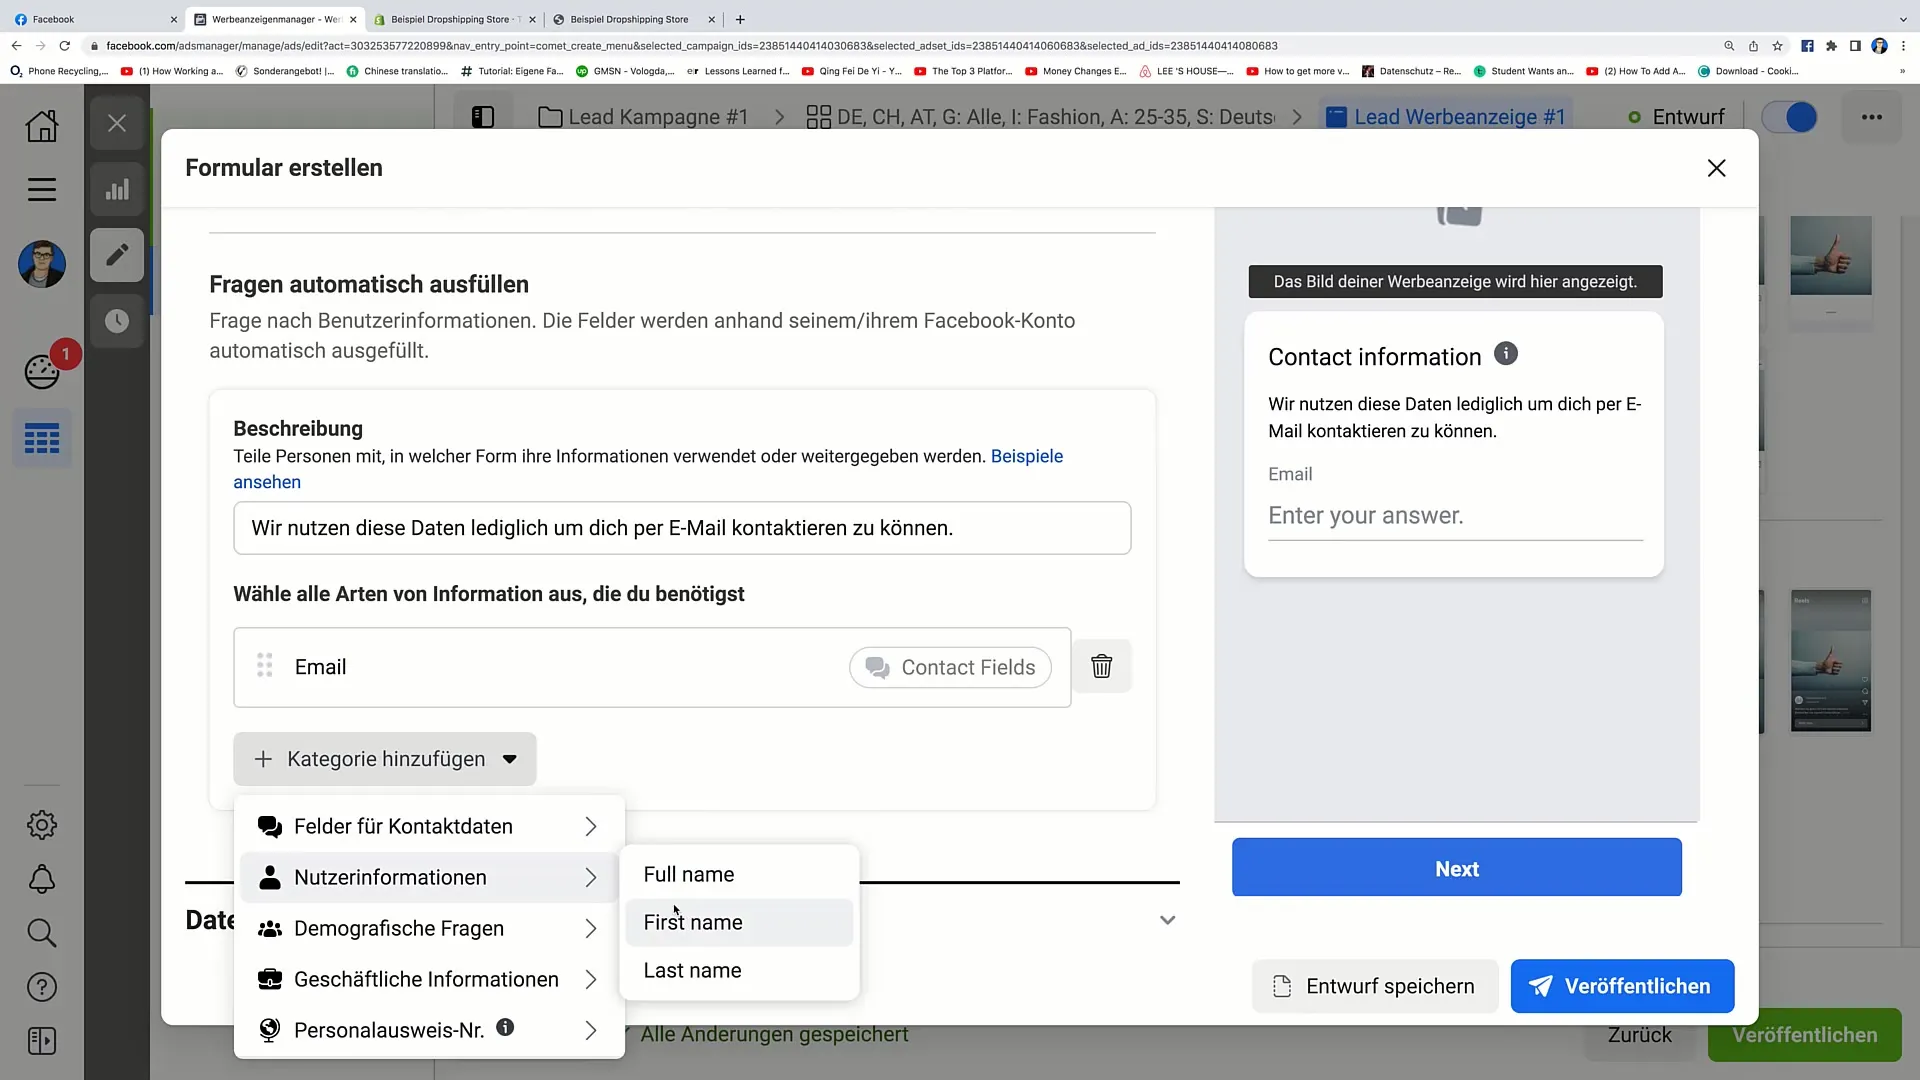
Step 11: Add Questions
Here you can ask specific questions regarding contact details. For example, it is advisable to ask for the email address and first name. Click on "Add Category" to integrate the relevant fields.
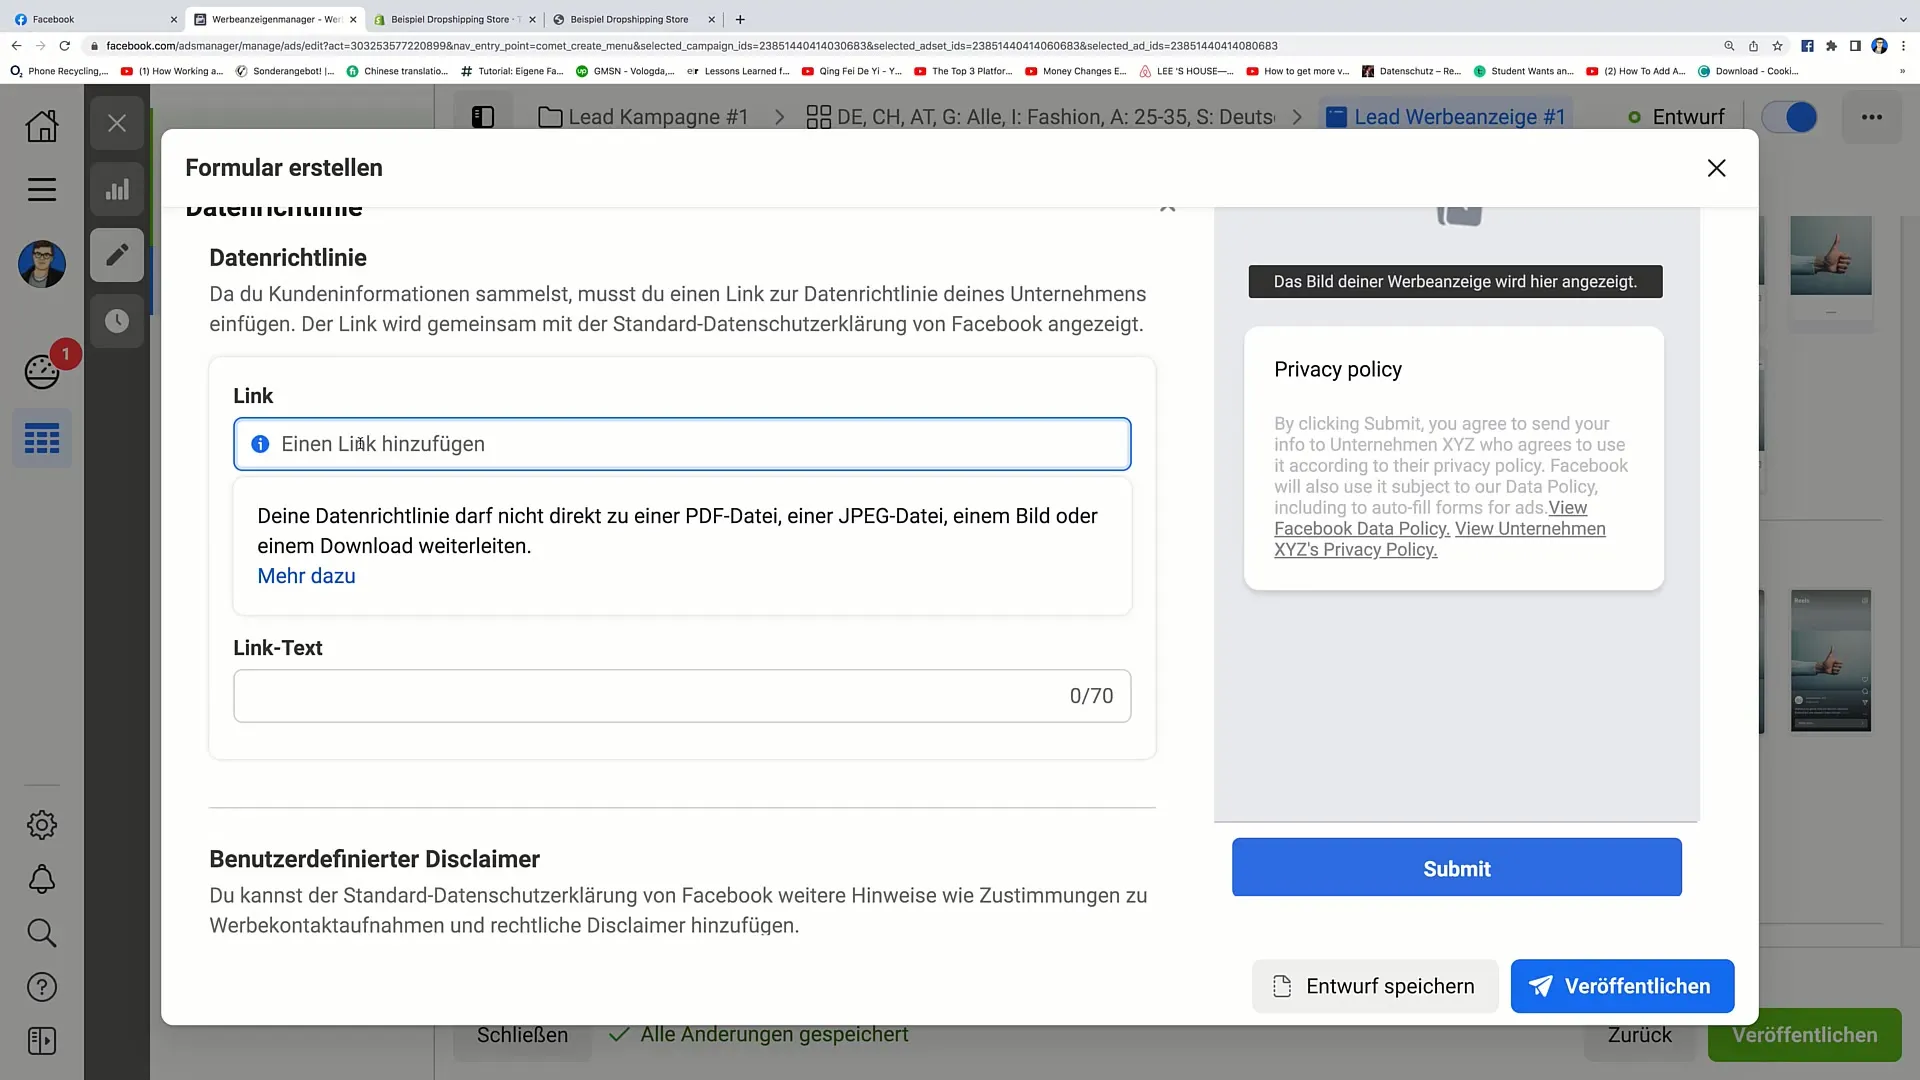
Step 12: Insert Privacy Policy
Include your privacy policy to provide transparency. You can insert a link to your privacy policy in your online shop. Ensure that users know how their data will be used.
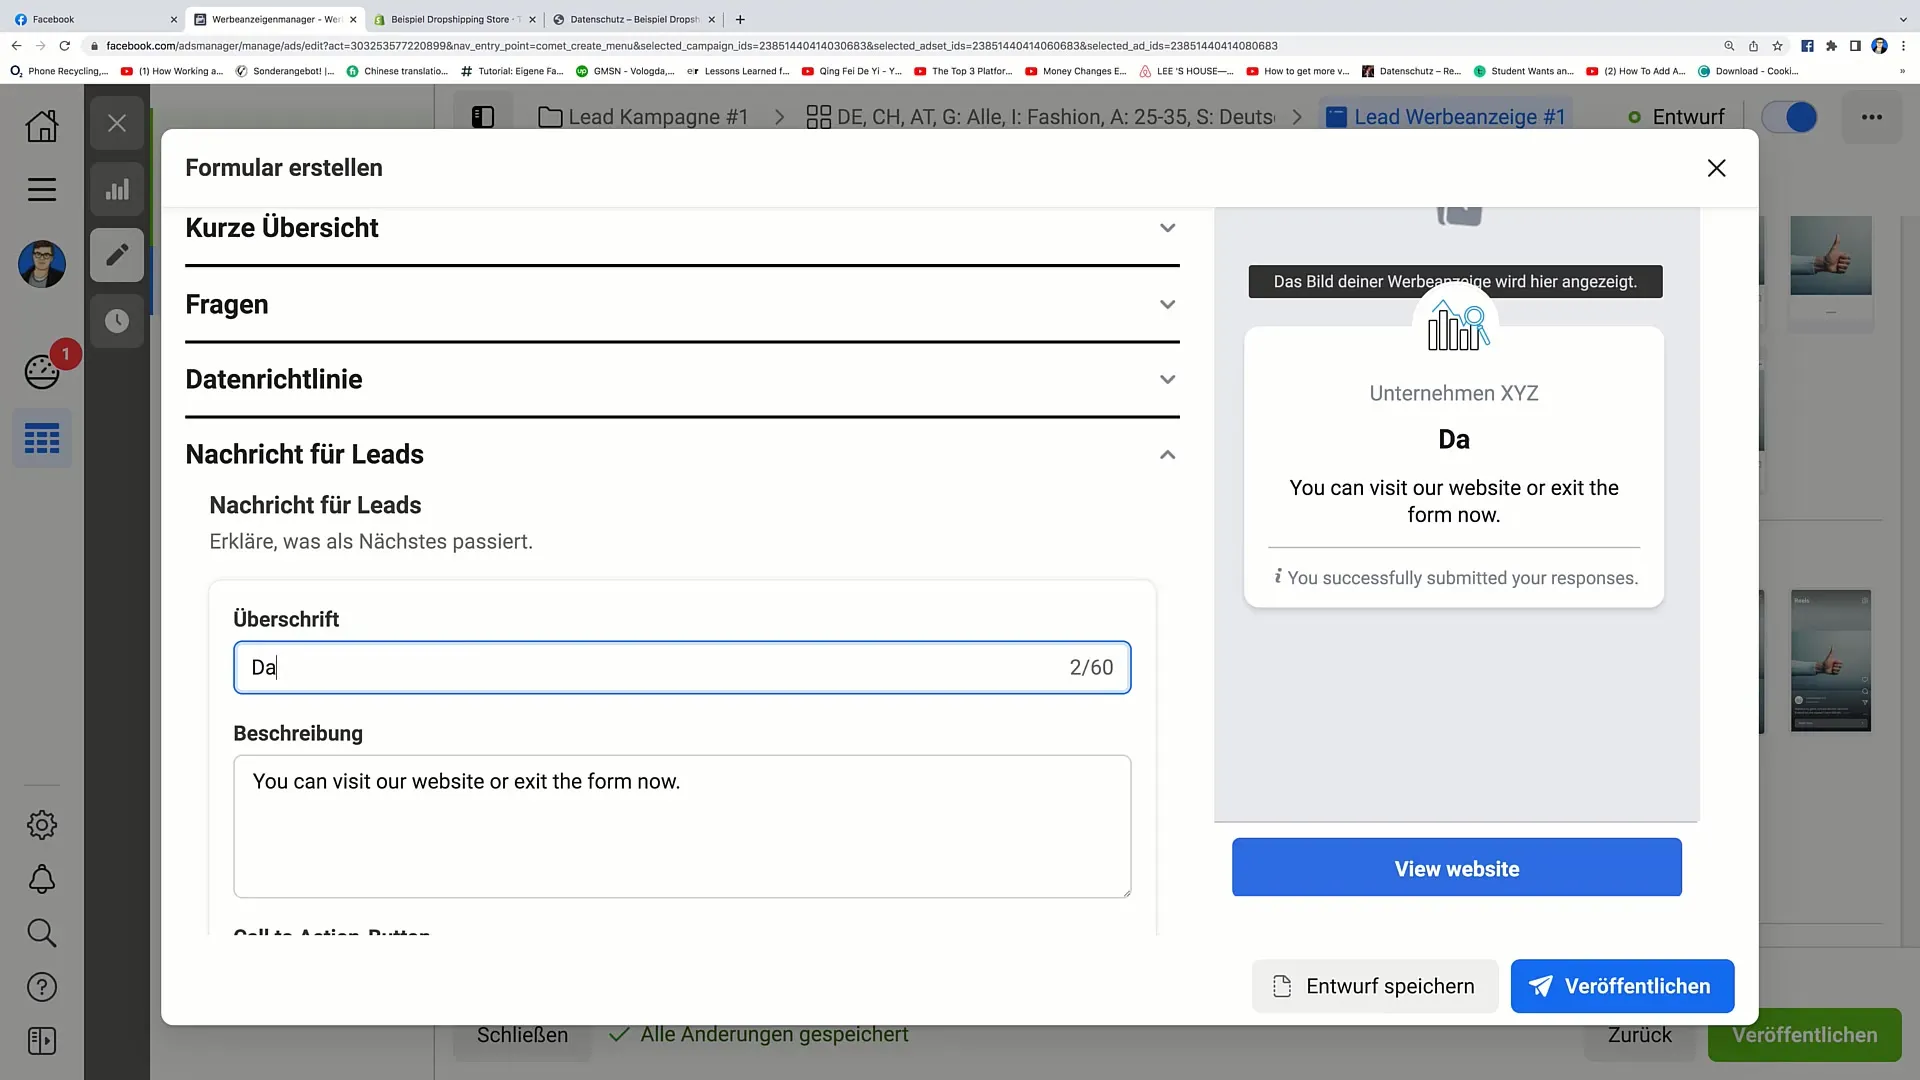
Step 13: Create Message for Leads
Create a friendly message that will be displayed to users after they have filled out your form. For example, you could write: "Thank you for entering your data! Here is your discount code..."
Step 14: Ad Publication
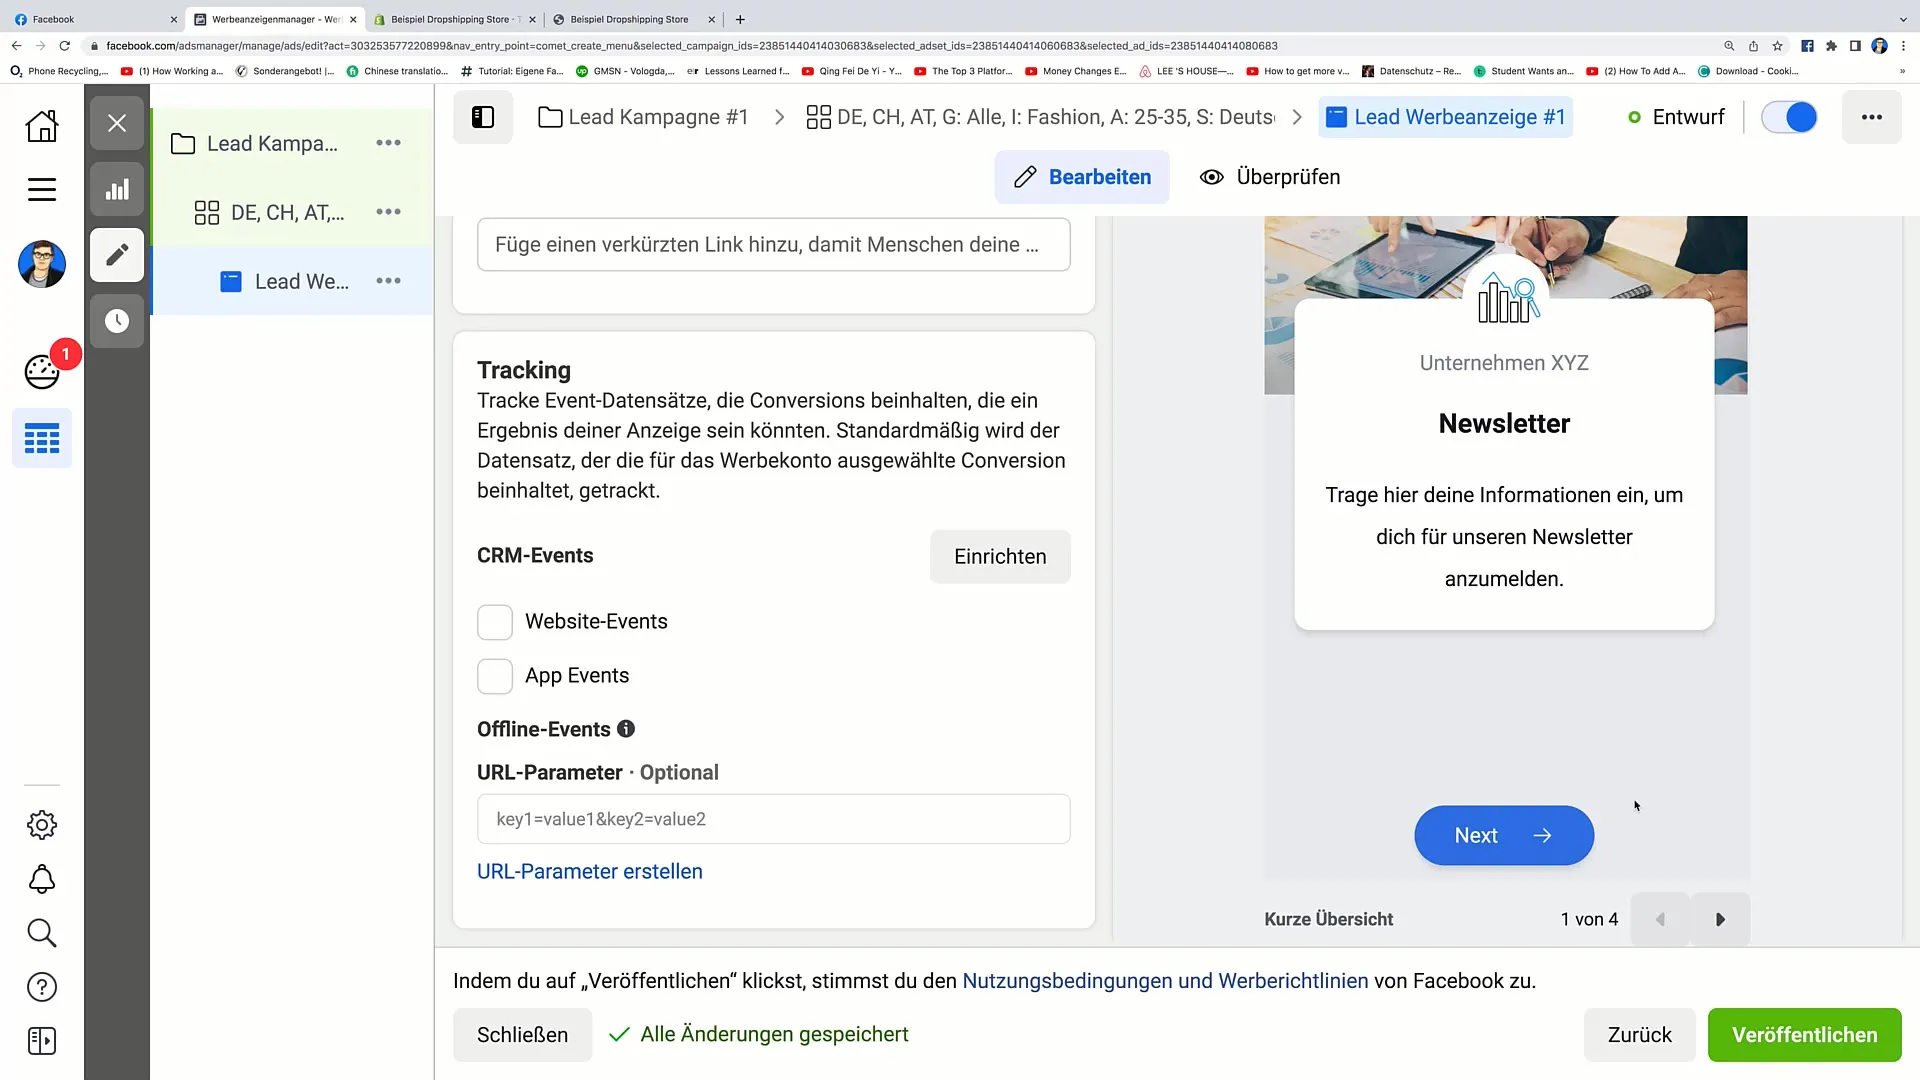
Ensure all information is correct, and finally click on "Publish". The ad will then be sent to Facebook for approval. Wait a few minutes until it is accepted.
Summary
In this tutorial, you have learned how to create Facebook Instant Forms to collect leads for your e-commerce business. Each step is important and contributes to the success of your campaign.
Frequently Asked Questions
How long does it take for my ad to be approved?Usually, it takes about 5 minutes for Facebook to approve an ad.
What should I include in the privacy notice?Include a link to your complete privacy policy explaining how the data will be used.
How can I ensure I receive high-quality leads?Choose the right form type option to ensure that you attract users with the highest intent.


