In this tutorial, I will show you how to integrate the Facebook pixel into your Shopify store. The Facebook pixel is an important tool for your e-commerce business, as it allows you to track the behavior of your website visitors and optimize your target audience. This enables you to run targeted ads and improve the efficiency of your marketing efforts. So let's get started right away!
Key Takeaways
The Facebook pixel is a code that collects data on the visitors to your website. By installing the pixel, you can create a "Custom Audience" that allows you to target ads to visitors of your website. This increases the likelihood of generating sales, as you are targeting individuals who have already shown interest in your products. The installation process is relatively simple and requires you to connect your Facebook account to your Shopify store.
Step-by-Step Guide
First, let's look at what a Facebook pixel exactly is. It is a small snippet of code that you insert on your website. This code allows you to track the behavior of users who have visited your site, enabling you to gain valuable insights and tailor your advertising efforts accordingly.
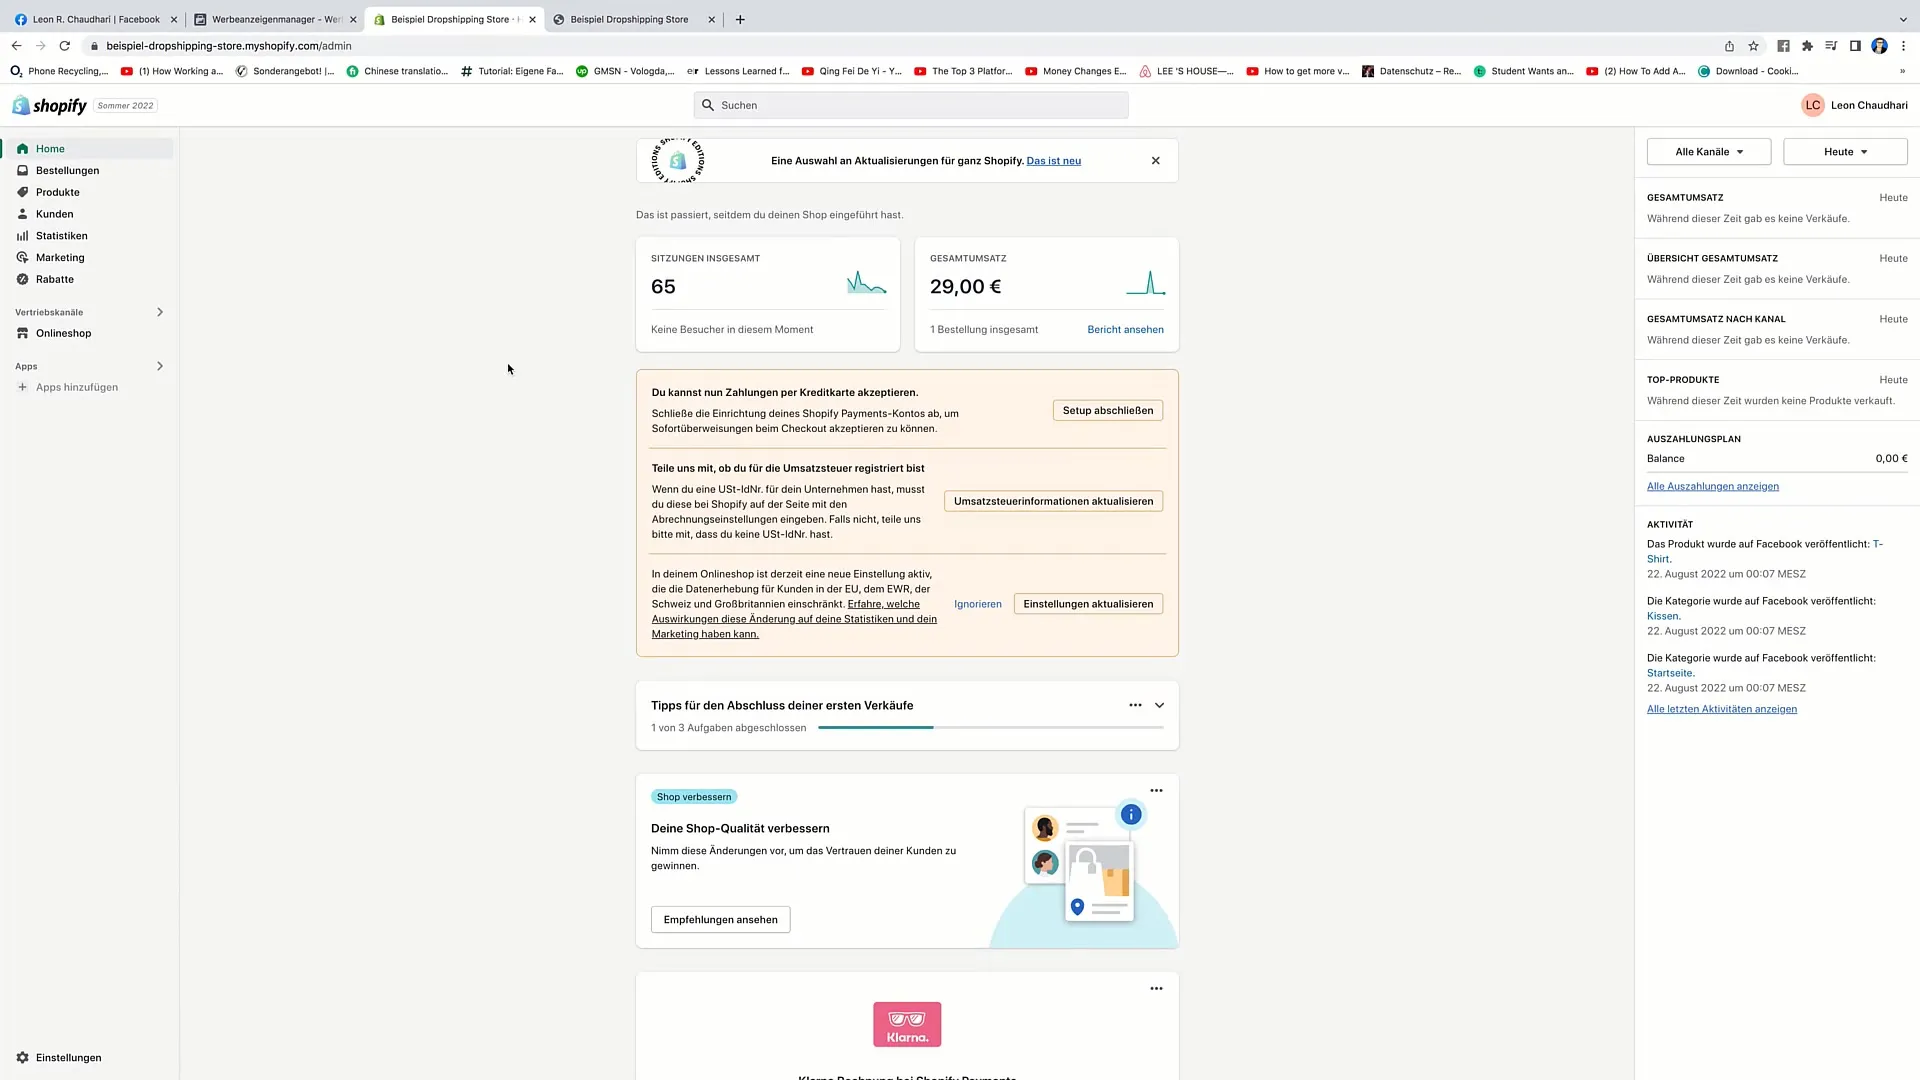
Next, you need to log in to your Shopify store and go to "Online Store." You will then find the "Settings" option. Click on it to proceed. While in the settings view, you can search for "Facebook Pixel."
In this area, you will see the option to set up the Facebook pixel. Click on "Set Up Facebook." You may be redirected to a window first that reminds you to establish the connection between your Facebook account and your Shopify store.
Once you click on "Set Up Facebook," you will be directed to another window. There you will receive the instructions for connecting your accounts. Click on "connect" to proceed. You will be prompted to enter your Facebook password.
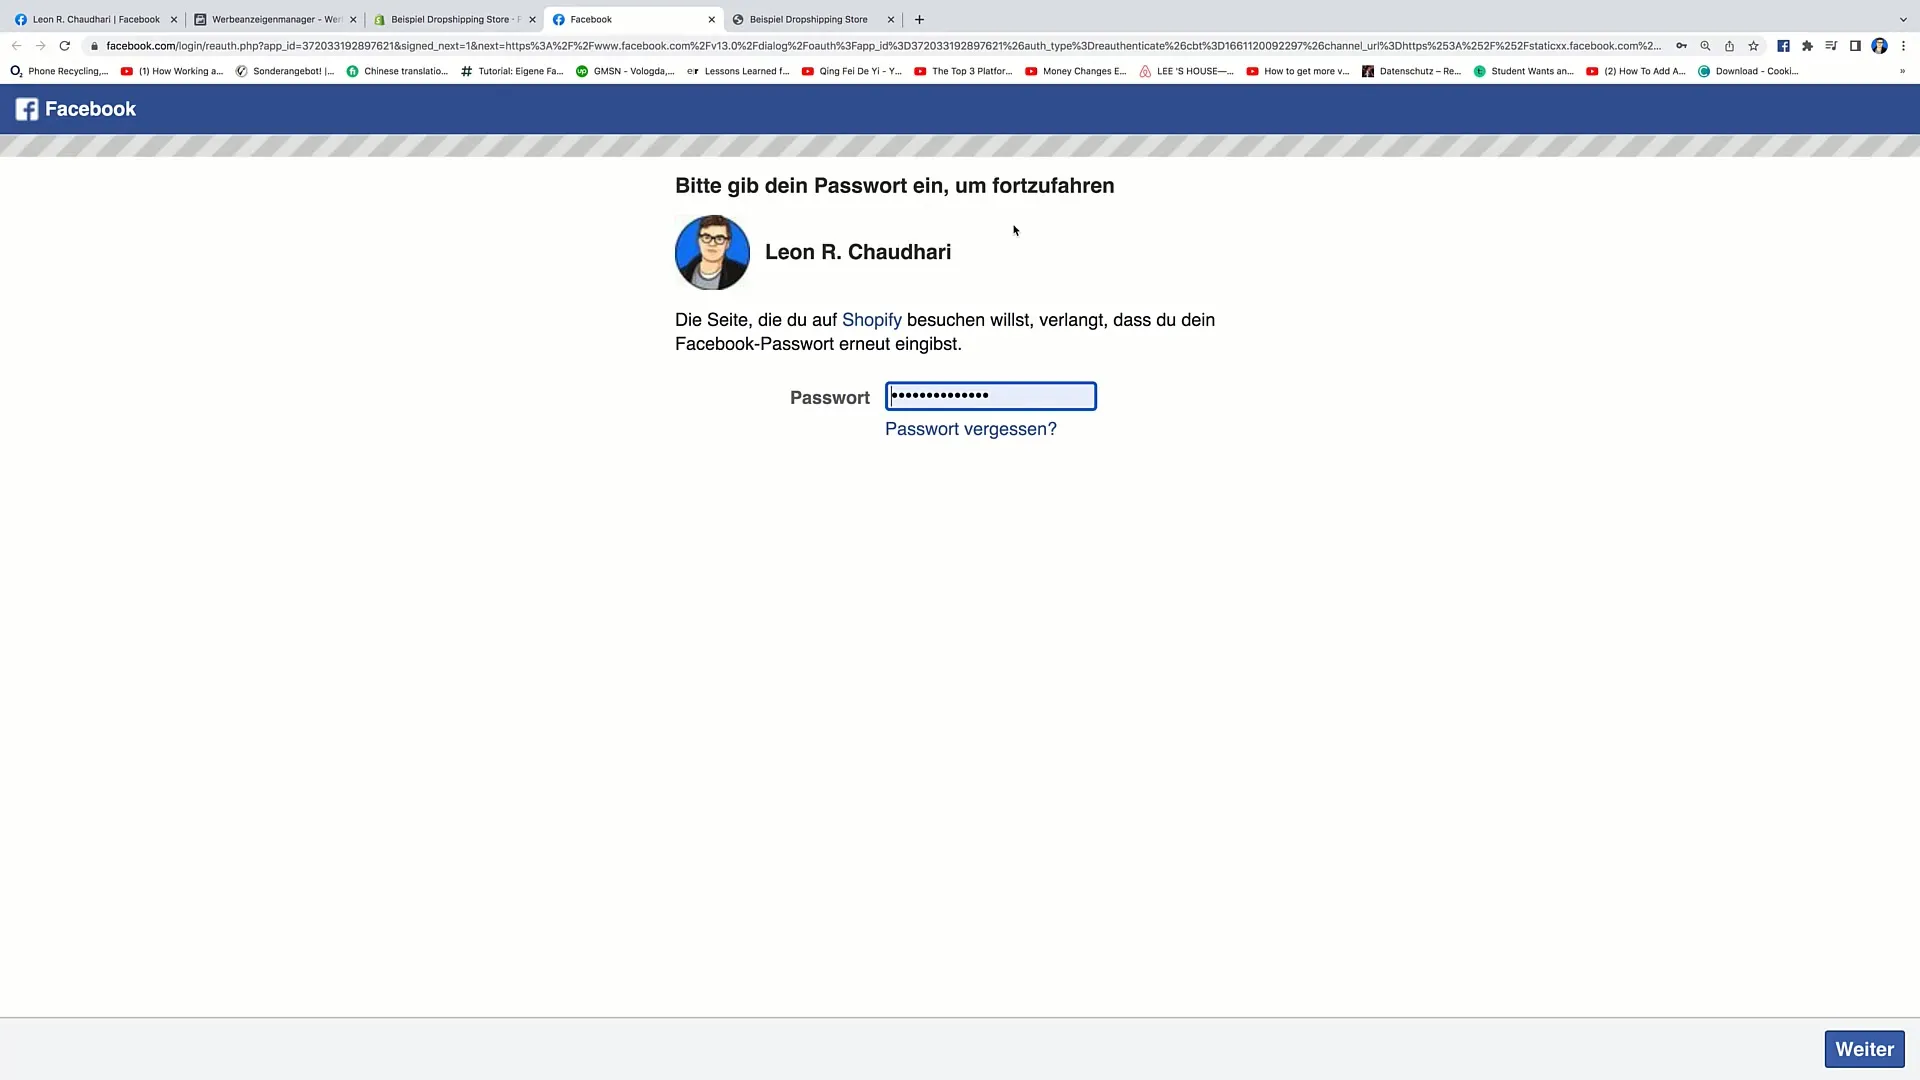
After entering your password, click on "continue" to complete the connection. In this step, your Facebook account will be linked with your Shopify store. This also entails linking your ad account and Business Manager.
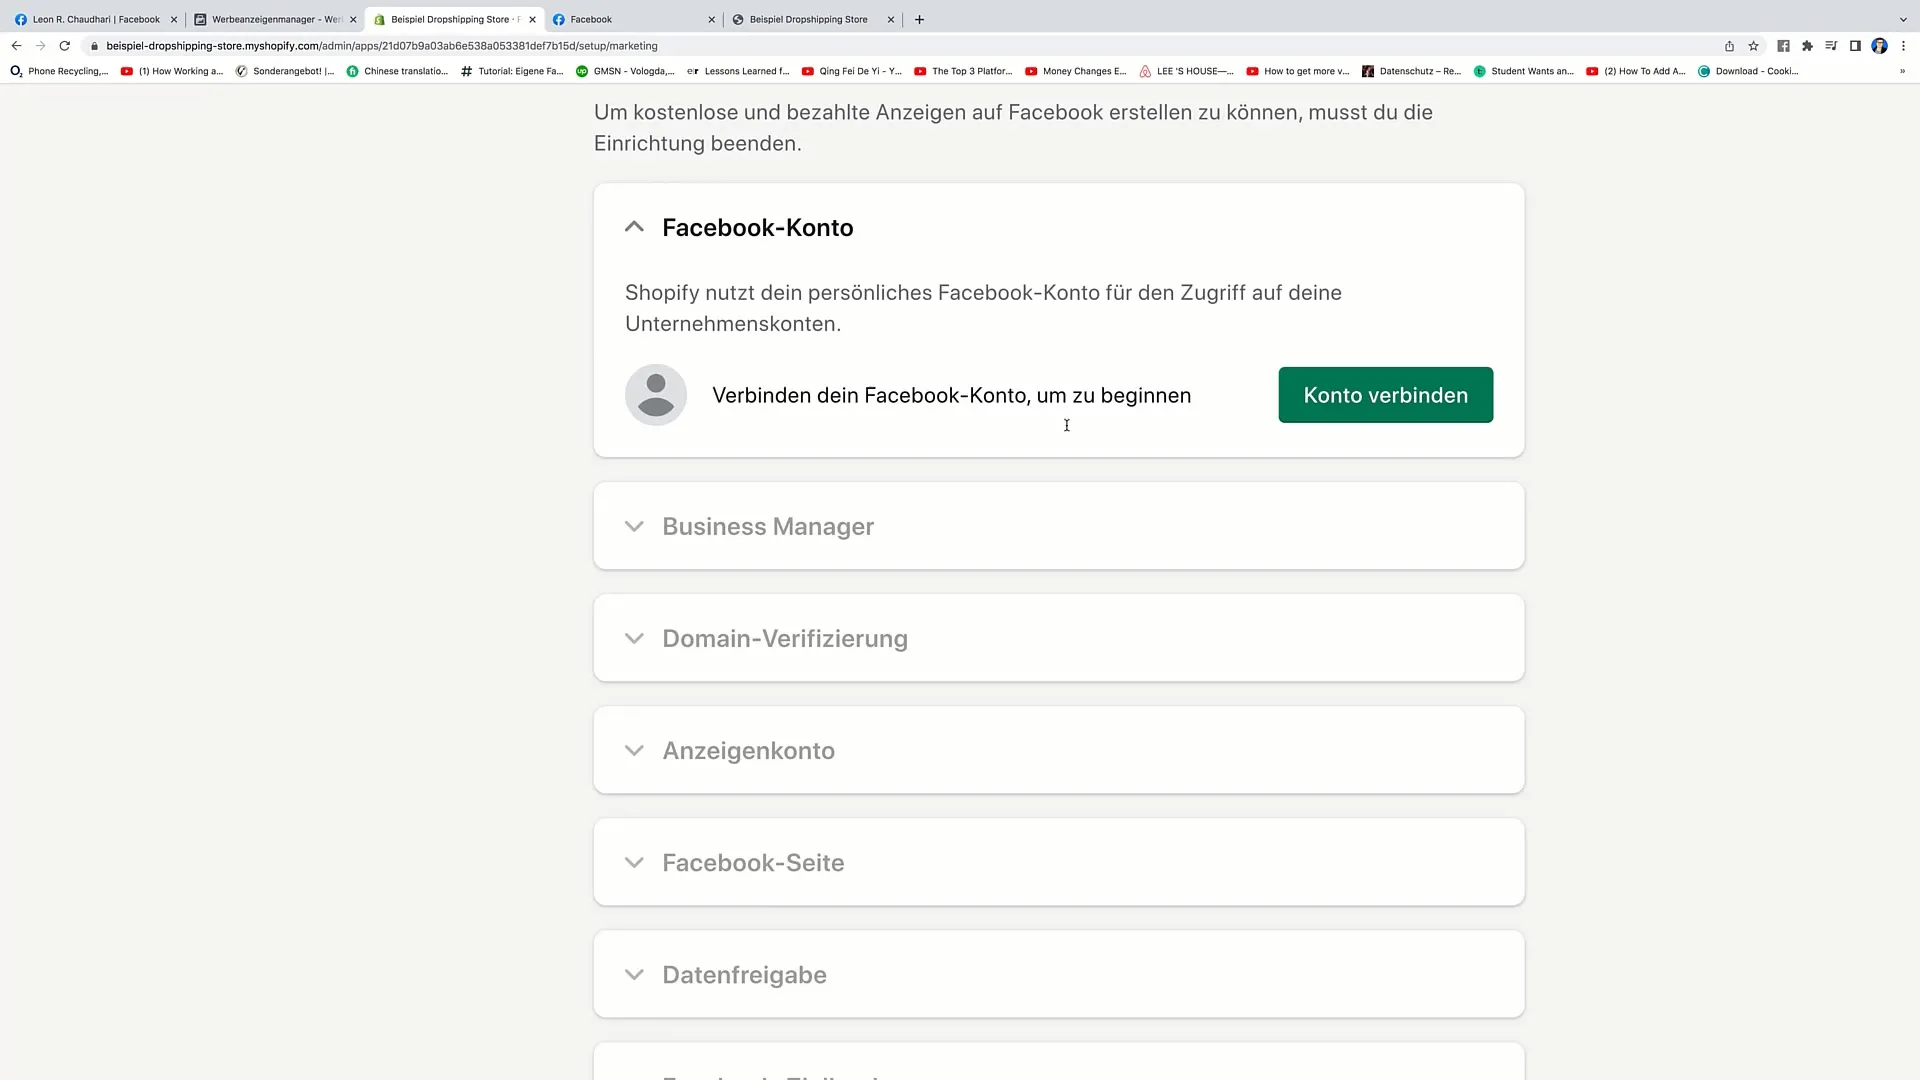
Additionally, domain verification is required. However, this usually happens automatically. Complete the setup by accepting Facebook's terms and conditions.
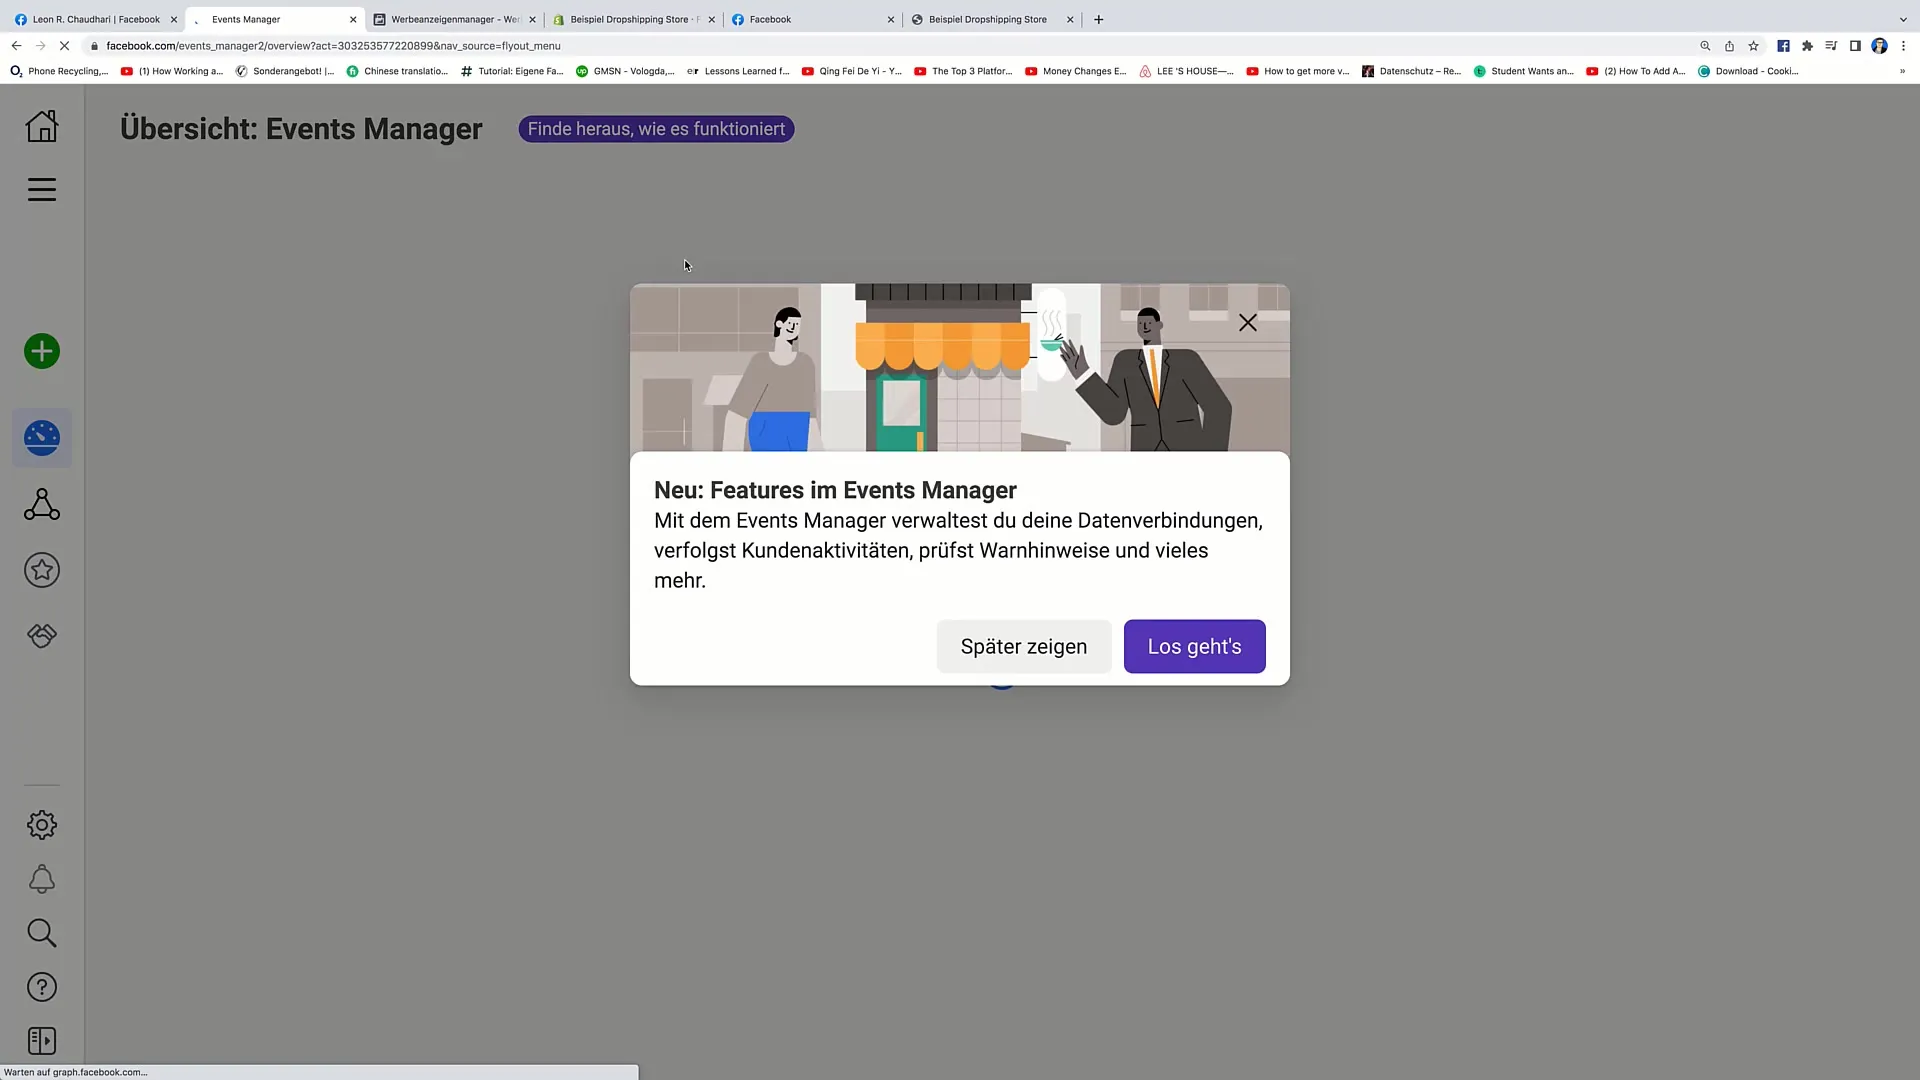
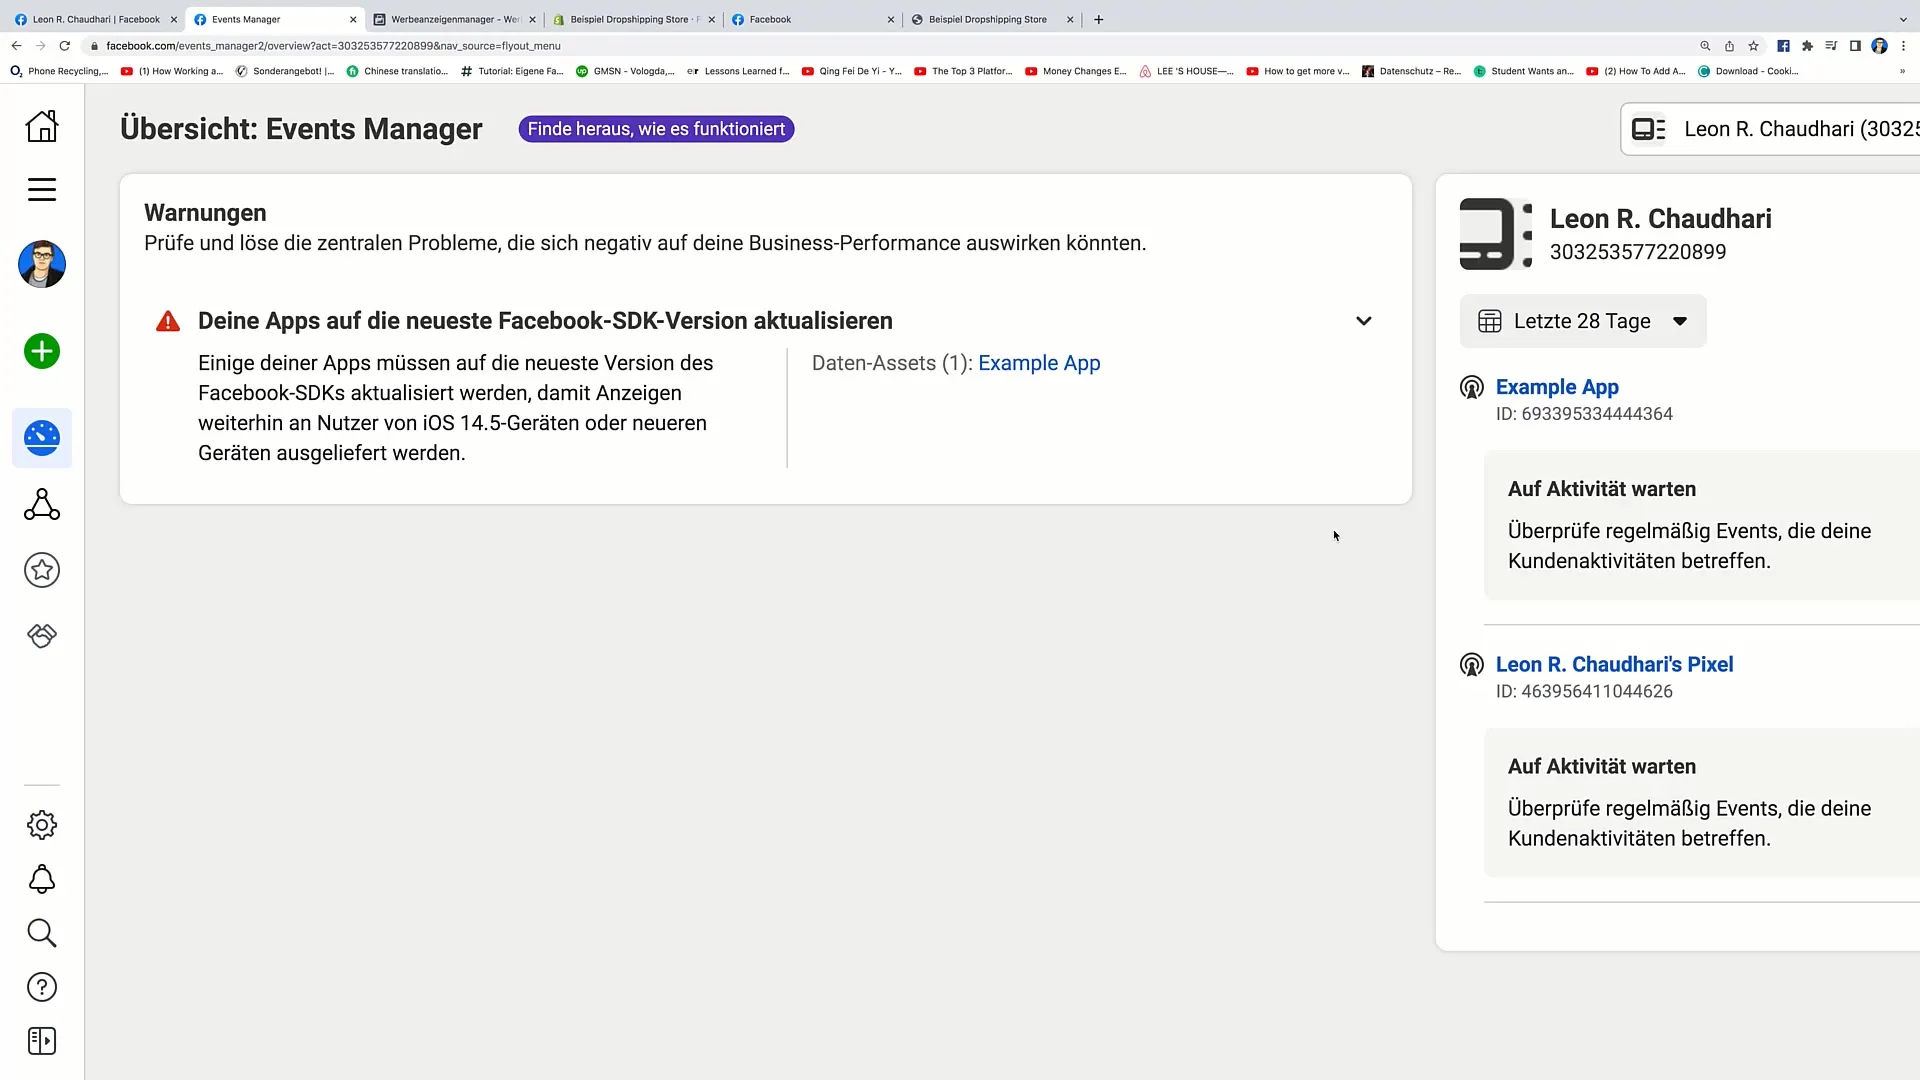
You are now in your Facebook account. Go to "Ads Manager" and click on the three horizontal bars on the left side. There you will find the "Events Manager." Click on it to manage your pixels.
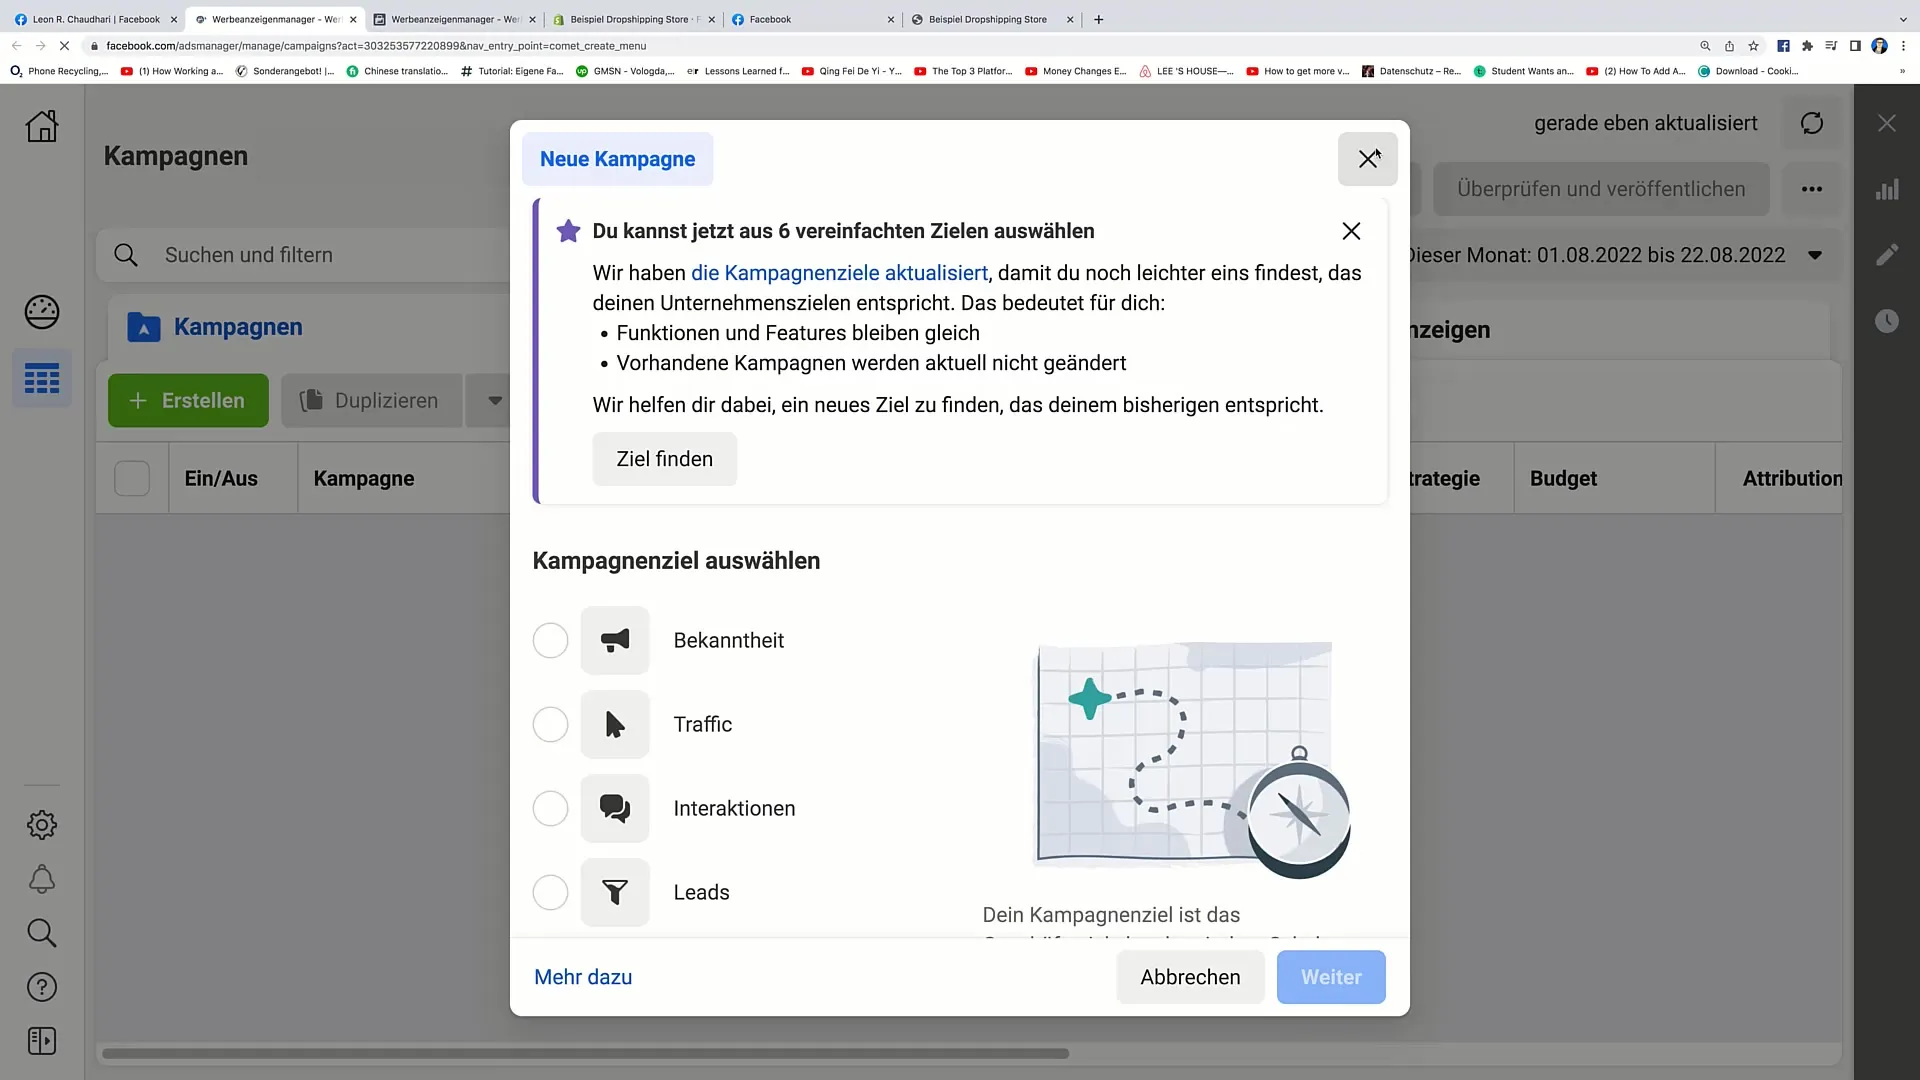
In this section, you should now see your Facebook pixel. Ensure that the pixel is active, as this is crucial for tracking data. Check if your pixel is properly set up.
Another useful tip is to use a Chrome extension called "Facebook Pixel Helper." This extension is free and allows you to verify if the pixel is working correctly. Install the extension and visit your website to ensure that the pixel was properly integrated.
After installing the Chrome extension, you will see a small icon at the top of your browser. Click on it to check if the Facebook pixel is active and sending data.
You have now completed all the necessary steps to set up the Facebook pixel in your Shopify store. Thank you for your attention, and I hope you can apply this in the next video.
Summary
In this guide, you learned how to integrate the Facebook pixel into your Shopify store. The process is relatively simple and allows you to track user behavior and run targeted ads. Remember to also check the functionality of the pixel.
Frequently Asked Questions
How do I install the Facebook pixel in my Shopify store?Log in to your Shopify store and go to "Online Store" > "Preferences". Click on "Set up Facebook" and follow the instructions to connect.
How do I check if the Facebook pixel is working?Use the Chrome extension "Facebook Pixel Helper" to check the functionality of the pixel on your website.
Do I need to perform a domain verification?Yes, you need to verify your domain, but this usually happens automatically during the connection of your account.


