In this tutorial, you will learn how to create Custom Conversions on Facebook. Custom Conversions are specific actions that take place on your website and help you measure the success of your ad campaigns. Whether it's purchases, entering an email address, or clicks on specific buttons – Custom Conversions allow you to effectively track your revenue and interactions on your site. Let's dive into the step-by-step guide.
Key Takeaways
- Custom Conversions help you track specific actions on your website.
- You need to define the URL or specific action you want to monitor.
- You can set the value of your Conversions to calculate revenue.
- Custom Conversions can be effectively used in your ad campaigns.
Step-by-Step Guide
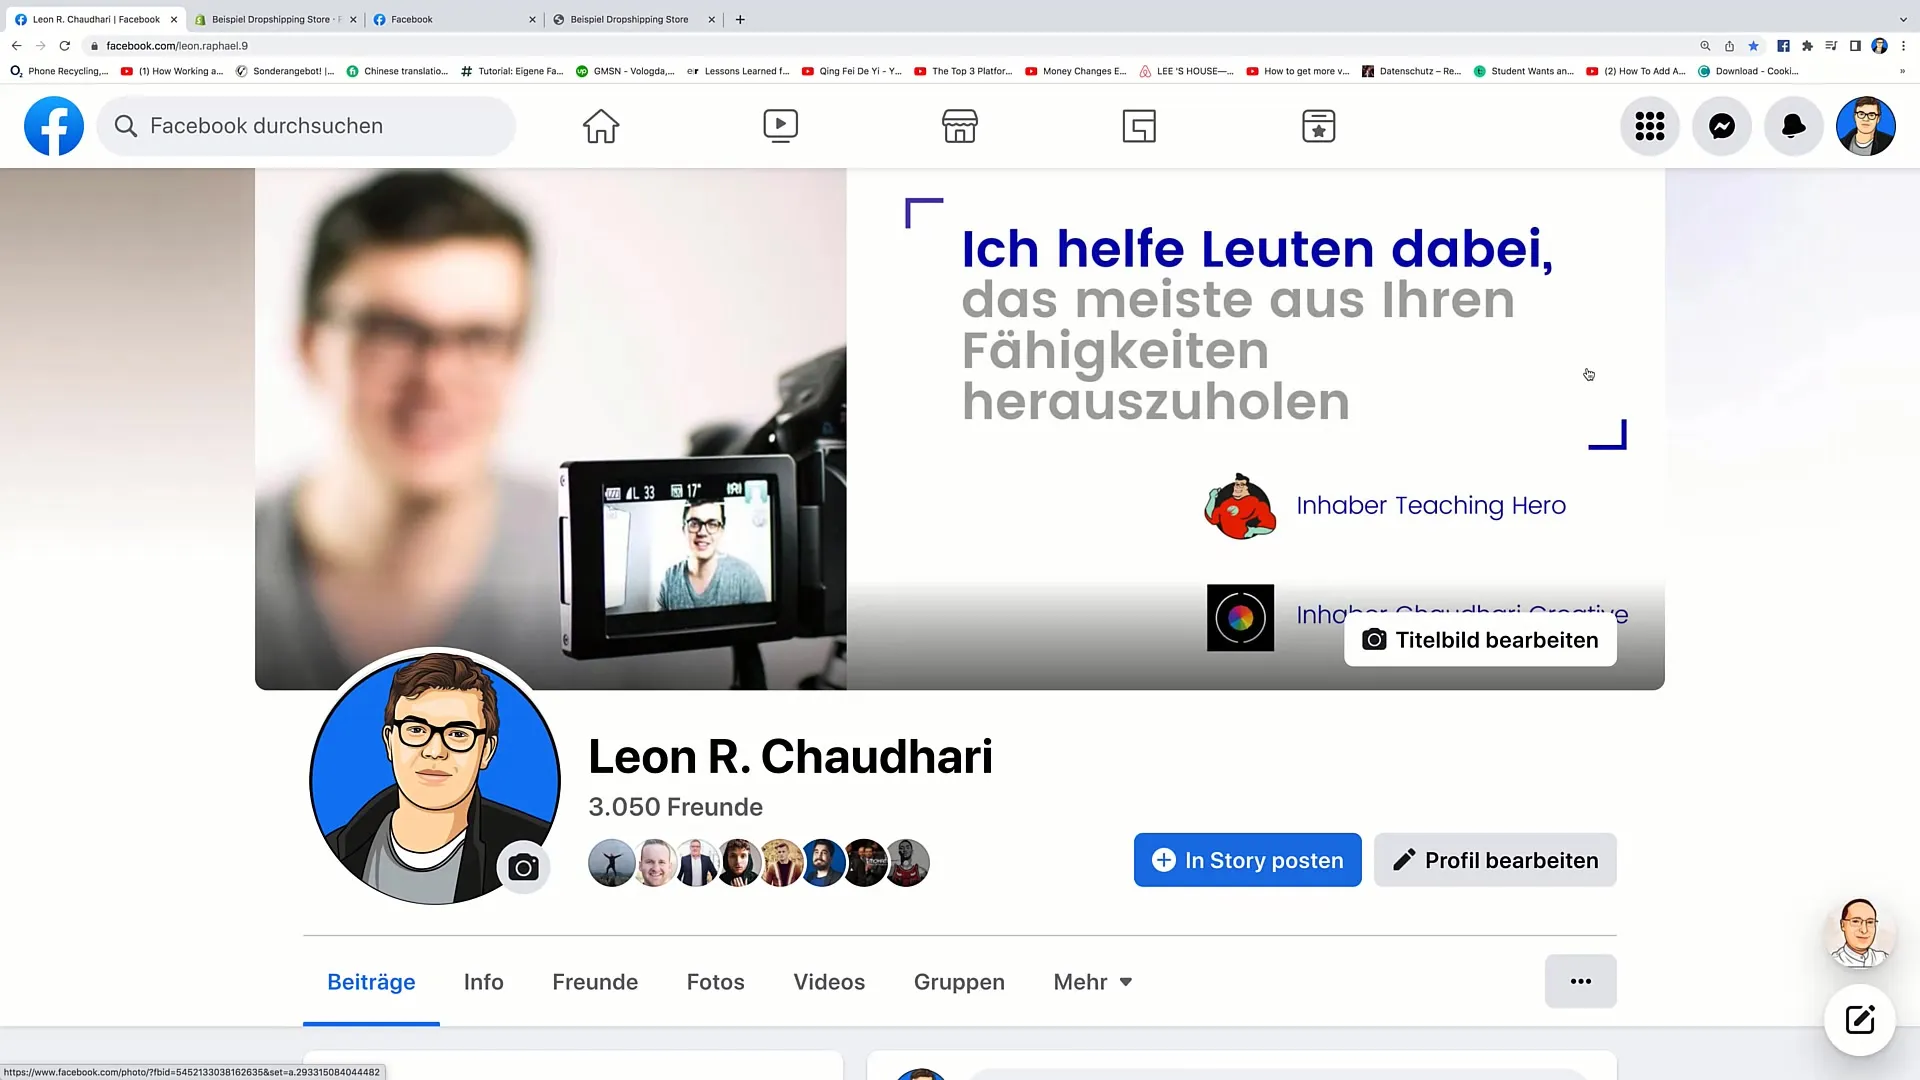
First, log in to your Facebook account in Ads Manager. Once you are in Ads Manager, click on the three lines in the upper left corner to open the menu.
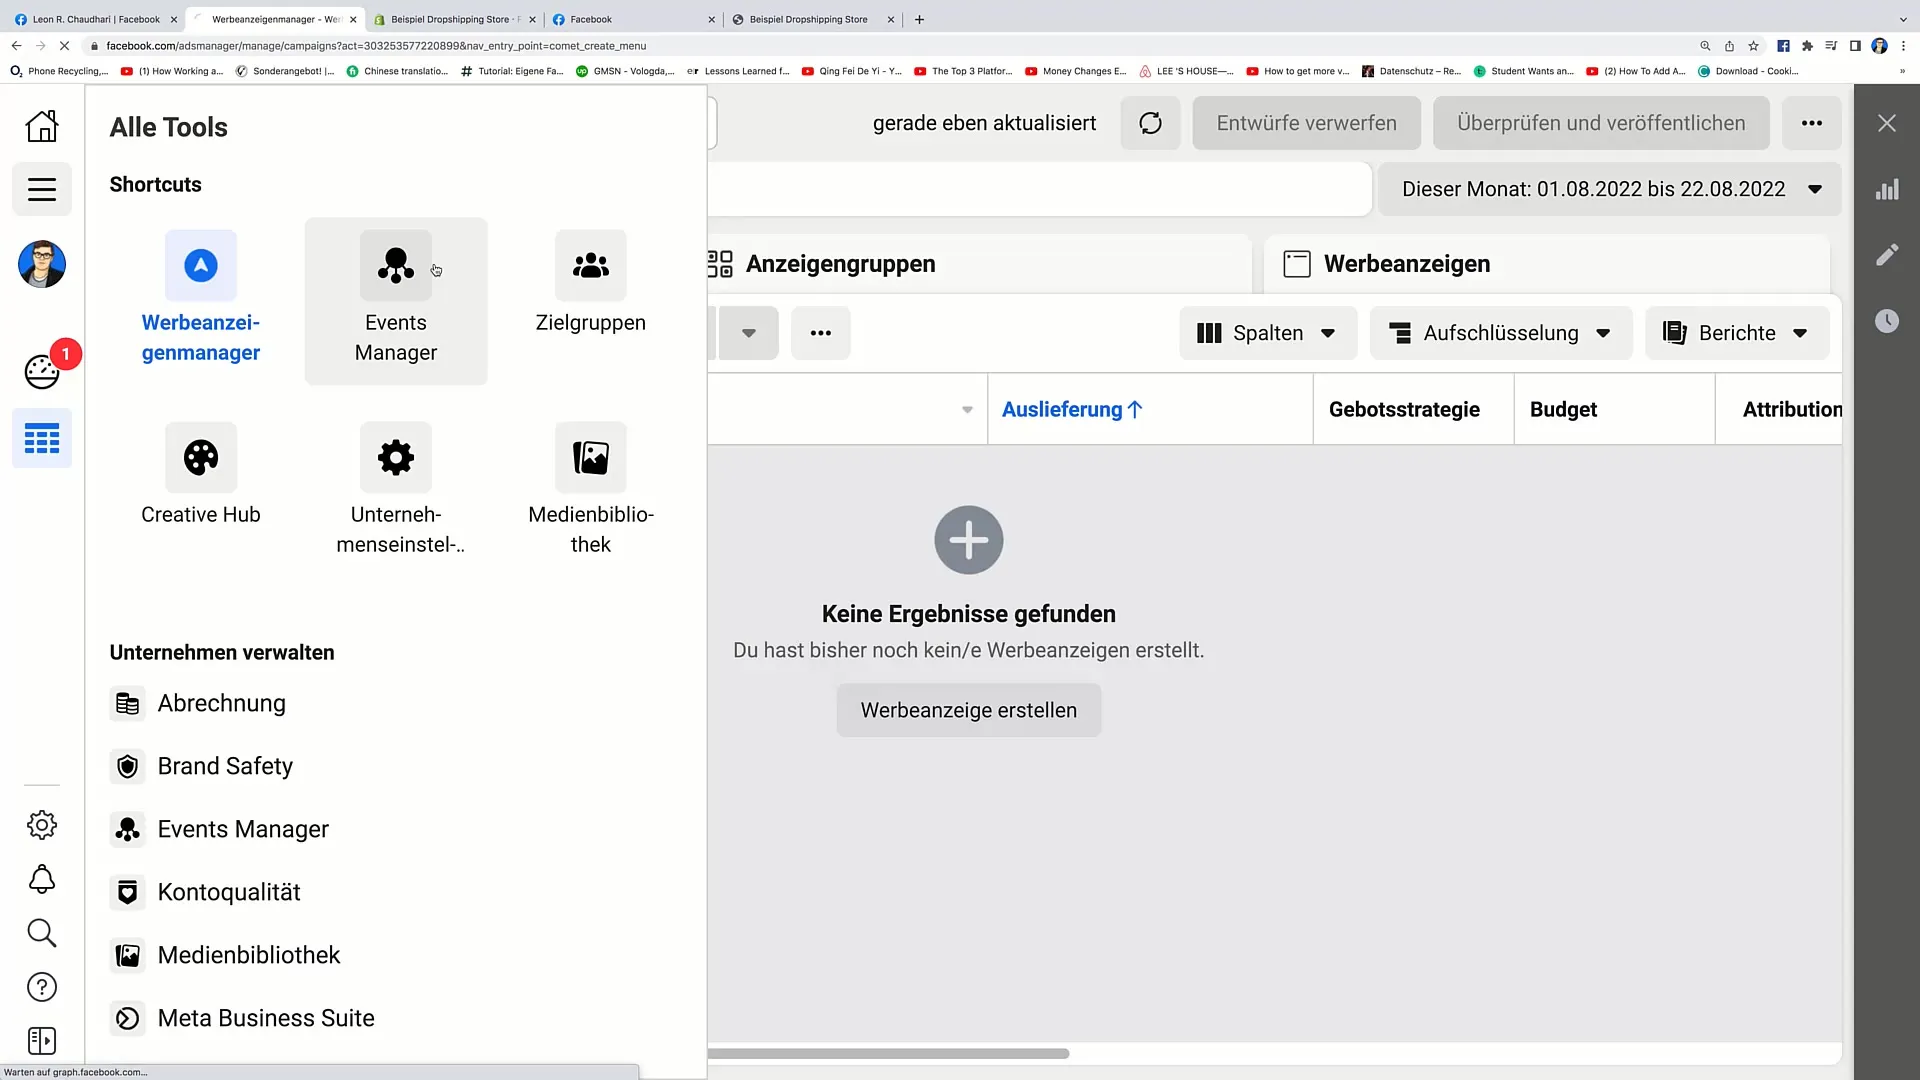
Now select "Events Manager" from the menu. This section allows you to manage your pixels and create Custom Conversions.
Now we are in the Events Manager. Here, you will get information about the actions your website tracks through Facebook Pixel. To create a Custom Conversion, click on the "Create Custom Conversion" tab.
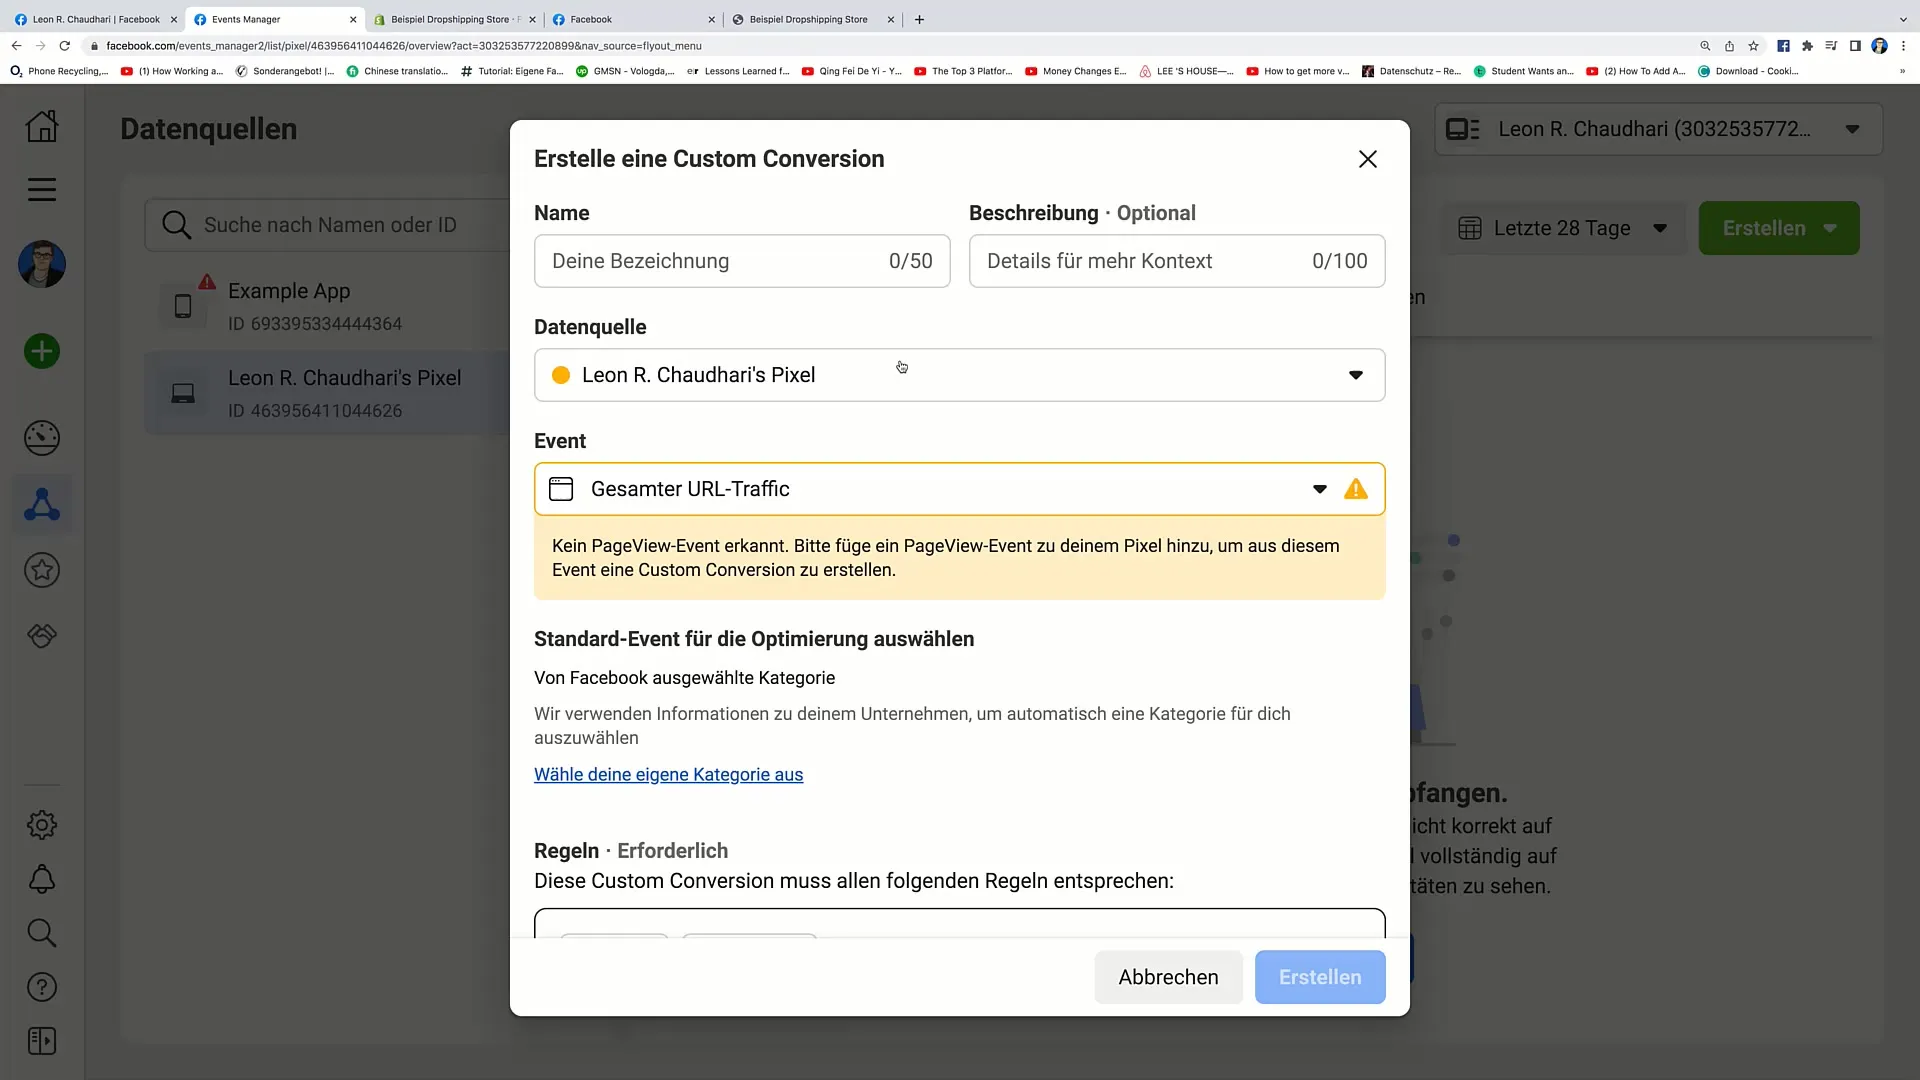
After clicking on "Create Custom Conversion," you can now add a name for your Conversion. For example, name it "Purchase." You should also add a brief description explaining what this Conversion means, for instance, "A person has purchased a product in my store."
Next, you need to select the data source – in this case, your Pixel. Choose the relevant Pixel installed on your website.
Now comes the interesting part: you need to set the URL or keyword you want to track. Let's say you want to monitor all purchases happening on a Thank You page. You could use "Thank You" as the keyword. This means that every time someone visits this specific URL, it will be counted as a Conversion.
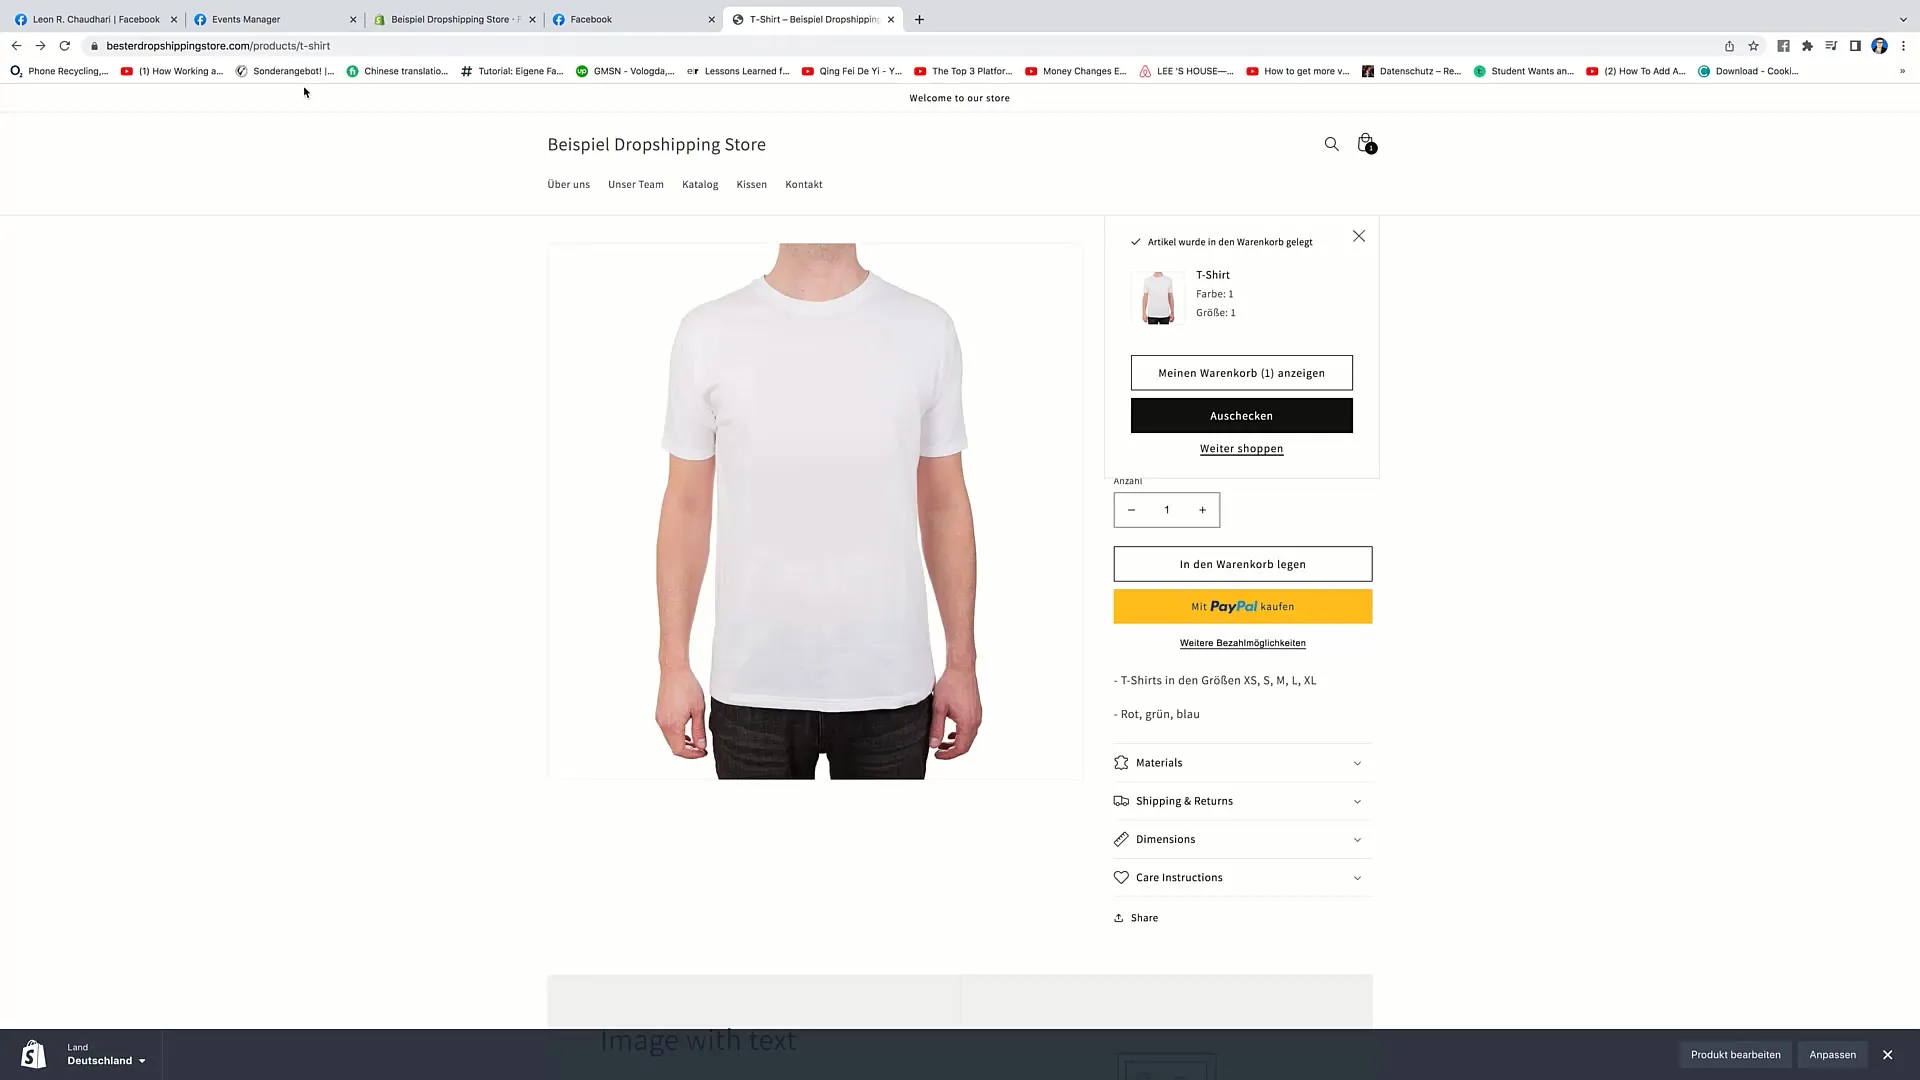
Typically, the Thank You page is accessed after a customer makes a purchase. This means the URL could look like "www.bestdropshippingstore.com/thankyou." By setting this URL as a rule, Facebook will track every visit to this page as a purchase.
Now you can also assign a monetary value to the Conversion. For example, if your product costs 29 EUR, you should enter this value here. This allows you to later analyze how much revenue your ads have generated.
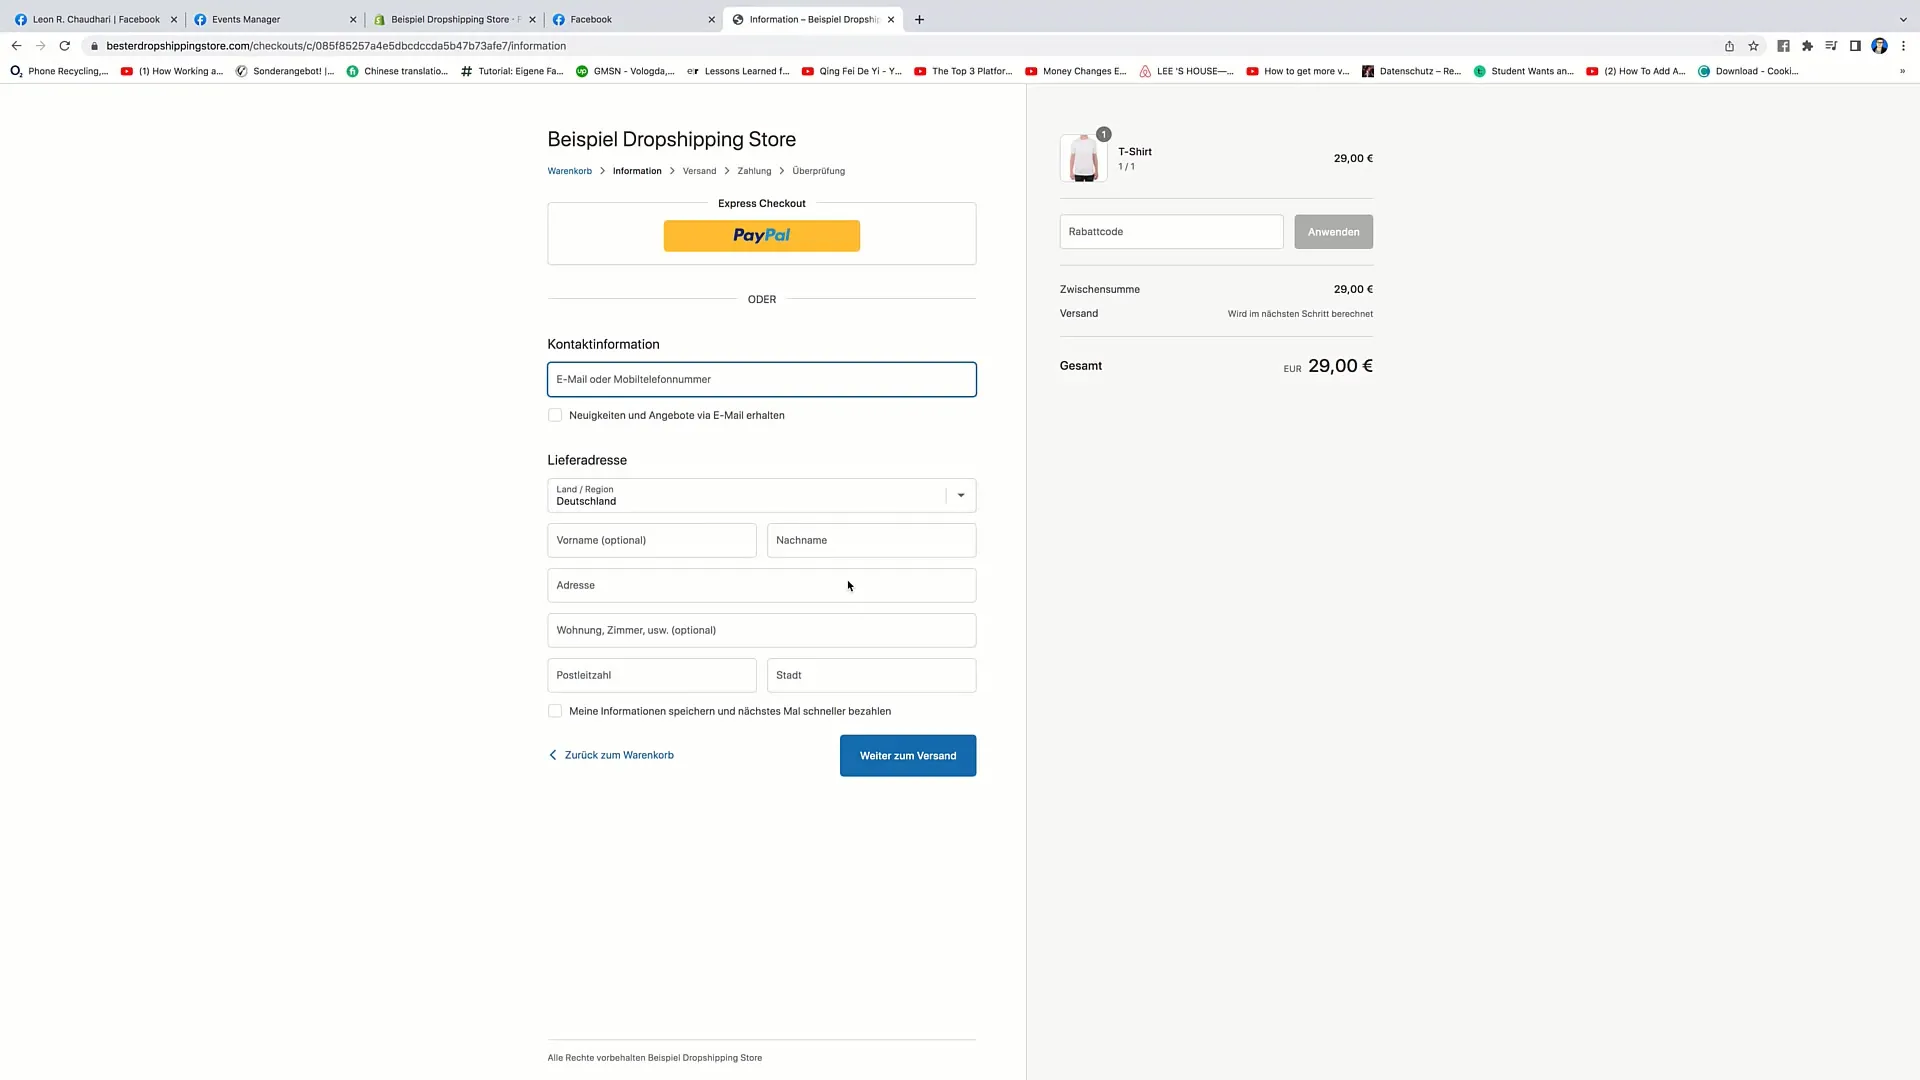
If you sell different products at different prices, you can make the rule more specific. Instead of using just "Thank You," you could also track specific product URLs to capture revenue for each product.
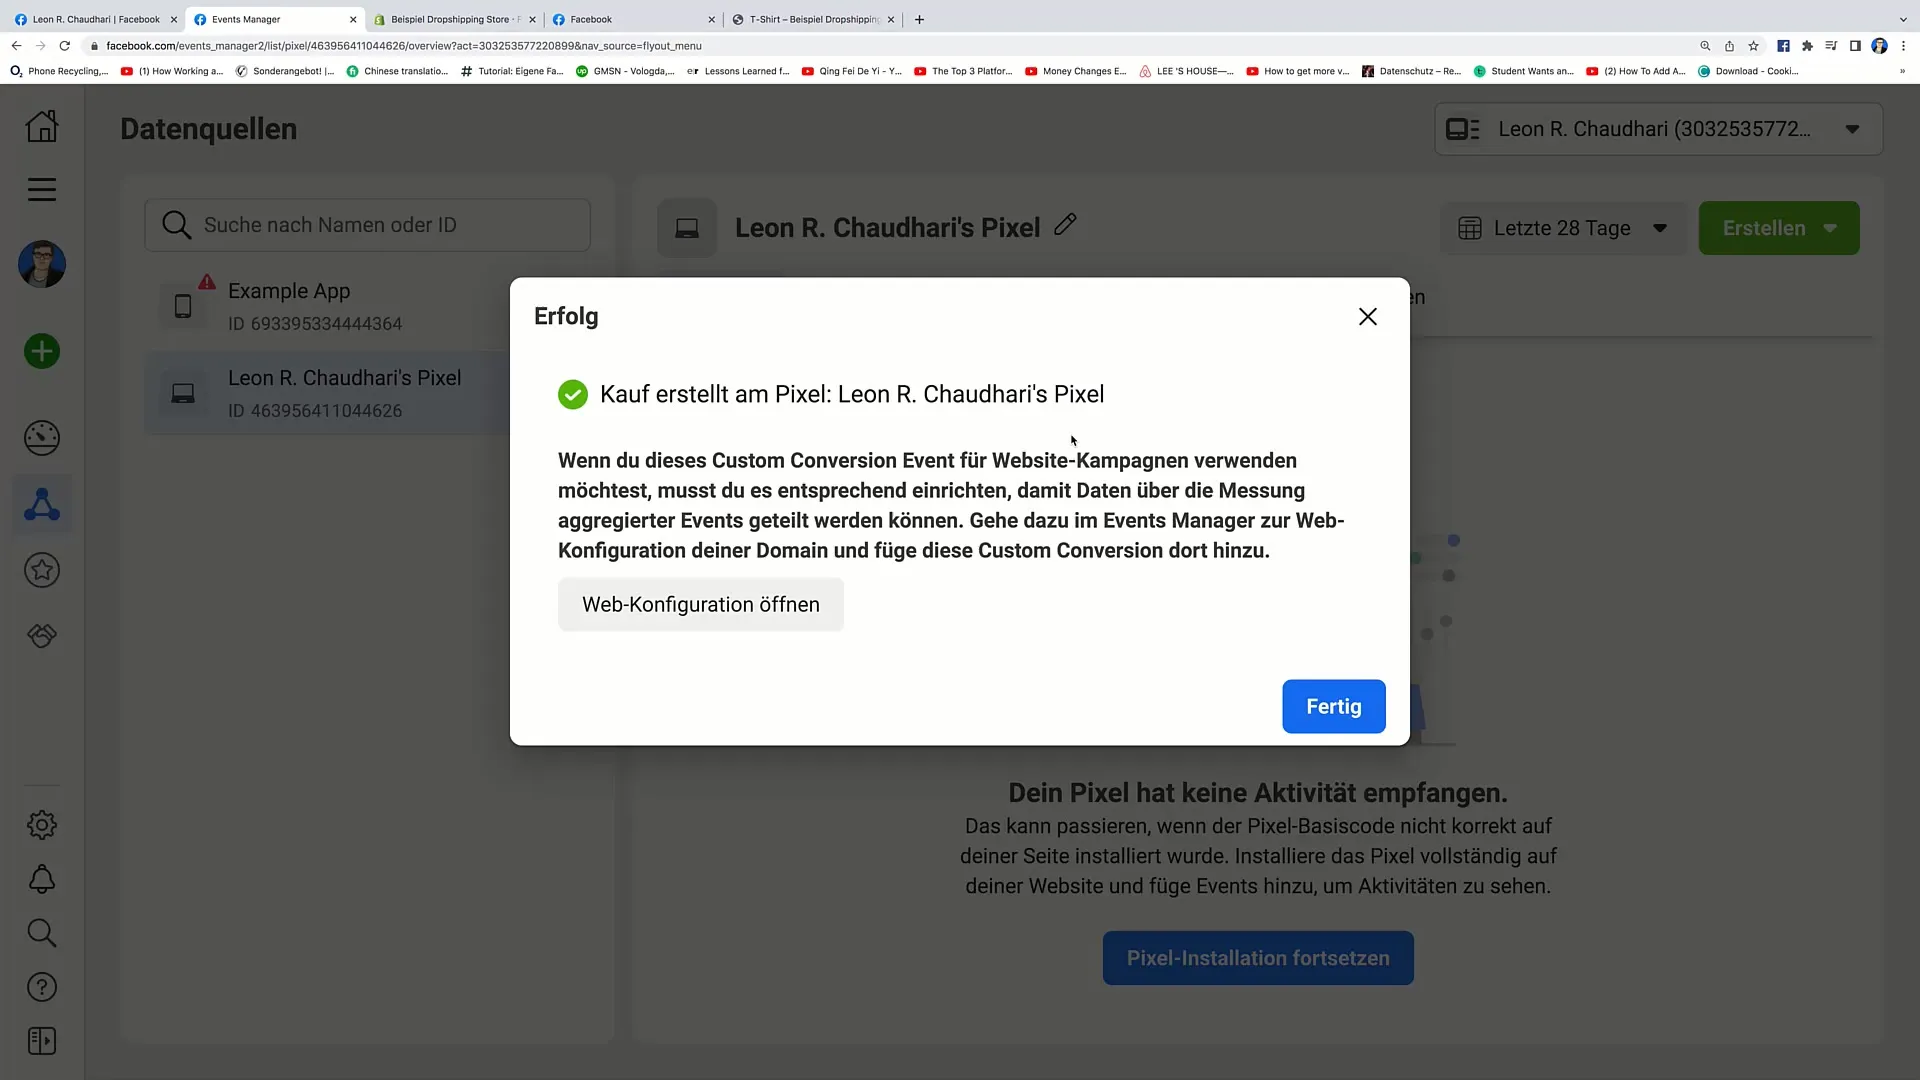
Once you have entered all the information, click on the "Create" button at the bottom. Your Custom Conversion is now successfully set up. You can now use this Conversion in your ads for targeted campaigns.
Summary
In this guide, you have learned how to create Custom Conversions on Facebook. By setting up Custom Conversions correctly, you can accurately monitor the success of your advertising efforts and optimize accordingly.


