In today's digitized world, it is essential to take effective advertising measures to be successful in e-commerce. One of the most powerful methods to achieve this is by running Facebook conversion ads, which are also recently referred to as revenue-generating ads. In this guide, I will show you step by step how to create a Facebook conversion ad. You will learn which settings are important and how to effectively target your audience.
Main Insights
- The term "revenue-generating ad" is now used instead of "conversion ad."
- It is crucial to create custom conversions to measure the success of your advertising.
- You can adjust the budget and target audience according to your needs to achieve the best results.
Step-by-Step Guide
Step 1: Understanding the Revenue-Generating Ad
Before you even start creating, it is important to know what exactly a revenue-generating ad is. This type of ad allows you to track precisely how much money you have spent on advertising and how much revenue you have generated from it. To optimize this, you will need so-called custom conversions that you must set up beforehand.
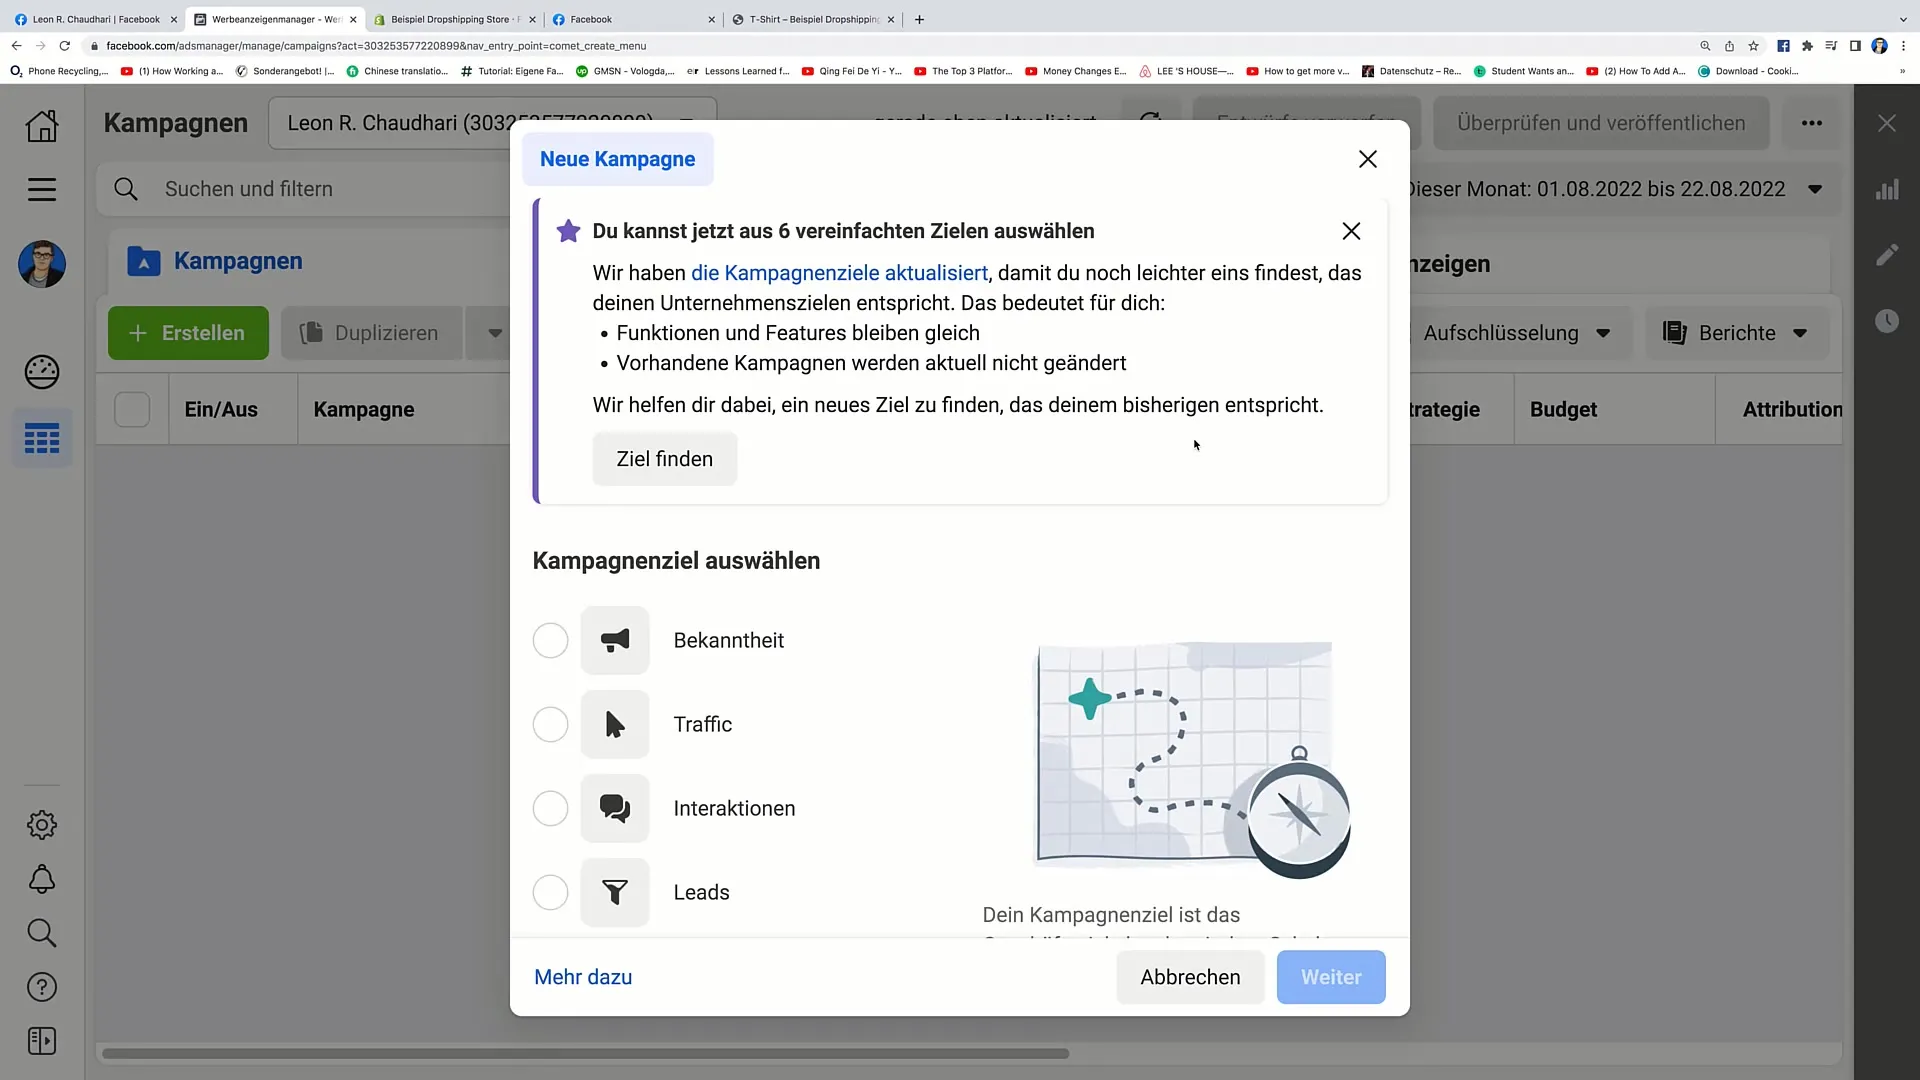
Step 2: Creating the Ad
In your Facebook Ad Manager, click on the "revenue-generating ad" option or the corresponding control element. You will now be prompted to set the name for your campaign. I recommend naming the campaign in a way that won't confuse you later. In this example, I am naming my campaign "Revenue Campaign Number 1."
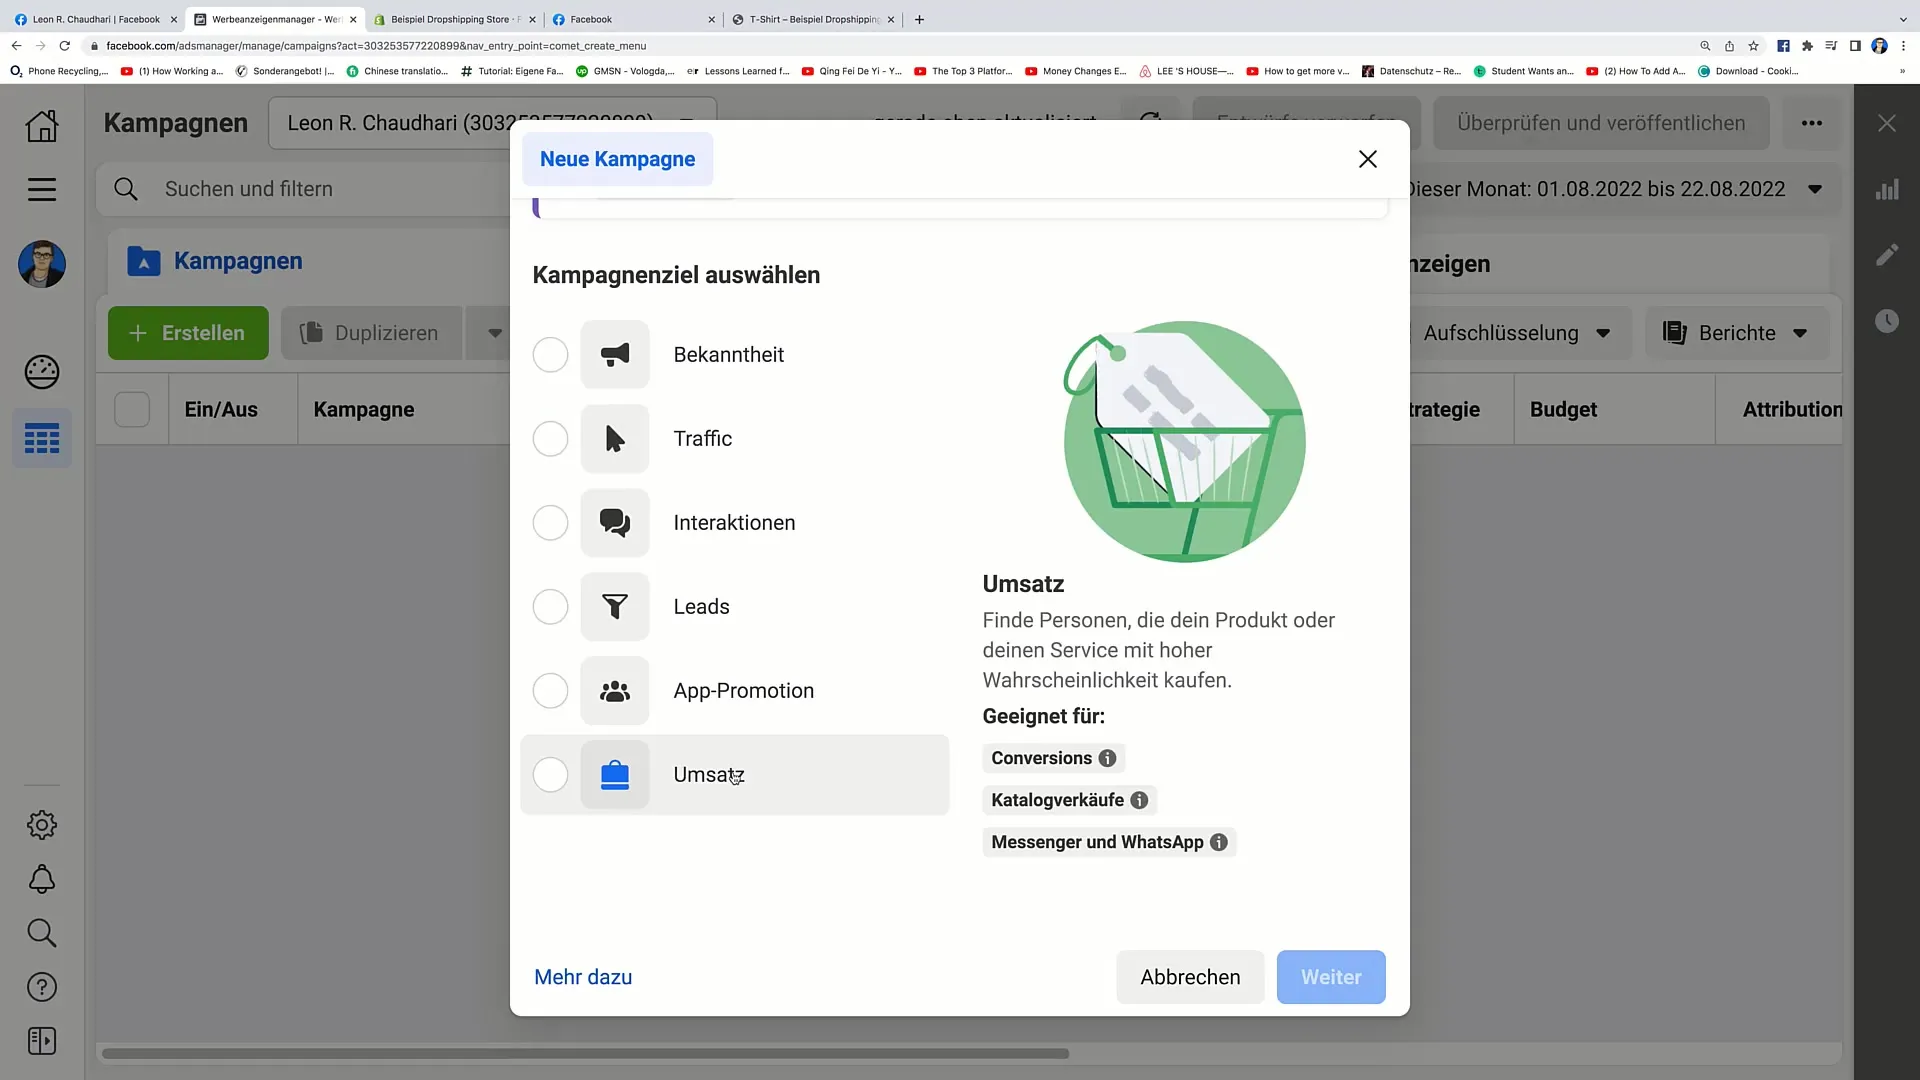
Step 3: Target Audience Information
After setting the campaign name, scroll down and leave the campaign details as default. Then click on "Next." You are now in the section where you can define the target audience for your ad. It is important to choose the right settings here to achieve maximum reach.
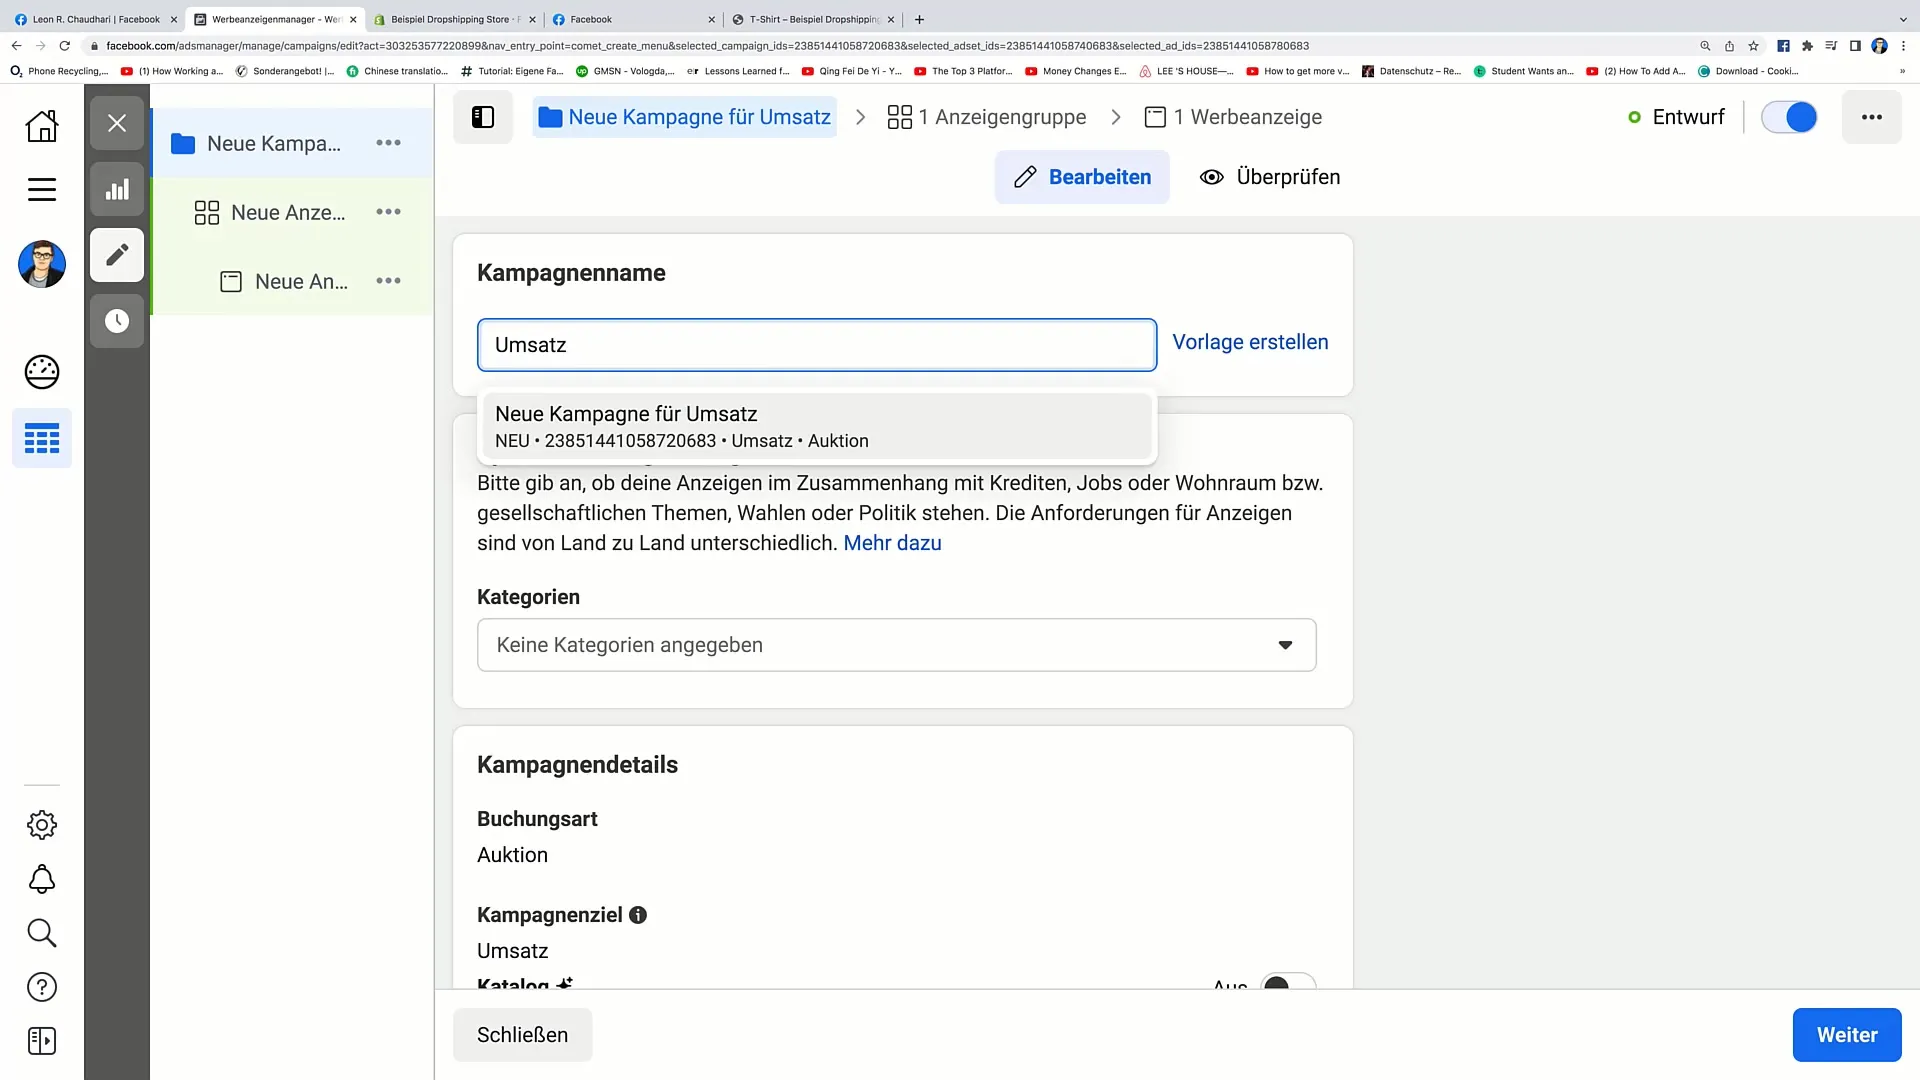
Step 4: Selecting the Conversion Event
In this phase, you select the conversion event you want to track. For example, you can choose the purchase event. Simply click on the respective option to activate it. Next, you will need to set your cost target per conversion. This could be, for example, 8 euros per conversion.
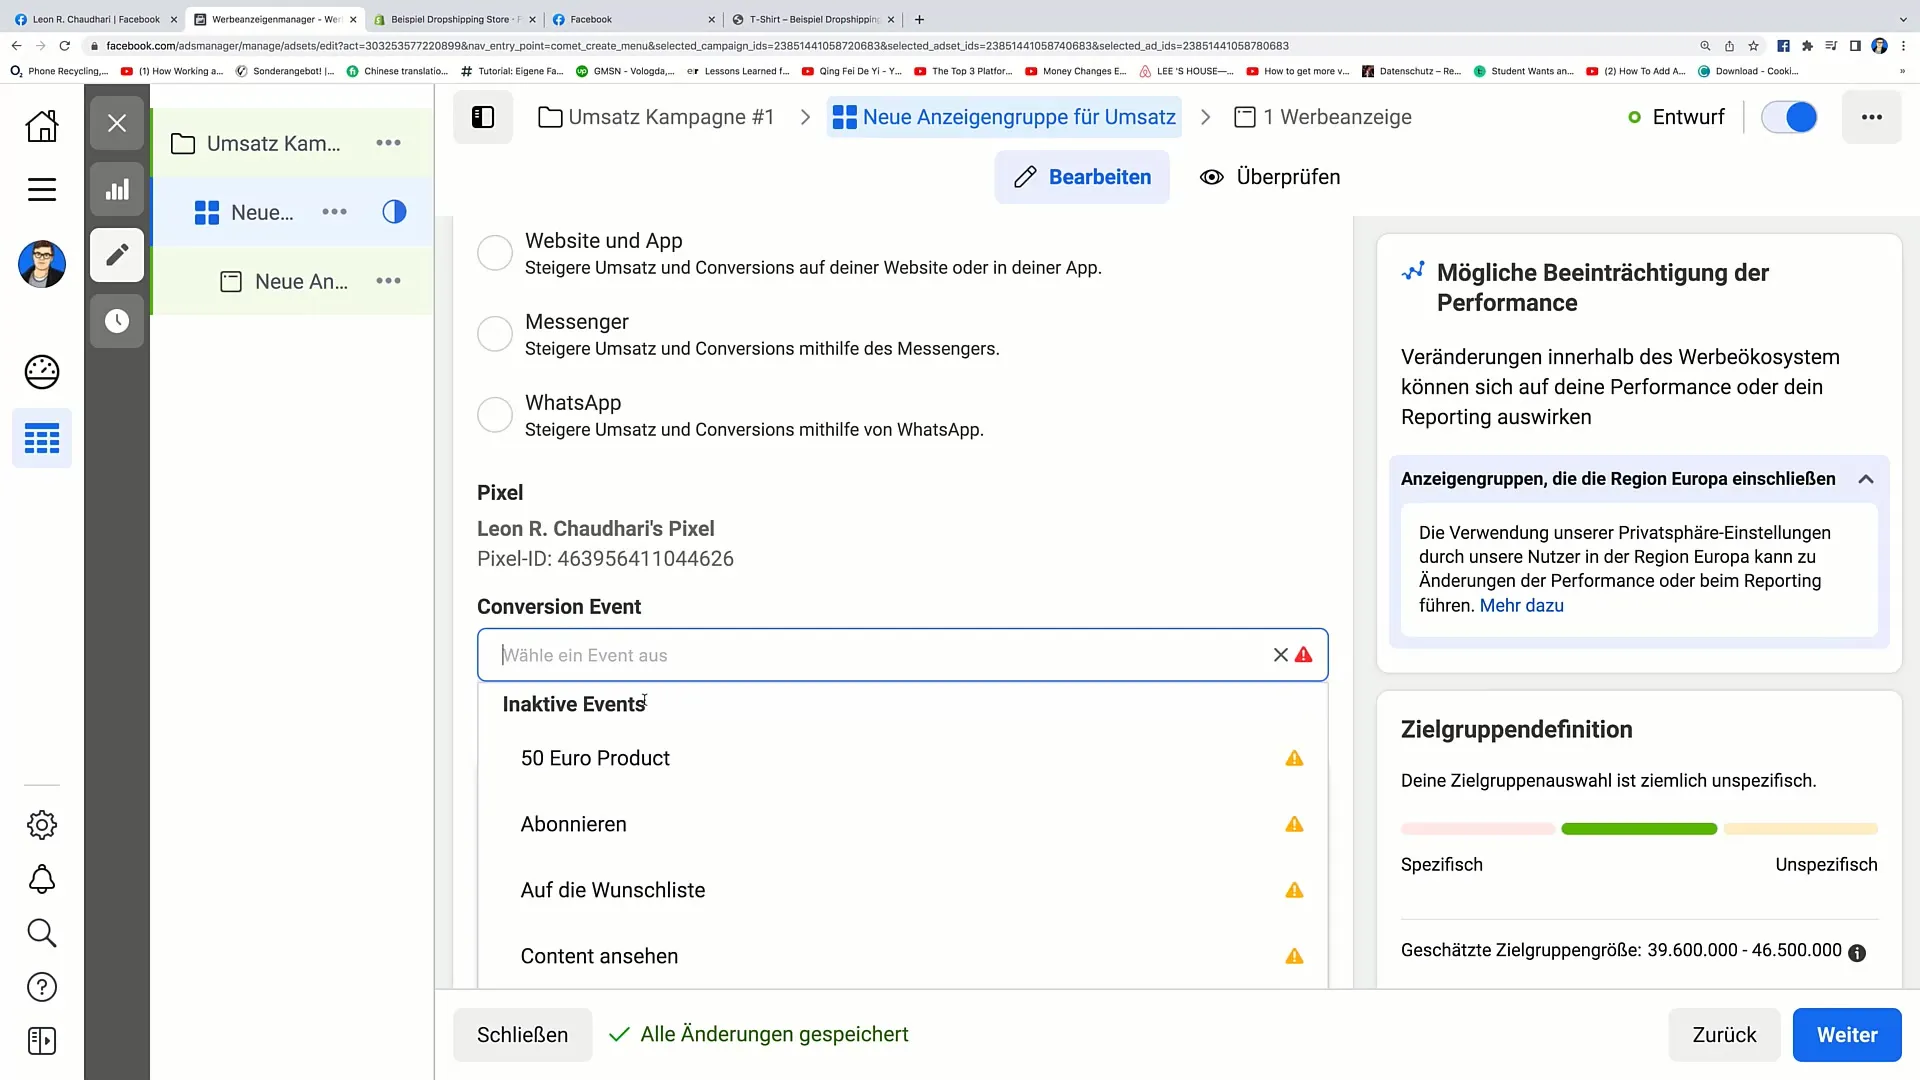
Step 5: Setting Budget and Time Frame
Now it's time to set the budget for your campaign. In my case, I set a budget of 20 euros per day. Don't forget to also set a start and end date for your campaign.
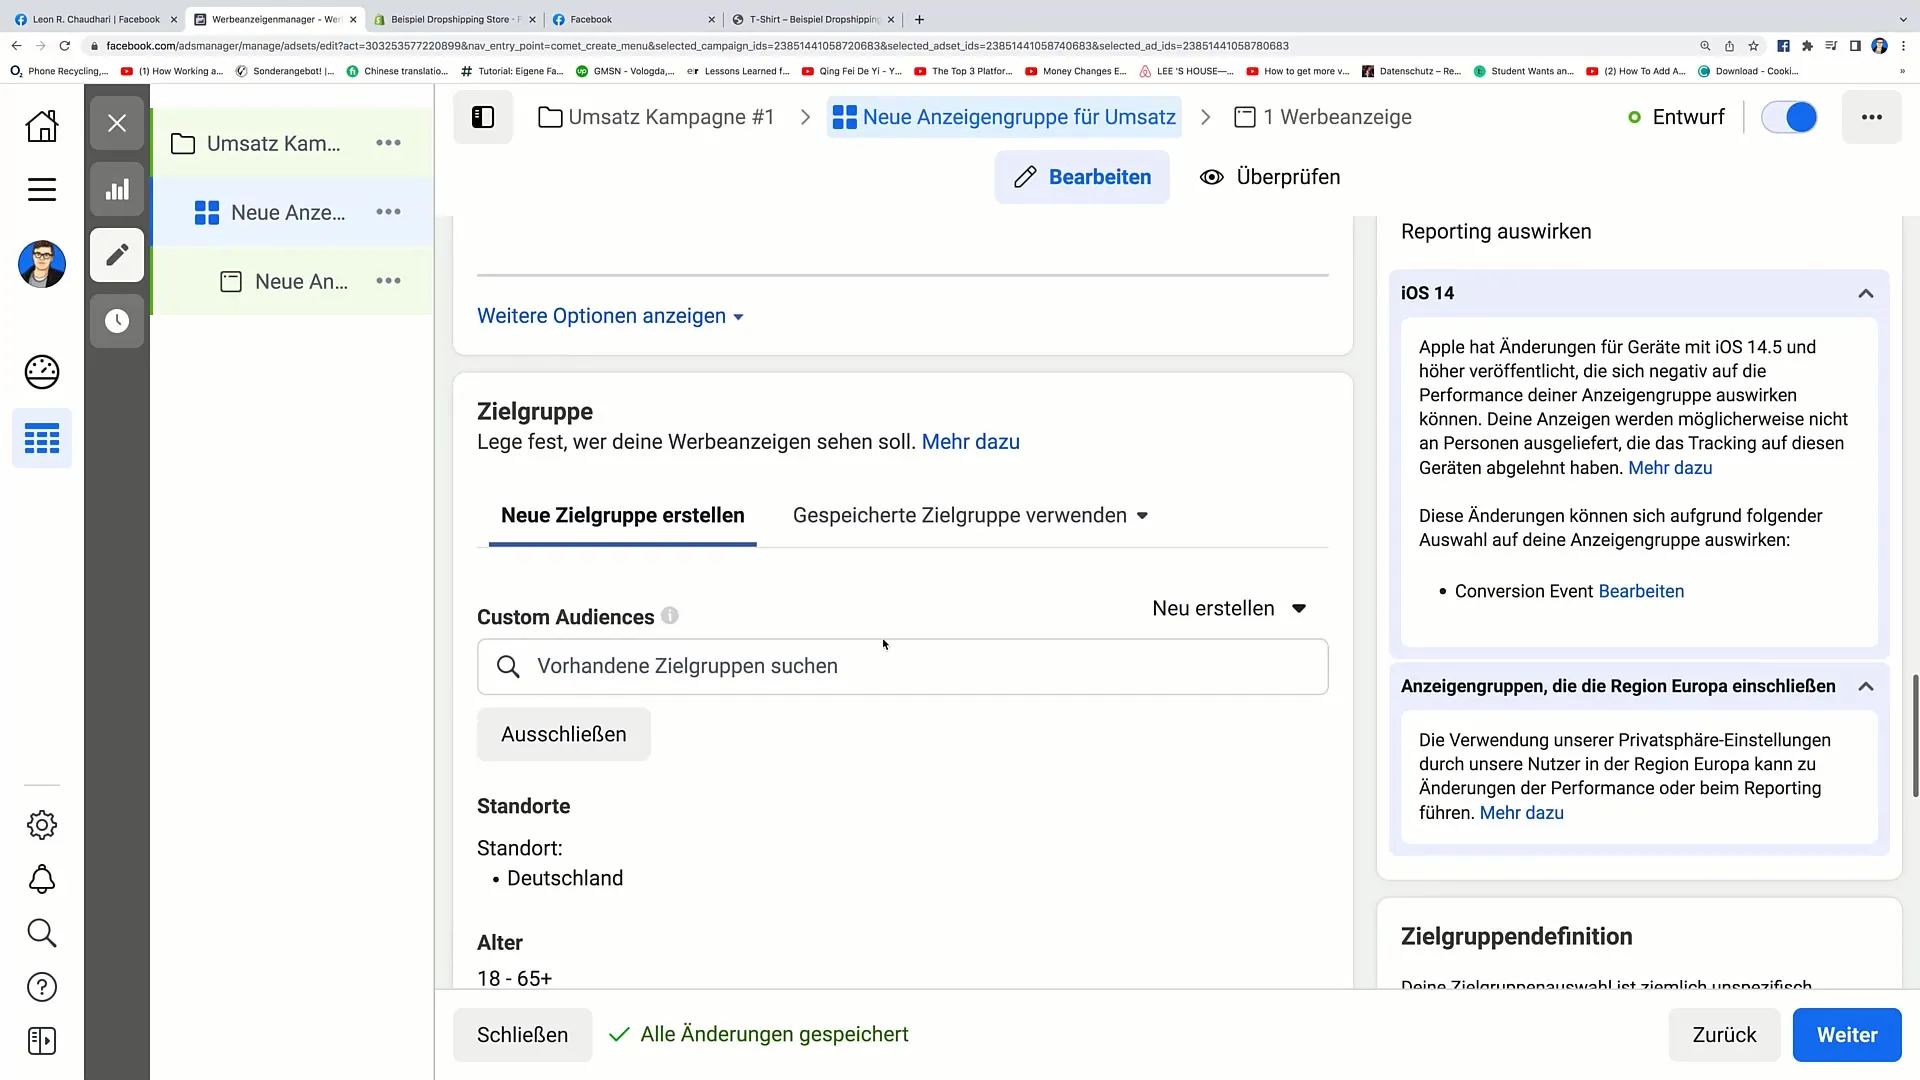
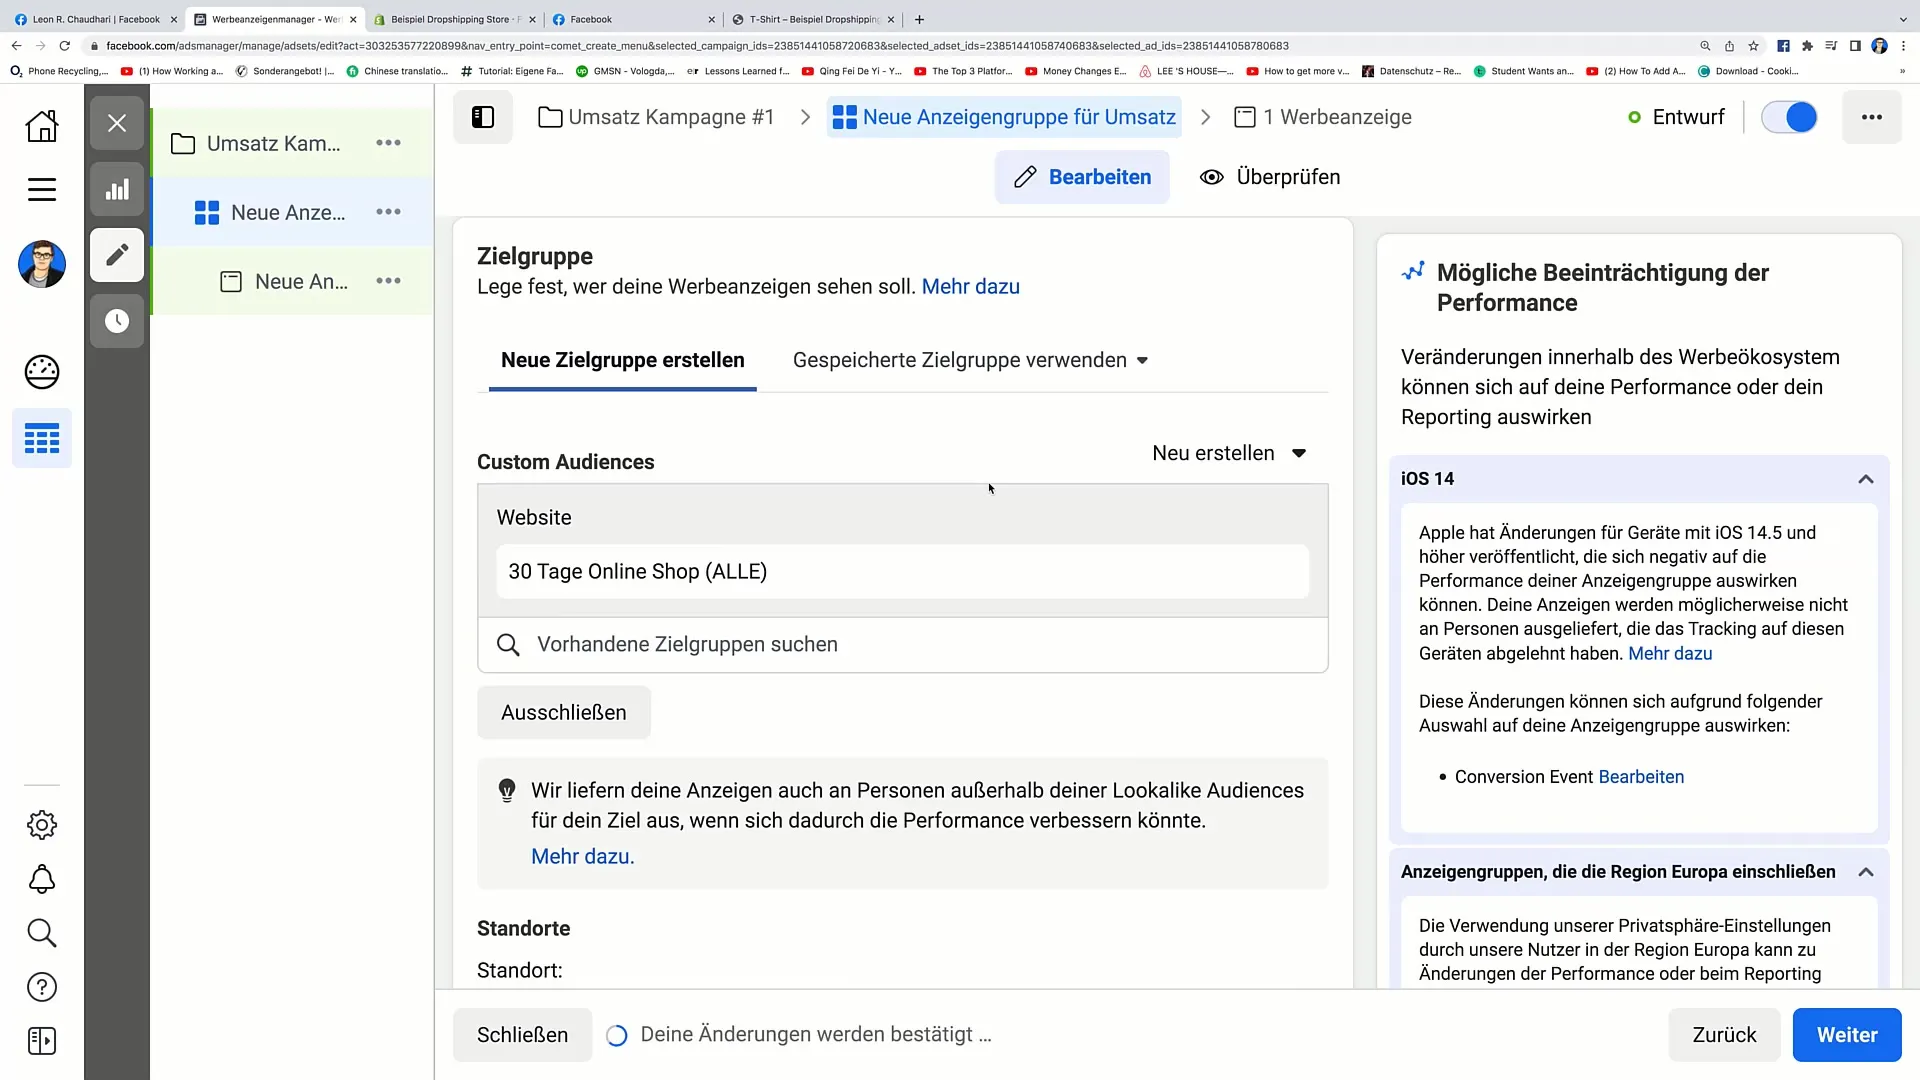
Step 6: Adjusting or Creating Target Audience
If you already have a suitable target audience, select it here. In my example, I am using the audience "30 Days Online Shop," which includes all users who have visited your online shop in the last 30 days.
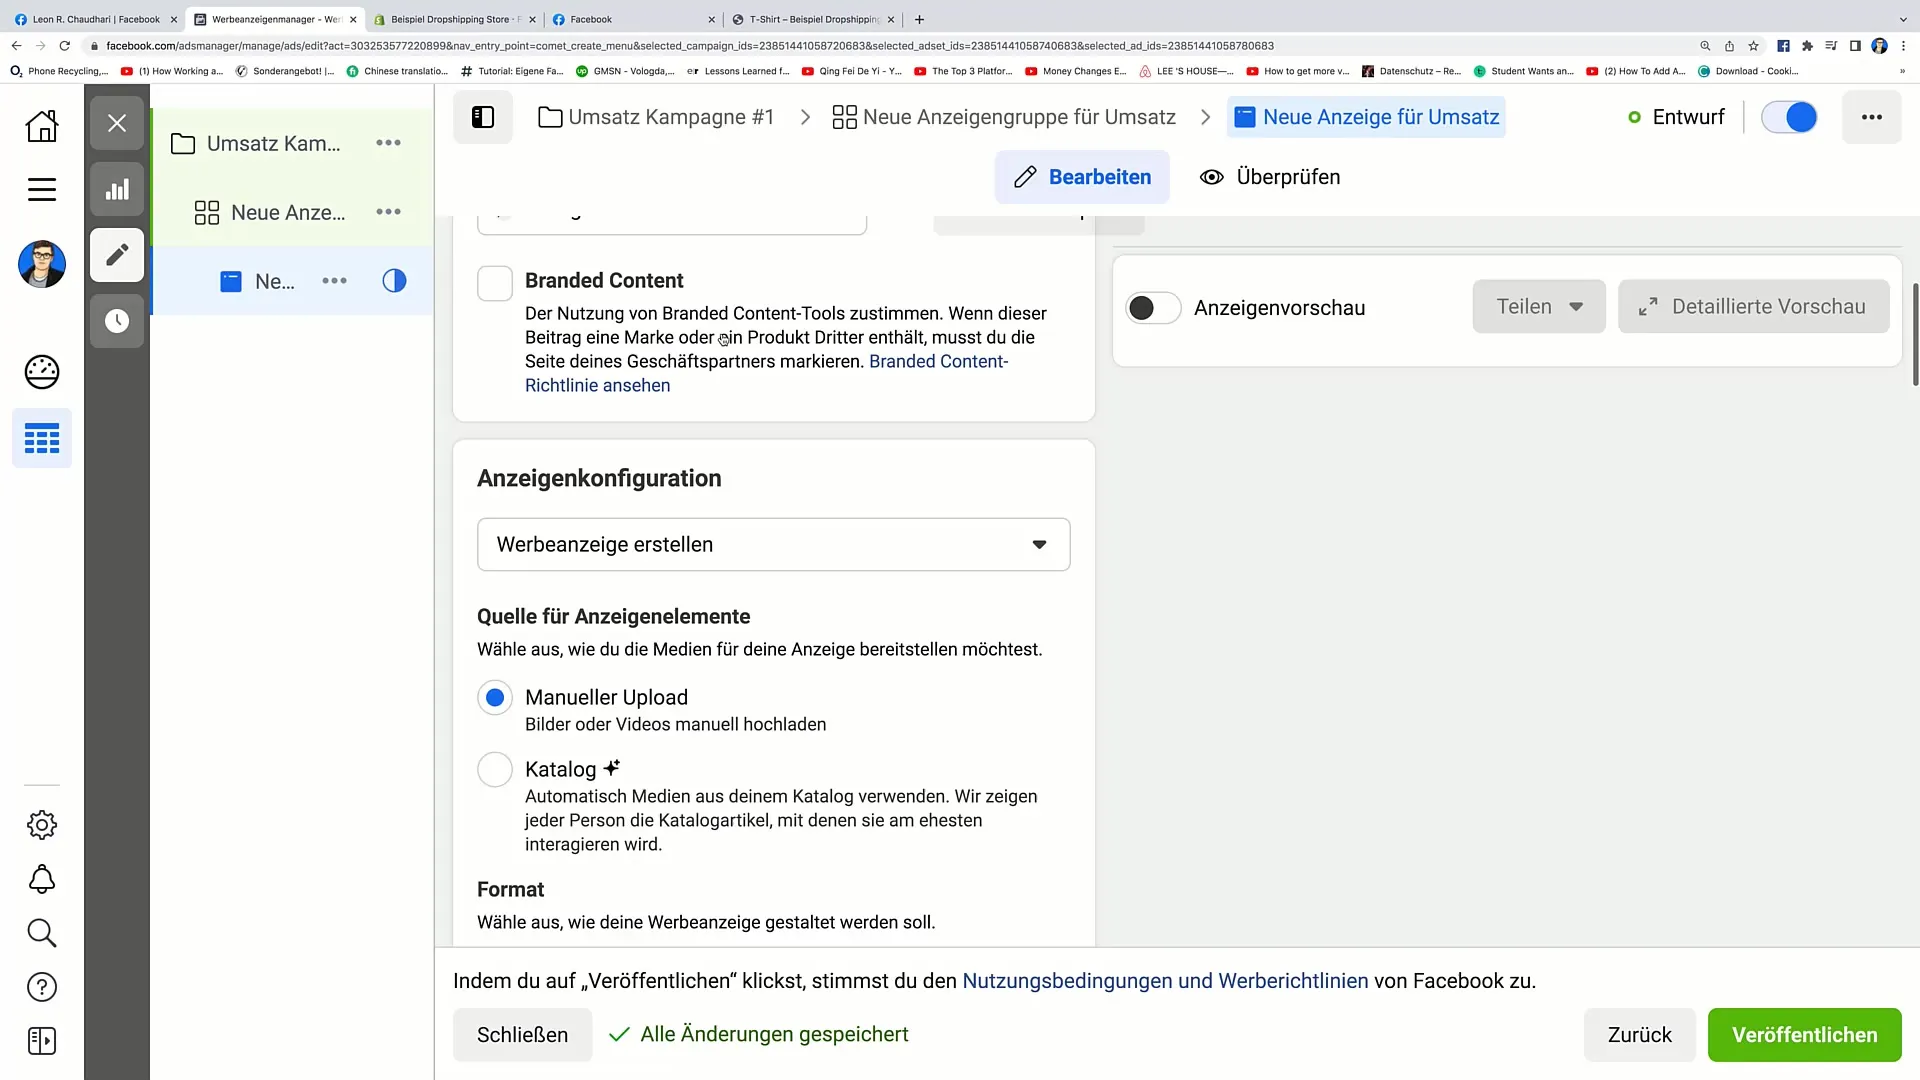
Step 7: Creating Ad Content
The last step is the most exciting, as you will develop the content of your ad here. You can set an ad name, select the Facebook page, and then upload images or videos. Make sure the text is catchy and there is a clear call to action.
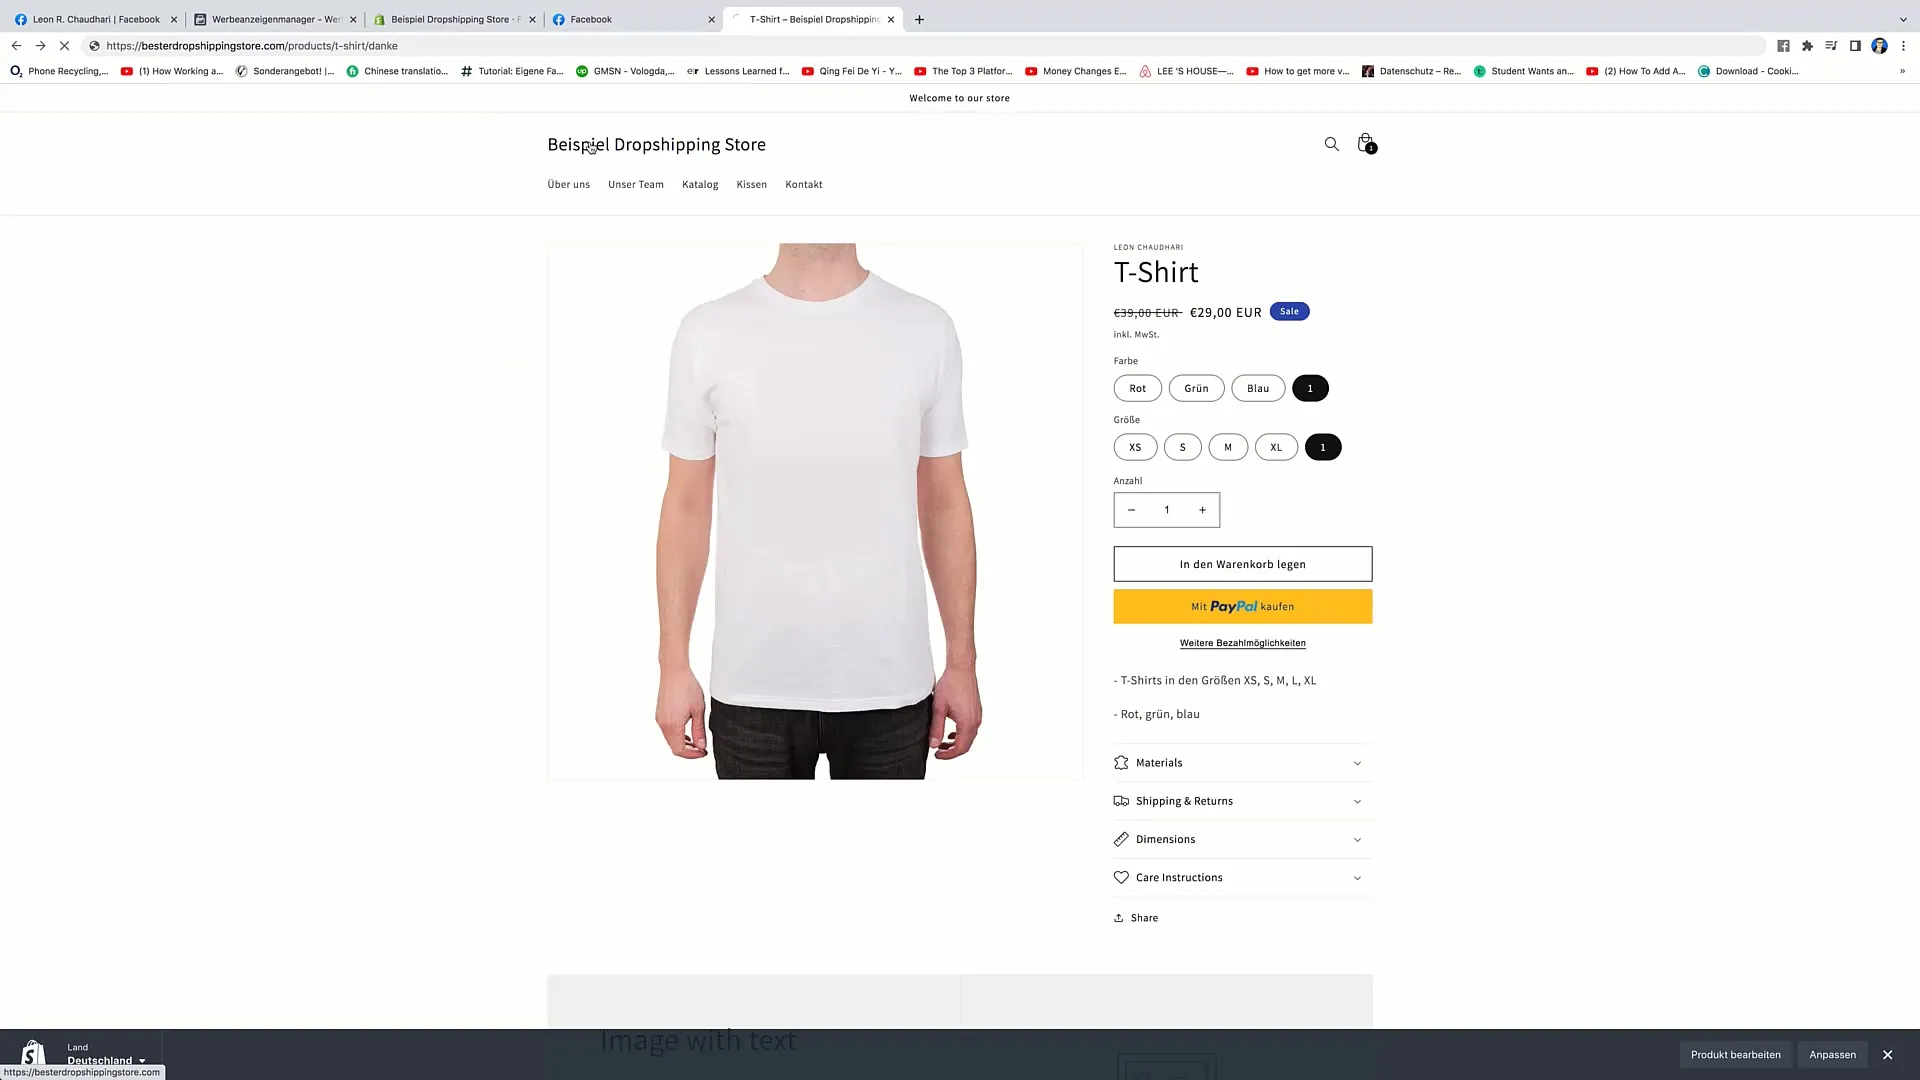
Step 8: Inserting a Link to Your Product
Do you know where you want to direct users? Insert the link to the product or landing page you want to link to. When users click on the ad, they should be directed straight to this link.
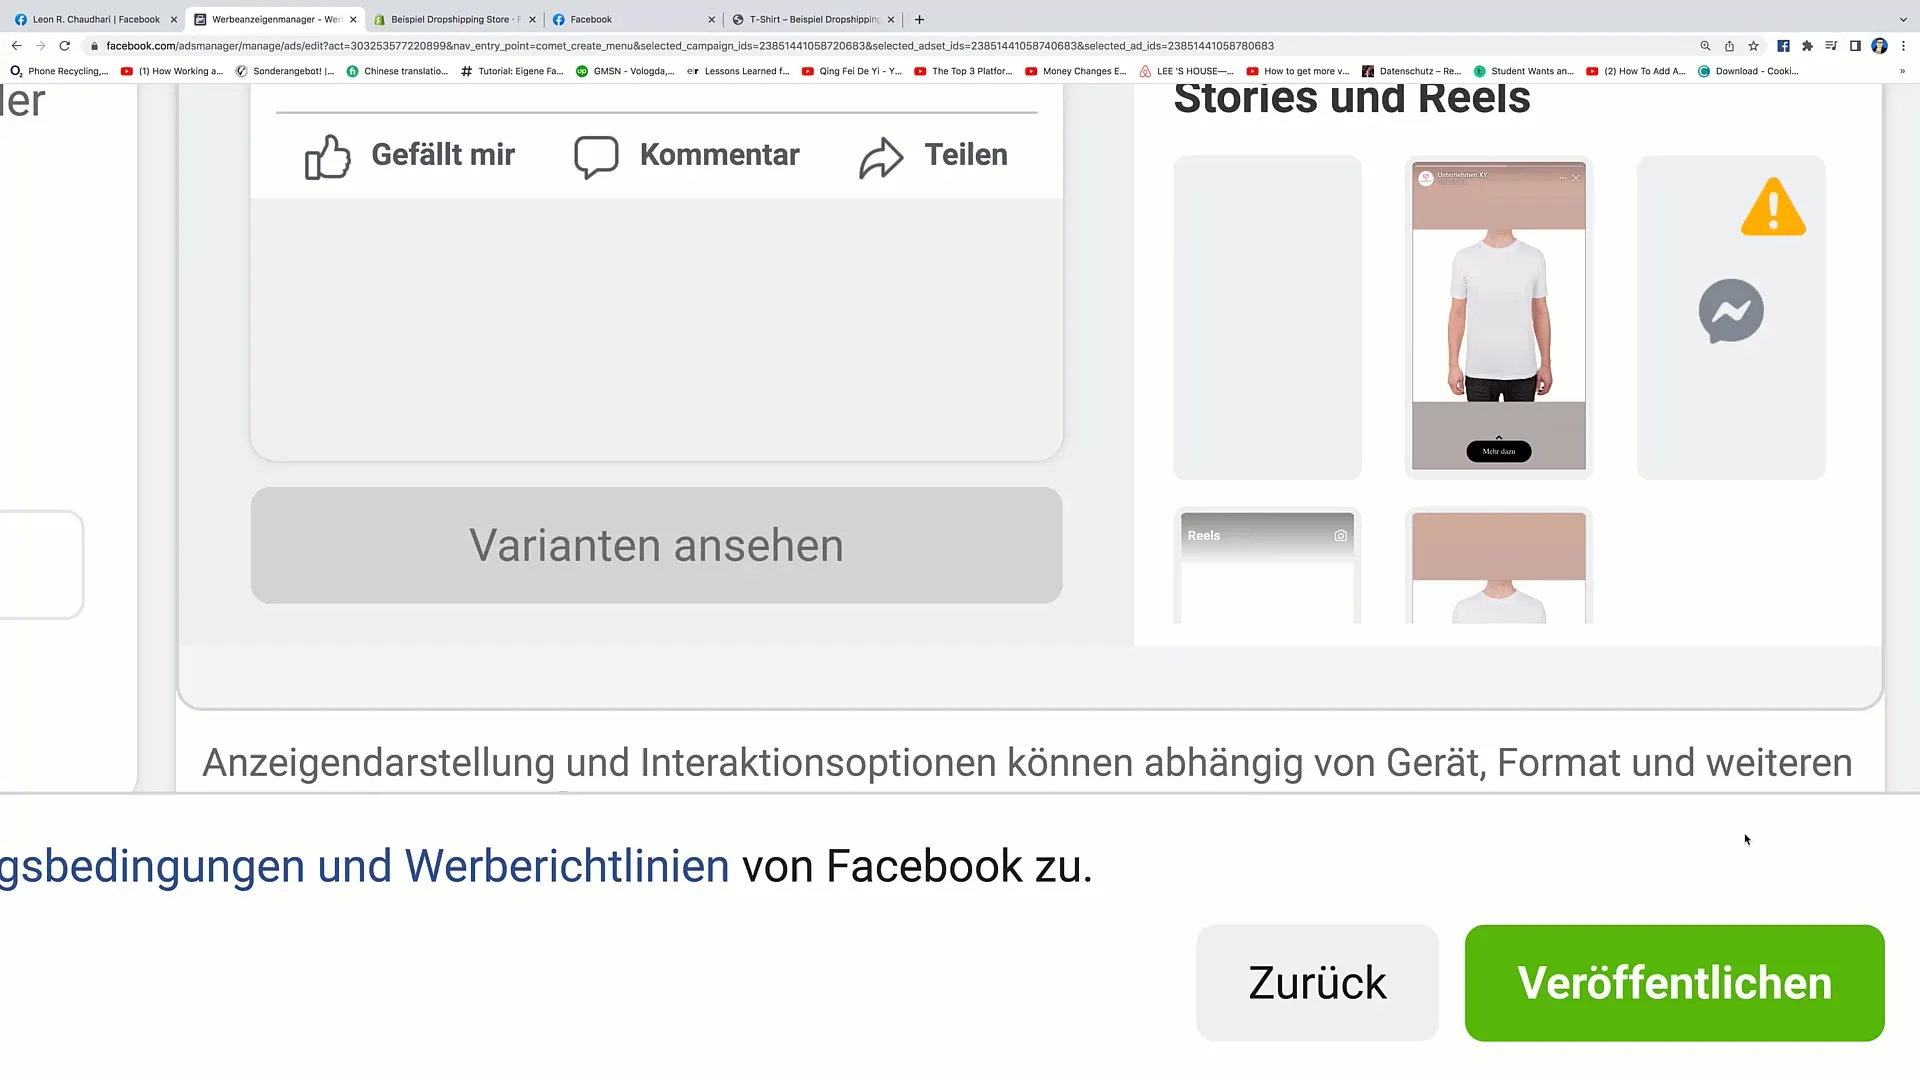
Step 9: Publish advertisement
After everything is set up, click on "Publish". Facebook will take a short moment to review the ad. This process is completely normal and may take a few minutes.
Summary
In this tutorial, you have learned how to create a Facebook conversion ad, now also known as a revenue ad, step by step. From setting the campaign name to choosing the target audience to creating the ad content, you can perform all necessary steps yourself.
Frequently Asked Questions
What is a revenue ad?A revenue ad tracks advertising expenses and generated revenue.
How do I set a budget for my campaign?In the ad manager, you can set a daily budget and a start and end date for your ad.
Where can I find the Custom Conversions option?You can find Custom Conversions in the conversion settings of the Facebook Ad Manager.


