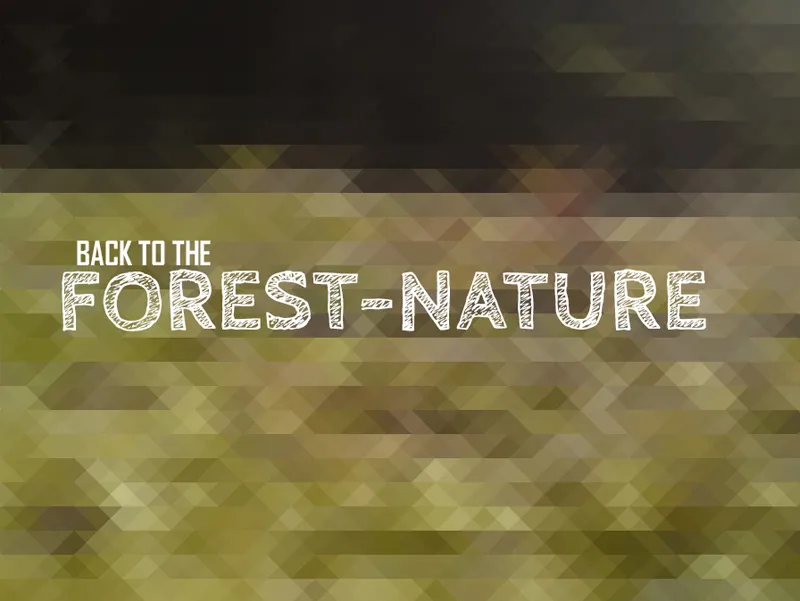
Today I want to show you how amazingly easy and quick we can create this awesome triangle mosaic effect!
We can change any photo of ourselves into this cool background in just a few steps!
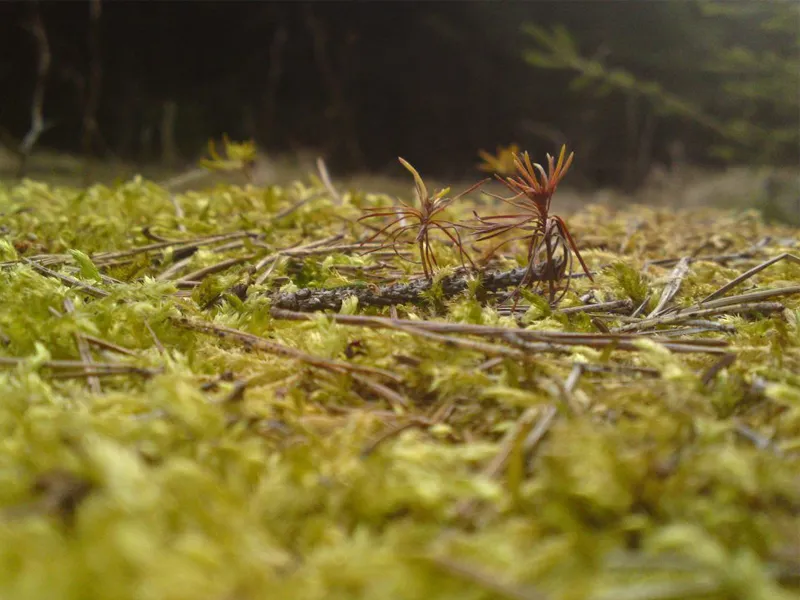
First, we open our desired photo - in my example, a photo of a forest.
Then we duplicate the background layer twice by holding down the mouse button and dragging it to the Create new layer icon.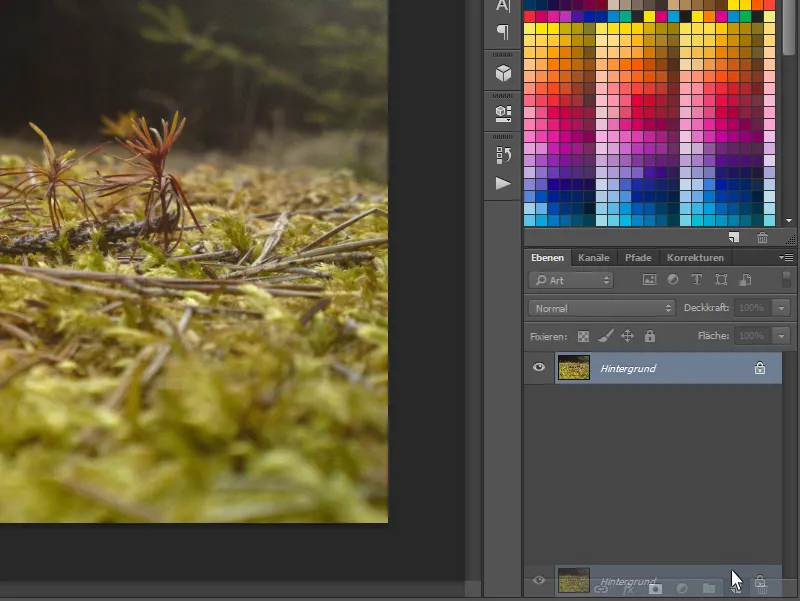
We now have 3 layers, starting with the top layer: We select it and go to Edit>Transform>Distort.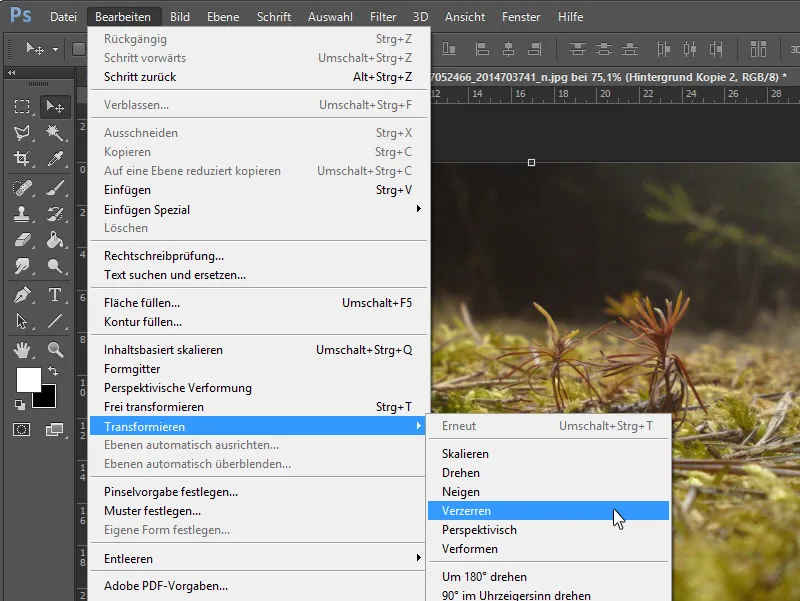
At the top of the bar, we can now set the horizontal tilt to +45°.
Under Filter>Smoothing filter>Mosaic effect... we can limit the image to its essential colors.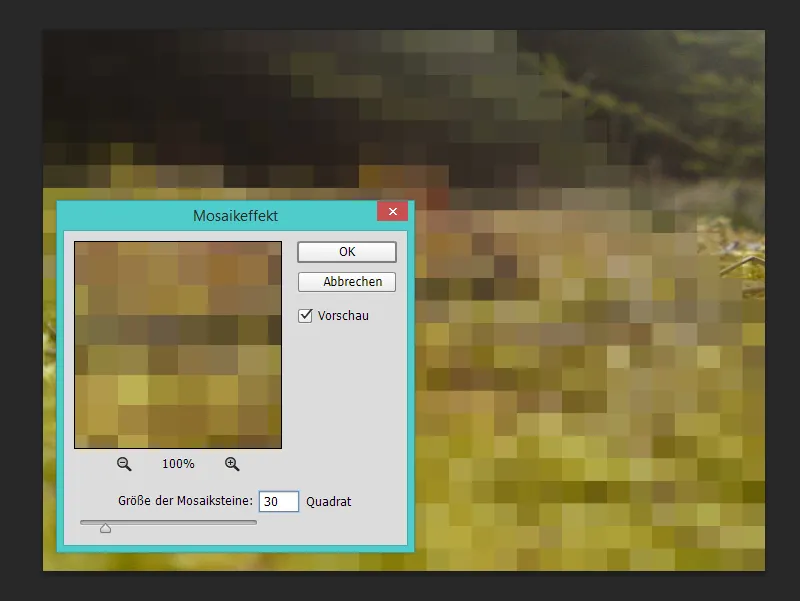
Via Edit>Transform>Distort we can distort the image back to its original shape.
To do this, we enter a value of -45° in the horizontal tilt angle.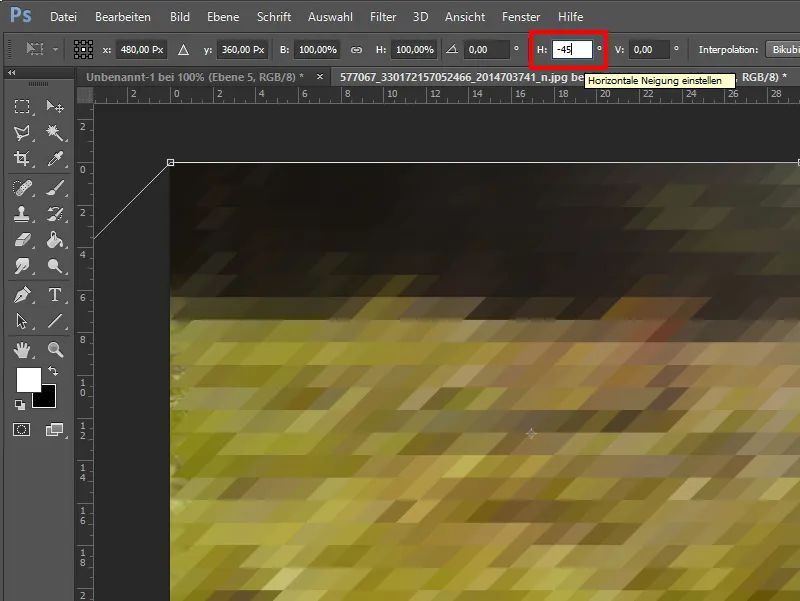
Finally, we reduce the opacity of the layer to 50%.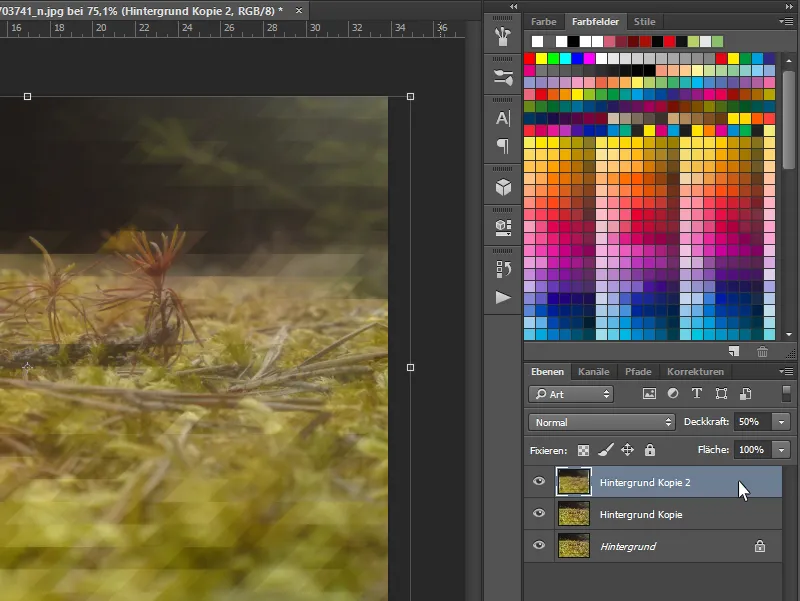
For the middle layer, we only need to repeat the previous steps - only in reverse! We start by distorting to -45°, then repeat the mosaic effect as usual (Ctrl+F) and finally transform back to 45°.
It can happen that the triangles do not fit together if you look closely.
To avoid this, you can use the arrow keys or the move tool (V) to position the middle layer correctly.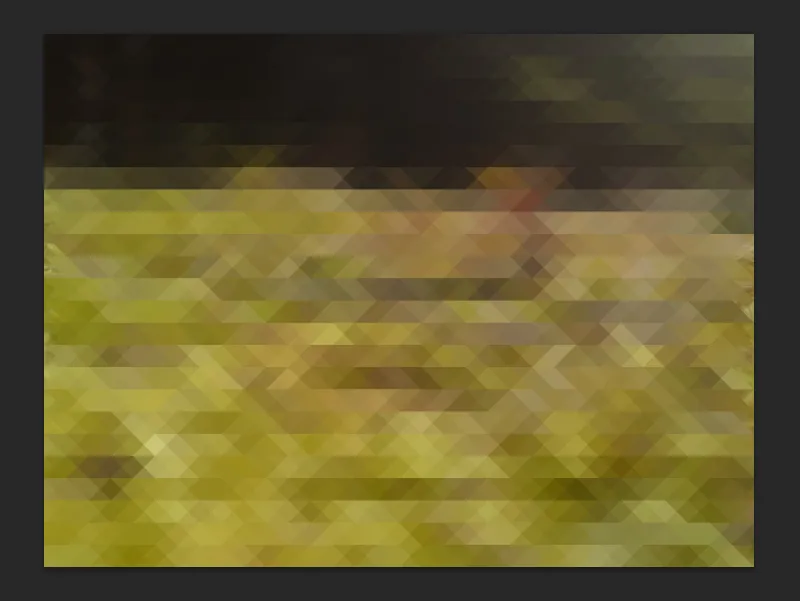
As we can still see some of the background on both sides, we crop the image using the Crop tool.
We are finished!
Finally, we can change the colors with adjustment layers or add text as desired. Now I hope you have lots of fun pixelating!