In today's digital world, it is crucial for companies to know and reach their target audience precisely. One way to do this is by creating so-called "Custom Audiences" on Facebook. In this guide, you will learn how to create a Custom Audience and what steps are necessary for it. I will show you every step in detail, so even beginners can understand and implement the basics.
Key Insights
- A Custom Audience helps you target people who have already expressed interest in your offer.
- Creating a Custom Audience is done through the Facebook Ad Manager.
- You need a Facebook Pixel to track visitor behavior on your website.
Step-by-Step Guide to Creating a Custom Audience
Step 1: Access the Ad Manager
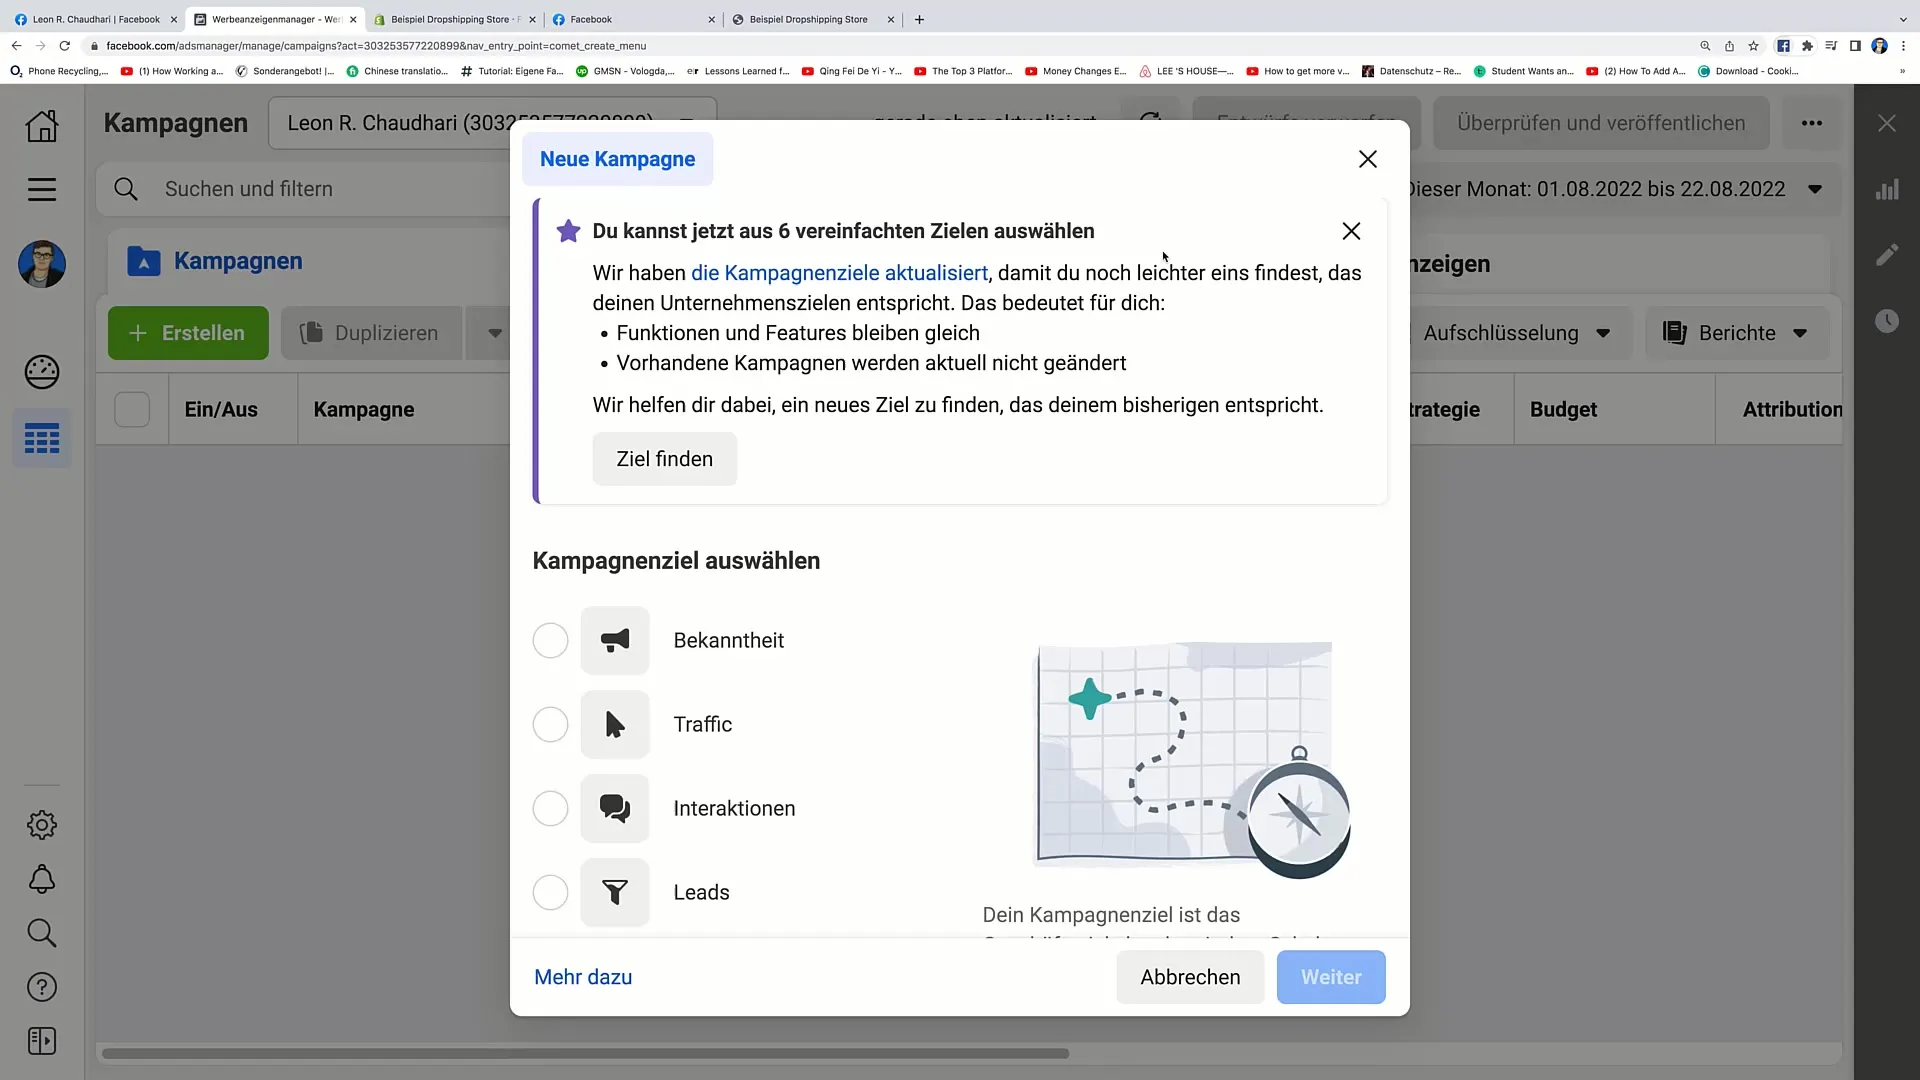
To create a Custom Audience, you first need to access your Facebook account and open the Ad Manager. Click on the three horizontal lines in the upper left corner.
Step 2: Choose Audiences
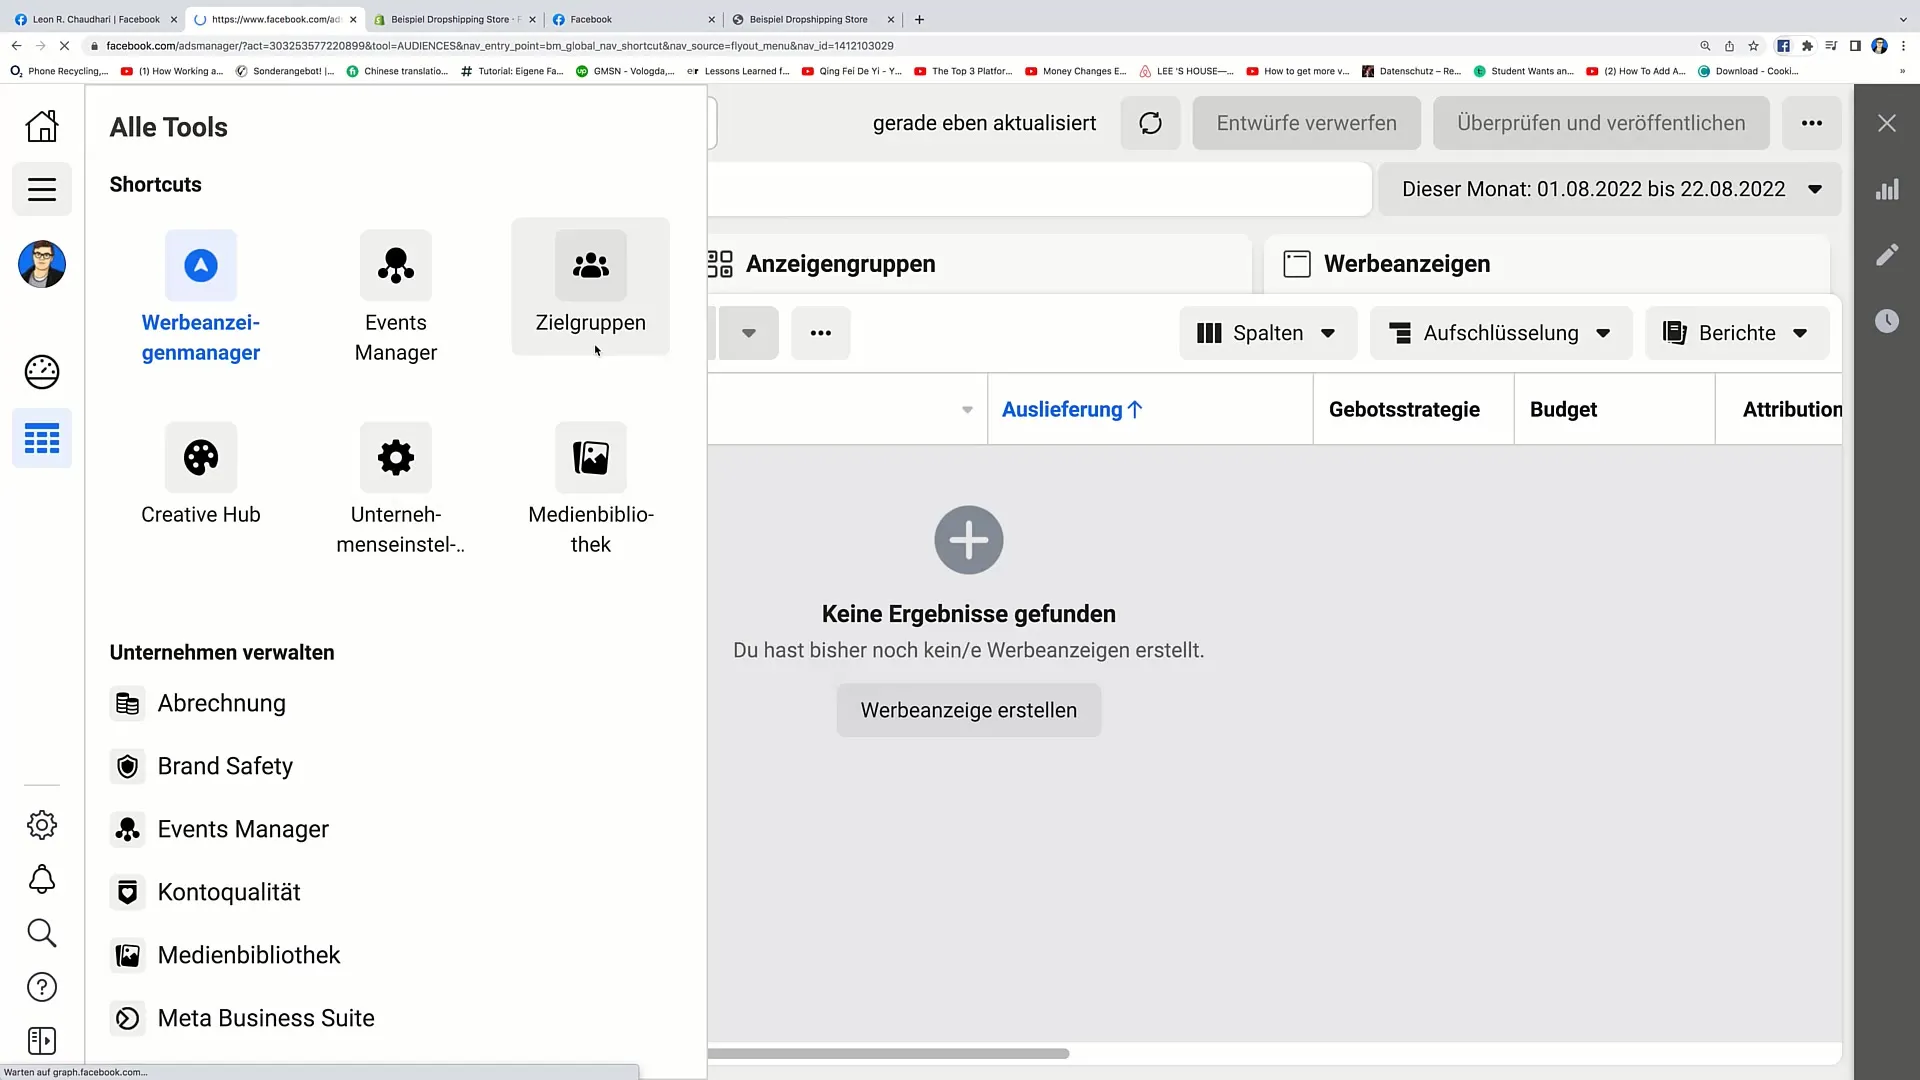
Once you have opened the Ad Manager from the menu, scroll down to "Audiences." Click on it to open the Audience page.
Step 3: Create Audience
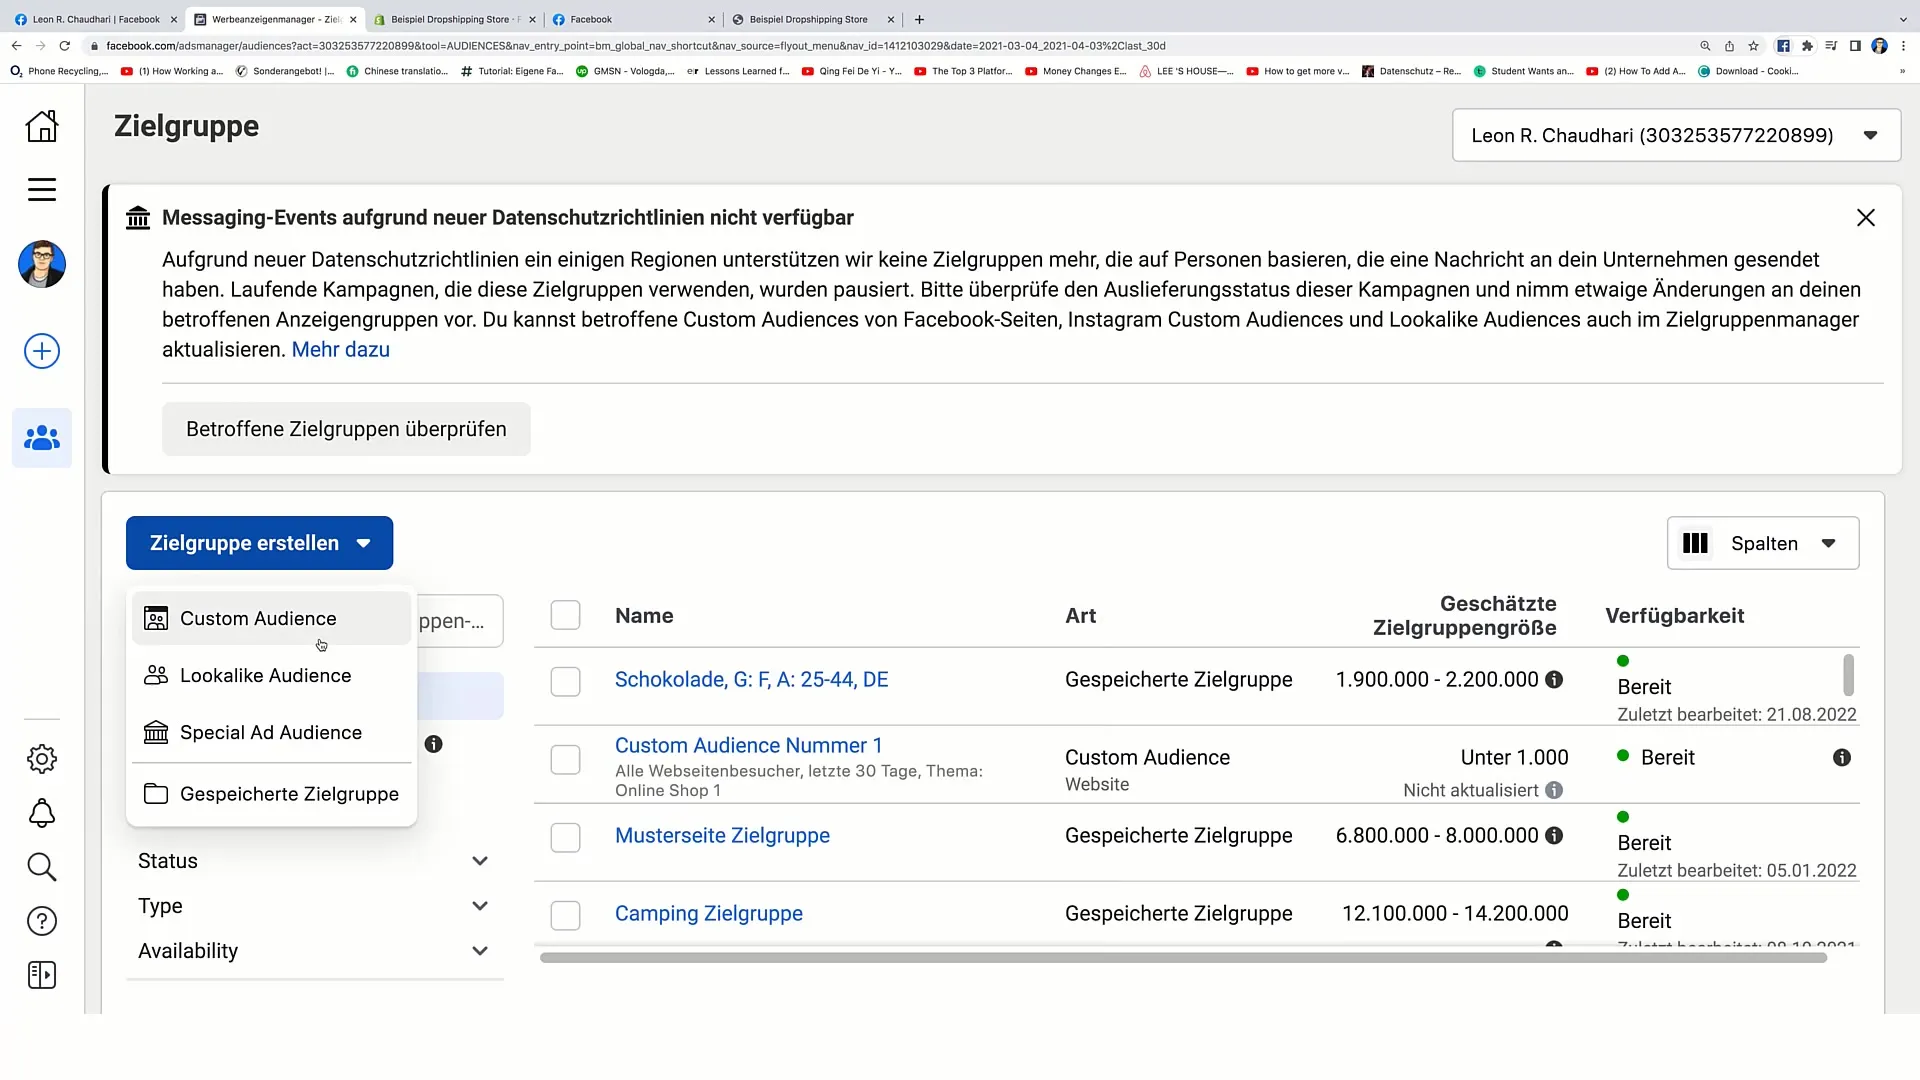
From the Audience page, you will see an option "Create Audience" in the lower left corner. Click on it to start the process of creating your Custom Audience.
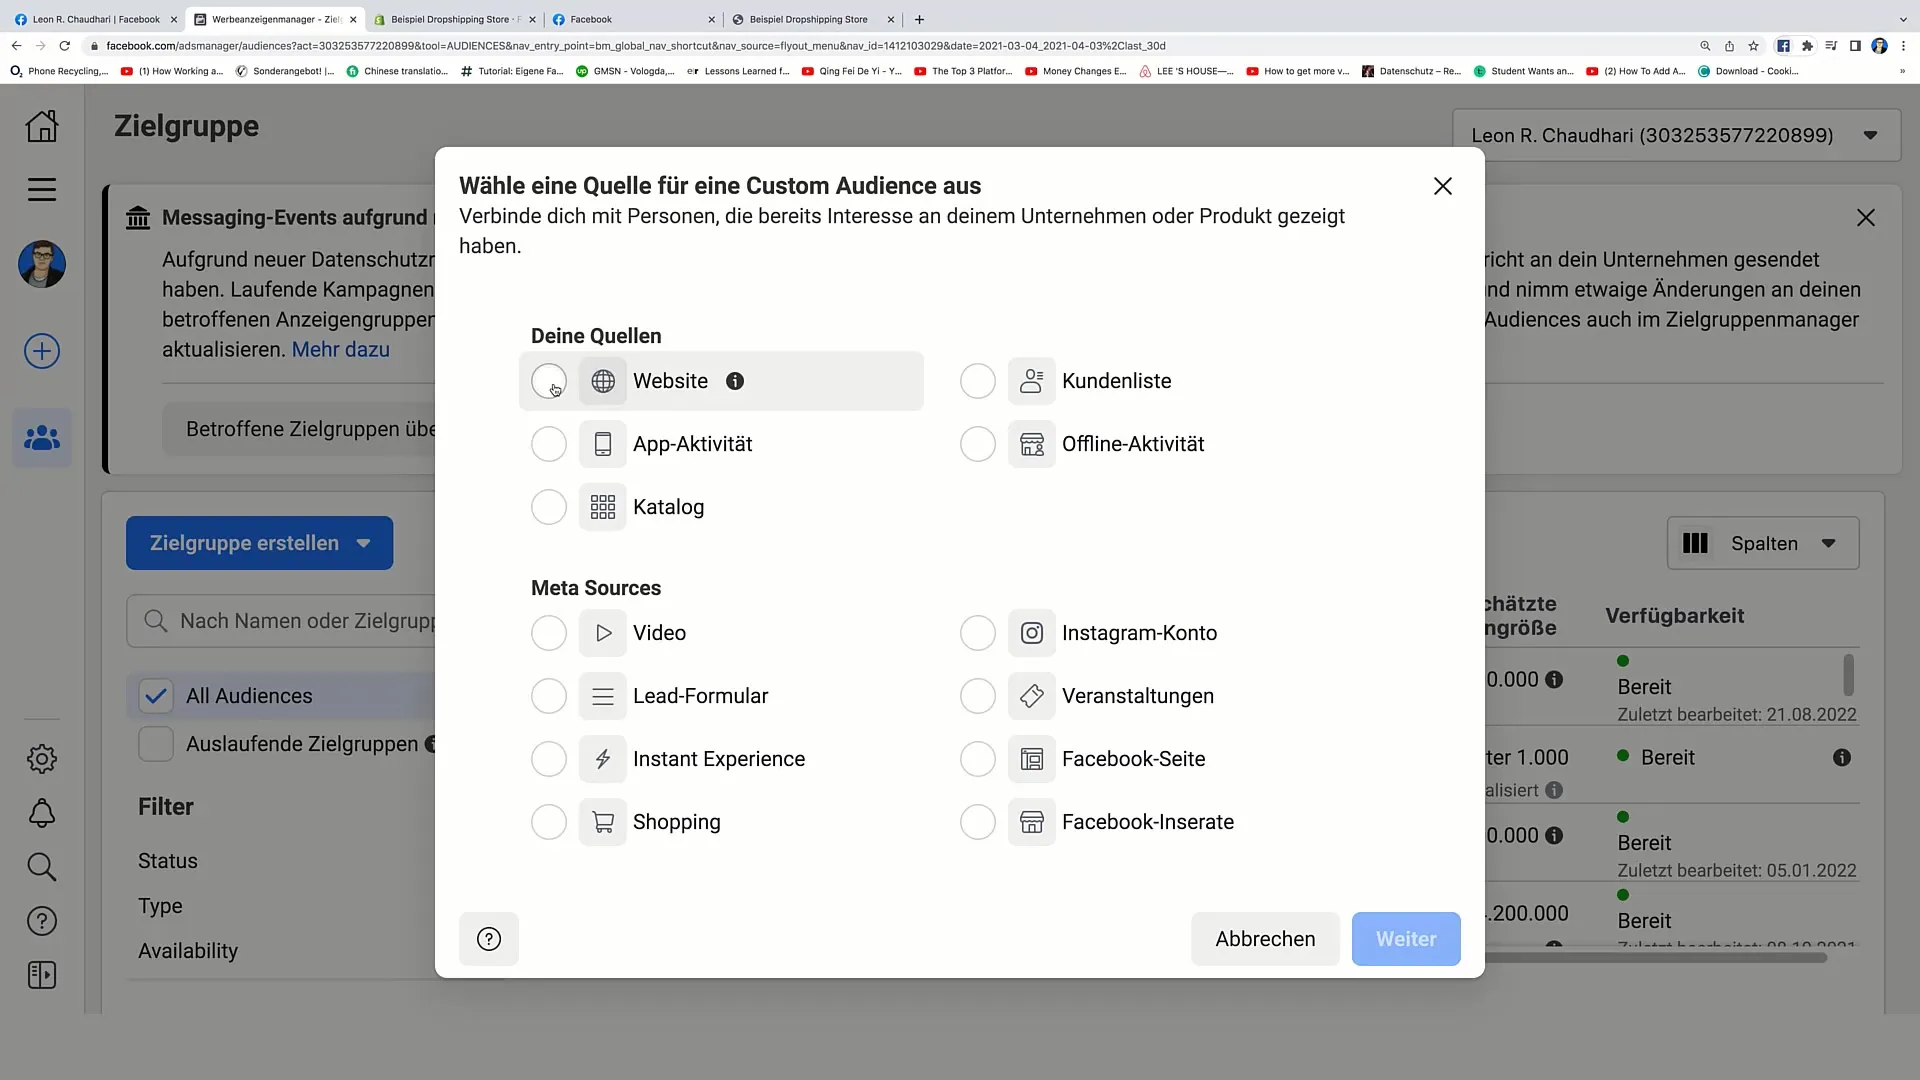
Step 4: Choose Traffic Source
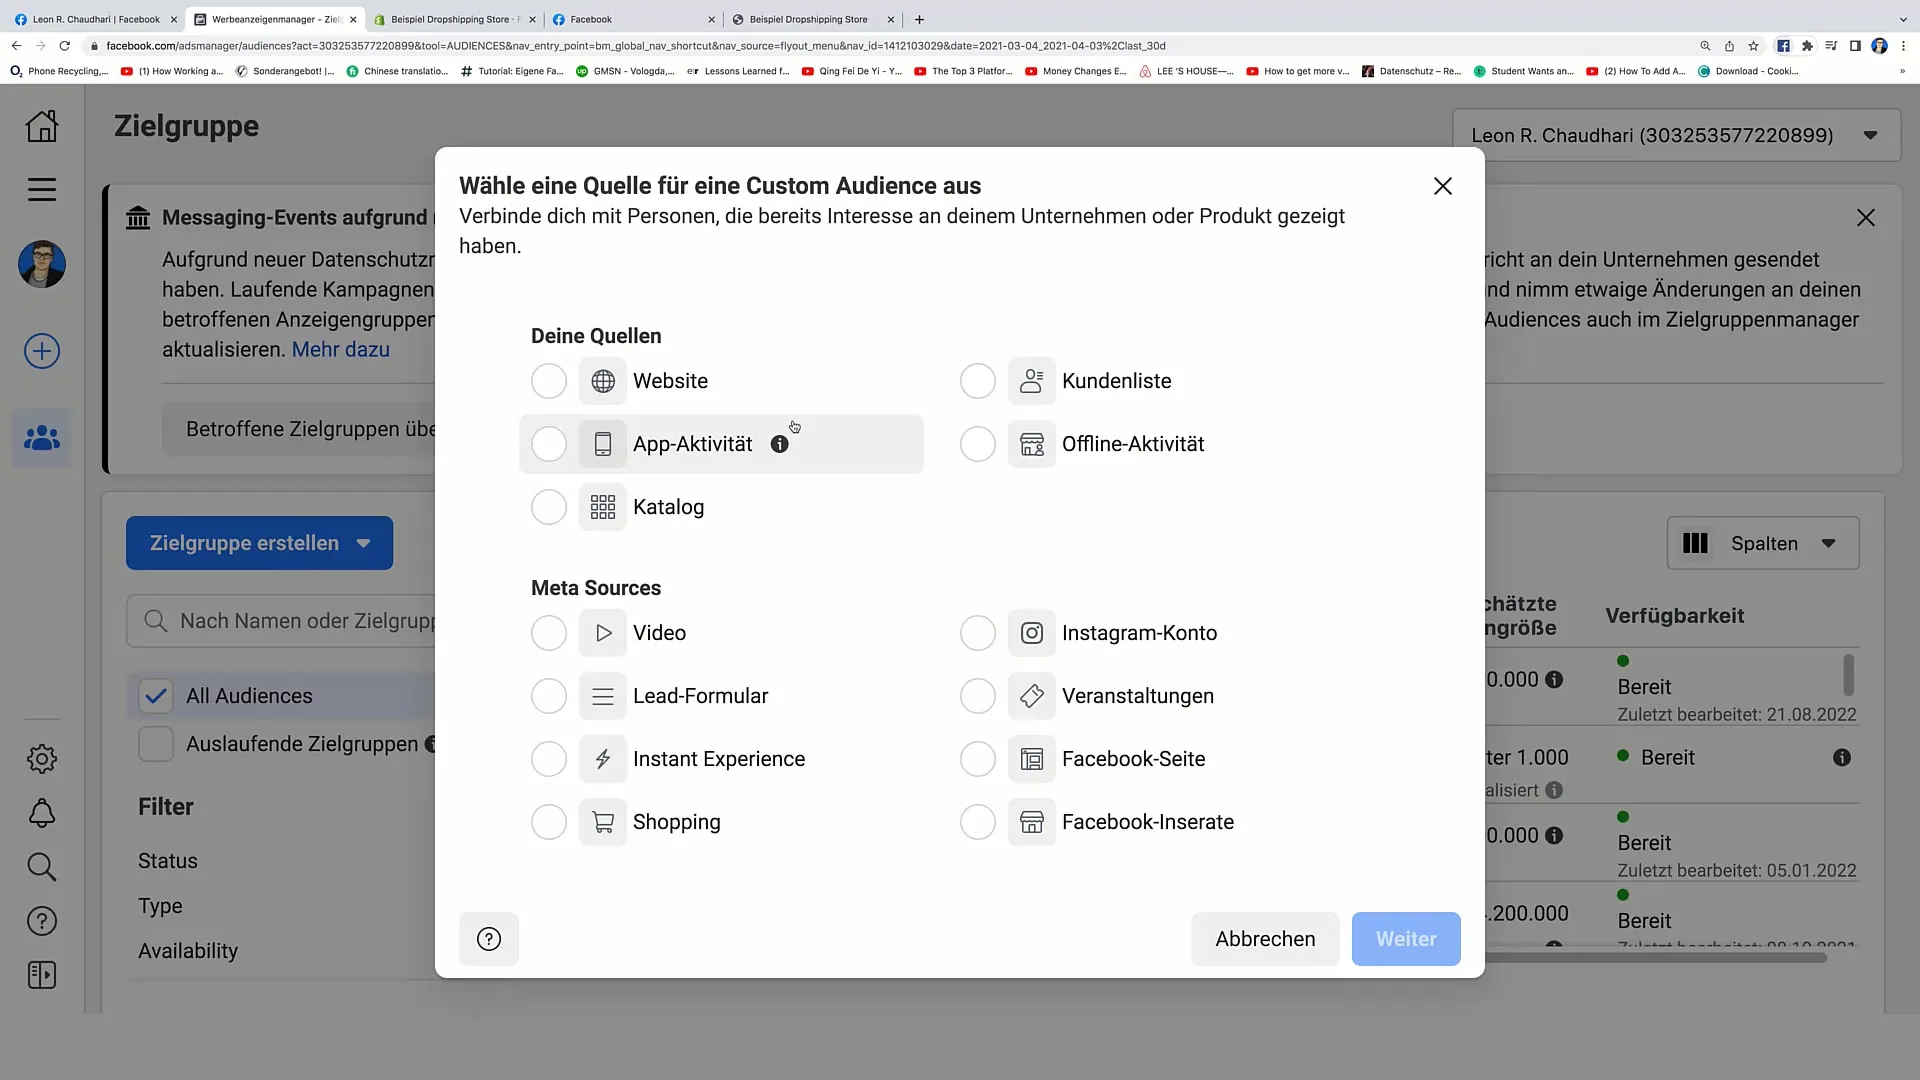
Now you have the option to define a Custom Audience. Choose the option "Website Traffic" as you want to target visitors to your site. This is the basic step to further refine your audience.
Step 5: Click Next
After selecting the source, click "Next." Here, you must choose your specific Facebook Pixel that is embedded on your website. Make sure the Pixel is functioning. If properly embedded, you should see a green dot.
Step 6: Define Audience
In this step, you can specify which website visitors should be included. For example, you can choose all users who have visited your site in the last 30 days. Give the audience a name, such as "30 Days Online Shop," to easily identify the user group you are targeting later on.
Step 7: Refine Audience
Optionally, you can further refine the audience by adding demographic information such as age and origin. For example, if you know your target audience is between 25 and 35 years old and primarily from Germany, you can enter this information to make the audience more targeted.
Step 8: Create Audience
Once you have made all the desired settings, click "Create Audience." Your new Custom Audience will now be created and will be immediately available in the Ad Manager.
Step 9: Using the Audience
You can now use the newly created audience in your future advertising campaigns at any time. Acquire it to make your marketing strategies even more effective.
Summary
In this guide, you have learned how to create a Custom Audience on Facebook. The steps outline the entire process from selecting target audiences to using your newly created audience in future campaigns. Creating a Custom Audience is a crucial step to optimize your marketing strategies and work more effectively towards your goals.
Frequently Asked Questions
What is a Custom Audience?A Custom Audience is a specifically defined target group on Facebook that you can create based on user behavior on your website.
How can I determine if my Facebook Pixel is functioning?You can check this by looking in the Ad Manager to see if the dot for your Pixel is green. A green dot indicates that the Pixel is functioning correctly.
Can I adjust my audience later on?Yes, you can always adjust the Custom Audience and add or remove consumers to optimize the audience according to your needs.


