In this tutorial, you will learn step by step how to create a product in your Shopify store and process the order. I will explain the individual steps in detail so that you can independently publish products online and know exactly what the purchasing process looks like for your customers. I will also explain how to manage orders.
Main Insights
- You can easily create and customize products in Shopify.
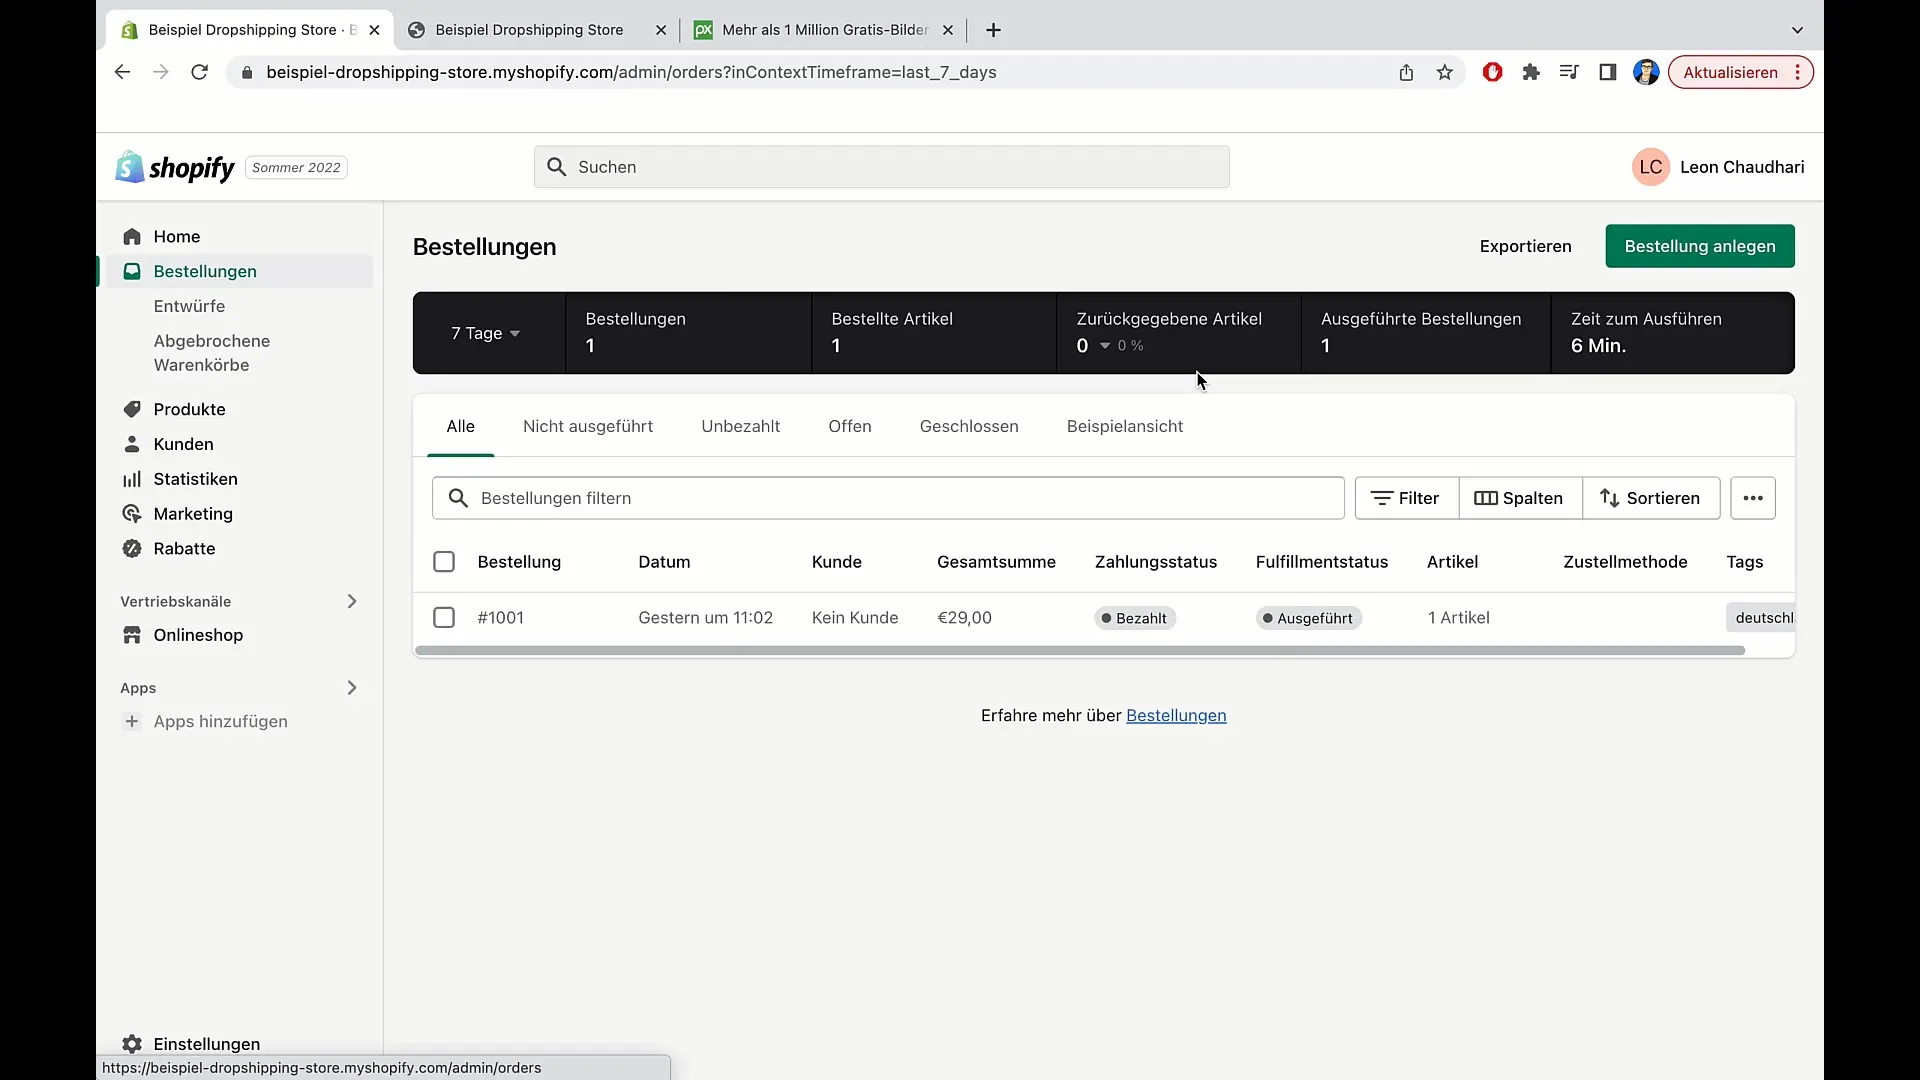
- The order process is intuitive and easy to set up.
- It is important to provide product details carefully to create an optimal user experience.
Step-by-Step Guide
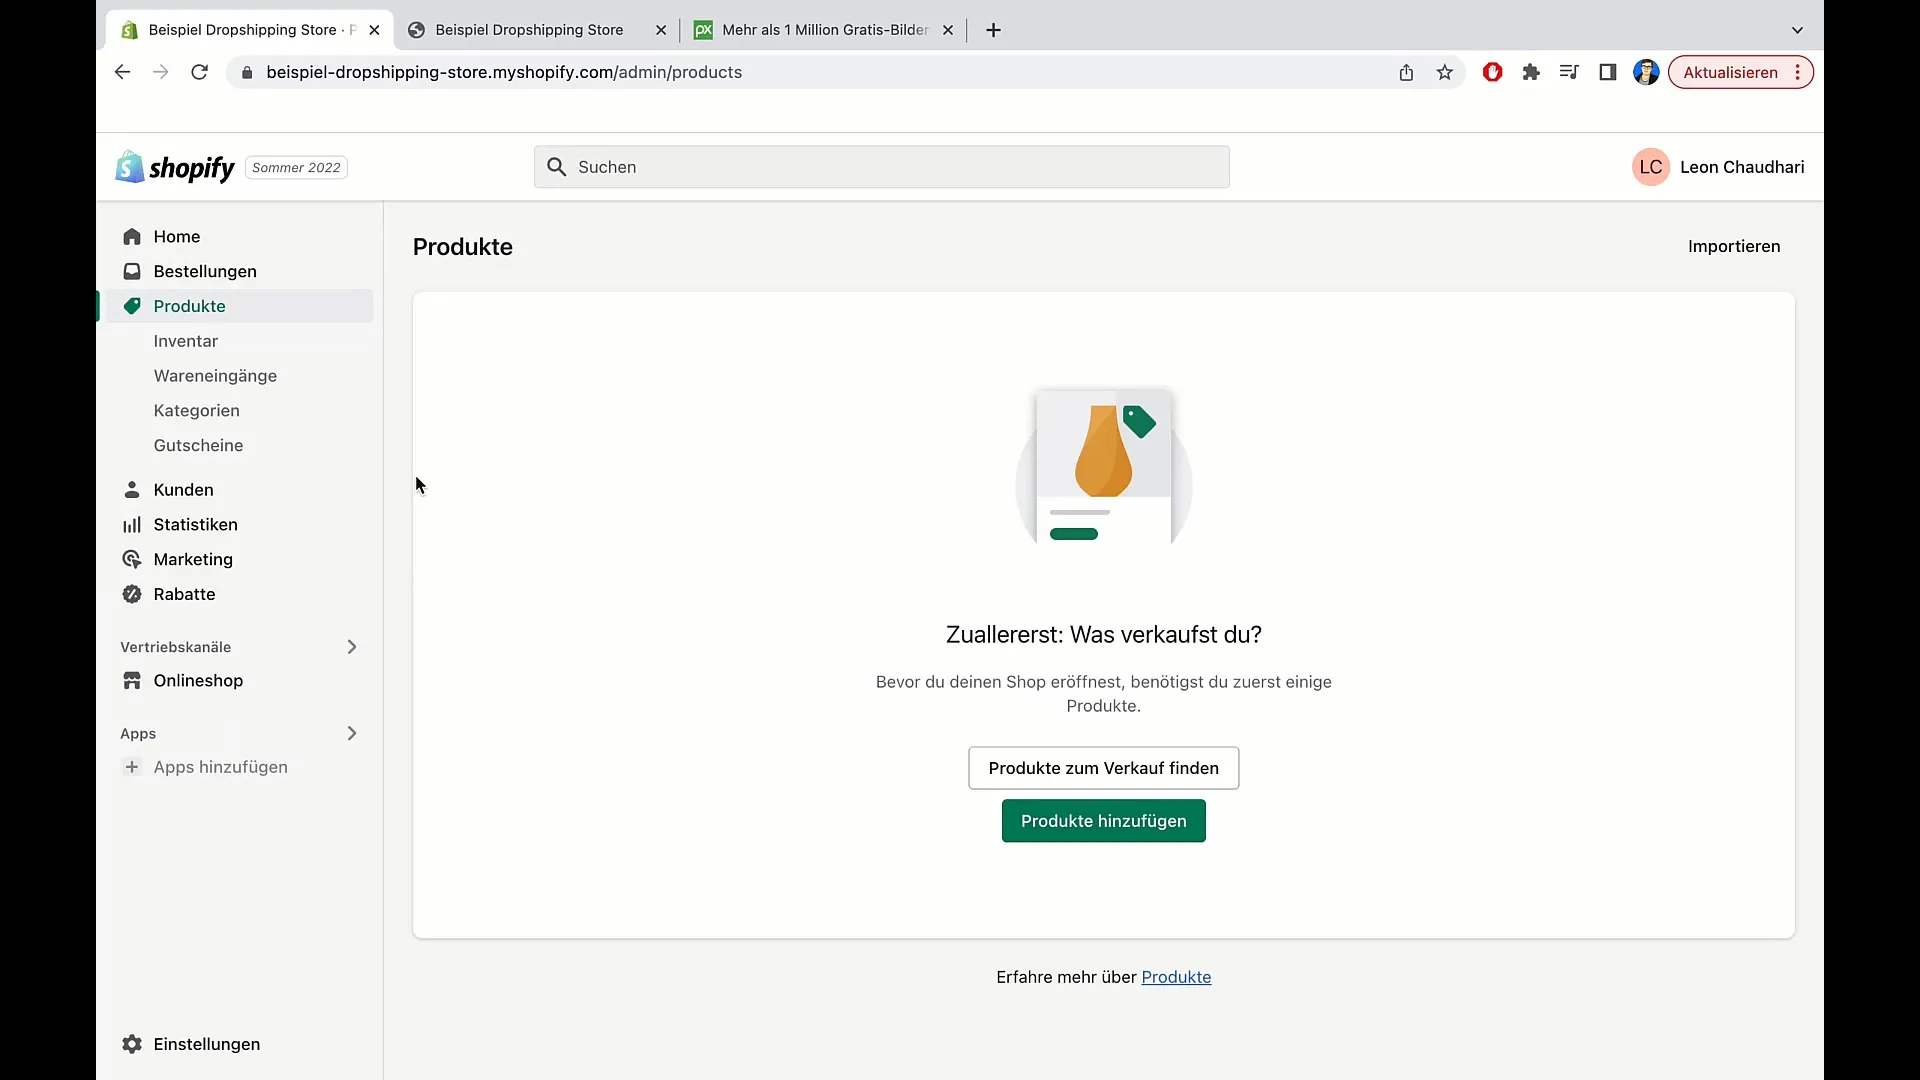
To create a product in Shopify, you should first click on "Products" in your admin panel. There you will find the option to add new products.
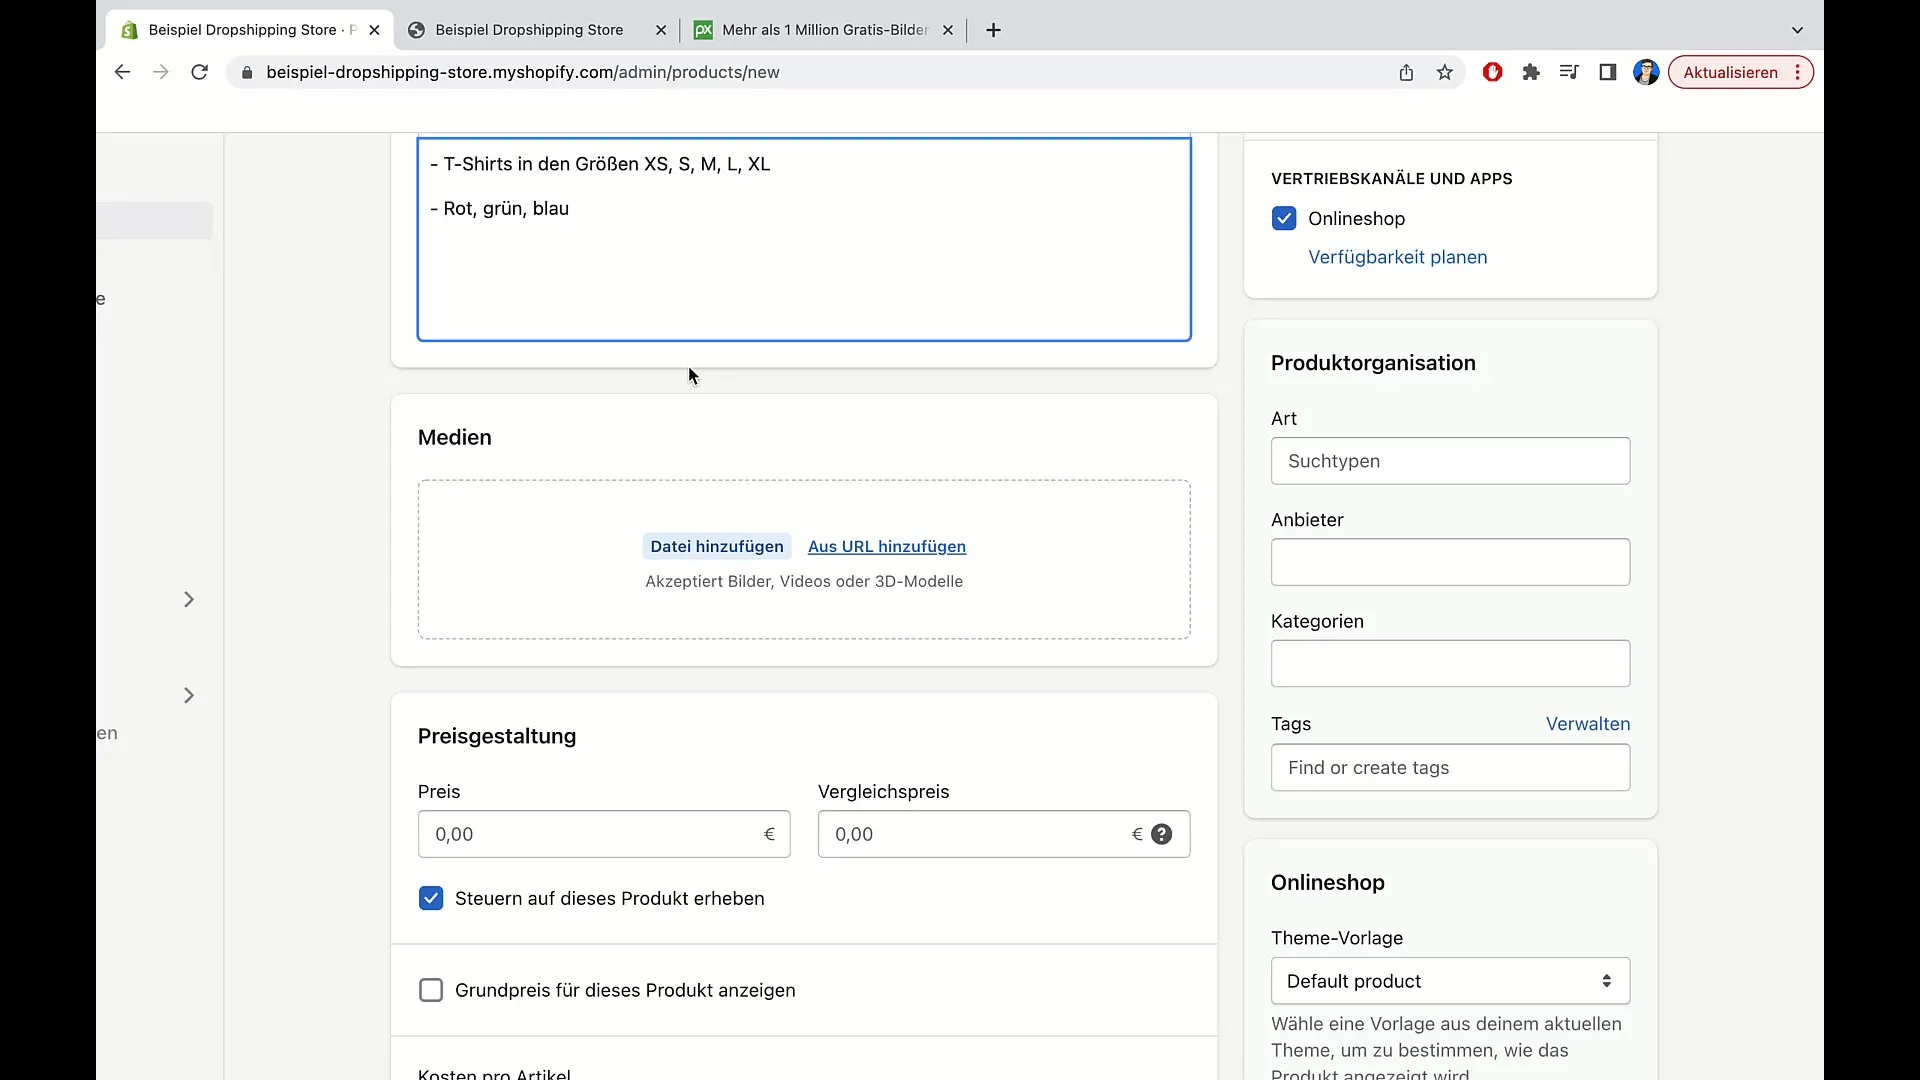
Now enter the product name. For example, "T-Shirt". In the description, you can provide relevant information about the product, such as available sizes (XS, S, M, L, XL) and colors (Red, Green, Blue).
On the right side, you have the option to set the product status. Select "Active" here so that the product is immediately displayed in your store.
The next step is to add media. Drag a product photo into the corresponding field or upload it directly. For example, you can use an image from the Pixabay platform.
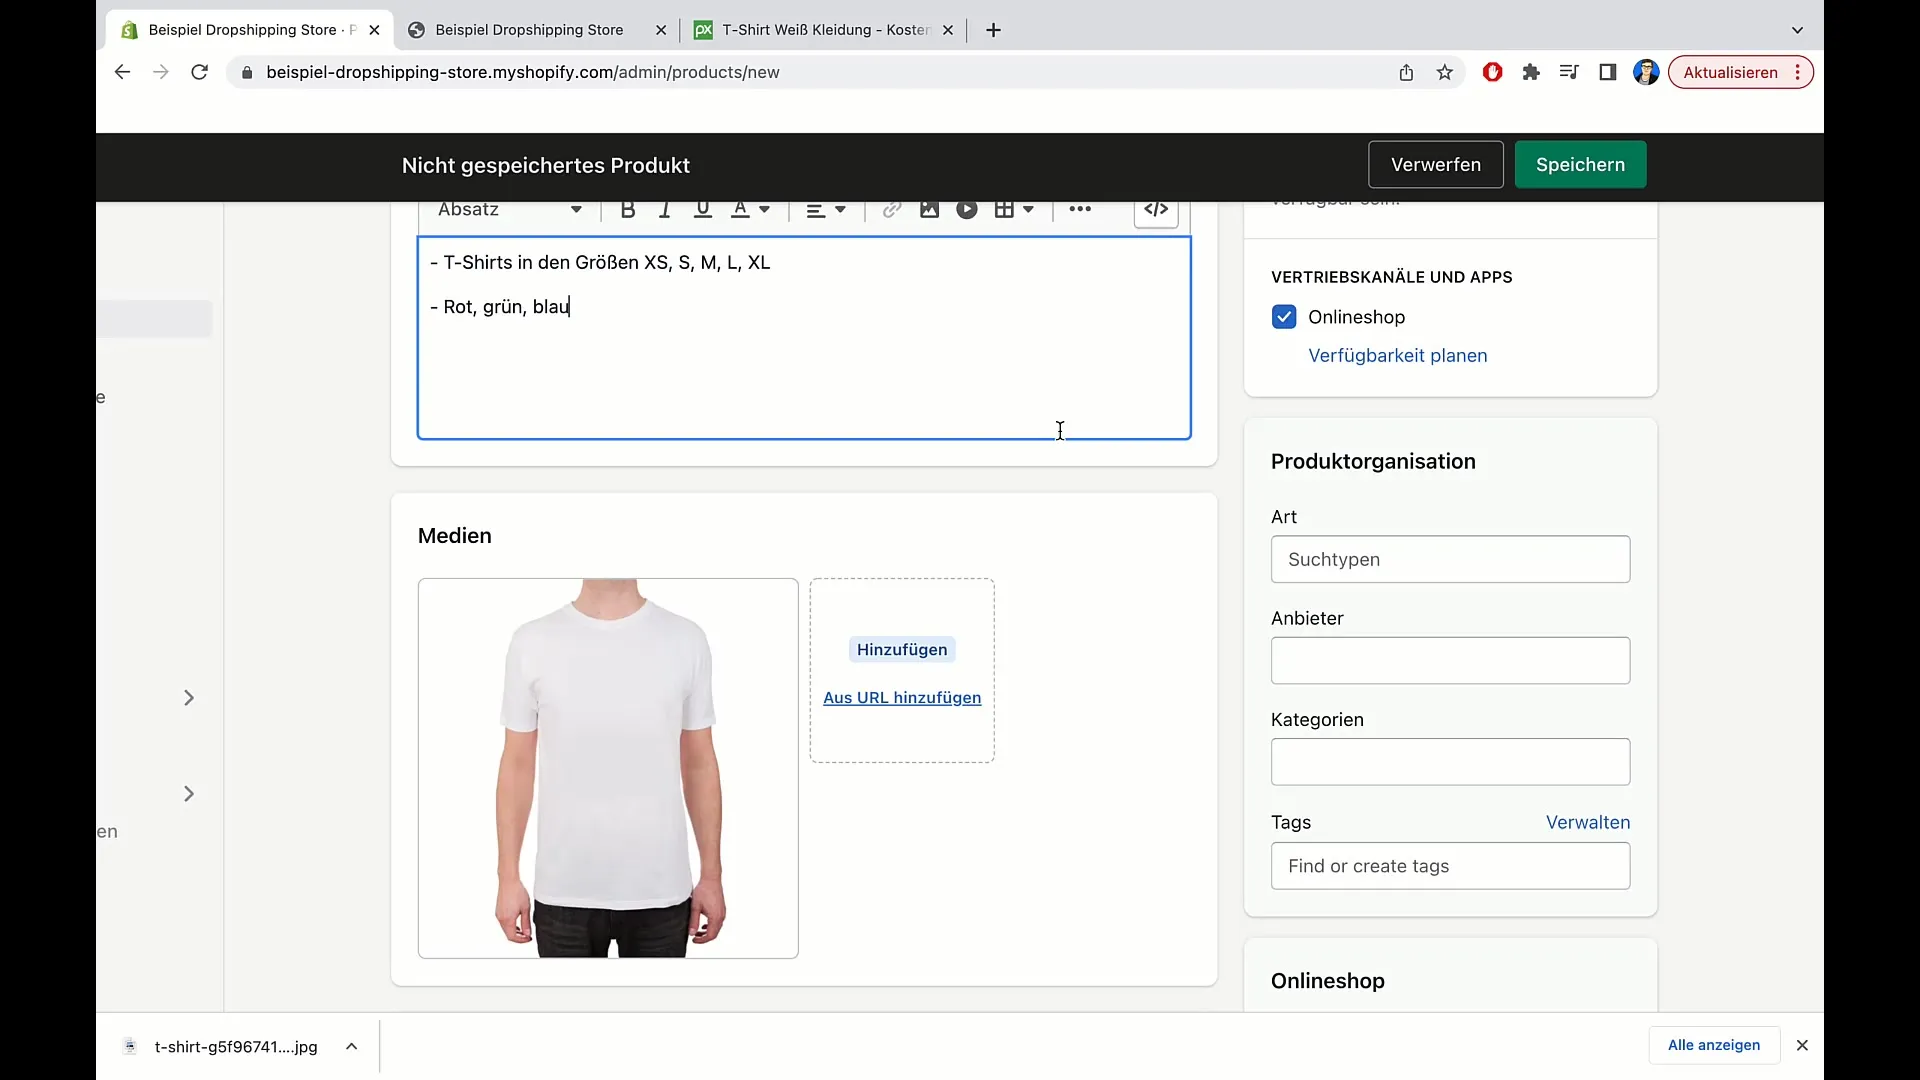
Let's move on to product organization. Here you can define the product type, for example, "Clothing". Also, enter the provider, which is useful for identifying your products.
Now it's time to set the price. For example, specify 29 € for your T-shirt. You can also provide a comparison price (e.g. 39 €) to show that the product is currently on sale.
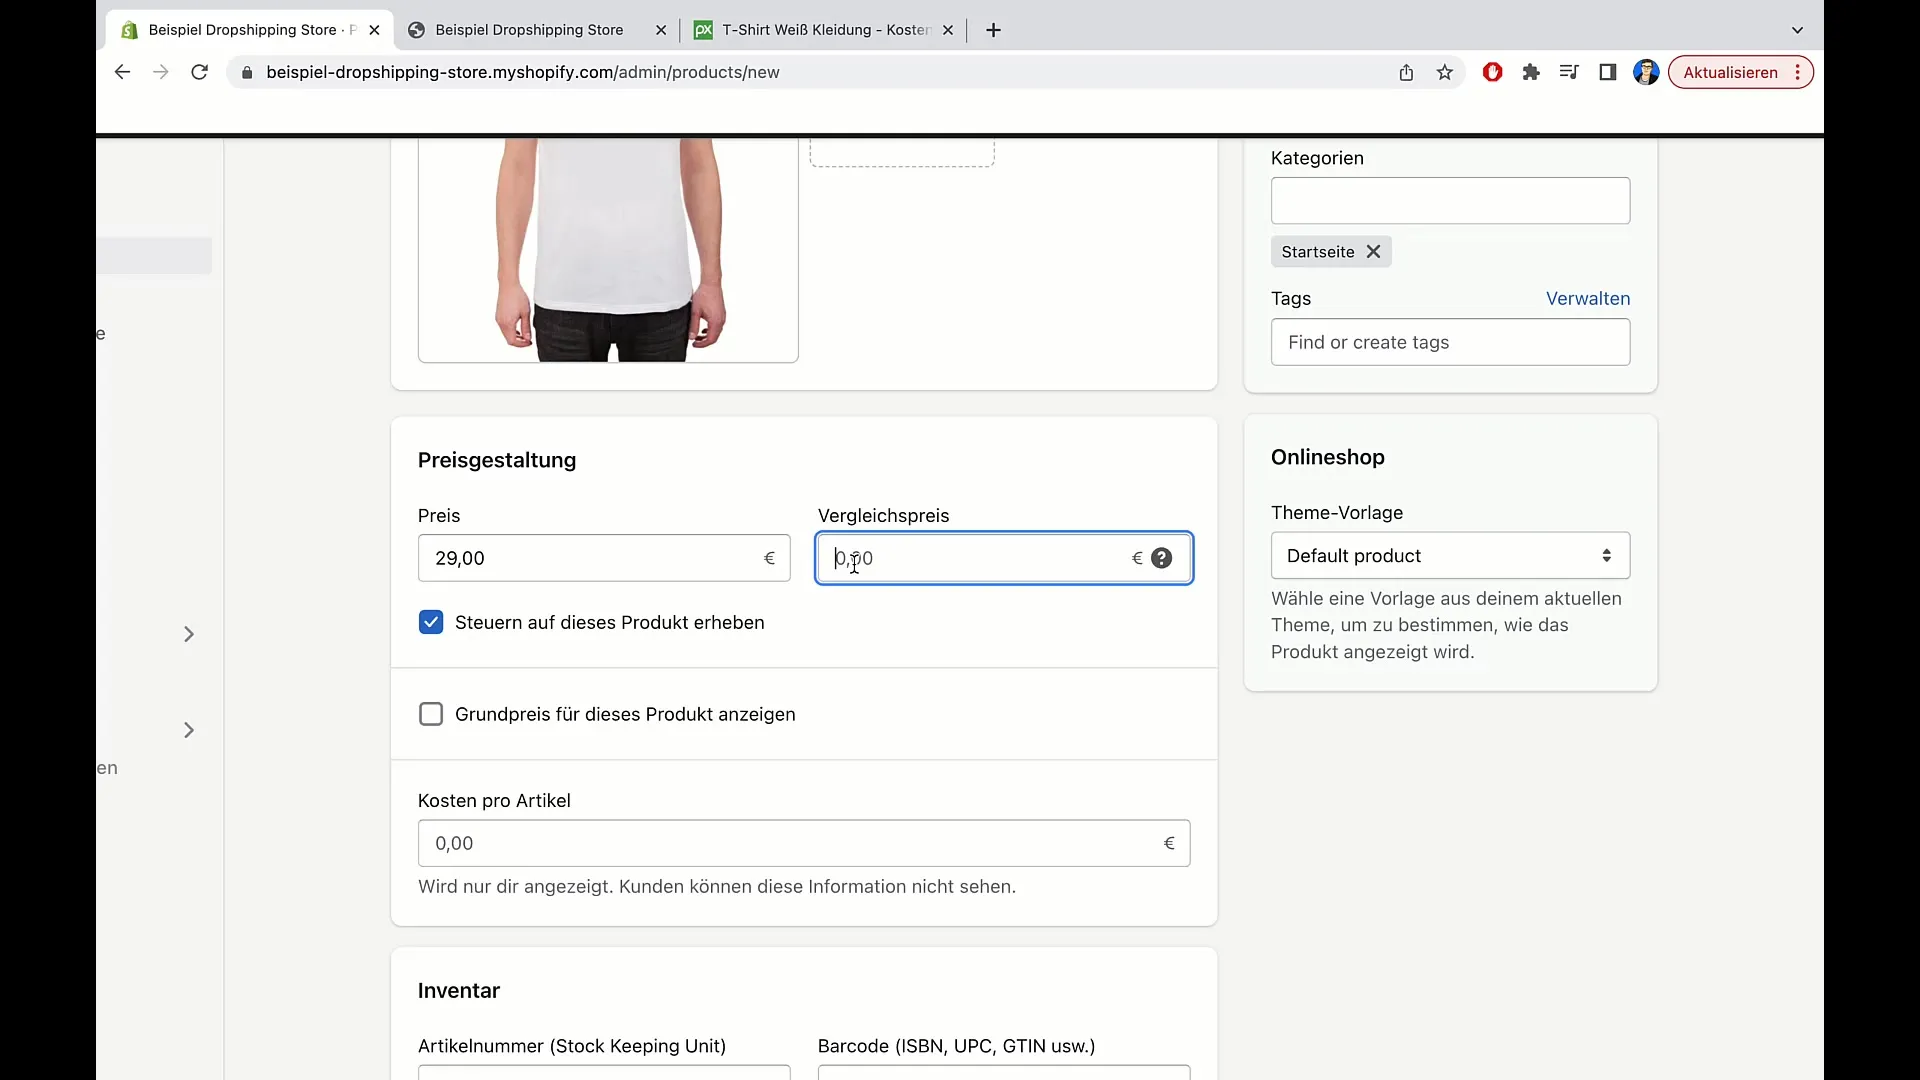
If the product is subject to sales tax, activate this option. Make sure to specify the base price if the product is weighed accordingly.
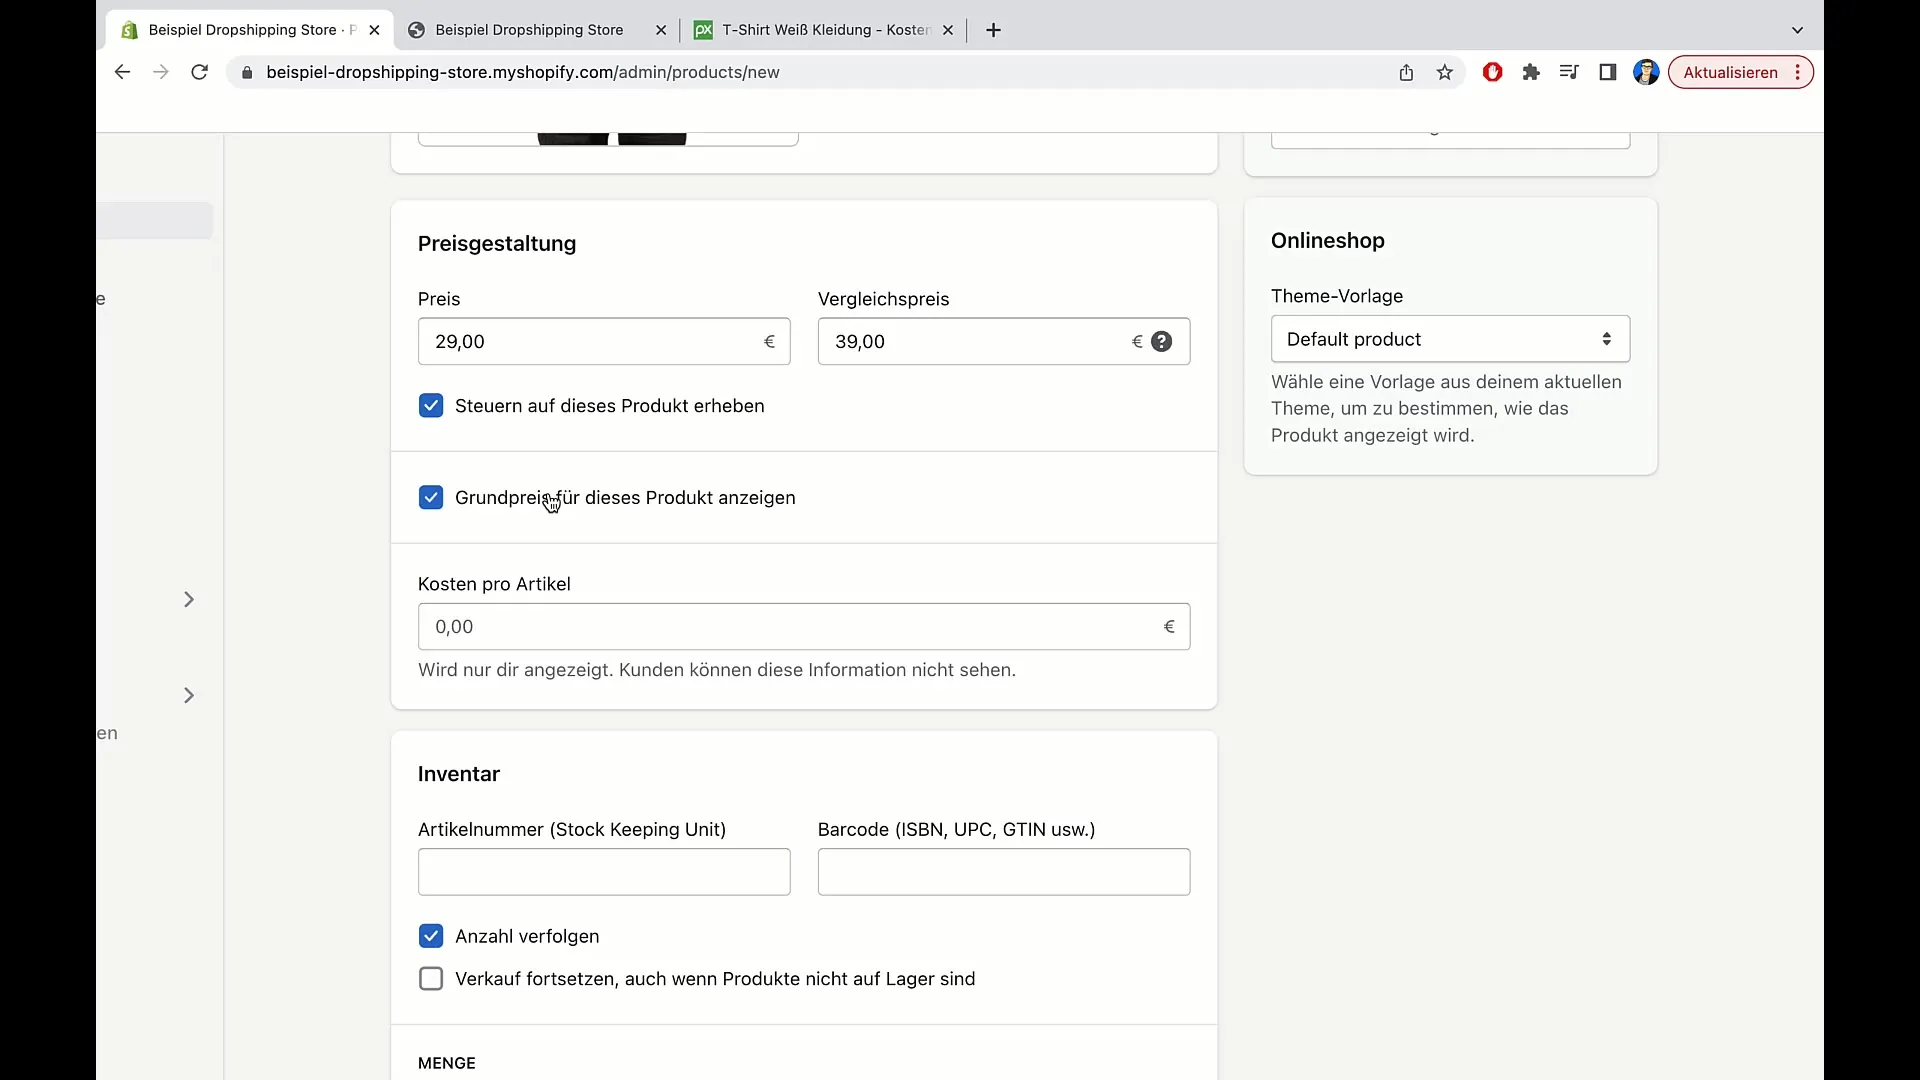
You can also identify the inventory here. Enter the item number and, if available, the barcode. So if your T-shirt weighs 200g, that should also be specified.
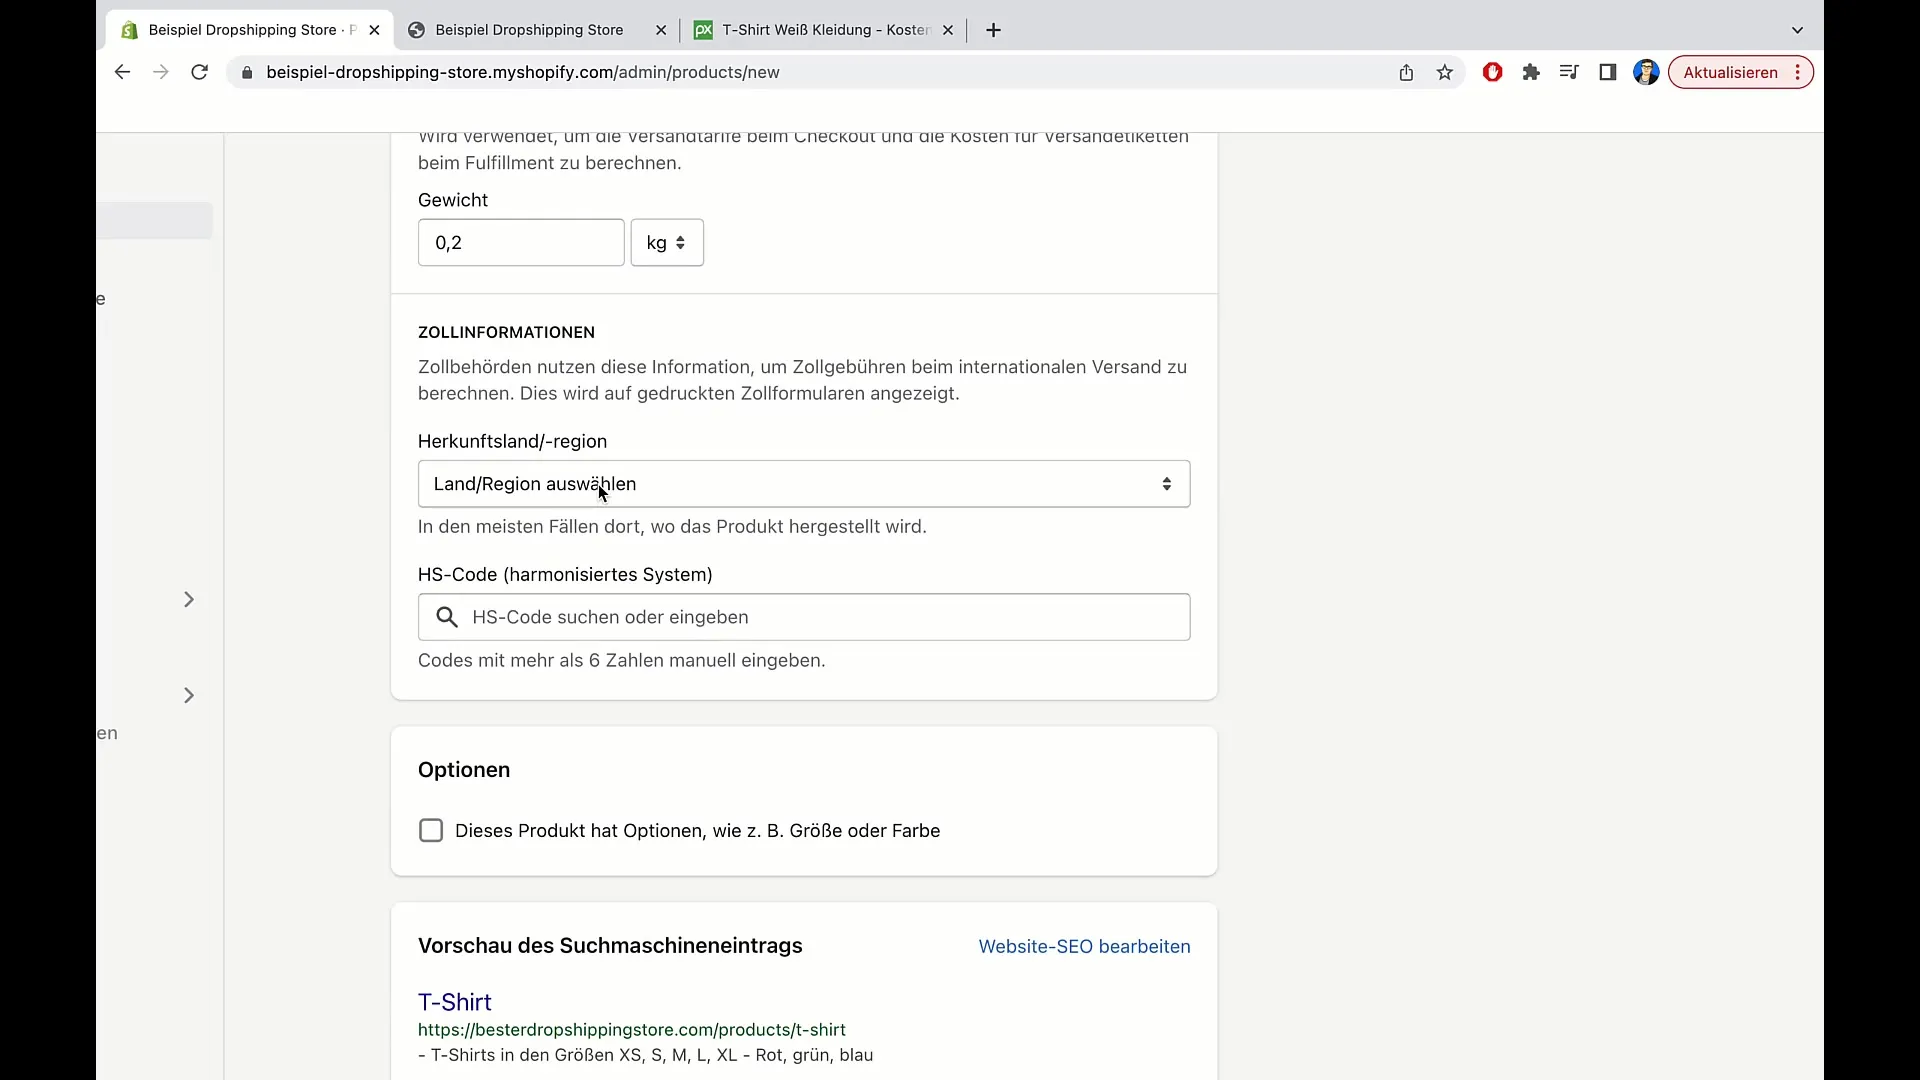
Proceed to customs information. Specify the country of origin of the product - in our case, Germany. An HS code can also be important for categorizing the product.
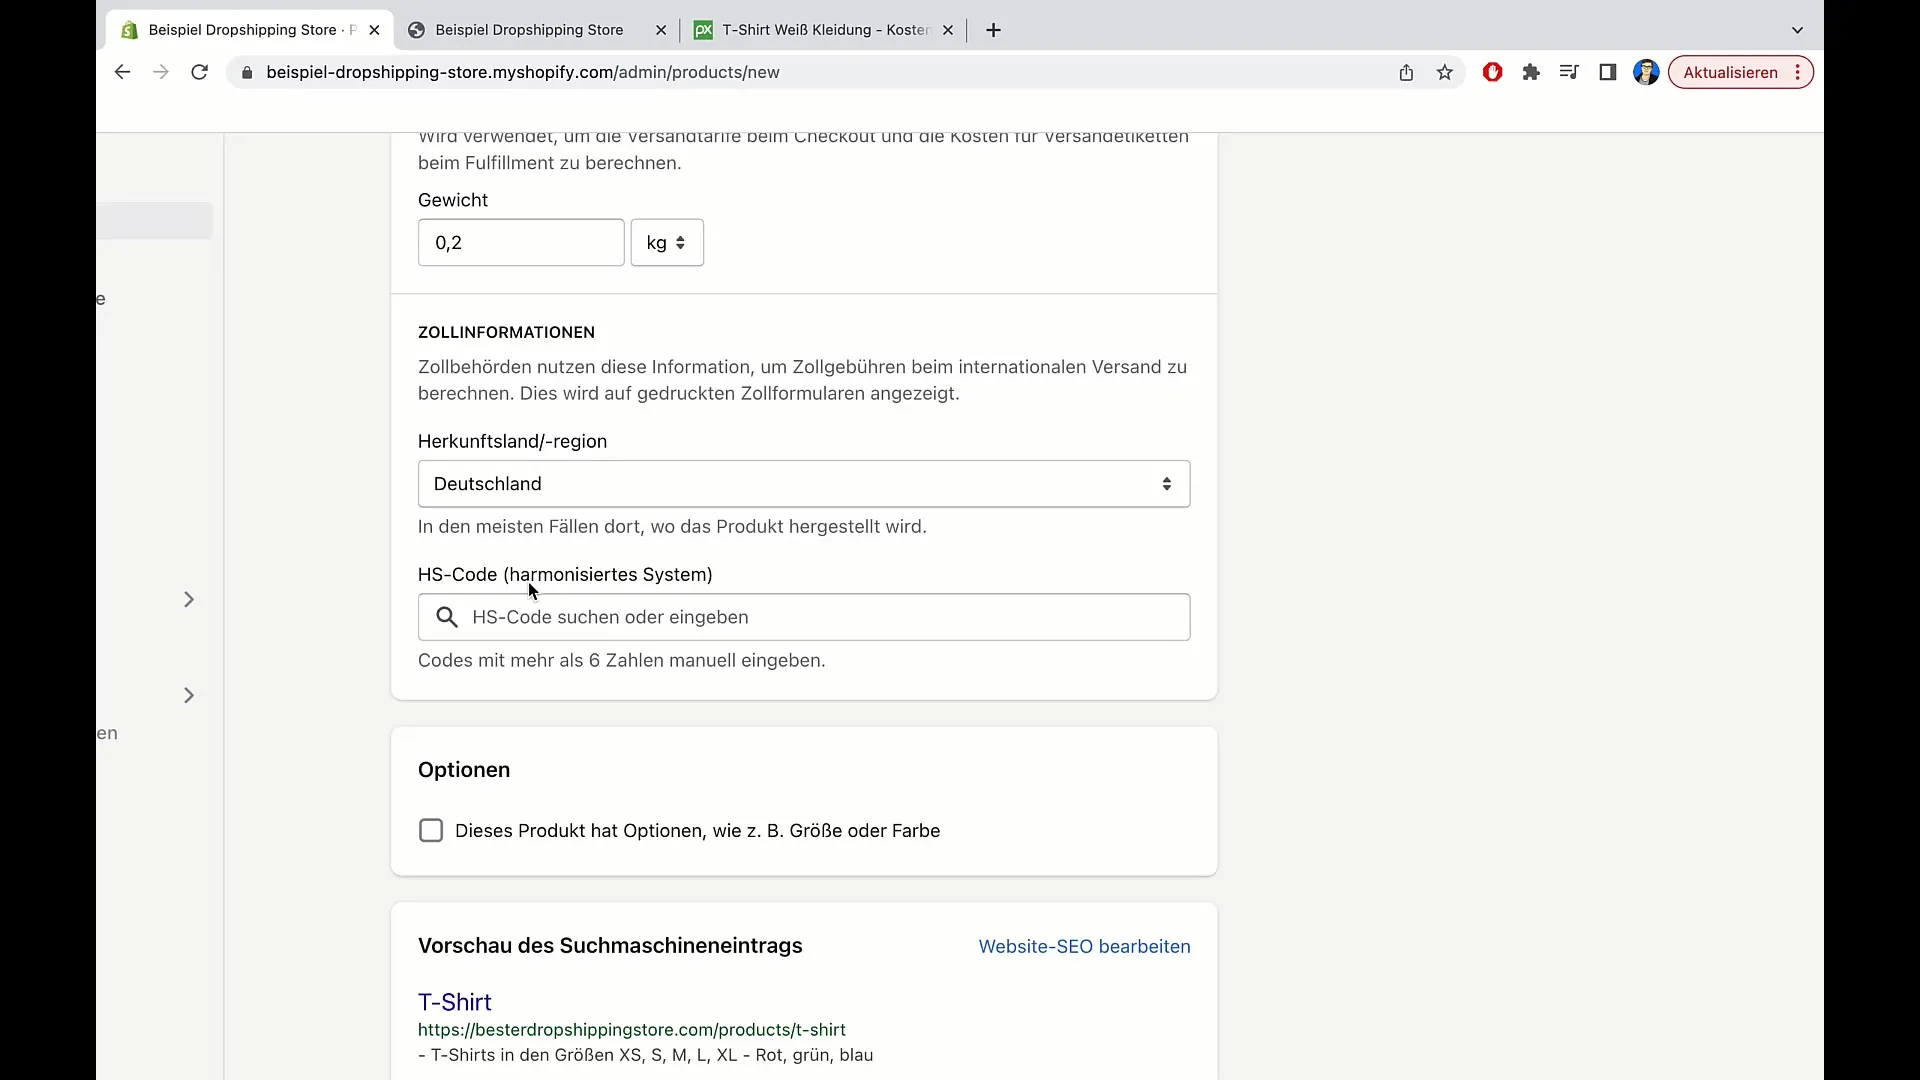
Additionally, offering options can be helpful. You can define different colors and sizes. For the T-shirt, for example, you could offer Red and Green.
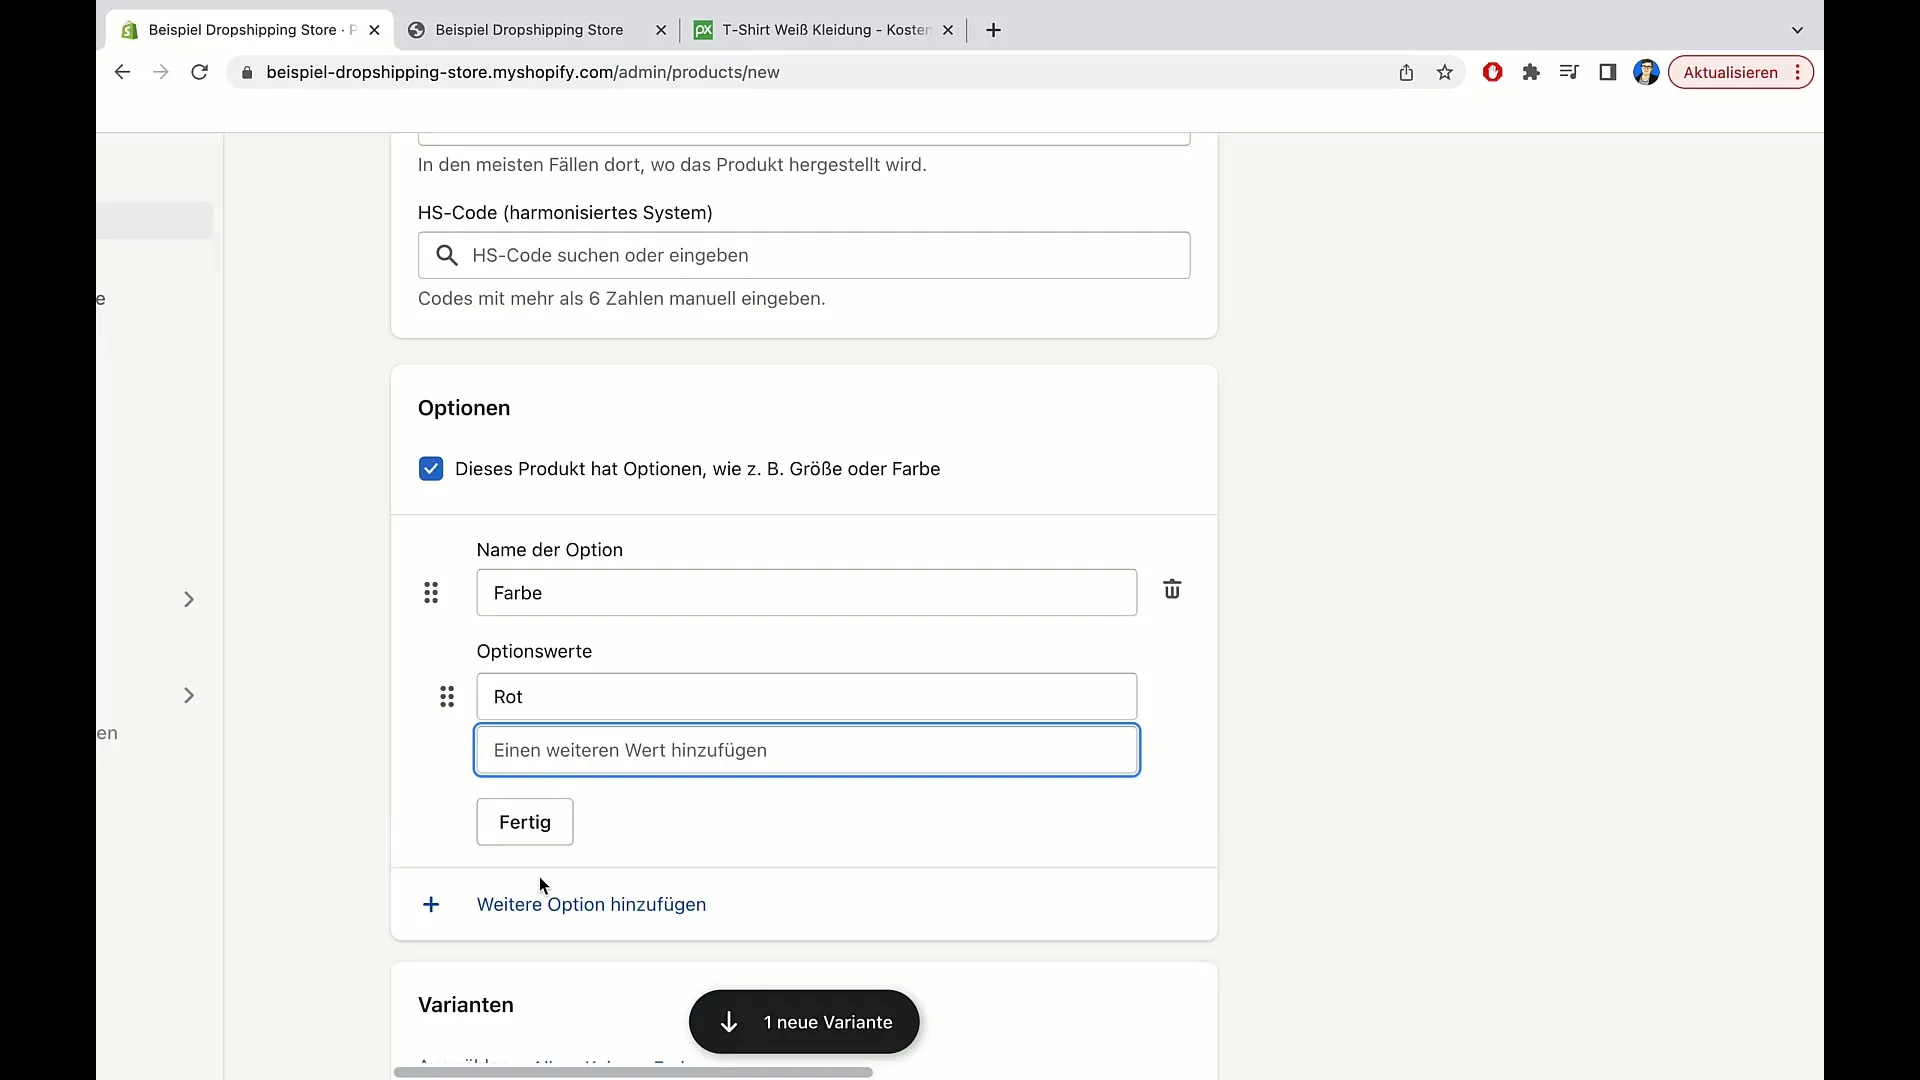
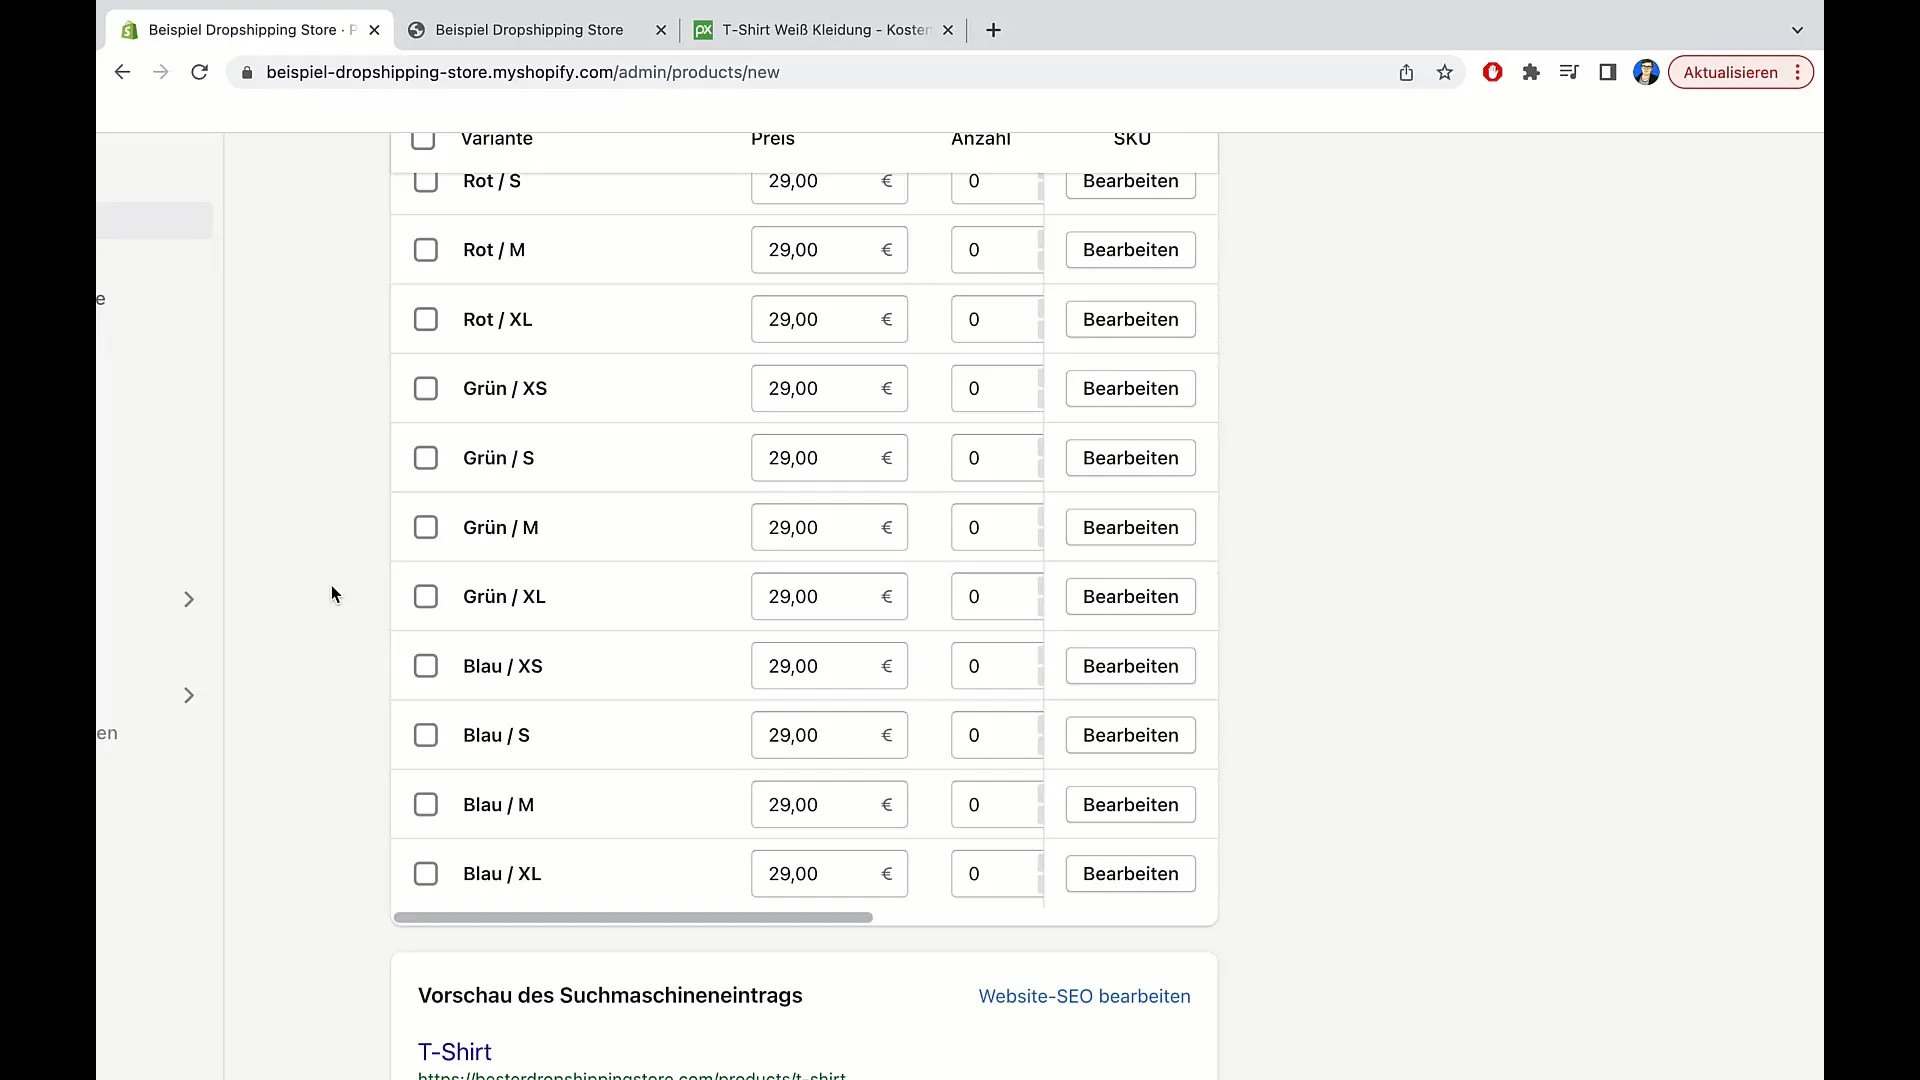
After adding the variants, check whether there should be a price increase for different sizes. However, in clothing, it is often easier and more user-friendly to keep the prices the same.
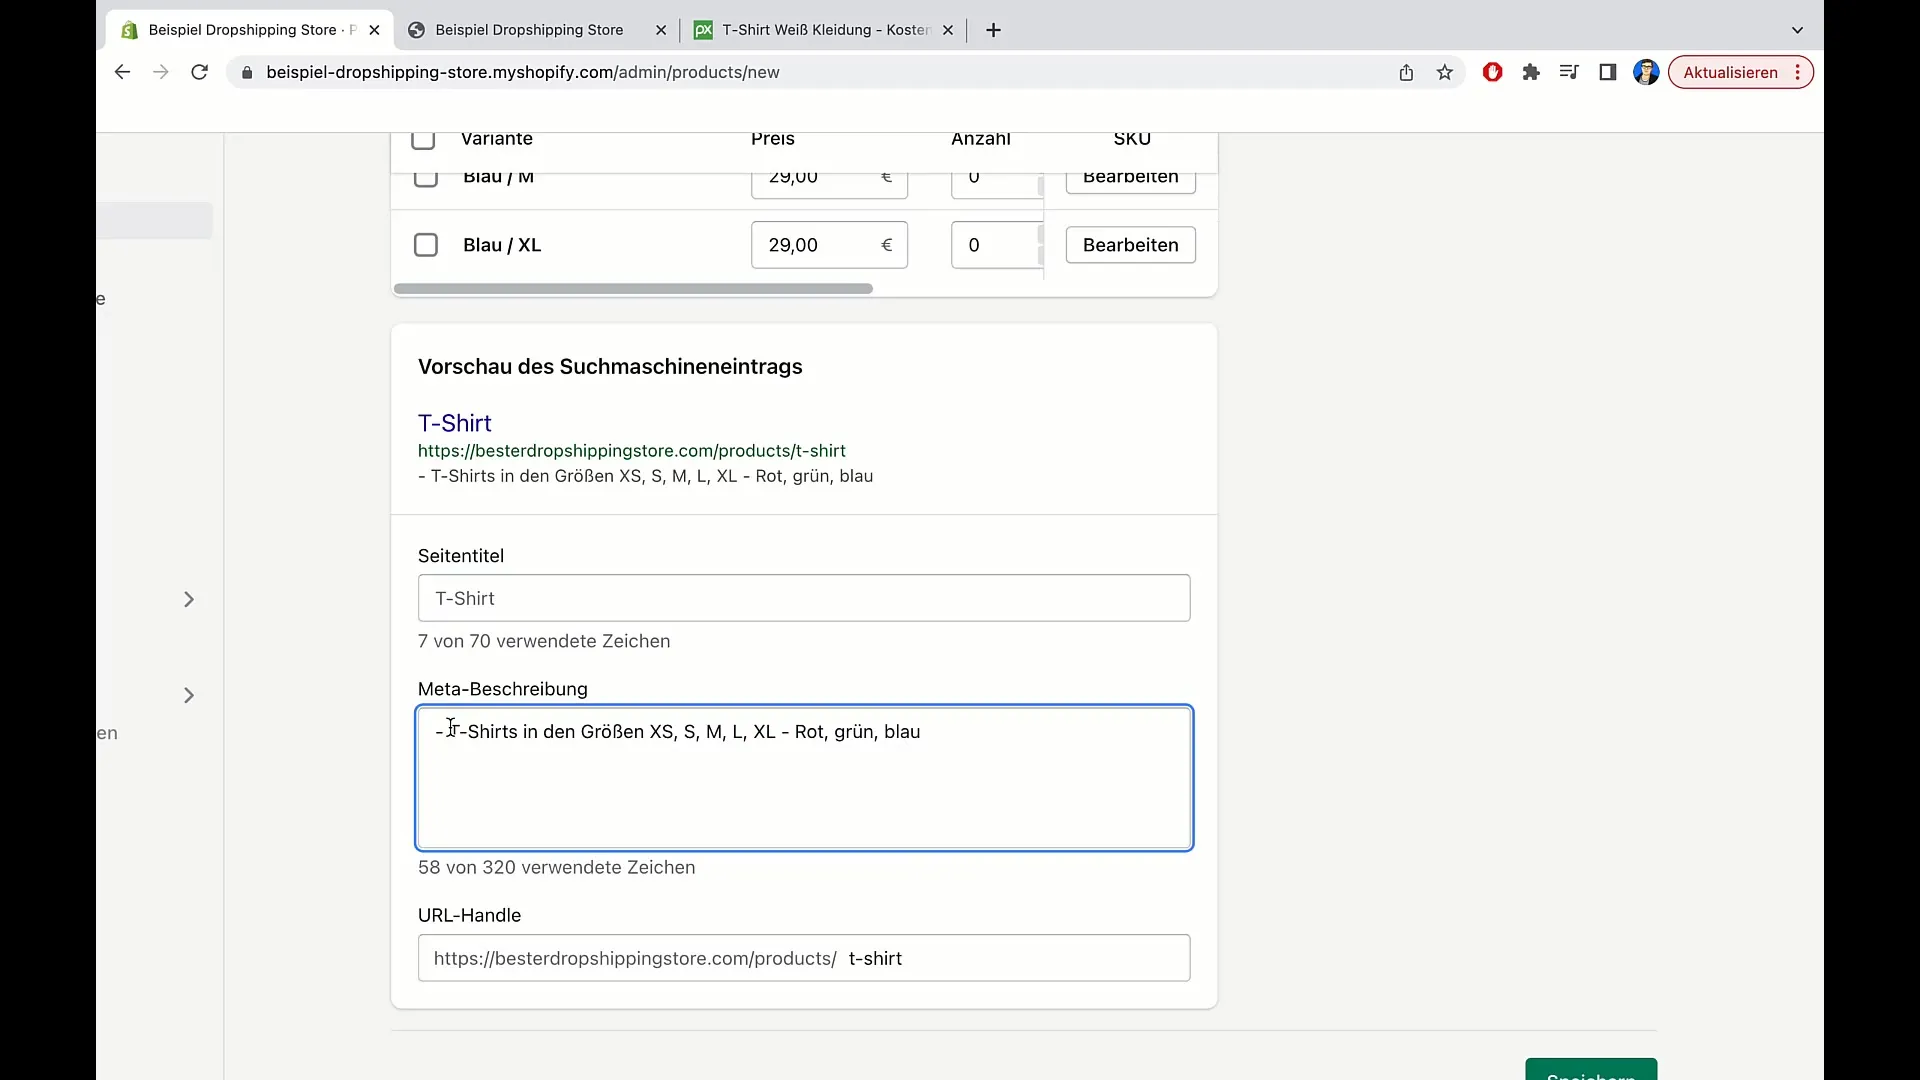
You can edit the SEO settings to optimize your product page for search engines. Add important keywords and adjust the URL accordingly.
After saving the product, you can view it to verify that everything is correctly set up.
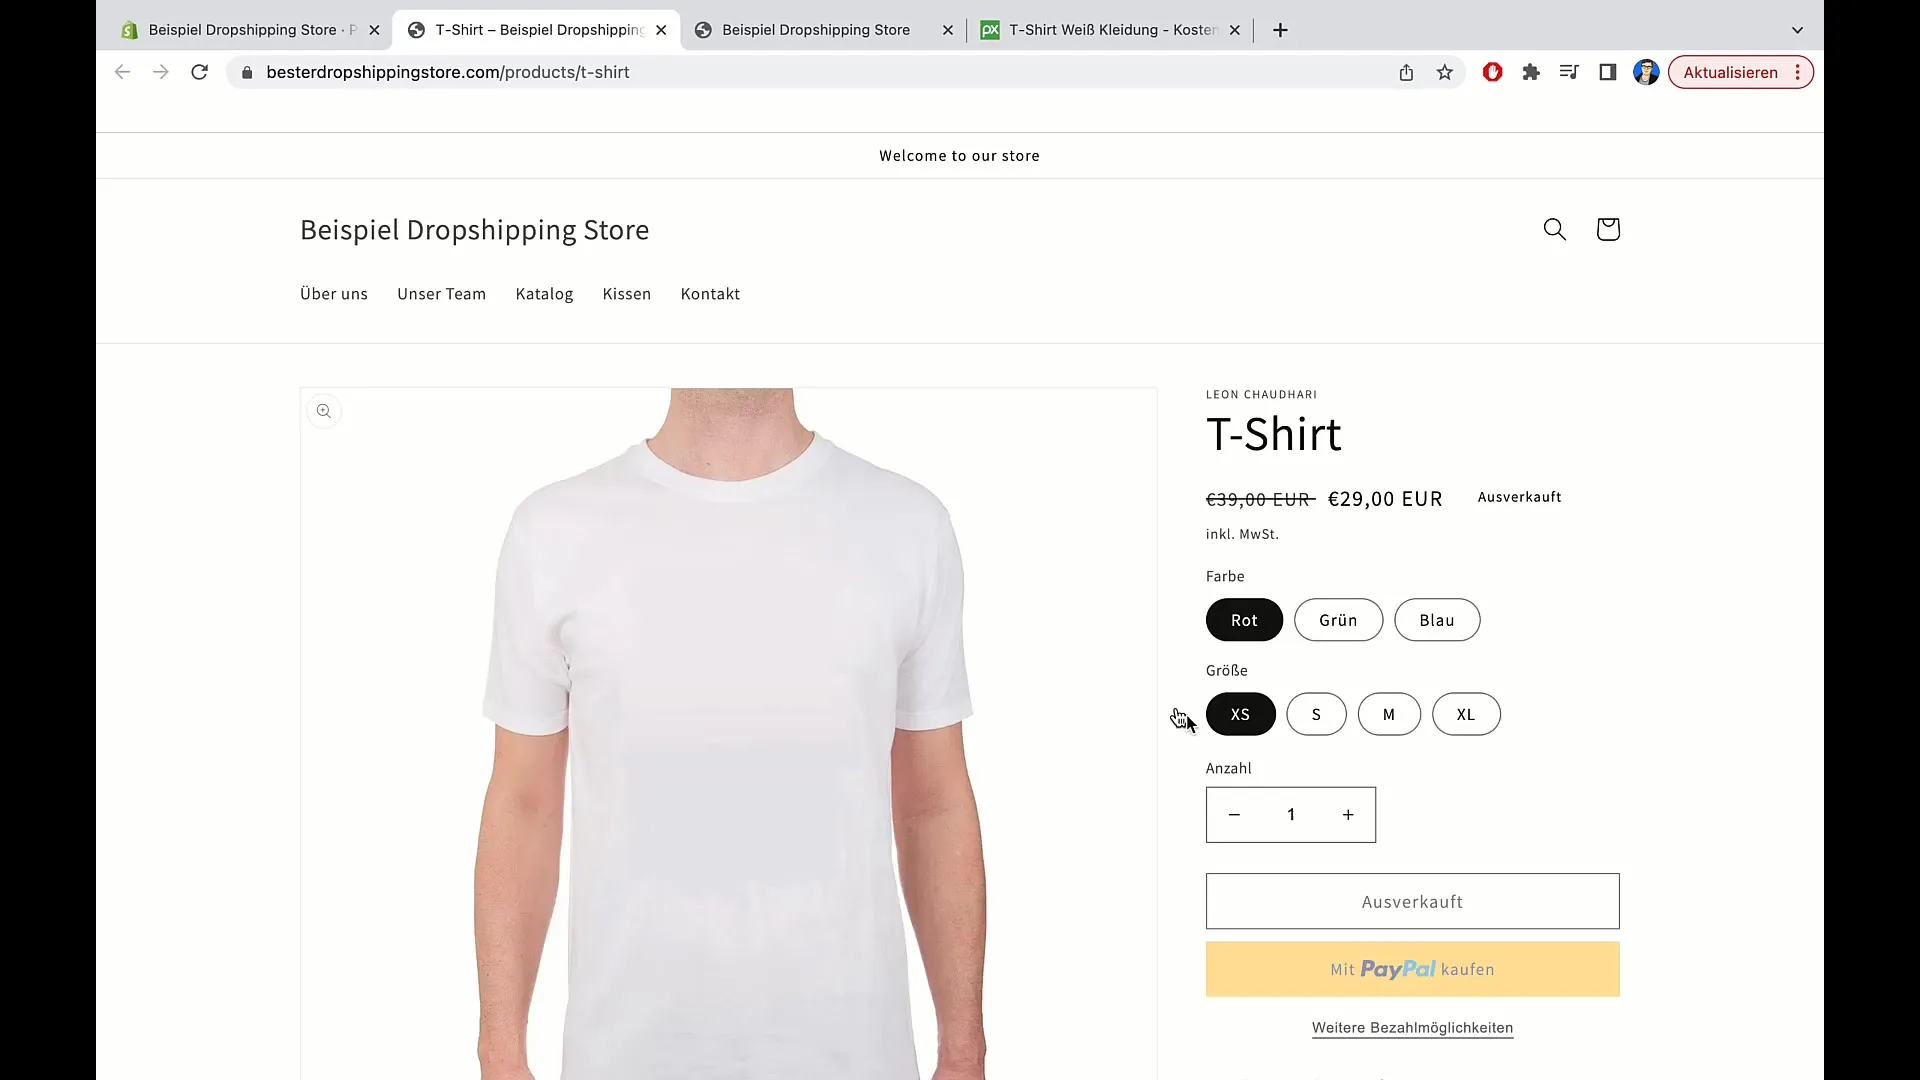
To ensure that your product is not displayed as "sold out" in the shop, now add an inventory statement. For example, you could specify 100 copies.
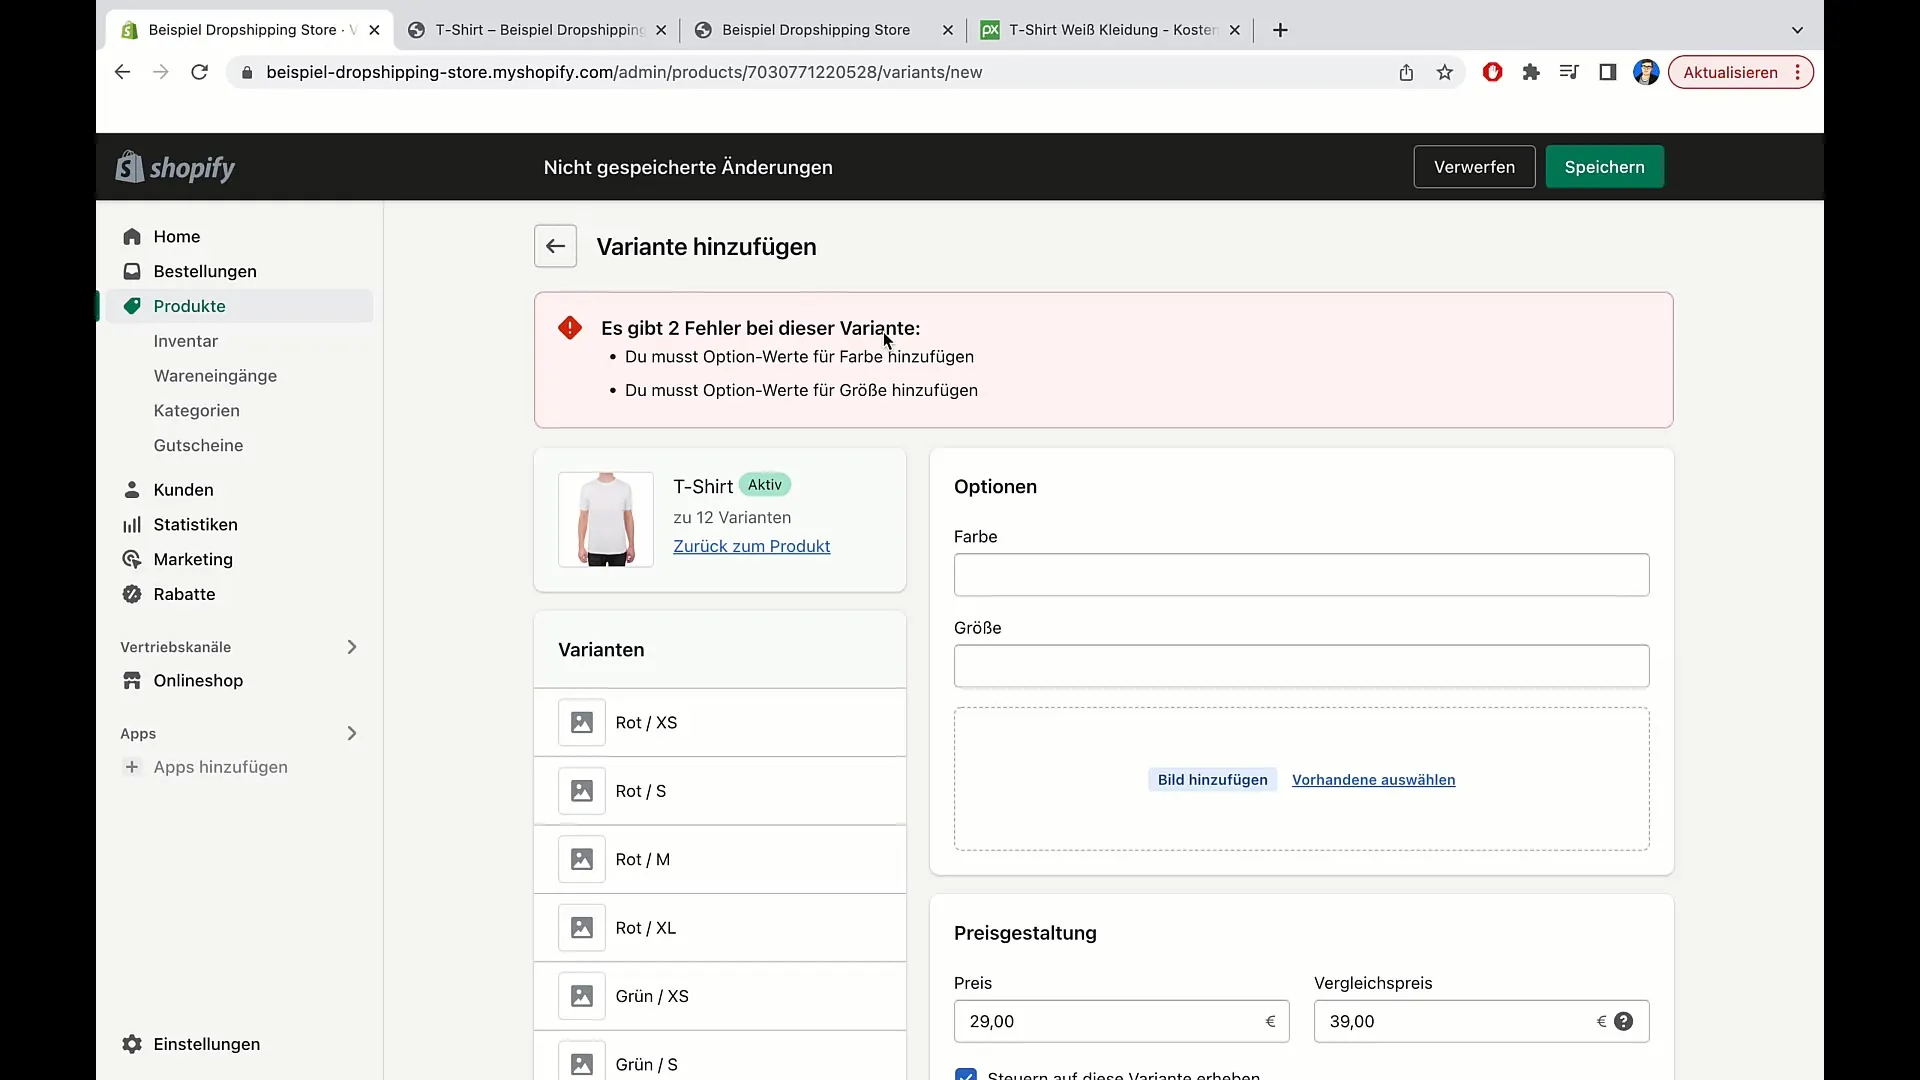
Once you have updated the product with the correct inventory and corresponding options, you can ensure that it is displayed correctly on your website. Make sure that the pricing is clear and transparent.
Summary
In today's tutorial, you have learned how to create a product in Shopify, set the price, add options, and ensure that the ordering process runs smoothly. This process allows you to showcase and sell your products optimally.
Frequently Asked Questions
What is Shopify?Shopify is an e-commerce platform that allows you to create online stores and sell products.
How do I add a product on Shopify?Go to "Products", click on "Add product", enter the necessary details, and save.
Can I add multiple variants of a product?Yes, you can add variants for size, color, and other options.
How do I set the price for my product?In the product settings, you can specify the price and the compare-at price.
Do I know how much inventory I have?Yes, when adding a product, you can specify the available quantities.


