In this tutorial, you will learn everything important about the order overview in Shopify. Whether you want to filter, export, or edit orders — this guide will help you efficiently utilize the order overview. Let's get started!
Key Insights
- You can filter orders by various criteria, e.g., by product name, price, order number, or date.
- The ability to add or remove different columns in the overview enhances readability.
- Orders can be easily exported to use them outside of Shopify.
Step-by-Step Guide
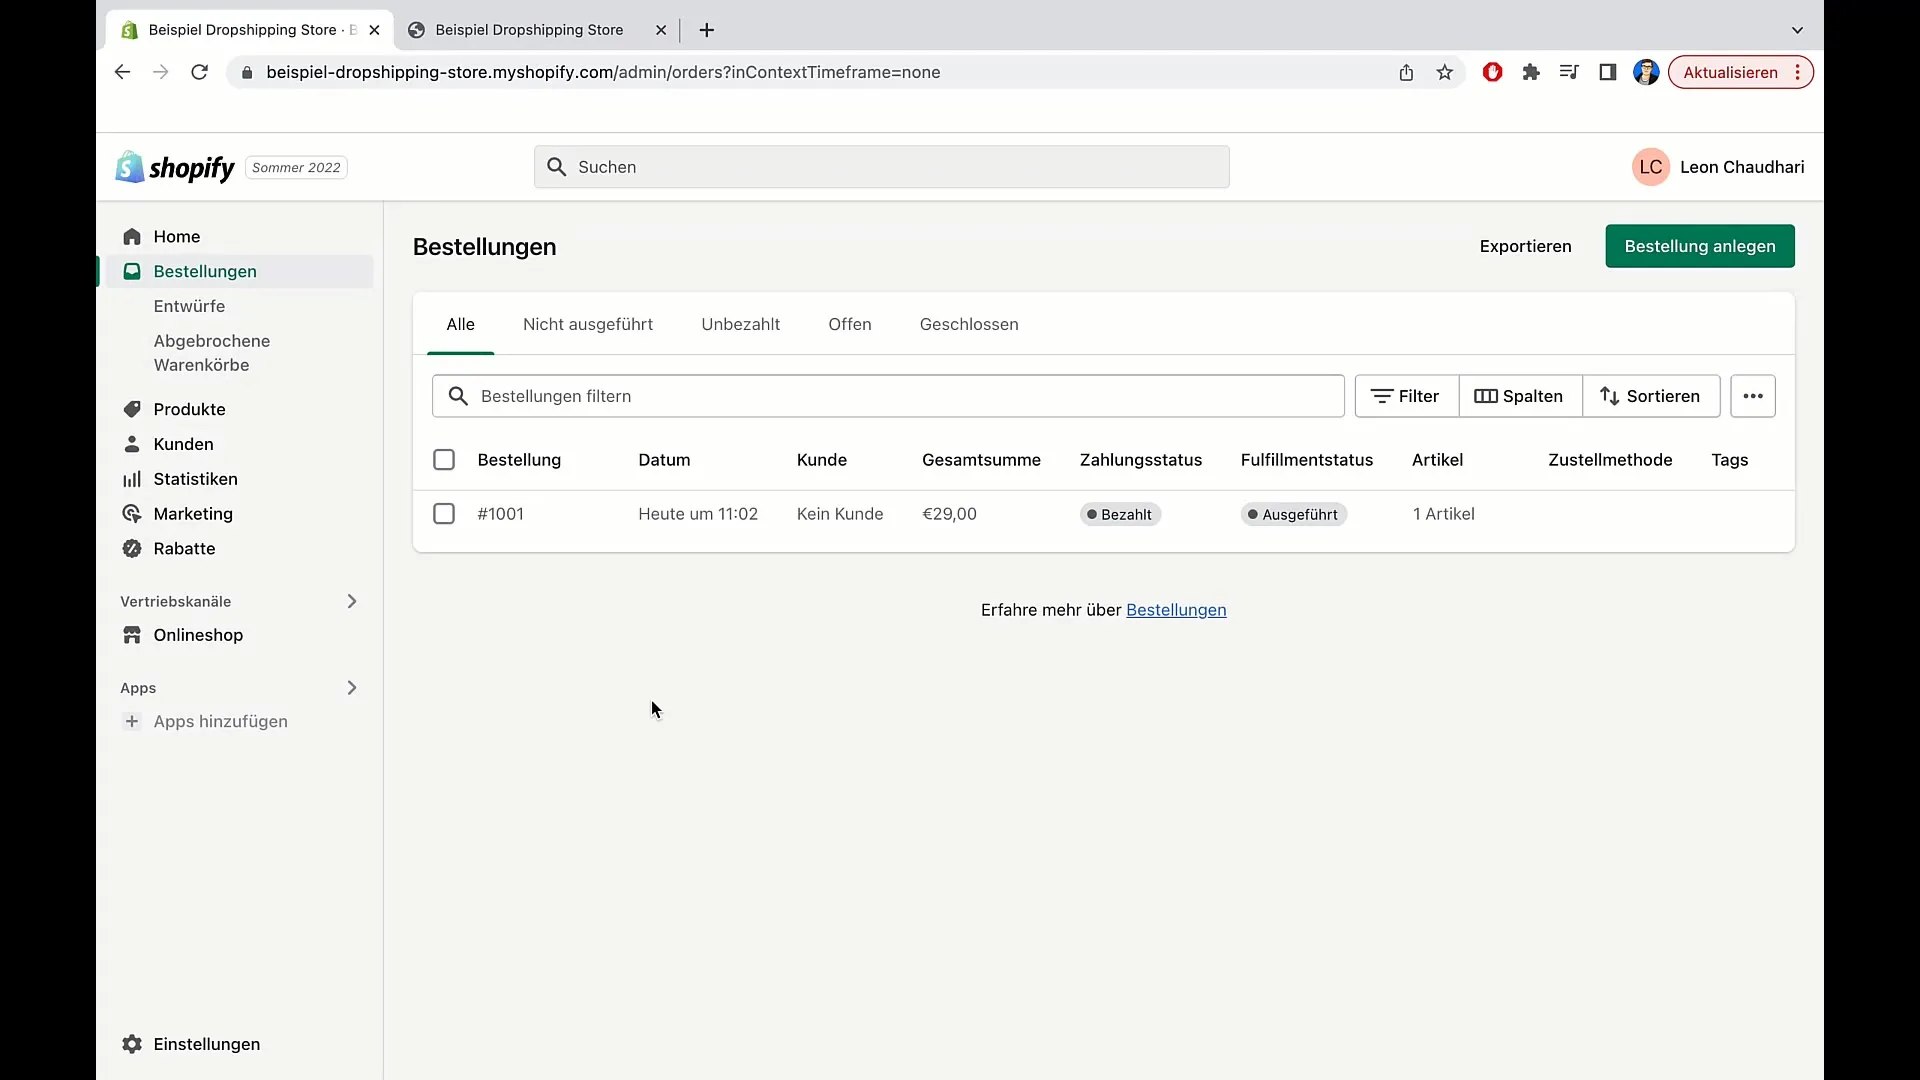
To find an order in Shopify, you have several options. First, you can simply enter a keyword in the search field. For example, if you are looking for a red T-shirt, you enter "red." Even if "red" is not in the title, the order will be displayed as long as this term is included in the product description.
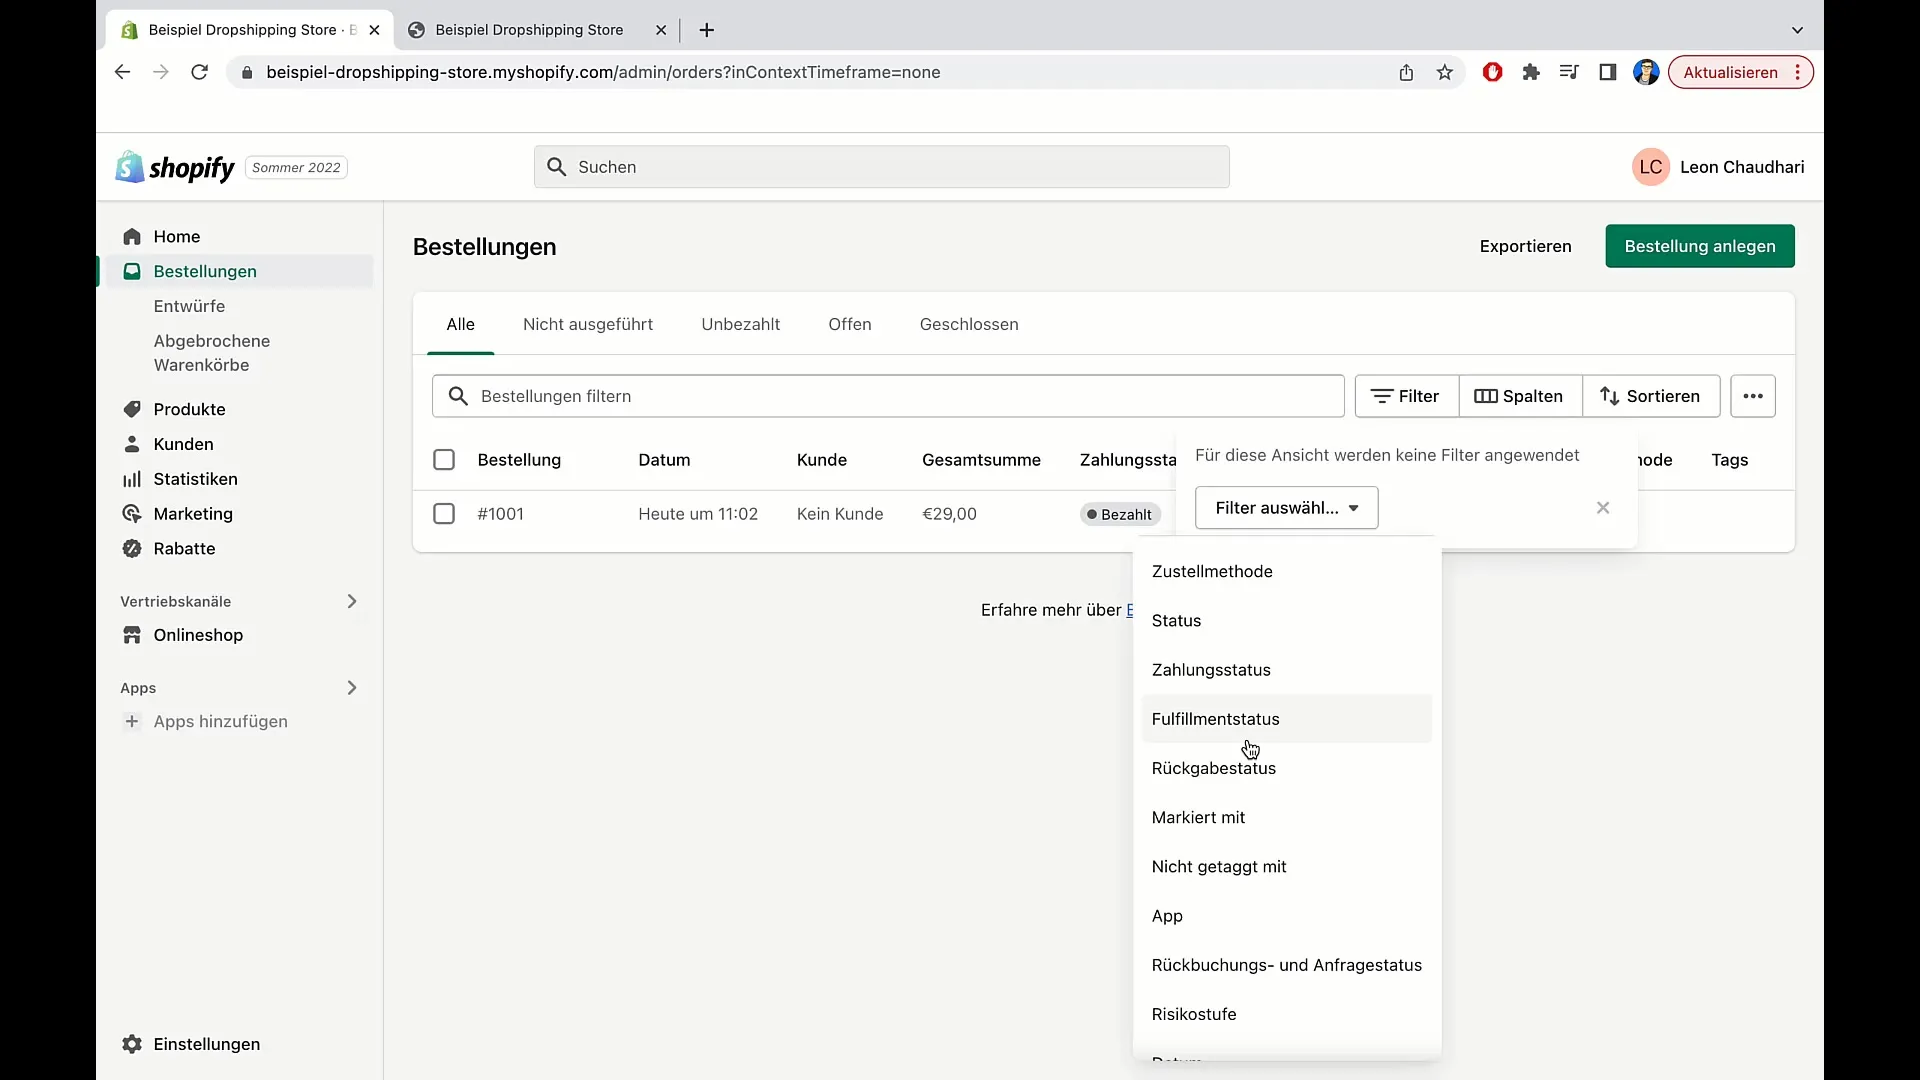
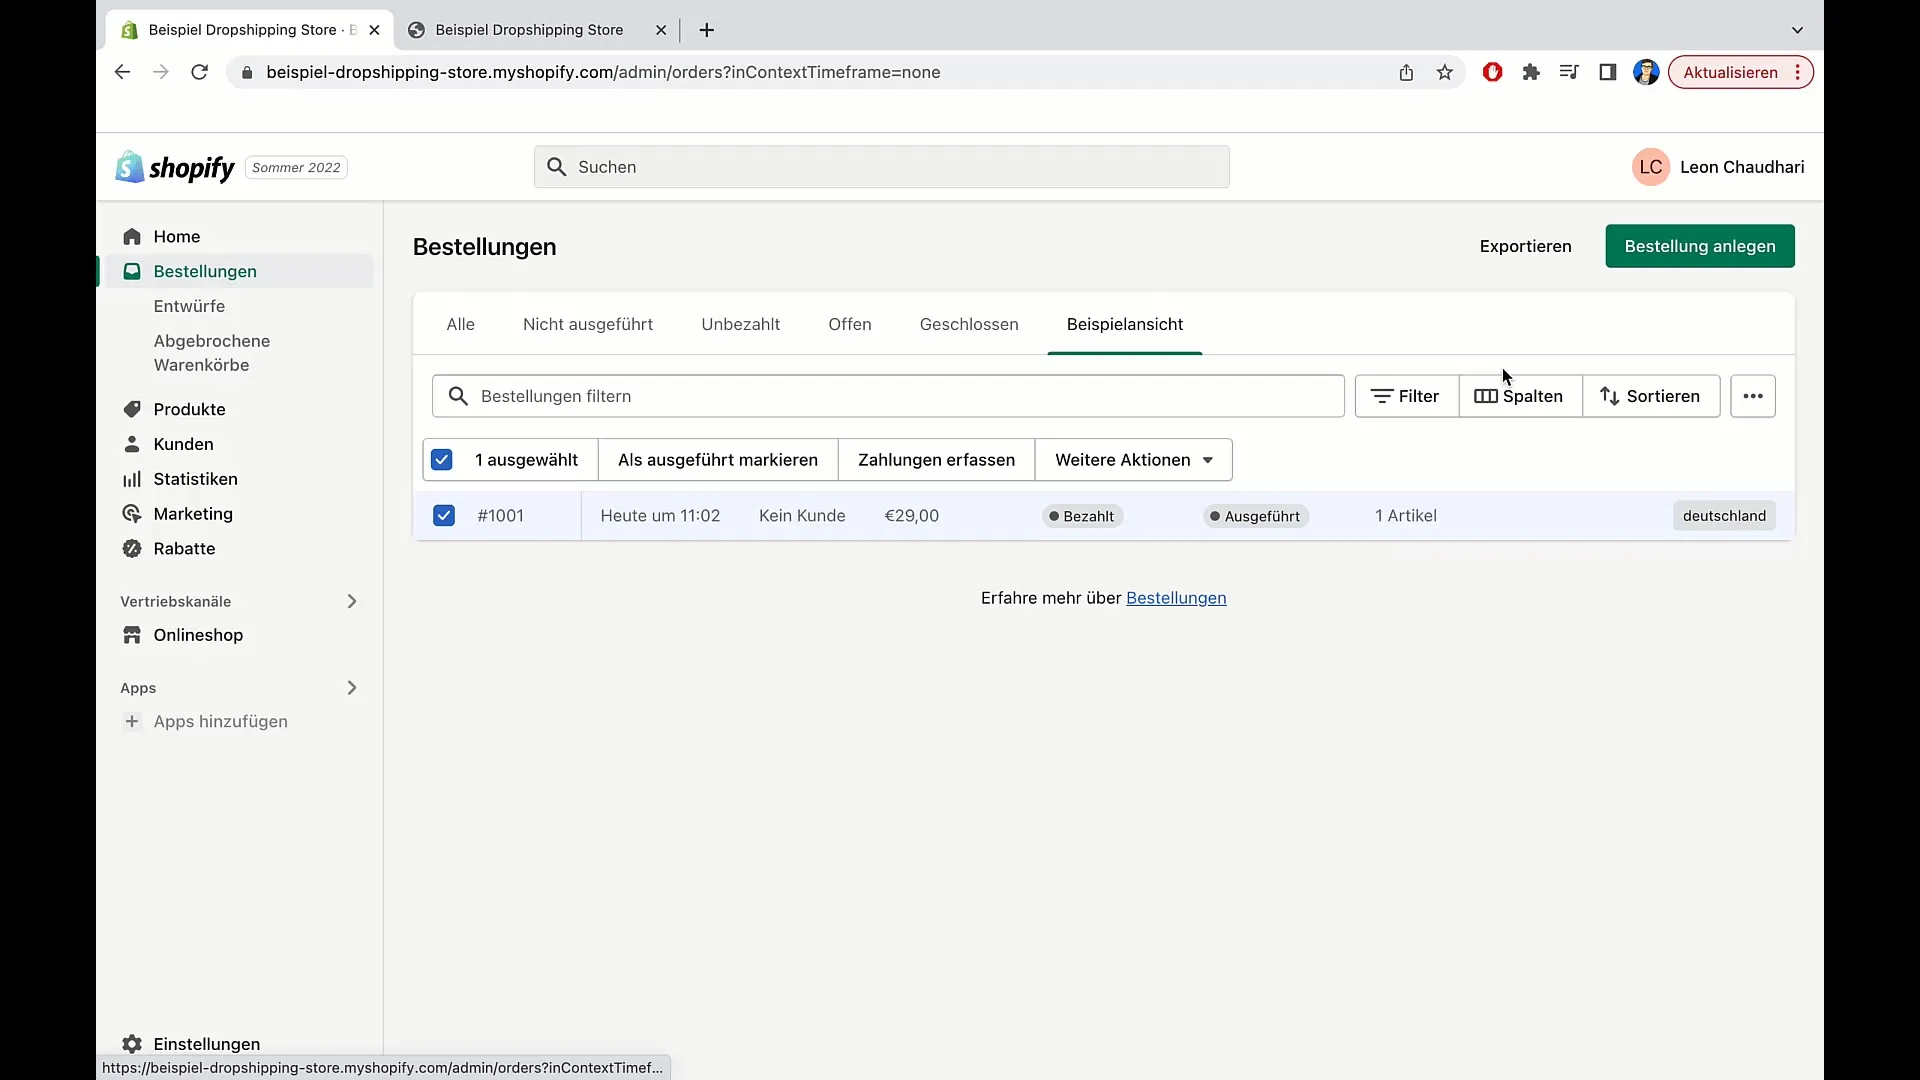
If you prefer not to use the text search, go to the right side and click on "Filter." Here, you can select specific filters to narrow down the desired orders. You can filter by delivery method, payment status, risk level, and many other criteria.
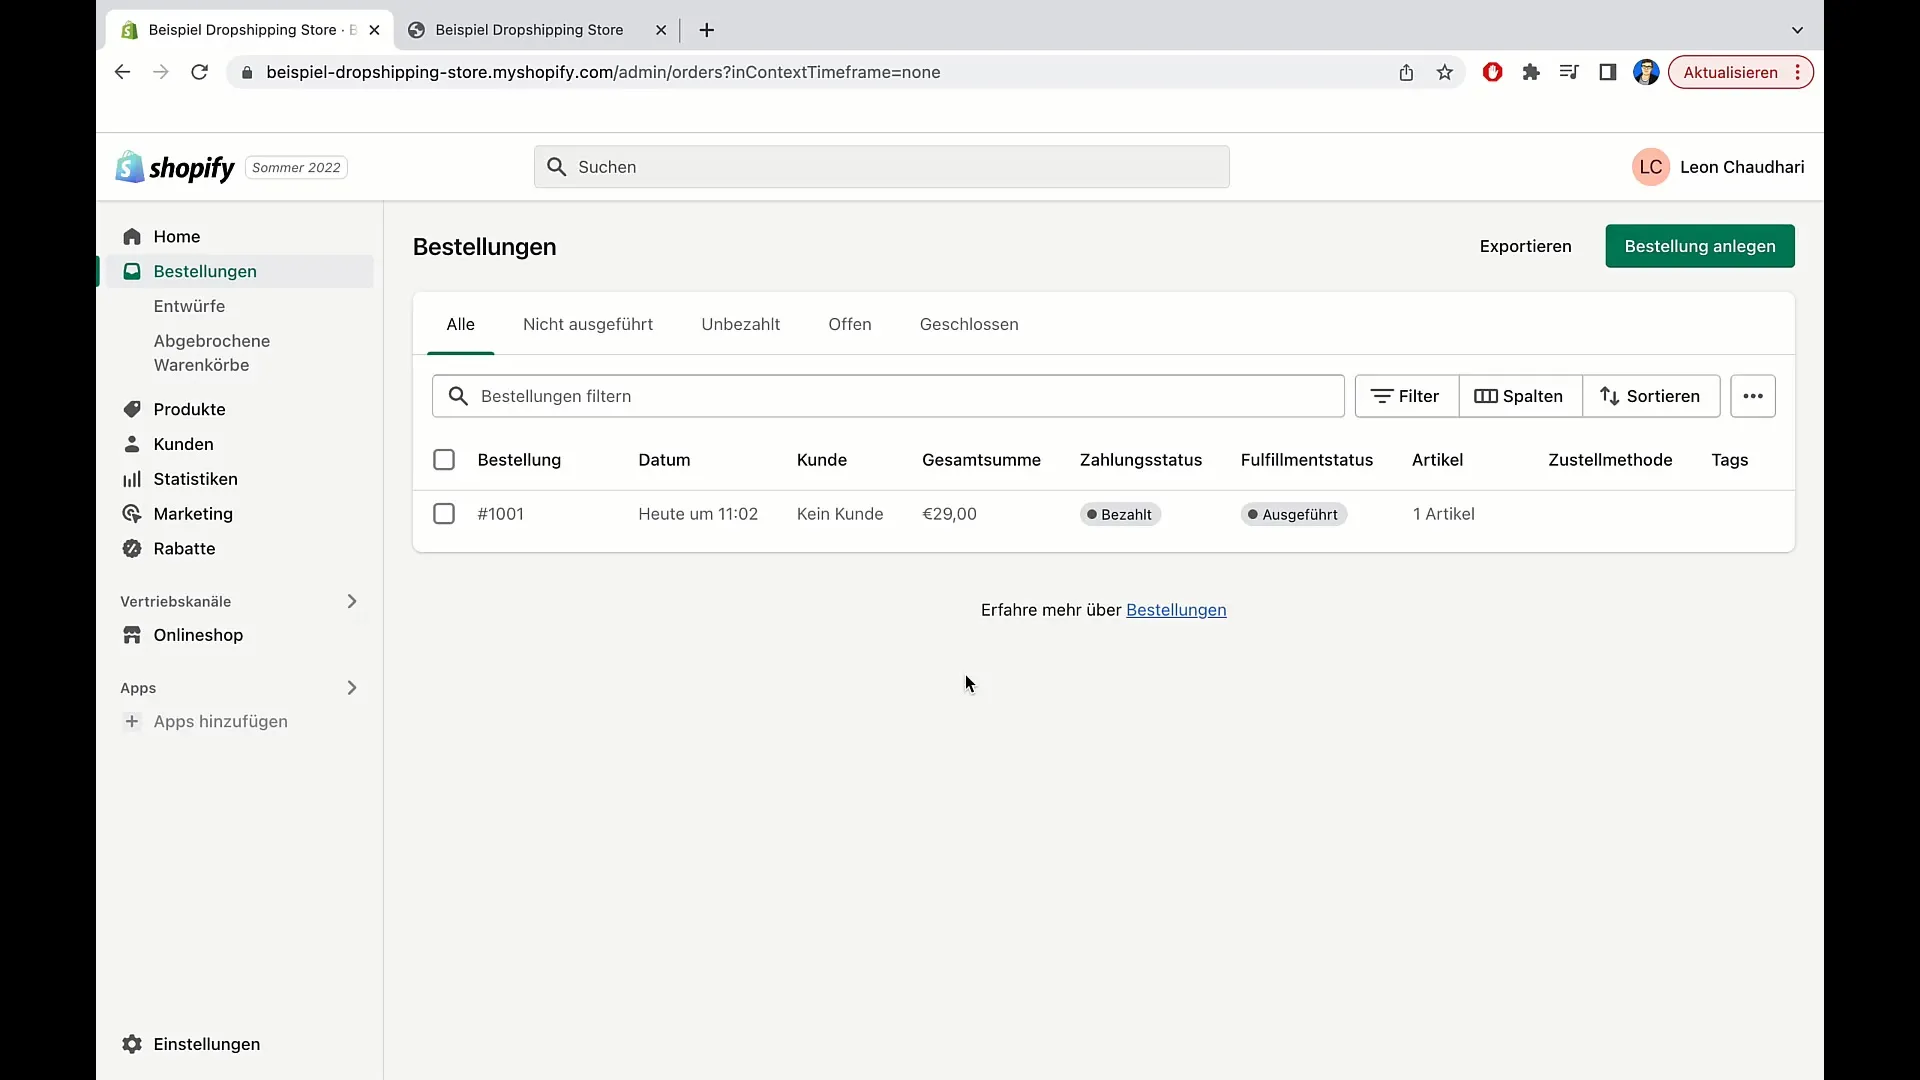
When you have a large number of orders, such as hundreds or thousands, finding a specific order can be a challenge. If a customer requests an invoice, you need to access the respective order, click on it, and export the invoice.
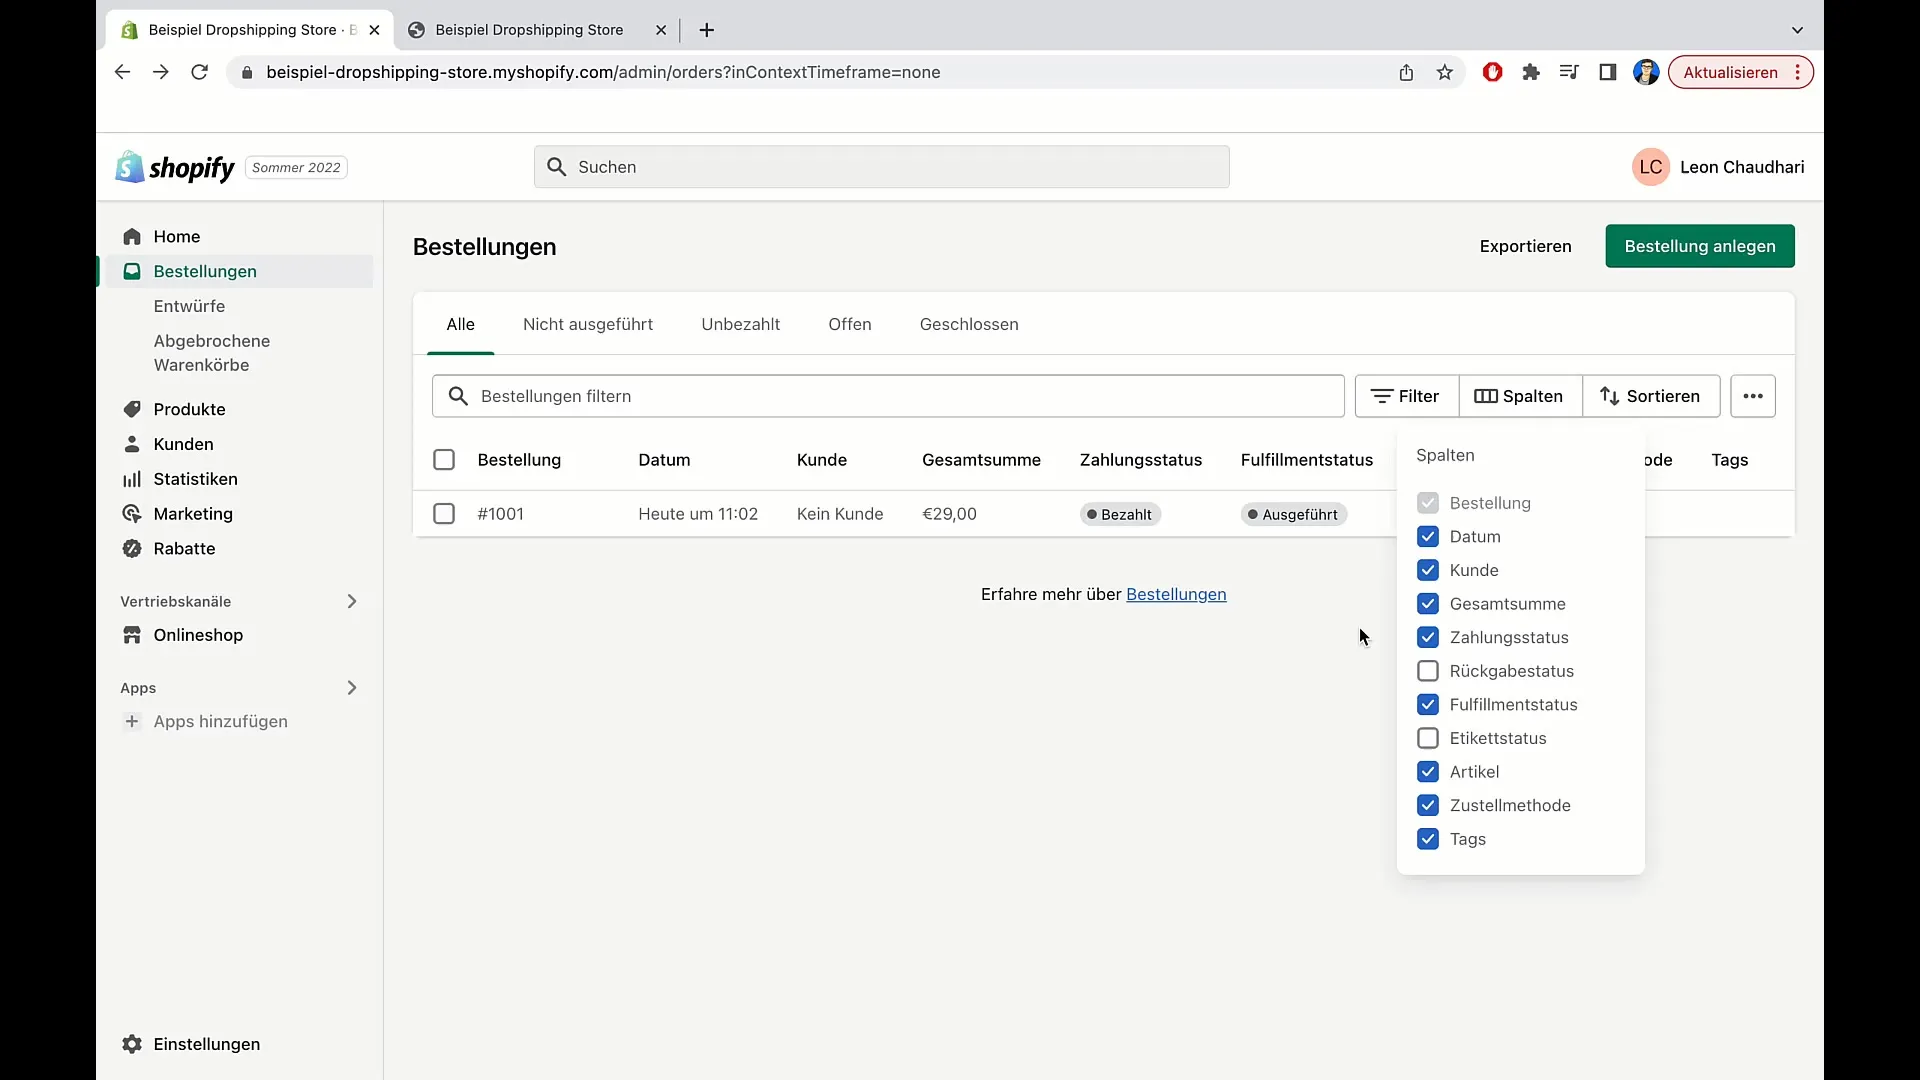
In the order overview, you can also add or remove columns to customize the information. For example, you can add or remove return status, payment status, or customer name, depending on what is important to you.
Additionally, there is the possibility to sort orders by certain criteria. For example, you can sort orders by order number in ascending or descending order. The customer name can also be alphabetically arranged.
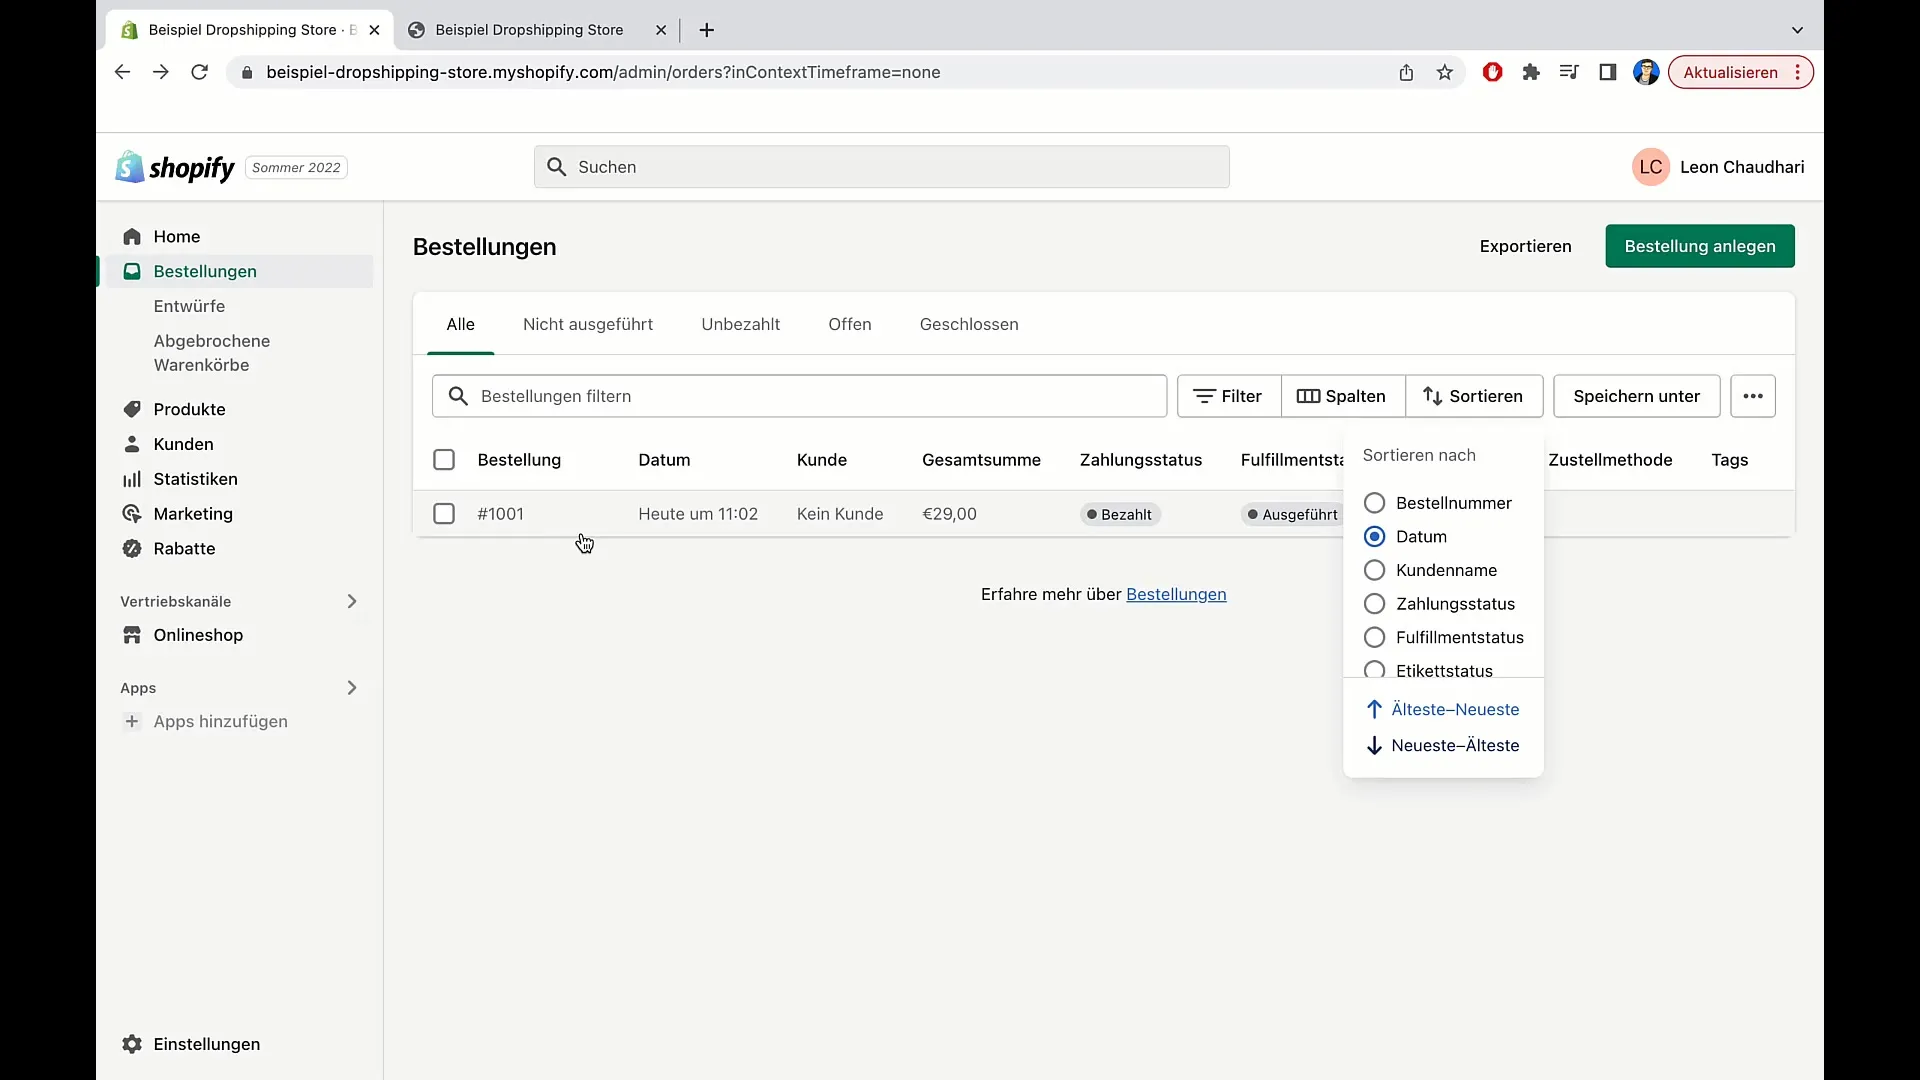
If you have orders that you regularly review or mark specifically, you can use the "Save as" function. Click on it to set a category for your saved orders. This helps you organize your orders in a tailored way.
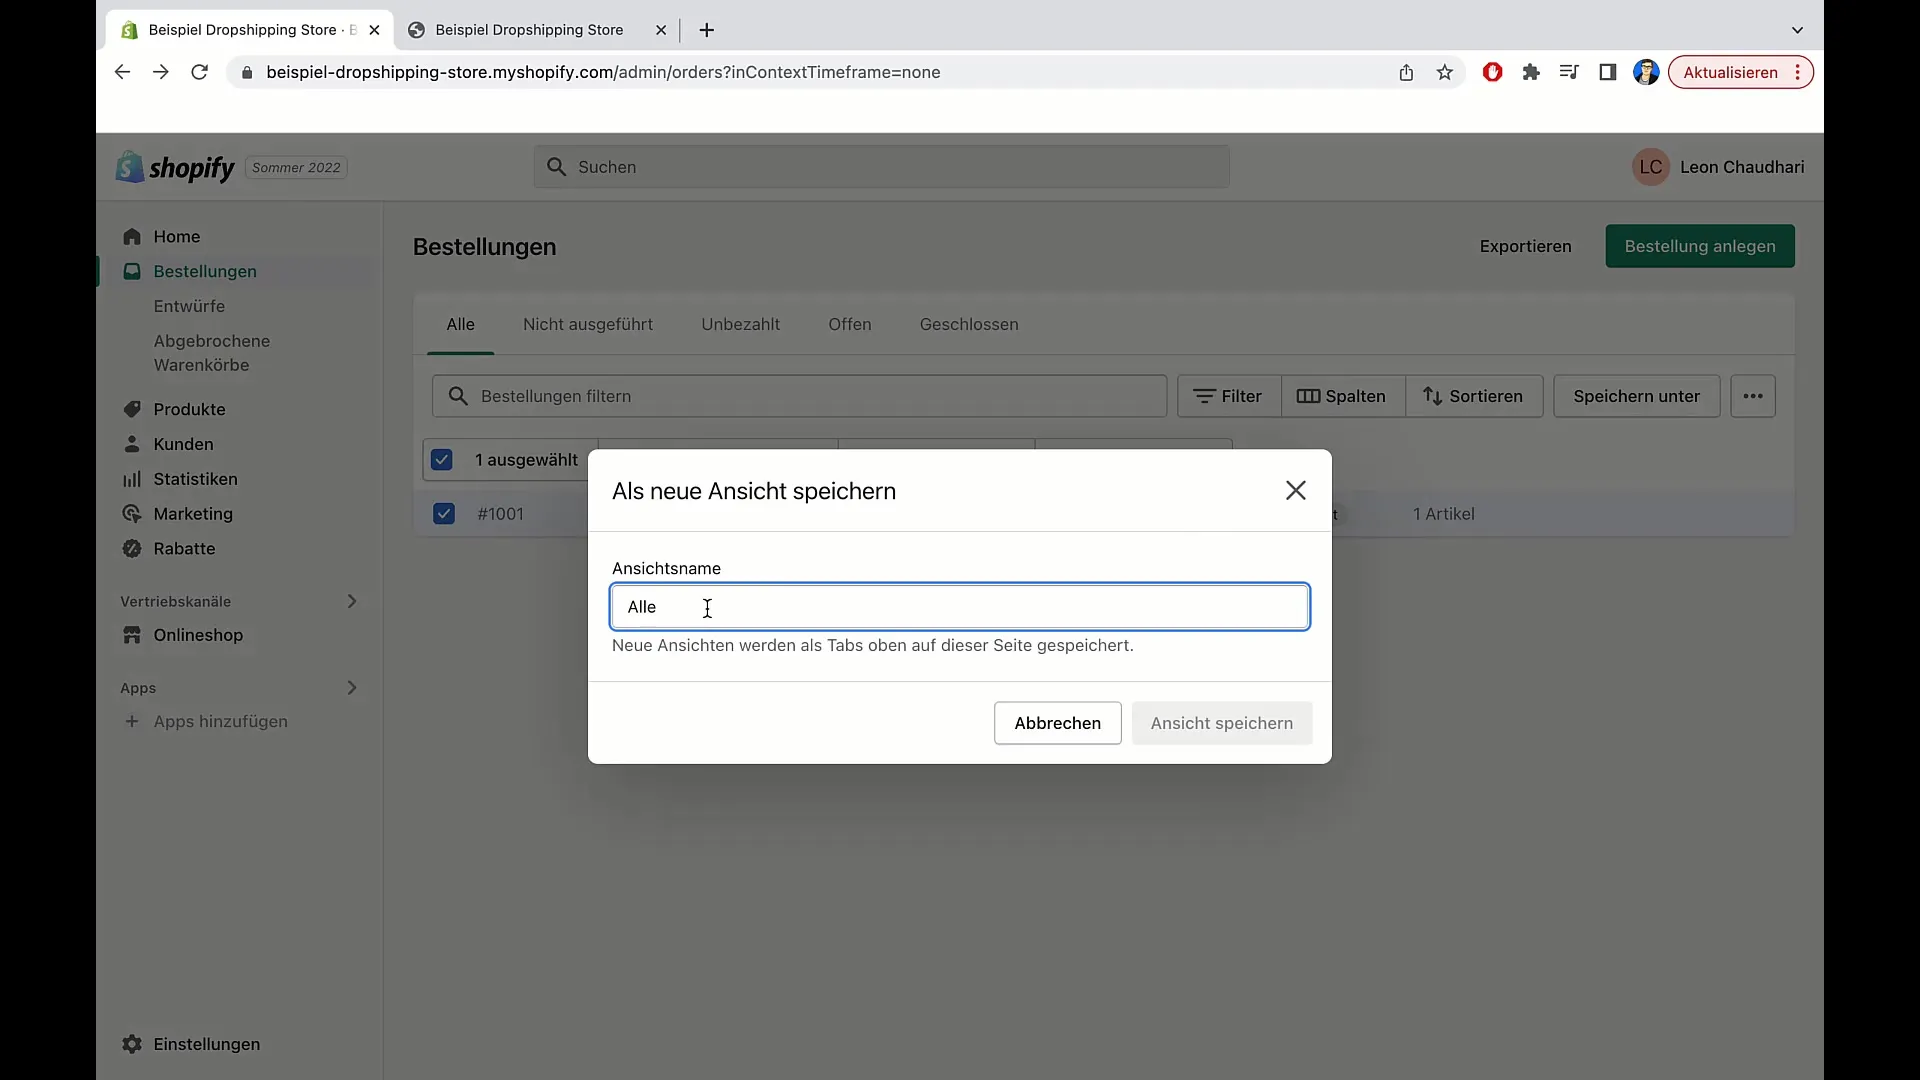
Once you have created a new view for your orders, you can name it and add more specific orders. To create the view, click on "Create View."
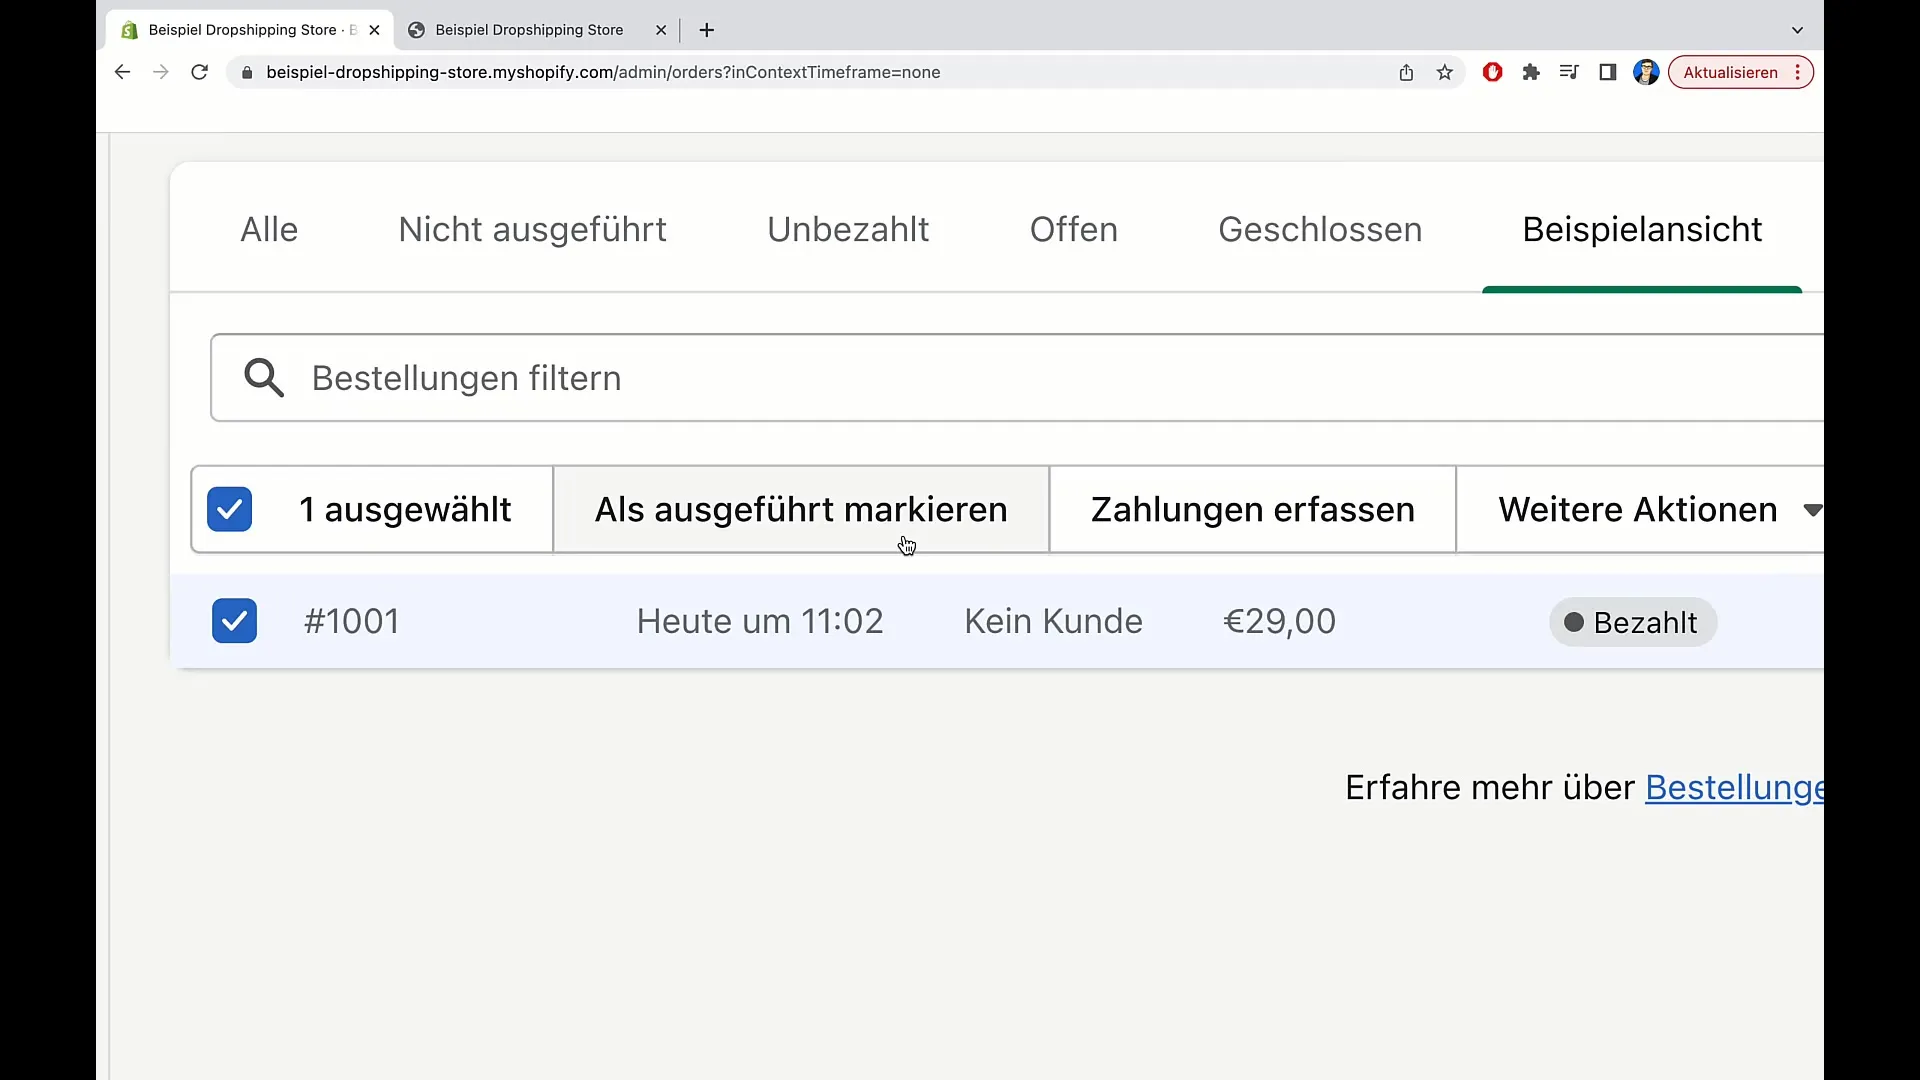
After creation, you can also return to the general view at any time or mark specific orders to perform further actions, such as printing delivery notes or archiving orders.
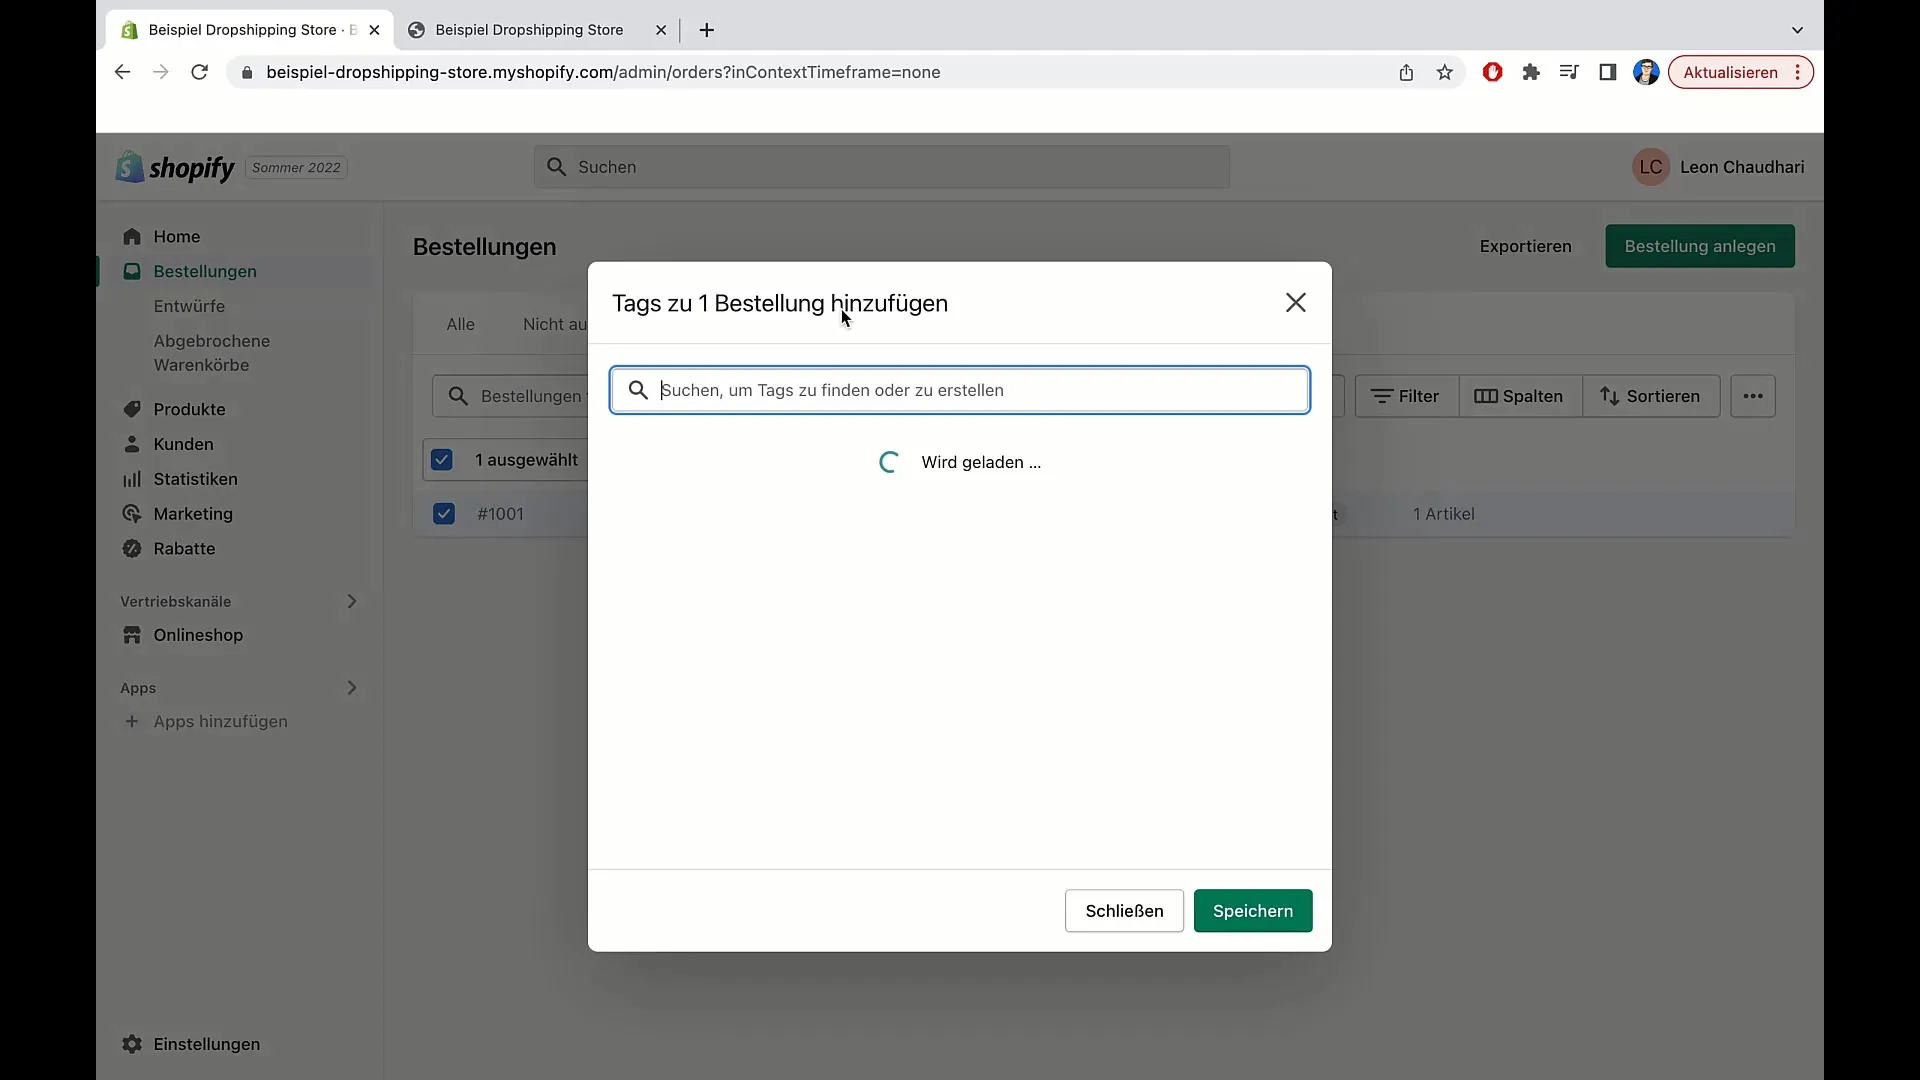
If you want to add a tag to an order, you can do so with ease. Adding a tag gives you the ability to organize orders according to specific criteria and later filter them accordingly.
To export orders, click on "Export." Here, you can choose whether you want to export the current page, all orders, or only specific orders. Exporting in various formats like CSV is also possible.
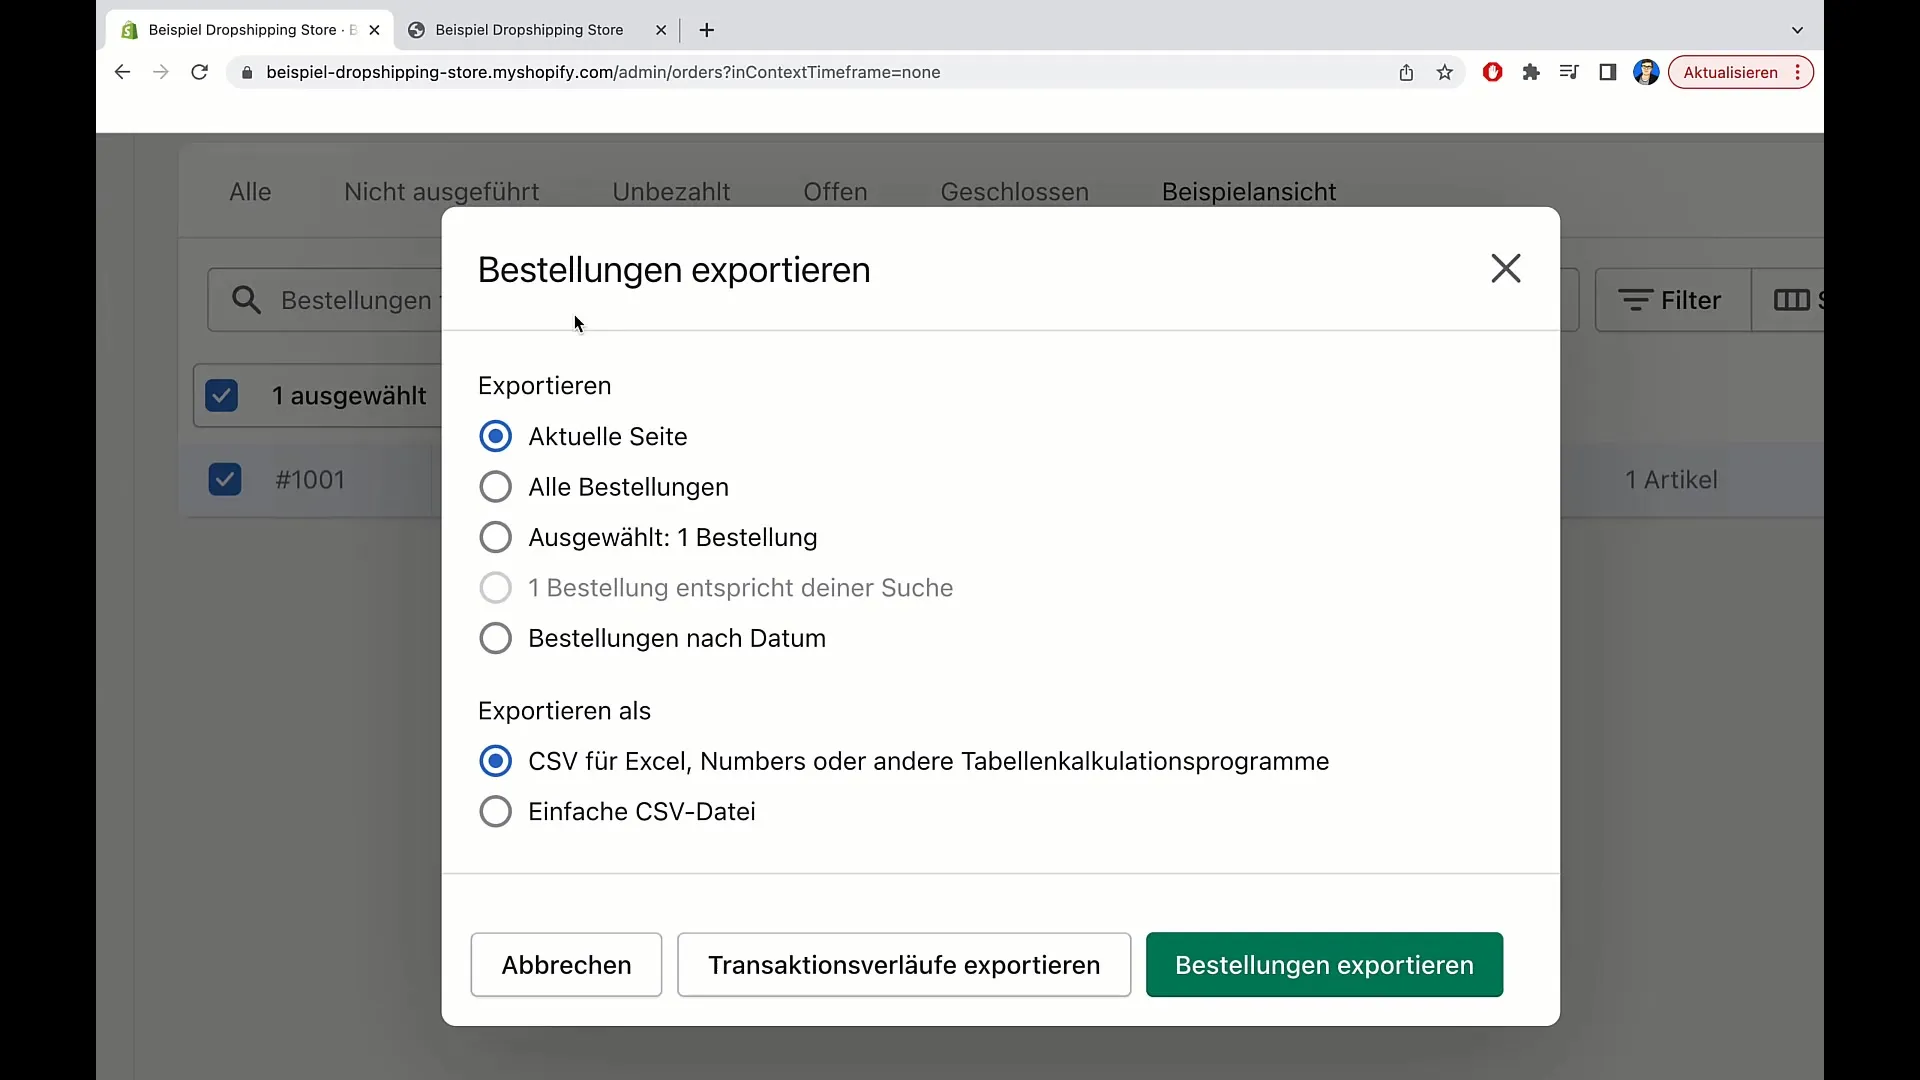
Once you have selected the options, click on "Export Order." The system will then create the CSV file, which you can download and use for further processing.
Summary
In this tutorial, you have learned how to find, filter, customize, and export orders in Shopify. These functions are crucial to keep track of your orders in an e-commerce business and to create efficient workflows.
Frequently Asked Questions
How do I find a specific order in Shopify?Simply enter a keyword in the search field or use the filter options.
Can I filter orders by different criteria?Yes, you can filter by delivery method, payment status, date, and more.
How do I export orders in Shopify?Click on "export" and choose the desired export option.
Can I add or remove columns in the order overview?Yes, you can customize the columns as needed.
How do I add tags to an order?Open the order and select the option to add tags.


