Welcome to this After Effects tutorial, where you will get to know the basic user interface of Adobe After Effects upon your first opening. We will also go through the preferences, especially the lifesaving auto-save function that can help protect your work and avoid data loss.
Whether you are a beginner or an experienced user, setting up After Effects correctly can save you a lot of time and frustration. Let's get started!
Main Takeaways
- The user interface of After Effects offers different sections that should be utilized efficiently.
- The preferences are a crucial part of the software to customize it to your needs.
- The auto-save function regularly backs up your work, protecting you from data loss.
Step-by-step Guide
Getting Started with After Effects
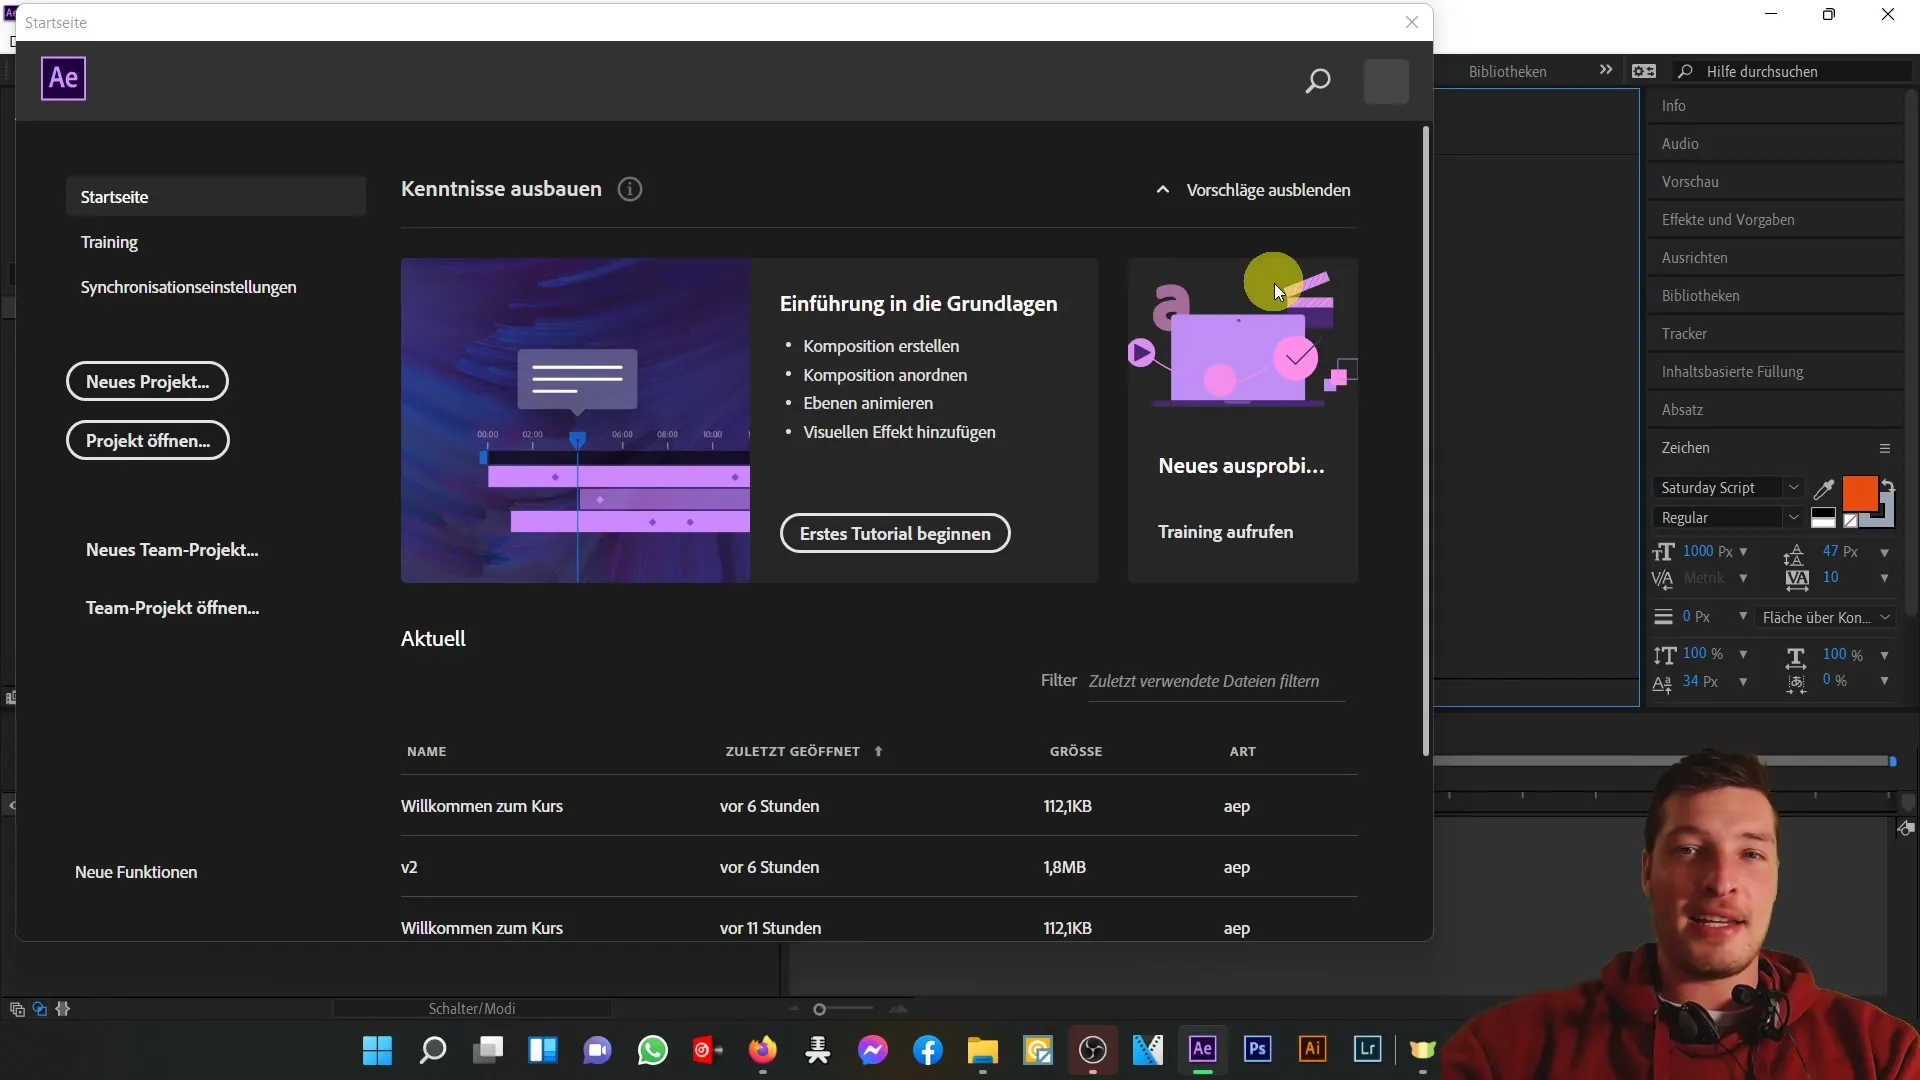
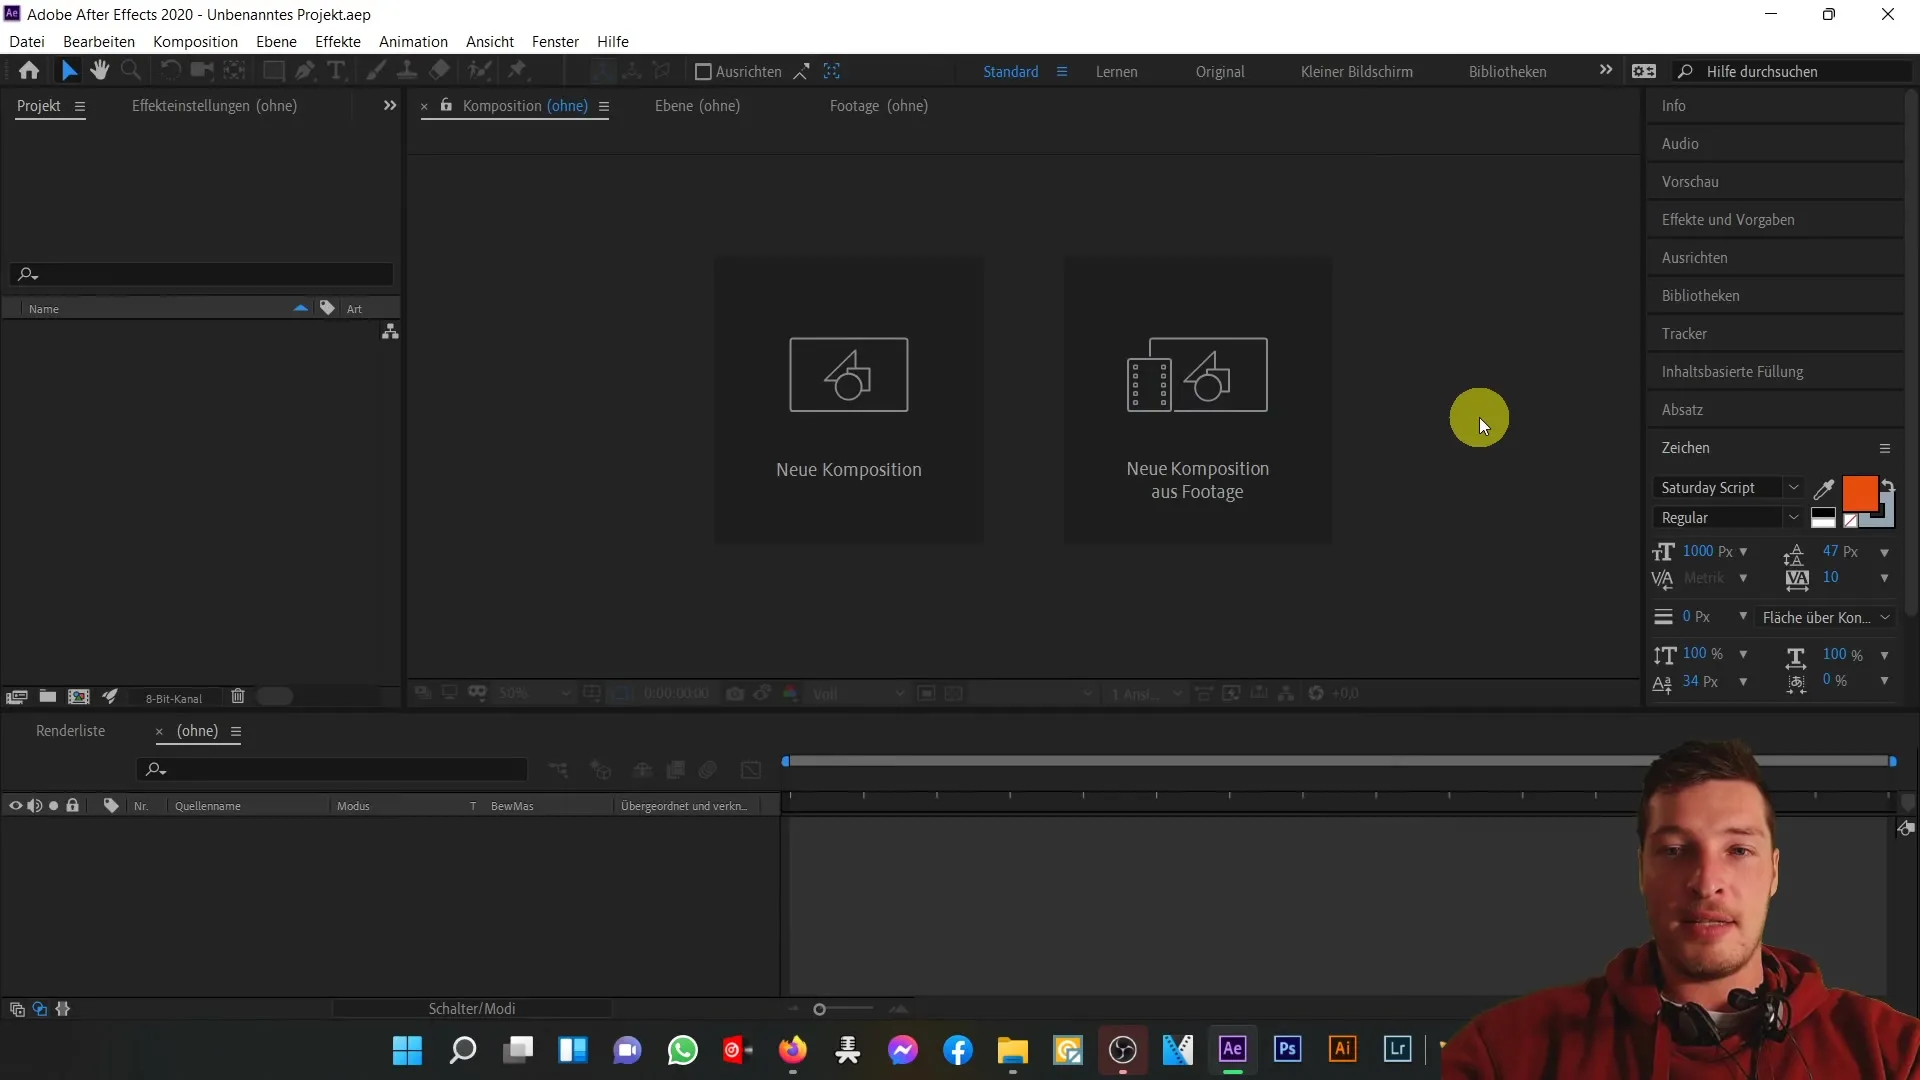
When you first open After Effects, the screen will likely look similar to mine. Don't worry if yours looks a bit different. You may need to go to the "Window" menu and set the "Workspaces" to "Standard" to get the default view.

Understanding the User Interface
In the standard view, you will see different areas. At the top header area, you will find the main menu bar, below that various panels providing different functions. The central areas include the Project and Effects settings on the left, the video preview in the middle, and the timeline on the right side. Each of these areas has its own functionality.

To give a detailed overview: The left area contains the project files and effects you can use in your project. In the middle, your video preview is displayed, allowing you to see your work in real-time. The bottom timeline is crucial for arranging and editing your clips.
Activating Preferences and Auto-Save
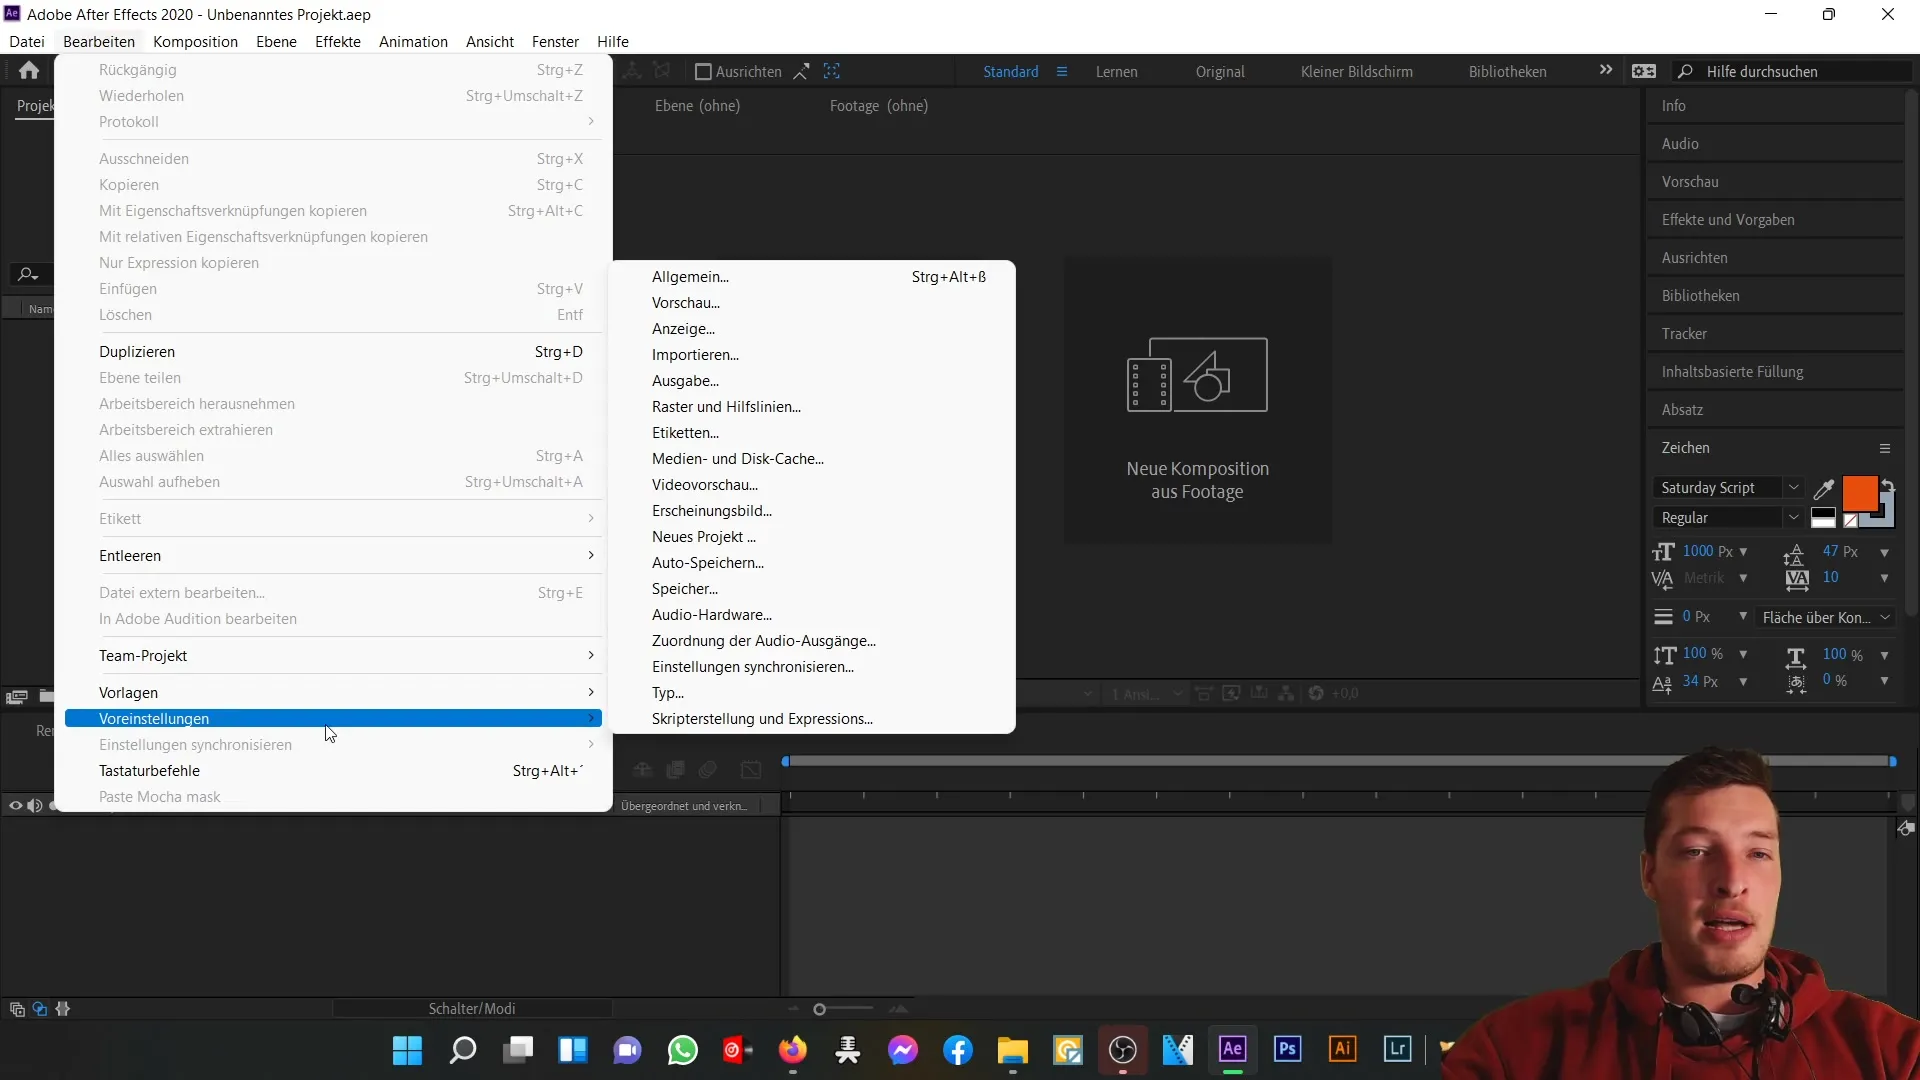
One of the first things you should do after opening After Effects is to set up the auto-save function. Losing unsaved work can be frustrating, so let's make sure that doesn't happen. Go to "Edit" and then "Preferences." In the pop-up menu, you will find several options. Let's start with the "General" tab.

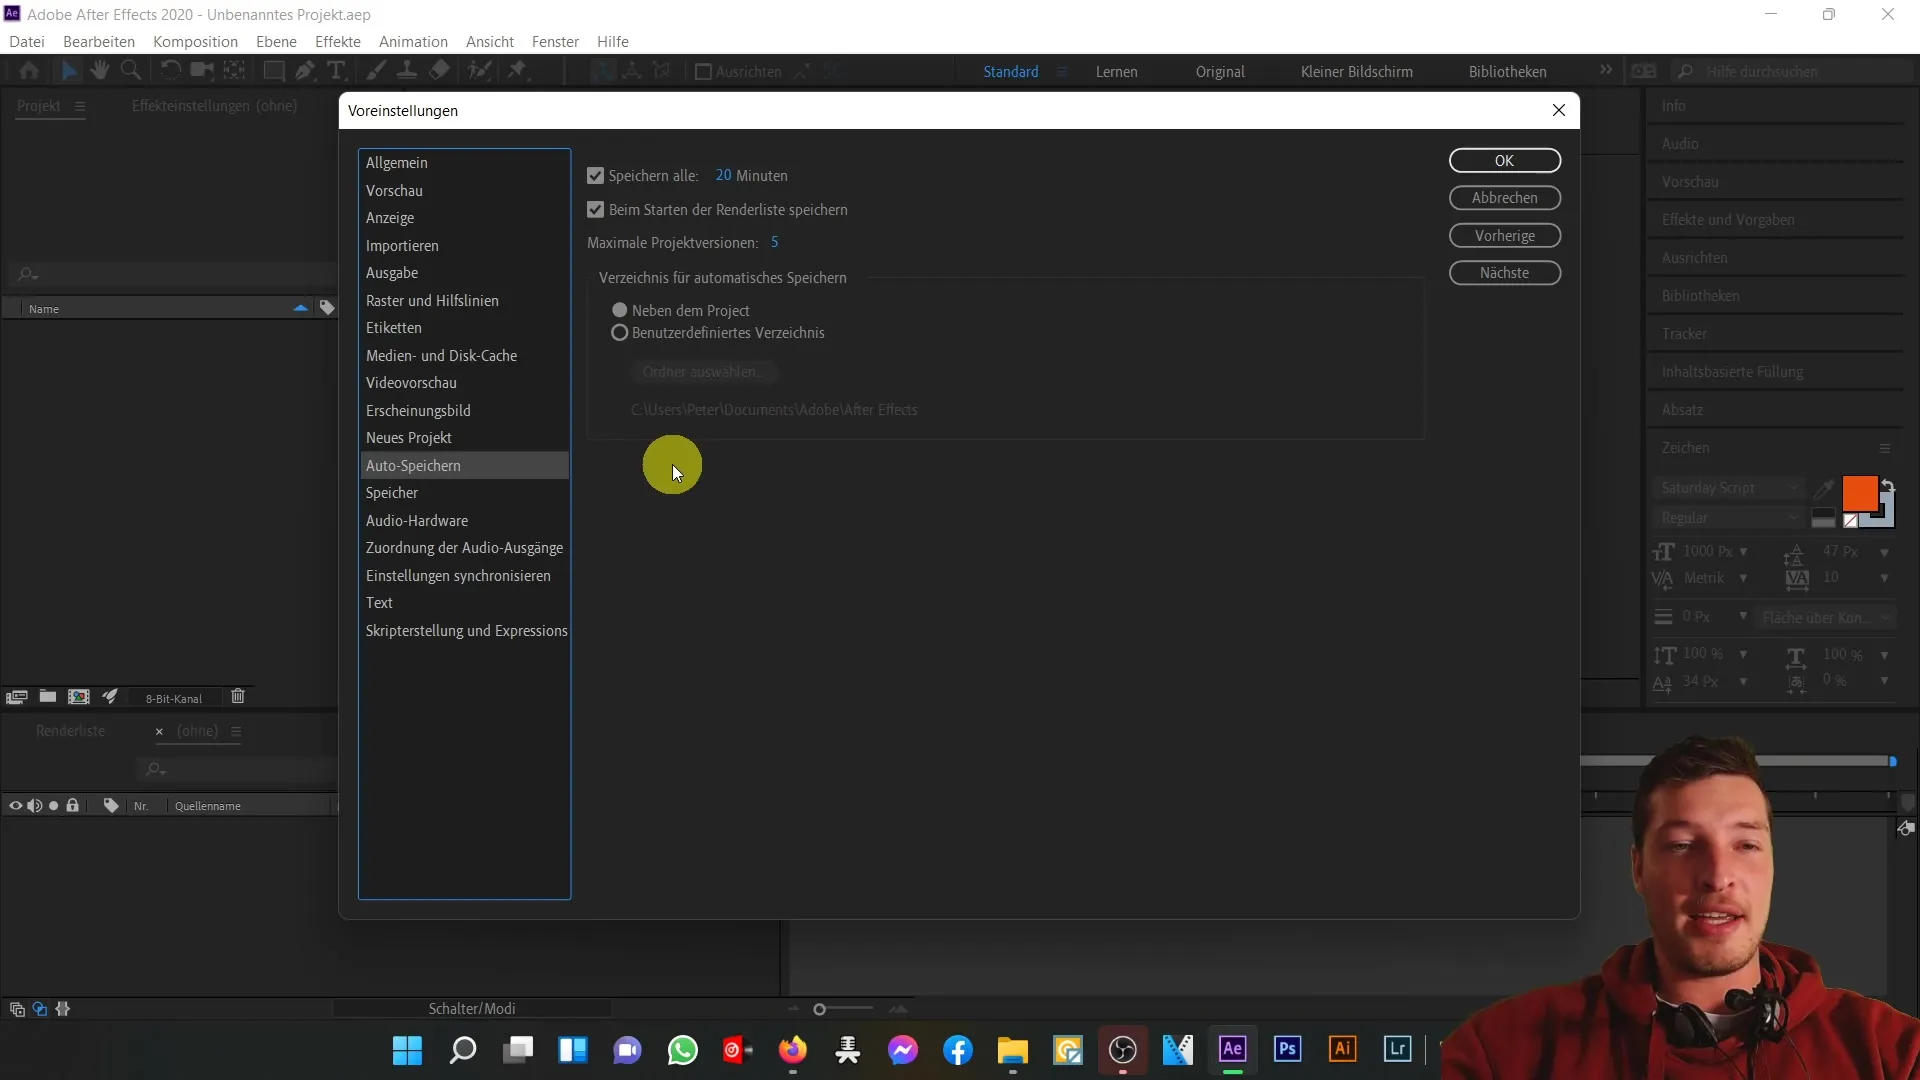
In this section, you can adjust the brightness of the user interface, among other things, but the most important is the auto-save option. Make sure the auto-save function is enabled. I recommend saving every 20 minutes to ensure you don't lose more than twenty minutes of work if the program freezes or your computer crashes.
You can also set the number of project versions After Effects should save before overwriting the oldest. I prefer to keep a maximum of five versions to ensure I don't lose all my work at once. Also, specify a folder where your auto-save data should be stored.

Once you have made these settings, you are on the safe side. You can now work on your project with peace of mind, knowing that After Effects will save automatically at regular intervals. This gives you the freedom to be creative without constantly worrying about losing your work.
Conclusion and Preview of Upcoming Video Content
That was a basic introduction to the user interface and auto-save function of Adobe After Effects. We looked at workspaces and activated an important preference that will save you a lot of trouble in the future. In the next video, we will further explore the software's header section to continue helping you make the most of After Effects.
Summary
In this tutorial, you learned how to set up After Effects on the first opening and activate the valuable auto-save function. This enables you to work efficiently and safely on your projects.
Frequently Asked Questions
How do I activate the auto-save function in After Effects?Go to "Edit" > "Preferences" and enable the auto-save option under "General".
What should I do if After Effects doesn't start correctly?Check your installation or refer to the comment section for support.
How can I customize the workspace?Go to "Window" and choose "Workspaces" to select the standard view or another preset.
What should I do if After Effects crashes?Make sure you have the auto-save function enabled to avoid data losses.
Common issues when using After Effects?Check the software settings or consult online forums for specific problems.


