In this tutorial, I will show you how to make the best use of the preview area in Adobe After Effects. The preview area is the part of the user interface where you can see what is happening in your composition. Understanding the various functions and settings in this area is crucial for working efficiently and productively.
Key Takeaways
- The preview area allows you to quickly and easily have insight into your composition.
- You can optimize the view of individual layers to better track changes.
- Guides and grids help you position and align objects precisely.
- The snapshot function allows you to compare different frames of your composition.
- The resolution in the preview area can be adjusted to improve performance.
Step-by-Step Guide
1. Introduction to the Preview Area
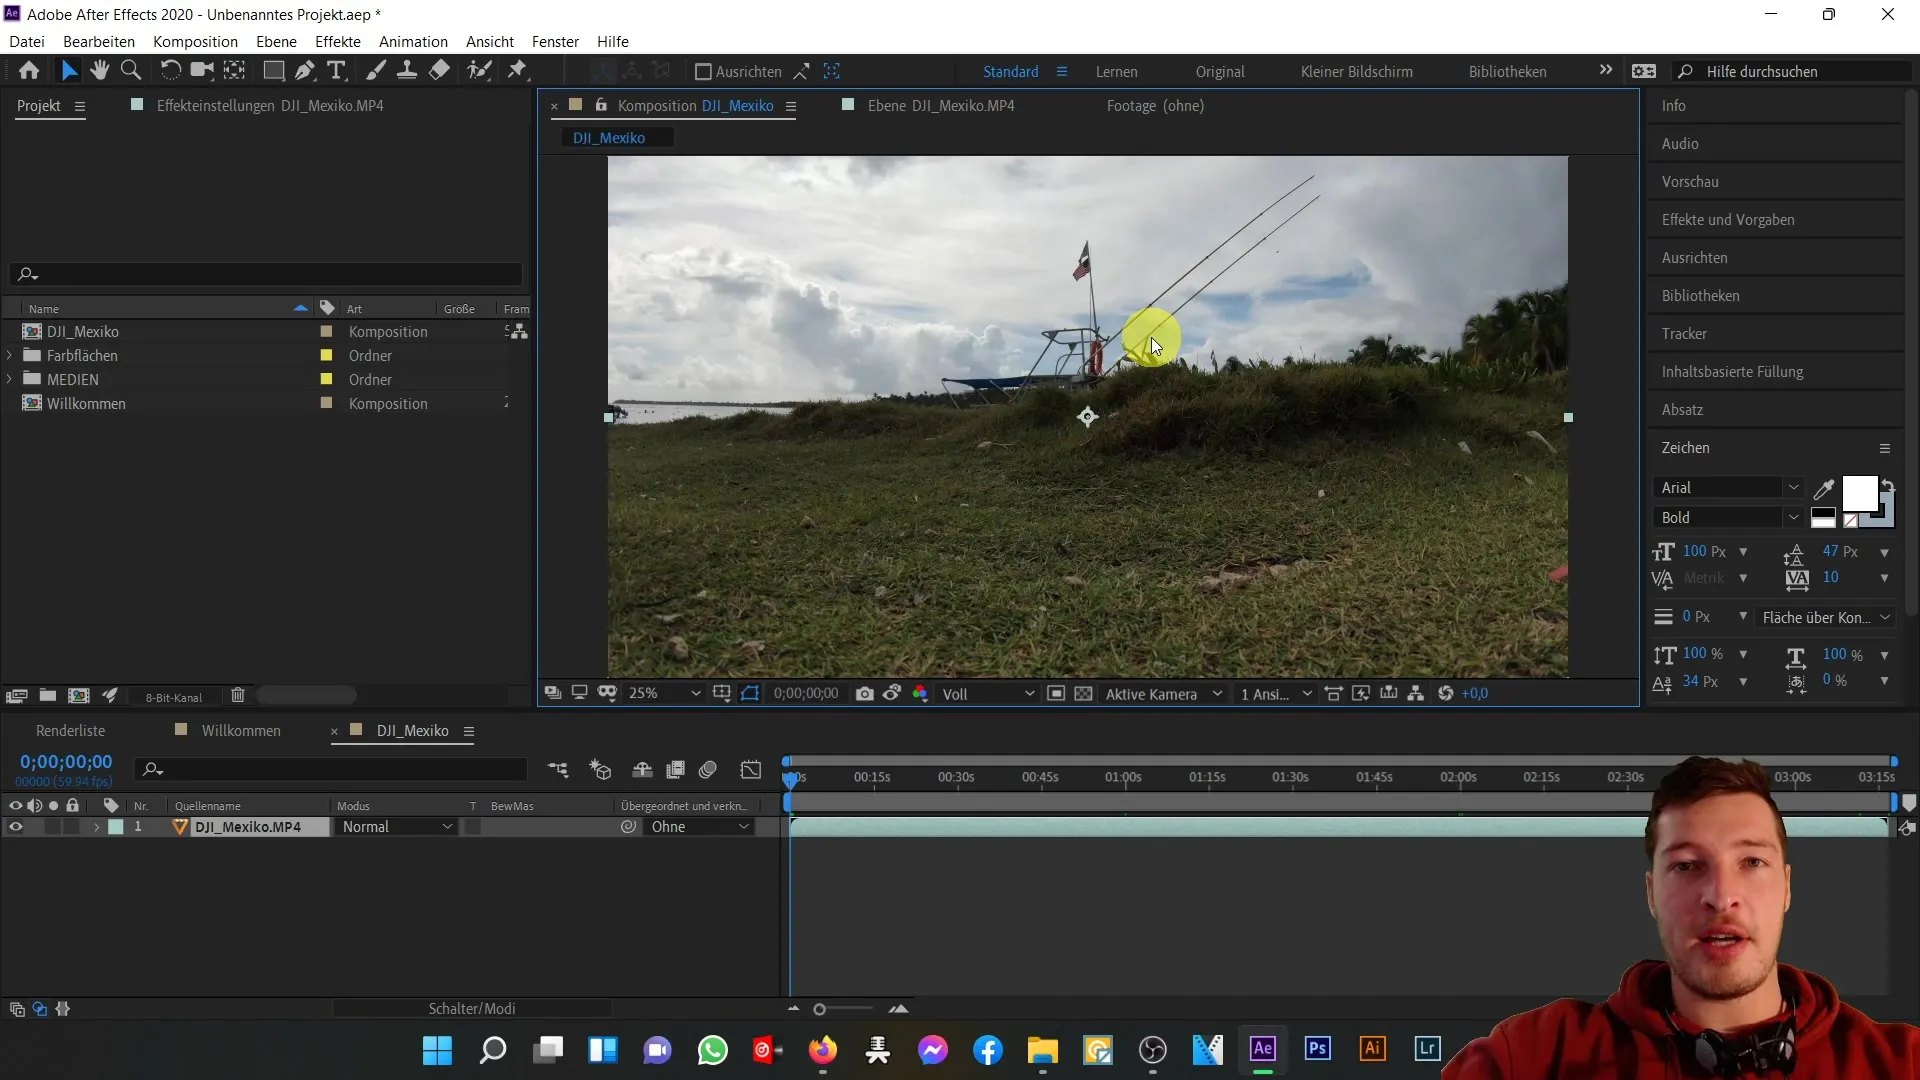
In the middle part of After Effects lies your preview area, where the magic happens. Here, you can see what is currently being displayed in your project and composition. This allows you to have a direct insight into the video you are currently generating.
2. Switching Between Compositions and Layers
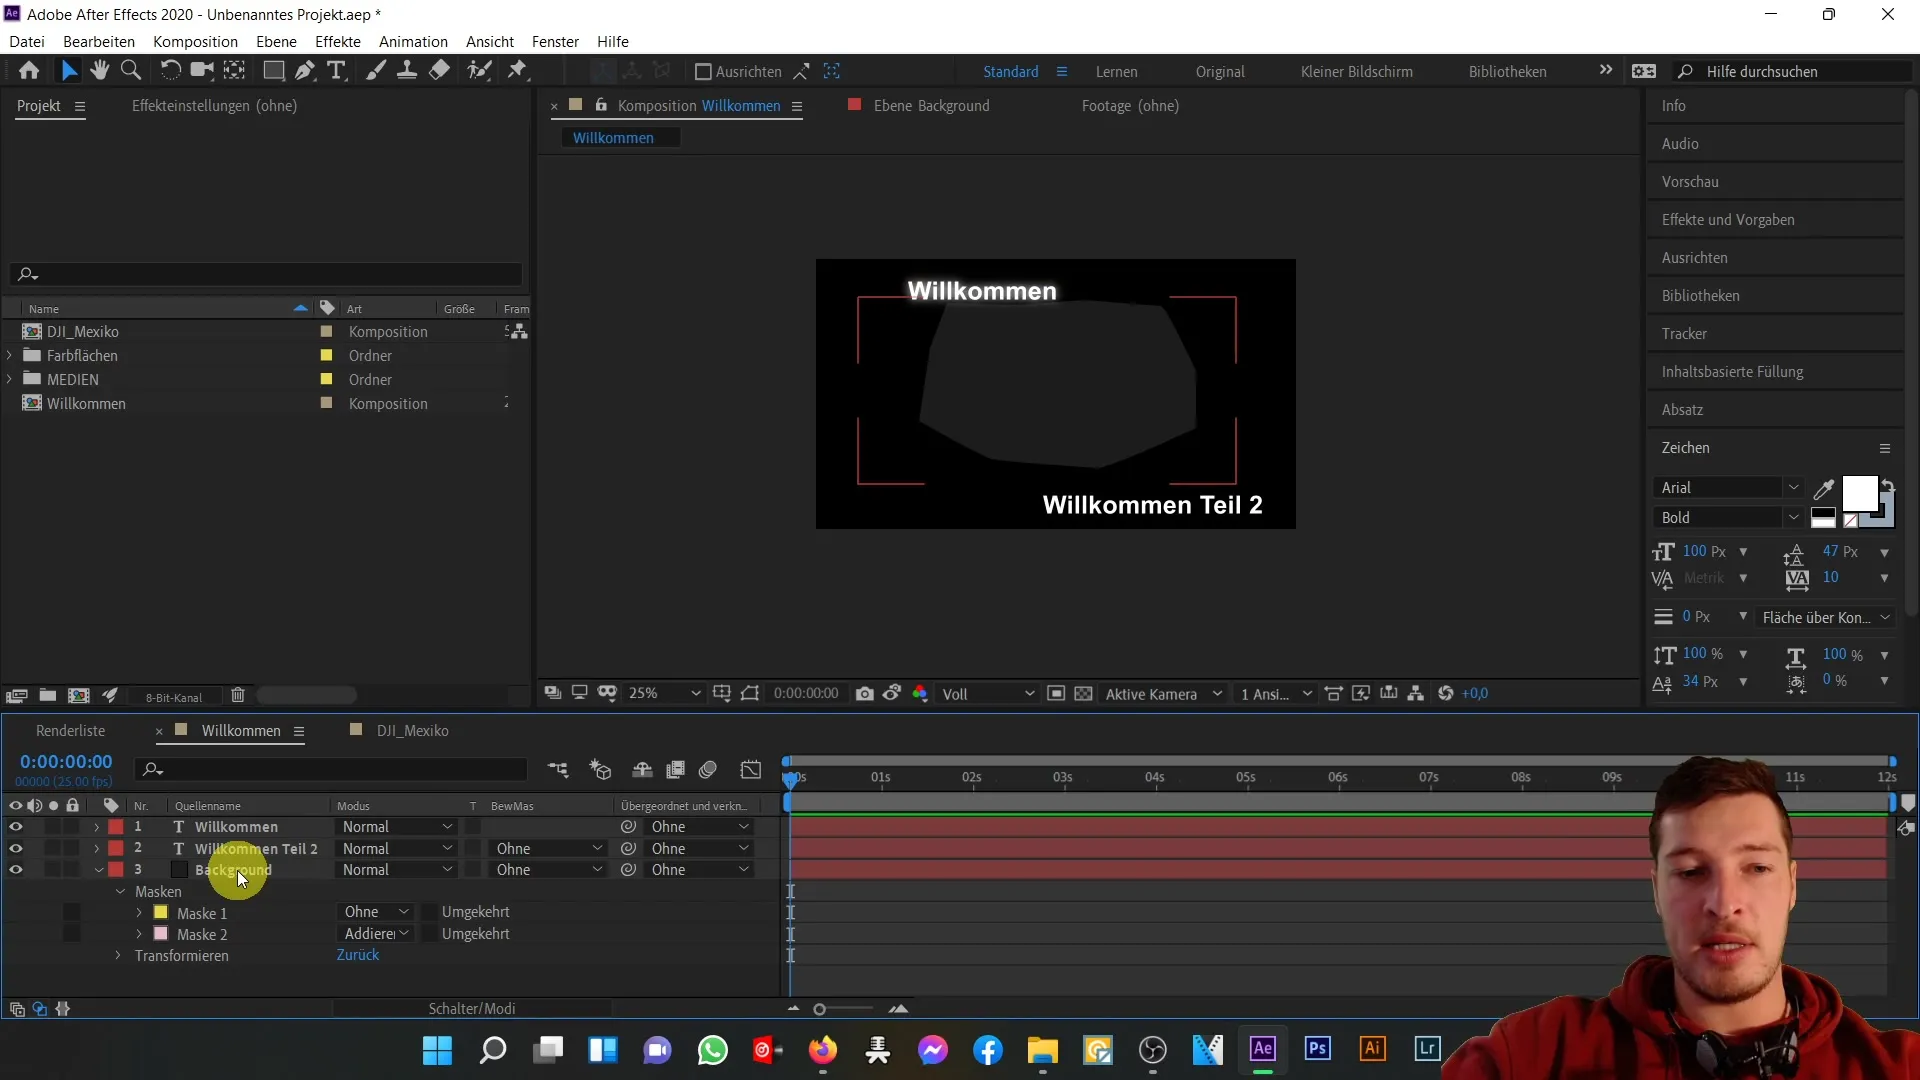
When working on large compositions with multiple layers, it can be useful to make edits directly in the individual layers themselves. Instead of making every change in the main composition, simply double-click on the corresponding layer to start editing. In this example, we are working with a background layer that can be adjusted, so you can track the changes more directly.
3. Adjusting Zoom Level
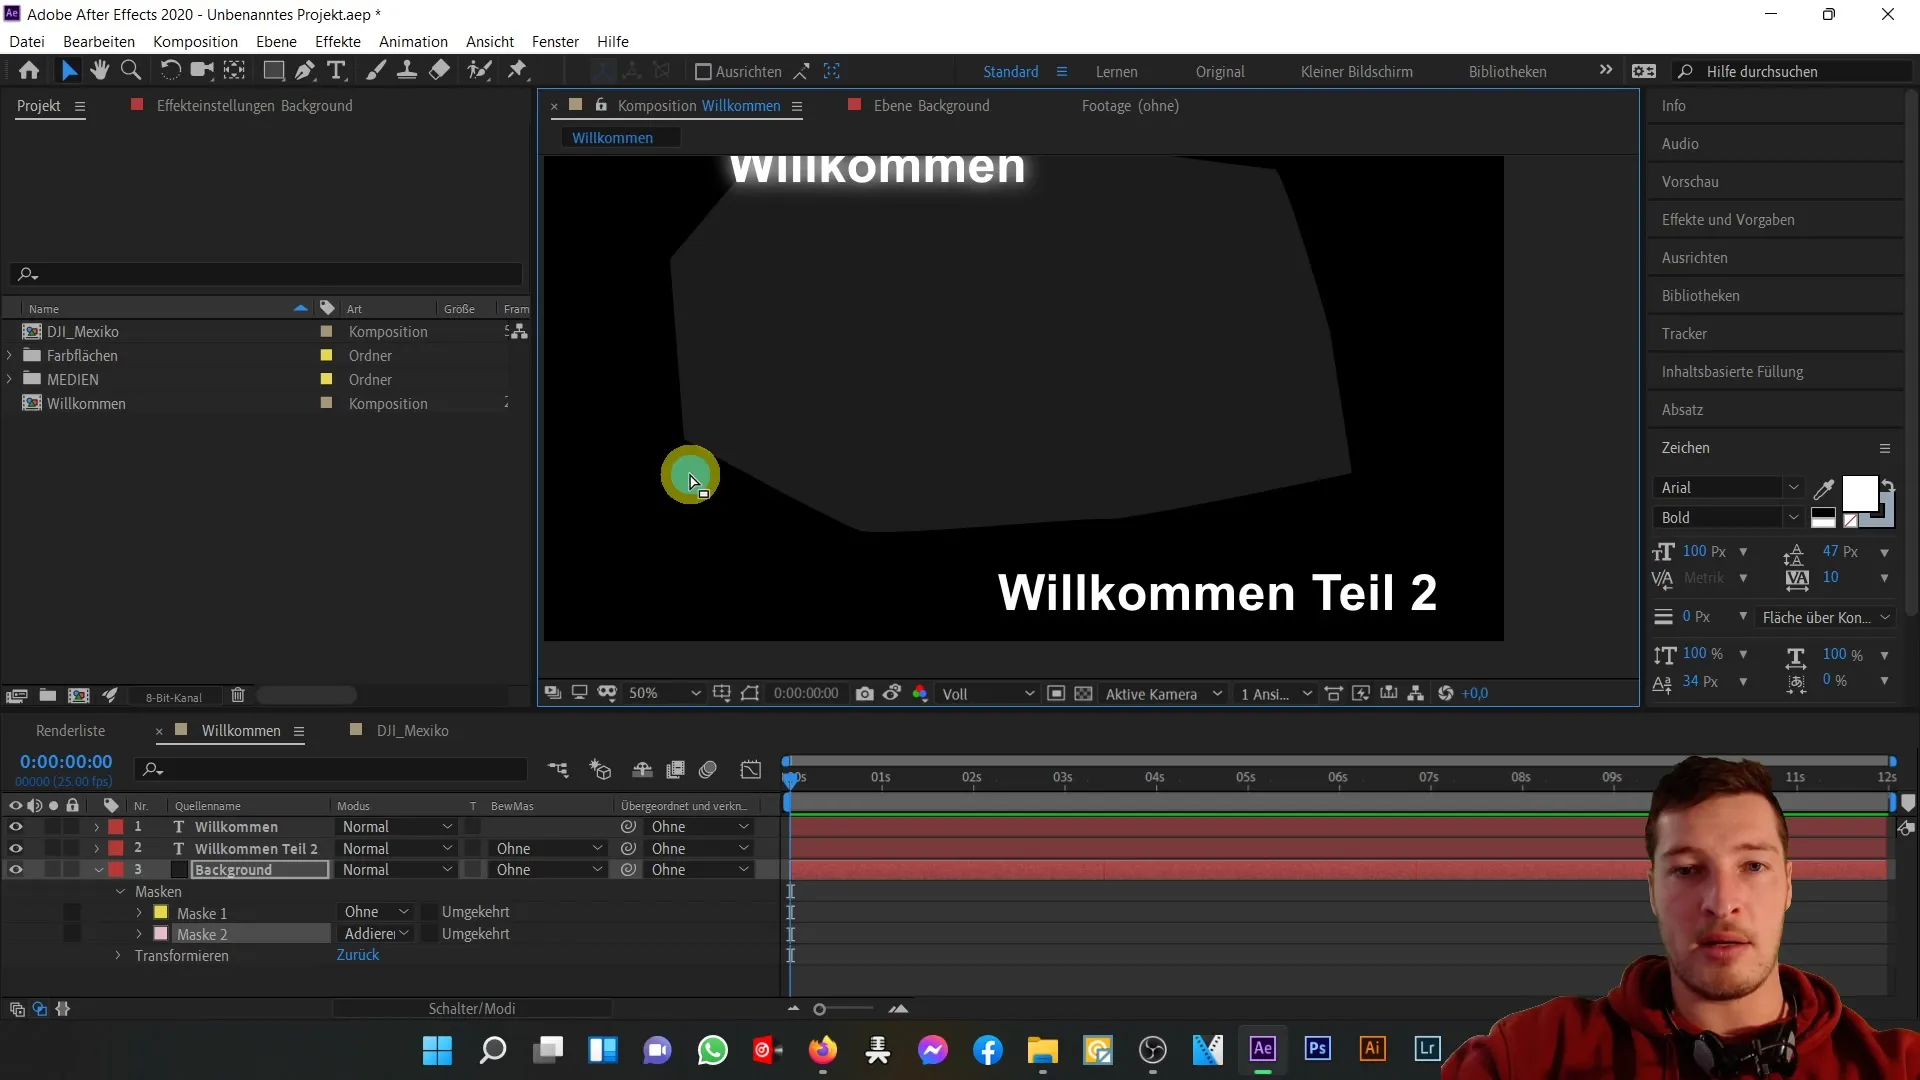
An important function in the preview area is the ability to adjust the zoom level. You can do this not only through the corresponding icons in the user interface, but also easily with the mouse wheel. This allows you to quickly zoom in and out of different parts of your composition.
4. Using Guides and Grids
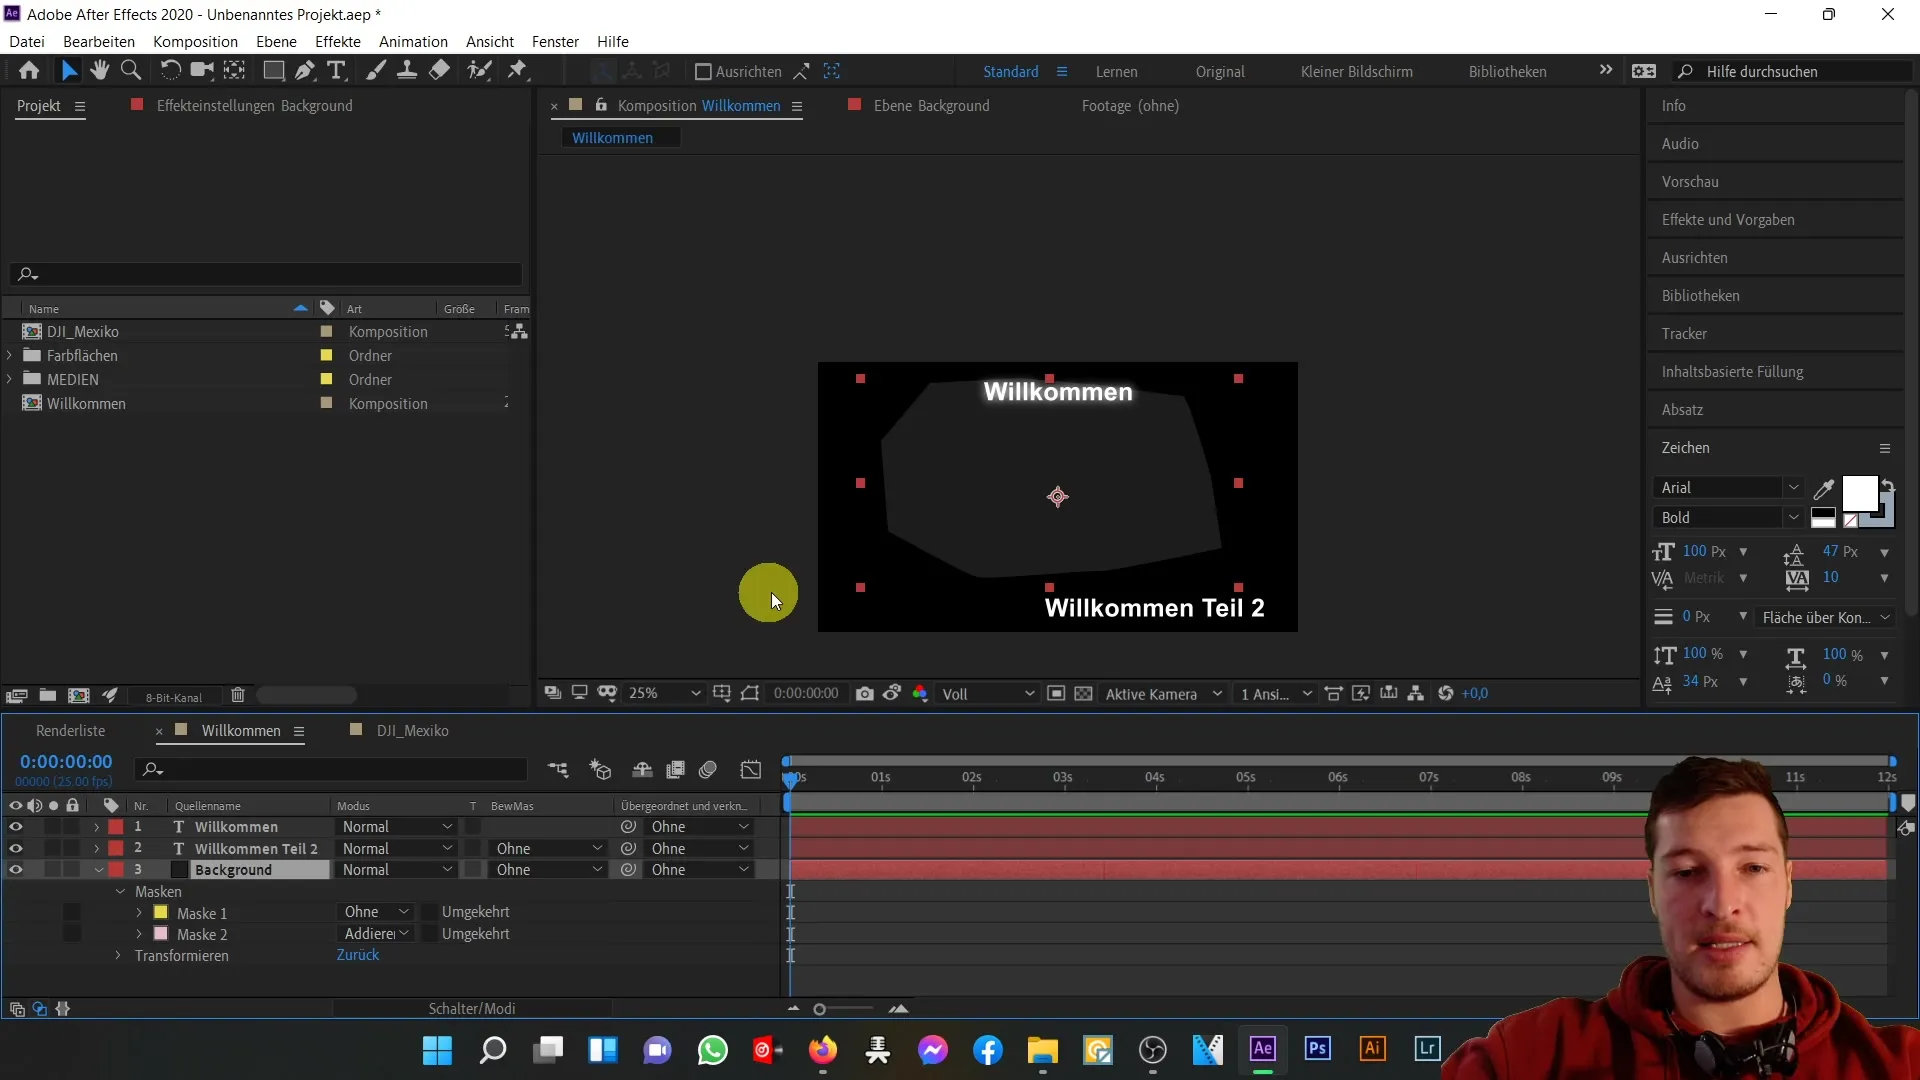
To improve accuracy when placing objects, you can activate guides and grids. For example, with the safe margin option, you can see where your objects are best placed. By using guides to the center of the composition, you can ensure that all text layers and other elements are optimally aligned.

5. Showing or Hiding Masks
In the preview area, you can also control the visibility of masks. If you have a layer with active masks, you can show or hide them with a simple click. This helps maintain an overview and ensure that the masks meet your expectations.
6. Jumping to a Specific Time
Another practical aspect of the preview area is the ability to jump to a specific time in the composition. This is especially helpful when testing animations or comparing frames. You can simply navigate the timeline and call up the preview at a specific point.
7. Using Snapshot Function
With the snapshot function, you can compare the first frame and the last frame of your composition. This function is useful when creating loops, as you can determine if both frames match. This helps ensure seamless transitions.
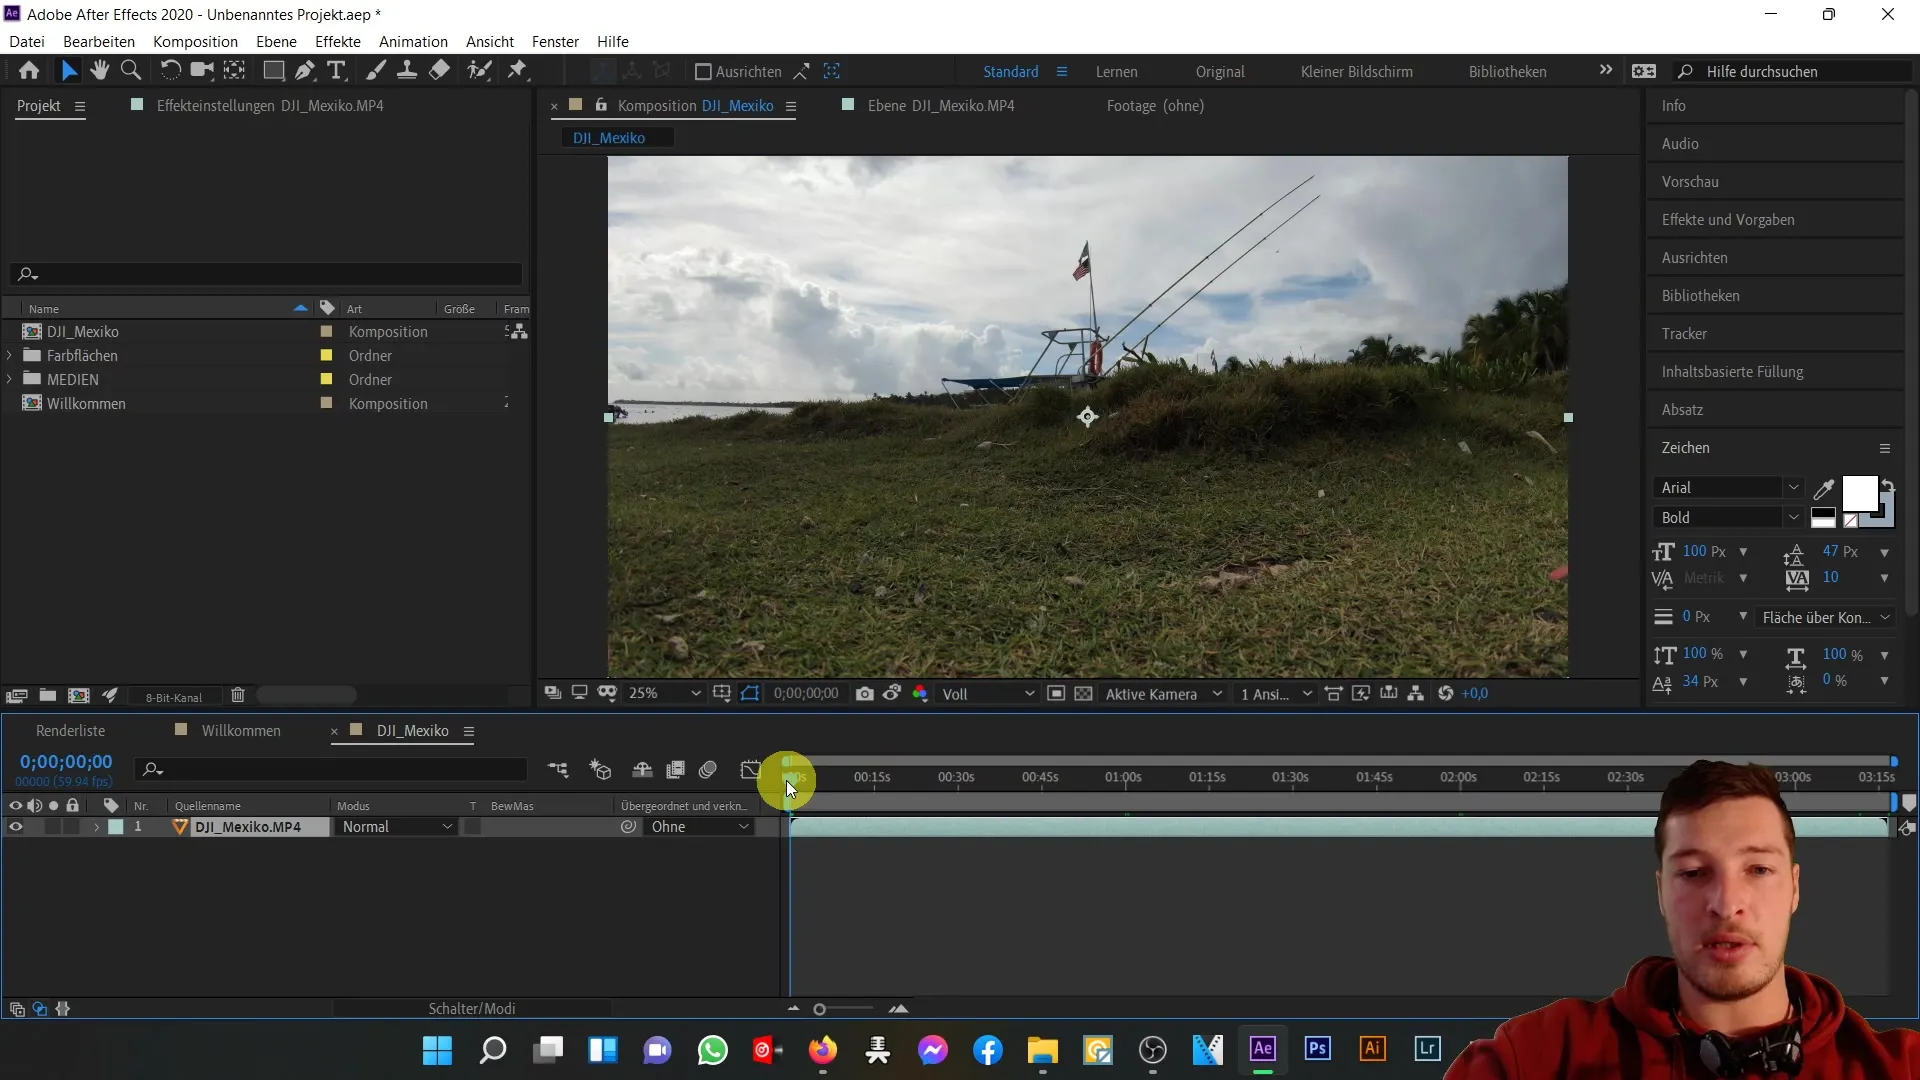
8. Adjusting Resolution
The preview resolution can be adjusted according to project requirements. You can view the preview in full resolution or reduce it to a quarter of the quality to improve performance and speed up response times while working on larger projects.
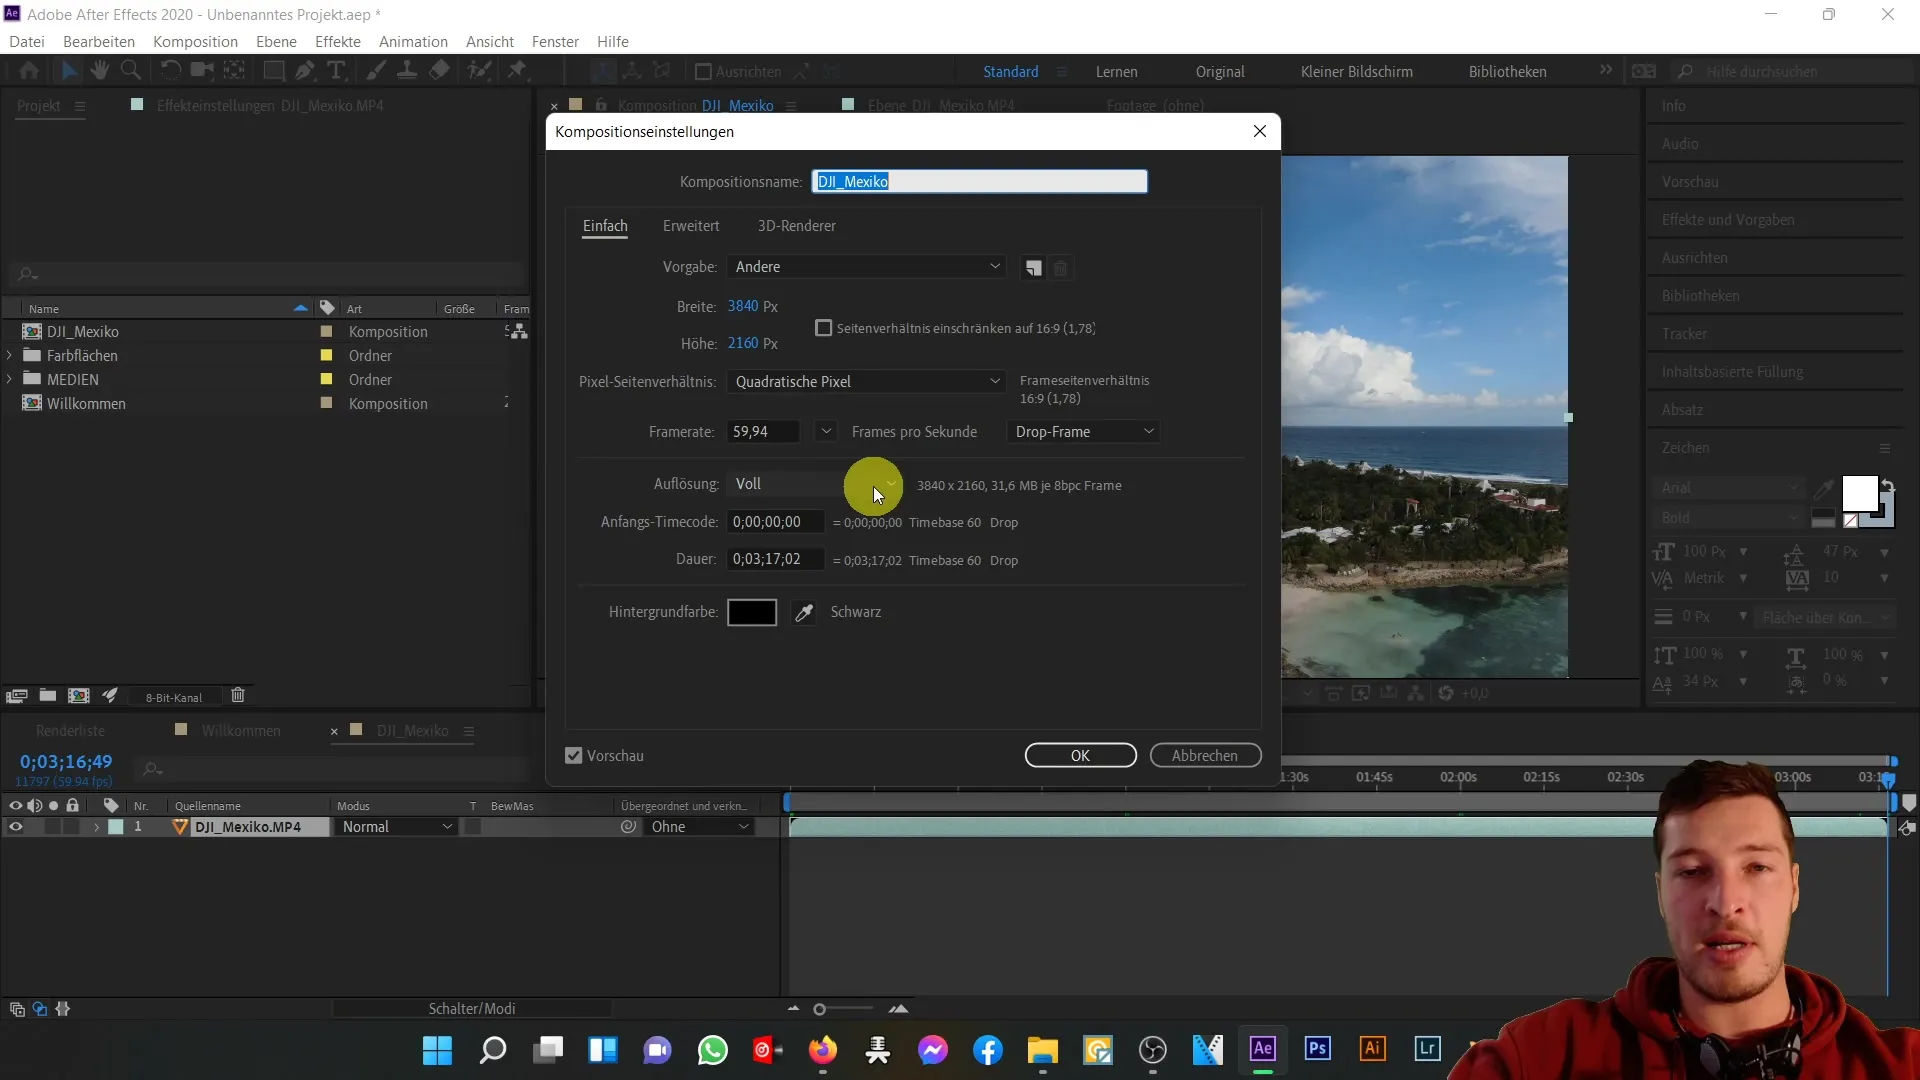
9. Show/hide transparency grid
If you want to enhance a design graphically, the transparency grid can help make visible the parts of your composition that are not filled by layers. This is important, for example, when you want to create a t-shirt design and ensure that only the relevant part is rendered.
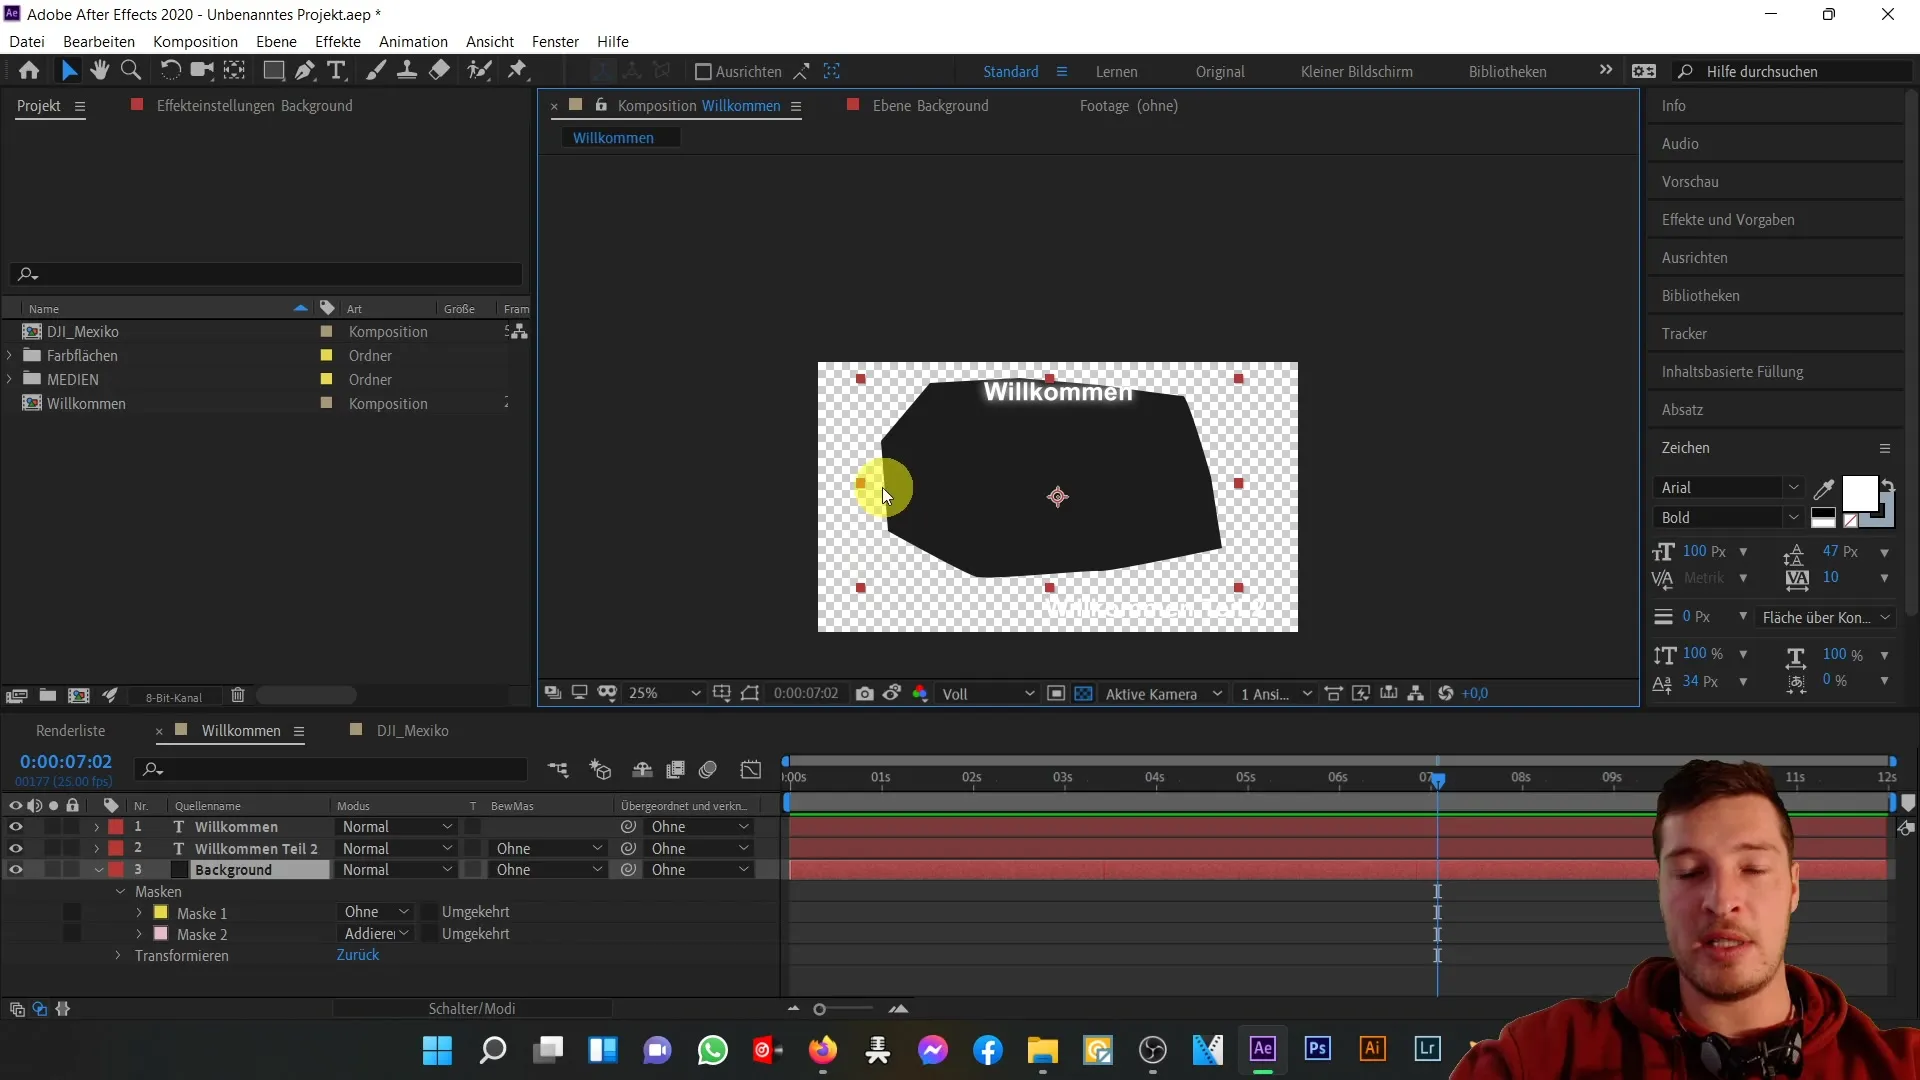
10. Adjust exposure
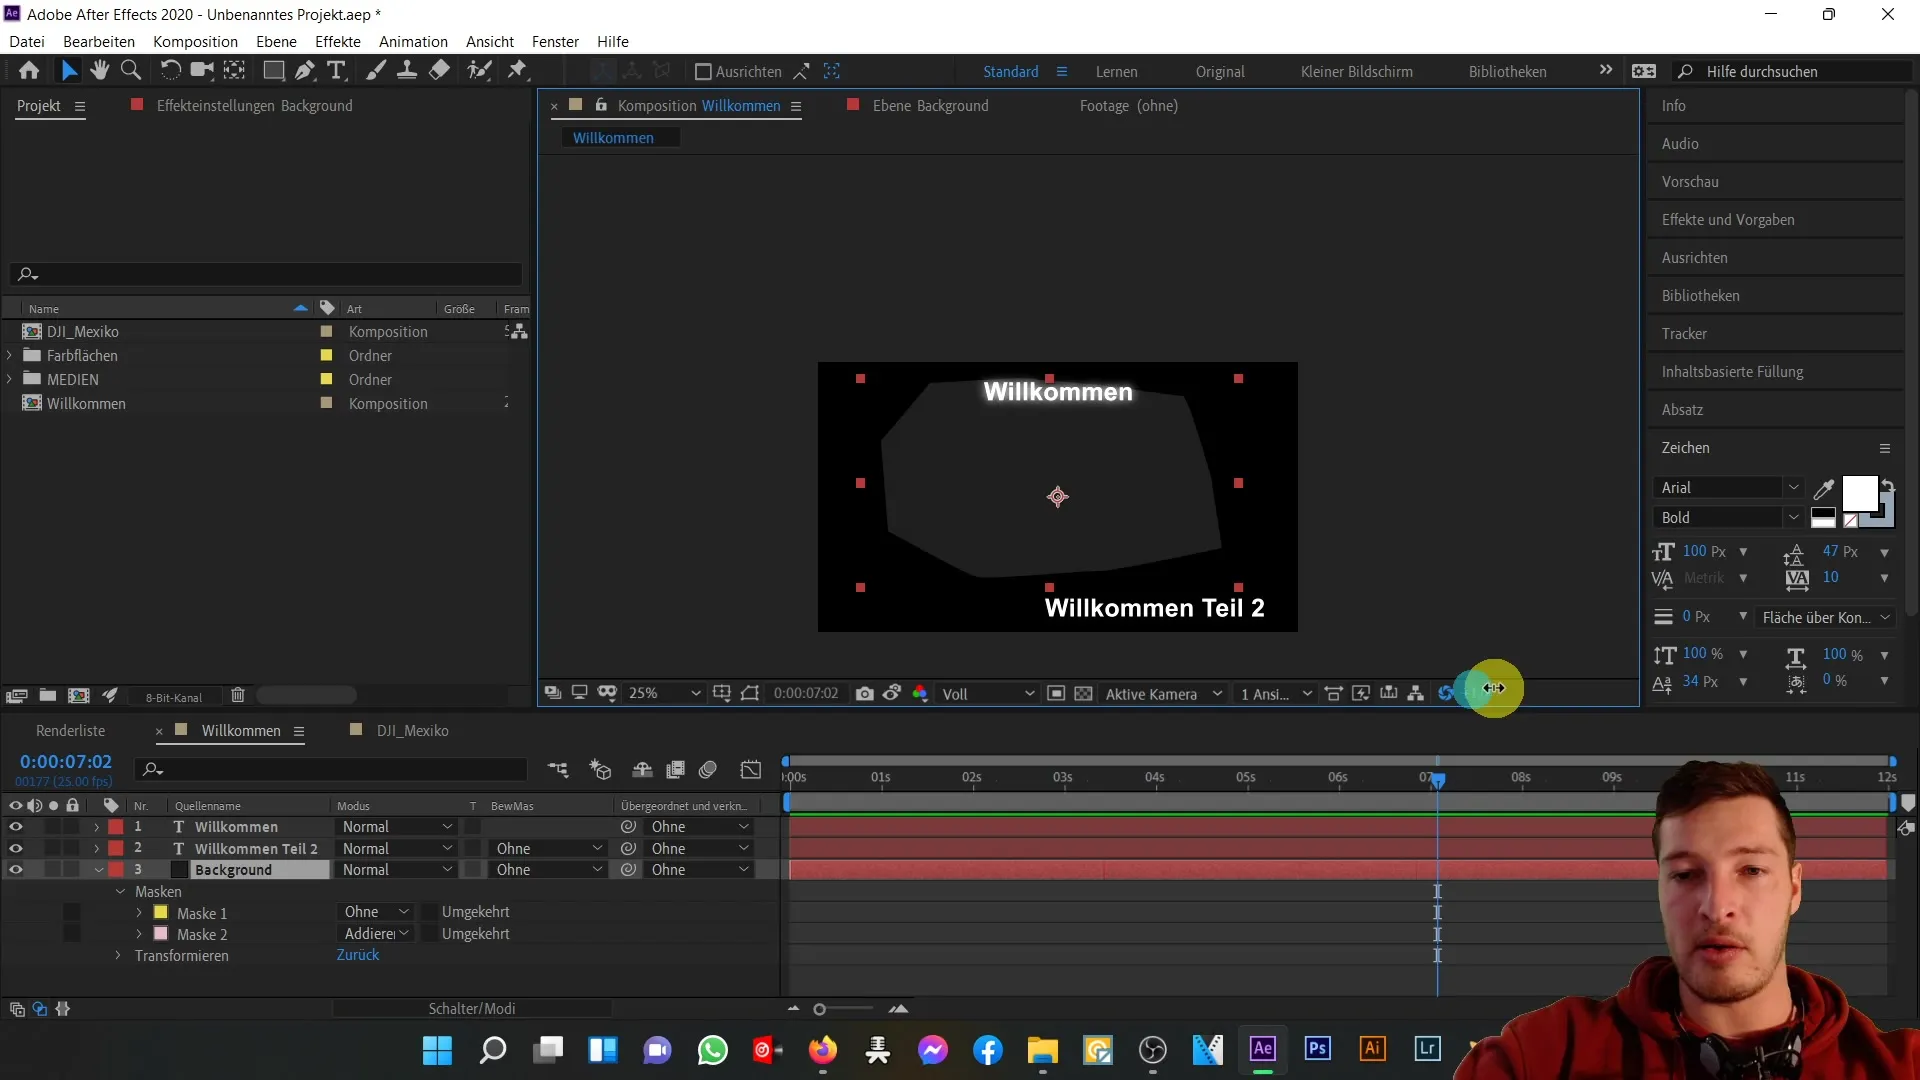
Finally, you can readjust the exposure in dark areas of your composition. This change is only visible in the preview area and does not affect the rendered project. It allows you to maintain an overview even in dark scenes.
Summary
In this tutorial, you have learned the key functions of the preview area in After Effects. From adjusting the zoom level to using guides and the snapshot function, all these features help you design your composition precisely and efficiently.
Frequently Asked Questions
How can I adjust the resolution of my preview?You can adjust the resolution through the dropdown menu in the preview area.
How can I activate guides in my preview area?Enable guides through the respective options in the user interface.
How does the snapshot function work?With the snapshot function, you can save a frame of your composition and compare it with another one.
What is the benefit of the transparency grid?The transparency grid shows you which areas in your composition are not represented by layers.
How can I control the visibility of masks?You can show or hide masks in the preview using the mask visibility switch.


