Contents
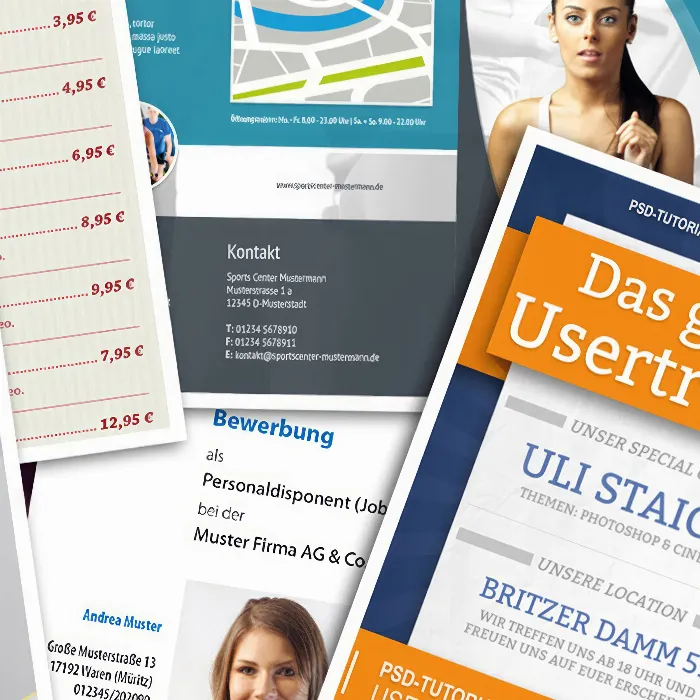
Using the example of a gym flyer, I would like to show you (in several tutorials) how a design for an A4 folding flyer can be created in a modern and appealing way with just a few resources. First, I will introduce you to the zigzag and spiral fold. Then, we'll set up the flyer and show the woman on the front. Tip: For a better theoretical understanding, you can find out more about the different types of folds on Wikipedia under the keyword Folding (paper technique).
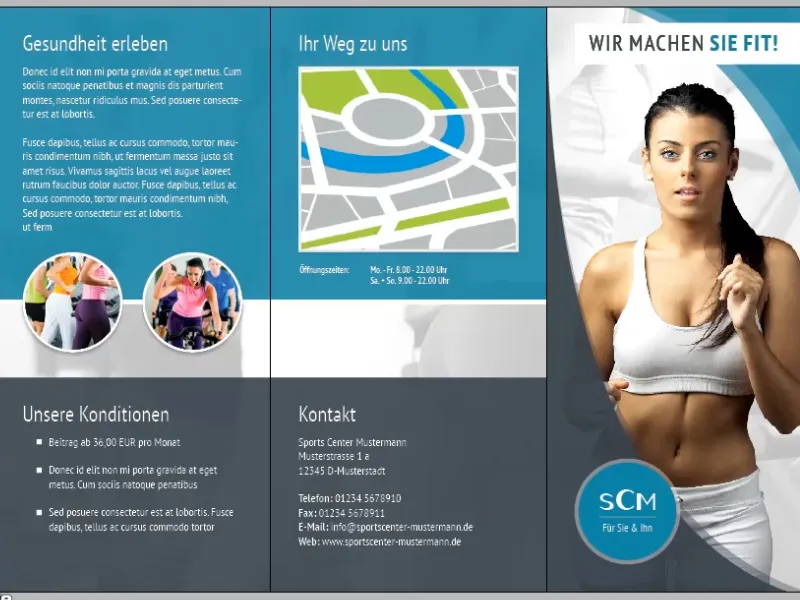
Leporello/zigzag fold
Step 1
First, we open InDesign, create a new file (File>New>Document or Ctrl+N), show More options and adjust the following settings for our flyer:
- Width: 99 mm
- Height: 210 mm
- Margins: 10 mm
- Bleed: 2 mm (Very important! - Some print shops even require 3 mm bleed)
- Double page: Remove check mark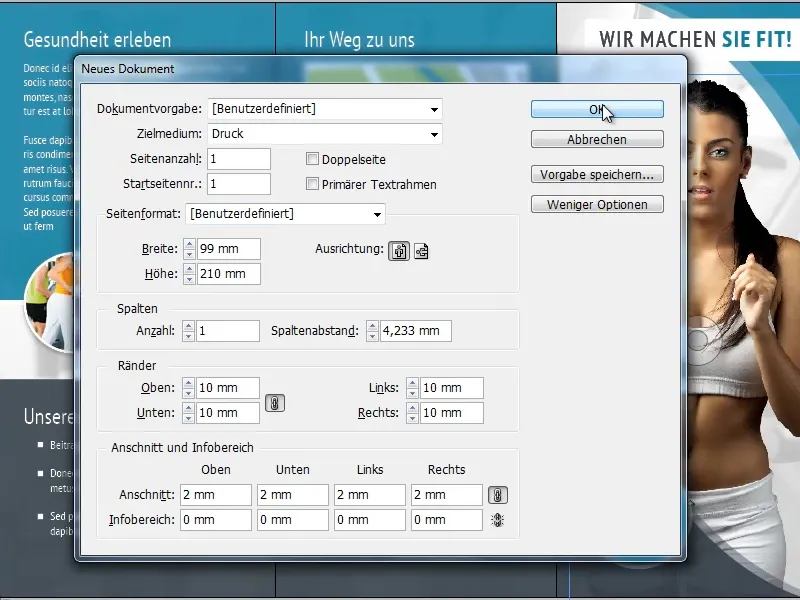
Step 2
Next, we need an additional 5 pages (Pages>Create new page). We will arrange these next to each other as shown in the picture below (2x 3 next to each other for the front and back). To do this, however, we must first uncheck the Allow new print sheet arrangement box for each page using the right mouse button, otherwise we will not be able to position them.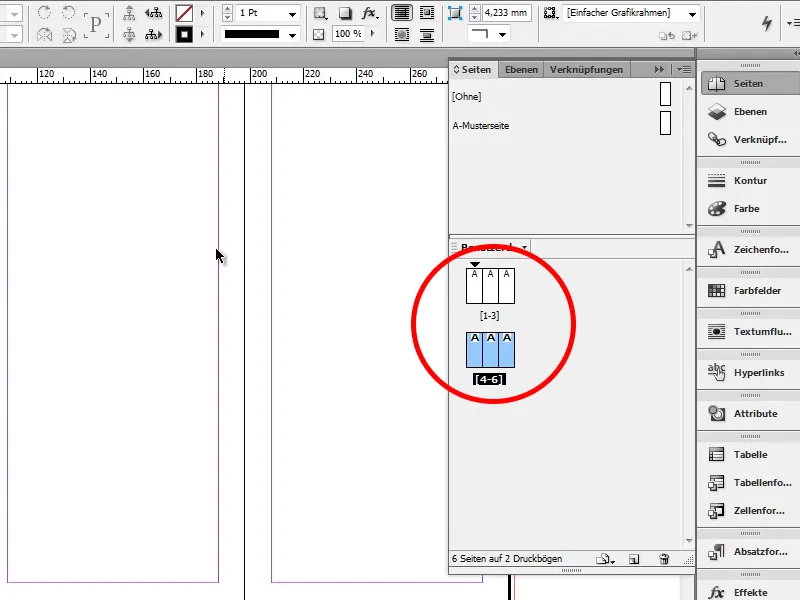
That's it for the zigzag fold. All our pages are now as we want them.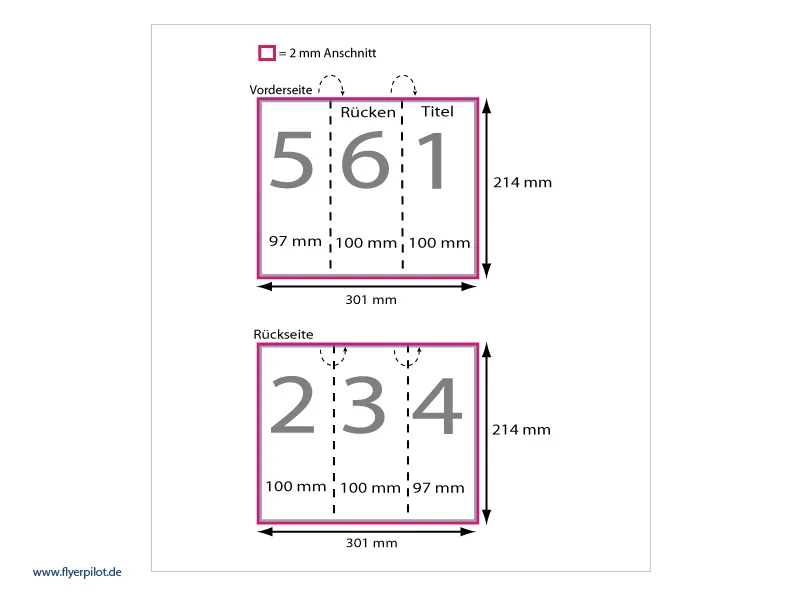
You can find out more about where the front, back and inside pages are located at www.flyerpilot.de (under Fold flyer>Fold flyer top seller>Fold types>Print data info).
Wrap fold
The spiral fold is the most commonly used fold. The special feature of this folded flyer is that the inside pages are a little shorter and the paper is therefore not stretched when folded. We will continue to work with this type of fold.
First step
We open InDesign again, create a new file (File>New>Document or Ctrl+N), show More options and adjust the following settings for our flyer:
- Width: 297 mm
- Height: 210 mm
- Margins: 10 mm
- Bleed: 2 mm
- Double page: Remove check mark
- Orientation: Landscape format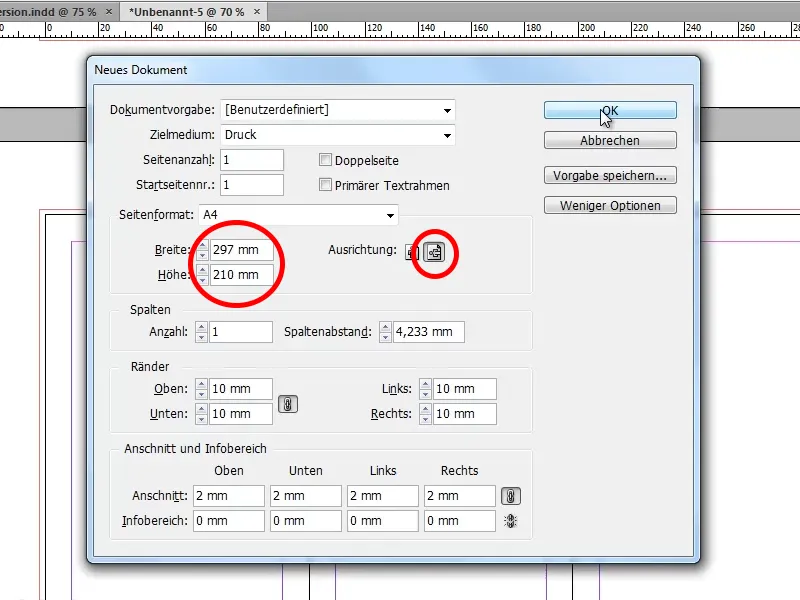
Second step
Now we need two guide lines to show us where our pages are located. We place the first guide line at 97 mm and the second at 197 mm.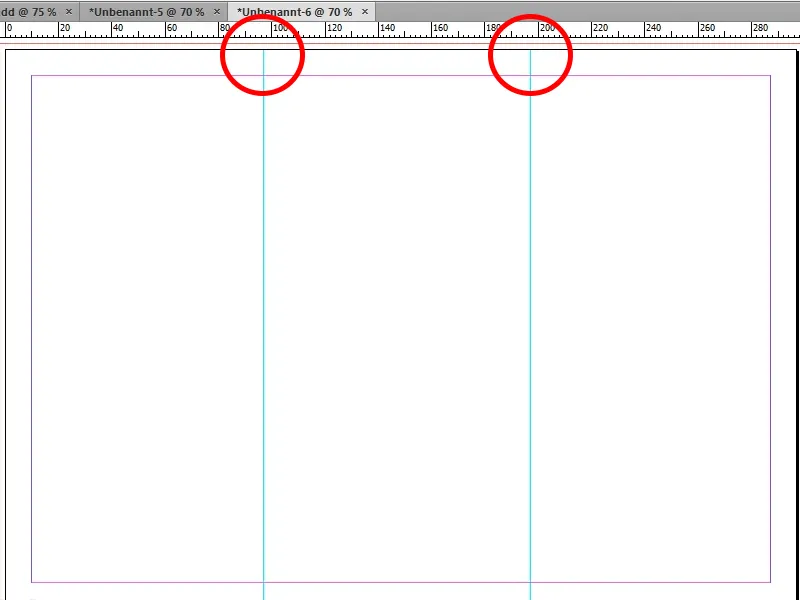
Step 3
Now we need a second page (Pages>Create new page), on which we also create guidelines. Here we snap the first guideline at 100 mm and the second at 200 mm.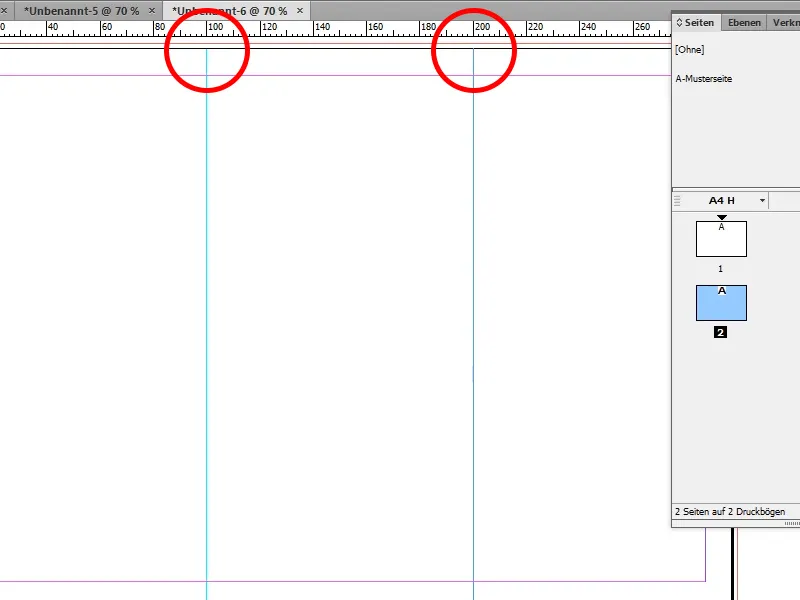
Step 4
Now that our pages are set up, we can finally start designing the flyer. As we want to motivate our potential customers to visit our gym with the flyer, it is important that we do not use any pictures of unoccupied training equipment. For this reason, I chose a tanned and athletic woman from Fotolia for the front. I will now open this image in Photoshop.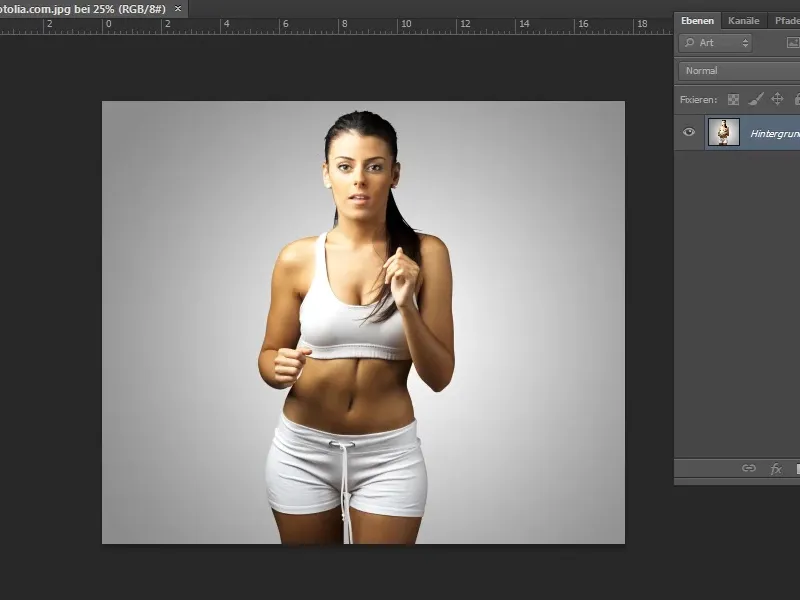
Step 5
As we want to use a different background, we first need to crop the woman. This works very well here using the quick selection tool. Areas that have been selected too much can easily be removed again by holding down the Alt key or using the Lasso tool+Alt. Once we are happy with everything, we click on Improve edge and select a black background under Display.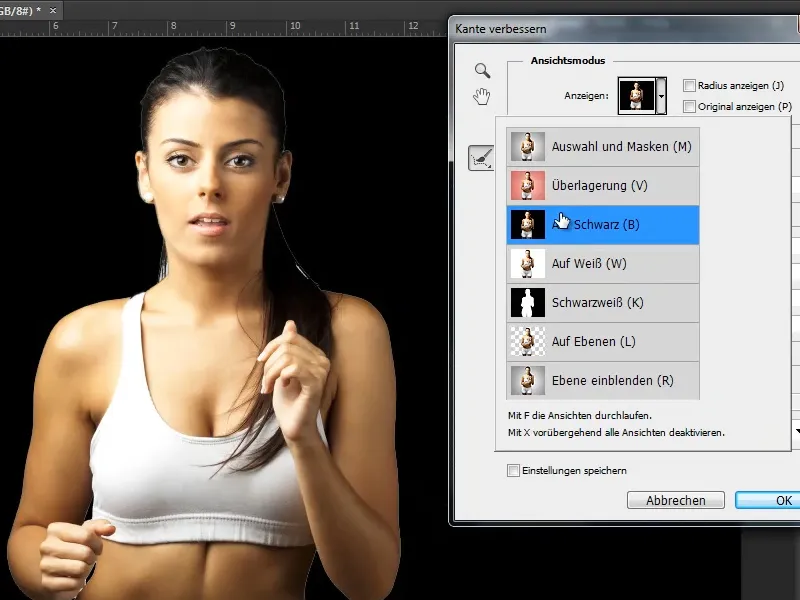
Step 6
Now we can see exactly where there are still white areas, and we can correct these with the radius correction tool. As a white border has formed around the woman, we move the slider for Move edge to around -25. We then display the cropped woman as a layer mask and click OK.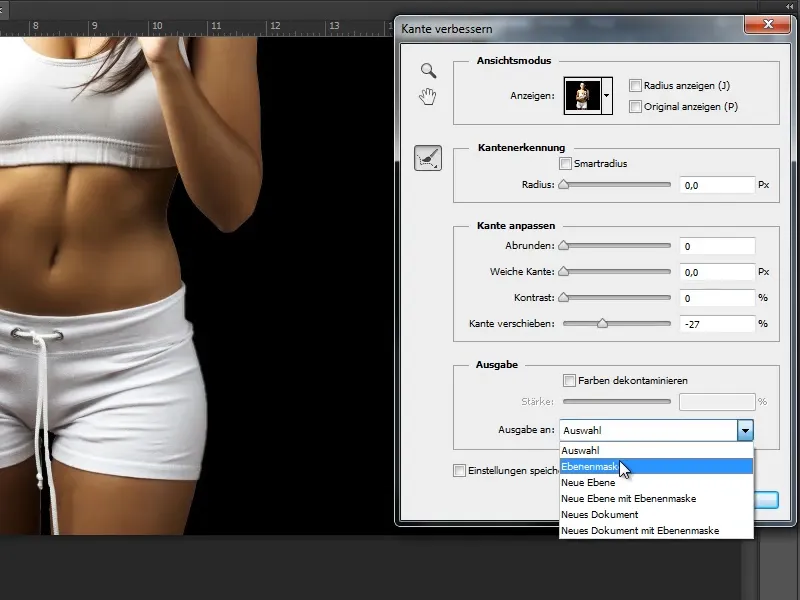
Step 7
The last step is to save the image as a PSD file. Done.
