In this tutorial, you will learn how to create an impressive fly-by title sequence in Adobe After Effects. We will use 3D layers, animate the Z-position, and synchronize the animation with an audio file. Below you will find a structured step-by-step guide to show you how to recreate this effect yourself. I will guide you through all the necessary steps and provide you with helpful tips to make the most out of your project.
Key Takeaways
- Using 3D layers allows for a more realistic positioning in depth.
- Synchronizing animations and audio increases the professionalism of your projects.
- Keyframes are crucial for precise motion and opacity animations.
Step-by-Step Guide
To begin creating your fly-by title sequence, open Adobe After Effects and follow the steps below.
Setting Up the Project
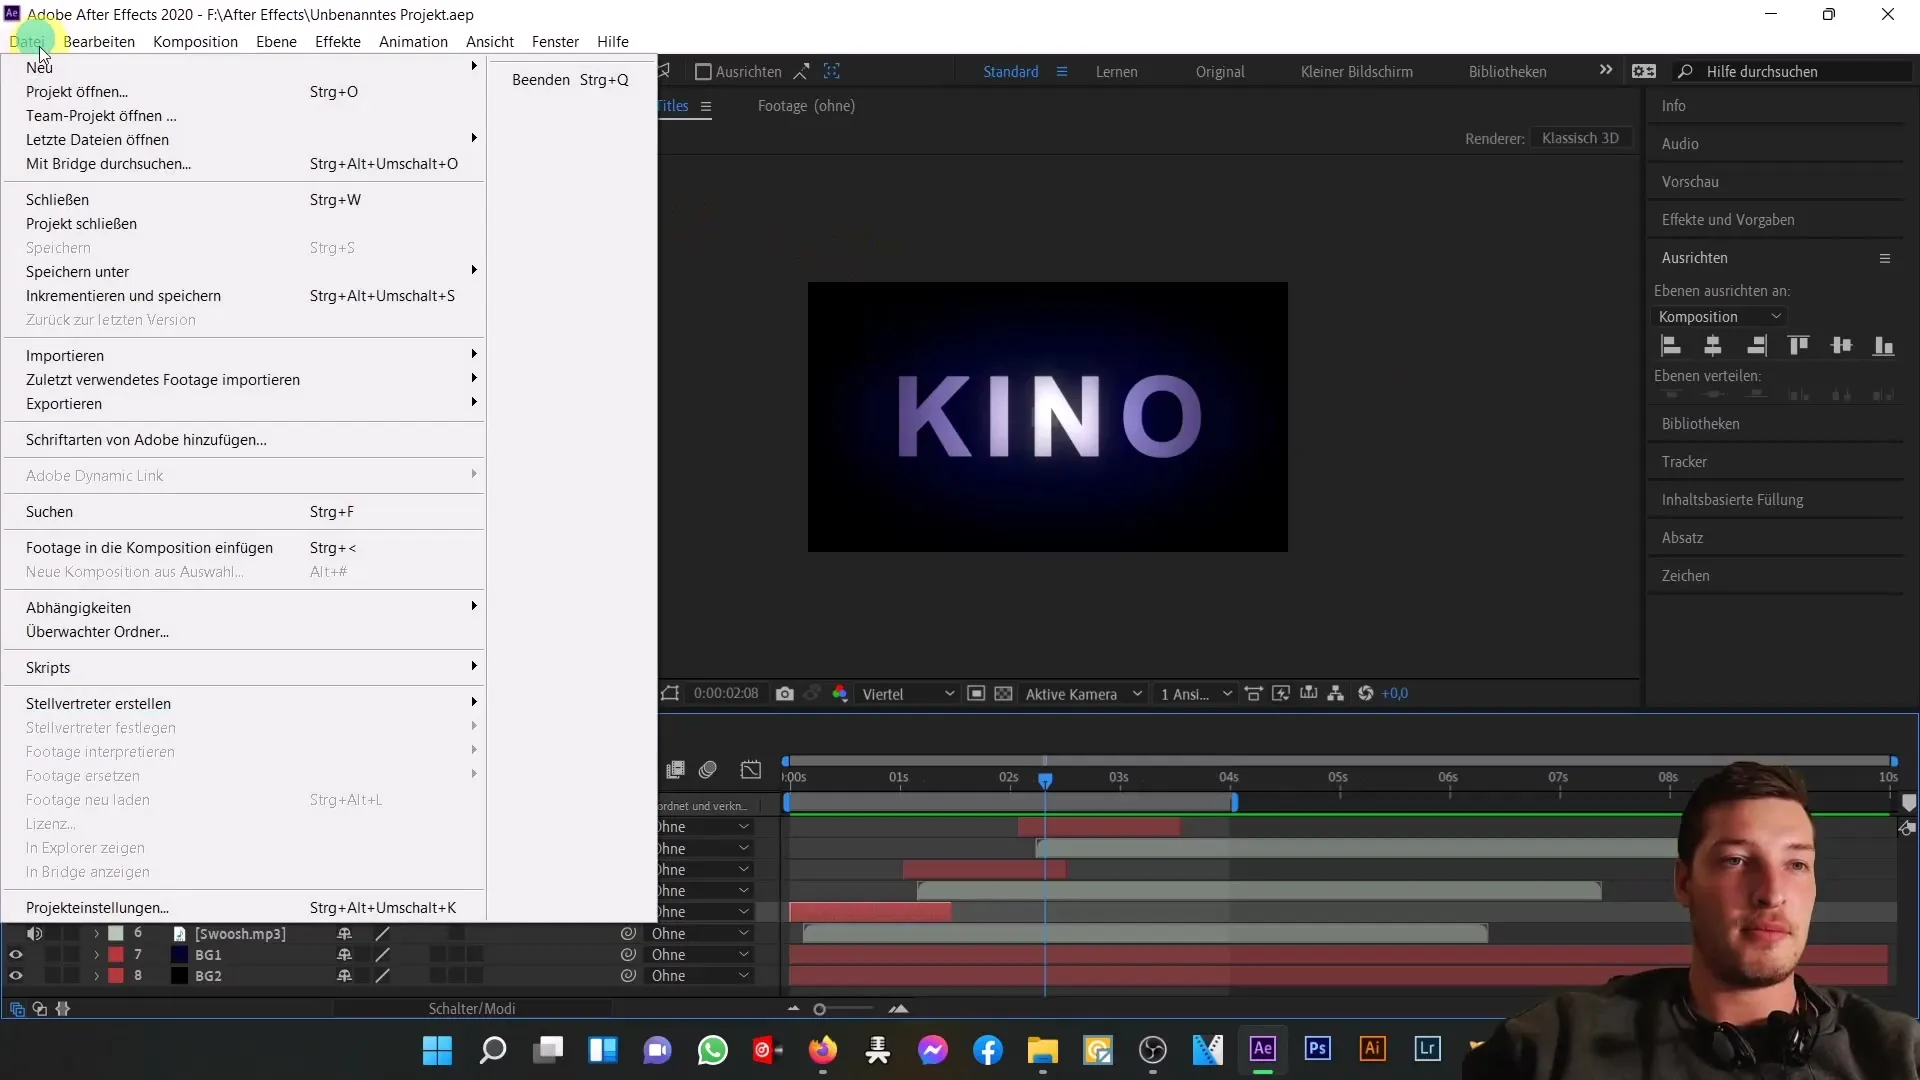
First, create a new project. Go to "File" and select "New Project". Then click on "New Composition". Name the composition "Flyby Titles" and make sure the settings remain on HDTV, with a frame rate of 25 FPS and a duration of 10 seconds.
Adding Background Layers
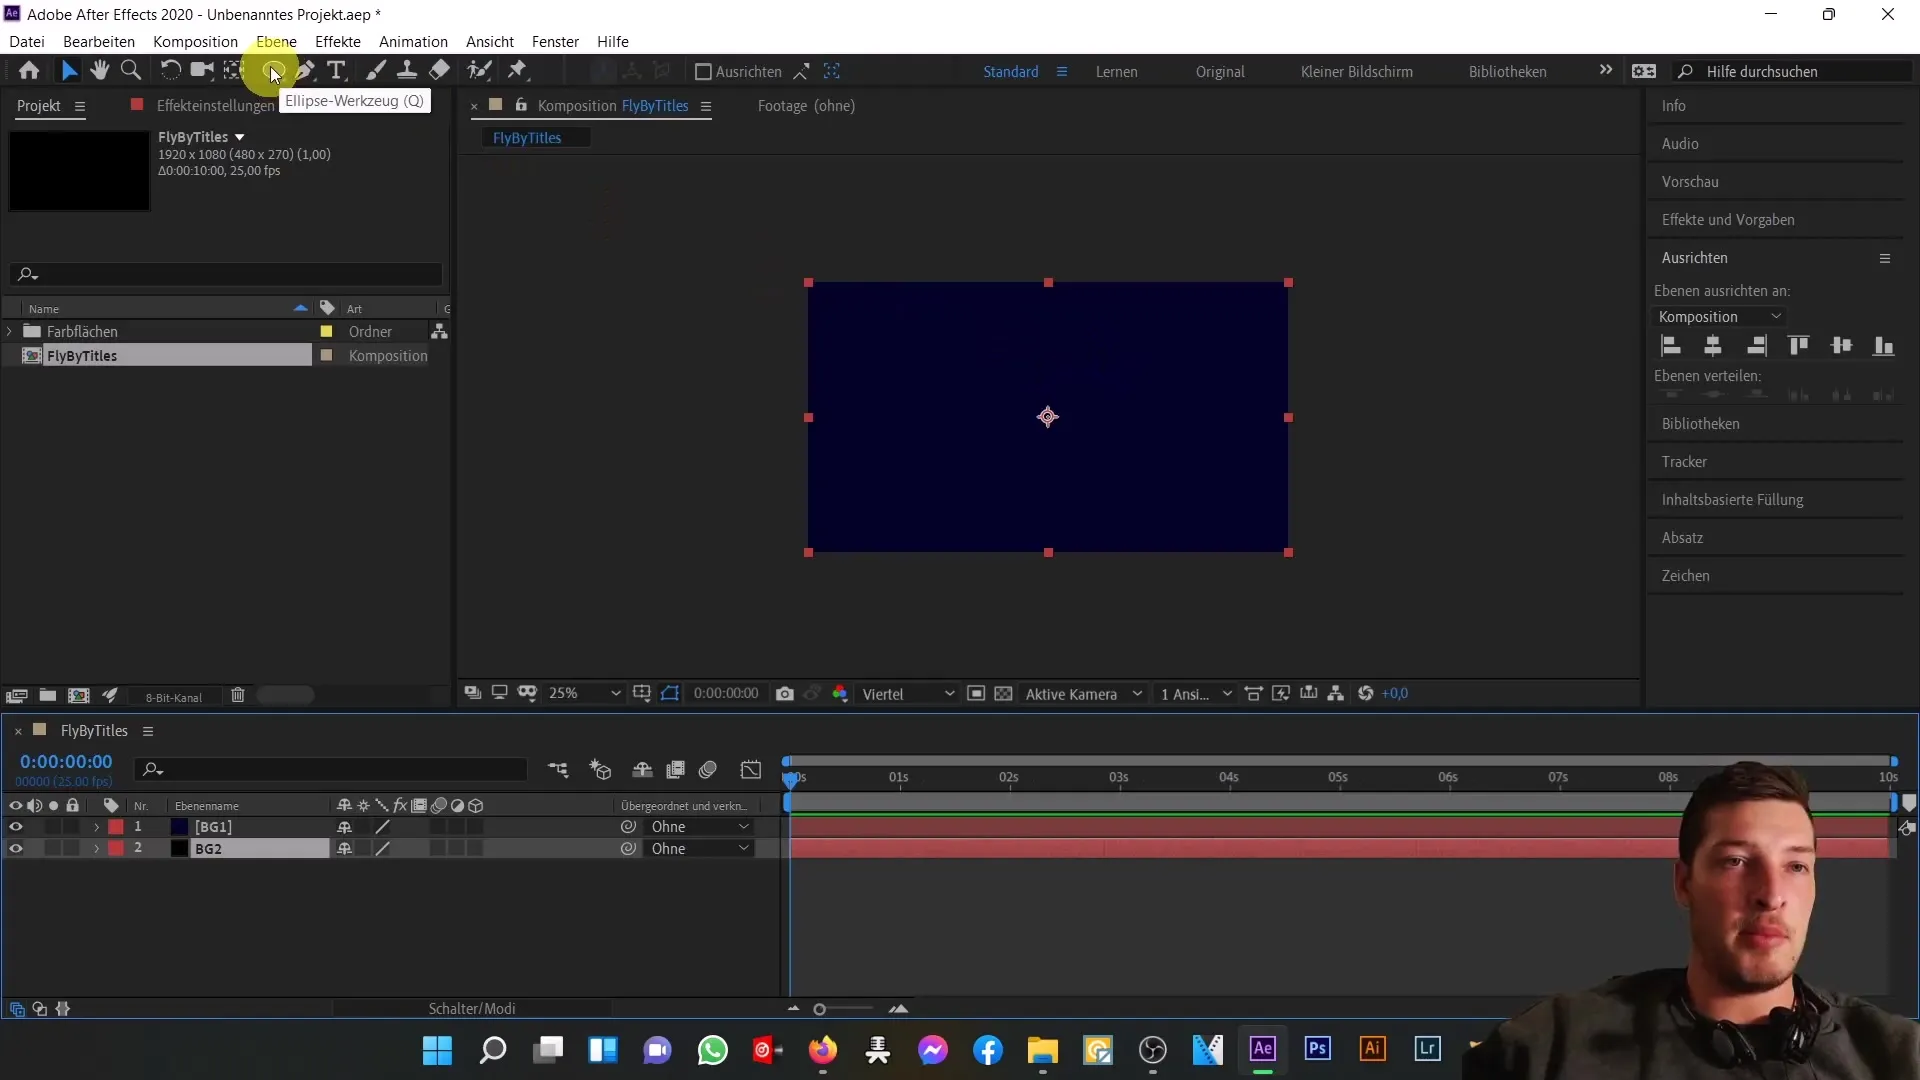
Next, add two background layers. Click on "Layer", select "New", and then "Solid". Choose a dark blue color and name the layer "Background 1". Duplicate this layer with Ctrl+D and rename the second layer to "Background 2". Set the color of the second layer to black.
Using the Ellipse Tool
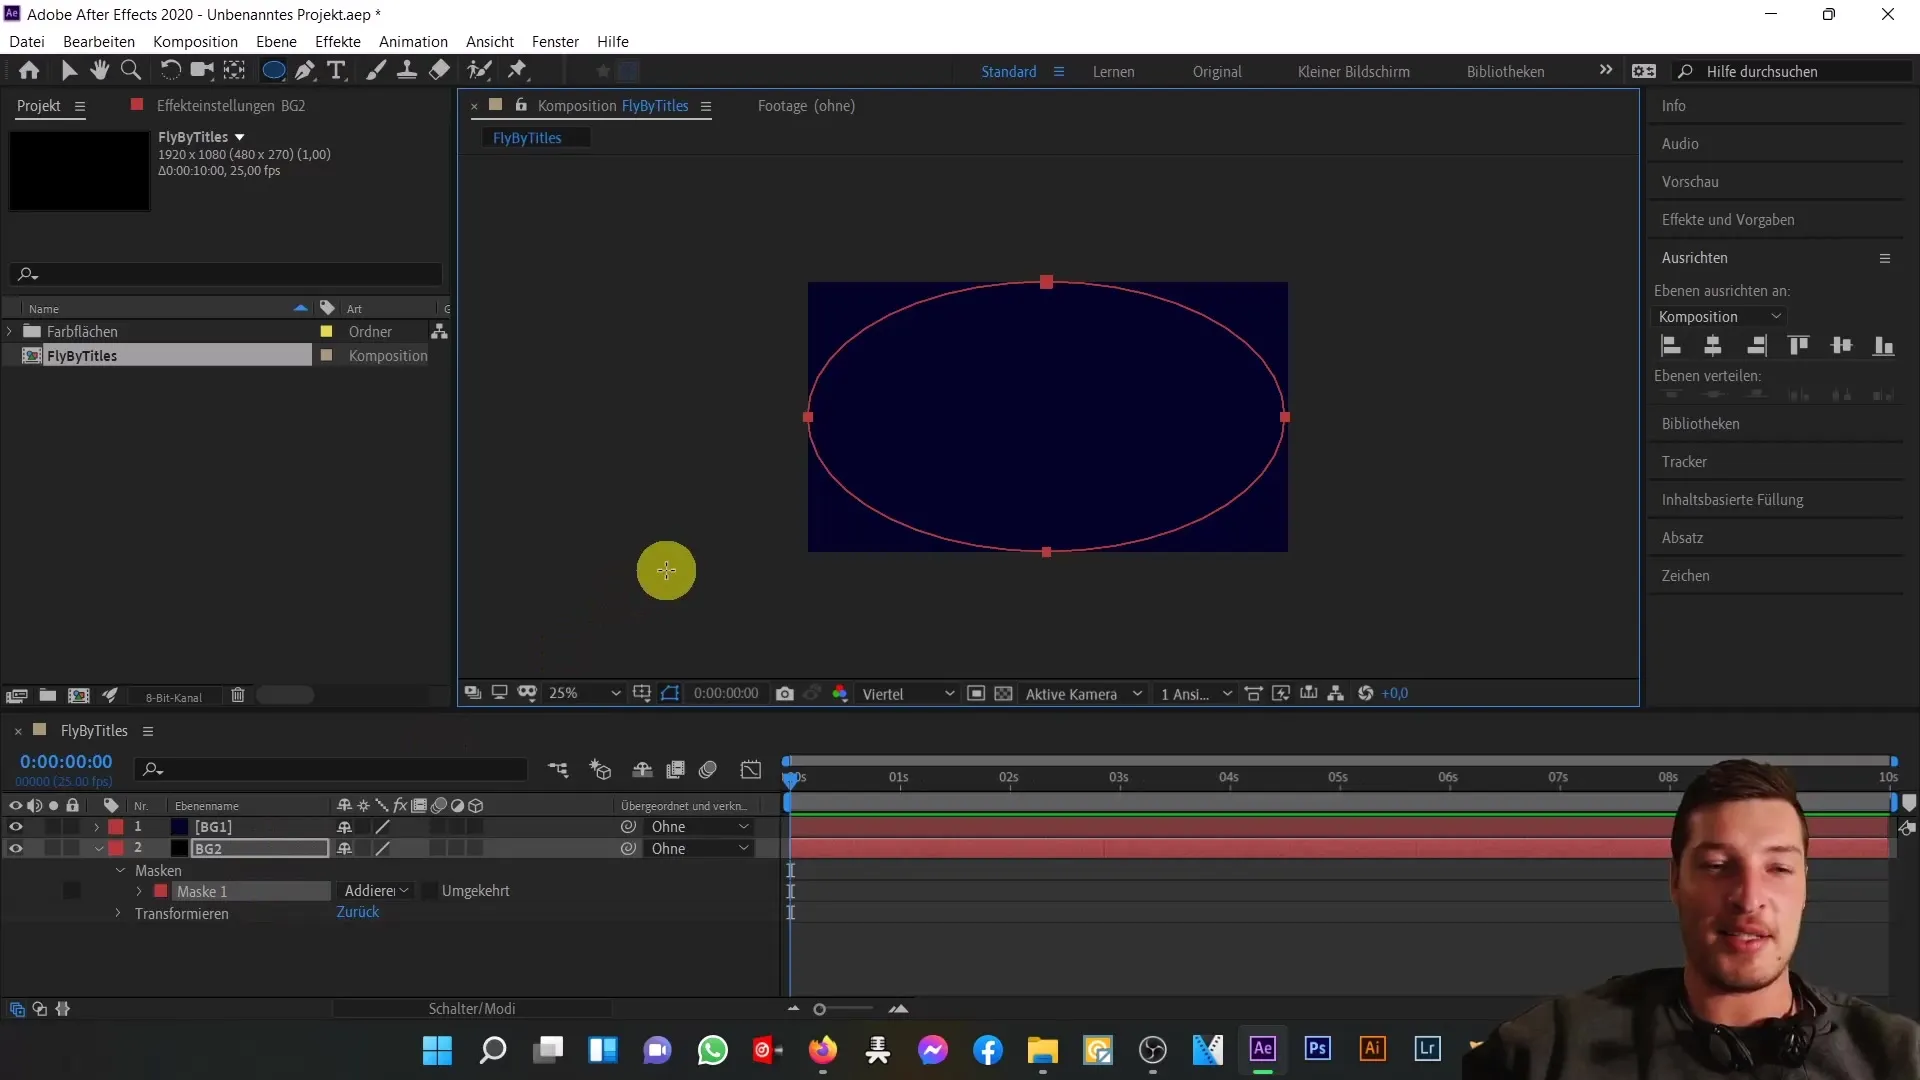
Use the ellipse tool to create an ellipse. Drag the ellipse so that it covers the bottom layer. To soften the hard transition between the blue and black colors, use the mask options.
Creating Text Layer
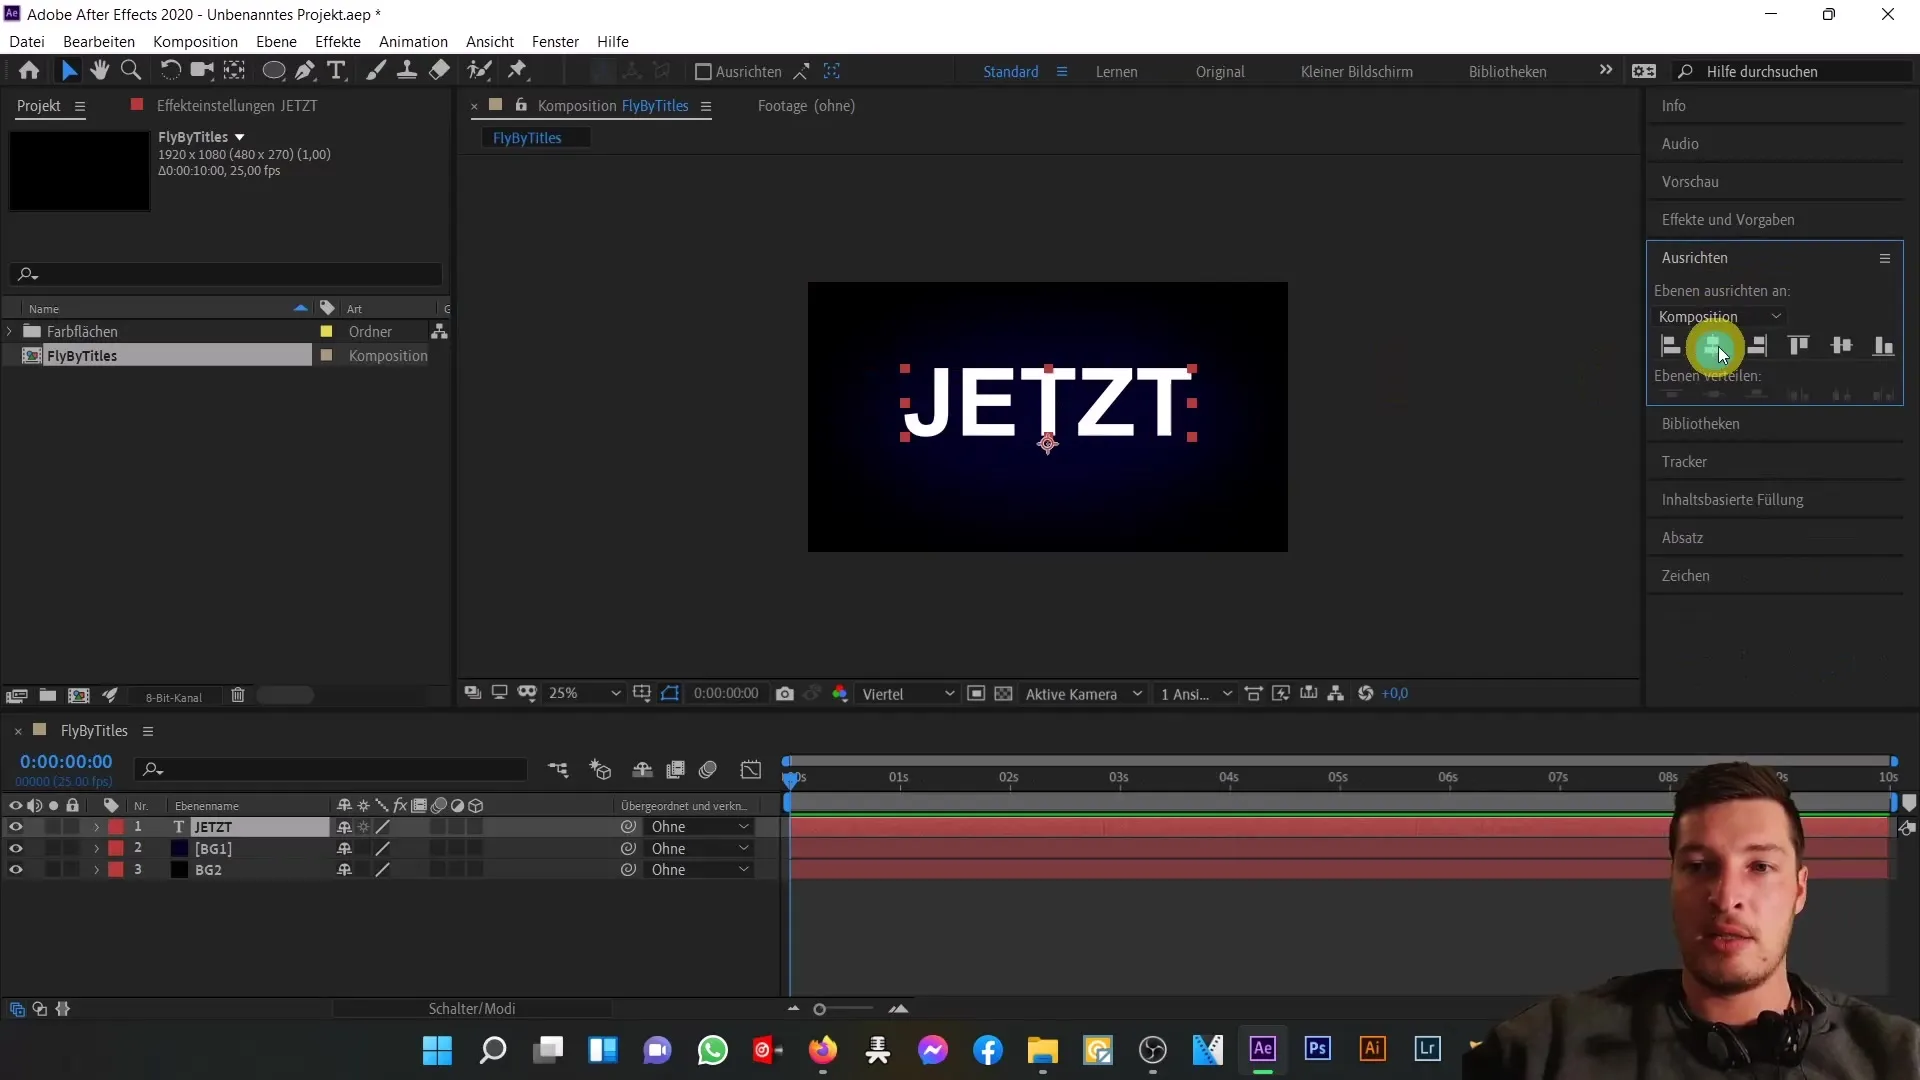
Now, create the text layer. Select the horizontal text tool and click in the composition to type in the text "Now". Change the font to Arial Bold and set the pixel size to 380. Align the text both horizontally and vertically in the center.
Adding and Adjusting Effects
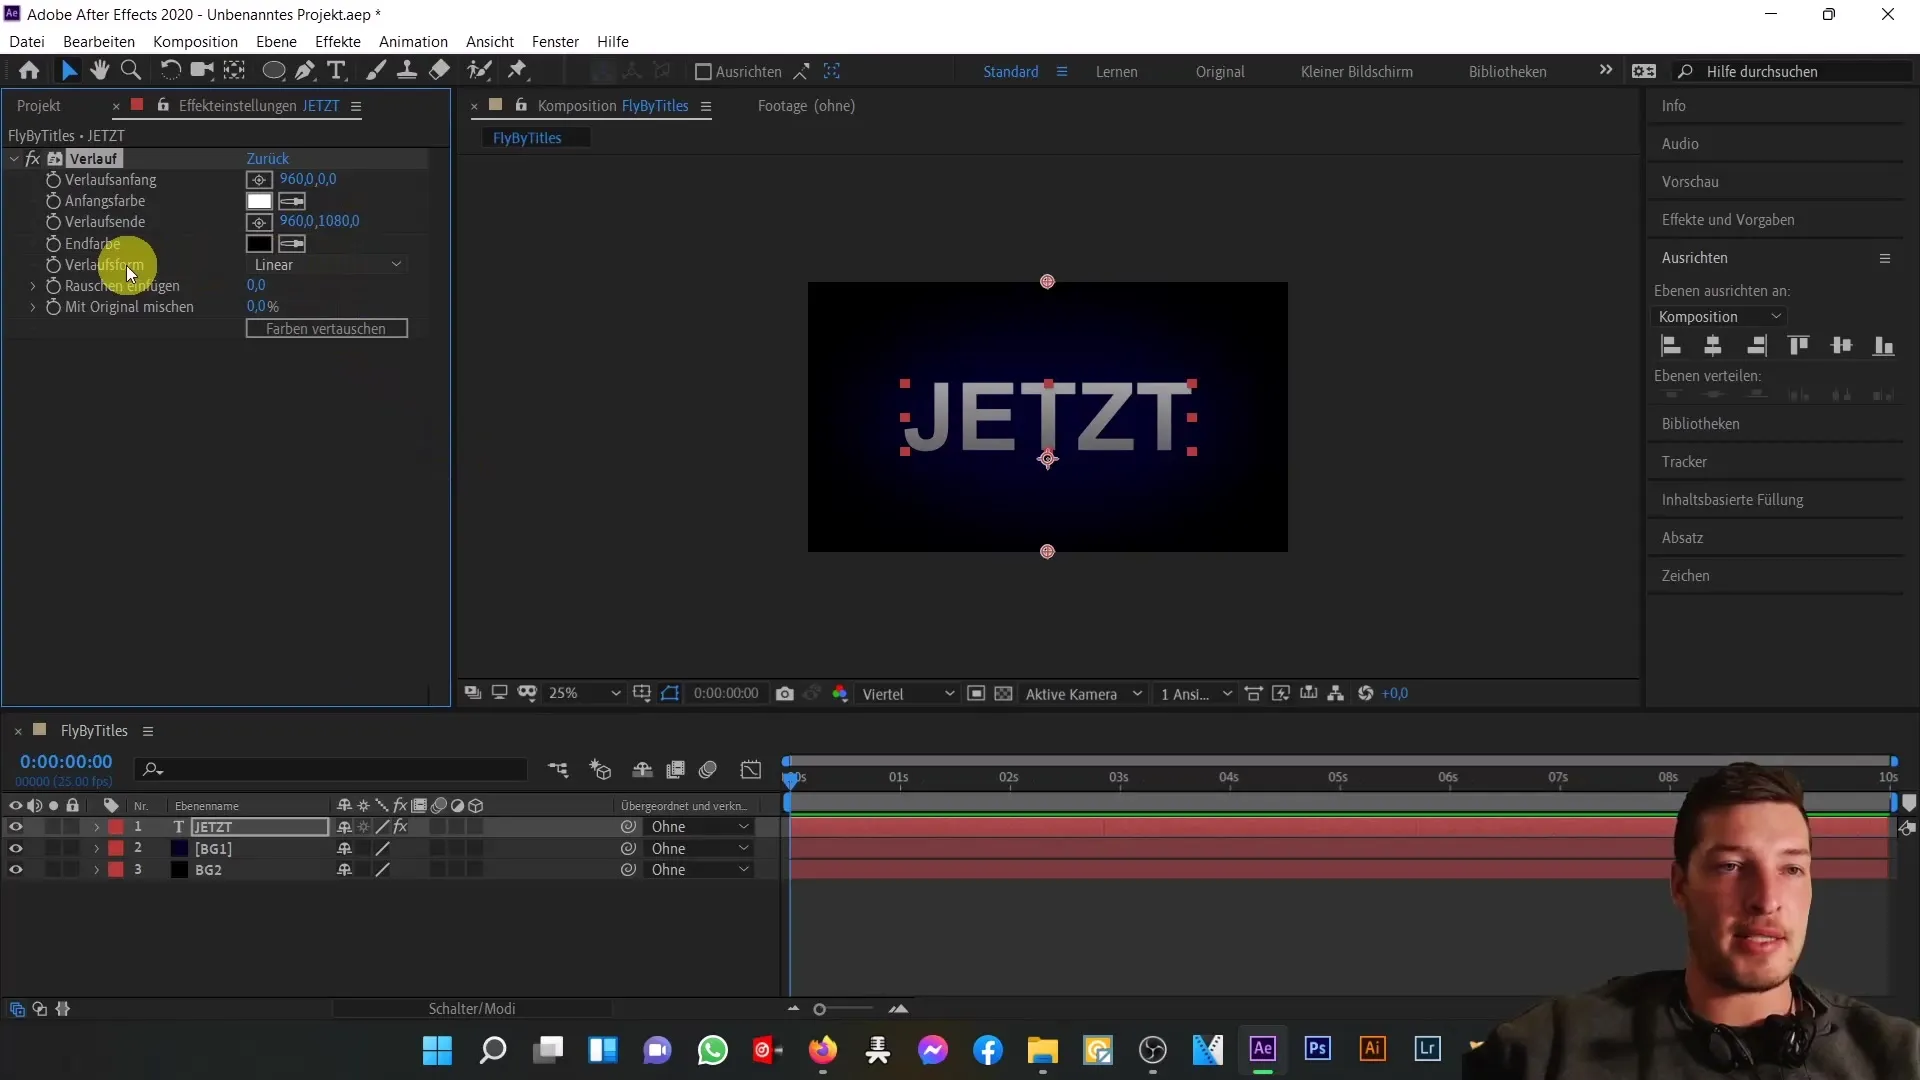
For the next step, add a gradient effect. Change the gradient settings to a circular shape and adjust the colors until they complement the overall composition well.
Implementing Glow Effect
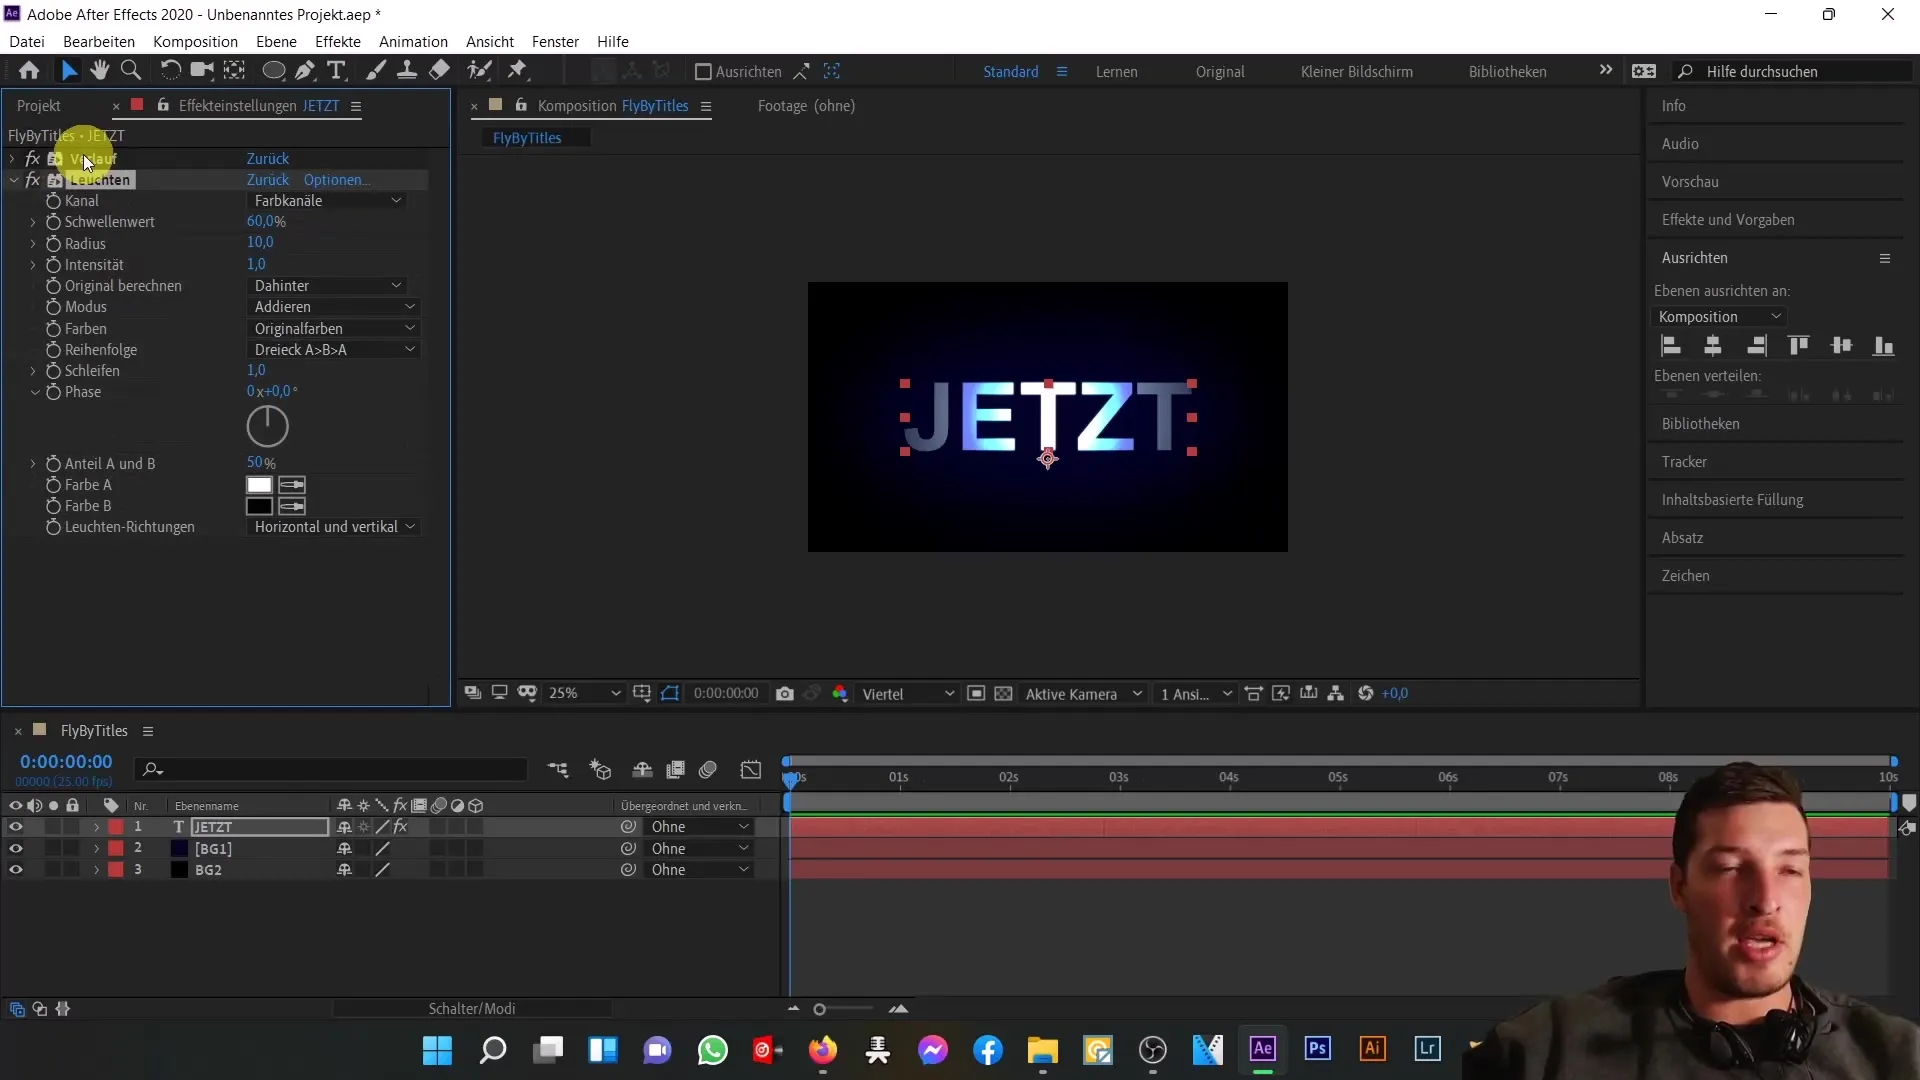
Click on "Effects" and select "Stylize" to add a glow effect. Increase the radius and decrease the intensity to create a subtle glowing effect.
Adjusting Animation Settings
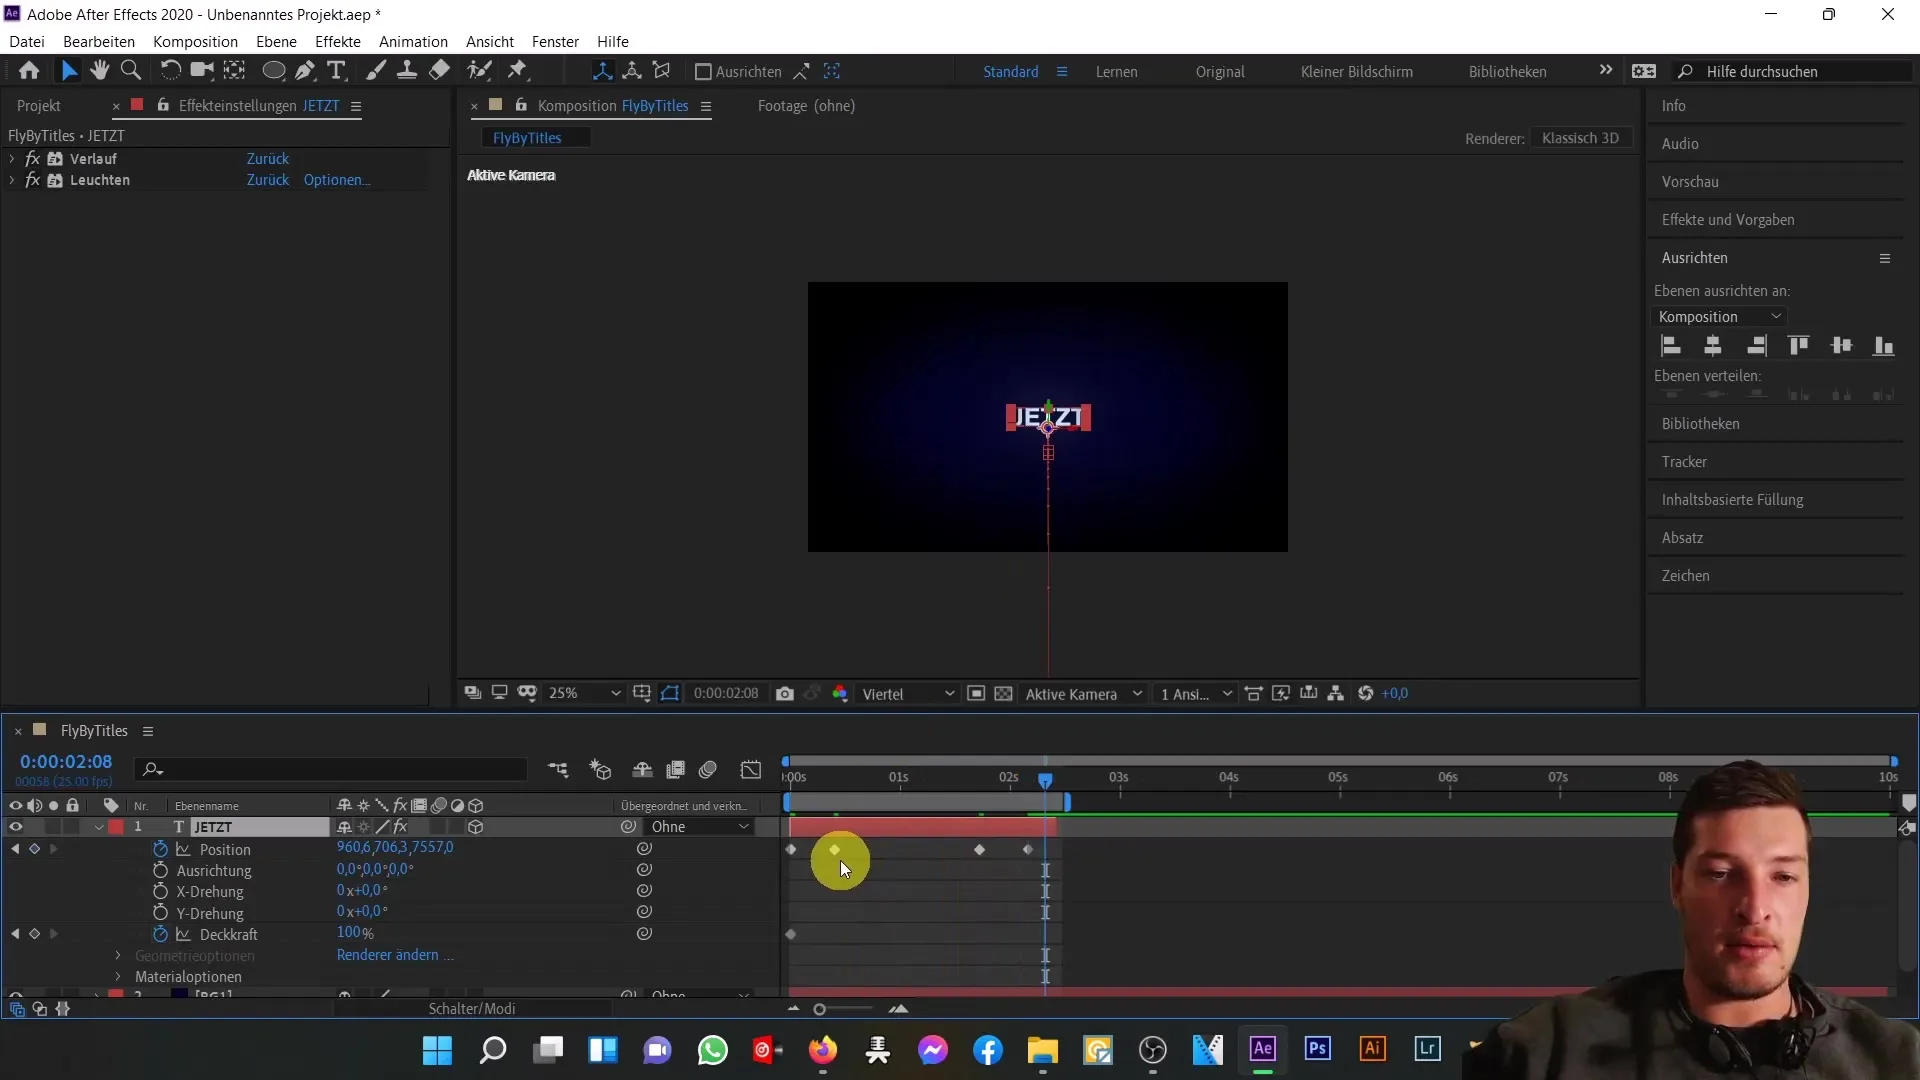
Now it's time to animate your text. Enable the stopwatch for position and opacity. Make sure your text layer is set as a 3D layer to animate the Z-position.
Setting Keyframes
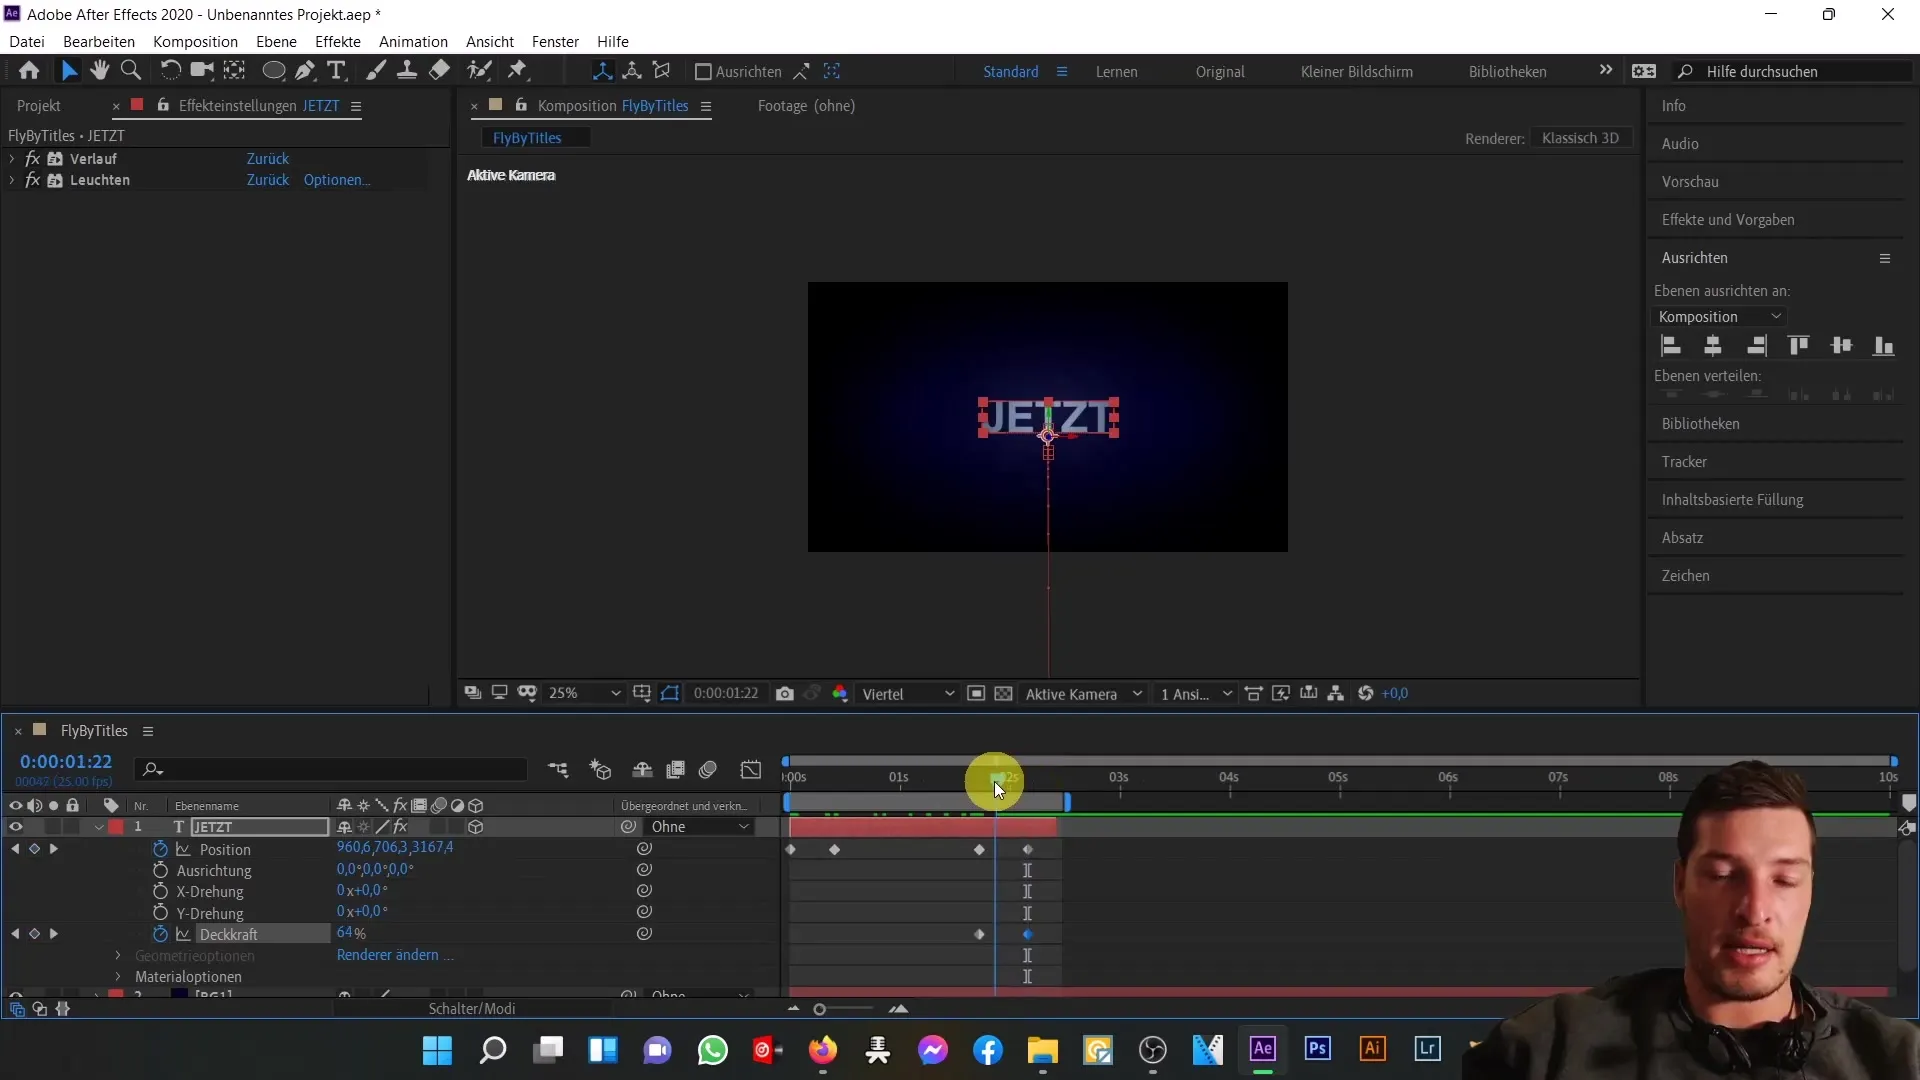
Move the text outward to fly out of the frame. Set keyframes for position to make the text fly into the frame. Ensure to make the animation smooth by changing the keyframe interpolation to linear.
Animating Opacity
To animate the opacity of the text, set the keyframe to 100% at the very beginning and change it to 0% at the end of the animation. This will cause the text to fade out as it flies out.
Animating Tracking
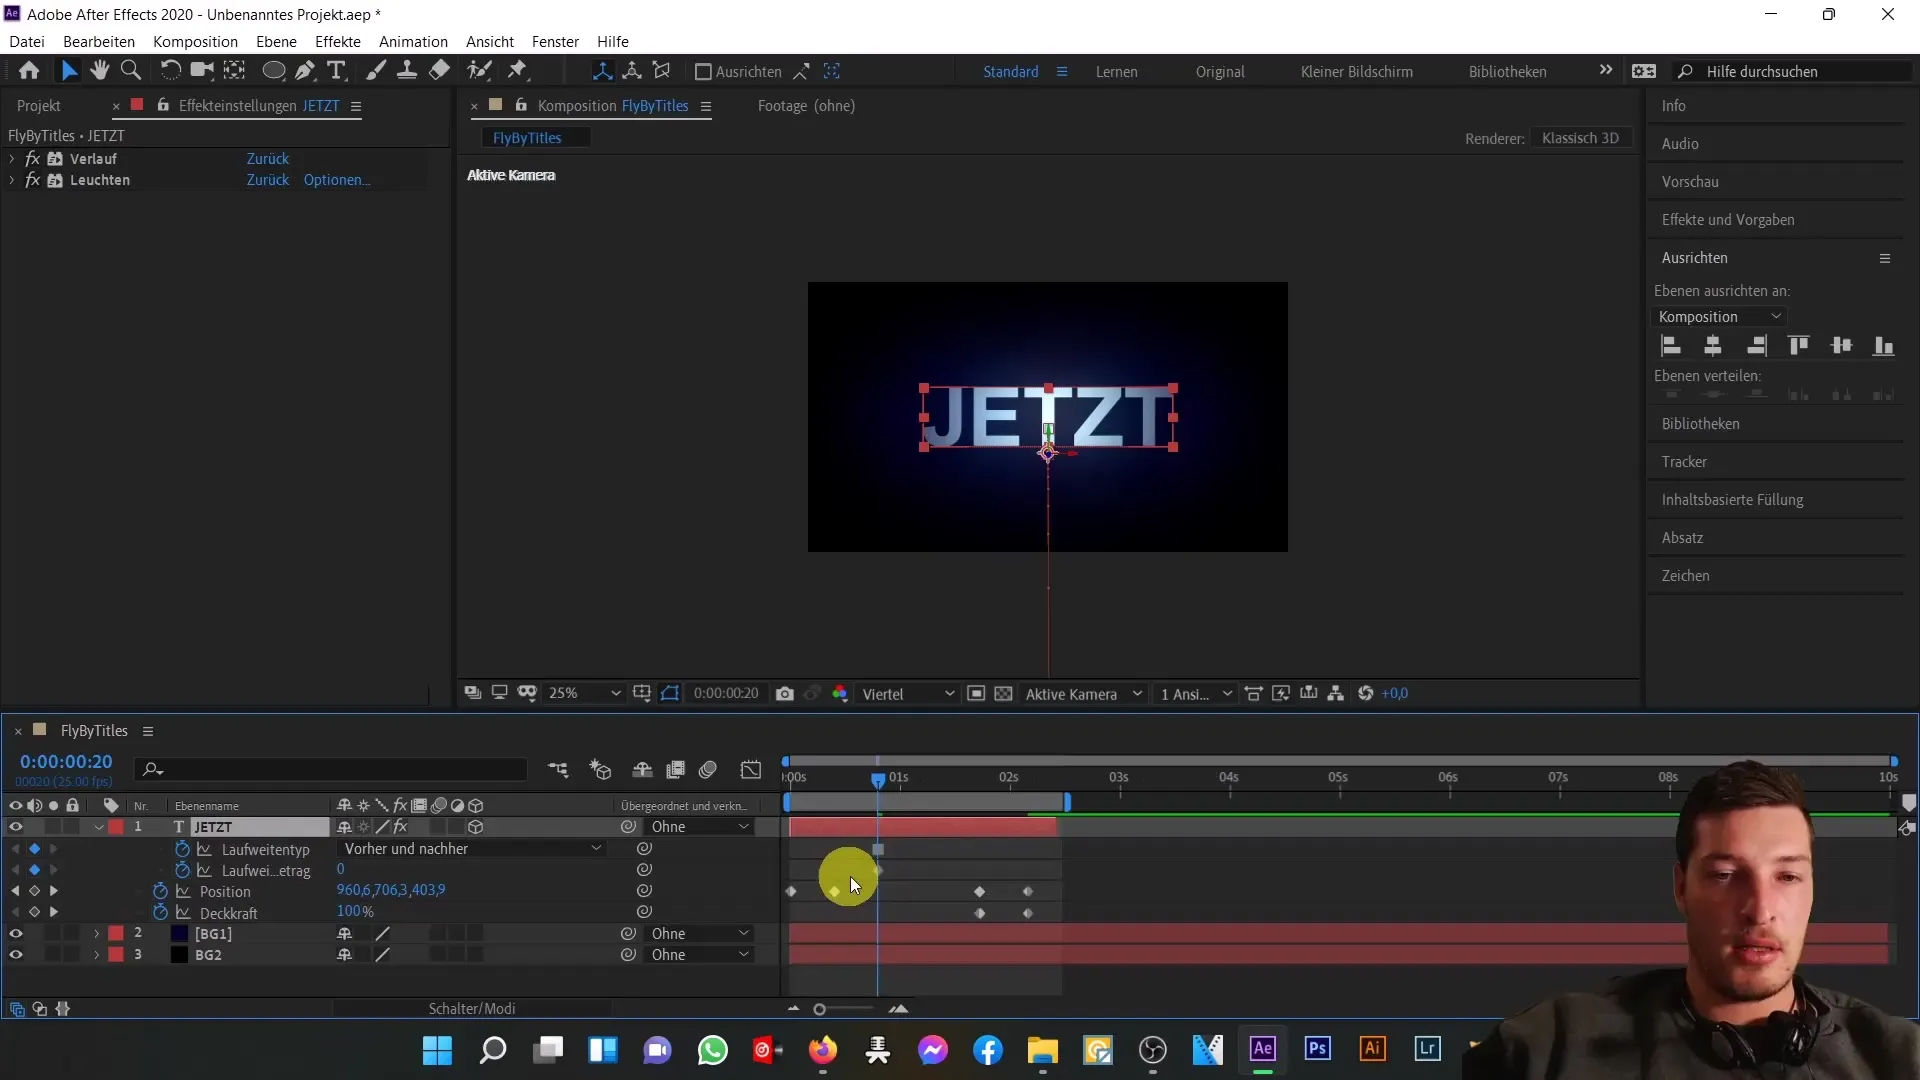
Another interesting animation is that of the tracking. Open the tracking settings, start the stopwatch, and animate the tracking. This animation should run in sync with the text excursion.
Adding Audio
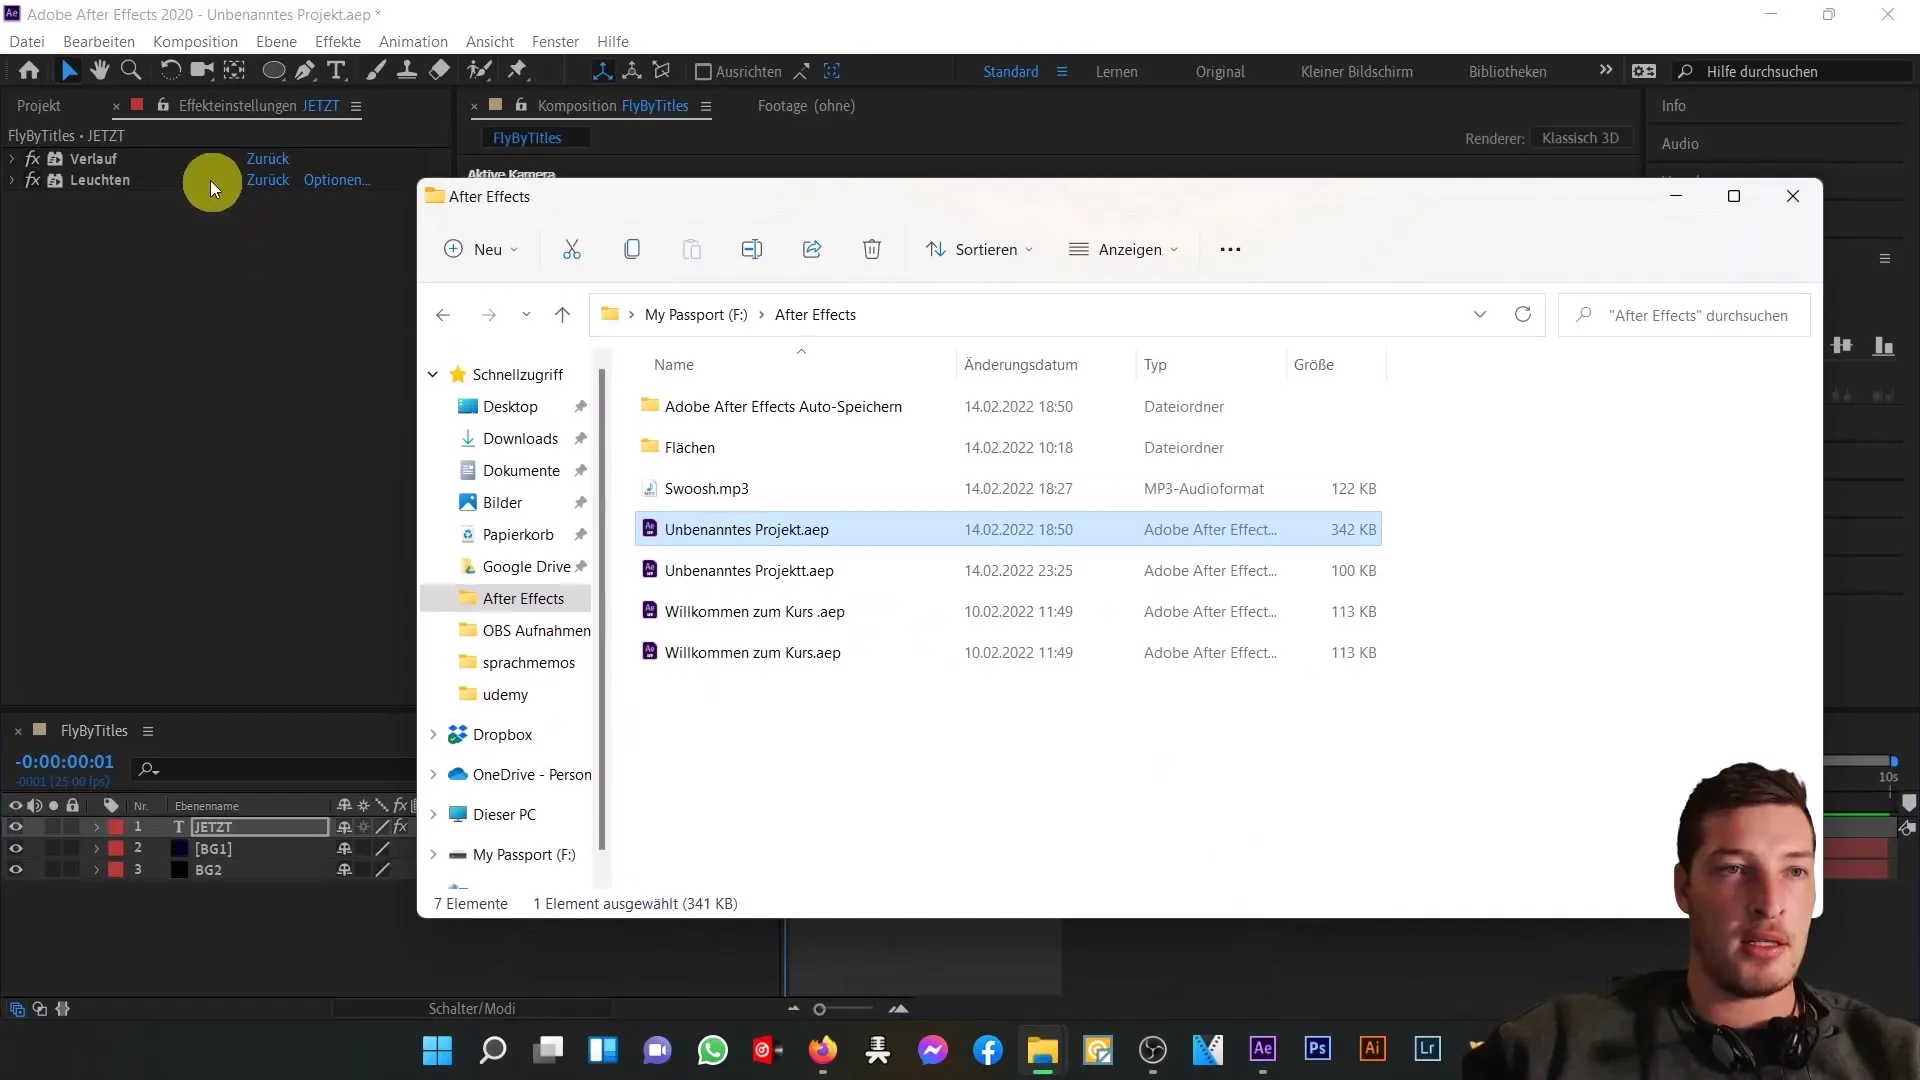
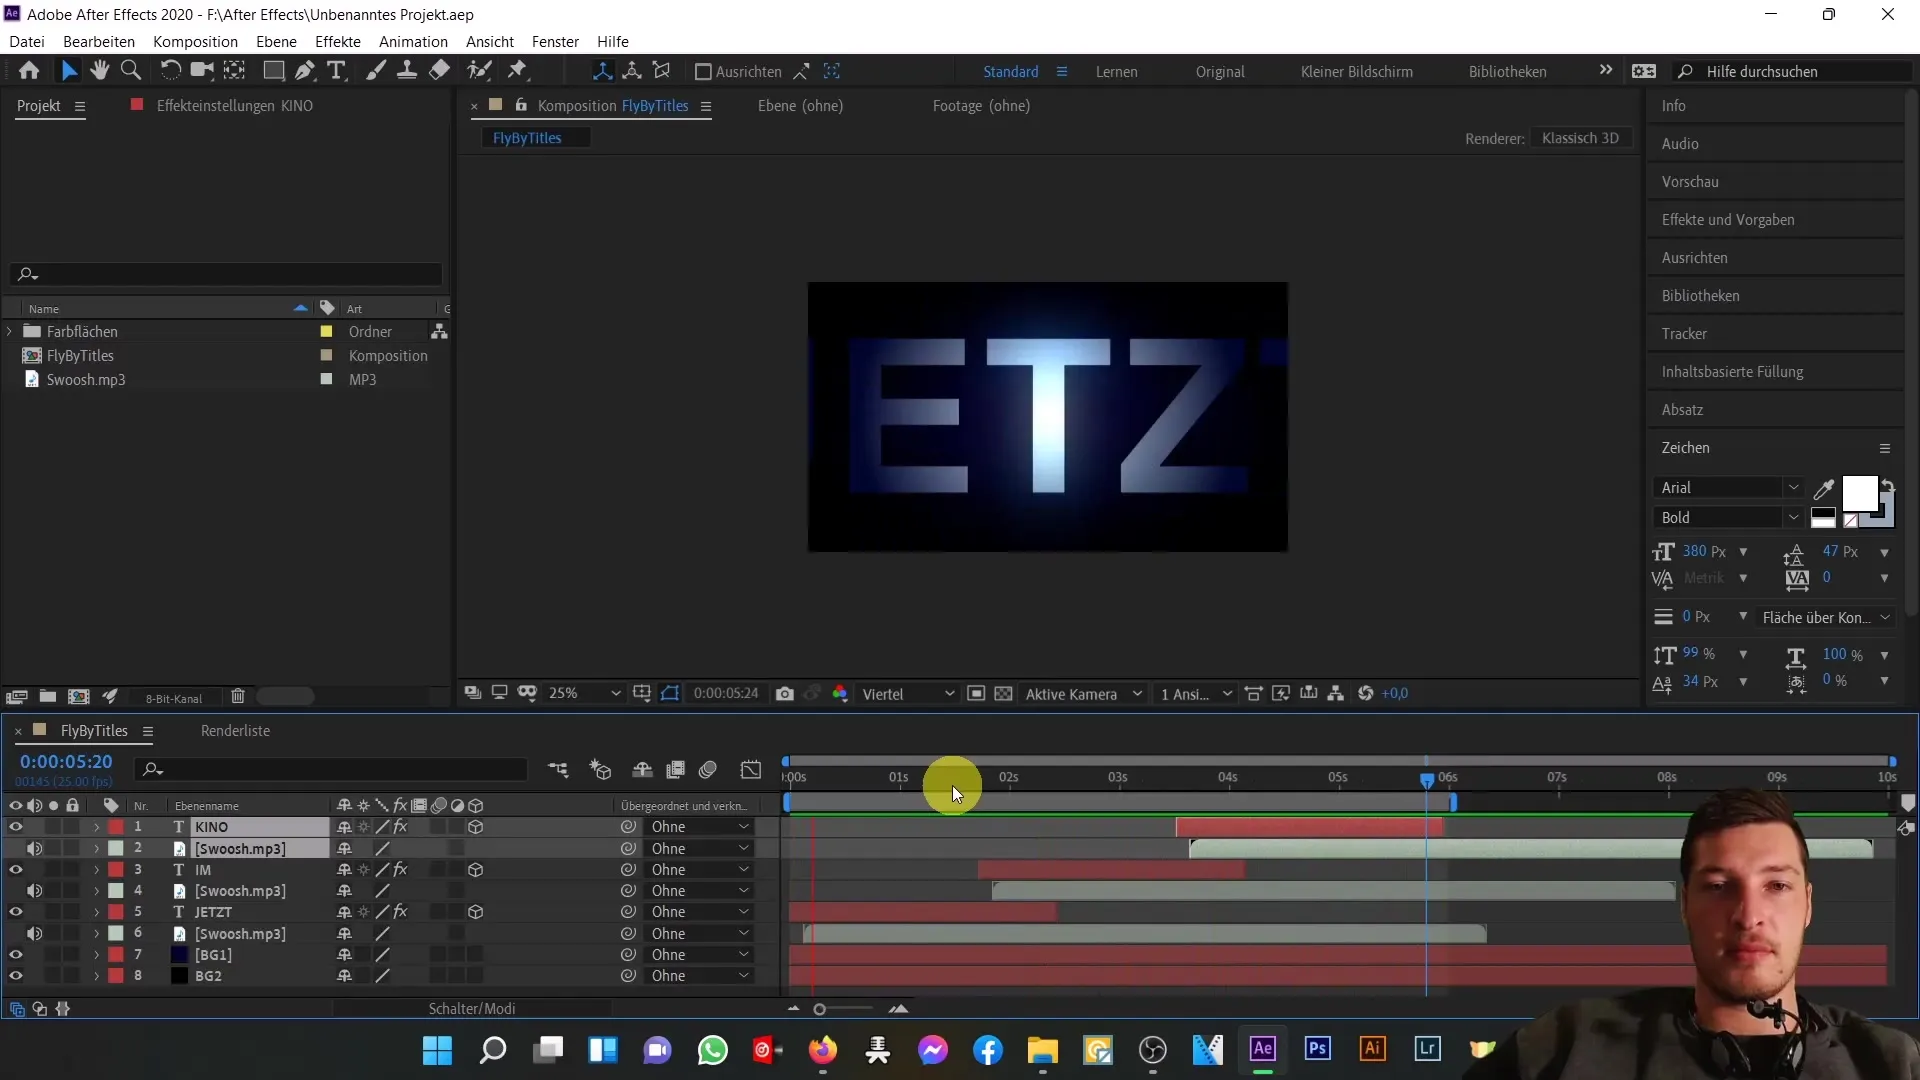
To complete your Fly-By title sequence, add an audio file. Import the MP3 file into your project and drag it into the composition. Synchronize the audio impact with the appearance of the text.
Preview and Adjustments
Use the spacebar to preview your animation. Make sure everything is well synchronized and the animation looks smooth. Make adjustments as needed.
Summary
In this tutorial, you have learned how to create an impressive Fly-By title sequence with Adobe After Effects. We have covered the key steps from creating background layers to text animation and synchronization with audio. Continue experimenting with different effects and animations to enhance your skills.
Frequently Asked Questions
What is a Keyframe?A keyframe is a point in time on the timeline that defines a specific property of an object.
How do I add an audio file?You can add an audio file by importing it into your project and then dragging it into the composition.
What is the function of 3D layers?3D layers allow you to manipulate objects in a three-dimensional space, so you can change the Z-position and perspective.
