In this detailed text guide, I will show you how to perfectly align the front and back of a phone in Adobe After Effects. This guide is based on a short video tutorial and will help you understand the steps clearly and apply them to your own project. Precisely aligning both sides is crucial to create a realistic 3D model that is visually appealing and leaves a high-quality impression on viewers.
Key Takeaways
- You must ensure that the front and back of the phone align perfectly.
- Using effect tools for visibility and composition adjustments is extremely helpful.
- Adjusting scaling and transparency will help you achieve a clean and precise alignment.
Step-by-Step Guide
First, I begin by ensuring that you are working in the correct frame. Right-click on the back of the phone and select "Time Freeze Frame" to fix the preview of a specific frame, providing you with the necessary reference throughout the entire process.
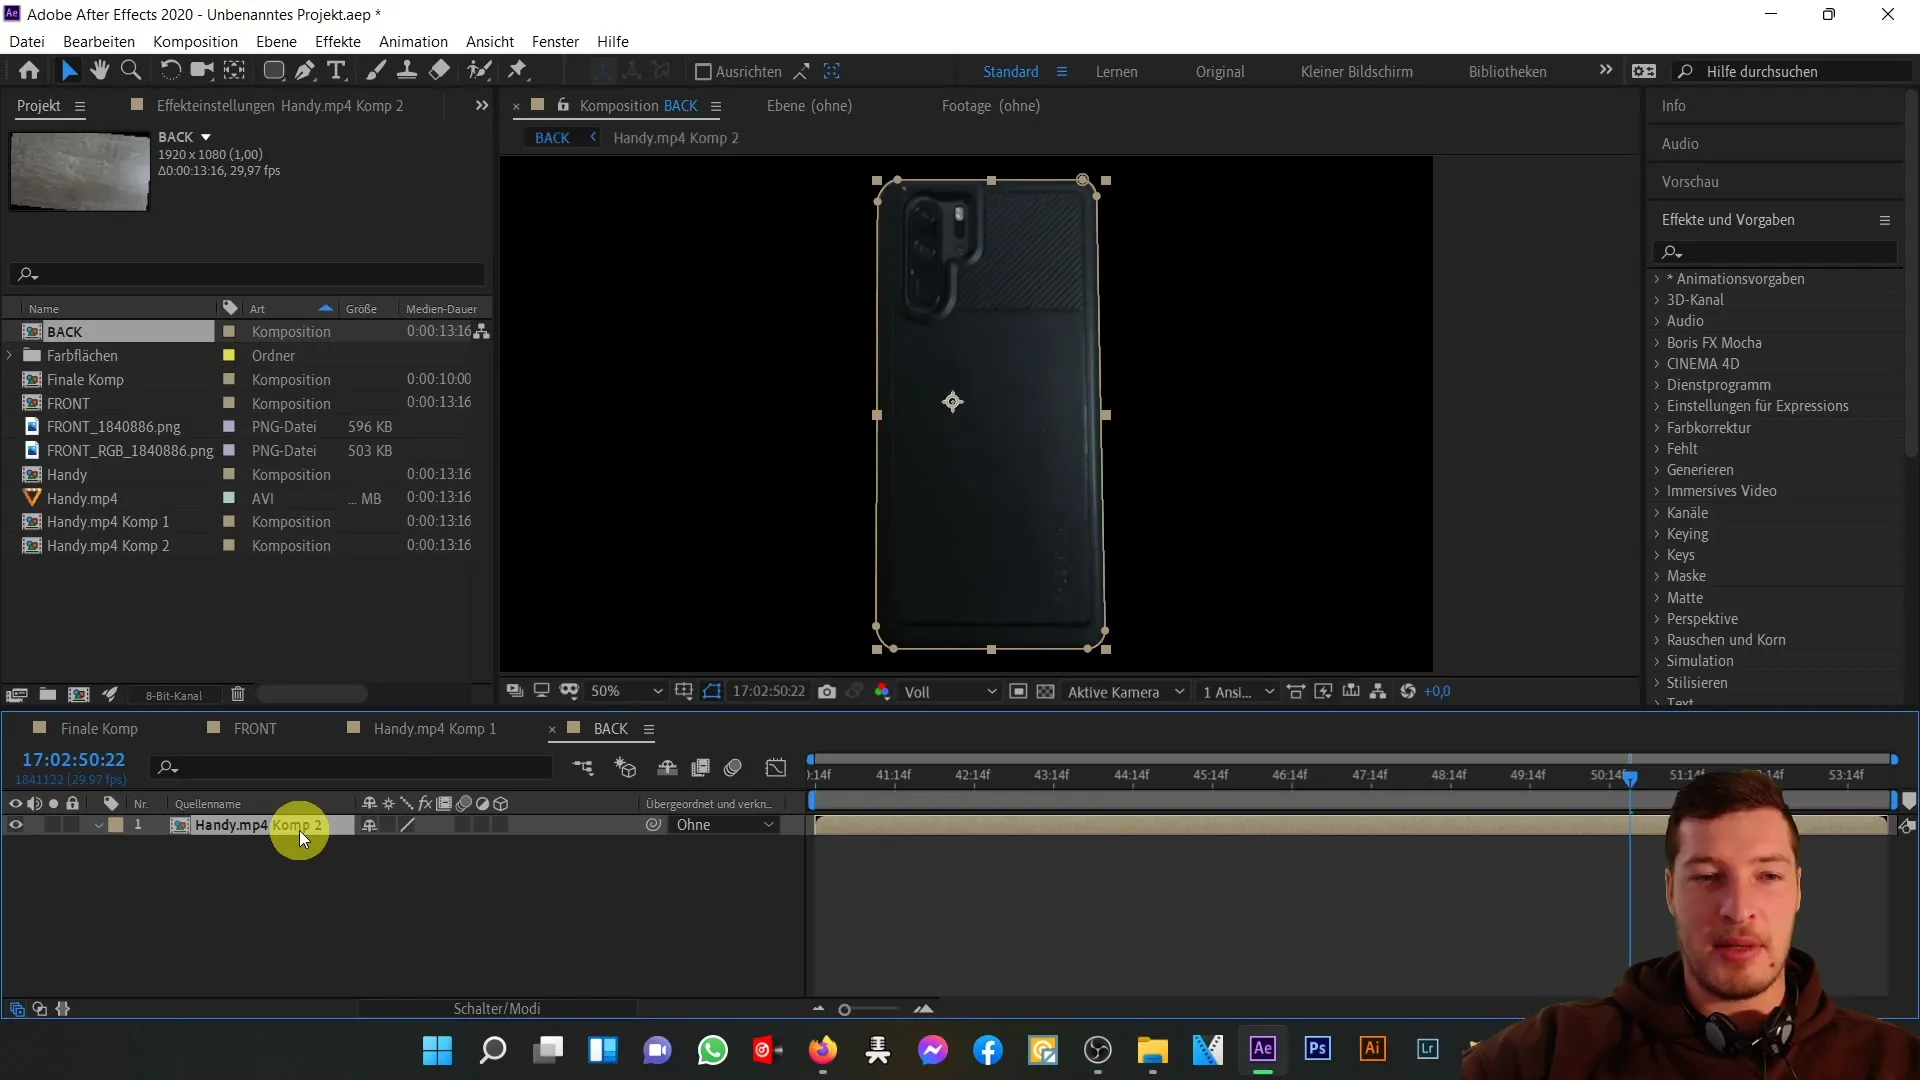
Now that you have activated the freeze frame, we will proceed by using the sub-composition for the backside. Press the combination of "Ctrl + X" to transfer the backside to the front composition. This allows you to keep both parts visible simultaneously while making adjustments.
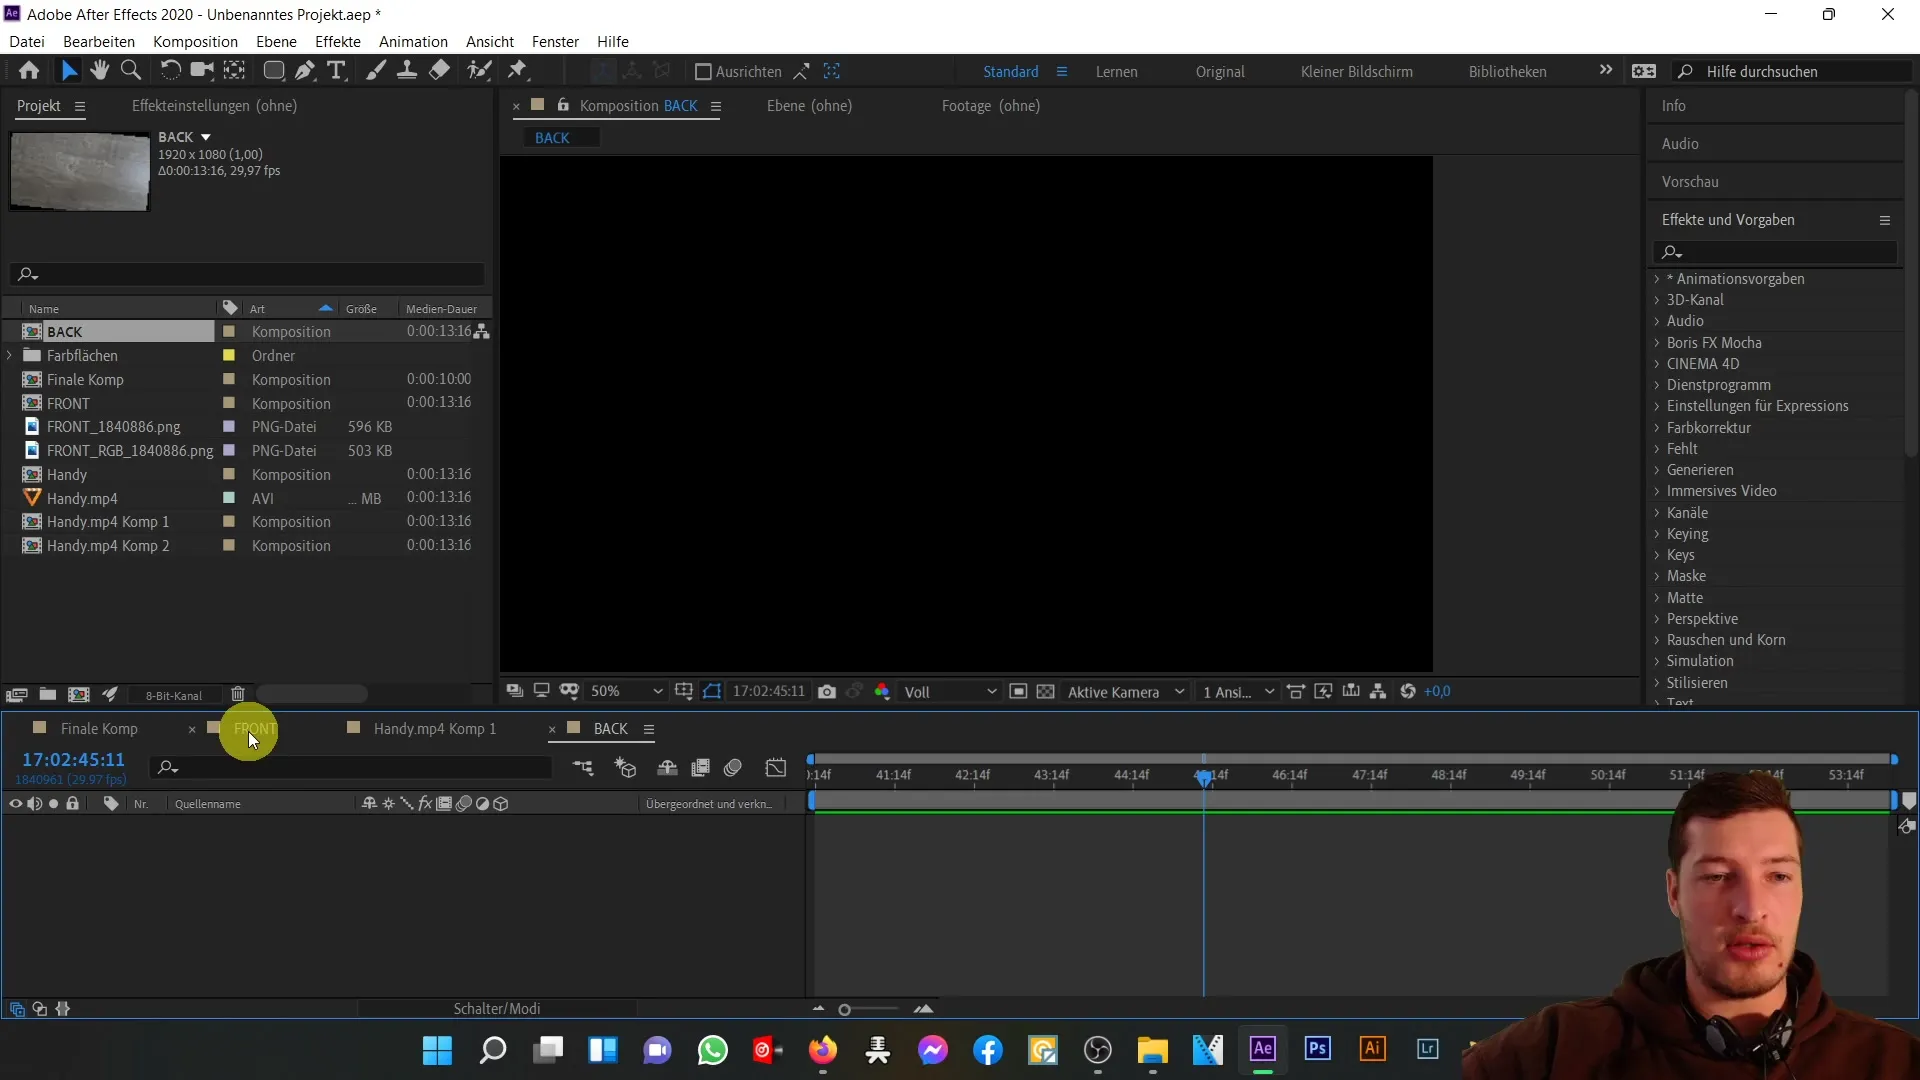
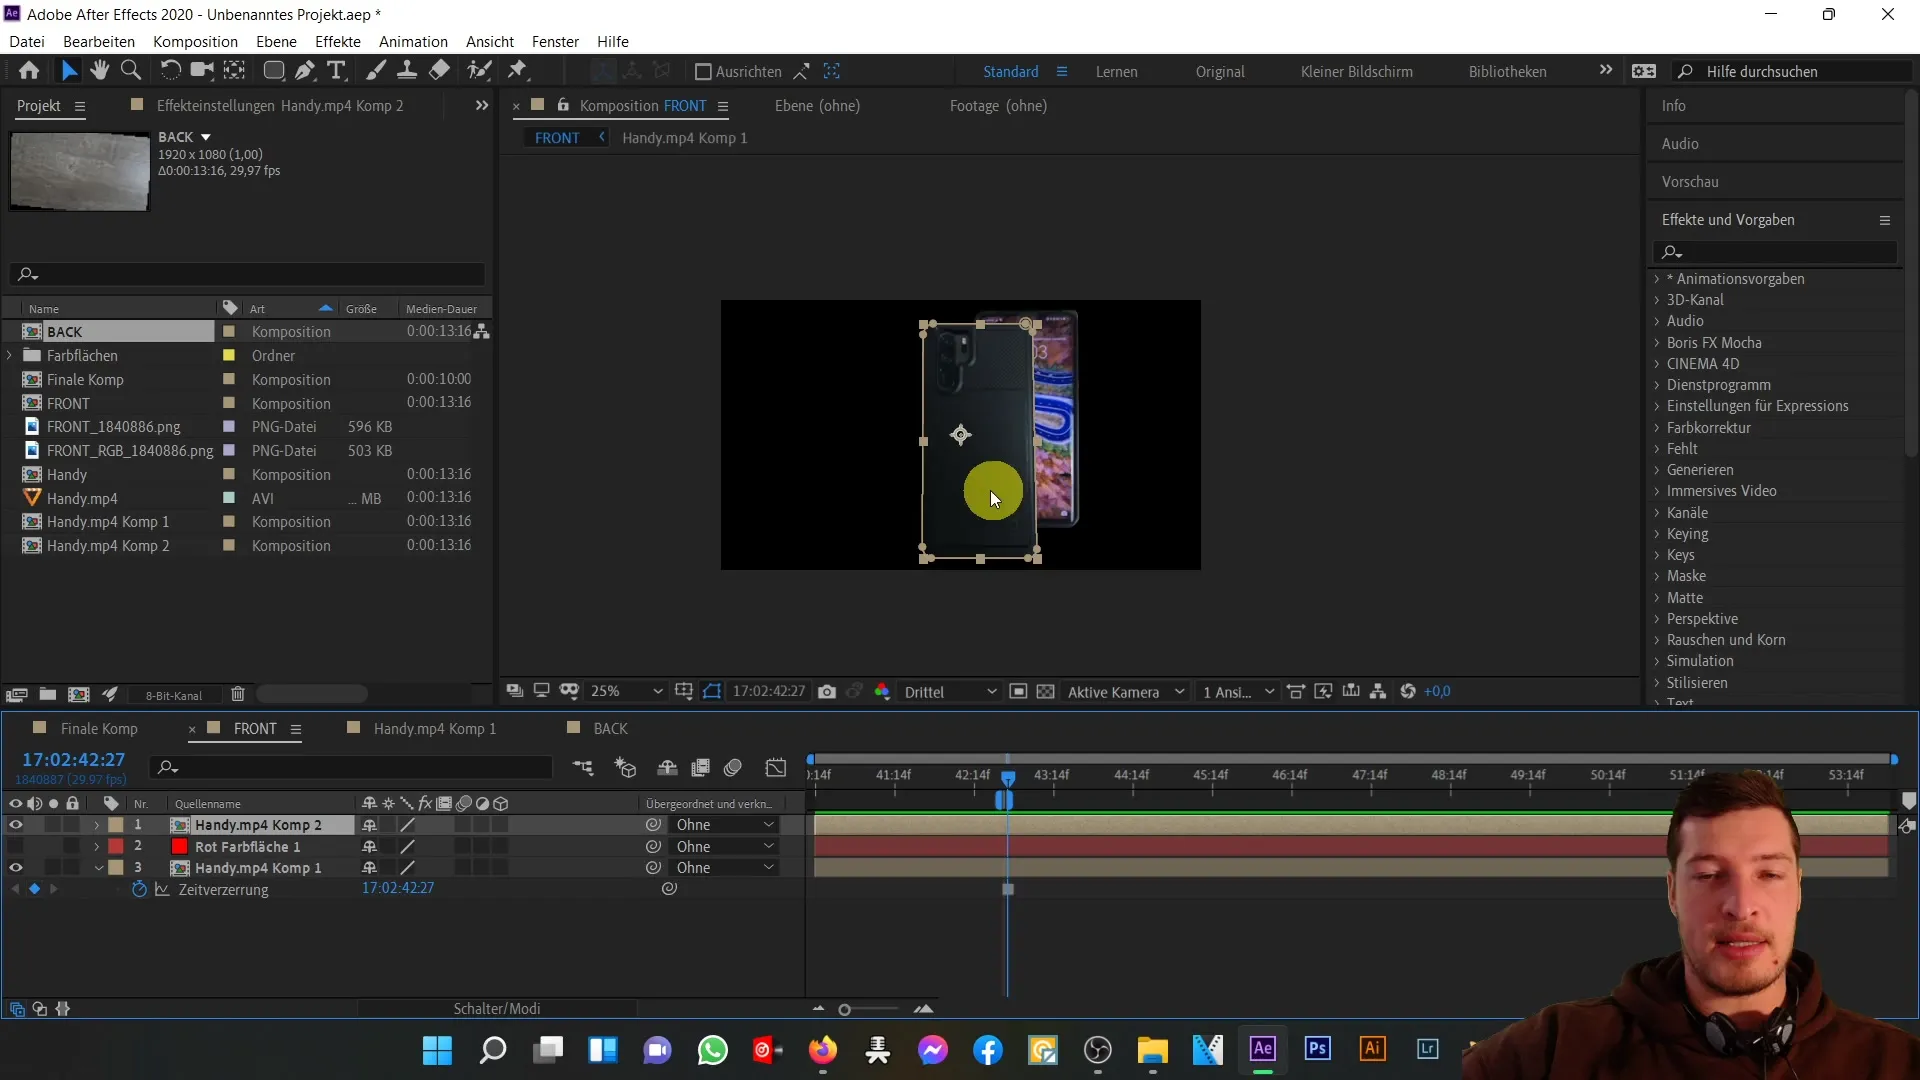
Upon reaching the front composition, press "Ctrl + V" to paste your backside. Ensure that the backside and front align perfectly over each other. To do this, select the back composition and go to "Effects". Choose the "Generate" option and then "Fill Tool" there.
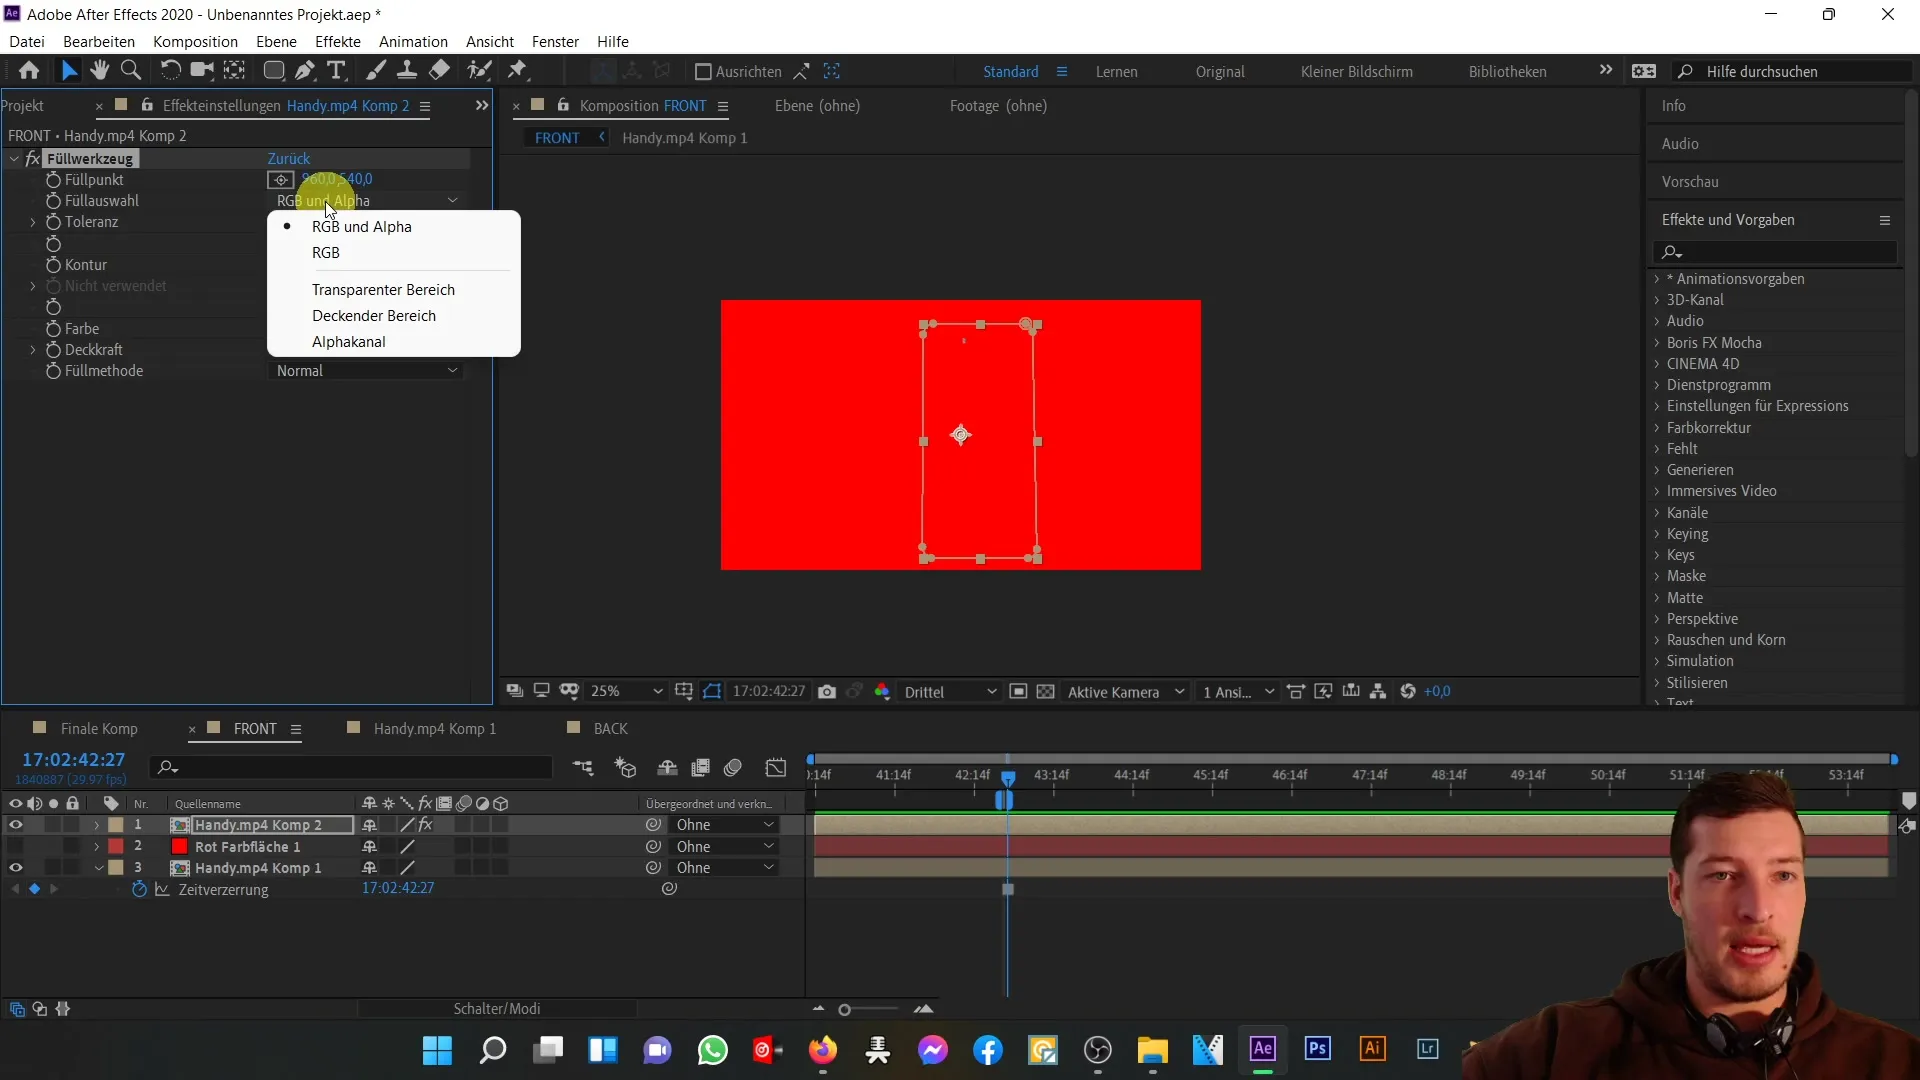
Once you have selected the Fill Tool, click on the fill selection. Instead of RGB and Alpha, choose "Solid Area". This will fill the area of the phone that you previously cut out in red, helping you visually check the alignment.
To improve visibility, click on "T" for opacity and reduce it to a lower value. This will make the red area more transparent, aiding in better identification of the positions of both parts.
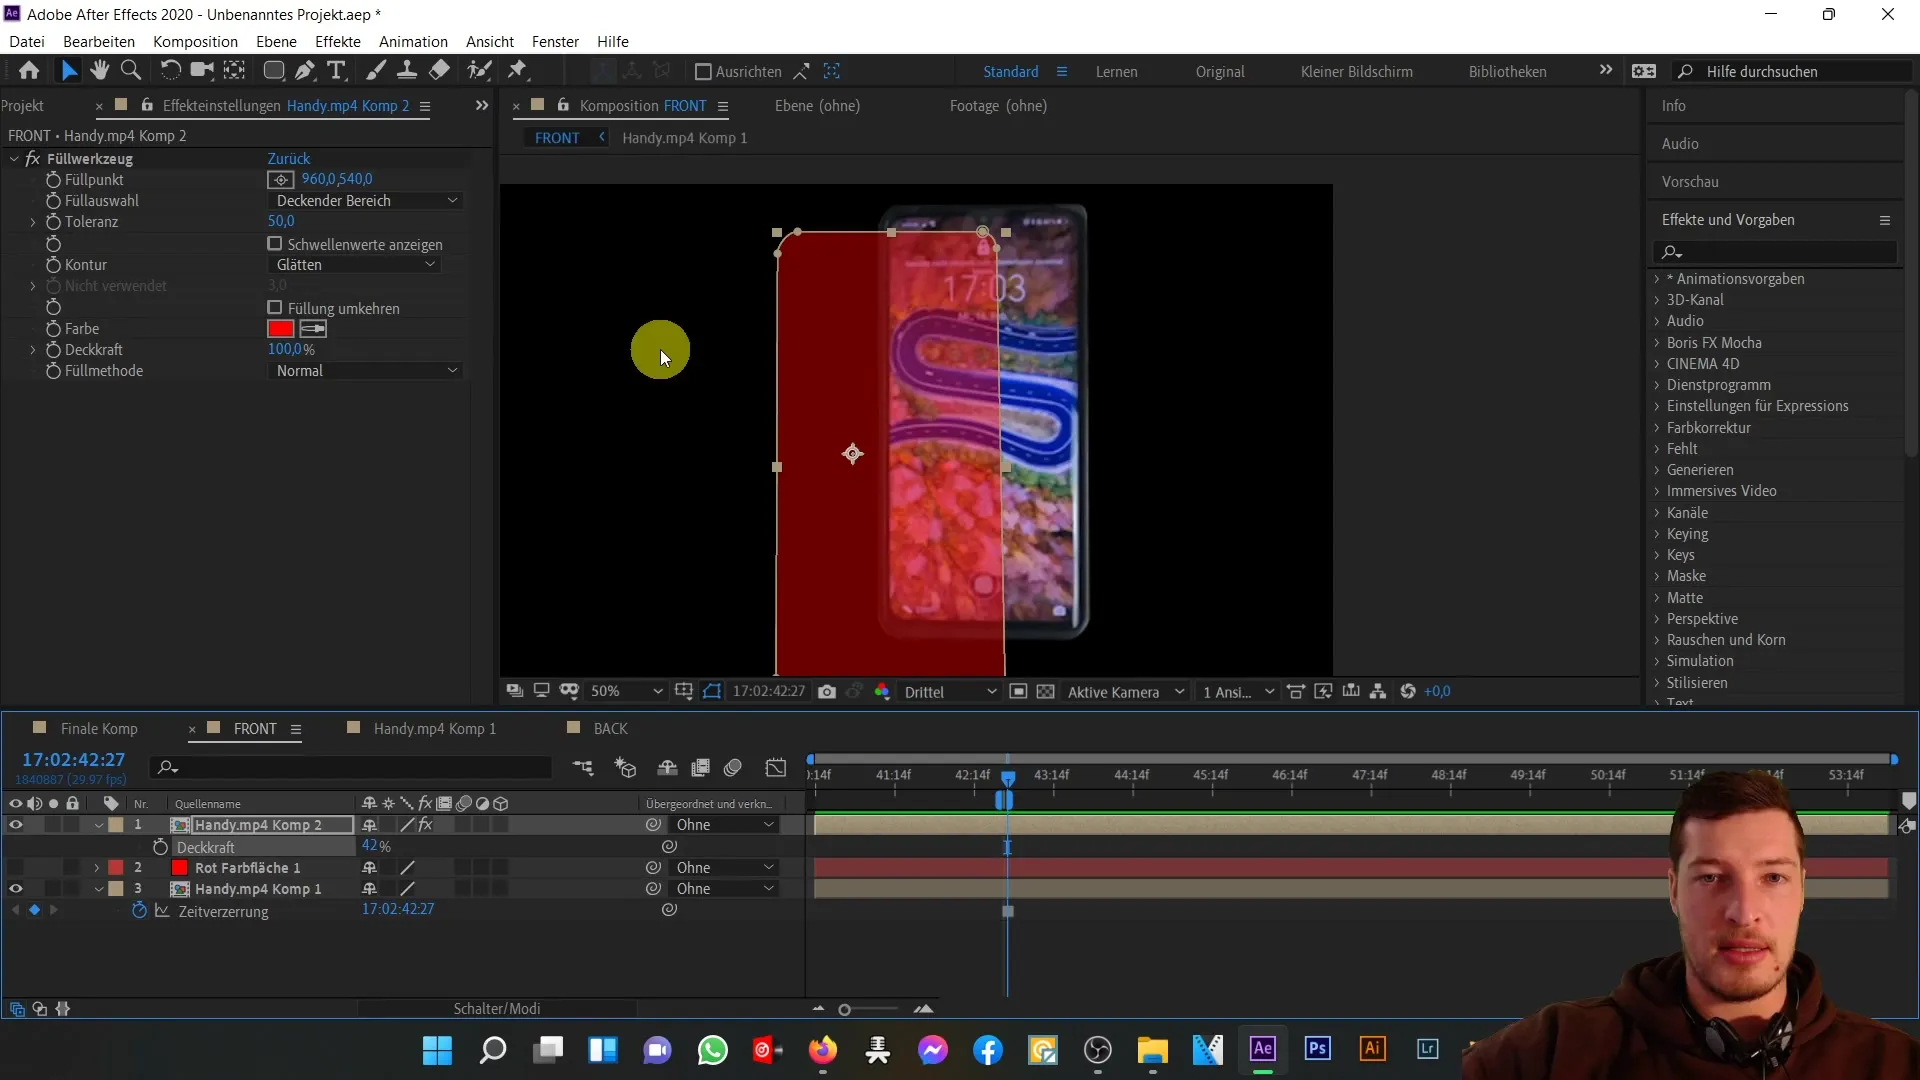
Now you can start positioning your composition. Take the backside and place it slightly over the front of the phone. It is important to incorporate fixed scales at this stage to achieve a realistic look.
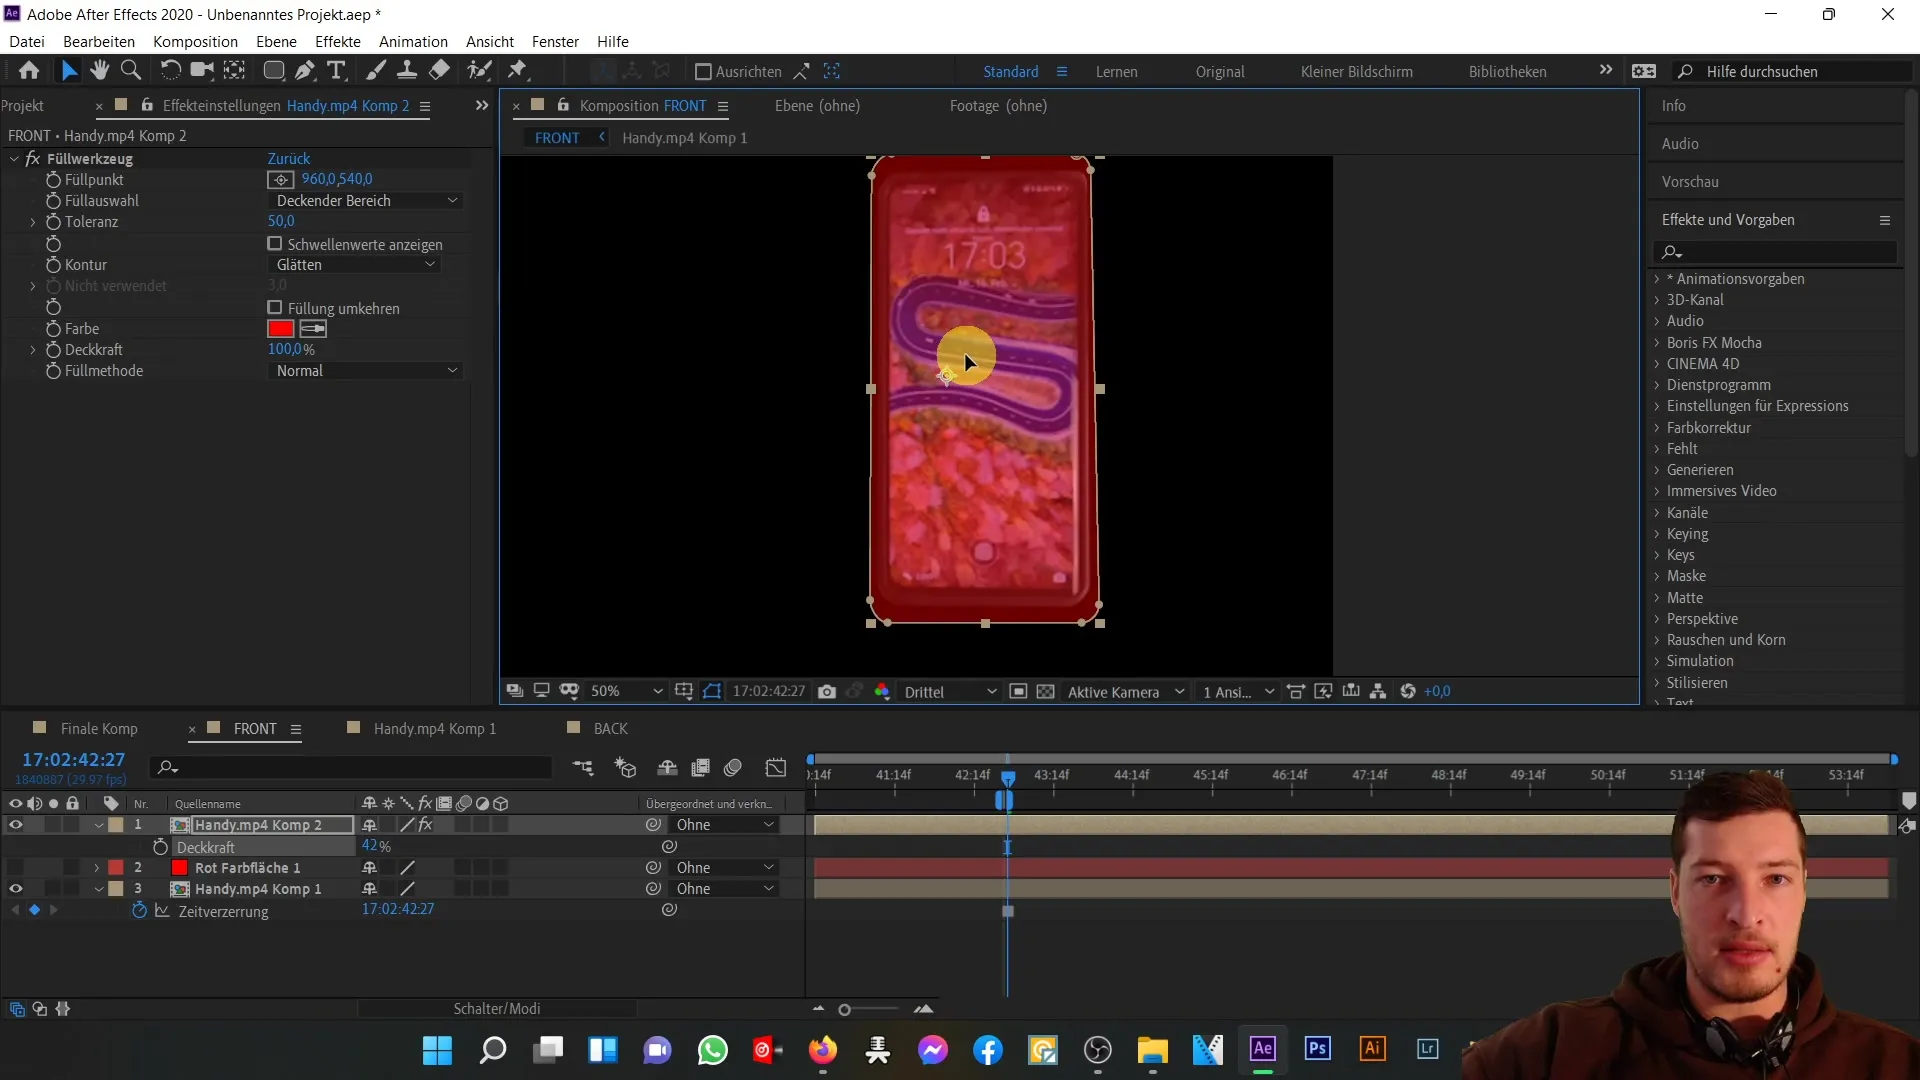
While positioning the backside, you may find it to be slightly too large. Click on "S" for scaling and adjust the size as needed until the proportions are correct.
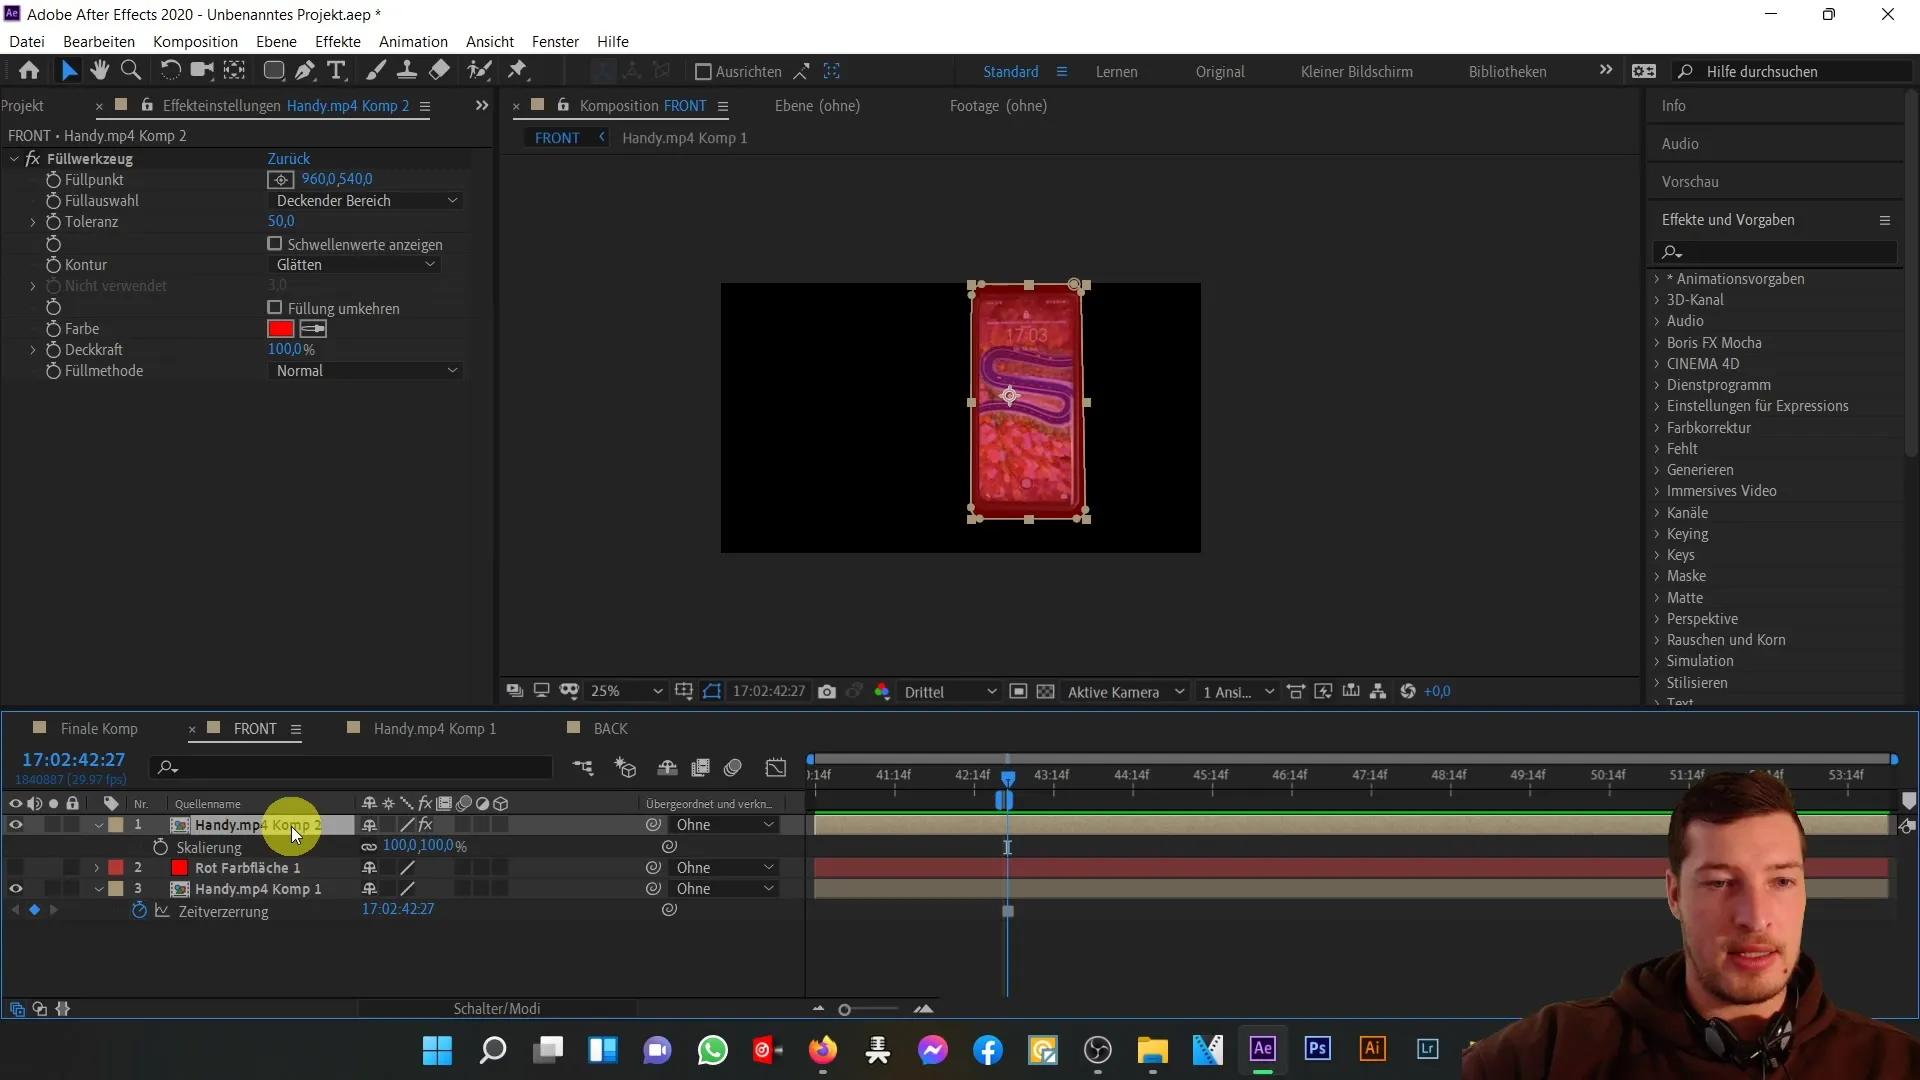
It can be helpful to adjust the size in small increments. The goal is to achieve good overlap between the front and back. I recommend setting the scale to about 92.5% and then making a slight tweak to the right to find the optimal fit ratio.
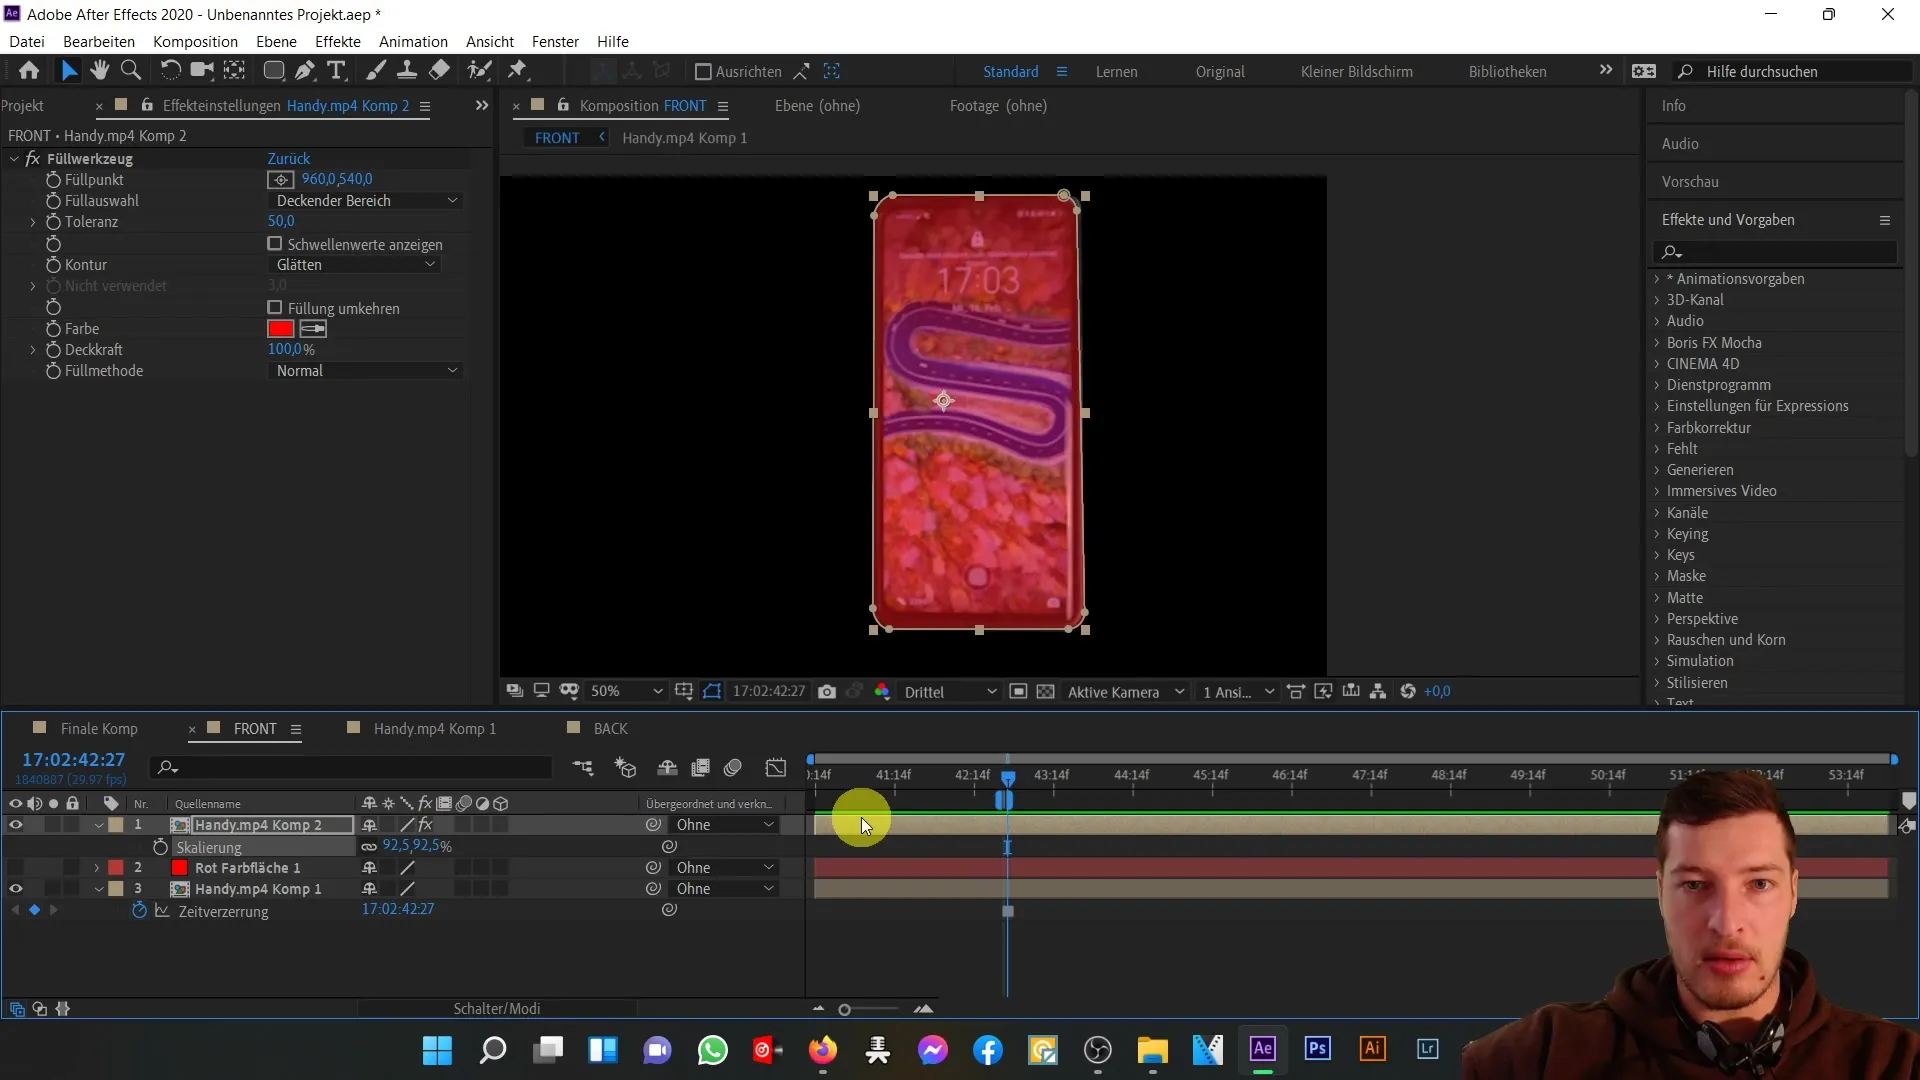
Once you are satisfied with the position and size, make sure to turn off the fill effect by going to the Effects area and removing the Fill Tool effect. Finally, also set the opacity back to 100% to make all adjustments visible.
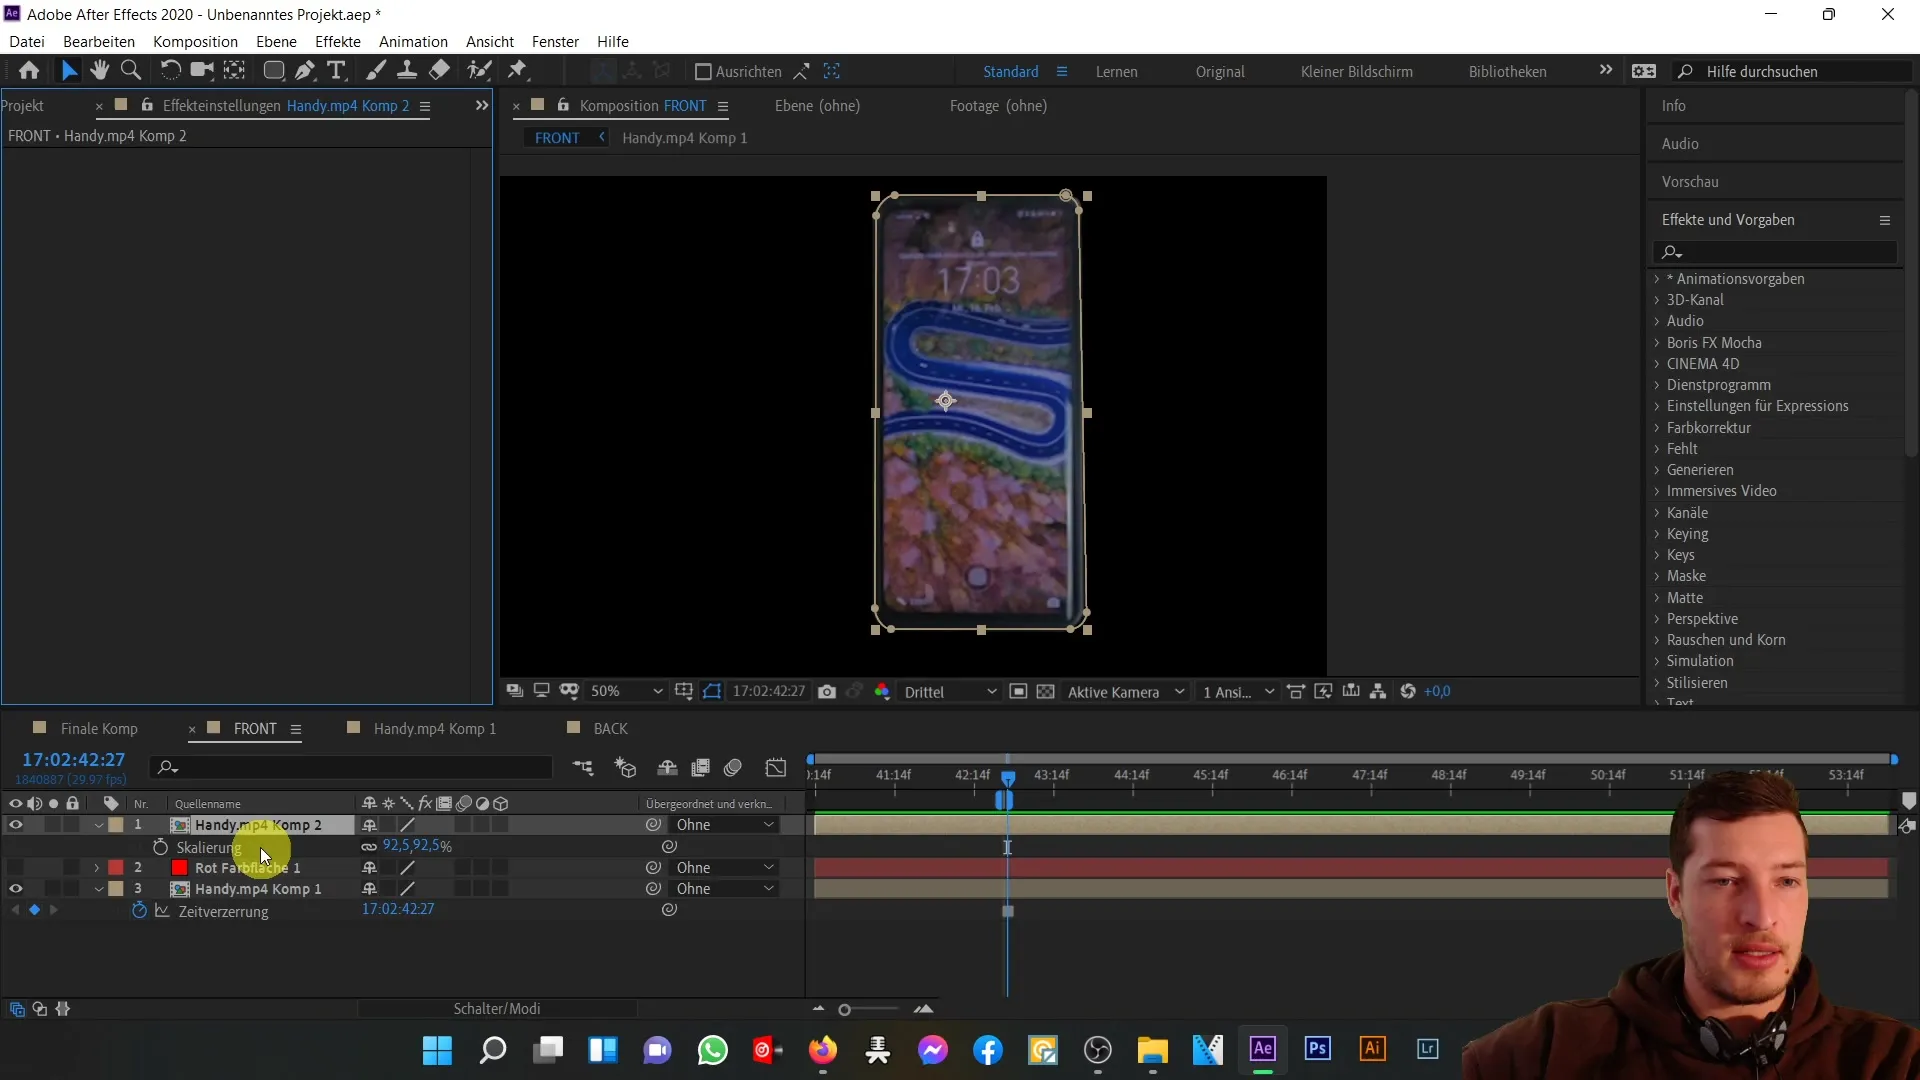
You have now successfully aligned the front and back of the phone. In our next video tutorial, we will discuss how to combine these parts and create a fully three-dimensional object.
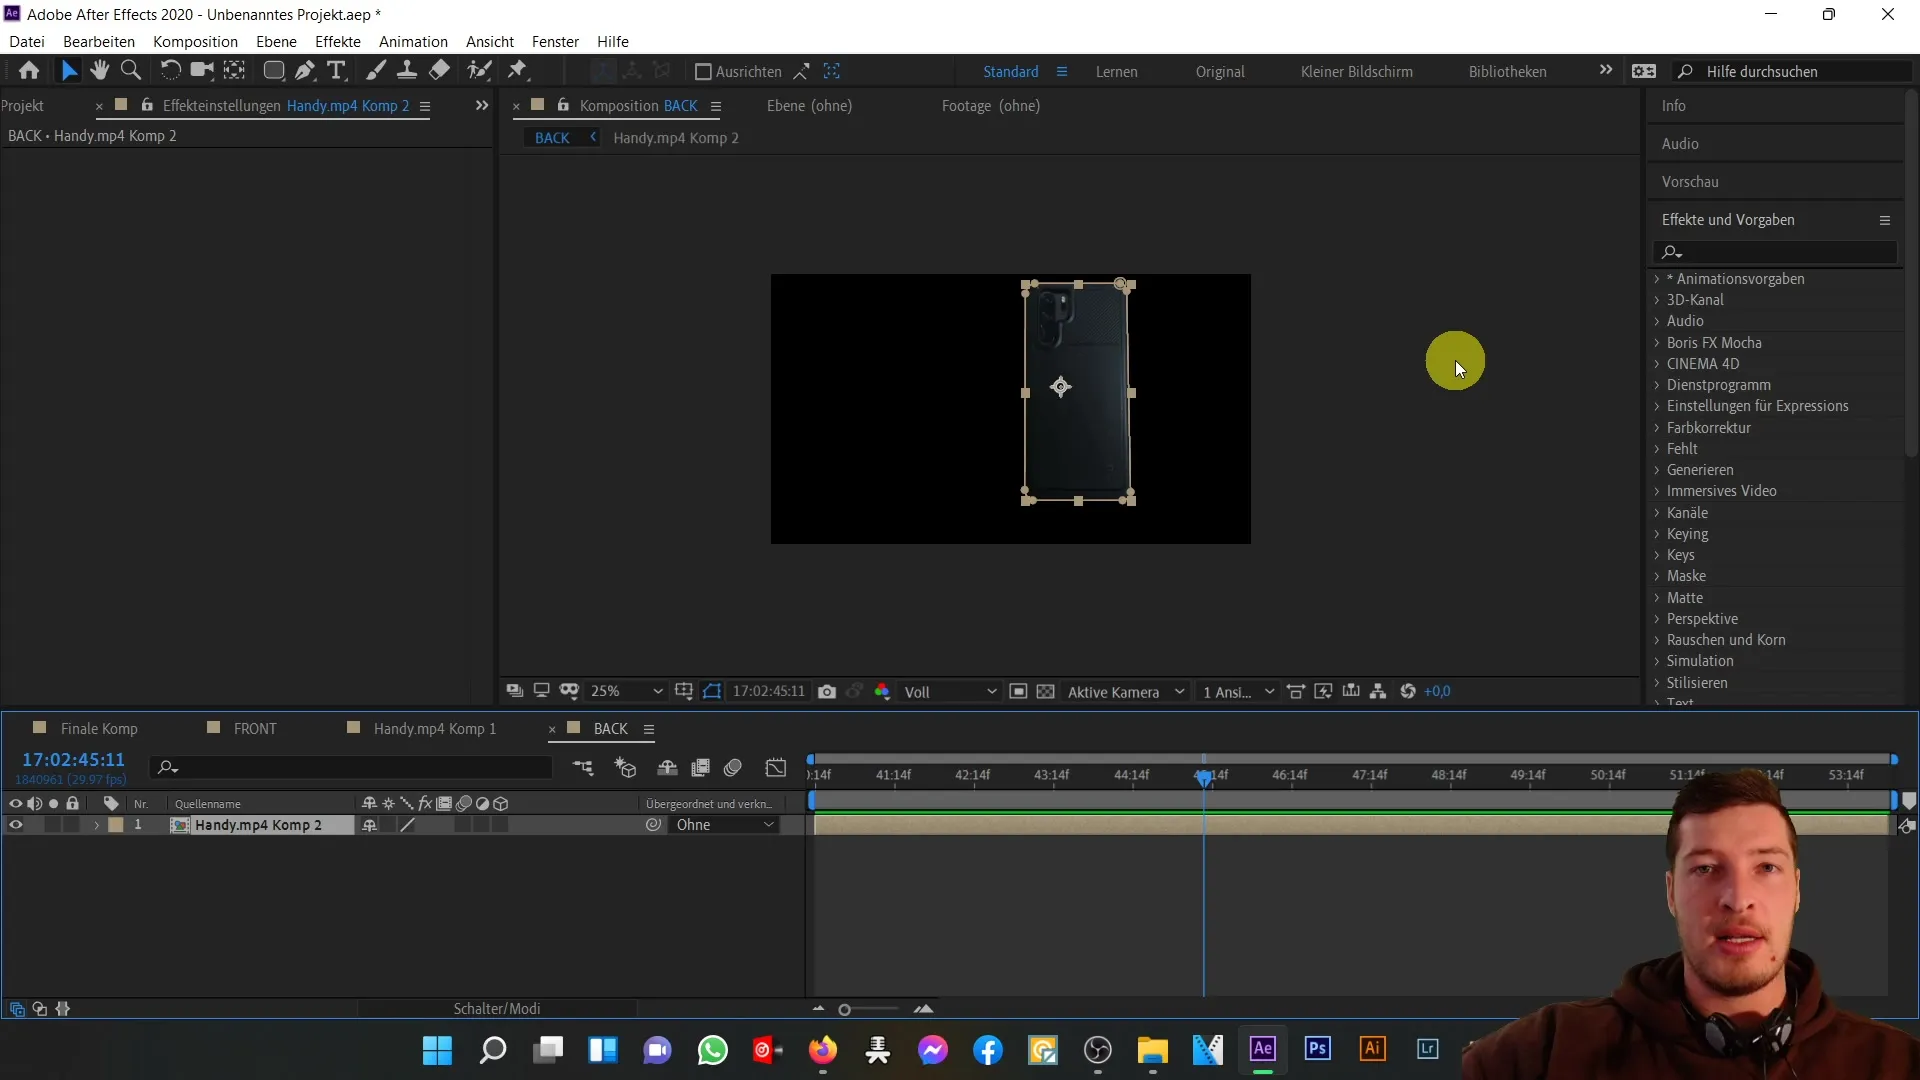
Summary
In this tutorial, you have learned how to perfectly align the front and back of a phone in After Effects in just a few steps. By using still images, fill tools, and adjustments of scaling and transparency, you have acquired the basics needed for your future 3D projects.
Frequently Asked Questions
What is the first step to align the front and back?Activate the back with the "Time Freeze" option to fix the required frame.
How do I ensure that the two parts are perfectly aligned?Use the fill tool to increase the visibility of the back and adjust the transparency for fine-tuning.
Can I adjust the size of the back during the process?Yes, use the scaling option to adjust the back proportionally and achieve a perfect fit.
What are the benefits of using the fill tool in this process?It helps you visually check the alignment and make changes to ensure precise alignment.
