Since Photoshop CS3, there is the background eraser, which destructively crops, but makes the cropping of filigree details easier than ever before.
Image sources: Giorgio Gruizza, pitrs, Deklofenak @ Fotolia.com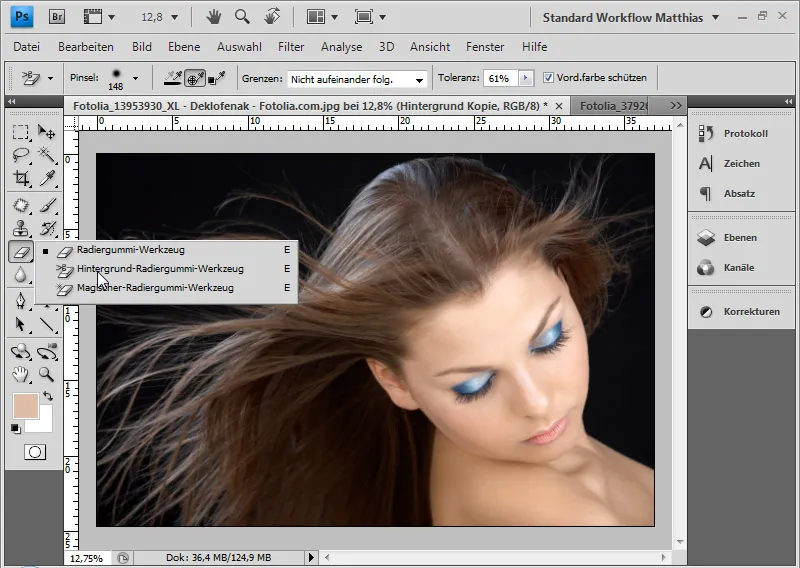
The eraser tool (E) triggers a certain aversion in advanced Photoshop users who have internalized non-destructive work. The Background Eraser and Magic Eraser tools are hardly used or known because of this "bad neighborhood" in the application. However, the background eraser introduced with version CS3 can produce astonishing results when removing hair, which are in no way inferior to removing hair with selections and even have an advantage that should not be underestimated.
The background pixels are erased, i.e. made transparent/erased. The disadvantage of this cropping is the destructive processing. The pixels are irretrievably lost except for the undoing of the work steps (Ctrl+Z or Ctrl+Alt+Z).
For this reason, the original layer must always be duplicated before such editing so that a layer with all pixel information is retained.
The advantage of the background eraser over the magic wand, quick and color range selection, as well as other selection techniques, is the ability to protect the foreground color. This makes it possible to crop the hair in great detail and with almost no color fringing. I can then select the clipped pixels and create a layer mask from them to return to non-destructive editing.
With the background eraser activated, several setting options appear in the menu bar.
I select a soft brush of medium size as the default brush. I set the recording to Once. In the Borders menu, I select Not consecutive if I want to remove hair from the background. The tolerance is set to a medium value of 60, as the contrast between the foreground and background is quite good. The Protect foreground checkbox is activated. This allows me to use the Alt key to specify the hair colors that are to be excluded from the erasure.
Example 1: Brown hair on a dark background
Before I start editing with the background eraser, I would like to show you what a hair clipping looks like after a selection via channels. The area on the right (section) with the light background texture has a color fringe from the original background. The left area with the dark texture in the background looks reasonable because the dark color fringe merges with the new dark background texture. I would have to correct the color fringe in a further step, for example with a Hue/Saturation adjustment layer.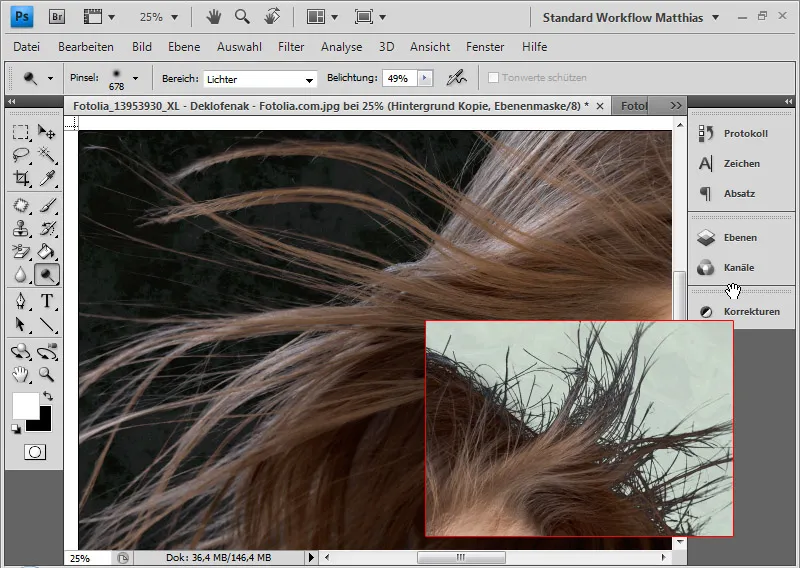
And now, for comparison, the editing with the background eraser:
First, I duplicate the background layer and place the two textures for the new background between the background layer and the duplicated layer. I select a light and a dark texture so that a good assessment of the clipping is possible.
Holding down the Alt key, I select the hair to determine the color tone that should be protected from erasure as the foreground color.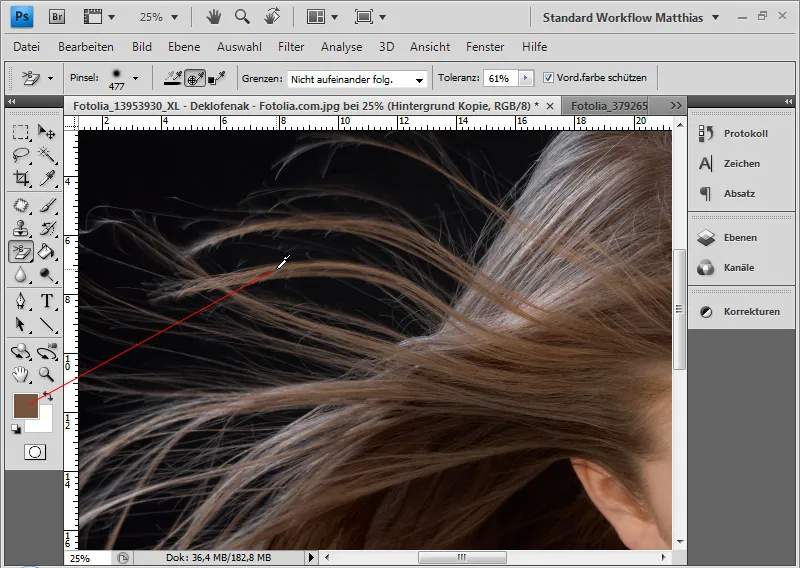
Now I can erase the dark areas with the background eraser by clicking in the background and holding down the mouse button. The small cross in the circle of the tool tip is a hotspot. This determines exactly the value that is to be affected by the erasure. The color area at the cross determines the overall effect in the circle. This is important for irregular backgrounds and for very small areas that are to be erased.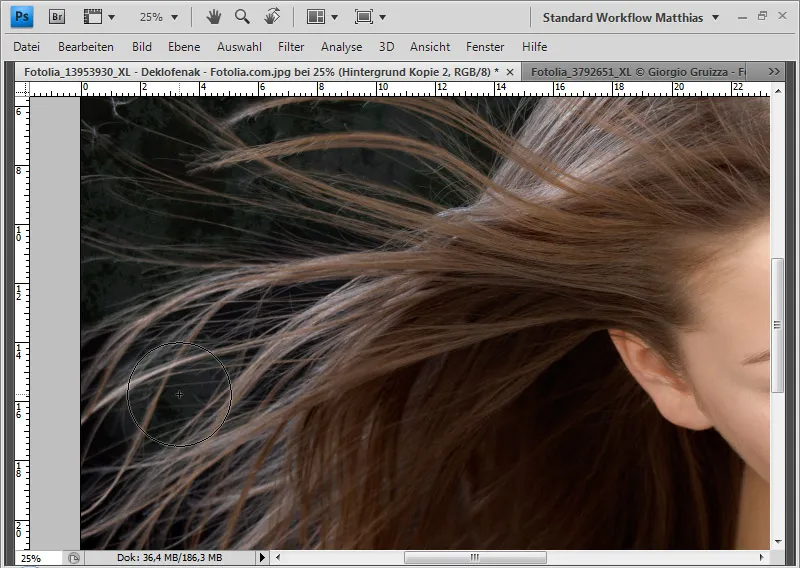
Depending on the color tone in the hair, I have to redefine the area to be protected with Alt and click so that the background eraser does not erase hair that is slightly darker or lighter. I also select the face color on the right-hand side when I erase the hair there.
If I have erased too much, I can undo the editing steps with Ctrl+Z or Ctrl+Alt+Z. If the editing is already so far advanced that it is not advisable to go back to previous editing steps, I can use the protocol brush to select my editing status when the relevant part of the image was still OK as the source and bring it back into the current image.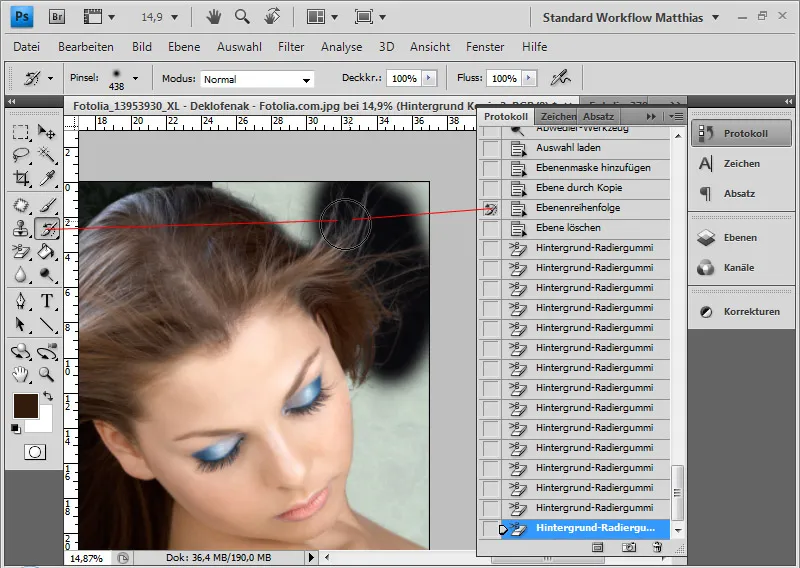
Simply open the protocol window, specify the source in its original state and use the protocol brush to restore the areas in the image and then crop them more precisely.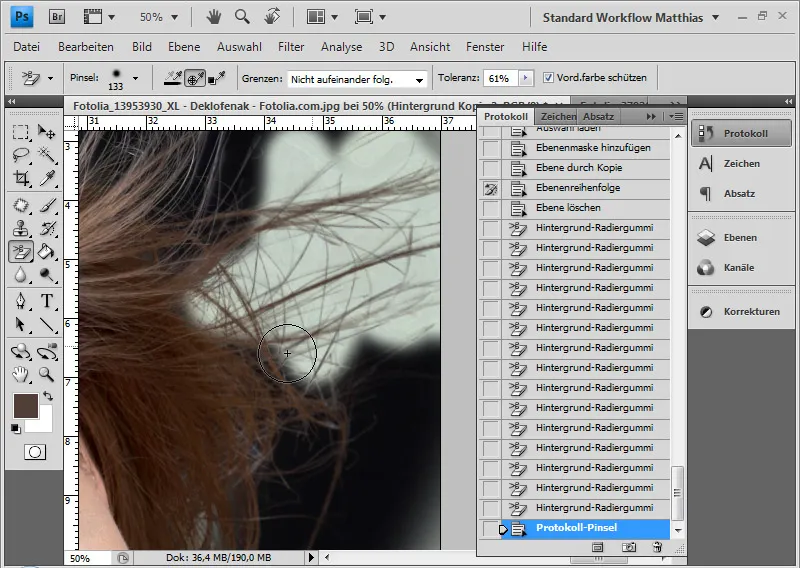
My clipping is finished.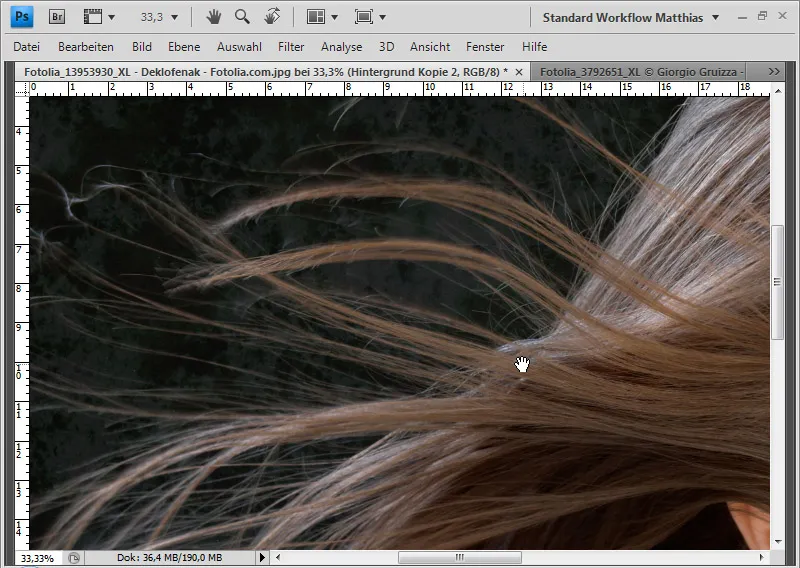
The clipping is more detailed than the clipping using the selection from the channel with the highest contrast. With Ctrl+click in the layer thumbnail, I can now select the pixels and add them as a layer mask to the background layer. This gives me the option of continuing the processing non-destructively.
Example 2: Blonde hair on a red background
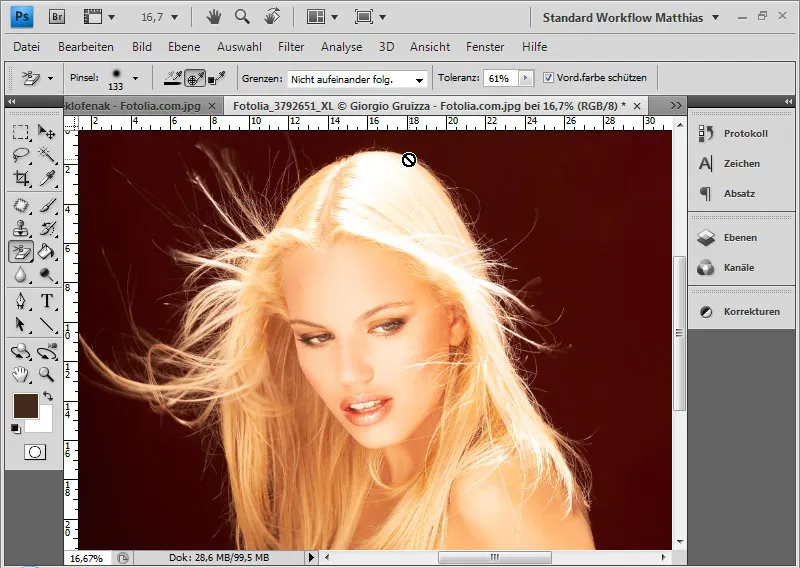
First, as a comparison, the clipping via a selection of the color range.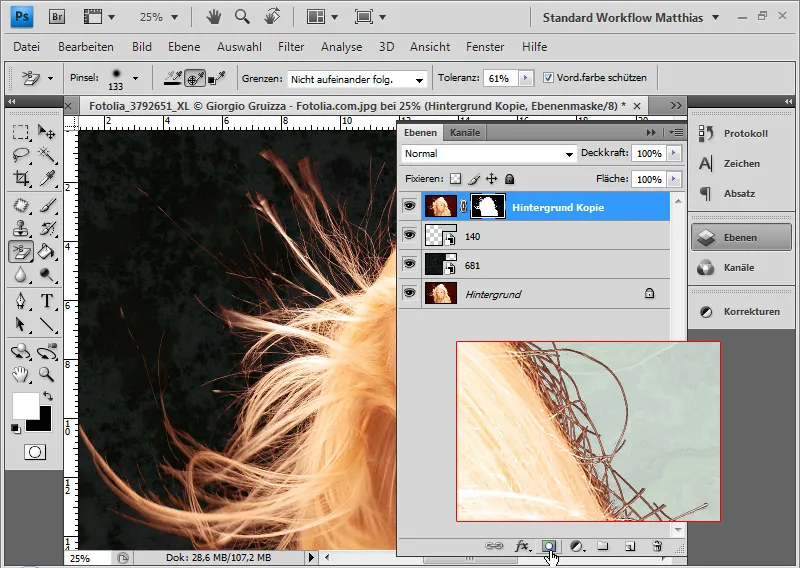
A red color fringe is clearly visible here. I would also have this with a selection via channels or with a color range masking. With a Hue/Saturation adjustment layer in the area of the color fringe, I would have to compensate for the color fringe.
Now comes the editing with the background eraser. I use Alt to select the blonde hair as the area to be protected. I start erasing by clicking in the background.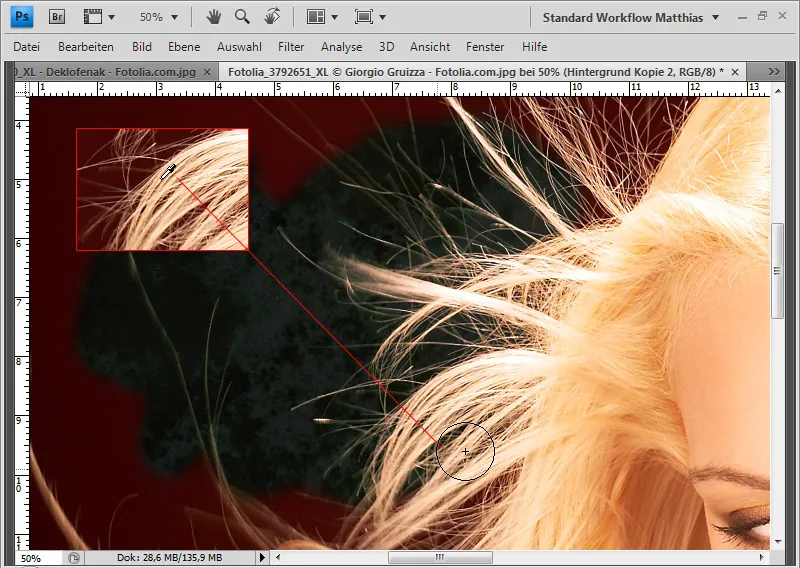
In the 100 percent zoom range, you can see very clearly how the hair is removed from the red background - without losing any of the individual hairs!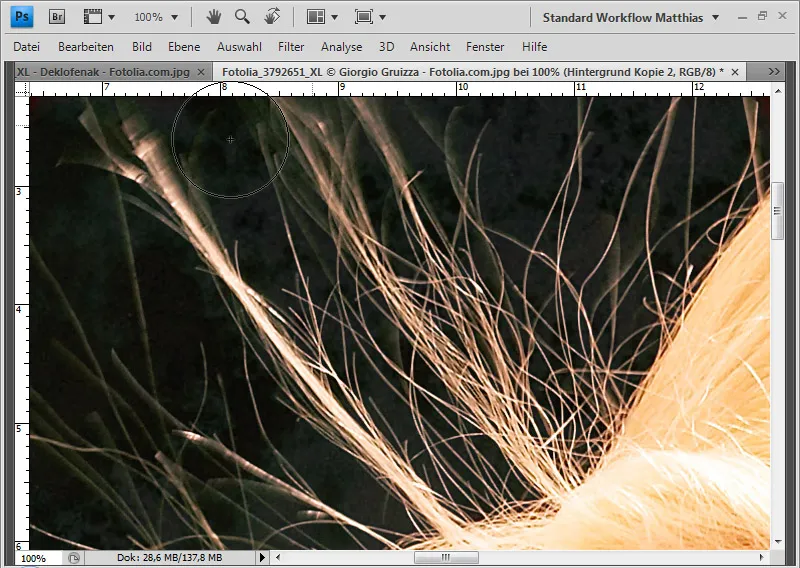
If some of the hairs at the edges are darker than the rest of the hairs due to the shot, I can then use the dodge tool to address the mid-tones of the hairs and lighten them. This balances out dark hair and makes it all look uniform and harmonious. If I have dark hair with light areas, I have to use the dodge instead of the highlighting tool.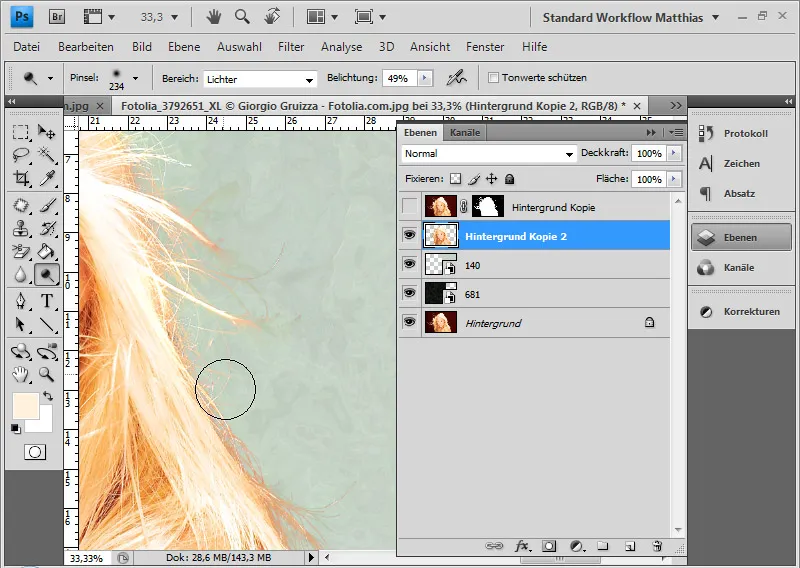
The erasing is finished: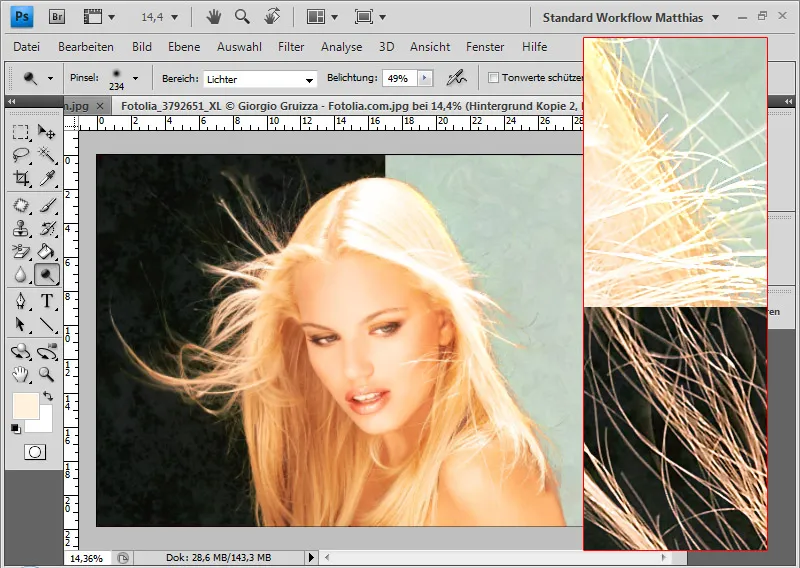
The result shows no color fringing. This saves me having to make further corrections to the image, but I have achieved a very good result in just a short time.
Example 3: Light hair in front of an irregular background
Even though the background eraser has its particular advantage with a uniform background, I can also achieve very good results with irregular background structures.
It is important that I repeatedly select new color areas of the background with the hotspot of the tool tip in order to remove them from the image. This prolongs the processing time a little, but the results are very good.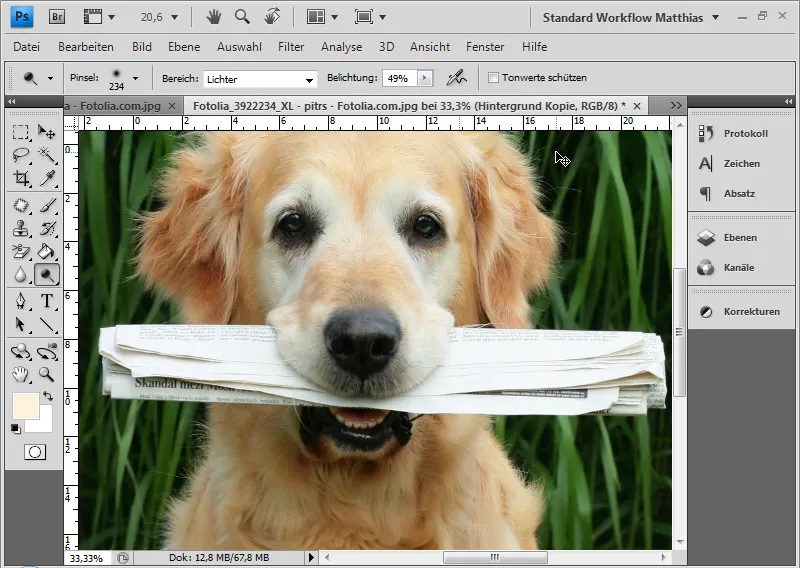
With this dog, I first have to select and remove the dark parts of the plant with the hotspot and then the lighter ones in the next step. I can use Alt at any time to vary whether the very light, almost white or blonde hair should be protected.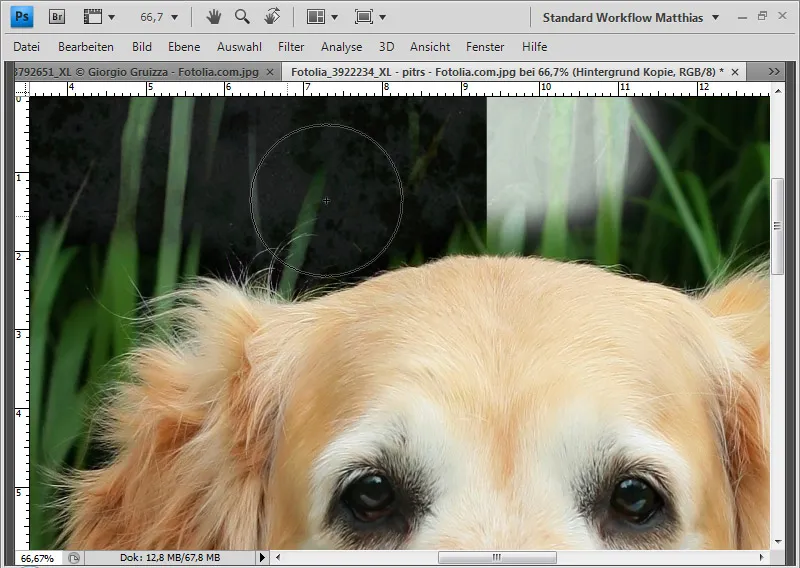
And so I work my way towards my final result.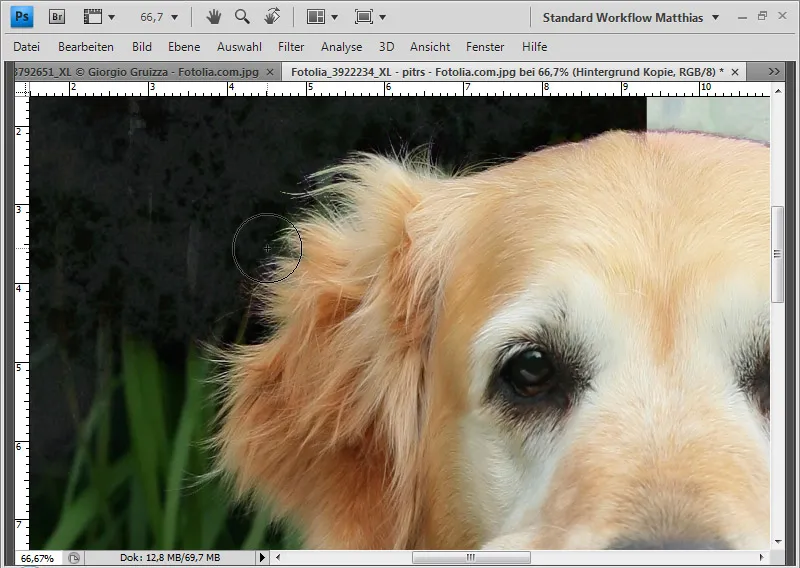
Here, too, I can use the dodge tool to correct the edges.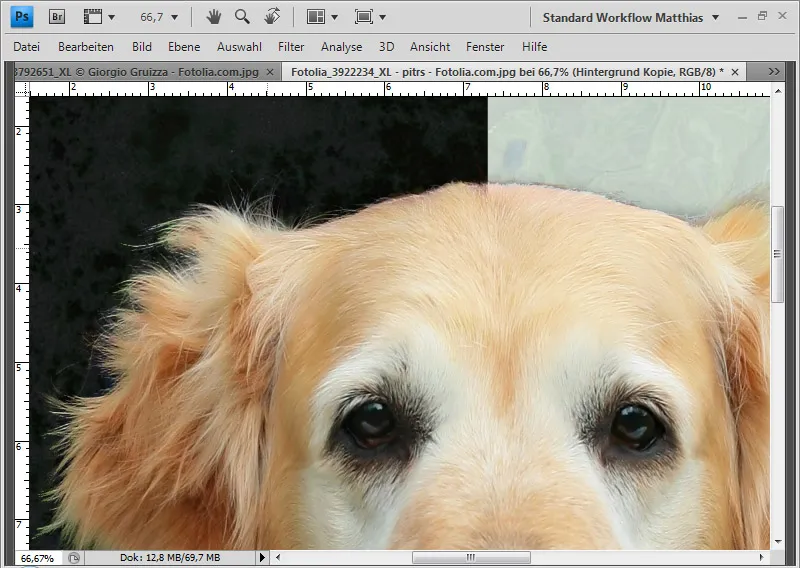
My clipping is finished.


