In this tutorial, you will learn how to animate a music composition with Adobe After Effects. We will focus on two essential techniques: using the Time Expression for continuous rotation and the Wiggle Expression for dynamic, random shaking in X and Y. These techniques will bring more life to your animation and provide an appealing visual presentation that perfectly complements the musical accompaniment.
Key Takeaways
- With the Time Expression, you can animate objects over time without needing to set keyframes.
- The Wiggle Expression adds random effects to motion, giving your animation dynamism.
- Adjustments in the composition settings are crucial to ensure the full display of your elements.
Step-by-Step Guide
First, create a new composition to finalize your animation. Go to "New Composition" and select the settings "Full HD" at 25 frames per second. The duration should also be tailored to your music track. Click "OK" and then import your music wheel into the new composition.
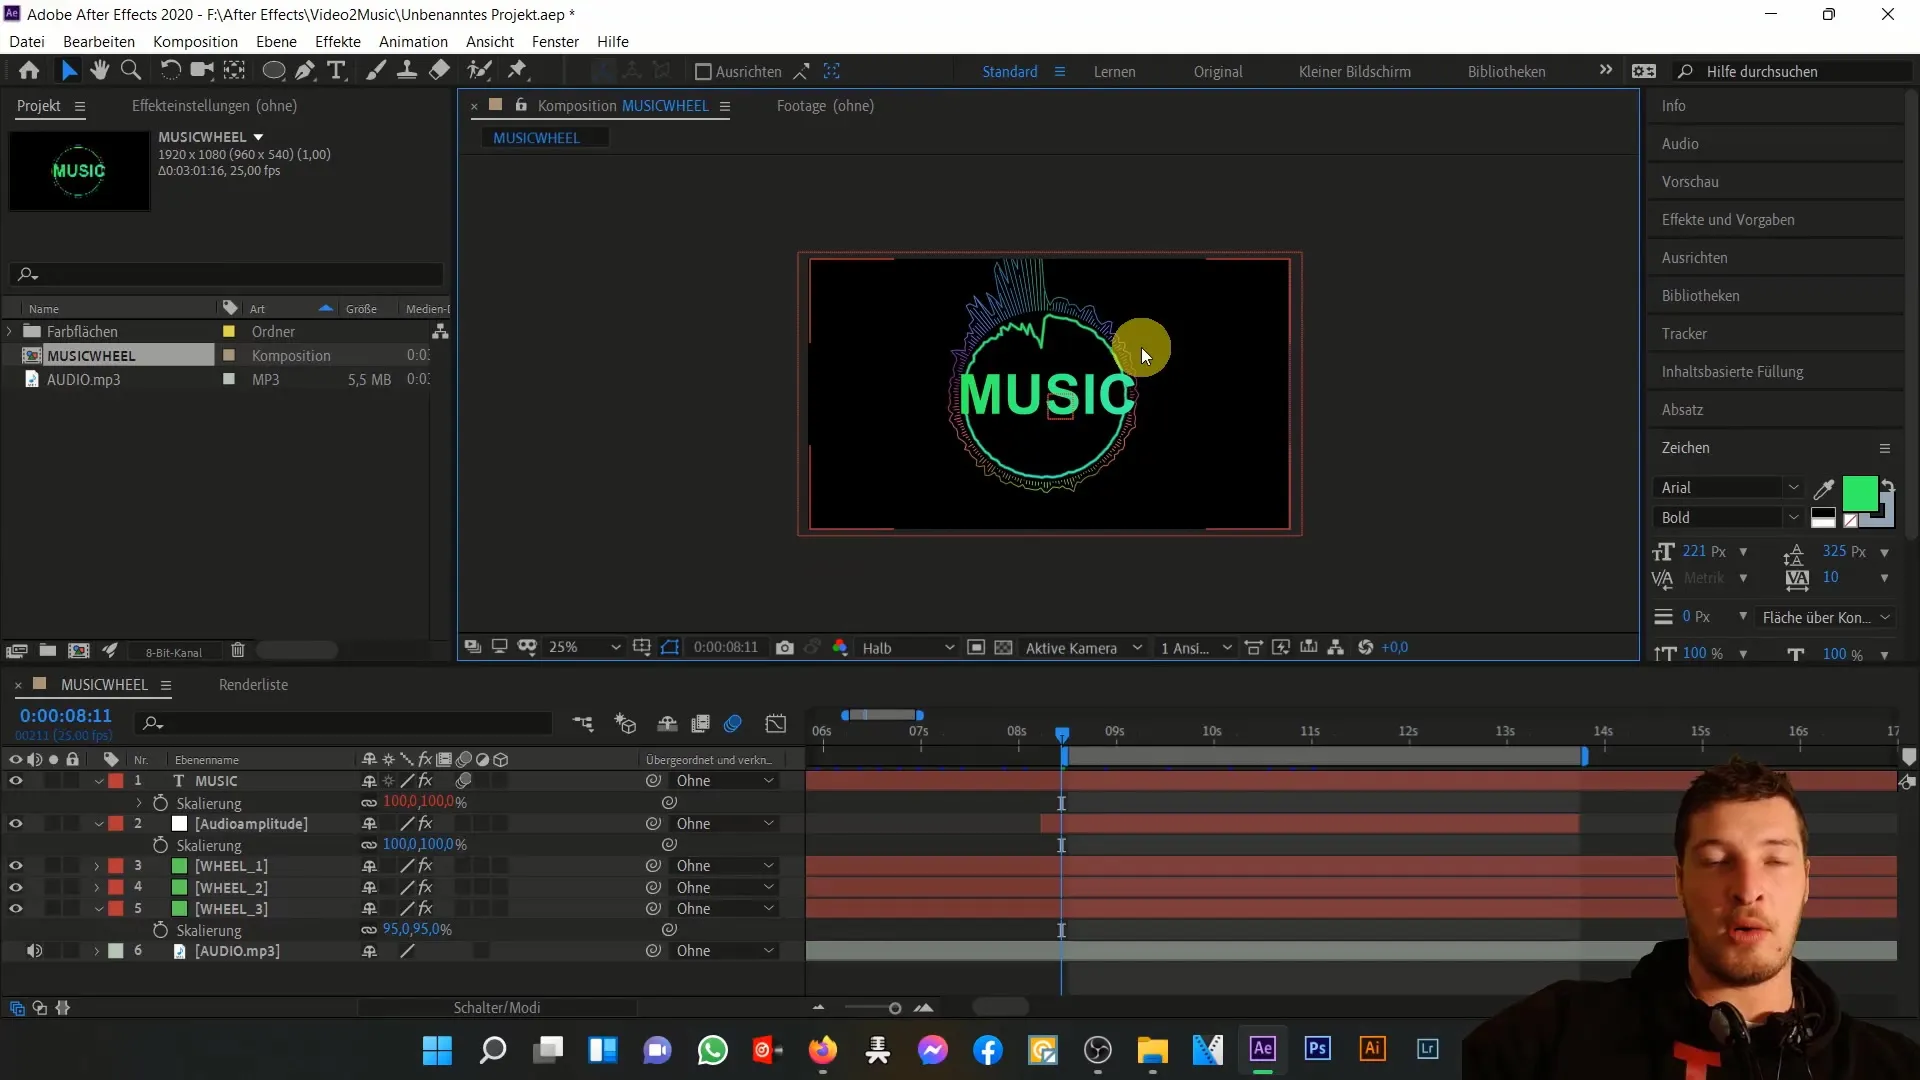
Now that you have set up the composition, let's take a closer look at the composition size. When you play the composition, you'll notice that the music wheel is slightly pushing forward in motion. It is important to create space for the later shaking, so we'll increase the composition size from "Full HD" to "4K".
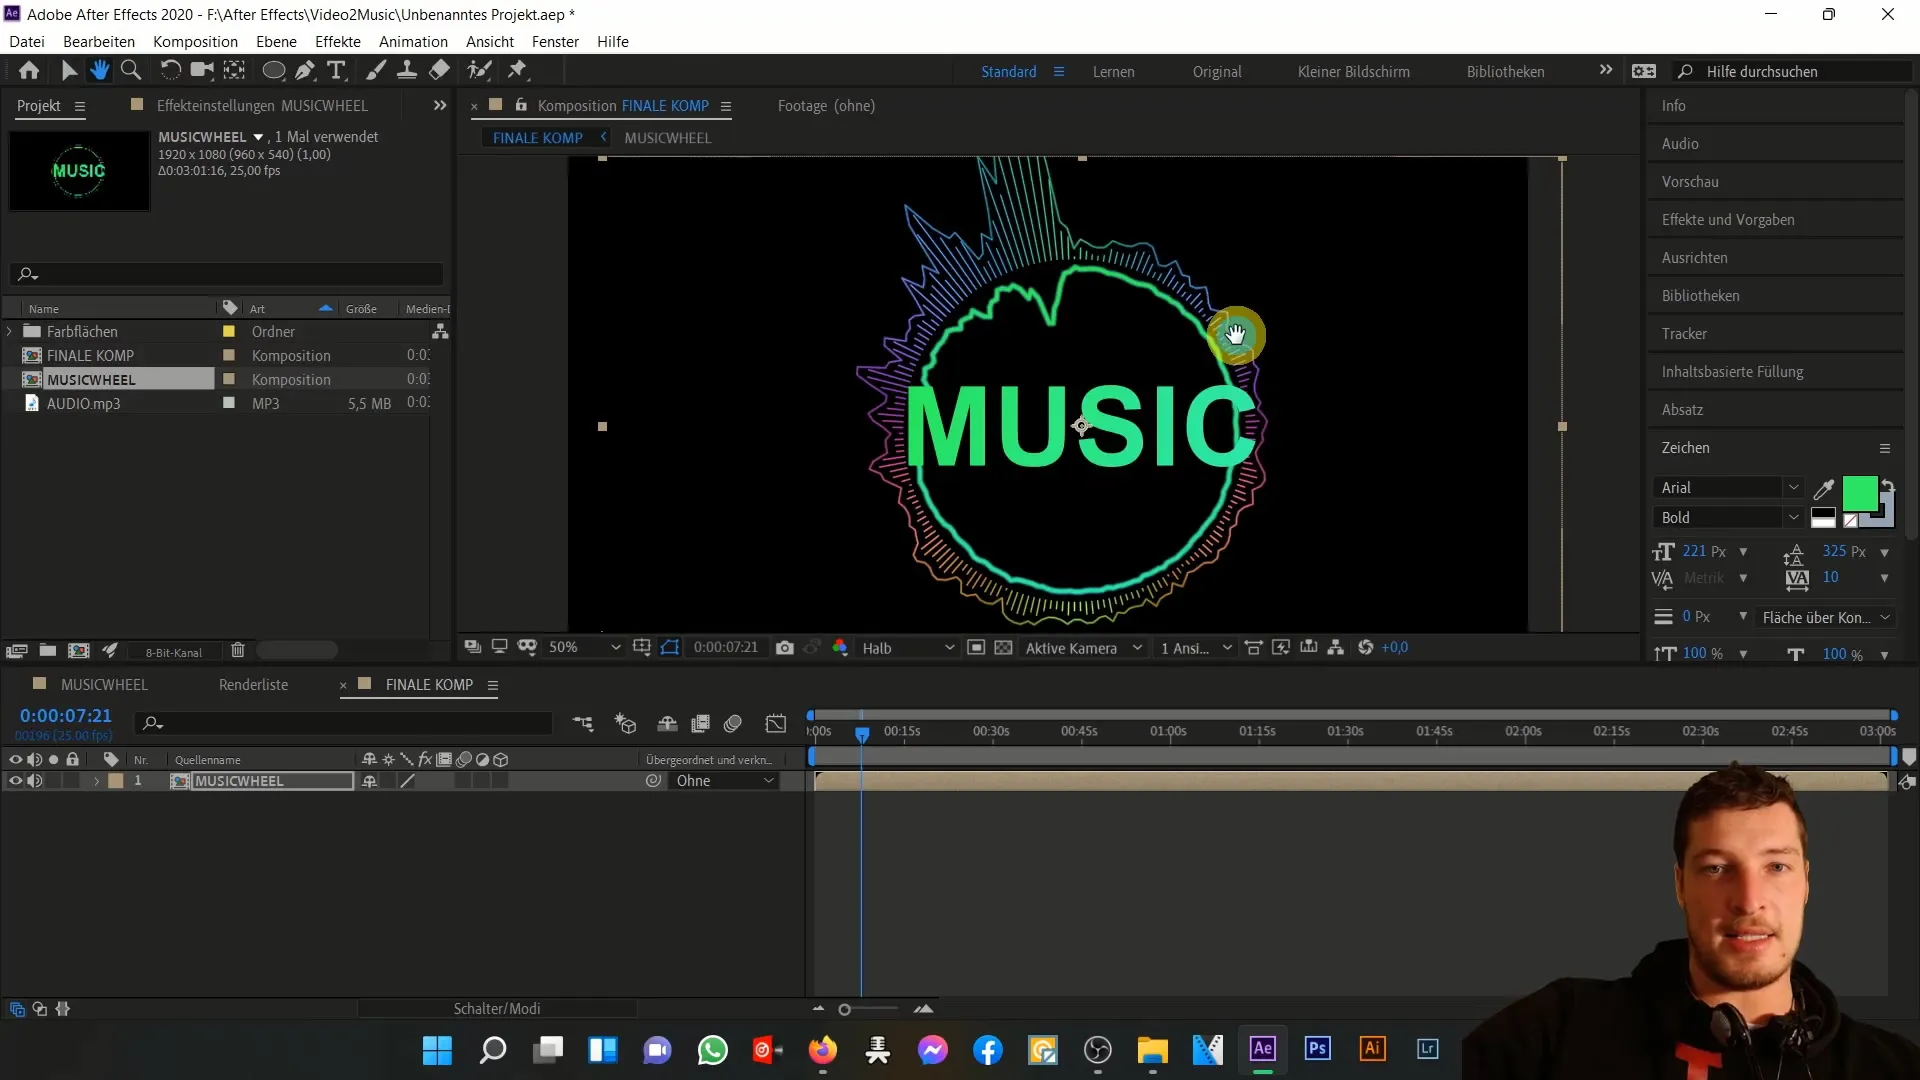
To do this, go to the composition settings and adjust the area. This adjustment will give more space to the elements so they won't be cut off during the animation. Remember that layer size also plays a role. Select your layers "wheel 1", "wheel 2", and "wheel 3" and set their size to "comp size". This ensures that despite the increase in composition size, you won't have mask issues.
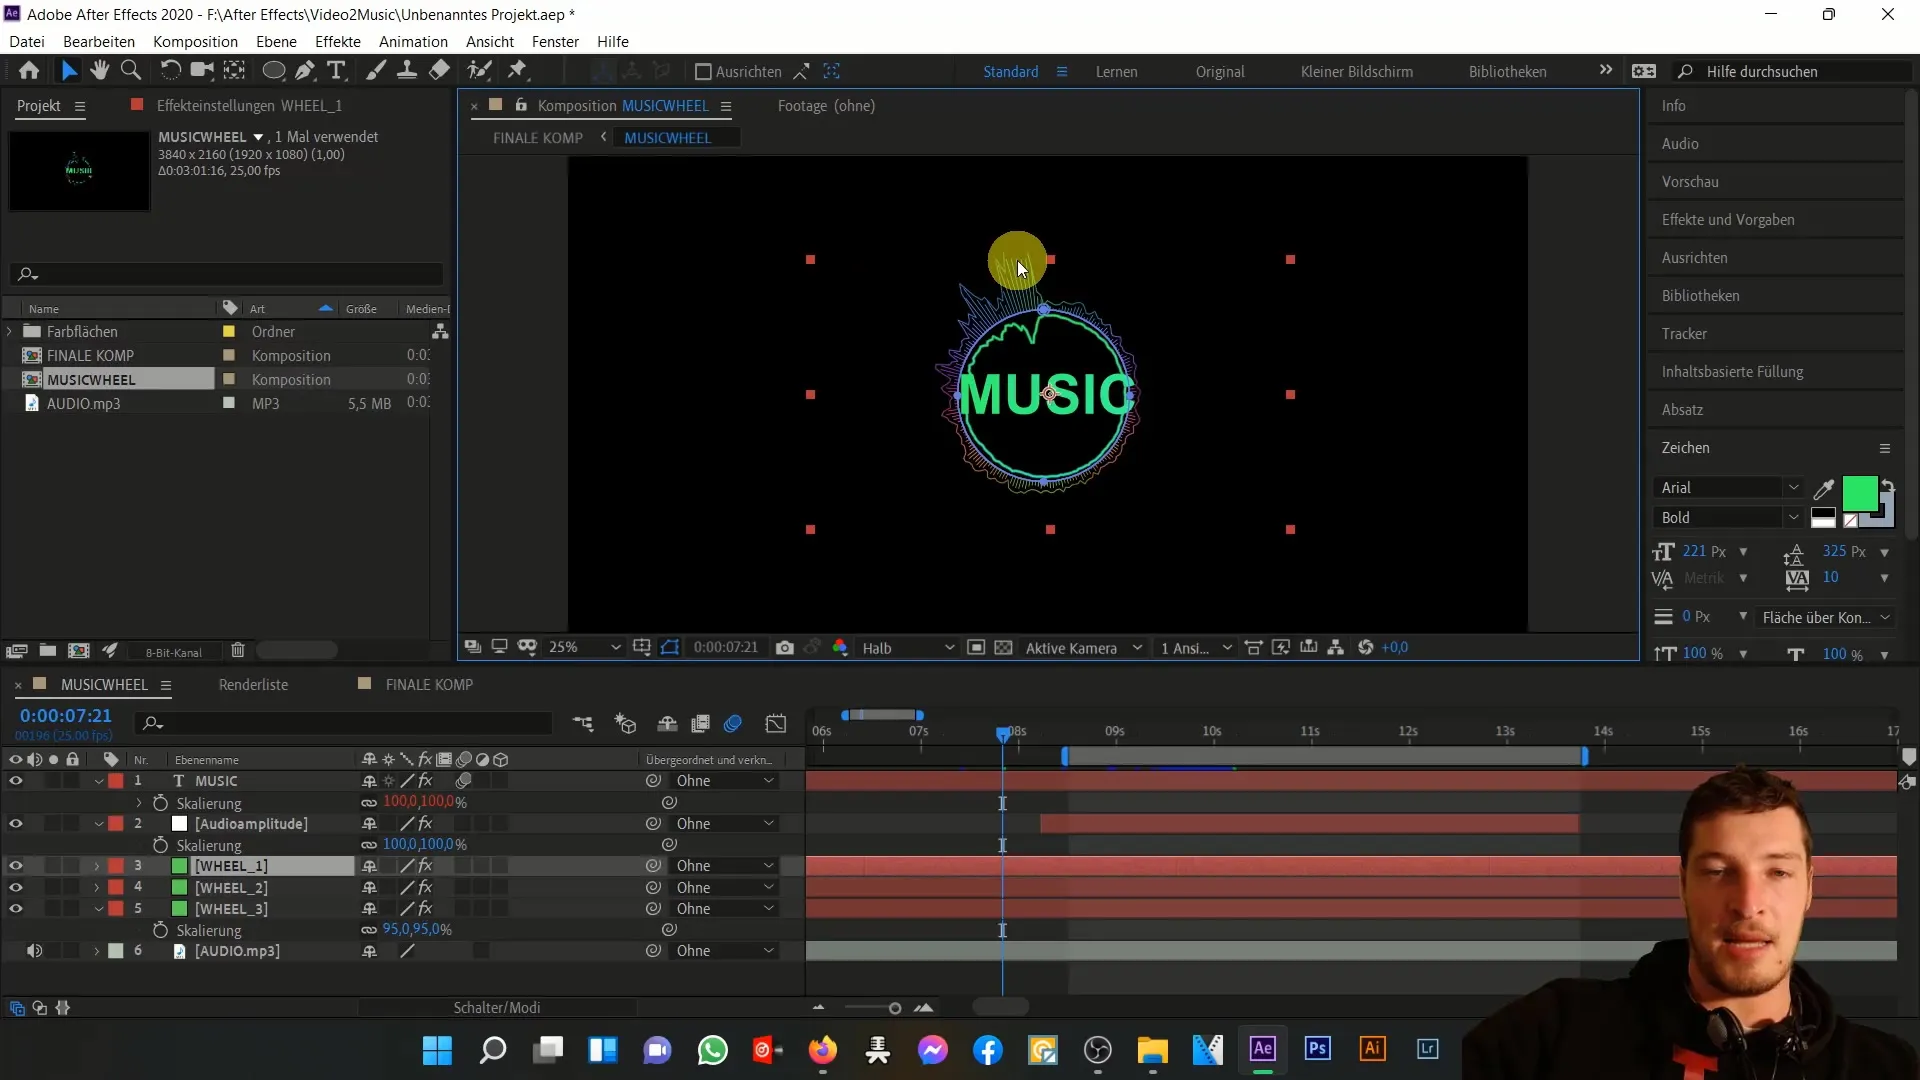
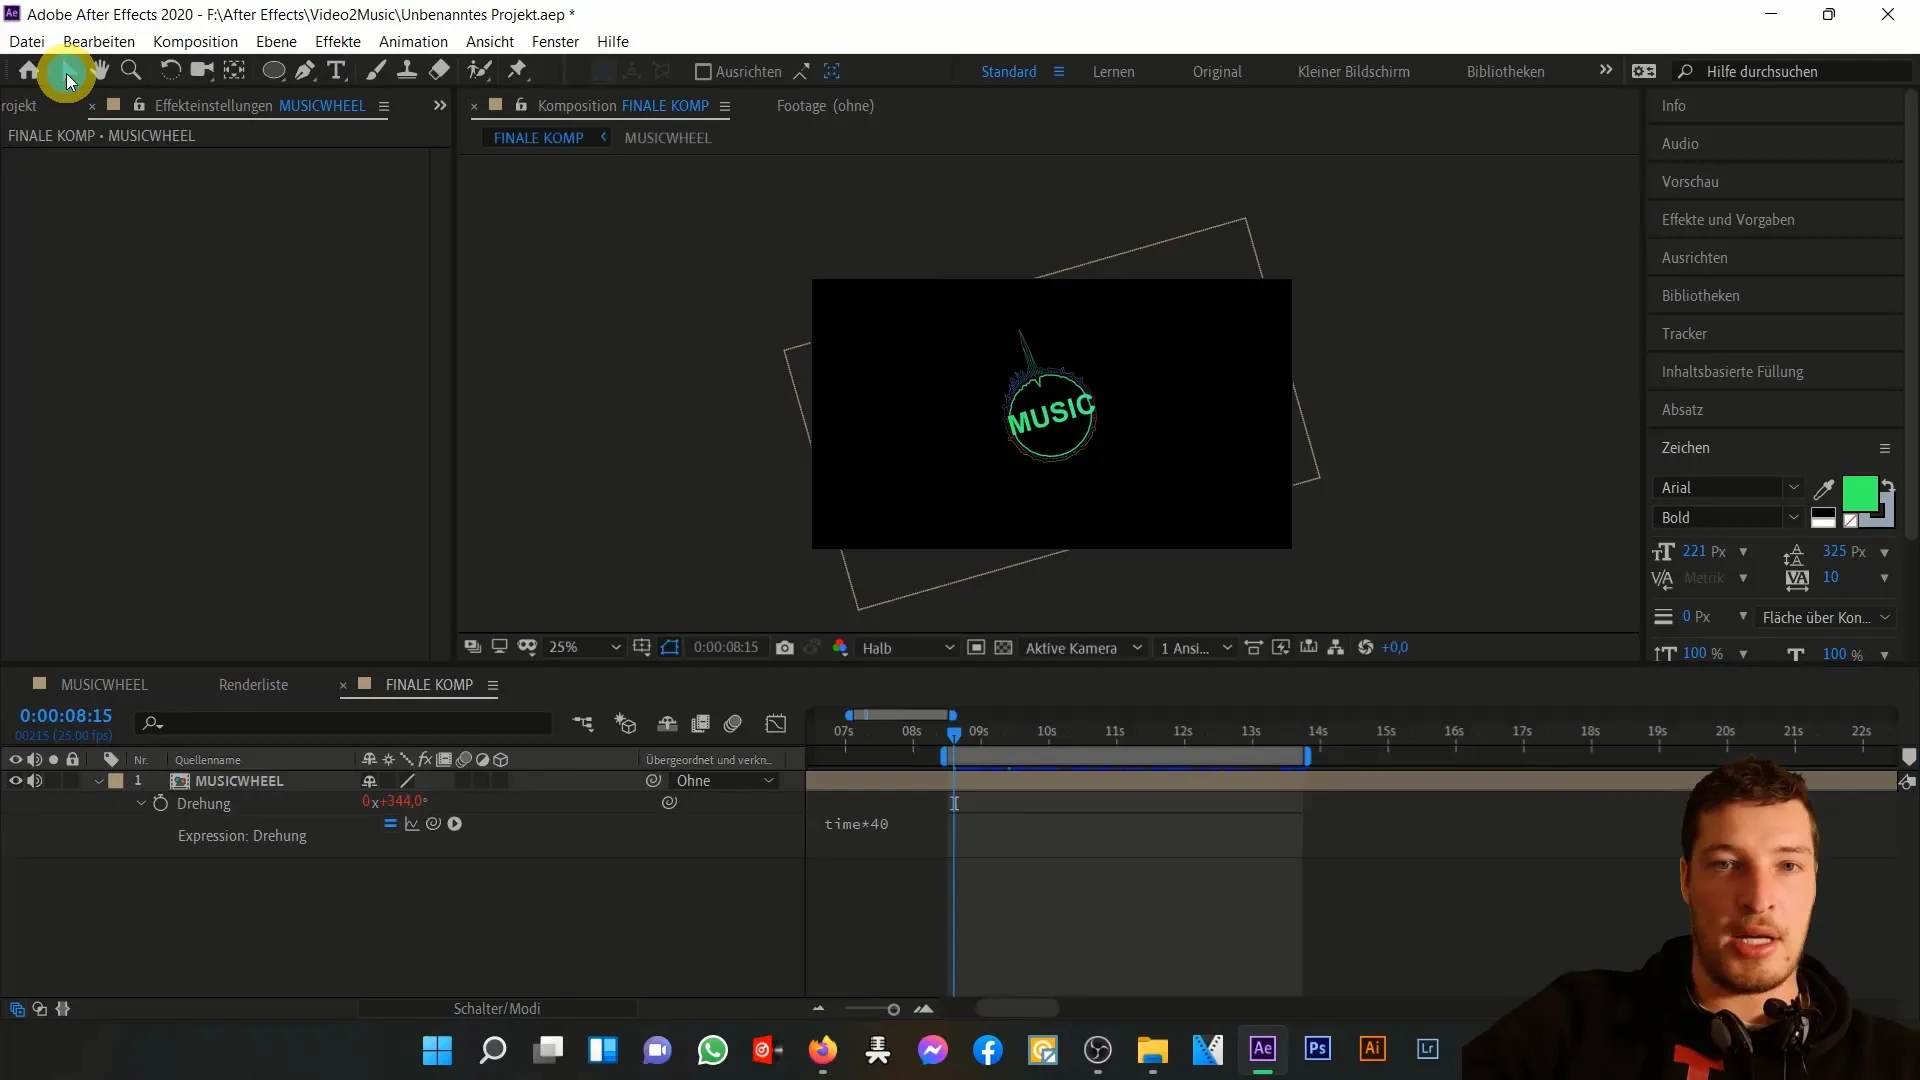
After adjusting the area, check the display of your music wheels within the composition. You will see that it now behaves better in the image. To make the animation even more dynamic, let's move on to the rotation animation. Click on the composition layer, press "R" for rotation, and by Alt-clicking on the stopwatch, enable the ability to enter an Expression.
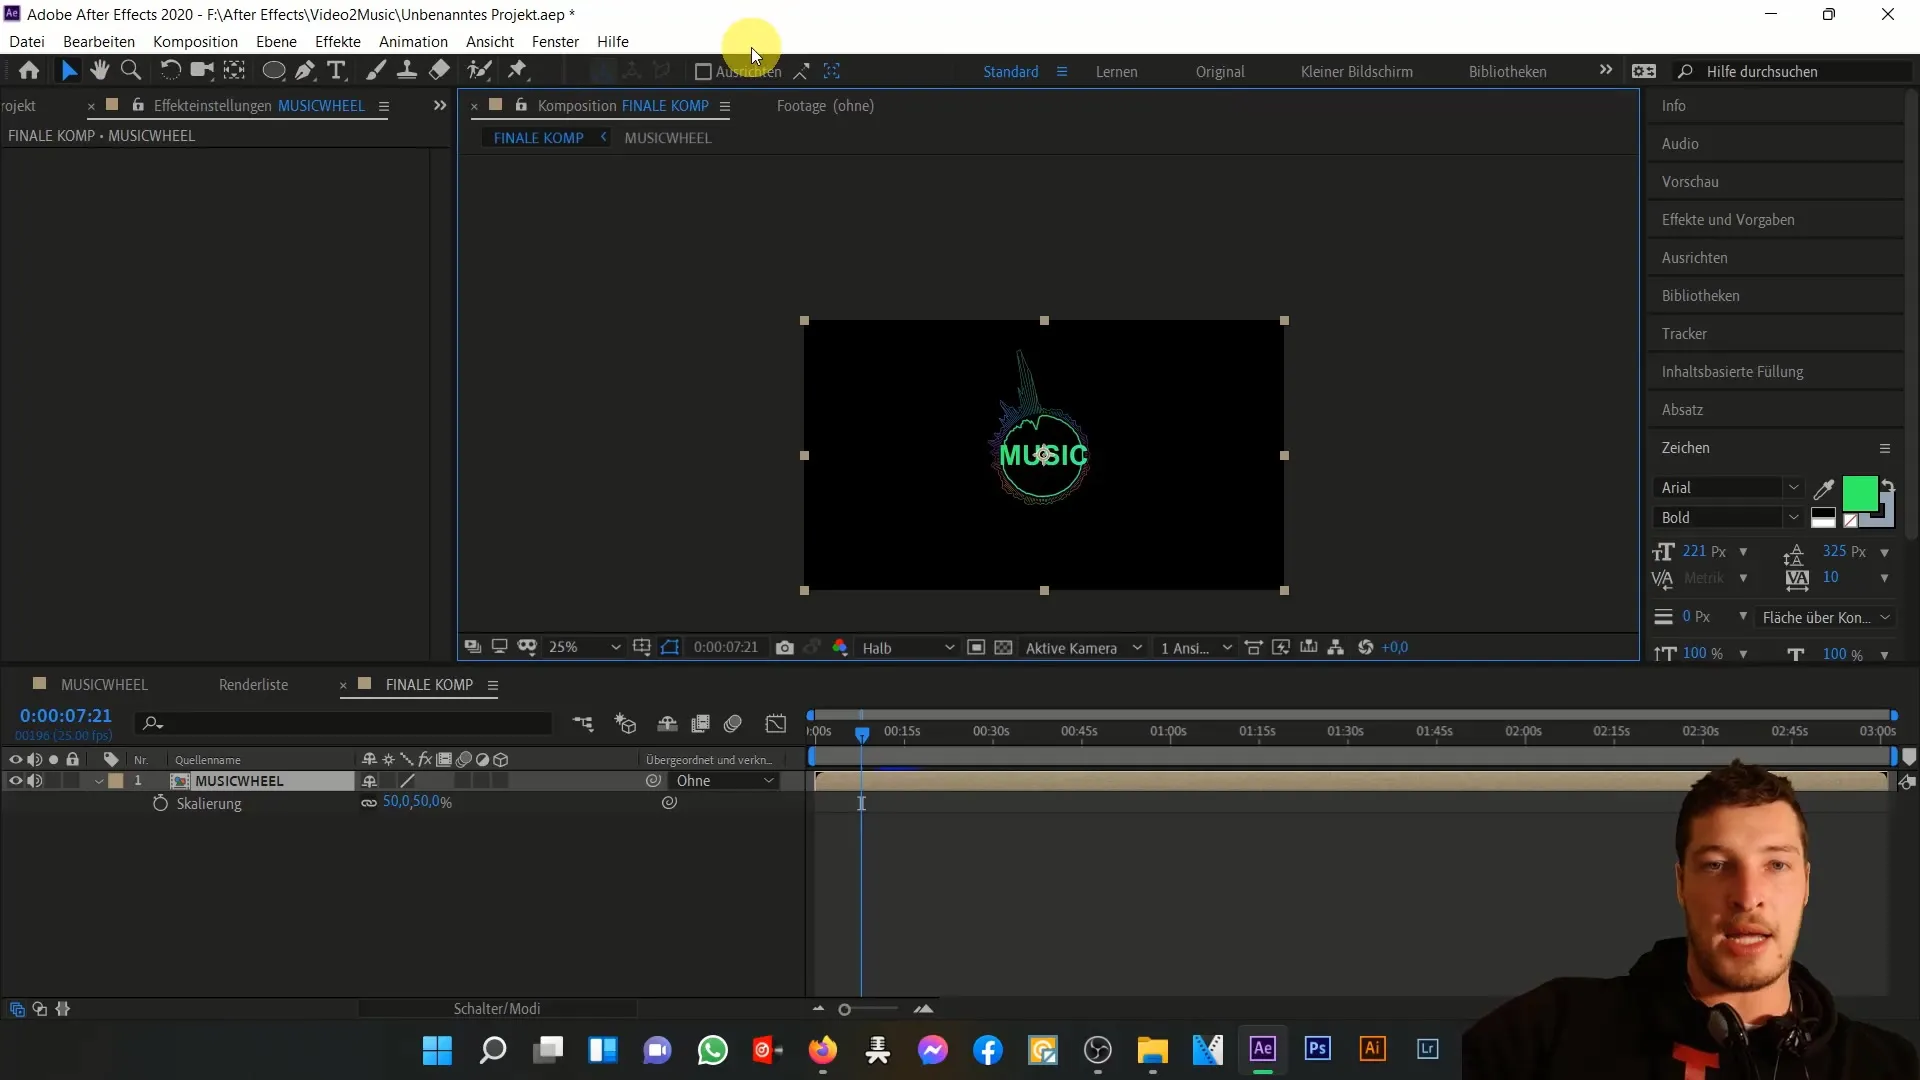
Now enter the expression time * 40. This calculation ensures that the wheel rotates faster as time progresses. You will see that the wheel now rotates continuously thanks to the expression, while time advances.
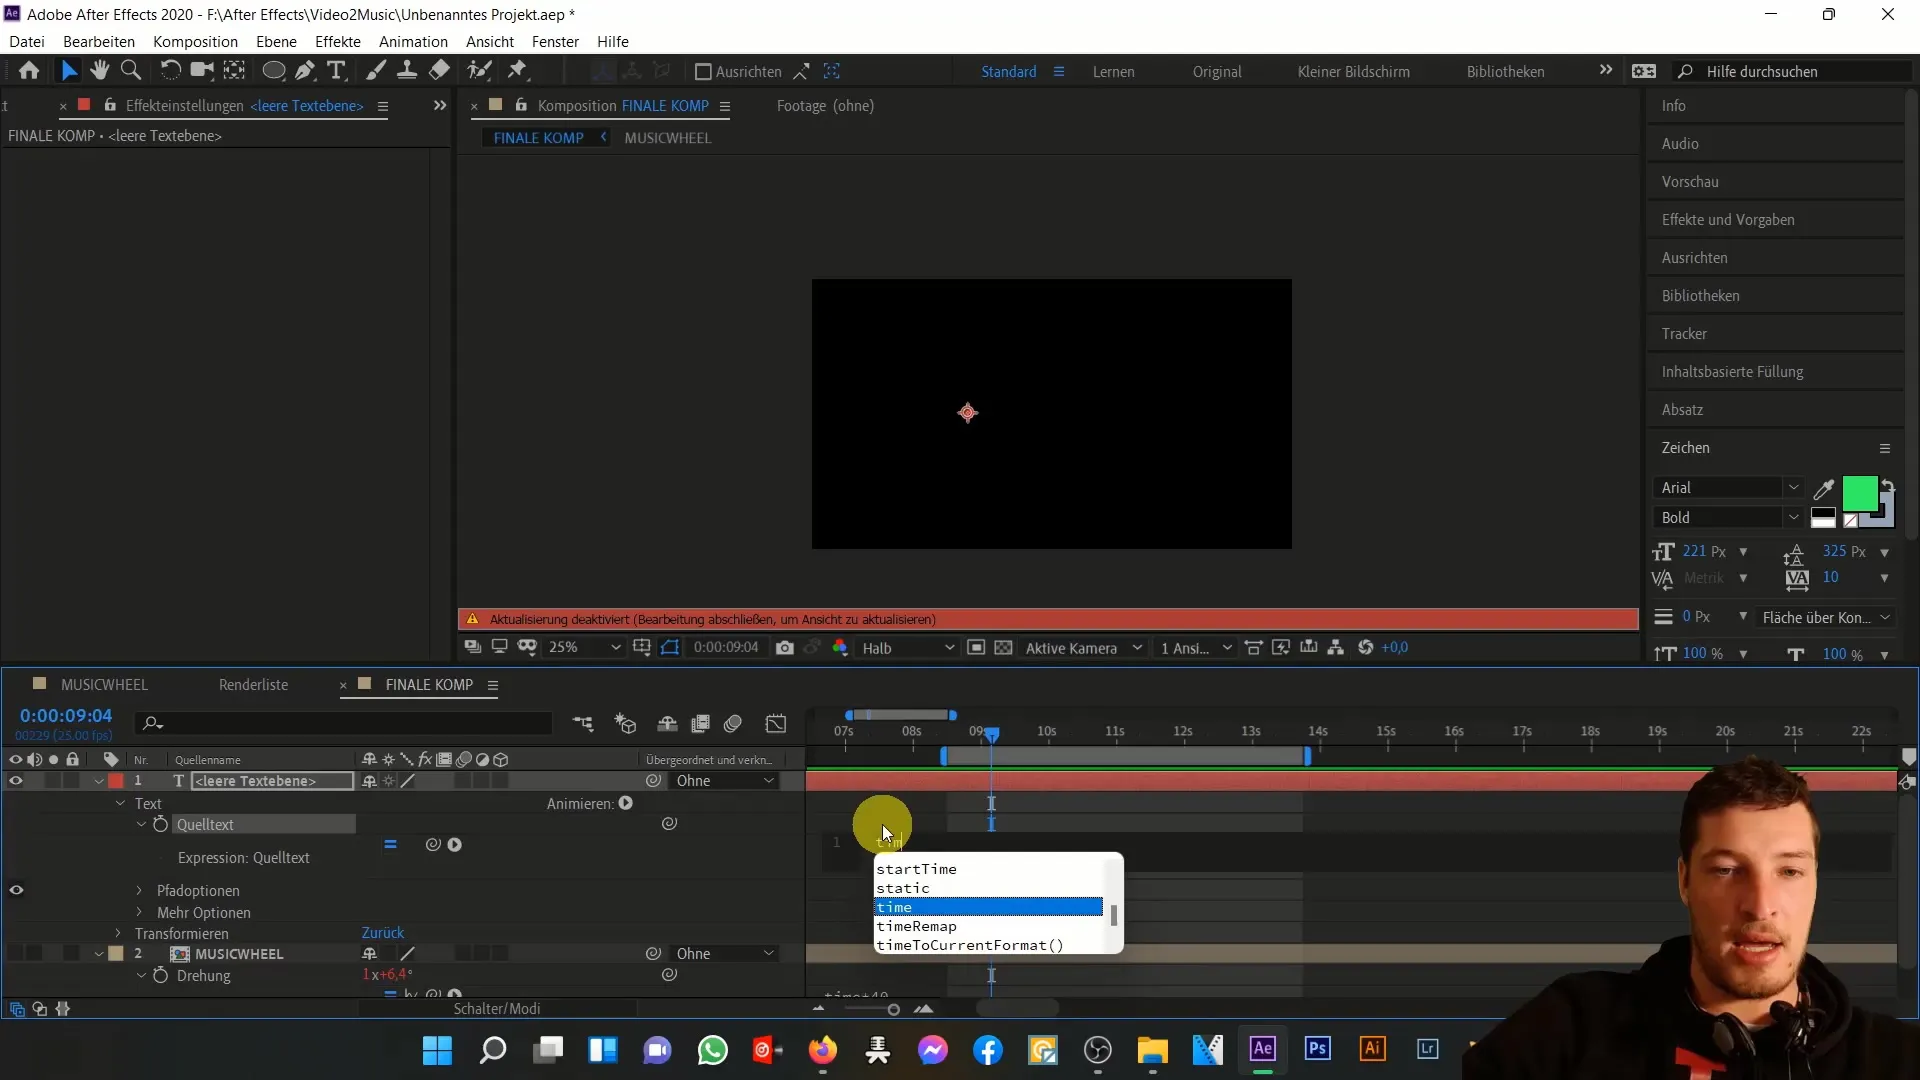
To better understand the effect of this expression, create a new text layer to display the current time. When you display the time as text, you will see how the value increases with time, giving the animation an additional dimension. After experimenting with it, you can delete the text layer.
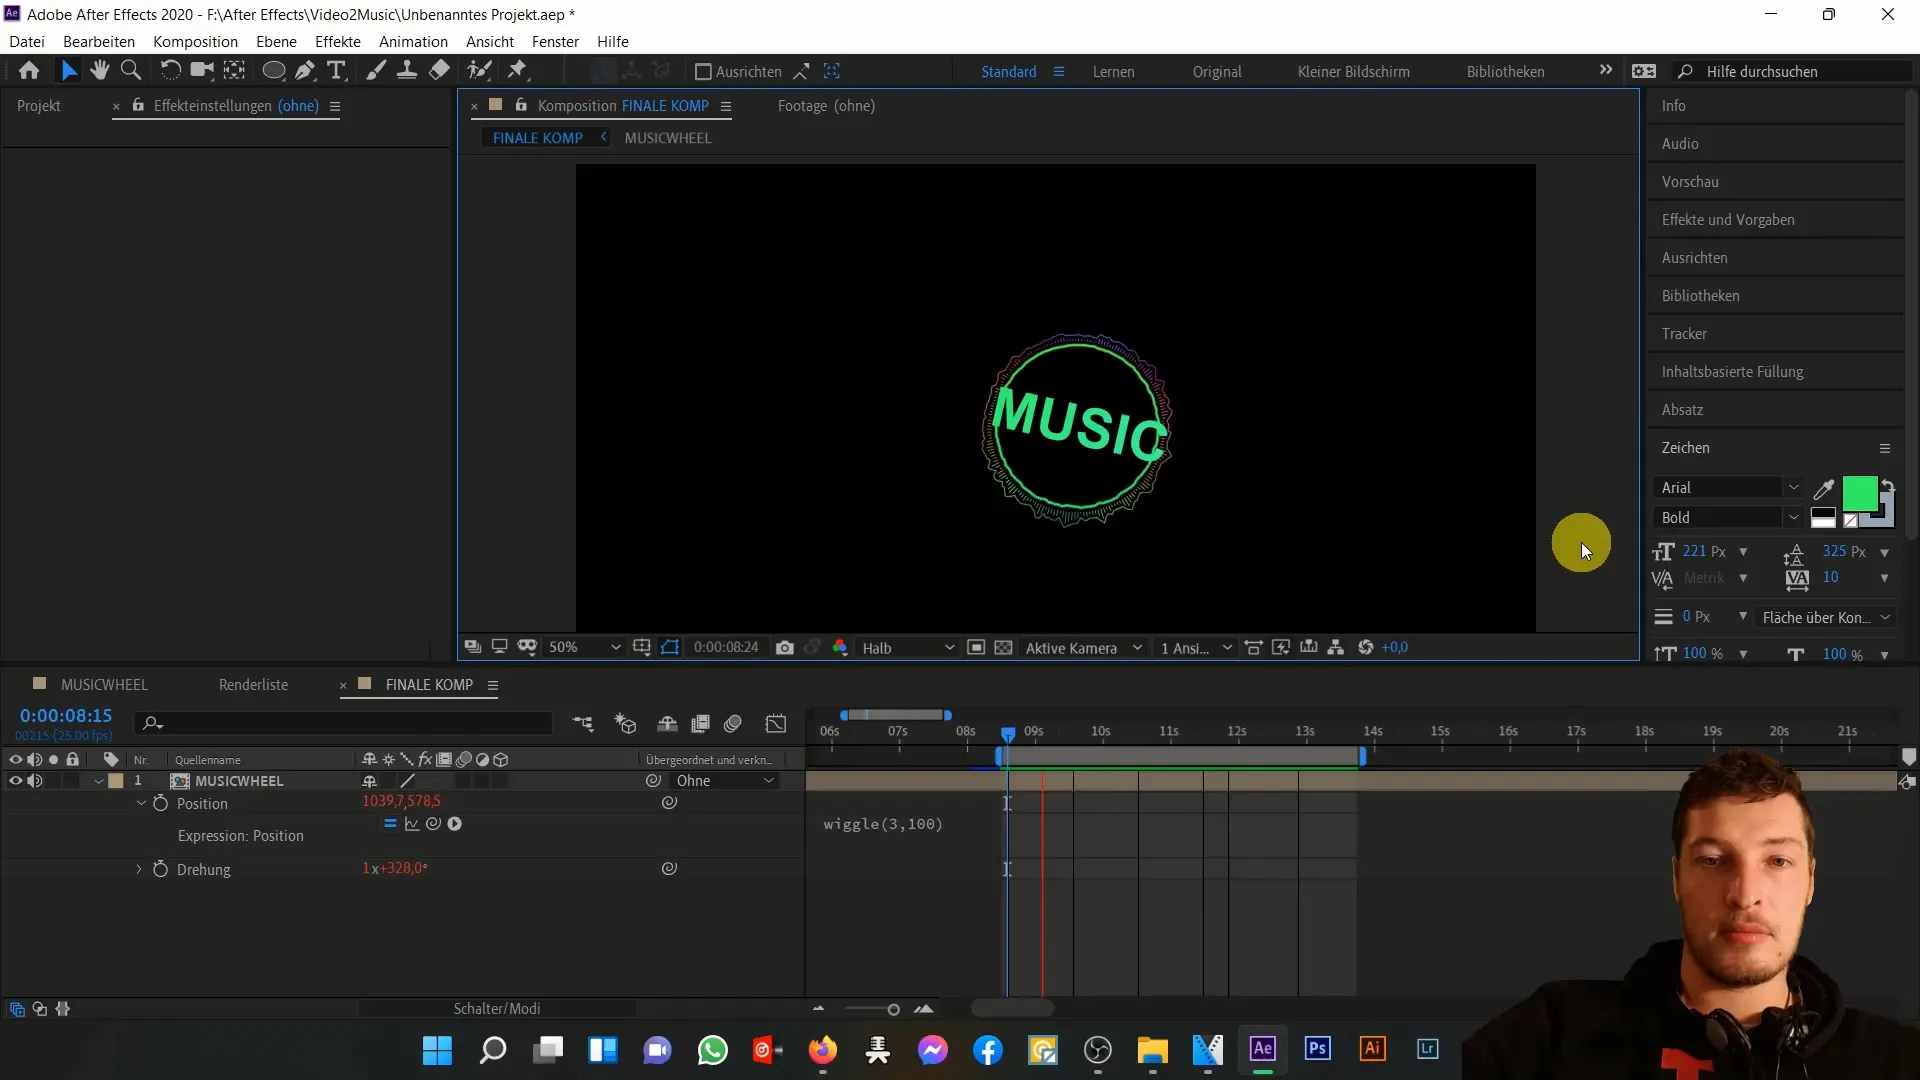
Now let me introduce you to the Wiggle Expression. To generate random shaking in the position as well, once again select the composition and press "P" for position. Then add an expression for the position as well. Enter wiggle(3, 100). This expression will cause the composition to shake randomly in X and Y, creating lively movement.
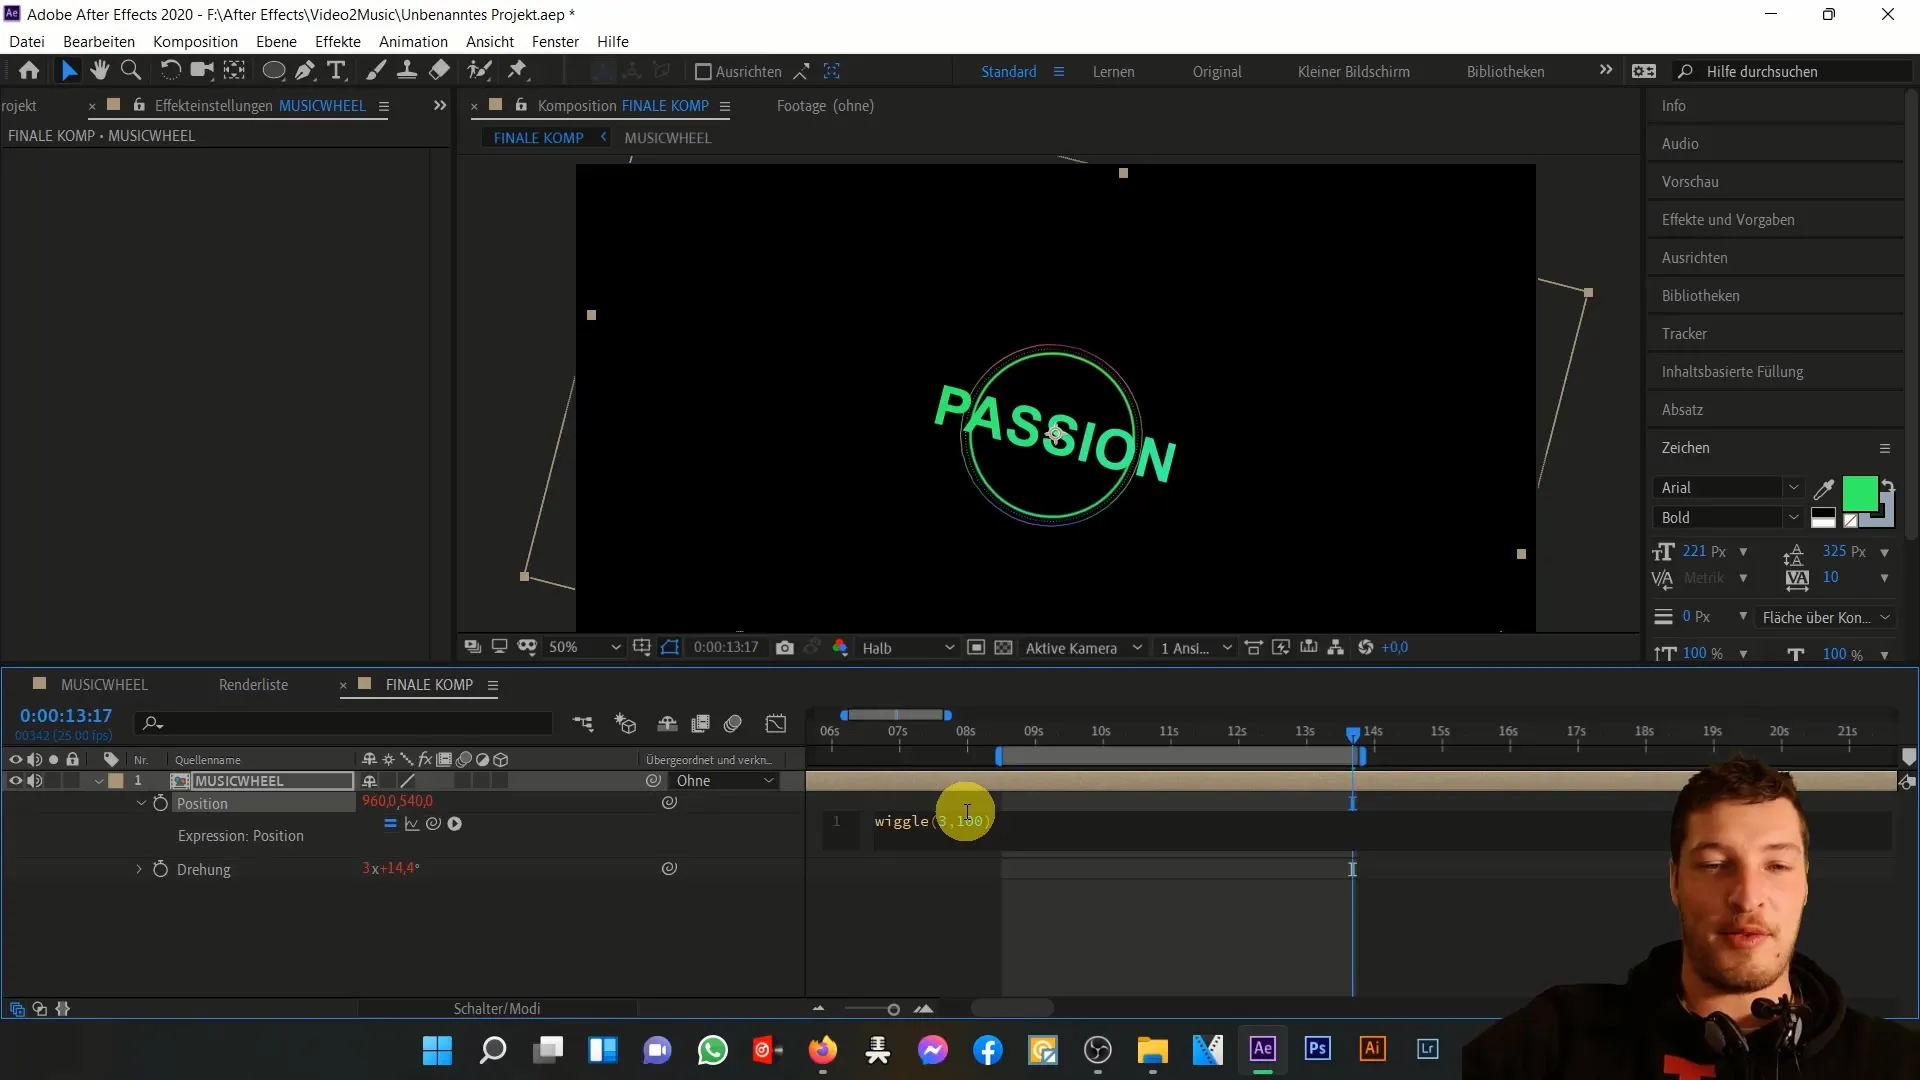
Ensure that your values for the Wiggle Expression are suitable for the animation. In this example, the "3" indicates the number of movements per second, while "100" shows the extent of the shake in pixels. Play around with the values to see what you like best.
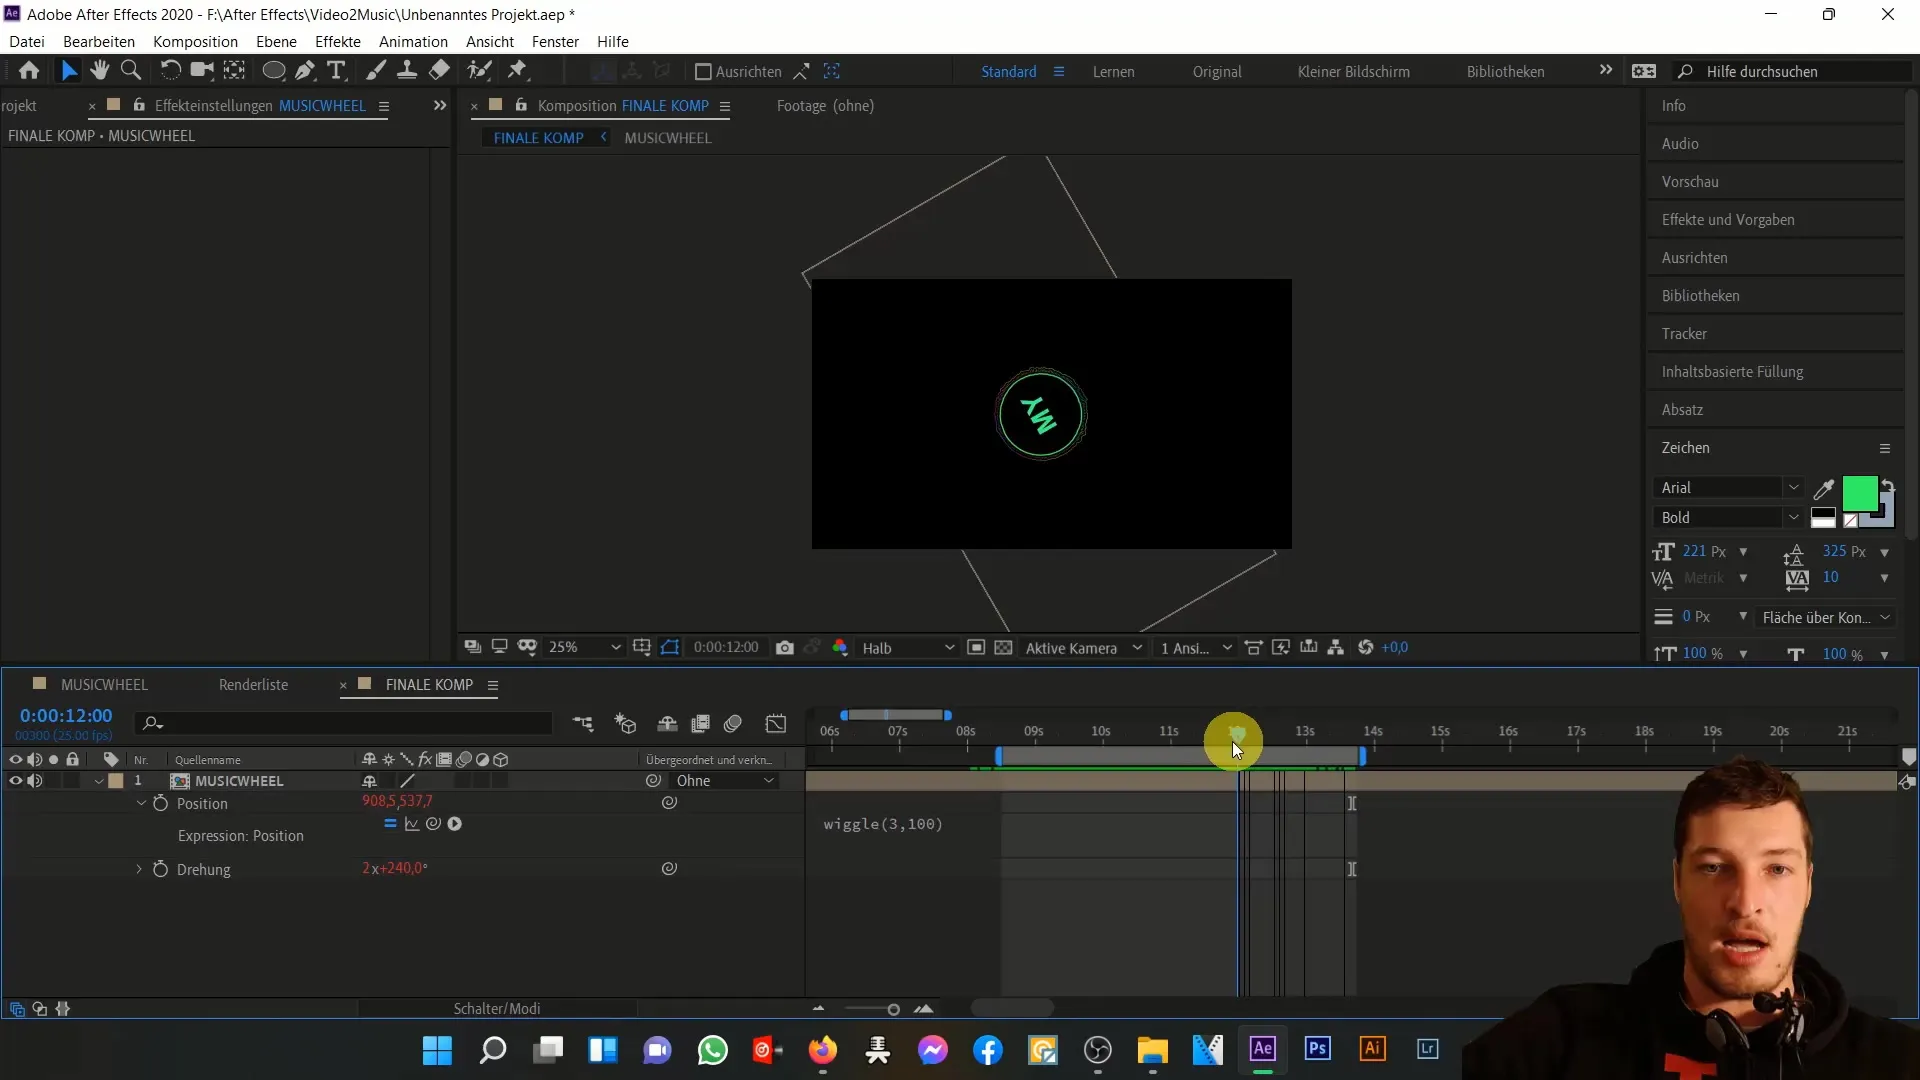
Finally, let's preview the entire result. You should see a dynamic and appealing outcome that perfectly suits your music track. We have successfully implemented the Time and Wiggle expressions, creating our animation along the beats of the music piece.
With this technique, you will be able to create even more creative animations in the future. You now have a good understanding of how these expressions work in Adobe After Effects and how you can use them to enhance your projects.
Summary
In this tutorial, you have learned how to move simple animations over time using expressions in Adobe After Effects, and how to achieve a dynamic effect through random shaking. These techniques are essential tools for creating lively and attractive animations.
Frequently Asked Questions
How can I adjust the Time expression?You can adjust the multipliers to increase or decrease the speed of rotation.
What does the Wiggle expression do exactly?The Wiggle expression creates random movements in the position of your component to produce a dynamic look.
How can I ensure that my music wheel is not cut off?By adjusting the composition settings and layer size accordingly, you can ensure that all parts of your animation remain visible.


