In this tutorial, I will show you how to create a creative interview with yourself in After Effects. In this project, you will be able to generate simultaneous representations of yourself in a video, as if you are conversing with another person. By using masks and careful preparation, this effect will be even more impressive.
I will guide you through each step so that in the end, you will be able to create your own interview project. Let's dive into the key takeaways.
Key Takeaways
- Good preparation is crucial for the success of your project.
- Create a plan for how the interview should proceed and how long each part should last.
- Use appropriate lighting and ensure that the lighting conditions remain consistent.
- Utilize masks in After Effects to seamlessly transition between the two representations of yourself.
- Pay attention to the synchronization of the clips, especially during speaking parts.
Step-by-step Guide
To start your project, you should ideally open a new After Effects project. Here are the steps you should follow:
Step 1: Set Up Project
First, open After Effects and create a new project. Make sure you have everything ready: your video footage and the necessary compositions.
Step 2: Interview Planning
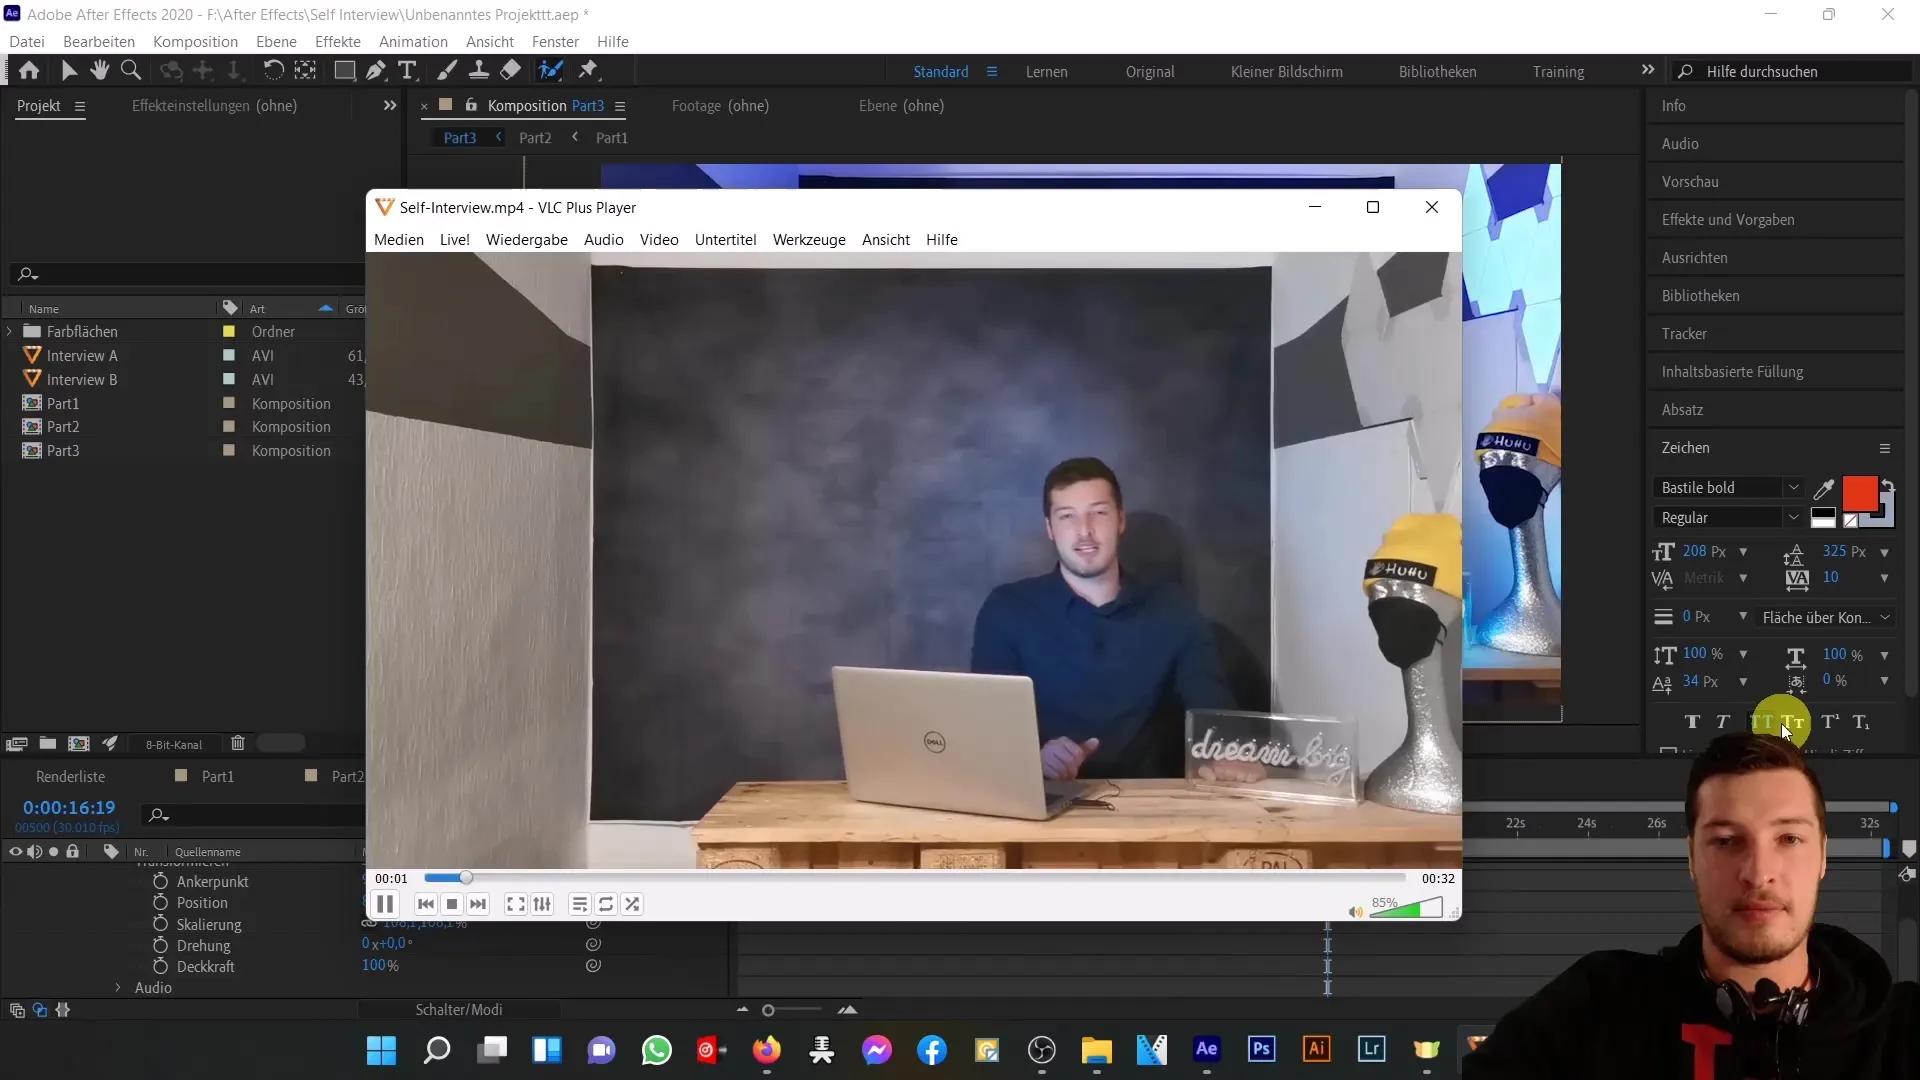
Consider how the conversation should flow. Write down the questions and answers to keep track during the recording and remember the timings of the answers.
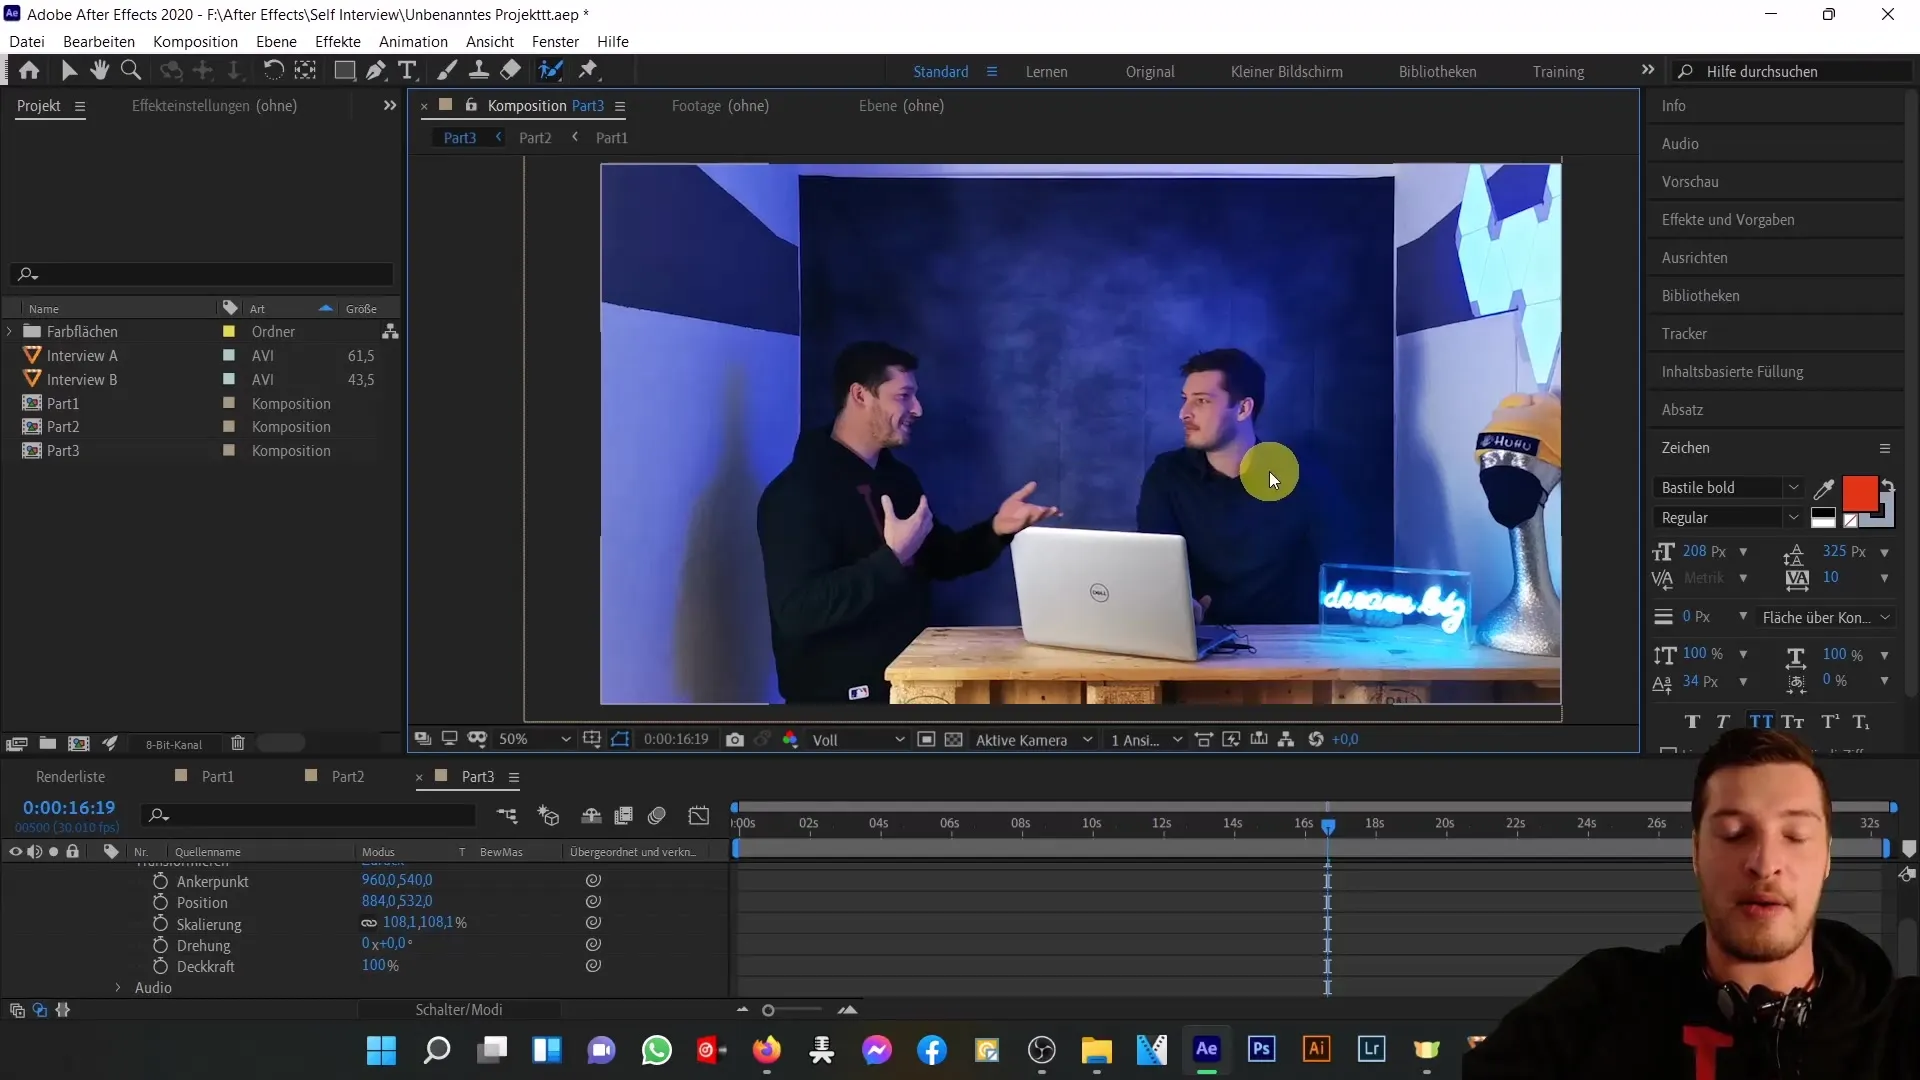
Step 3: First Video Recording
Record your first role where you speak as Person A. Ensure that you light the space well and that the camera and location are stable and unchanging.
Step 4: Second Video Recording
Now, record the role of Person B. At this stage, it's important that you know exactly what you will say. Stick to your notes to facilitate synchronization.
Step 5: Importing Videos
Import both video recordings into After Effects. Begin by dragging the clips into a new composition. You can adjust the size and duration before moving on to the next phase.
Step 6: Synchronize Clips
It's important here to adjust the clips so that the vocal tones and body language match. Use the audio clip waveforms as a guide to identify pauses.
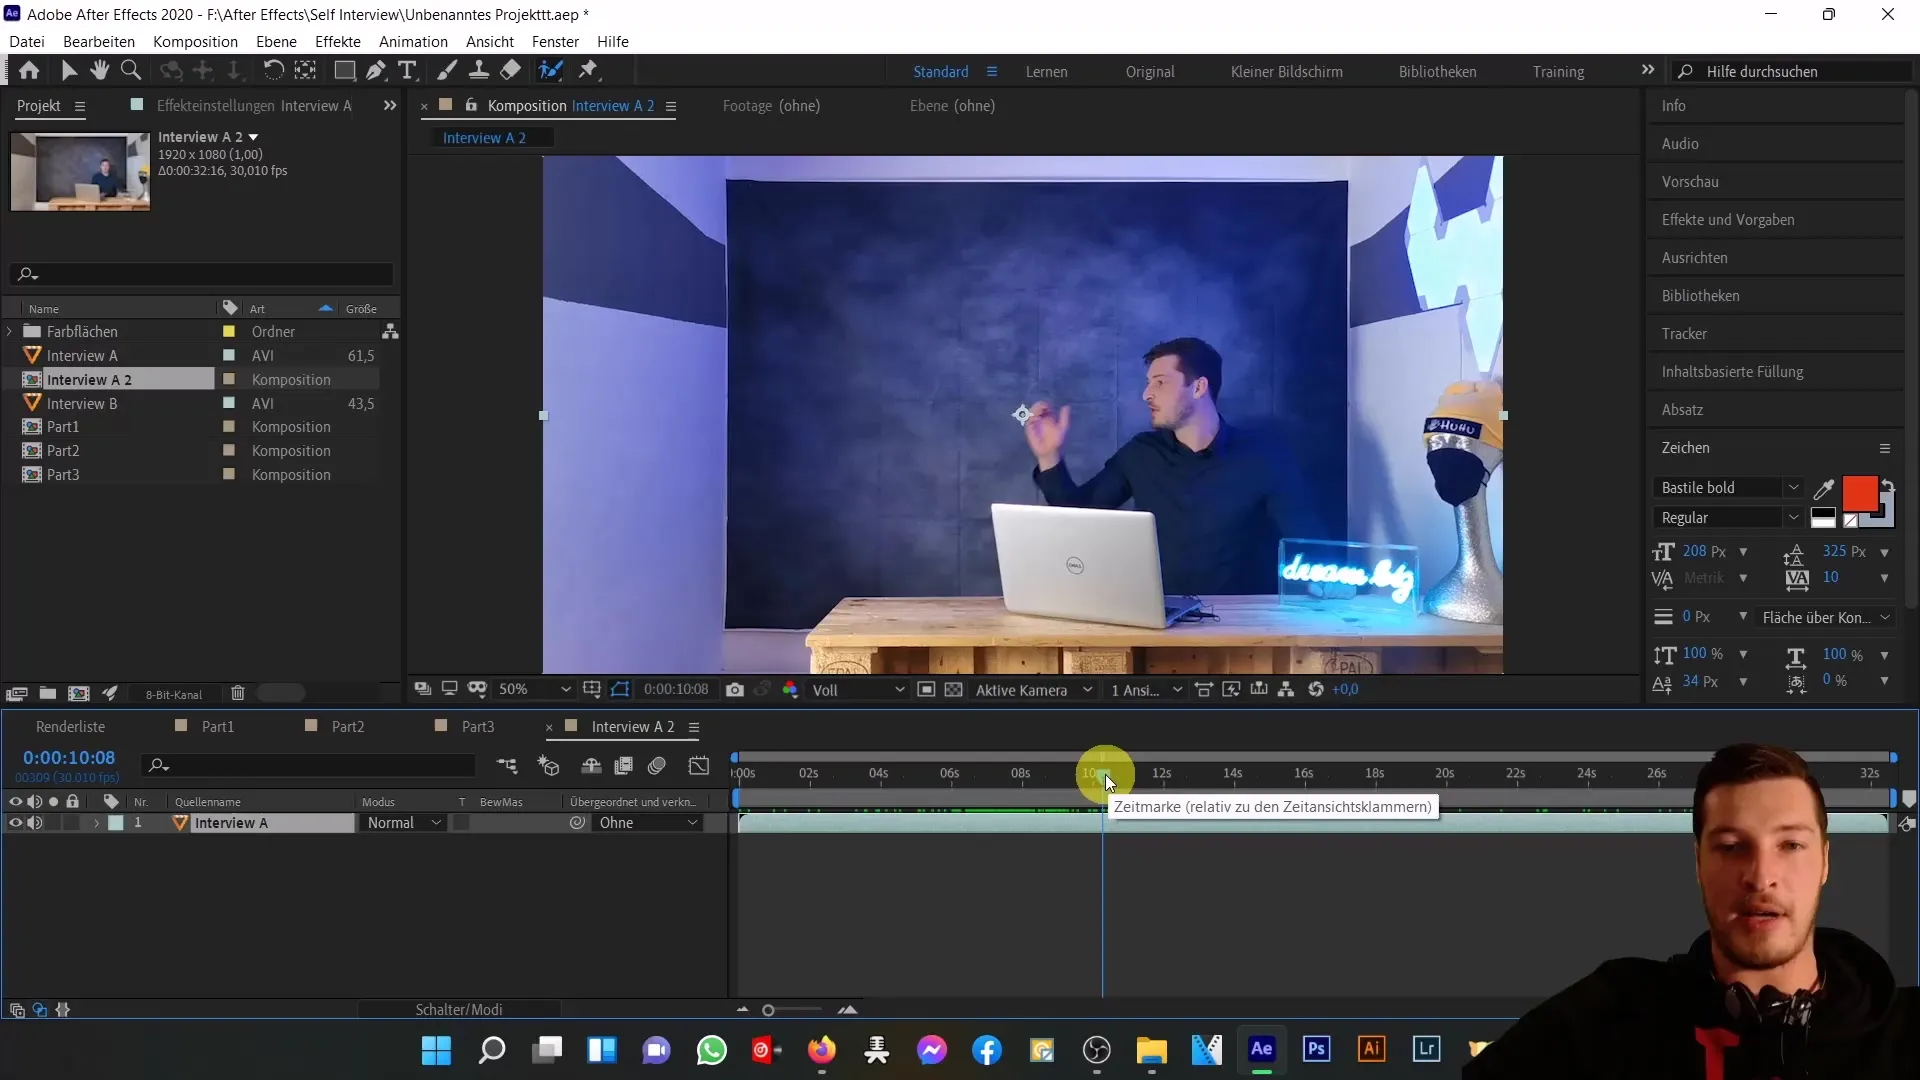
Step 7: Apply Masks
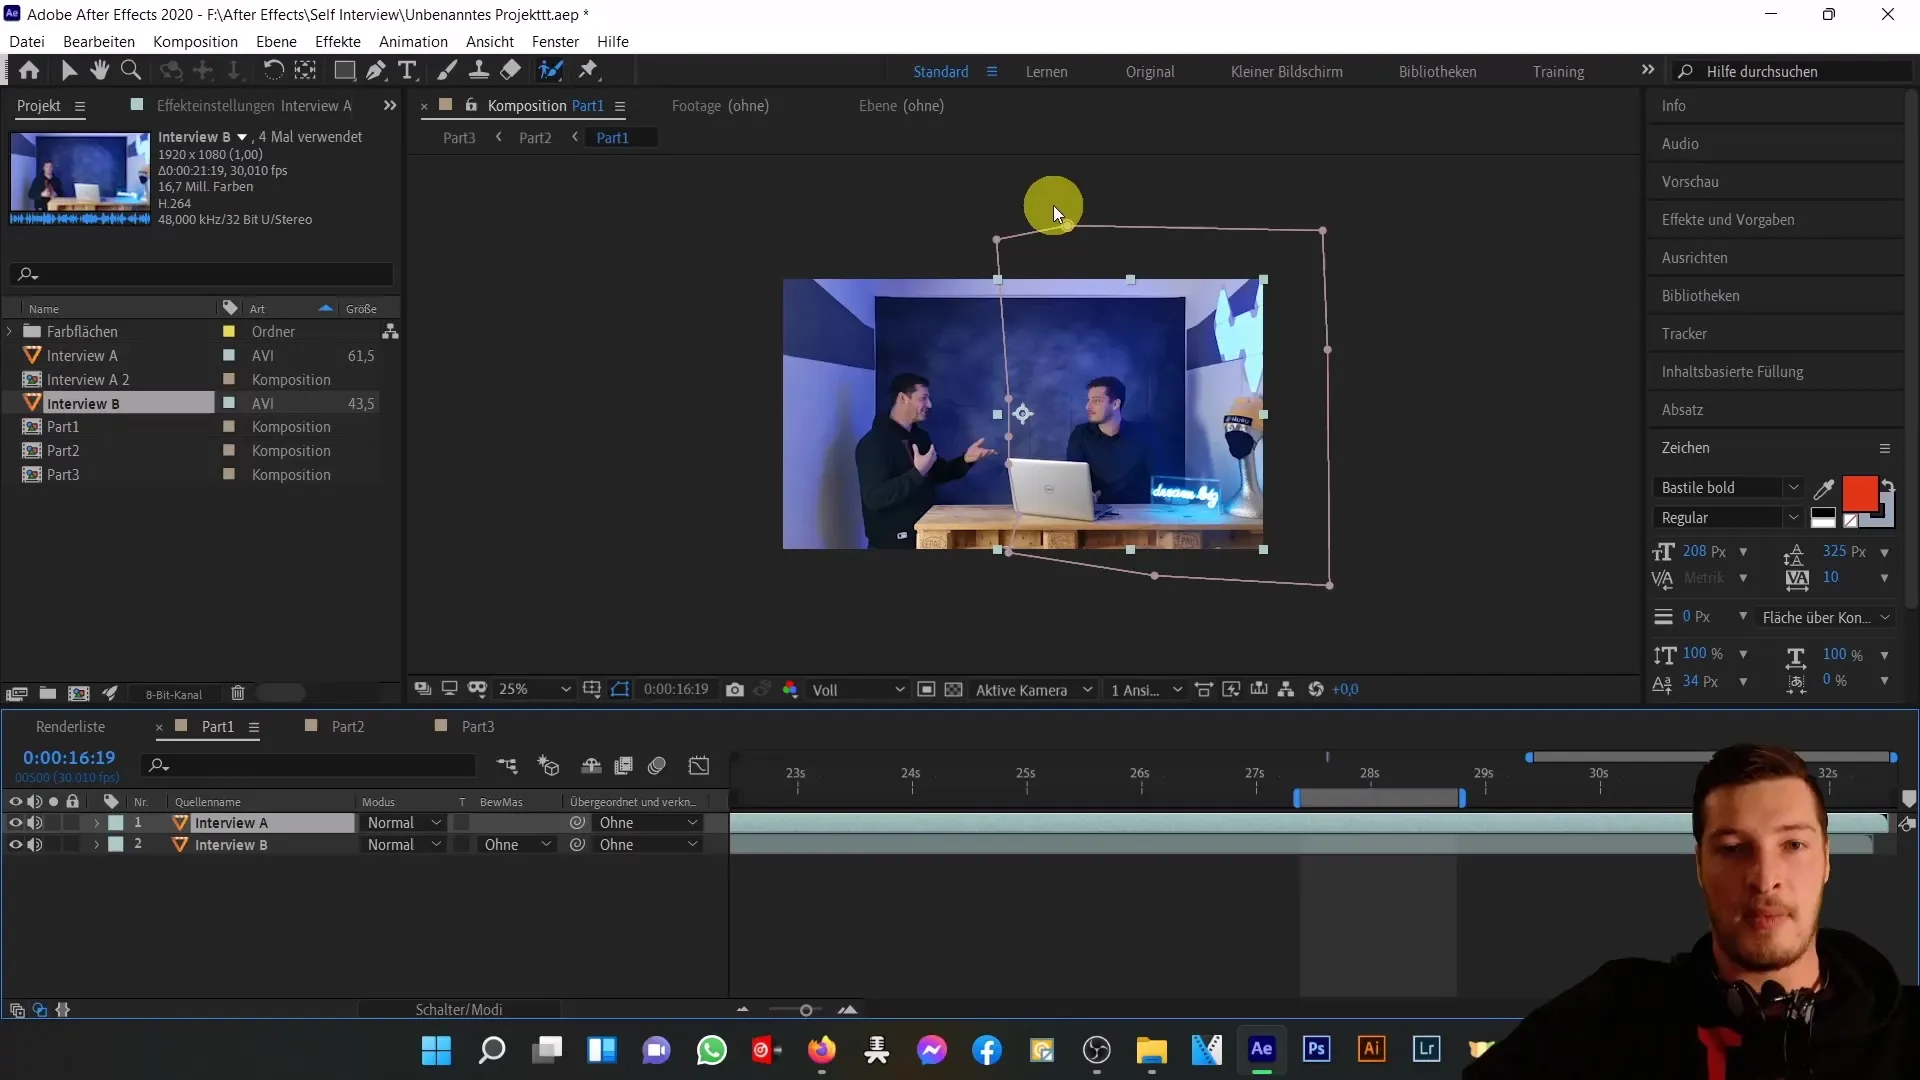
Next, we will apply masks. Use the masking tools to adjust the two clips so that each clip is visible in the correct half of the frame.
Step 8: Adjust Lighting
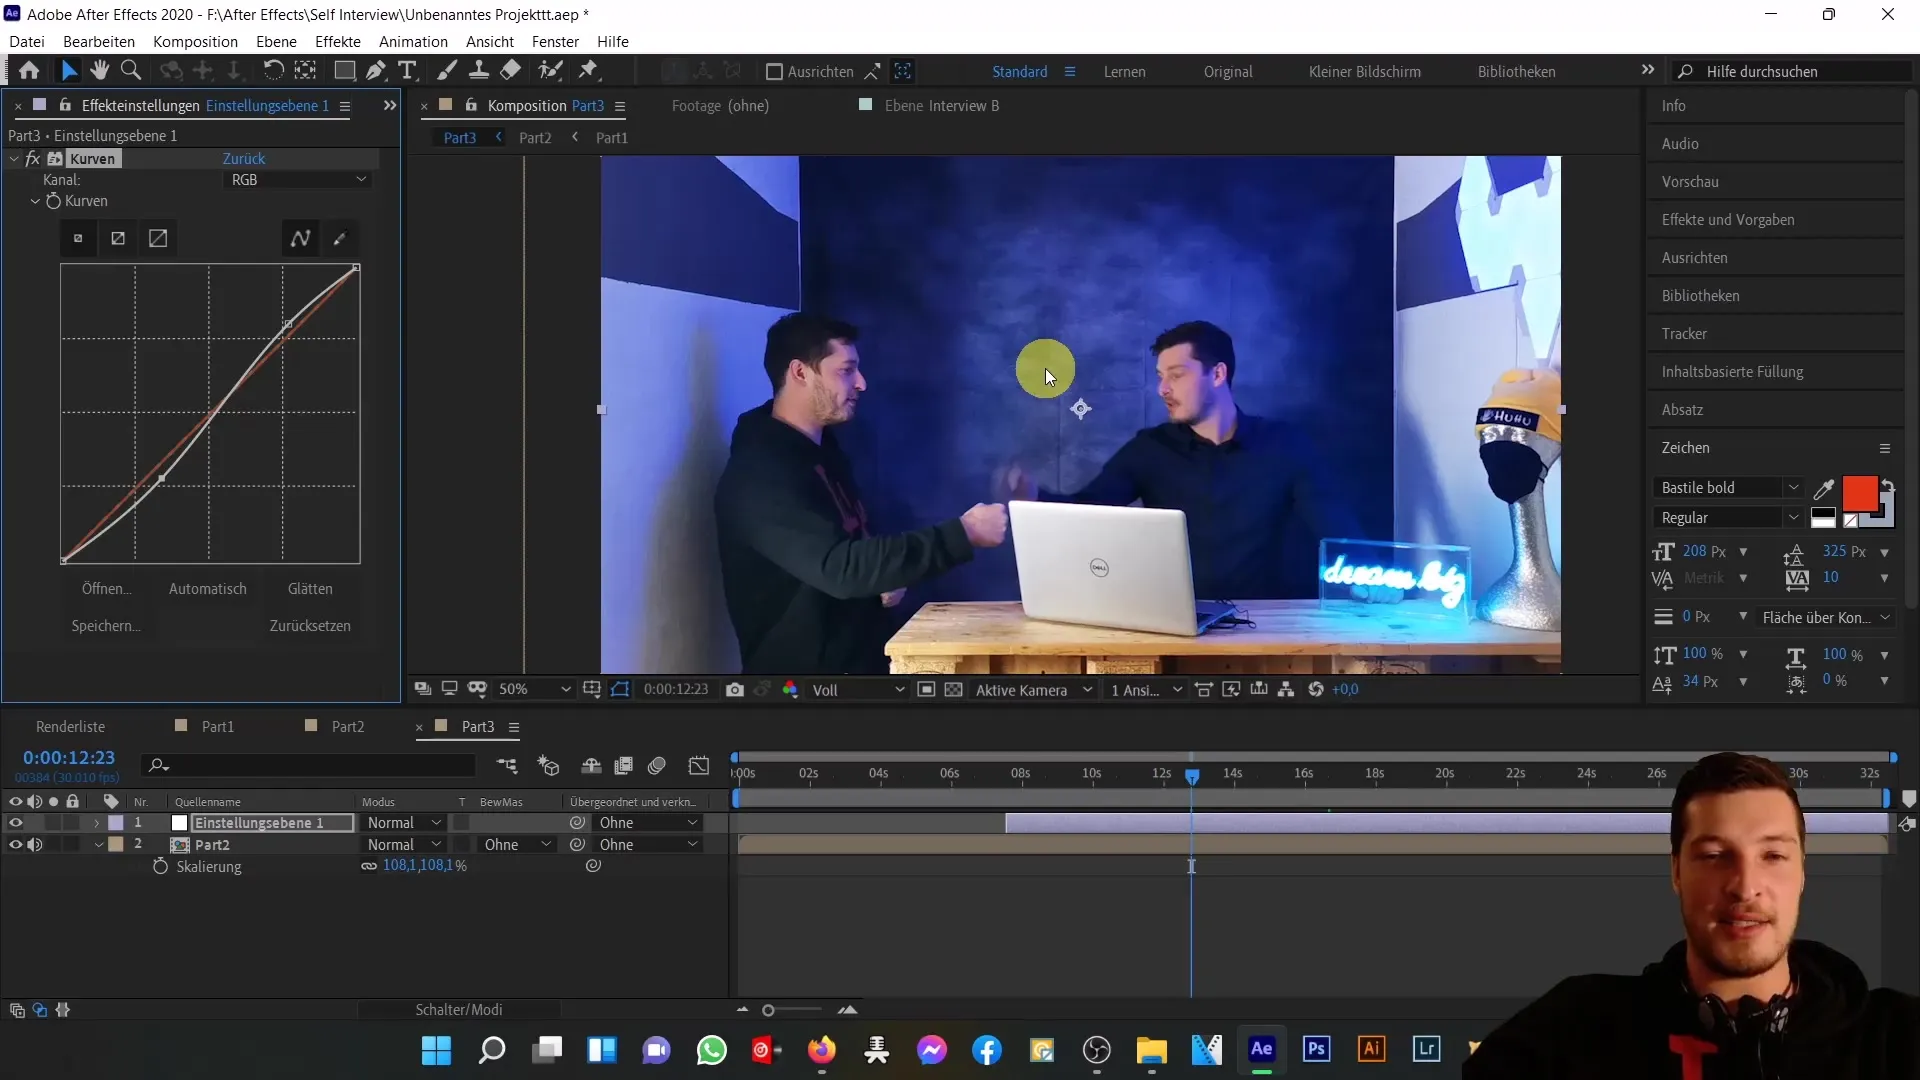
Ensure that the lighting matches for both clips. If not, you may need to make some adjustments to create a cohesive image. Use the Curves effects for this purpose.
Step 9: Optimize Transitions
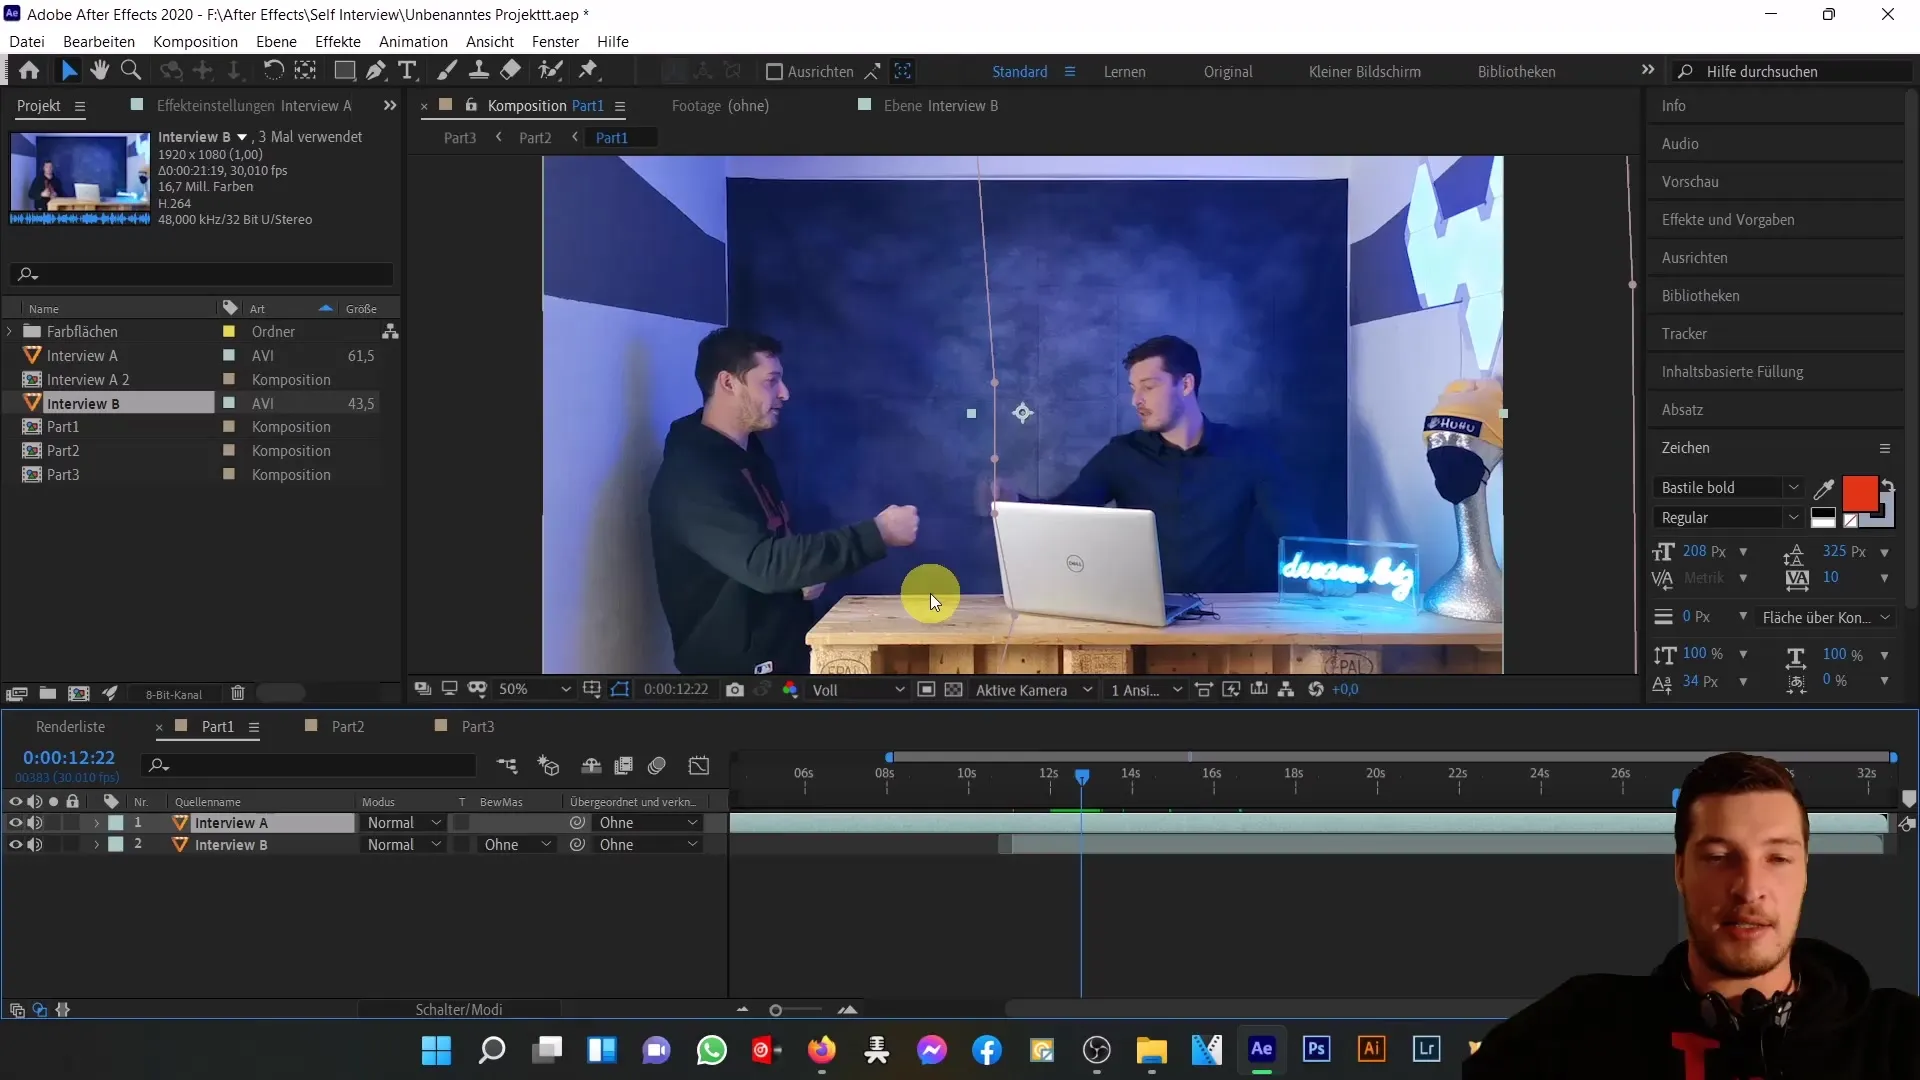
To create a seamless transition, use soft mask edges. This way, you'll see how the image comes together harmoniously with no harsh edges visible.
Step 10: Troubleshooting
If you encounter any issues during editing, take the time to troubleshoot them. Often, small adjustments are enough to make a significant improvement.
Step 11: Final Rendering
If you are satisfied with the results, render the composition in After Effects and save the video to share and showcase later.
Summary
In this tutorial, you have learned how to create a sophisticated interview with yourself in After Effects. From planning to video recording to editing and rendering, I have covered every corresponding step. With a clear concept and the right tools in After Effects, you can achieve impressive results.
Frequently Asked Questions
How long should I plan for recording an interview?Allocate enough time to record all responses in the desired quality. Also, consider that it may be necessary to repeat certain scenes multiple times.
Can I film with another person?Yes, you can involve another person. However, do not forget that you should also follow certain rules when interacting in front of the camera.
What lighting do I need for the project?You need consistent lighting to avoid shadows and color discrepancies between clips.
How important is the pre-work?Pre-work is crucial for later success and can save a lot of time during post-production.
