In this tutorial, we will take a closer look at the blending modes in Adobe After Effects. You will learn how to use these modes to creatively combine your layers. The goal is to achieve different effects that give your project a professional look. By the end of the tutorial, you will be able to independently use the blending modes to achieve impressive visual results.
Key Takeaways
- Blending modes influence how layers interact with each other.
- There are different categories of blending modes: subtractive, additive, and complex methods.
- Choosing the right blending mode can significantly alter the character of your composition.
- Experimenting with textures and effects can greatly enhance the dynamics of your project.
Step-by-Step Guide
Step 1: Create a New Composition
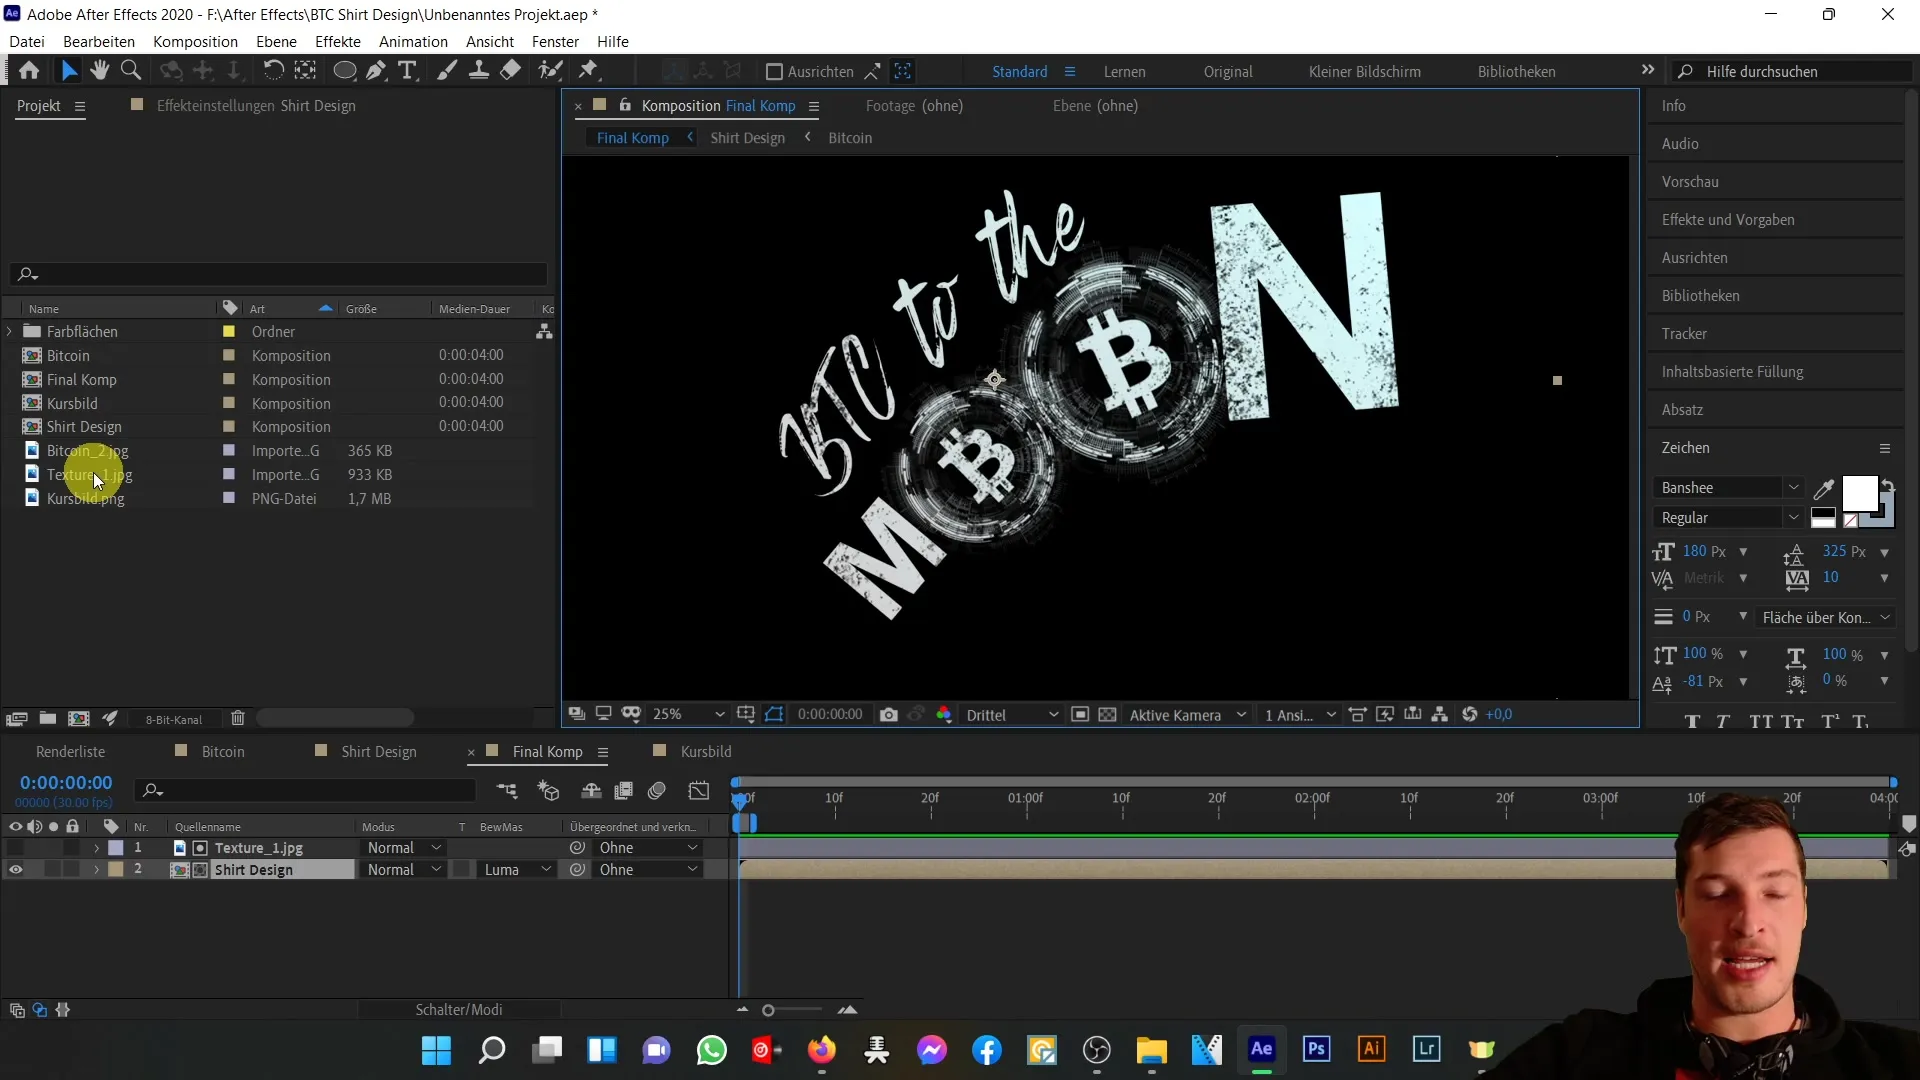
Start by importing your texture file from the course materials into After Effects. Then create a new composition by clicking on "New" and setting the size according to your requirements. Make sure to add a color solid that serves as the fundamental element of your composition.
Step 2: Add a Color Solid
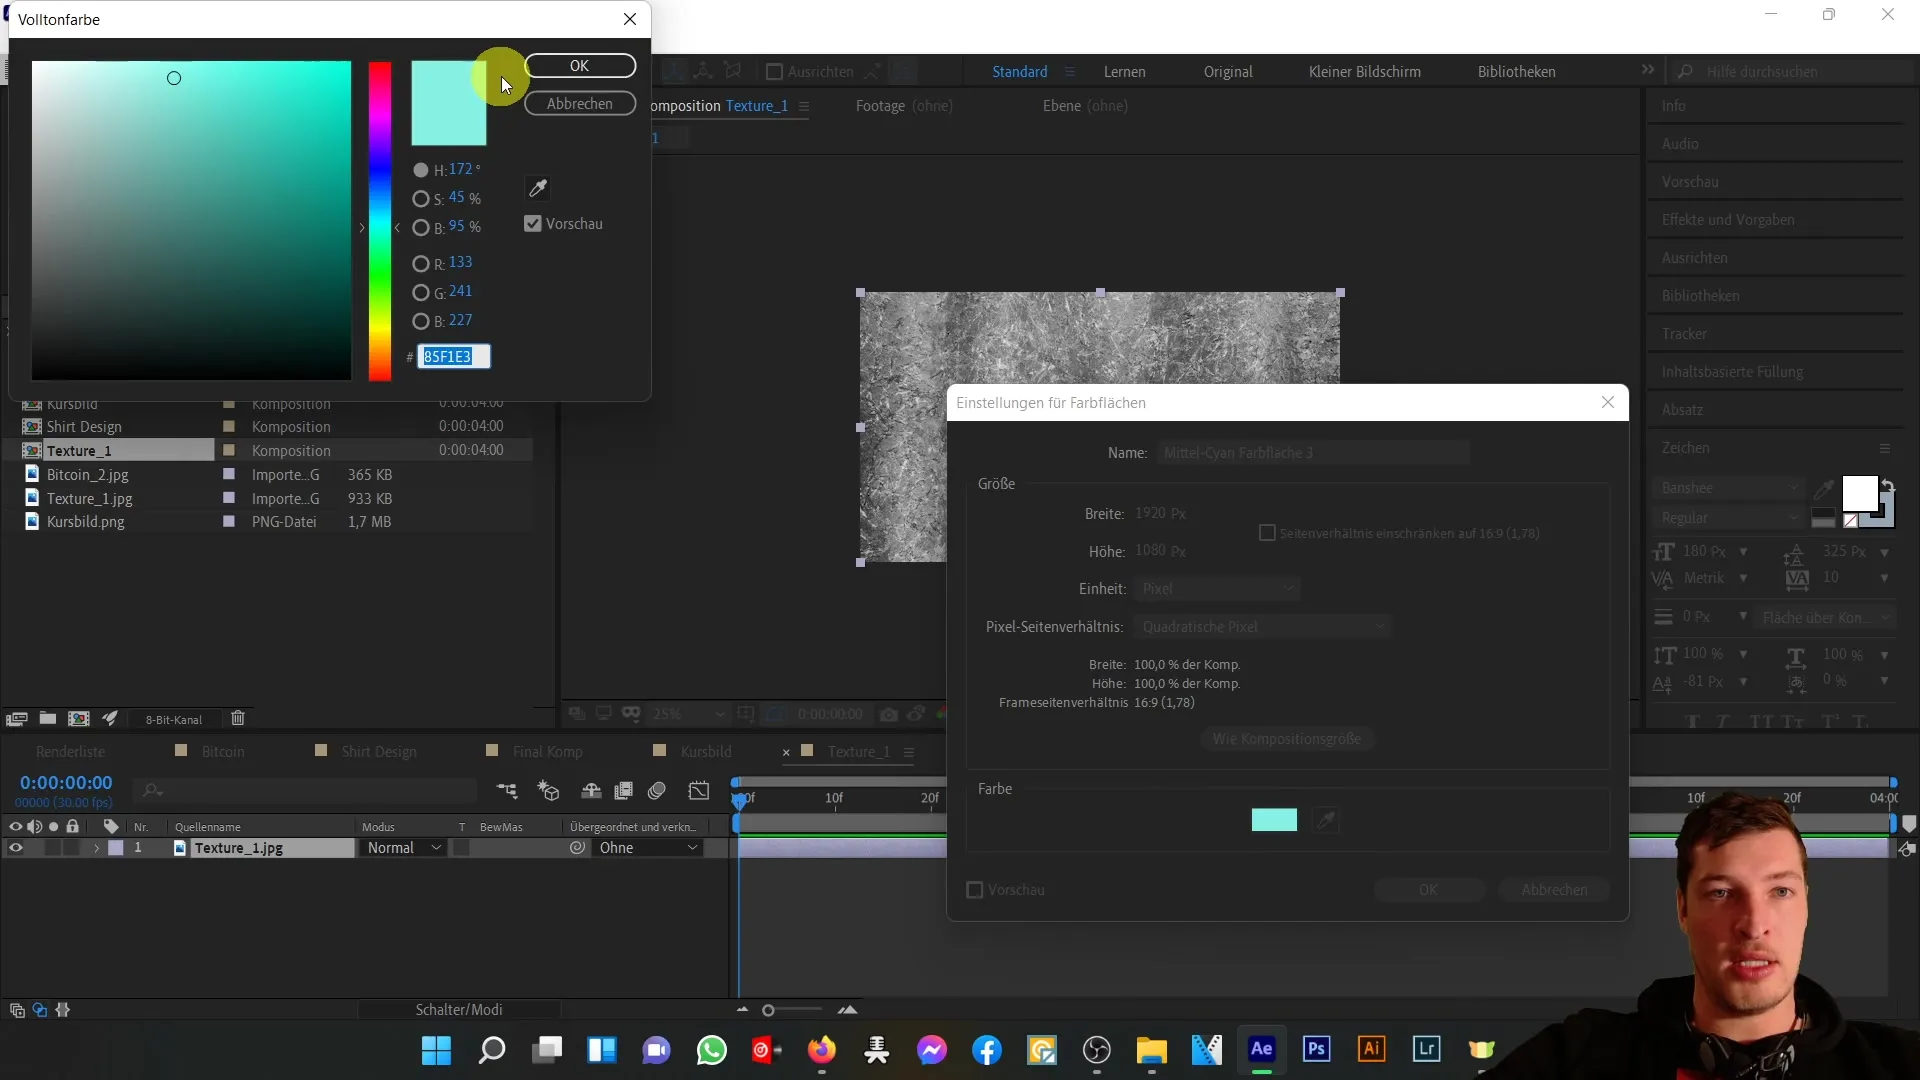
Now, let's add a new color solid. Go to "Layer" > "New" > "Solid Color" and choose a turquoise color in this step. This color solid will help you better visualize the different blending modes.
Step 3: Learn about Blending Modes
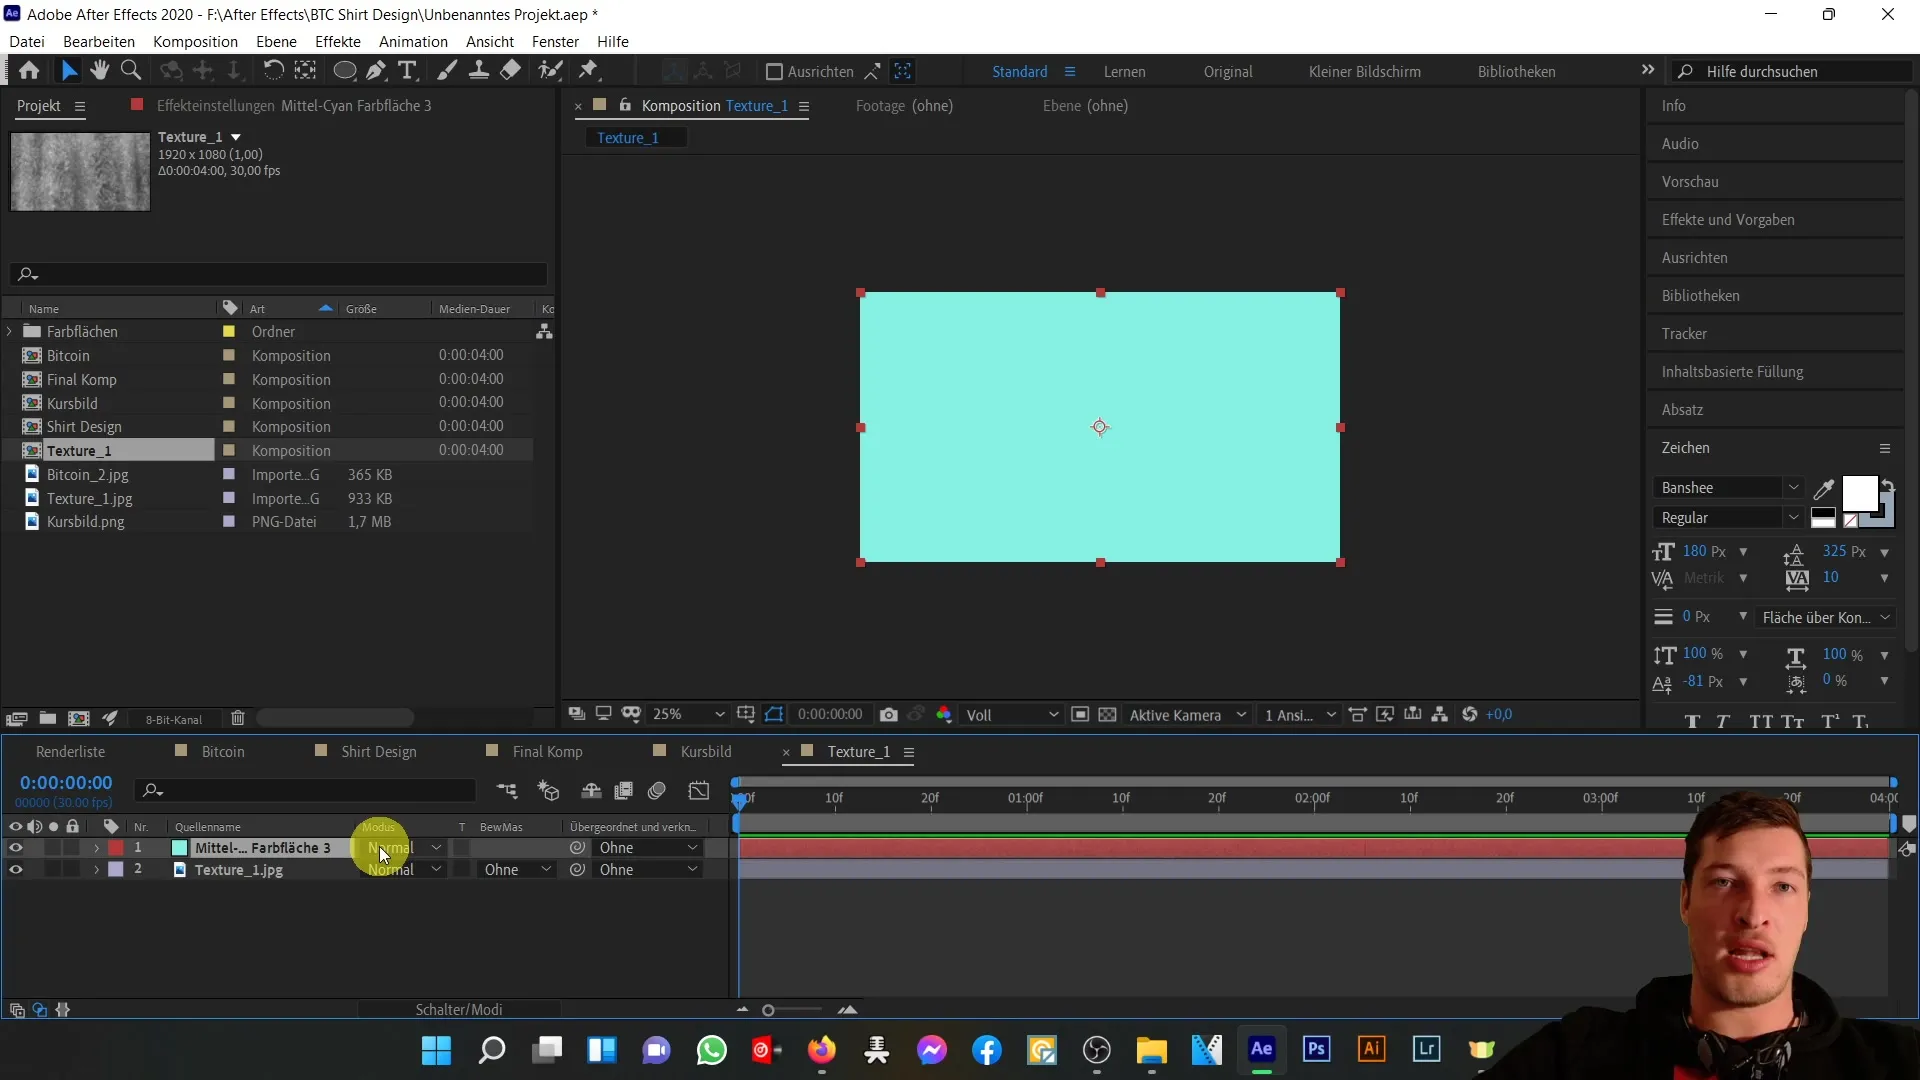
Currently, the opacity of your color solid is set to 100%. To test the interactivity between the layers above and below, let's go to the blending modes switch. Click the small arrow next to the mode to see the options. You now have the opportunity to choose various blending modes.
Step 4: Try Subtractive Blending Modes
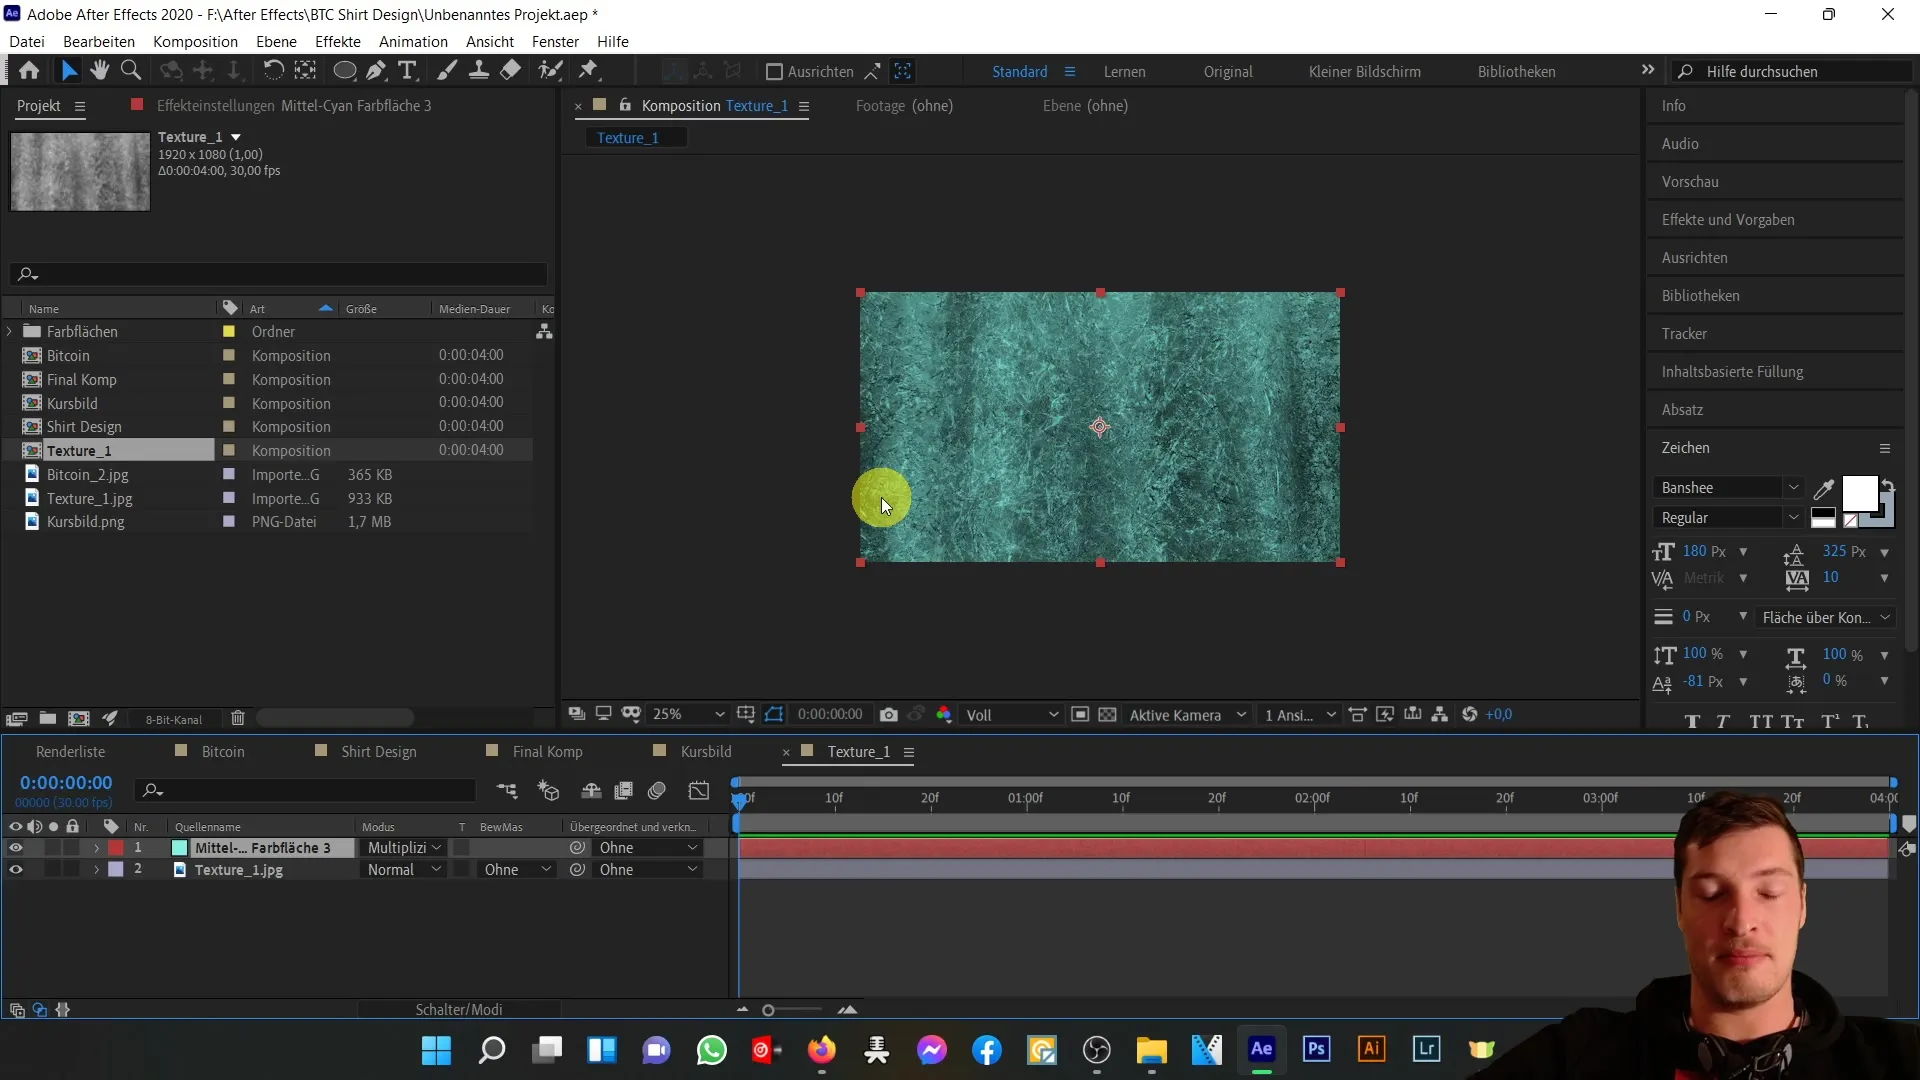
Start with the "Multiply" blending mode. You will immediately see that the coloring of your image becomes darker. This is because subtractive blending modes often create a darkening effect. Notice how the structure of your texture remains under the color layers.
Step 5: Explore Alternative Blending Modes
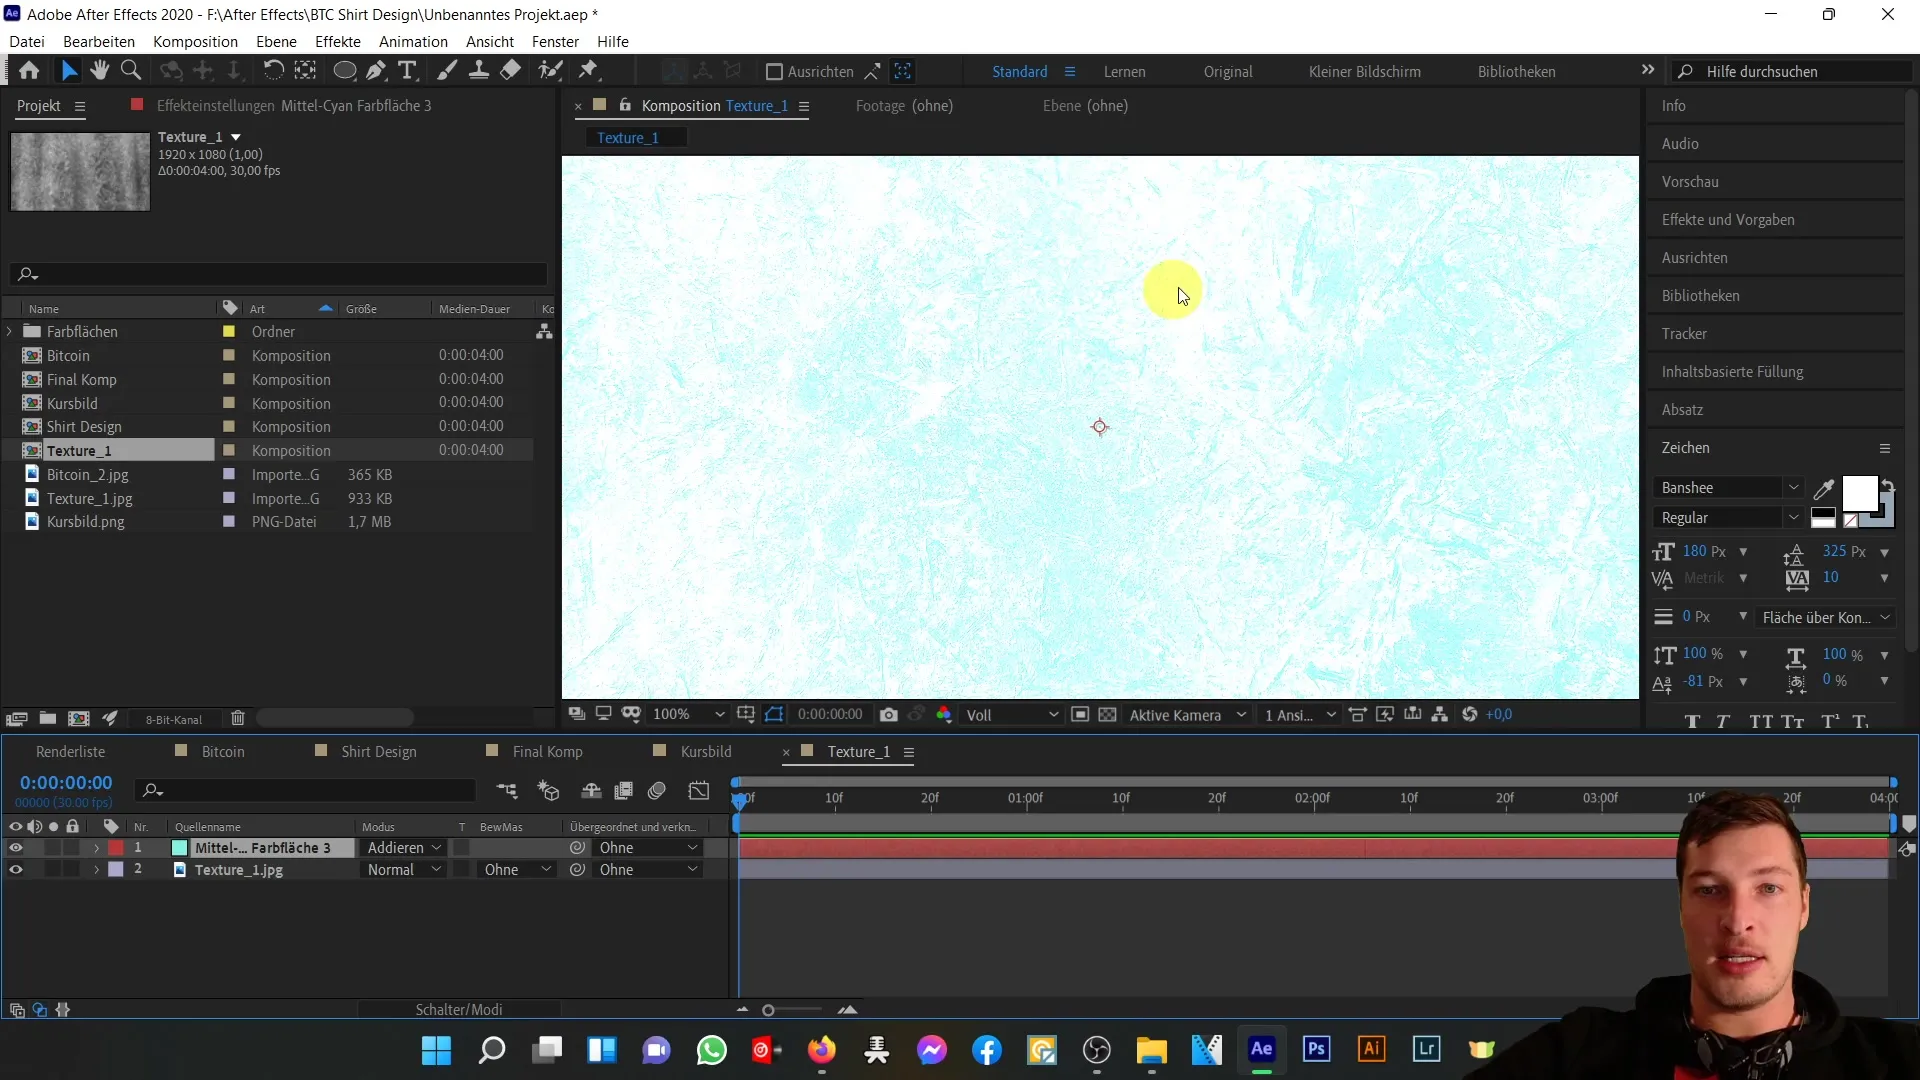
After testing the subtractive methods, try the additive mode "Screen". This will significantly lighten your image, revealing more colored elements on the underlying texture layer. Each setting has a unique effect on the overall composition.
Step 6: Adjust Contrast and Brightness
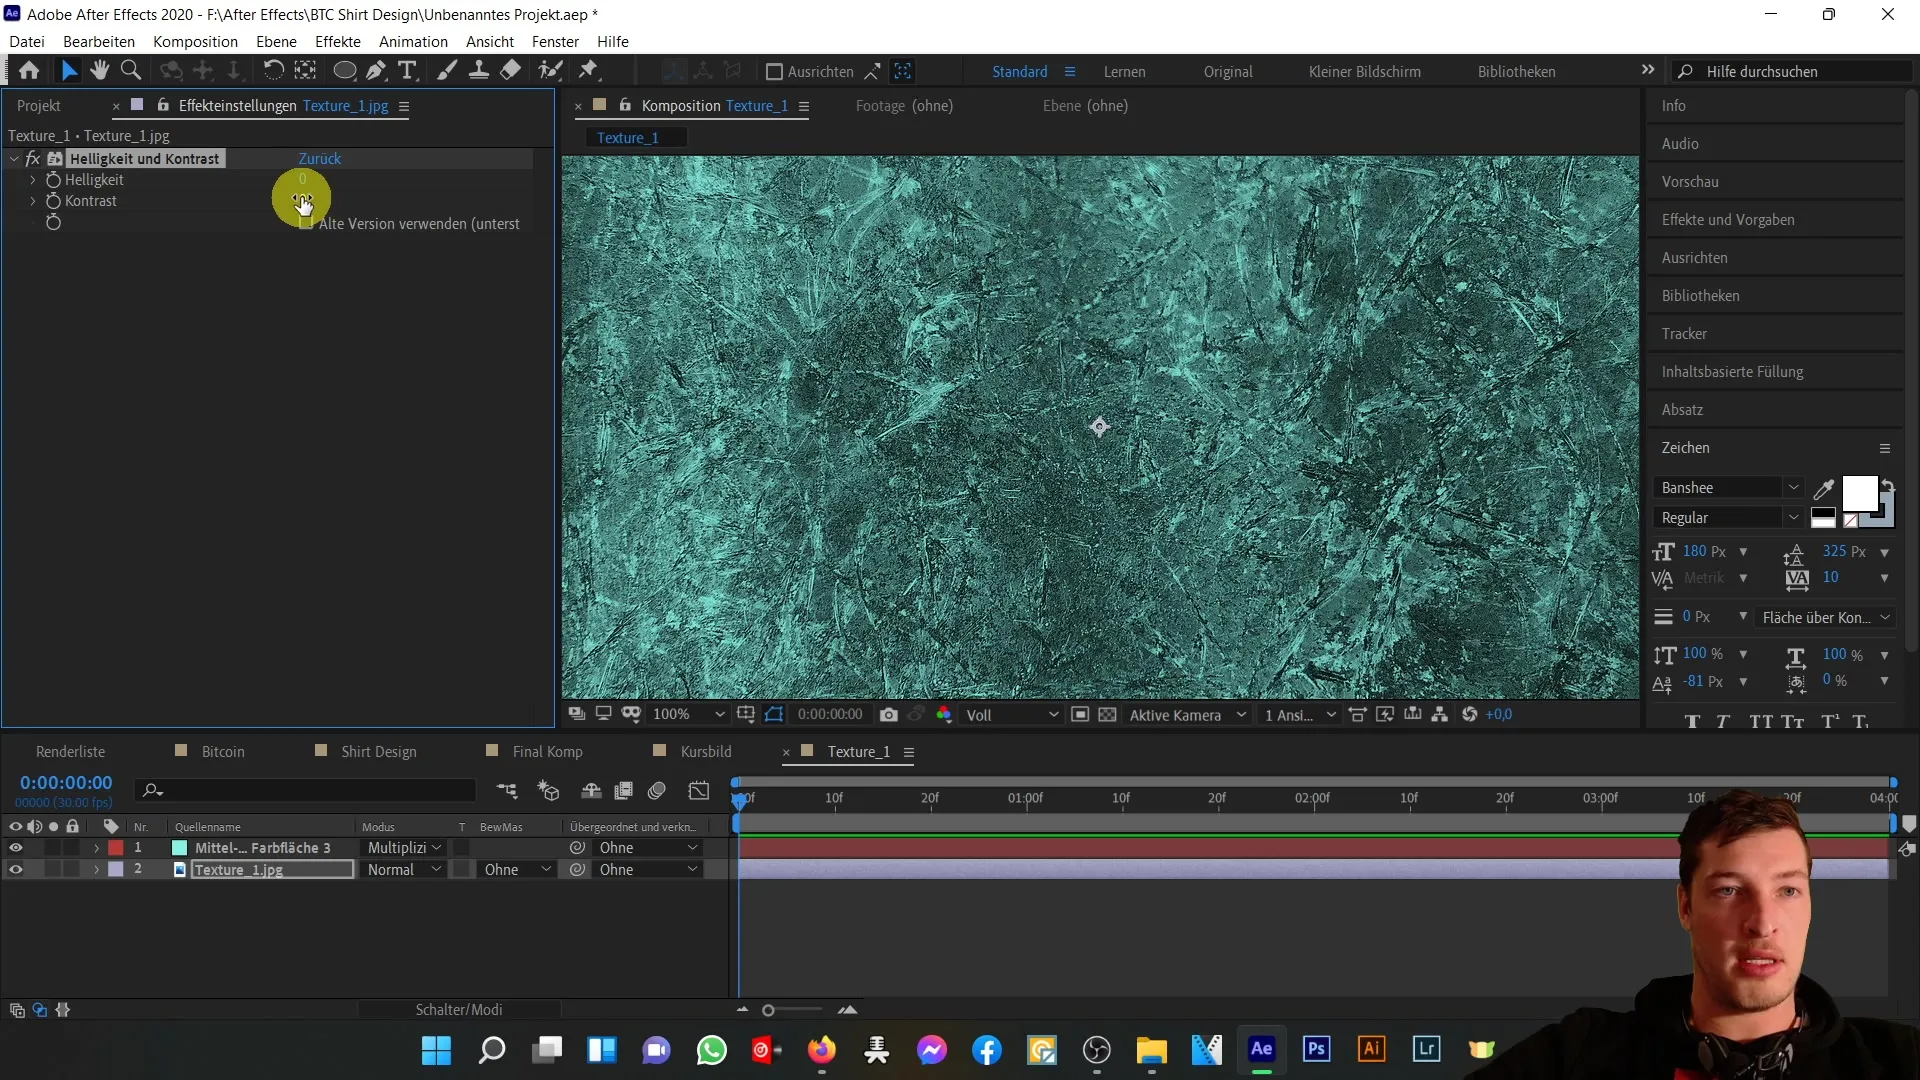
To make your texture more interesting, add a color correction effect. Navigate to "Effects" > "Color Correction" > "Brightness and Contrast". Here you can increase the contrast to create more structure, while reducing the brightness to achieve the desired effect.
Step 7: Add Text
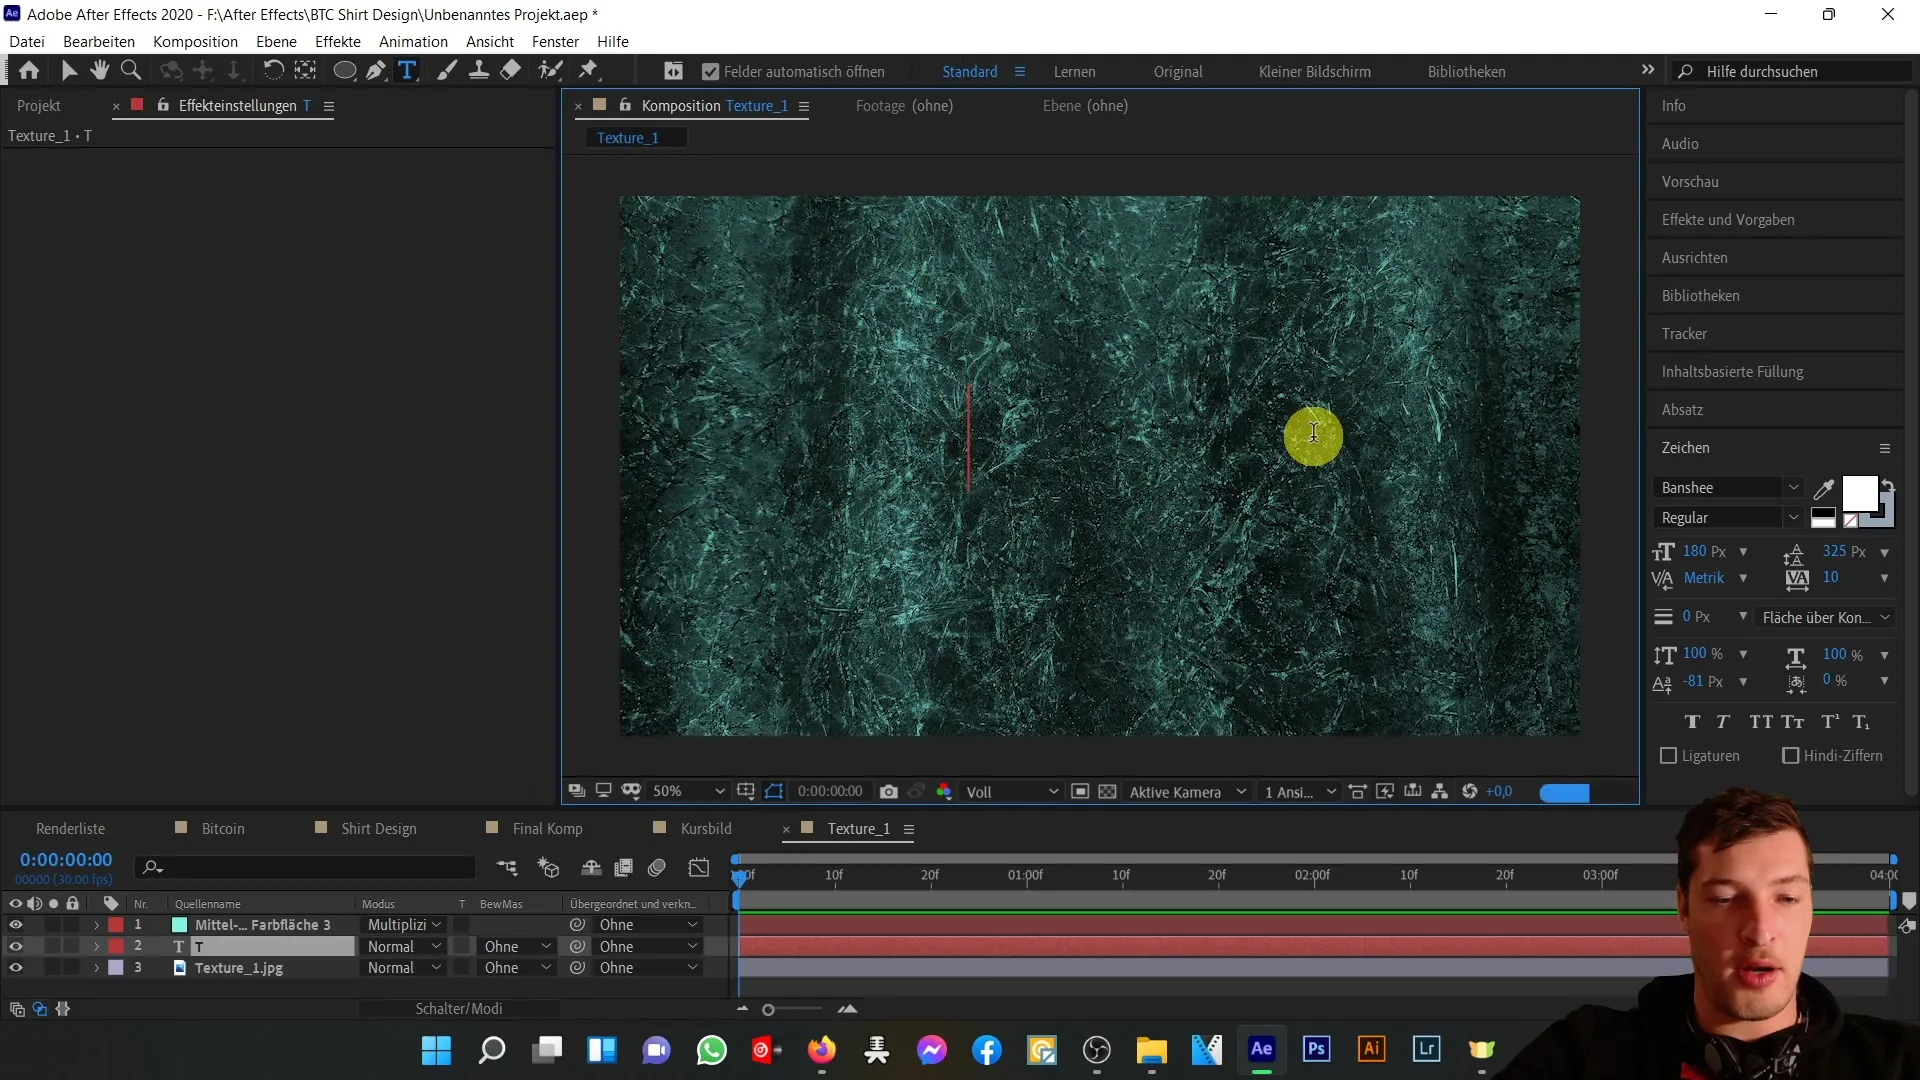
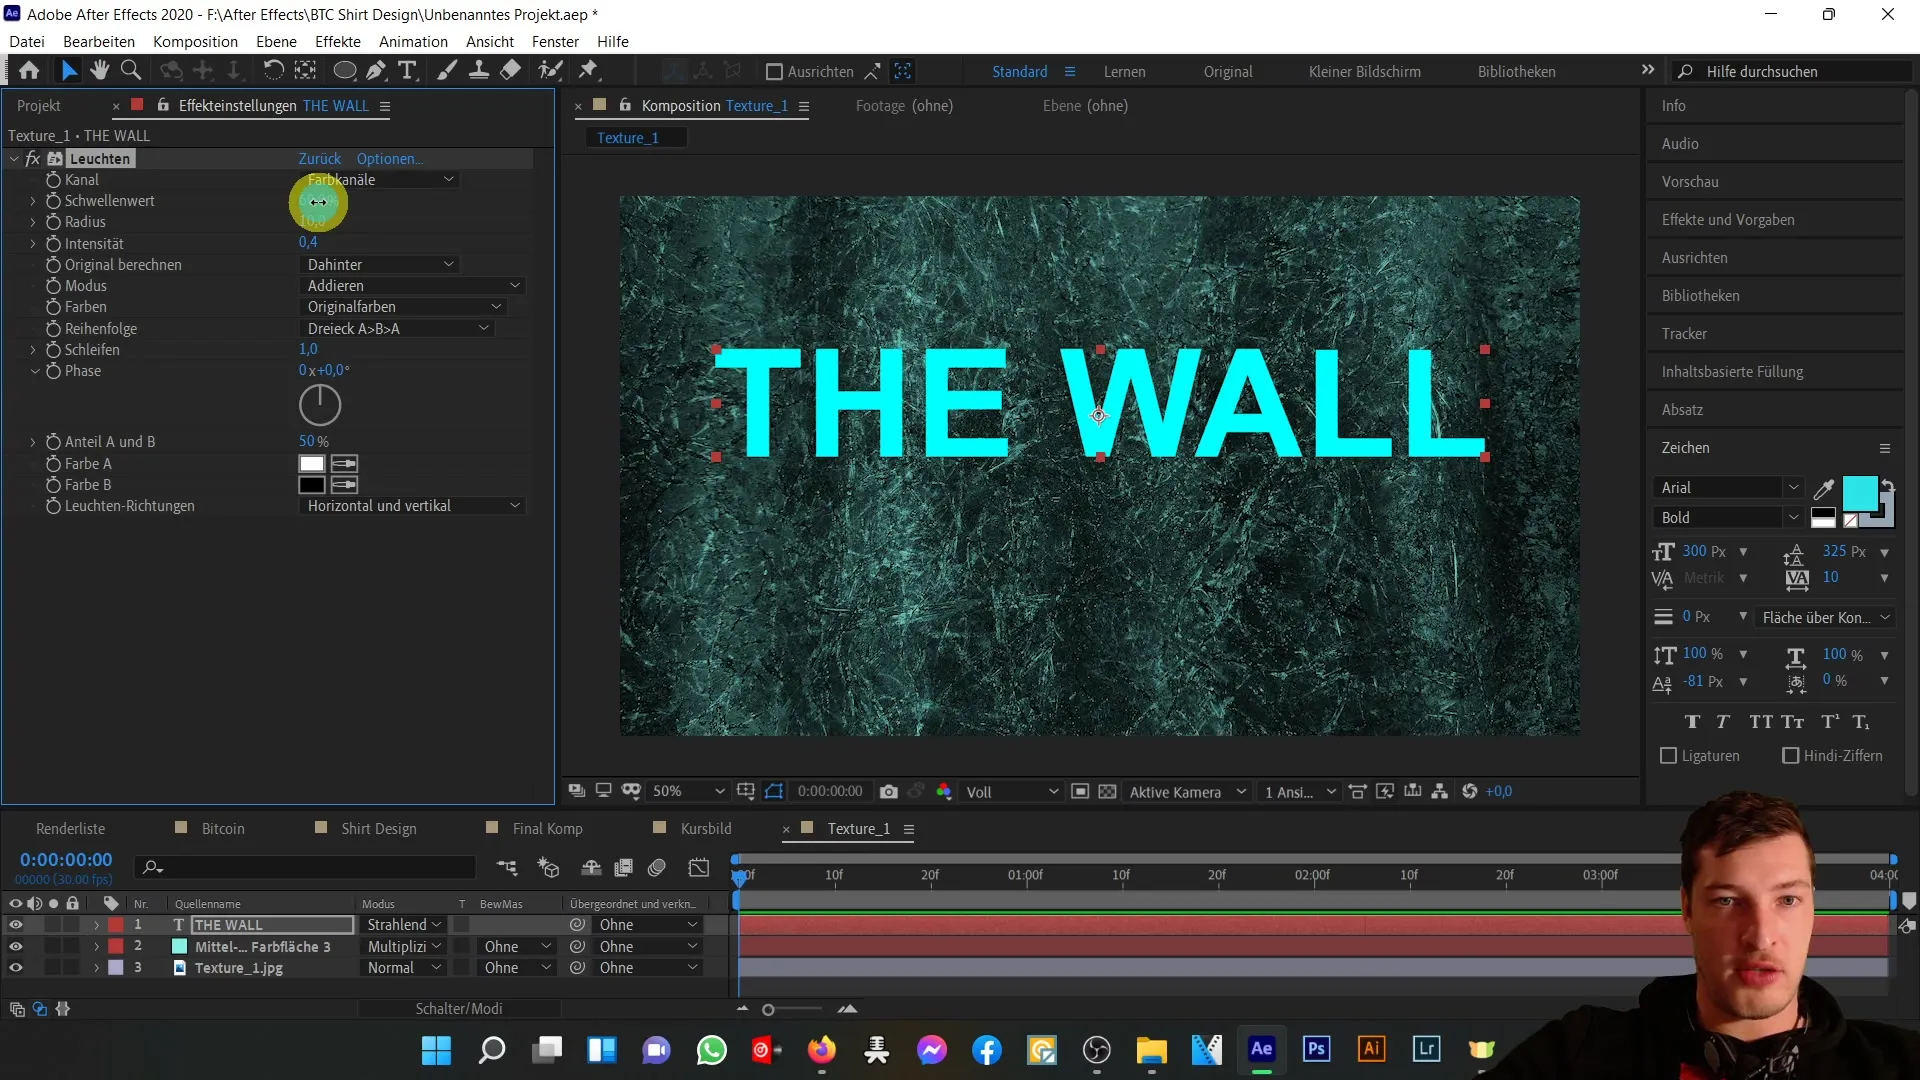
Now, add text to further enhance your composition. Select the text tool and write, for example, "The Wall". Set the font to Arial Bold and horizontally center the text to better integrate it into the composition.
Step 8: Texture and Color Interaction
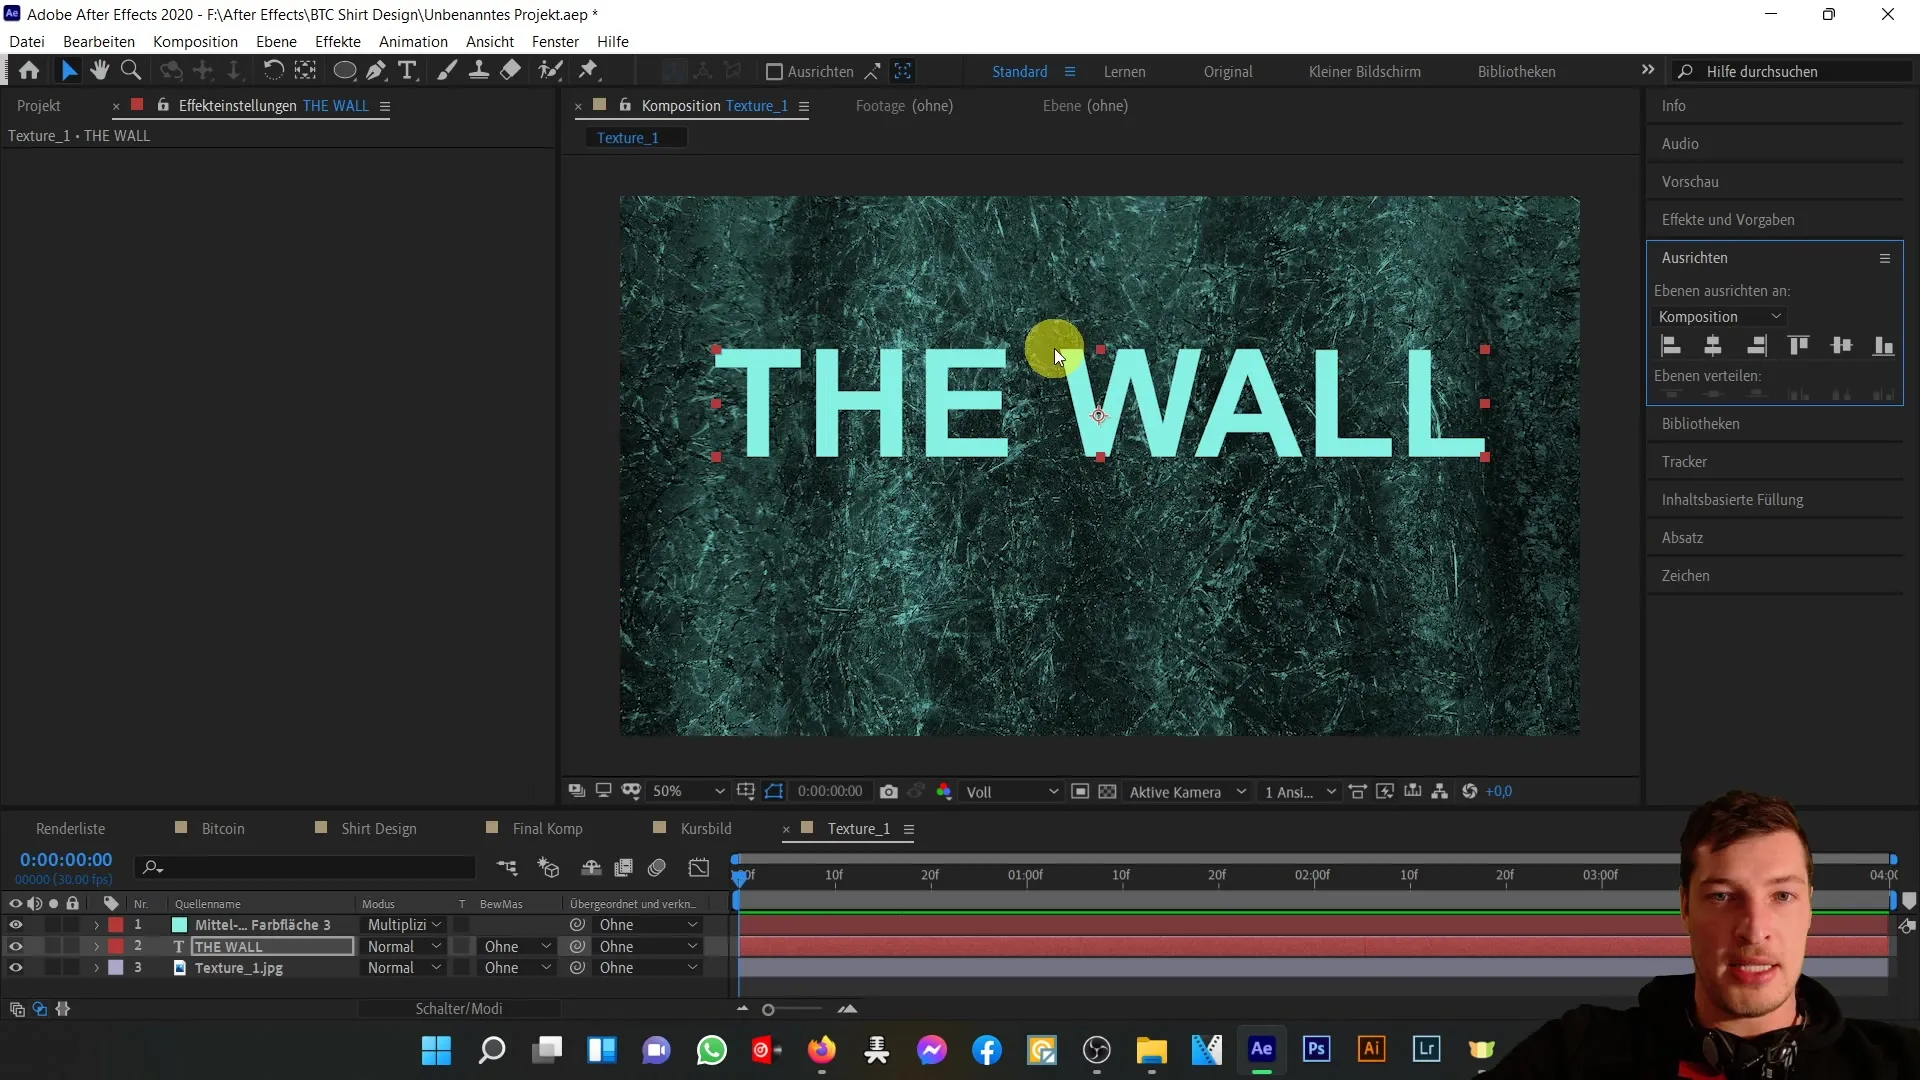
To allow your text to interact with the color solid, move the color solid to the top of the layer list. Then, choose an appealing blending mode such as "Add". Light" to highlight the text's structure and dynamically enhance the display.
Step 9: Fine-Tuning
Now you may make some fine adjustments to optimize the visibility of the structure and the overall composition. Experiment with the effects and settings to bring out the best in your design.
Step 10: Add Vignette
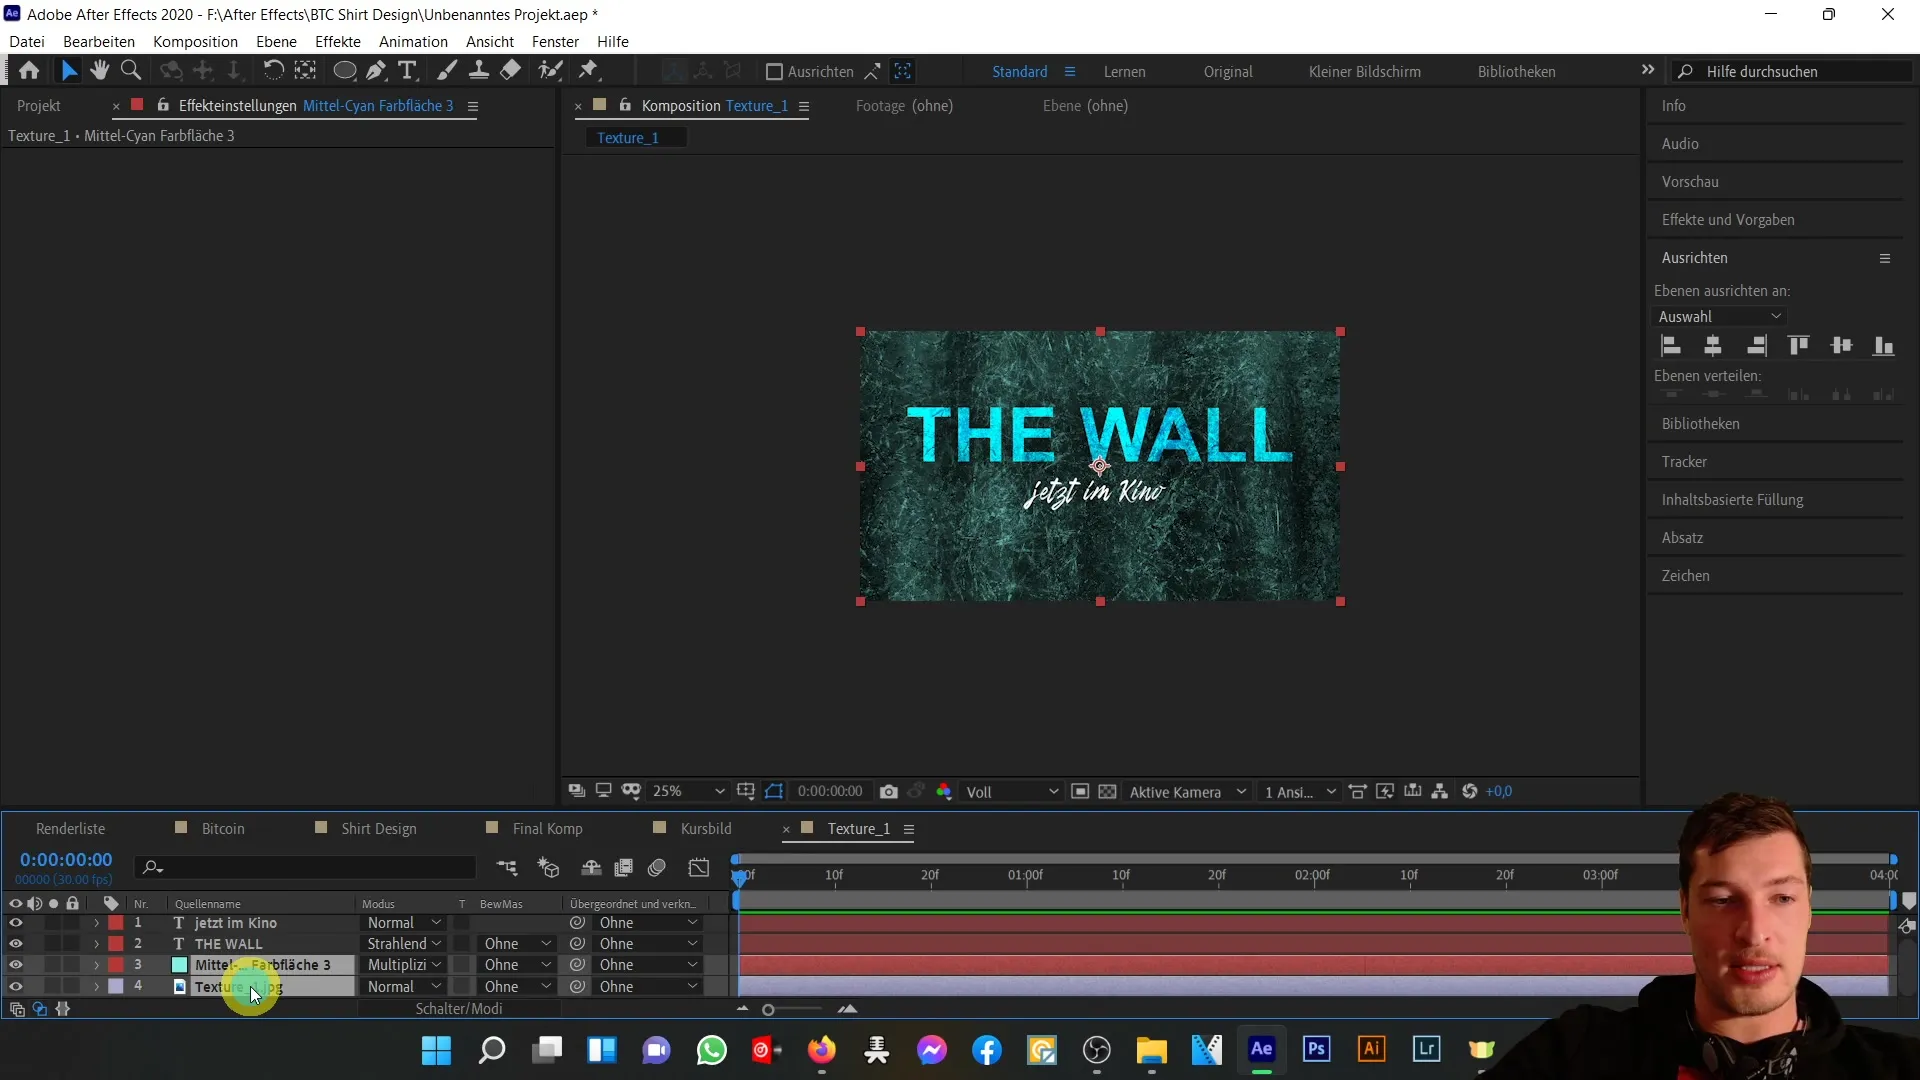
If desired, you can add a vignette to further enhance the composition. Be sure to take into account the two background compositions. Create a sub-composition and use the ellipse tool to design the vignette.
Summary
You have now learned the basics of fill methods in Adobe After Effects. By experimenting with different fill methods and settings, you have the opportunity to significantly improve and customize your compositions. Use the techniques learned to elevate your creative projects to a new level.
Frequently Asked Questions
How do I choose the right fill method?Depending on the desired effect, you can try out different fill methods. Subtractive methods darken the image, while additive methods brighten it.
Can I use multiple fill methods in one composition?Yes, you can use multiple layers with different fill methods to create complex and appealing designs.
How do textures affect fill methods?Textures contribute to the dynamics of your composition and can generate various interesting effects in combination with fill methods.
