Part 1: Introduction
Part 2: The right equipment
Part 3: The happy photo shoot
Part 4: From baby bump to teenager
Part 5: Indoor photography
Lighting tips
Children in the (home) studio
Photos in your own home
Indoor sports
Part 6: Outdoor photos
Part 7: Family life
Part 8: Tips and tricks (I)
Part 9: Tips and tricks (II)
Part 10: Archiving, editing and presenting children's photos
Text: Jens Brüggemann
Photos are from: Jens Brüggemann (147), Leonie Ebbert (44), Elli Bezensek (61), Radmila Kerl (26), Ramona Prosch (5), Kay Johannsen (4)
Sketches: Jens Brüggemann (27)
Part 5: Indoor photography
Lighting tips
If you want to take atmospheric photos indoors, you should first analyze the lighting conditions on location before deciding which of the many lighting options to choose.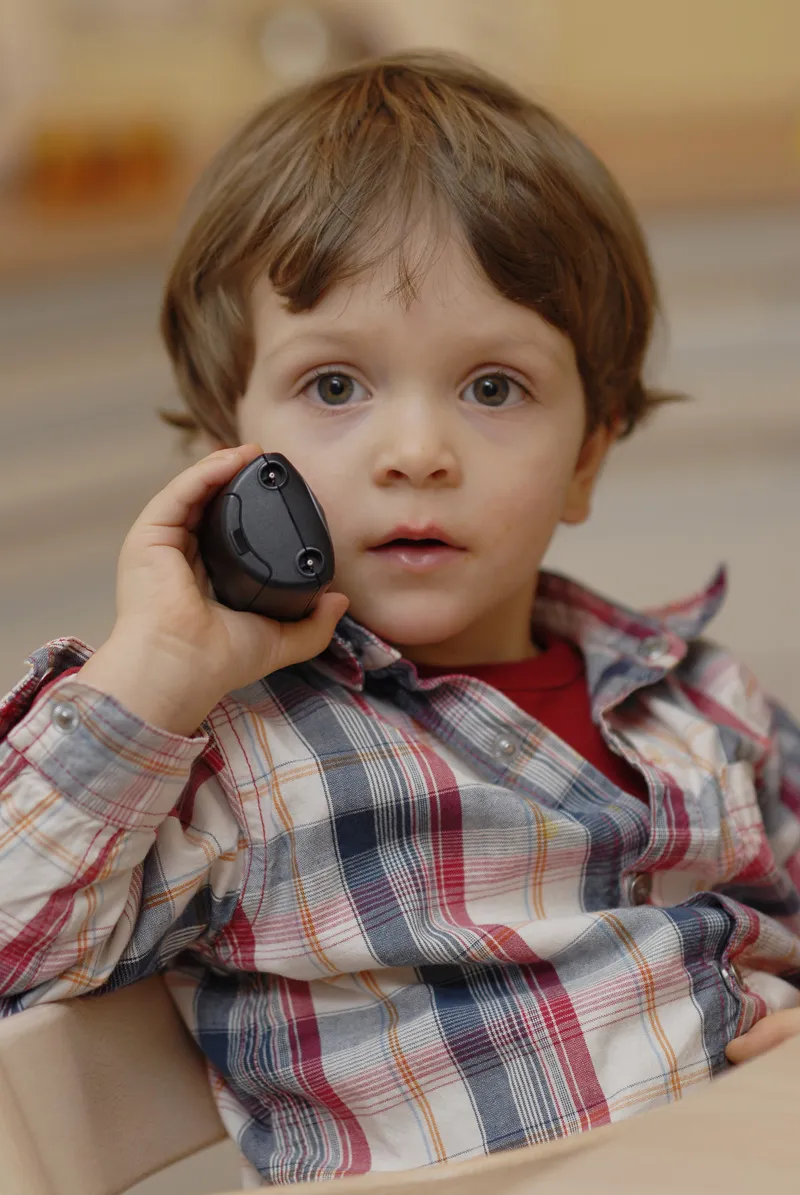
(Photo: Jens Brüggemann)
The existing lighting indoors will rarely be suitable and sufficient, so we will regularly be forced to use additional light sources to brighten up the more or less available (weak) light. One option is to use the system flash unit. However, when used frontally like a built-in flash, it casts rather unsightly shadows and should only be used in this way if there are no white reflective surfaces (such as the ceiling or wall) to allow indirect flash.
(Photo: Elli Bezensek)
It is better to swivel the (movable) flash reflector against a white ceiling or wall or against a specially constructed brightener (some models, such as those from California Sunbounce, can be attached to a tripod using an adapter ("grip head")).
Instead of hard shadows, this results in soft lighting from above, albeit sometimes with the risk of shadows under the eye sockets, under the nose and under the chin of the model.
However, if a large window area with light from outside is used in addition to the indirect flash to brighten up the scene, the result is a beautiful and balanced lighting of the offspring. In this photo, there was a large window to the left of my son and I also used my Nikon SB900 system flash against the white ceiling.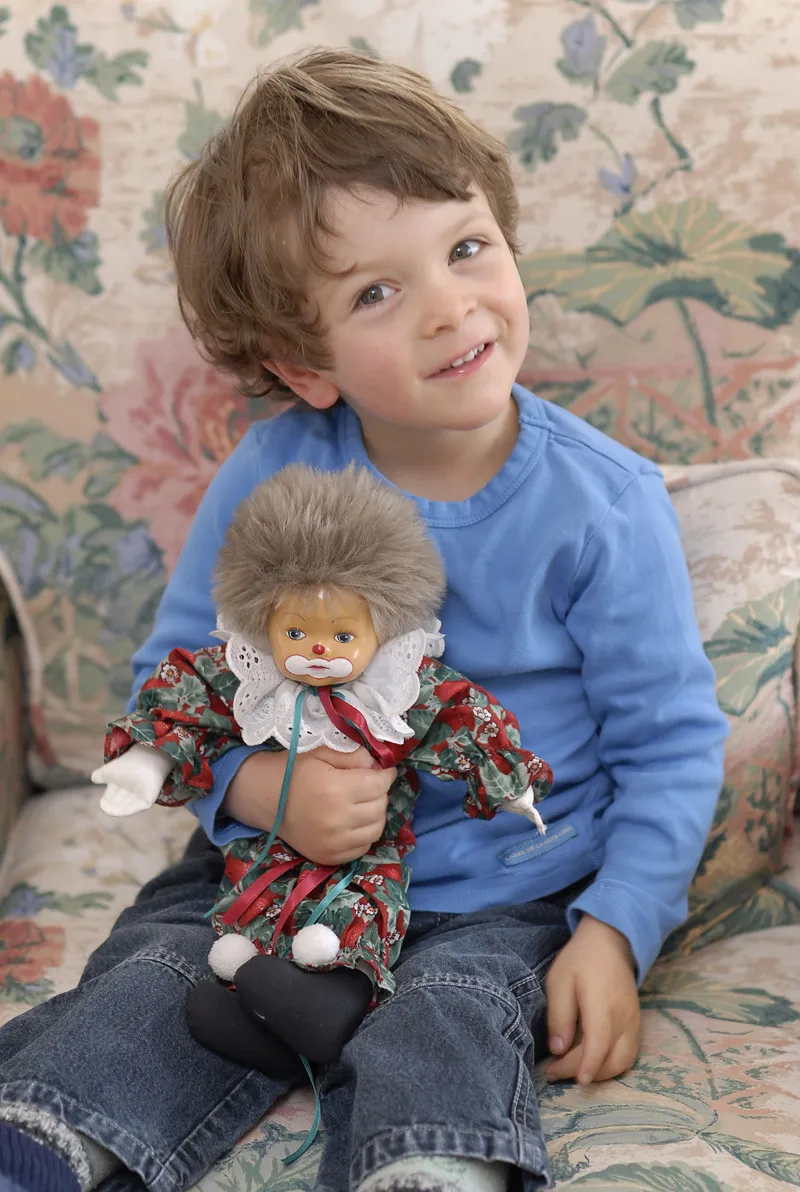
(Photo: Jens Brüggemann)
However, balanced lighting can only be achieved if the amount of flash light is kept to a minimum, i.e. if the flash is only used to brighten up the scene while the available light (whether shining through the window from outside or artificial room lighting such as ceiling light or floodlights etc.) is also used. The best way to achieve this is to select as open an aperture as possible on the camera (manual setting preferred!) (set a small aperture value!), setting a sufficiently slow shutter speed (what you can still hold freehand, for example 1/60 second) and setting a high ISO sensitivity value, which must not be too high because of the camera's image noise at high ISO values (depending on the model, a clearly unattractive image noise already starts at 400 ISO, but with other cameras only at 3200 ISO, see Chapter 2: The right equipment).
For this photo, I set the ISO sensitivity of my Nikon D3 (equipped with the 2.8/70-200mm VR) to a high 1250, which still allows clear photos without image noise with this camera model (Blender 4 at 1/125 sec.). To brighten up the scene, I used indirect flash against the (high) ceiling of the sports hall, while daylight shone through the windows to the left of the group in addition to the flash and the existing hall lighting.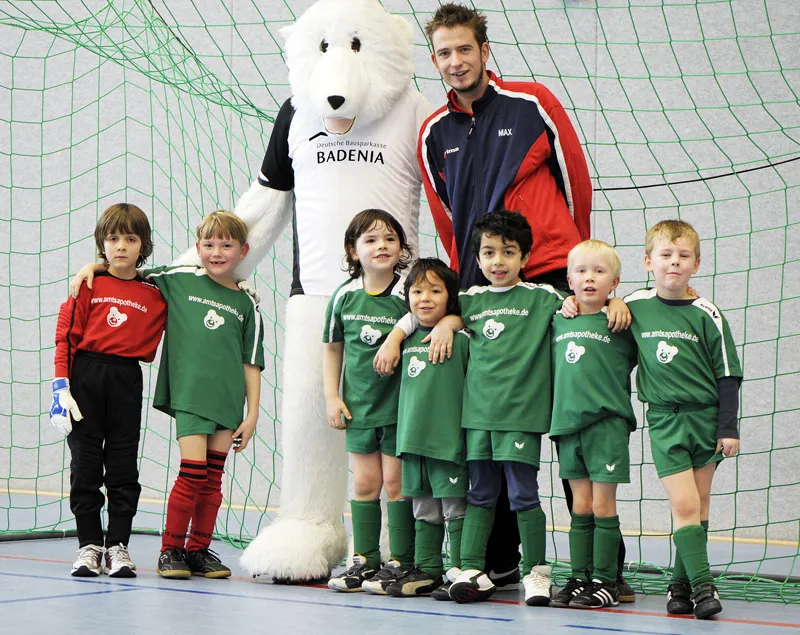
(Photo: Jens Brüggemann)
For a lack of other options, the reflector can also be directed against a window pane for indirect flash. This reflects the light almost like a mirror. The result is a rather harsh side light, but this is not too disturbing if you work with TTL control at the widest possible aperture and slow shutter speed in order to make use of the available light.
(Photo: Jens Brüggemann)
Or, as a lighting variant, we use only the daylight from outside, for example! This is a not uncommon option for photographing indoors in low light conditions:
We choose the shooting location for the child model near a large window. If you don't want to flash, the only option is to choose a high ISO sensitivity if you want to avoid the risk of camera shake.
As you can clearly see on the left-hand side of the picture, the photographer of this photo had drawn the curtains of the large window to allow as much light as possible into the room. She also photographed with a high ISO value (800 ASA), which, however, leads to clearly visible image noise when the photo is enlarged (Canon EOS 350D, 1/60 sec. at Blender 5.6).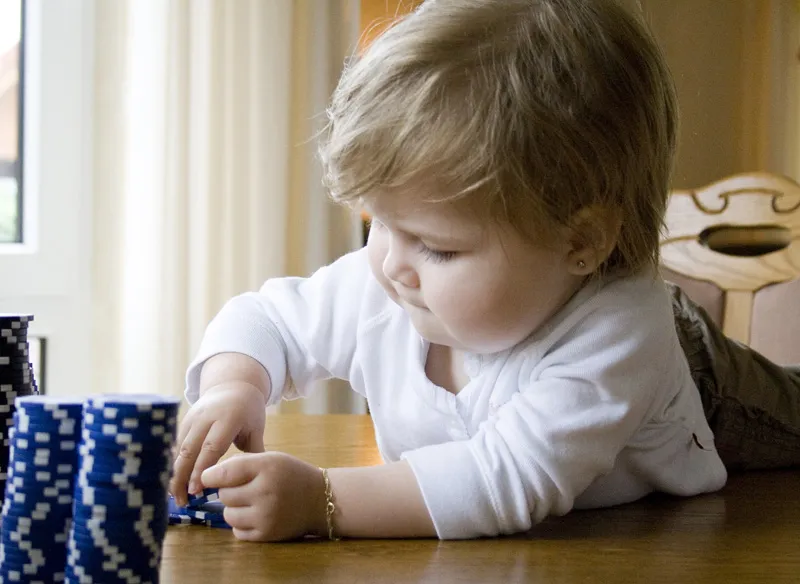
(Photo: Elli Bezensek)
Children in the (home) studio
In the photo studio, on the other hand, we have a studio flash system that makes us completely independent of available light. With the help of the (sufficiently powerful) modeling light (preferably: 650 watts), we can see the exact progression of light, provided that the modeling light is proportional to the flash (see Chapter 2: The right equipment), and can change it according to our wishes.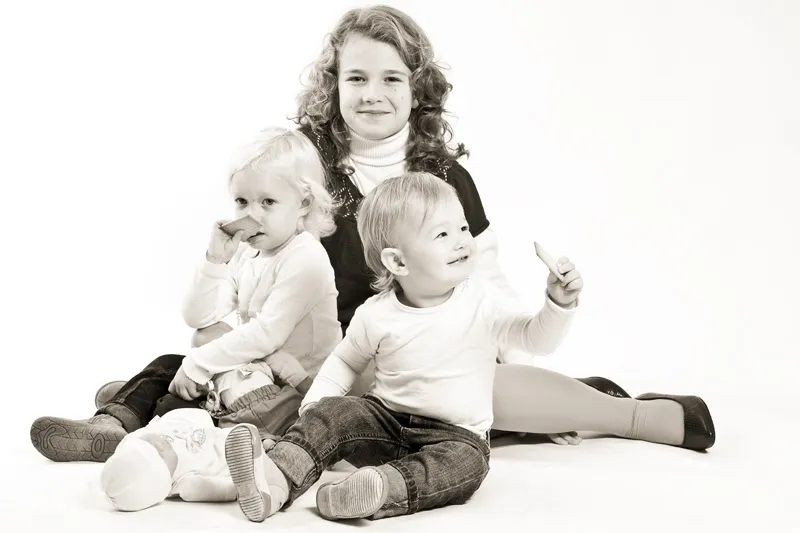
(Photo: Elli Bezensek)
Working with a studio flash system is much easier than most photographers think, ...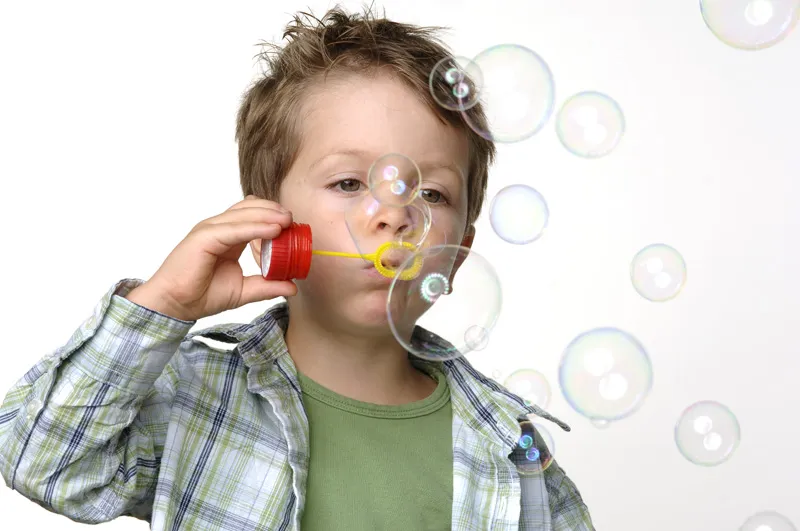
(Photo: Jens Brüggemann)
... that's the feedback I get again and again from participants in the workshops I organize on the subject of lighting technology.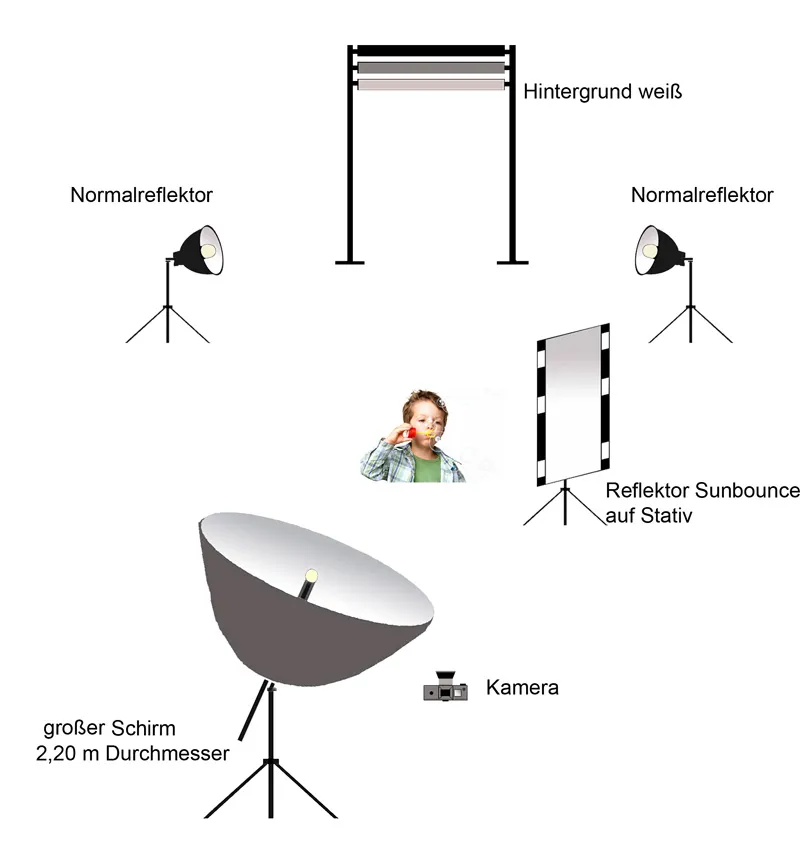
(Sketch: ;Jens Brüggemann)
We can create different lighting moods with the help of a studio flash system. The large selection of light shapers, which are responsible for whether the light (and therefore also the shadow) is hard or soft, helps us to realize our ideas. The flash system is also an excellent tool for black and white photography in particular, thanks to its many possibilities for creating the most precise lighting.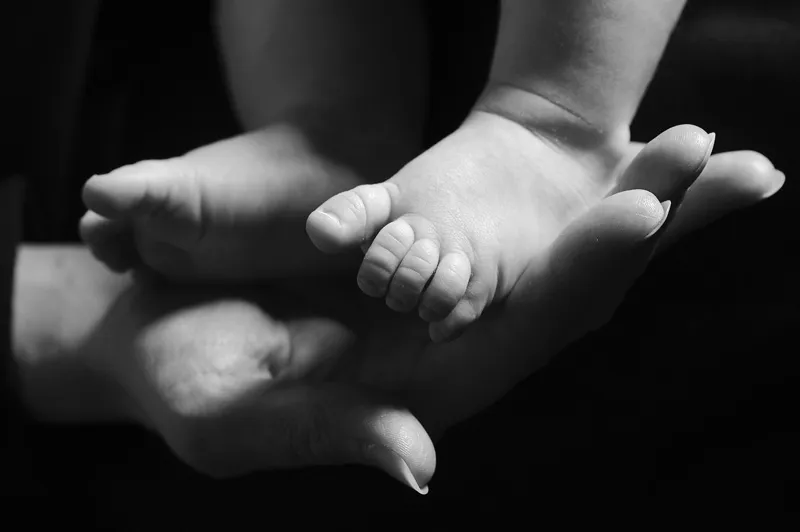
(Photo: Elli Bezensek)
The power of a flash unit (measured in joules or watt seconds) determines how much light is emitted. This determines the aperture value (measured with a handheld light meter) that we have to set on the camera. Example: If the measured aperture value when triggering the flash system results in an aperture of 11, for example, the desired use of an aperture of 4, for example, is only possible if the power of the system can be reduced by (another) 3 f-stops. If this is not possible (e.g. because the flash system cannot be adjusted down that far), the only option is to increase the distance between the flash heads and the model.
This is because the light decreases as the square of the distance, which means that doubling the distance between the flash head and the model requires a quarter of the flash output. Based on our example above, doubling the distance would result in an aperture of 5.6 instead of 11. As the light characteristics also change when the distance between the flash head (including the attached light shaper) and the model is changed, it is always better to regulate the power on the unit itself, which is why flash units with a large control range (a large control range would be over 10 Blenders, for example) are preferable when purchasing.
The photographer would then be completely free to decide whether to shoot with little or a lot of depth of field, the flash unit would allow both (and everything in between). (Nikon D2X, 1/125 sec. at Blender 9)
(Photo: Elli Bezensek)
Photos in your own home
At home
This is where the young models have their home advantage; this is where they feel at home, where they know all the conditions and hiding places, where they are the "stars". Their initial shyness about being photographed, which will be far greater in unfamiliar surroundings than at home, quickly gives way to the childish urge to present the "stranger" with all the great favorite toys that the perhaps recent Christmas has brought.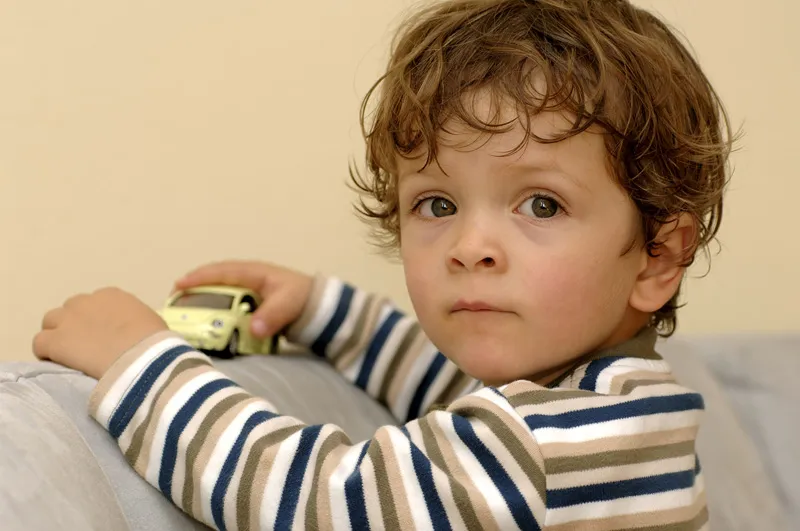
(Photo: Jens Brüggemann)
The huge range of props (the whole children's room is full of them!) makes it easy for the photographer to keep the child busy, ...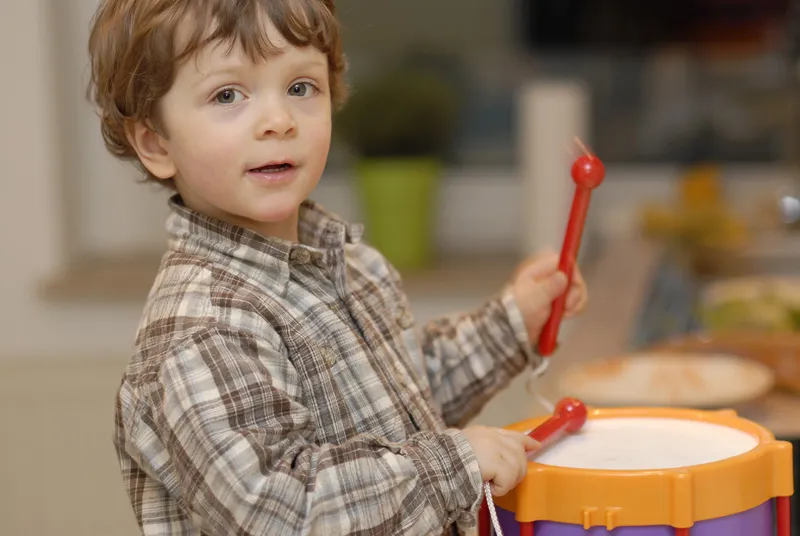
(Photo: Jens Brüggemann)
...to create a picture idea and also have variety for the photos.
(Photo: Elli Bezensek)
However, if you are taking photos in a domestic environment, make sure that unsightly backgrounds (cleaning buckets, sockets, etc.) are not included in the picture by choosing a clever framing. Another way to "hide" such inappropriate objects (or even non-photogenic furniture etc.) is to use a light telephoto lens with an open or almost open Blender.
The resulting blurring in the background makes it almost impossible for the viewer of the photo to recognize what was in the background.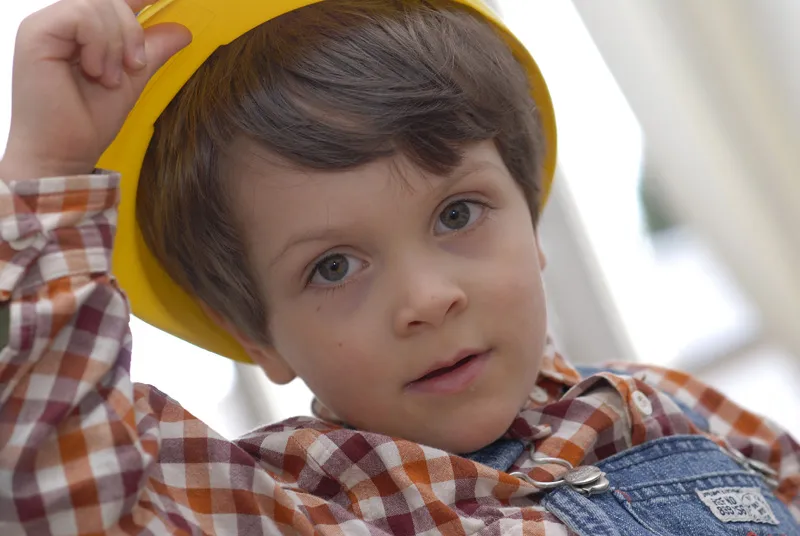
(Photo: Jens Brüggemann)
If the use of telephoto lenses is not possible, for example because the rooms are too small, the only option left is to either play furniture removalist and clear away anything unwelcome, or to select the most neutral locations possible for the photo session, which do not distract from the actual subject at all or only to a small extent. This could be a bare wall (here with a sofa in front of it) ...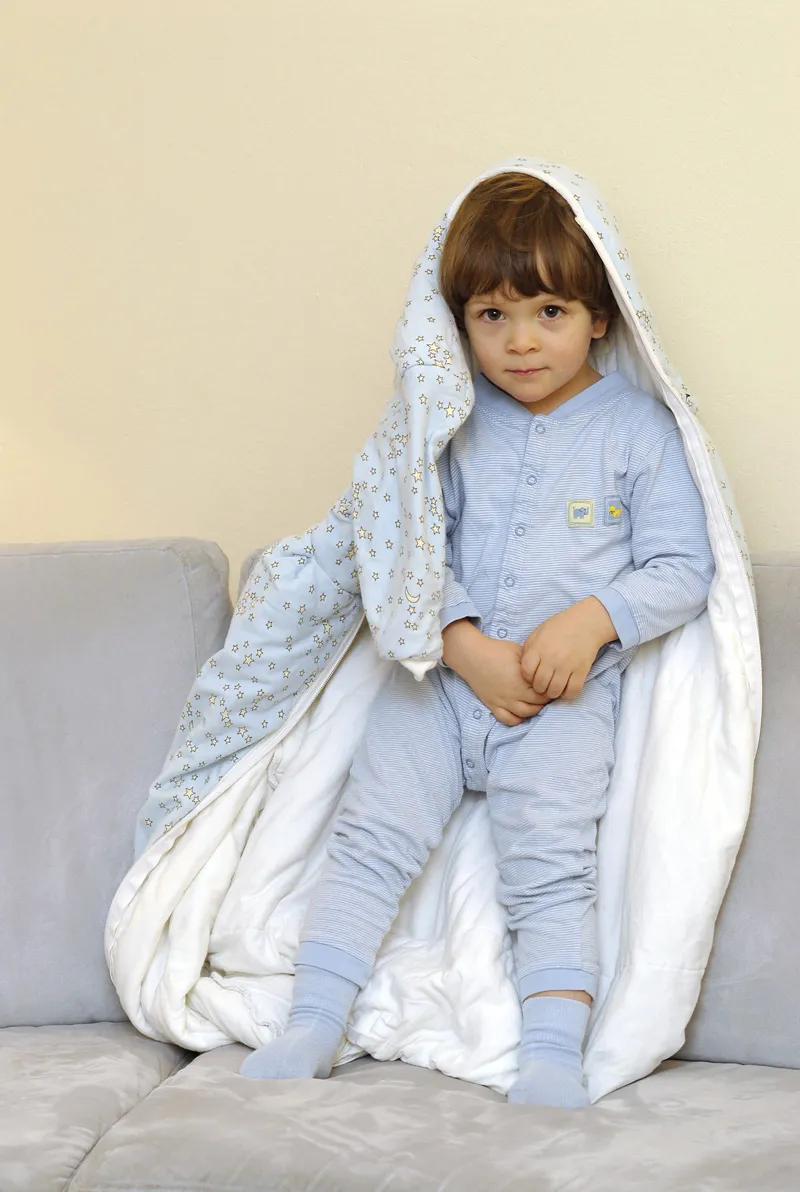
(Photo: Jens Brüggemann)
... or just the floor: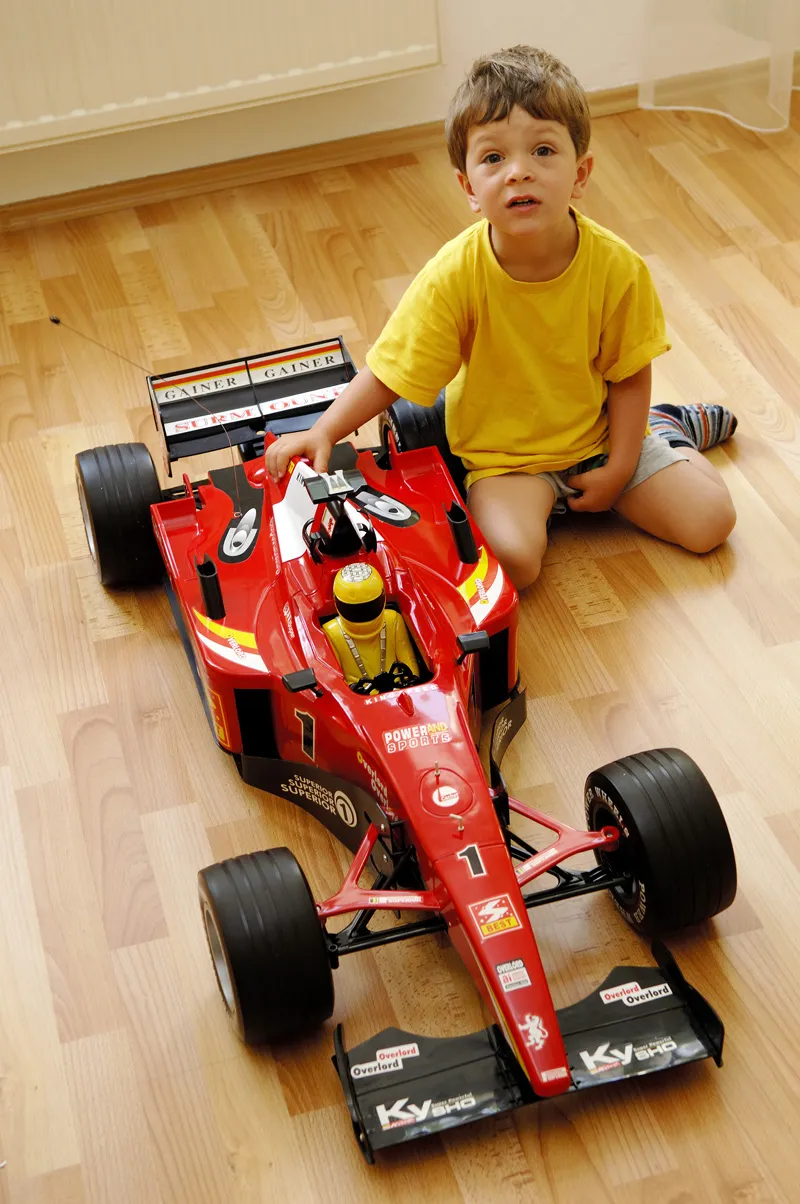
(Photo: Jens Brüggemann)
There are places and corners in every apartment, no matter how small, that can be turned into a suitable photo background by cleverly choosing the image section, photographing with an open Blender or a little tidying up! And maybe the offspring will help you tidy up a bit ...?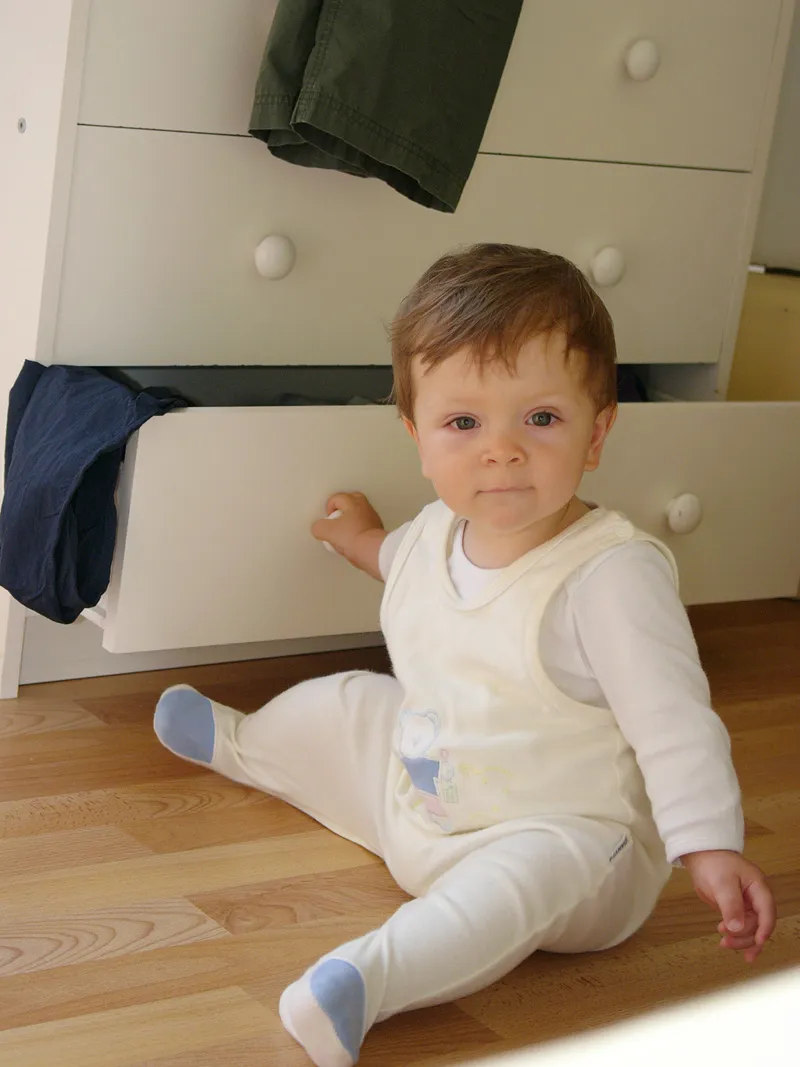
(Photo: Jens Brüggemann)
Indoor sports
With indoor sports, you are usually confronted with quite difficult and, above all, different lighting conditions. No two sports halls are the same; some have large windows that let in plenty of daylight, while others have only a few or small windows and therefore require a lot of artificial light.
This in turn can vary greatly: I have already taken photos in halls where I set my camera to white balance daylight and achieved excellent results, while others were fitted with old neon tubes, which were less powerful and also fluctuated in terms of light temperature. In short: I cannot give a general tip for the camera settings at this point.
Just test the lighting conditions on location before you start taking the important photos!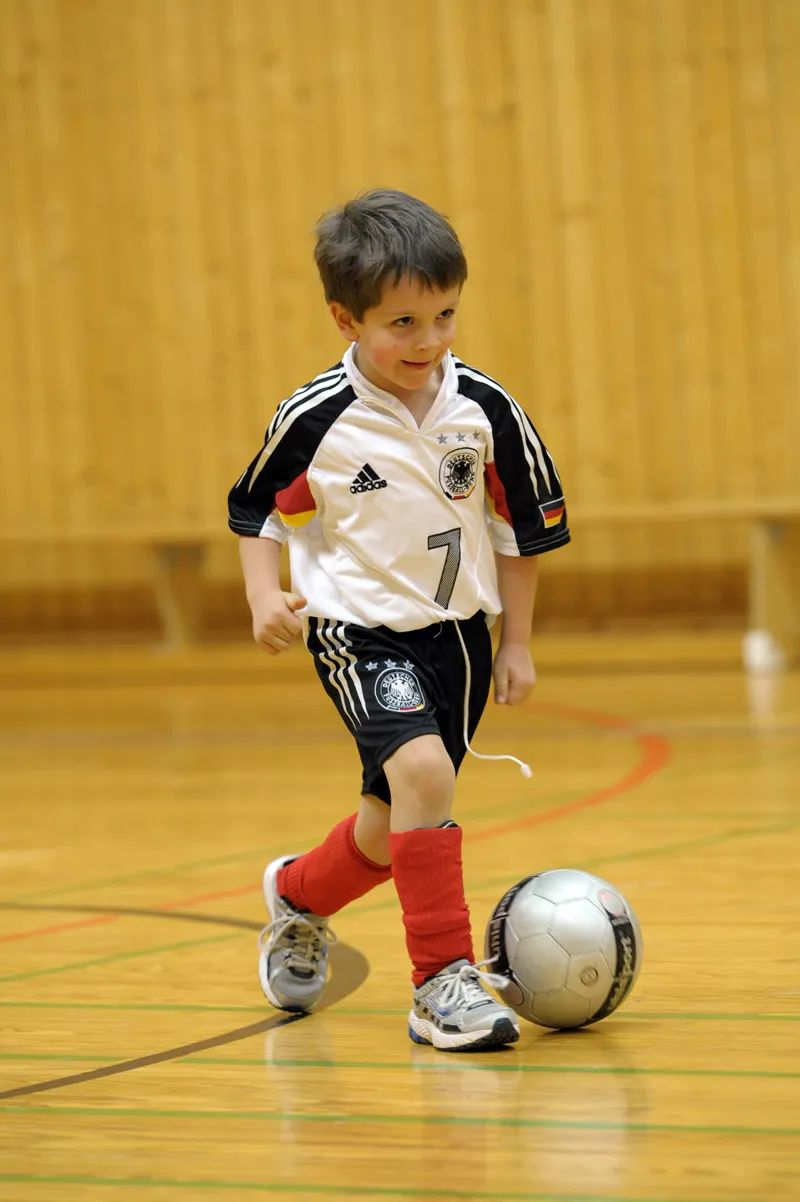
(Photo: Jens Brüggemann)
Lenses that are as fast as possible are particularly suitable for photographing indoor sports, as children move at a speed that makes photos at 1/60th of a second or longer impossible if you want to capture the kids in focus. This photo shows my son jumping on a trampoline. It was photographed at 1/250 second with a manual setting (105mm, aperture 4.0) and, due to the lack of a suitable reflective surface, without a flash (but at 6400 ISO).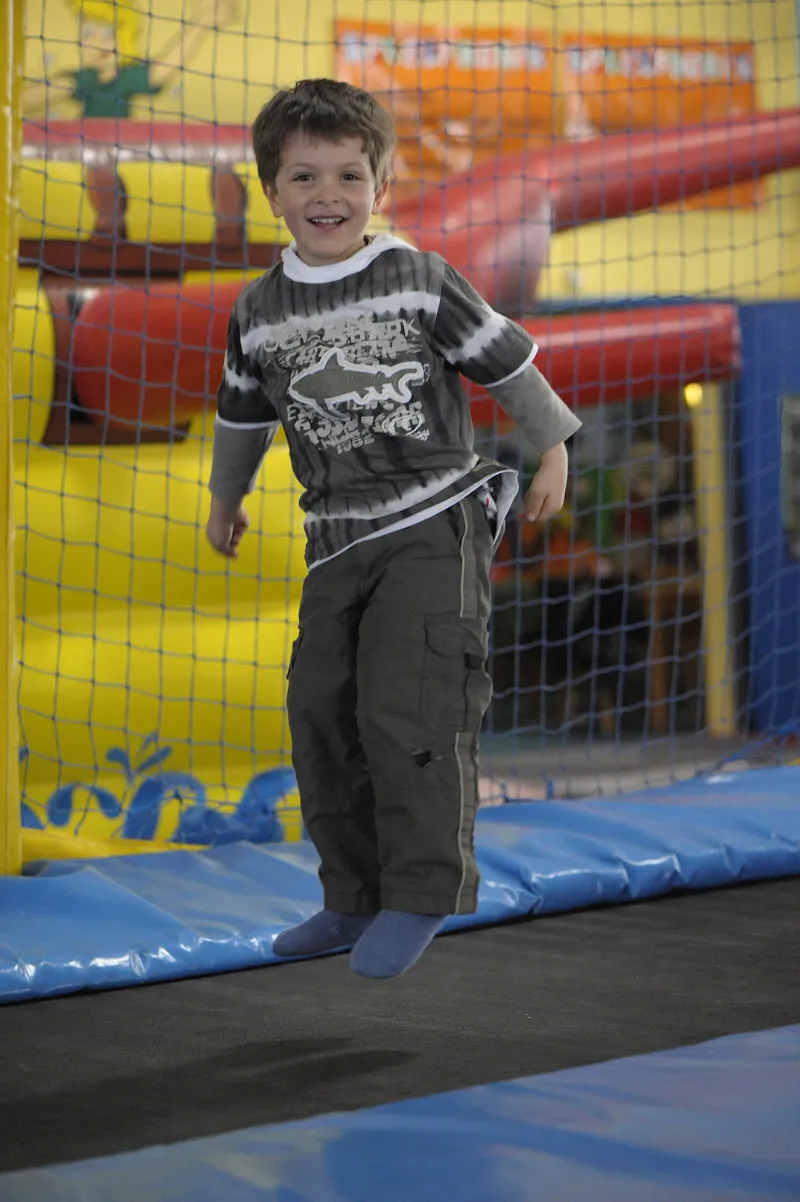
(Photo: Jens Brüggemann)
In most cases, you won't be able to direct the system flash indirectly over a white ceiling, firstly because the ceilings in sports halls are too high and secondly because they are rarely white. And when used directly, there are - unfortunately - unsightly shadows, which doesn't look very professional (see example).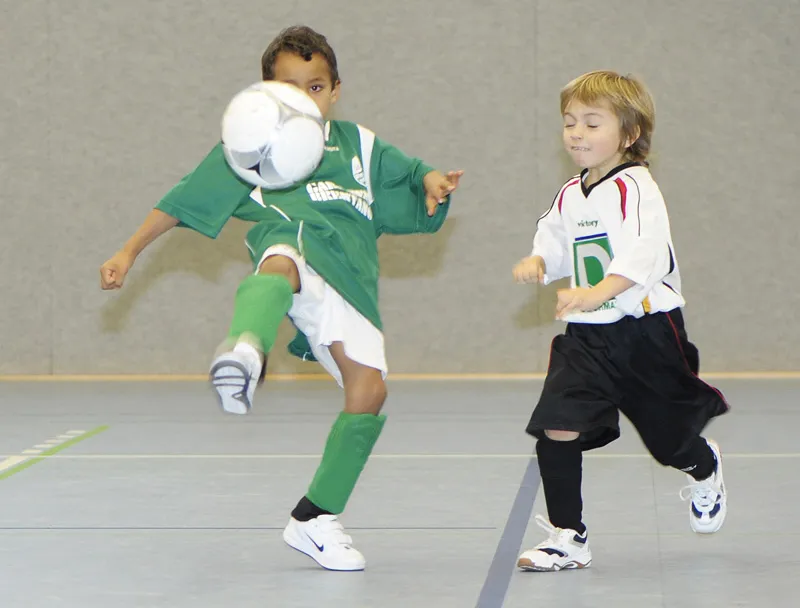
(Photo: Jens Brüggemann)
The corresponding sketch: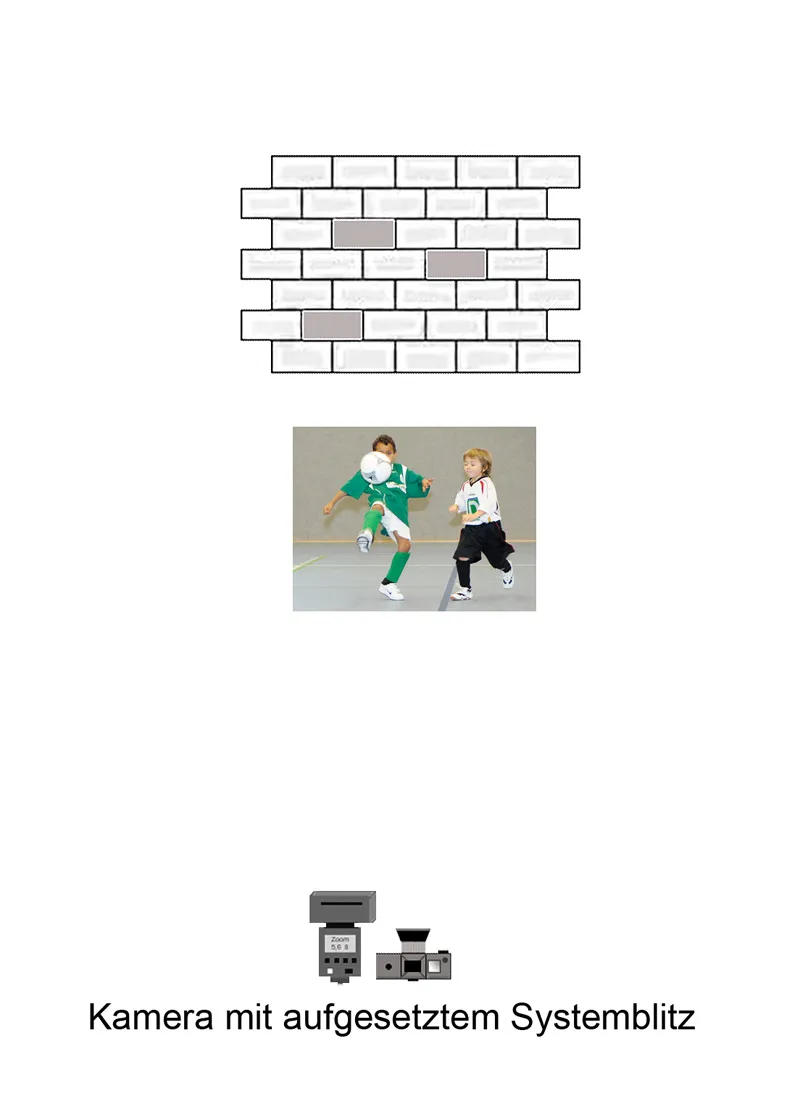
(Sketch: Jens Brüggemann)
If you take photos in sports halls without flash, the photos look much more natural: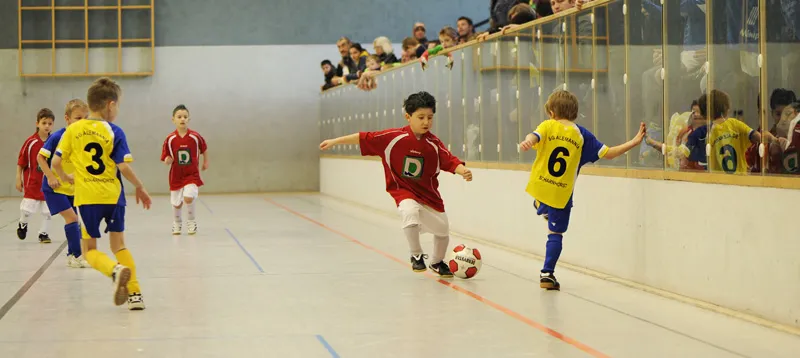
(Photo: Jens Brüggemann)
Without the use of a system flash, however, there is an increased risk that the photos will quickly appear blurred. The advantage of the flash is that it "freezes" the children's movements, even at slower shutter speeds. Without flash, on the other hand, this effect does not occur and we only have the option of using the fastest possible shutter speed to capture the kids in focus.
This photo shows that you can also make use of this movement effect, for example to demonstrate the dynamics of a sport. Here I wanted to show the strength with which the young goalkeeper kicks the ball. The goalkeeper is shown in focus, but the ball is flying away with full force, which the viewer immediately recognizes from the wiping effect.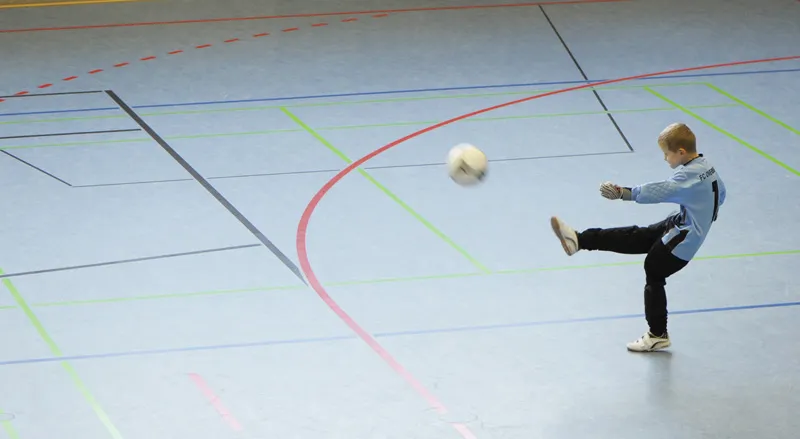
(Photo: Jens Brüggemann)
