In this tutorial, you will learn how to remove a boat from a water shot in Adobe After Effects using a combination of multiple layers, masks, and content-aware fill. This technique requires a certain level of precision and understanding of how content-aware filling works, especially when the object is in a dynamic environment like water with reflections. Let's walk through the process step by step to achieve an impressive end result.
Key Takeaways
In video editing, the combination of multiple layers and masks is crucial in achieving a realistic outcome. Using content-aware fill can help reconstruct complex backgrounds when objects are removed from a video. It is important to adjust the opacity and size of the masks to create seamless transitions.
Step-by-Step Guide
To remove a boat from a water shot, we start with the basic content adjustments.
First, open your project in After Effects and review the footage. You will notice that the boat is in an area of constant movement and reflection, making removal challenging. To get a clear image, it is helpful to use multiple layers.
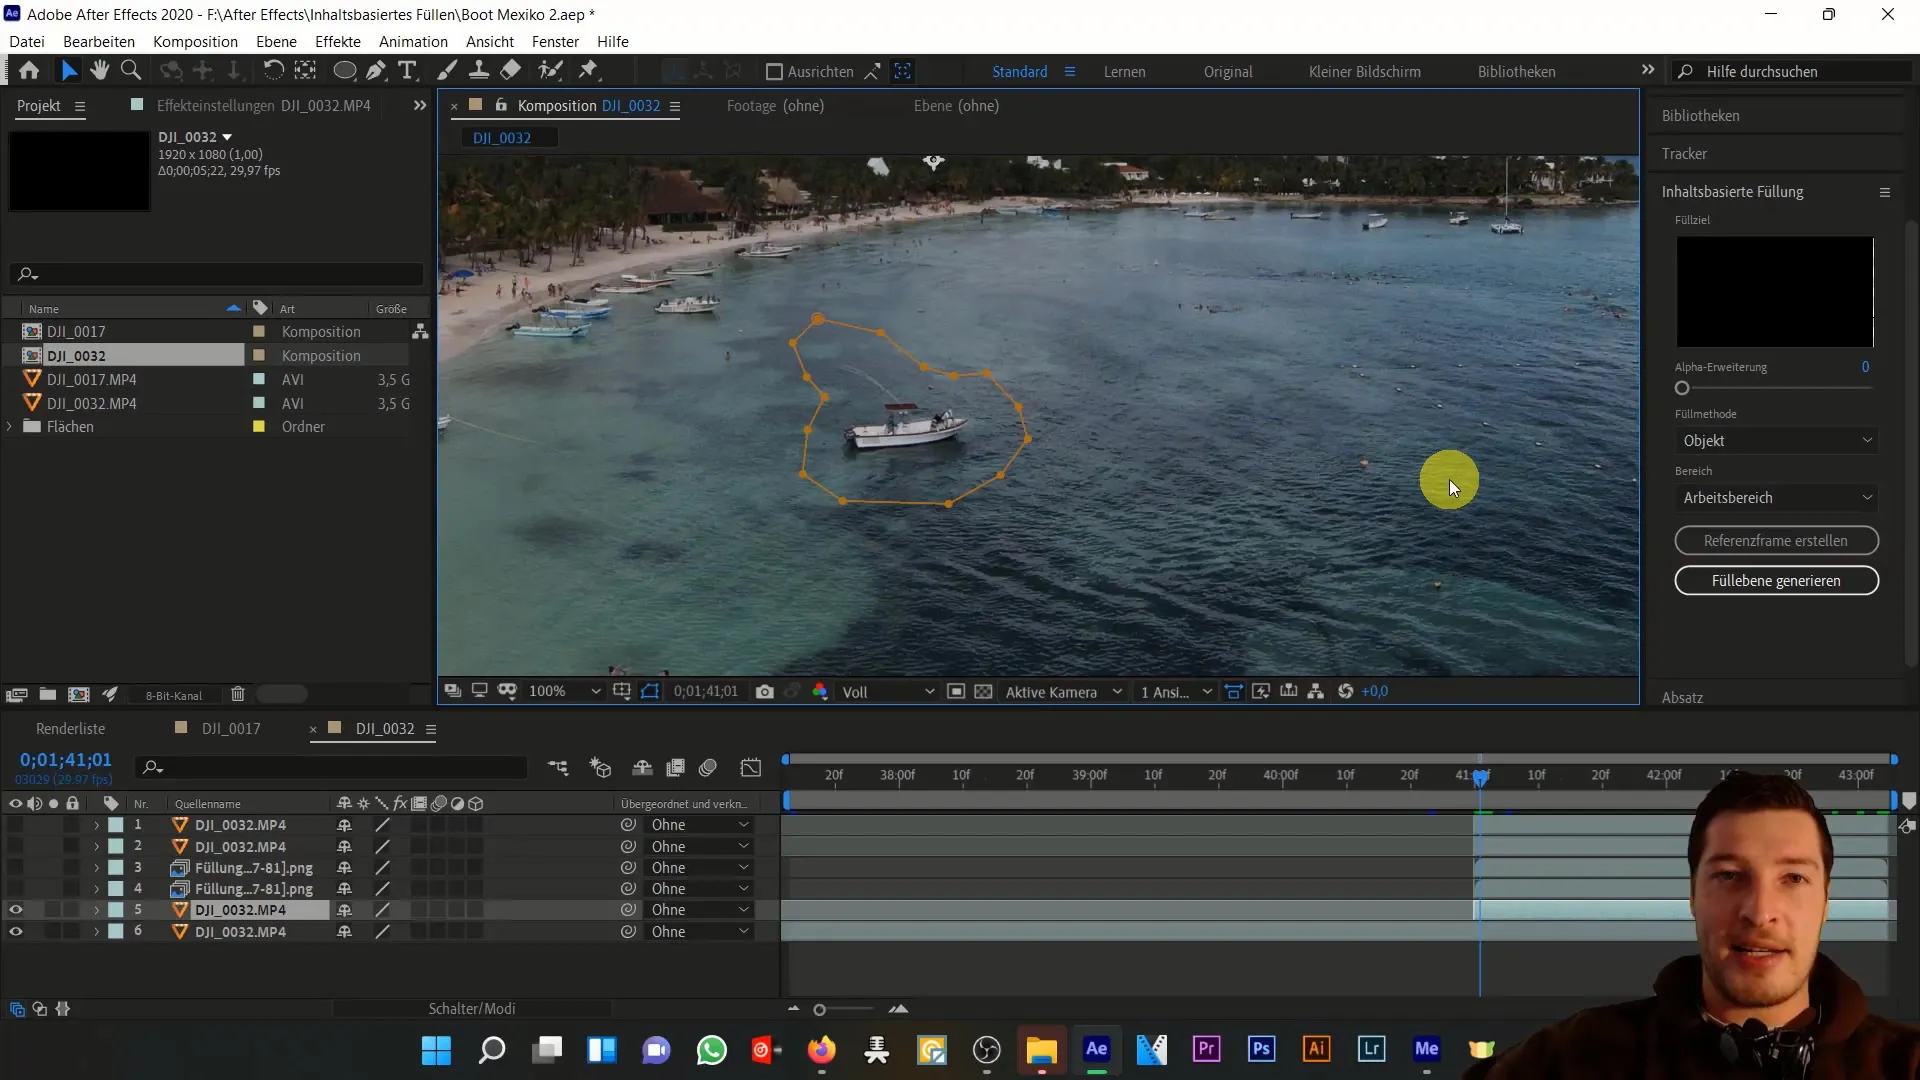
The basic principle of content-aware fill is to remove the boat and reconstruct the background. To remove the boat, you need to create masks that define the areas you want to work on. Start by drawing a mask around the boat with the pen tool.
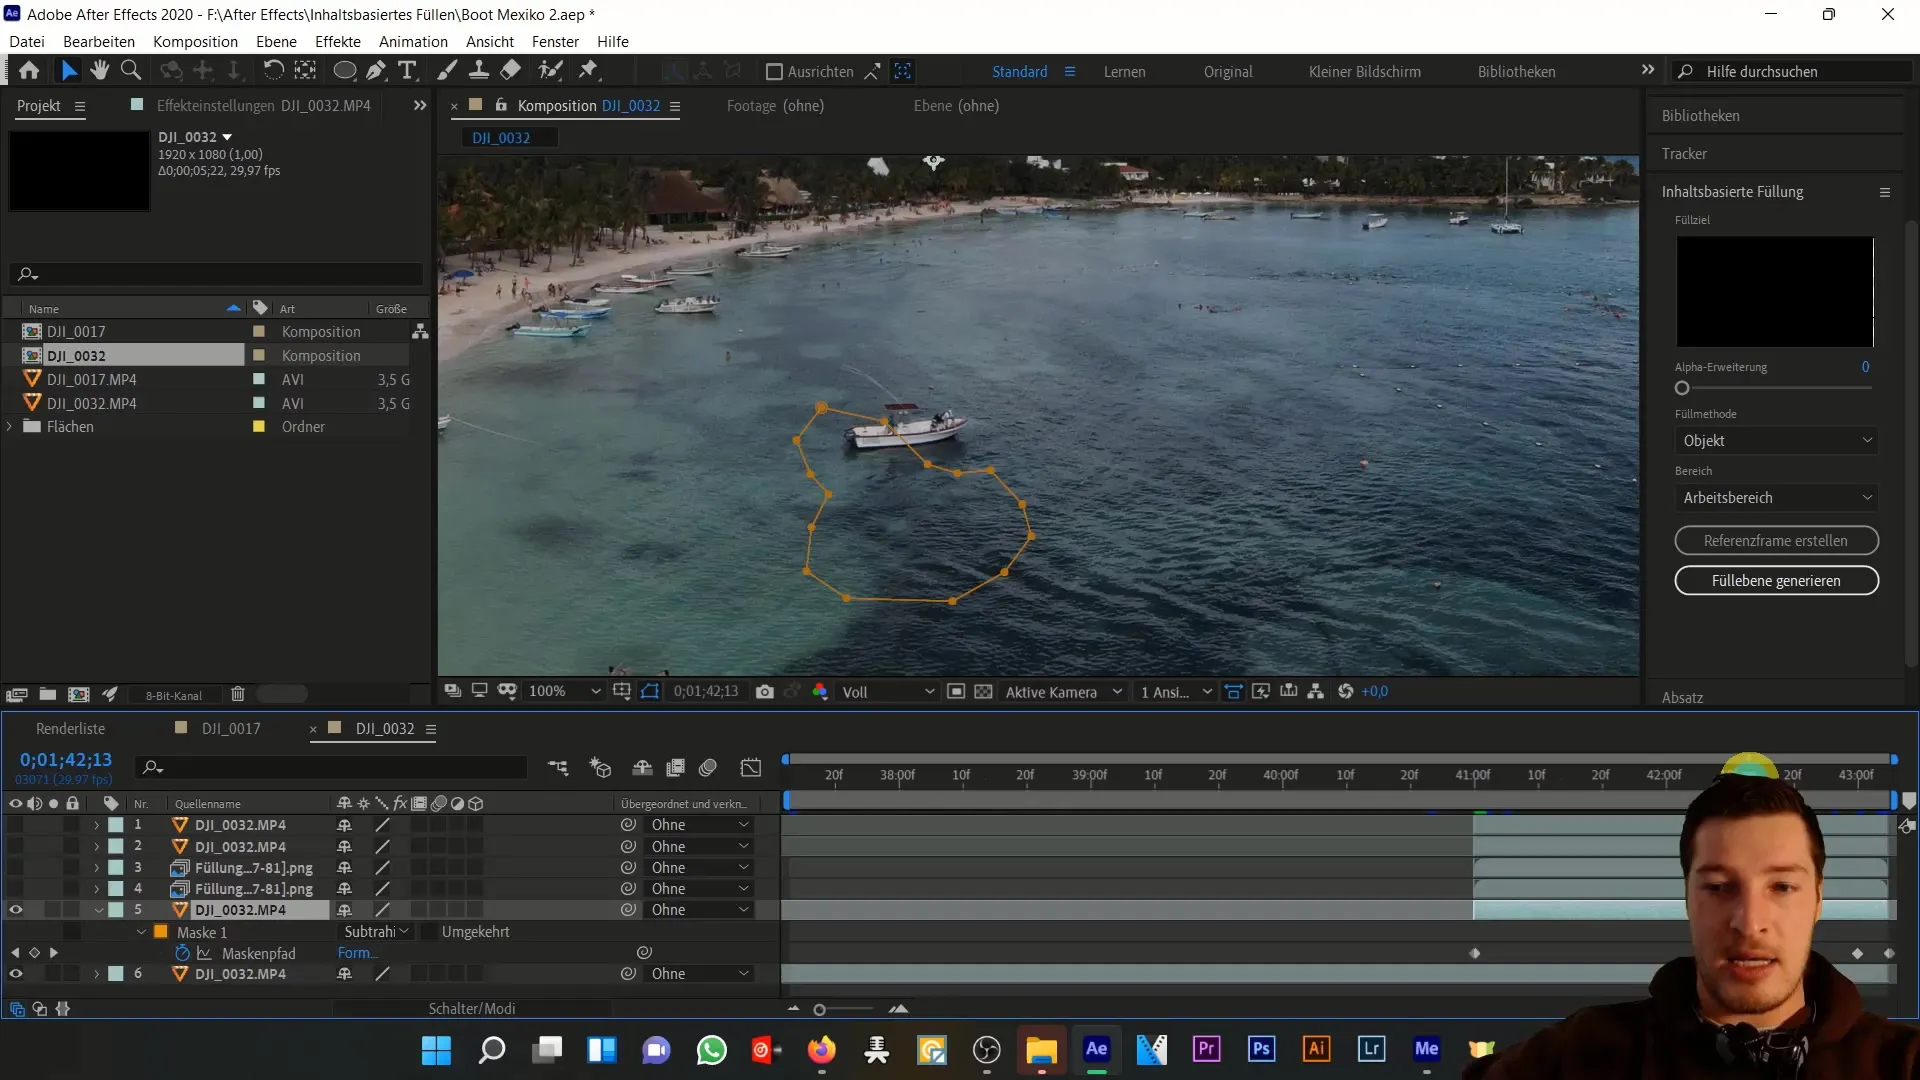
Once the mask is created, activate time animation to animate the mask movement across the different frames. Ensure that the mask is accurately drawn around the boat at all times. You can adjust the mask shape at any time by expanding it and adjusting additional parameters such as mask feather.
In the next step, you create the first content-aware fill. This fill is placed below the mask layer on your timeline. Make sure to expand the fill by 65 pixels to create a seamless transition. Initially, the fill may not look perfect, but that's normal.
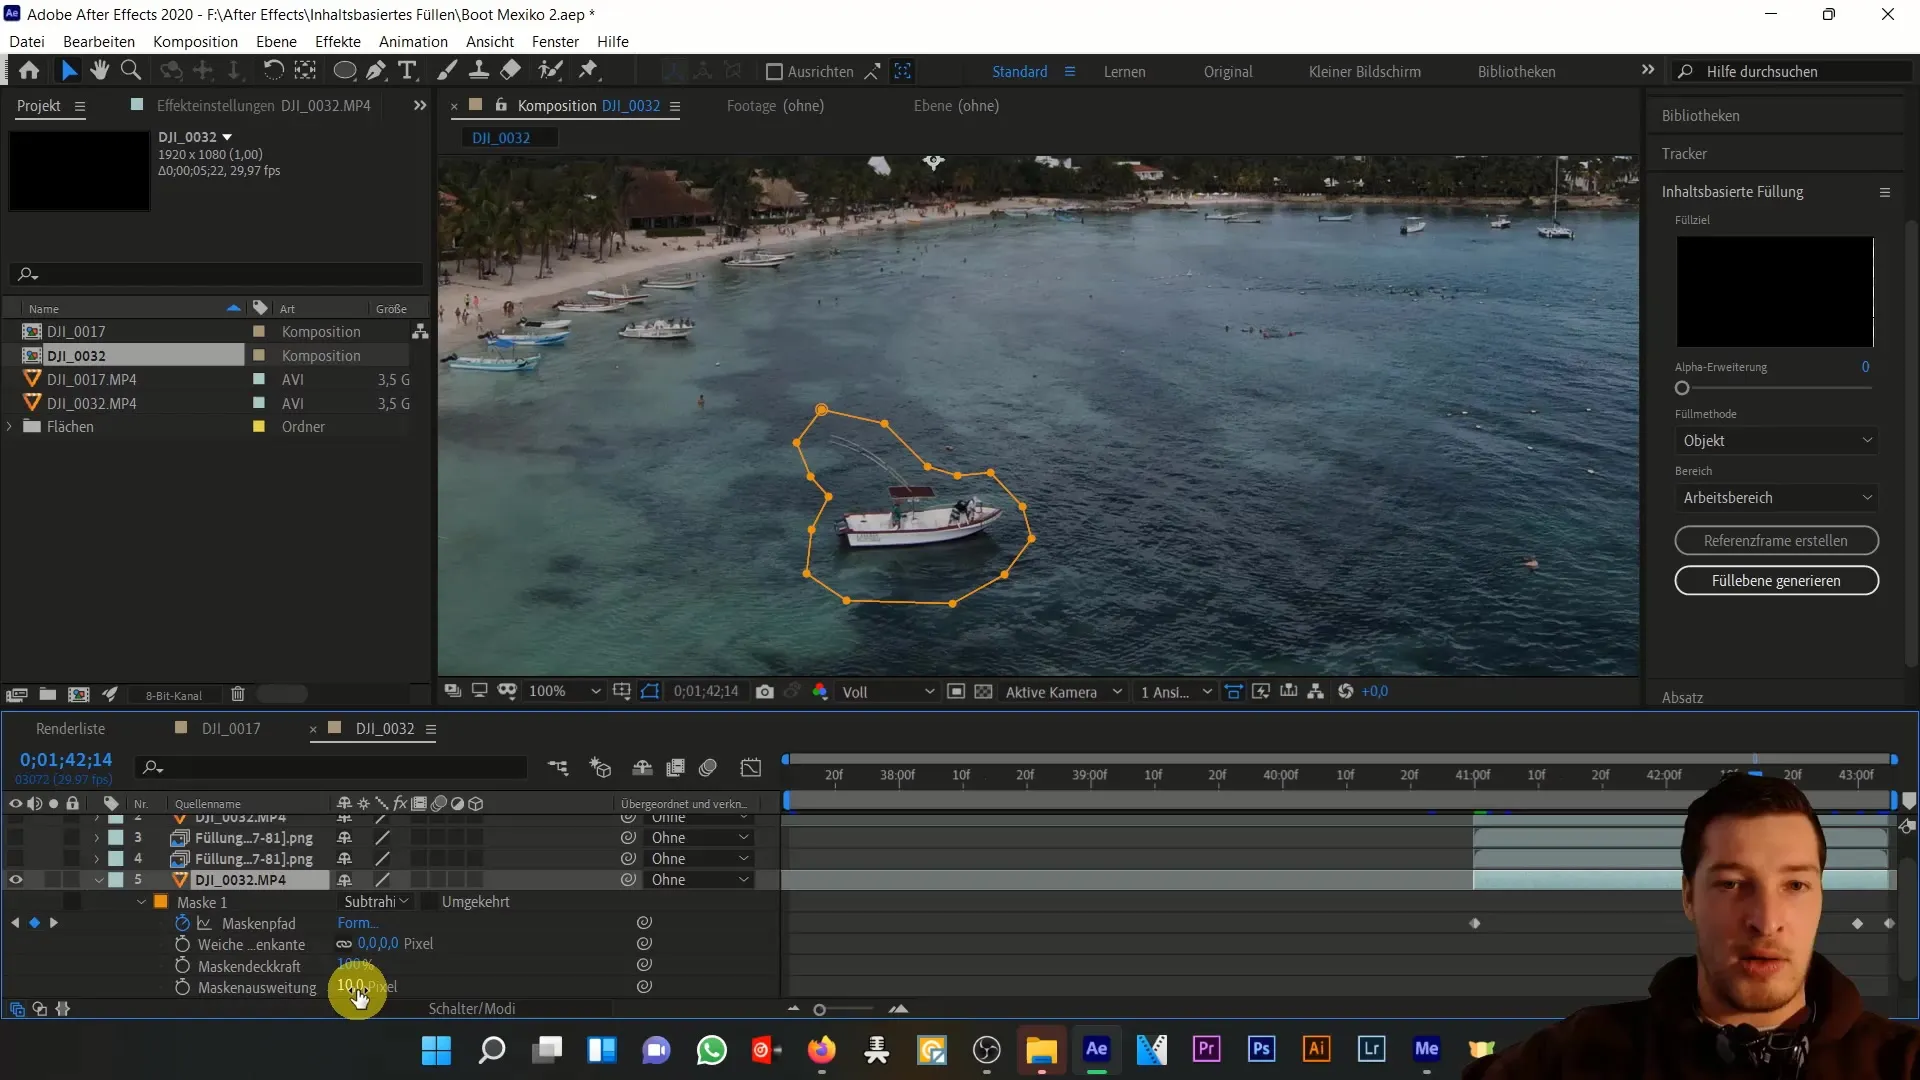
To further enhance the image, you should add a second content-aware fill. This one should be smaller in size – in this example, enlarged by only 10 pixels – and placed with reduced opacity over the first fill. This way, you will achieve a balanced and less discolored result.
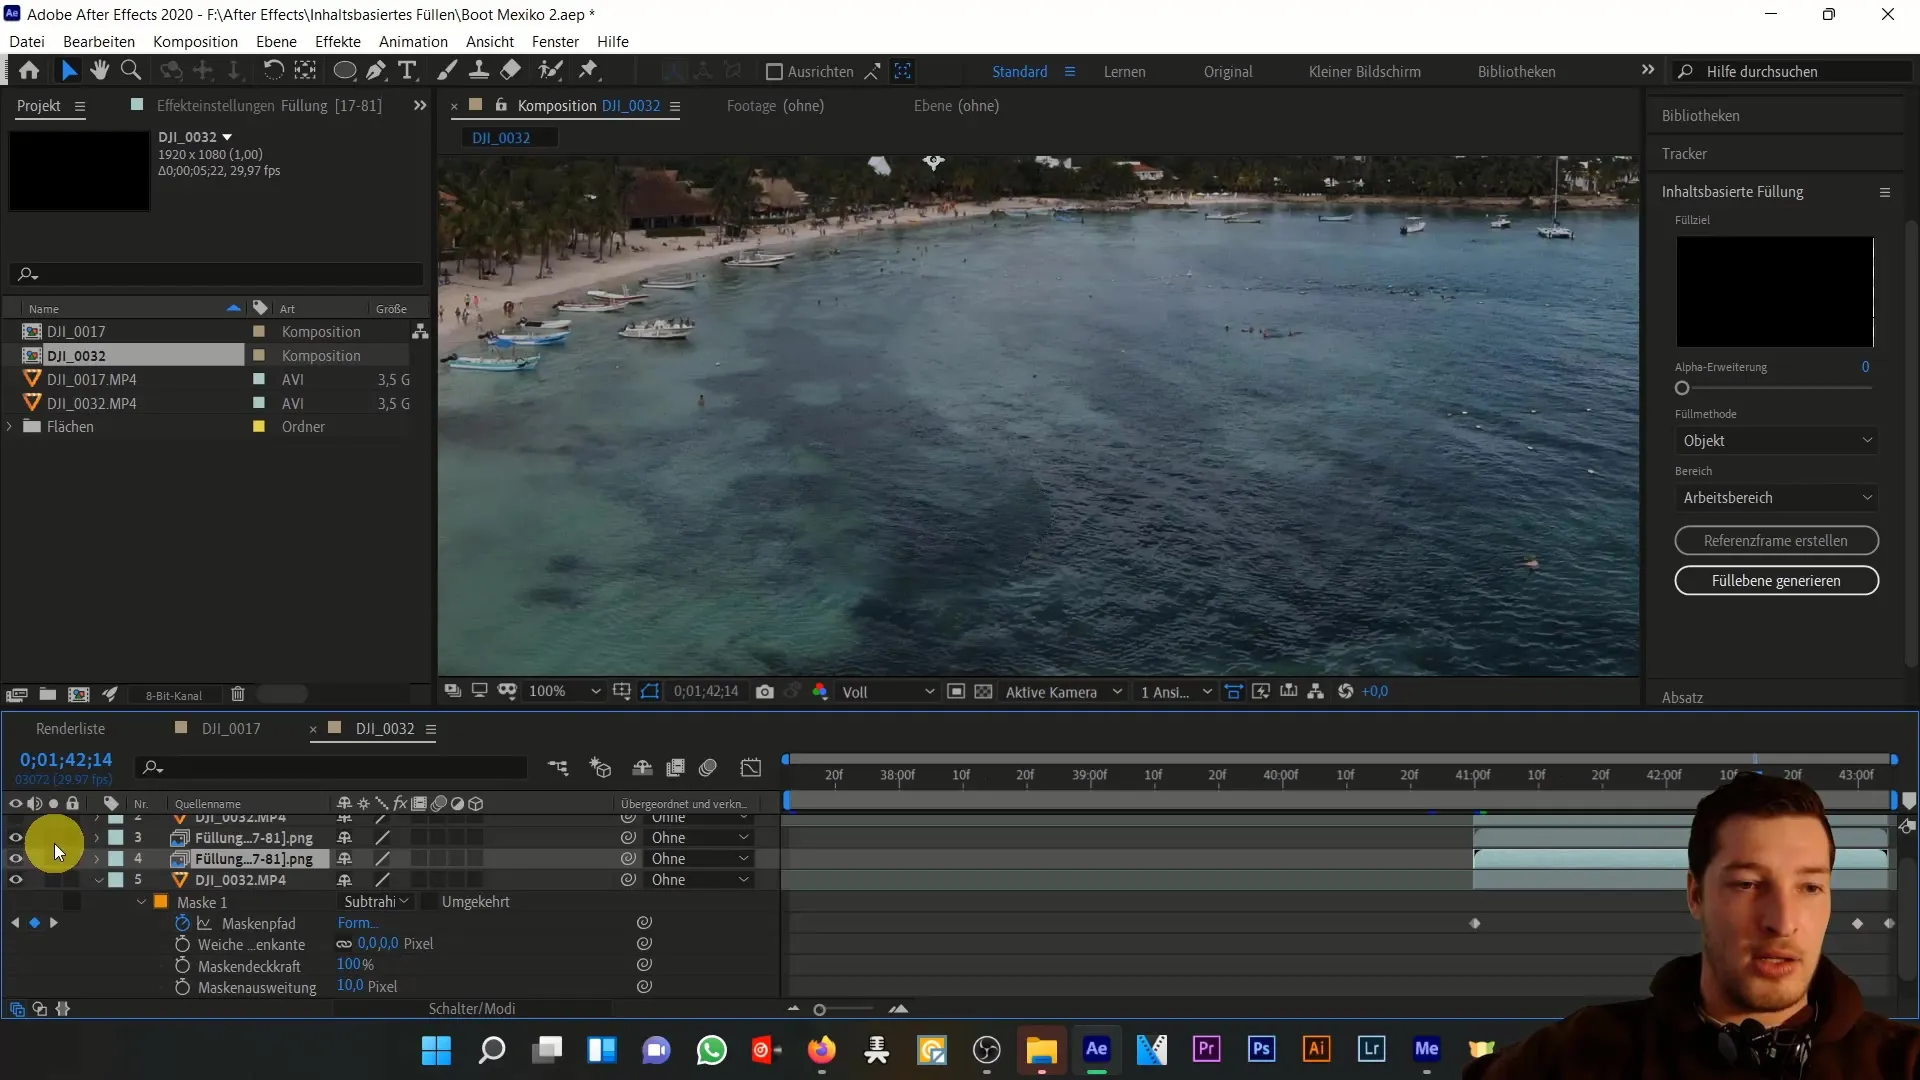
Next, add a mask specifically designed to enhance the outer areas of your fill. A soft mask ensures a smooth transition and enhances the overall image by reducing the visible edges of the fills.
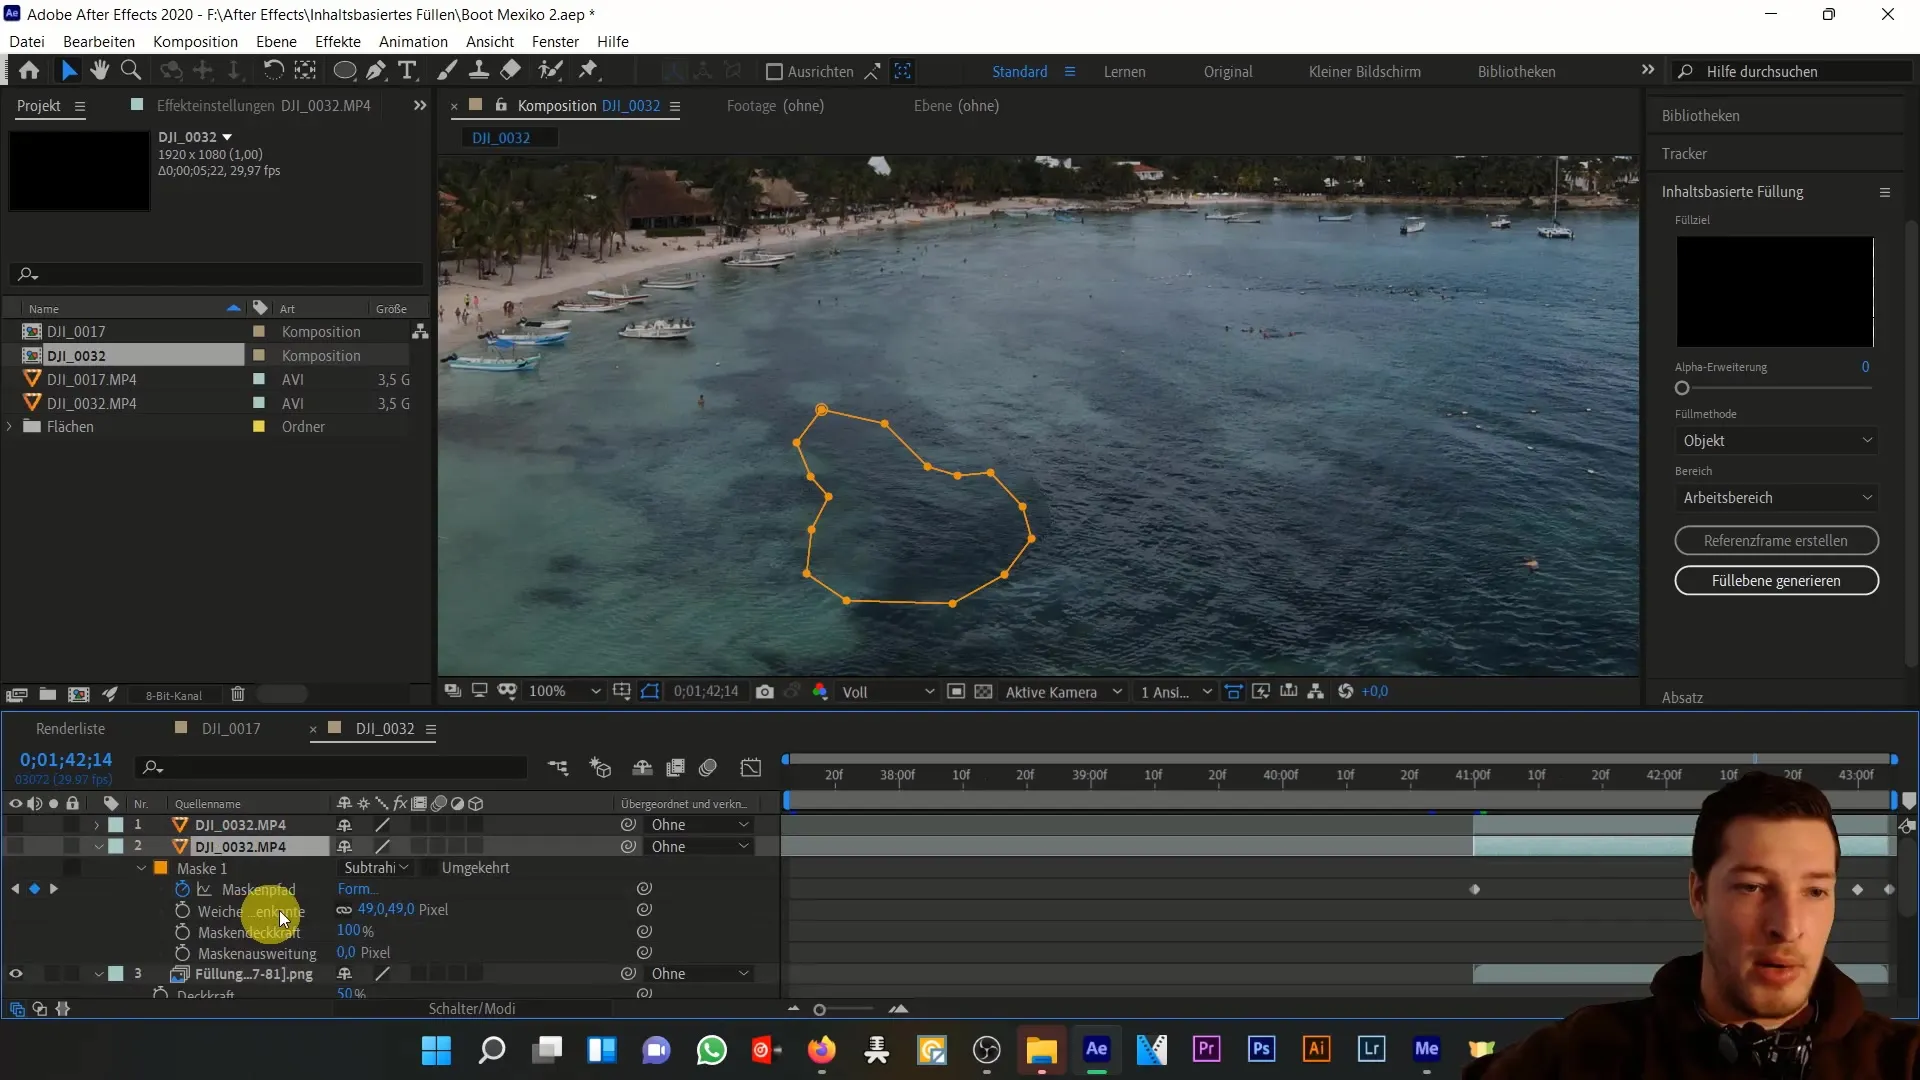
Upon reviewing your result again, you will already notice significant improvements. To make the image even more realistic, you can create a new mask cutout from the wave areas of the image, which will be overlaid on the entire image. This final touch will help further reduce the green tint.
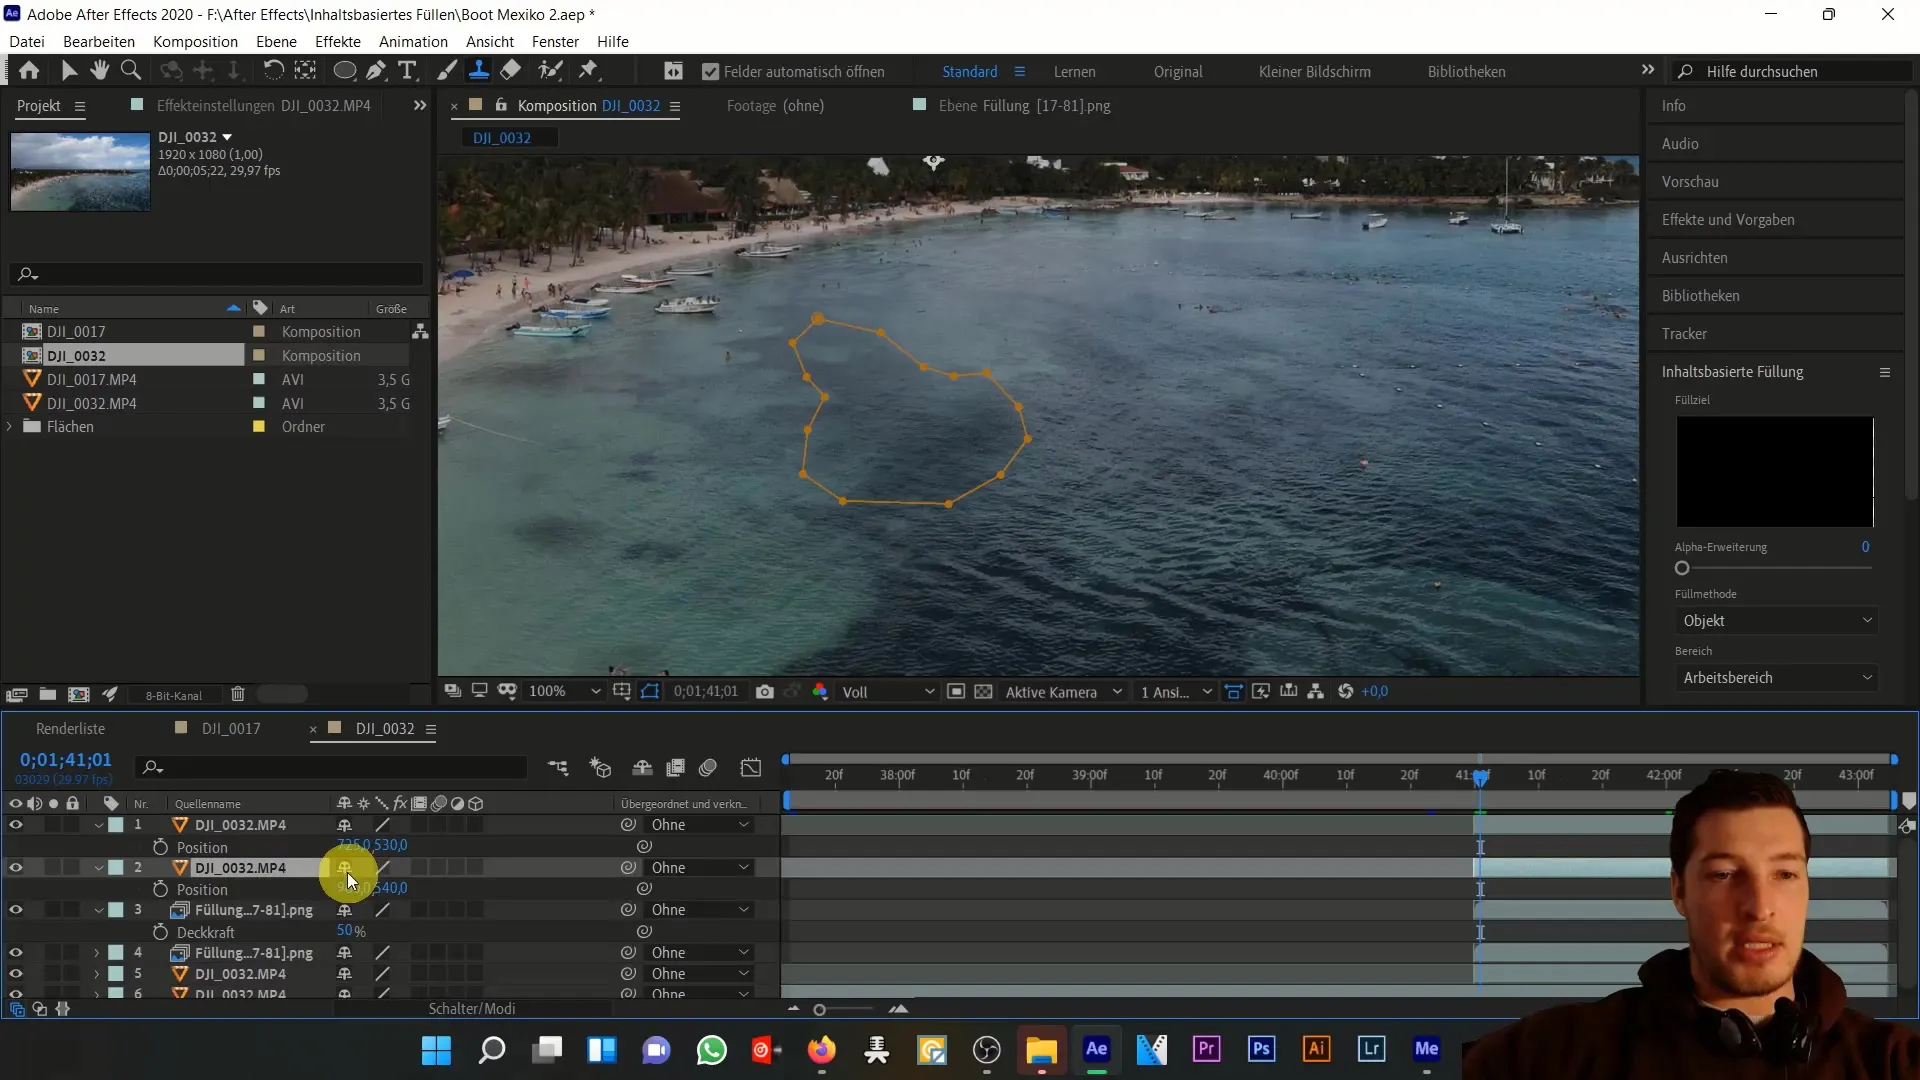
Remember to reduce the opacity of this mask layer again to make the image harmonious. Now it looks as if the boat was never there!
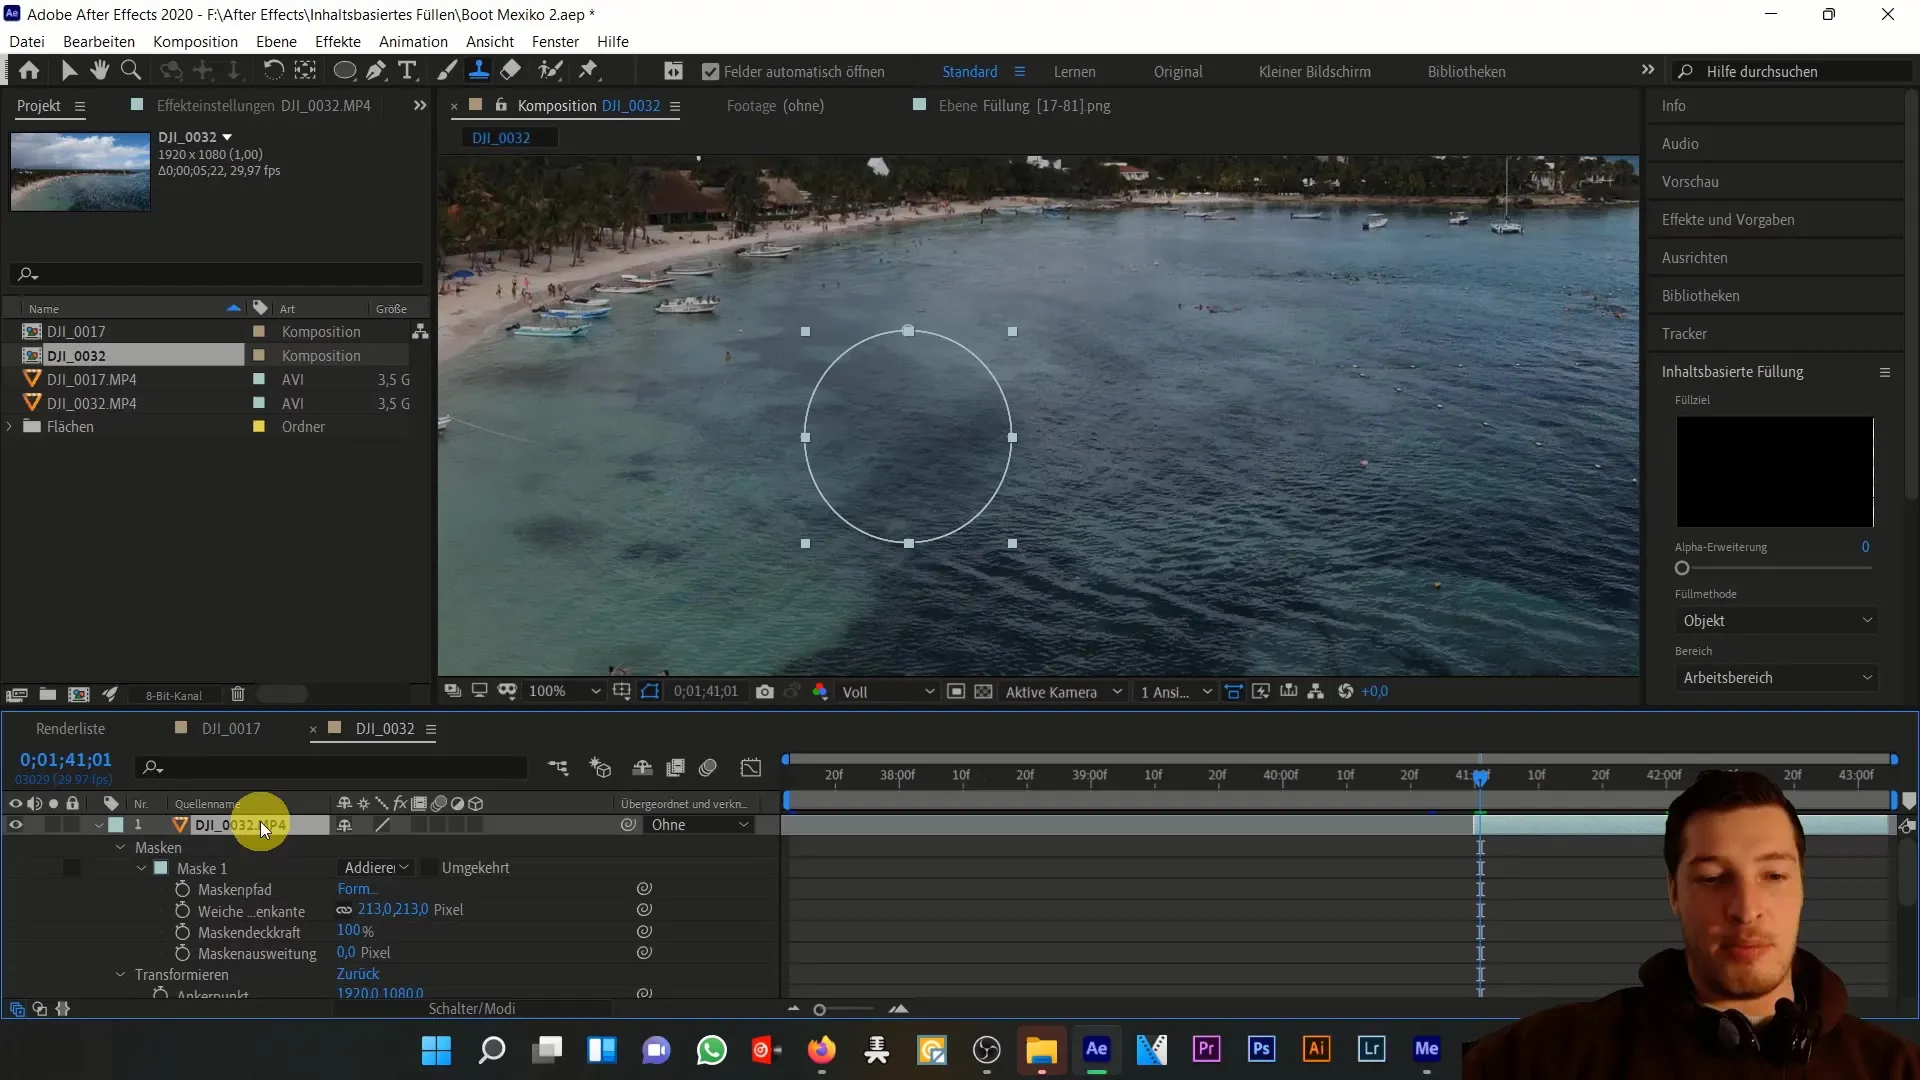
If you want to edit still images, the clone stamp tool comes in handy. It allows you to select specific parts of the image and cover unwanted areas with stamping. By holding the Alt key and using the brush, you can work very precisely to optimize small details in the image.
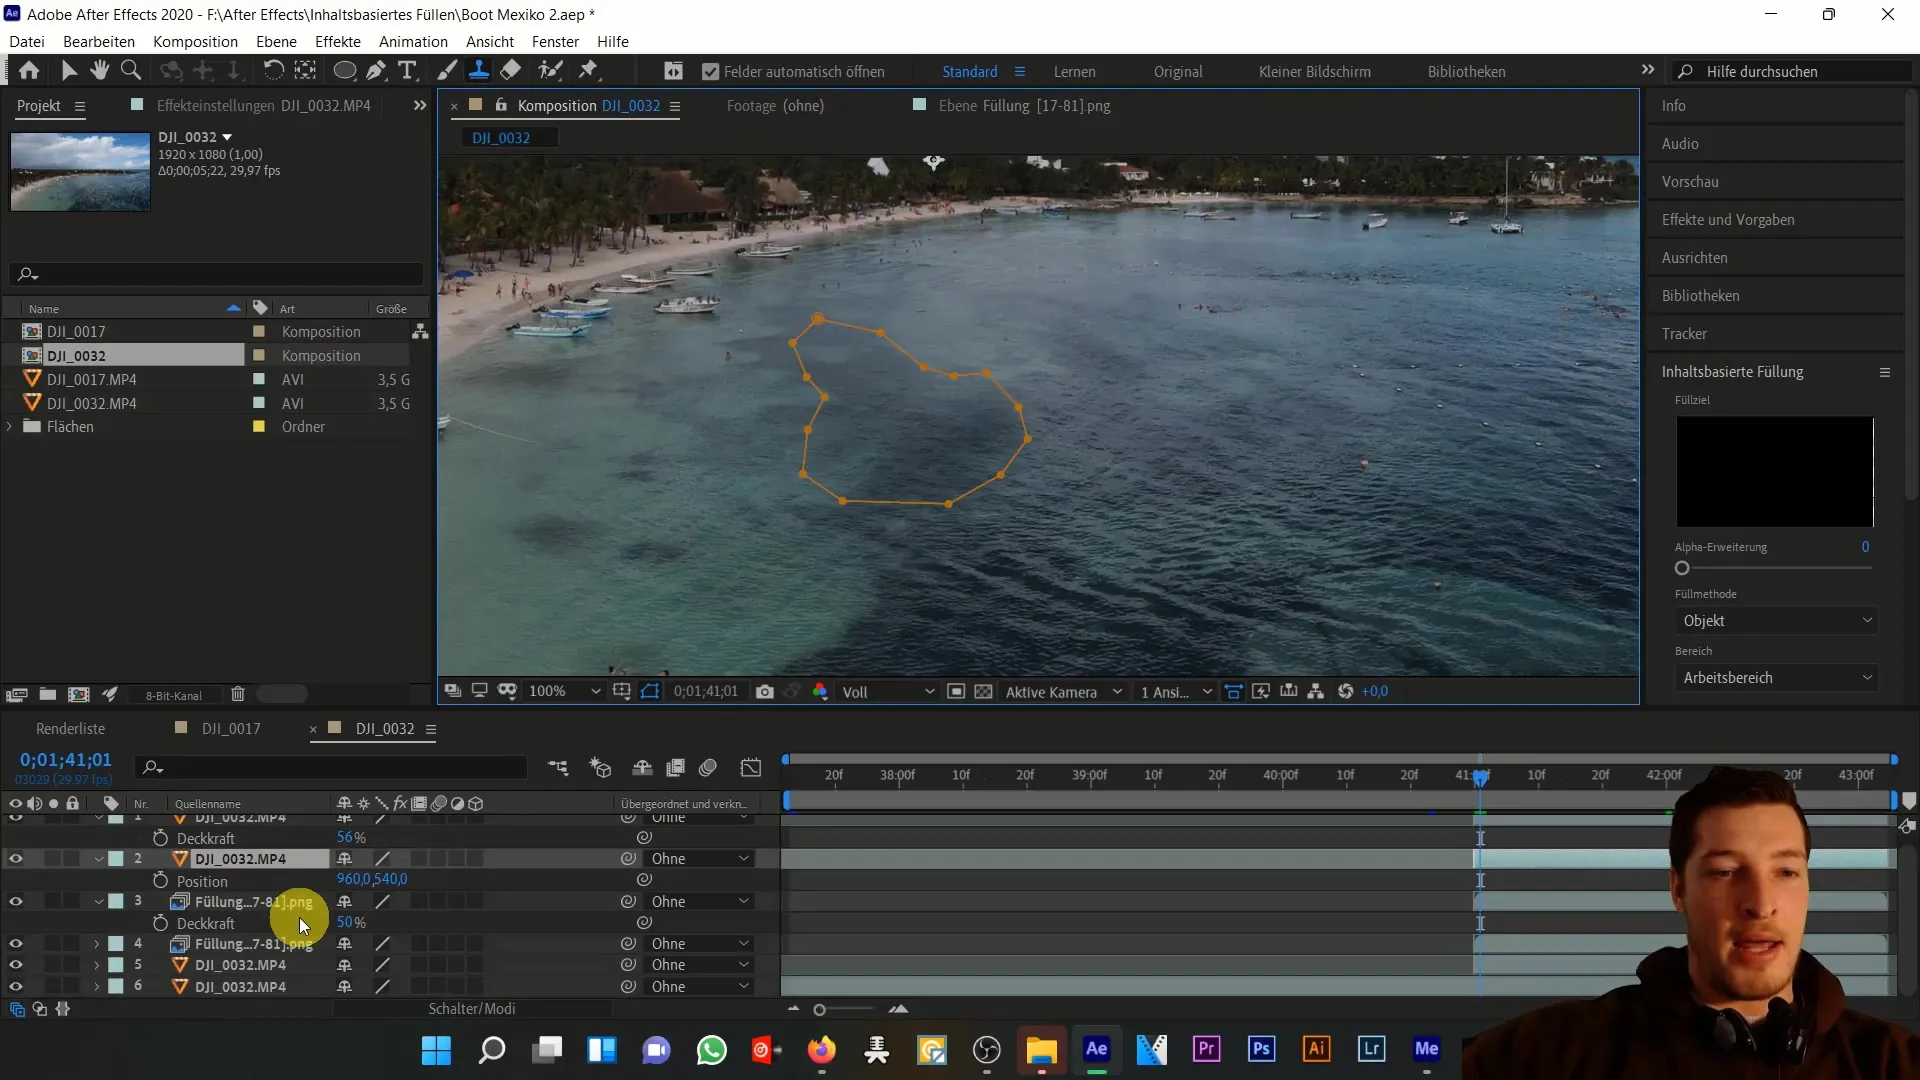
Here you can see how you can quickly and effectively remove objects from the image using the clone stamp tool. Make sure that this technique is best suited for single images.
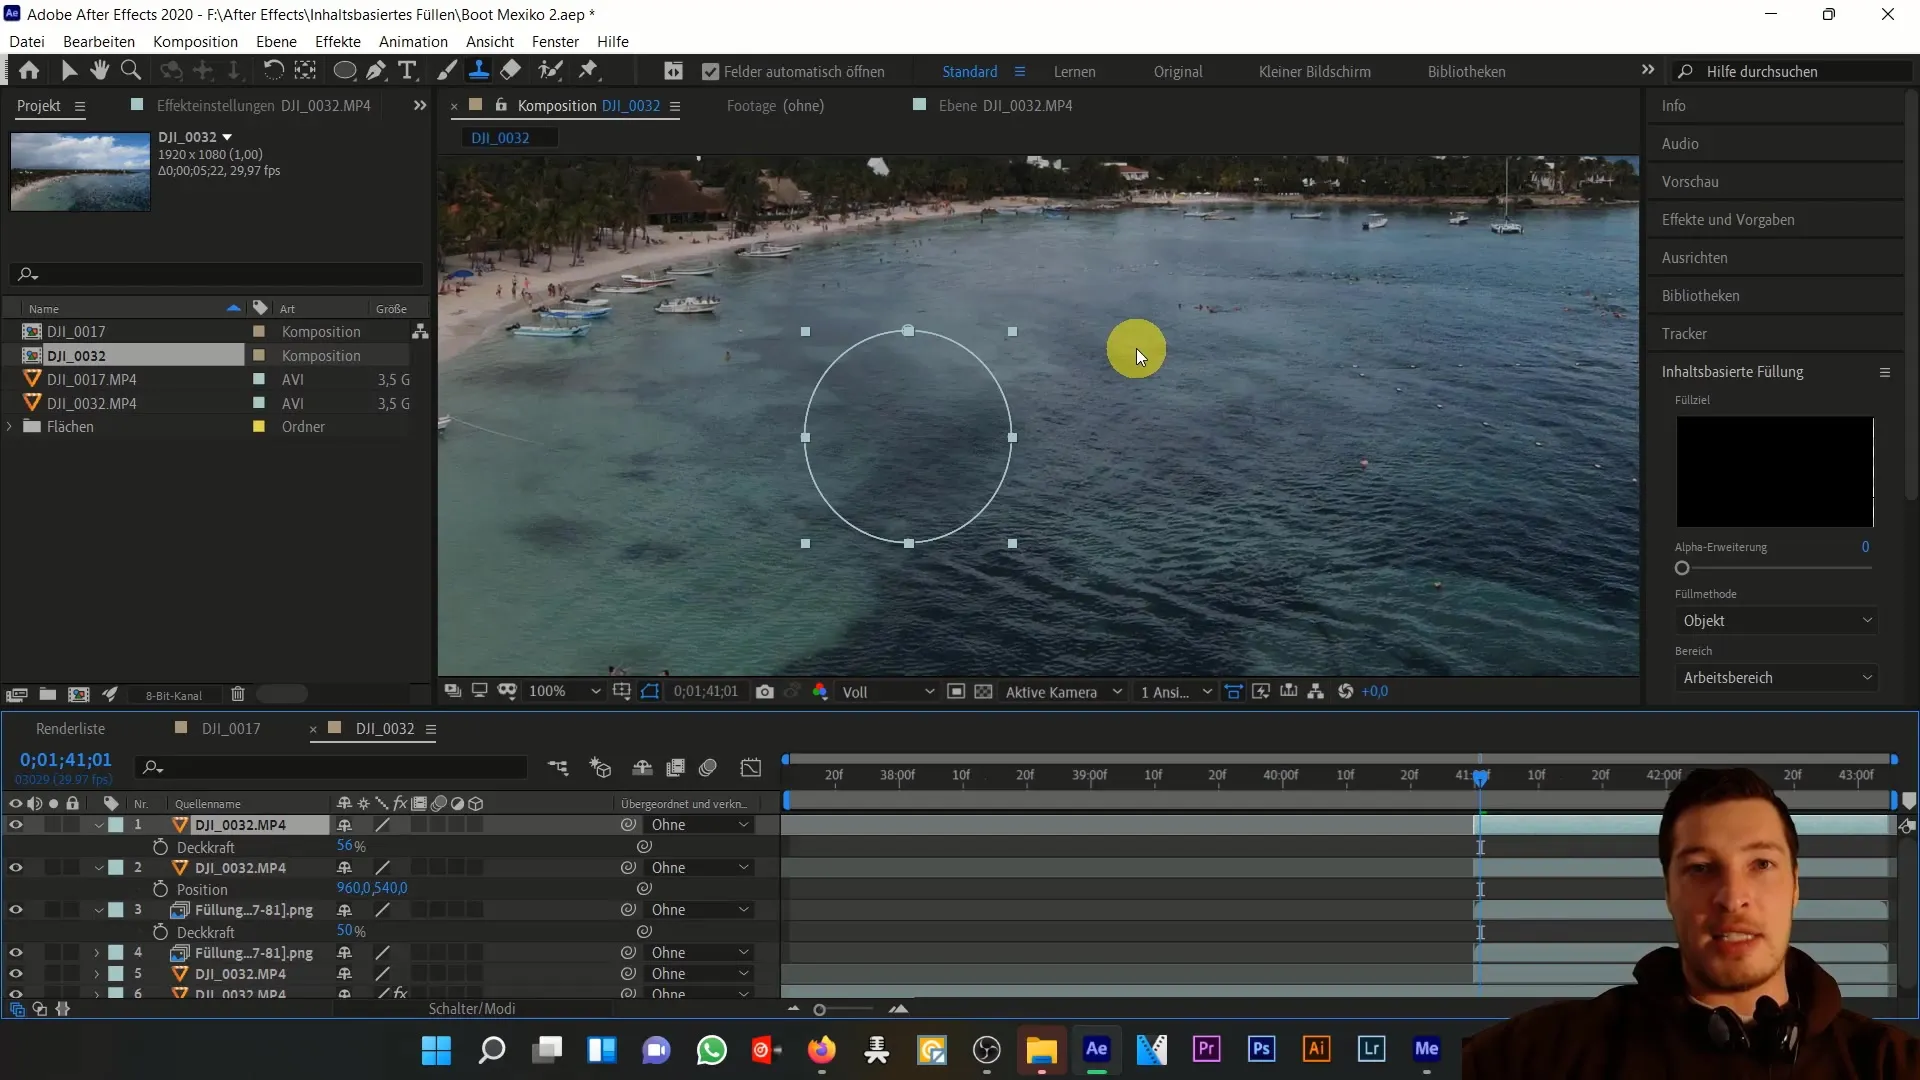
Switch back to your original composition and review your overall work. The key is to skillfully combine different fillings and masks to achieve the desired effect.
Finally, I want to remind you that with this technique, you are able to overcome complex challenges by creatively combining various methods.
Summary
In this tutorial, we covered removing a boat from a water shot using content-aware fill. We learned how important it is to combine multiple layers and masks to achieve a realistic result, adjusting the opacity and size of masks as needed.
Frequently Asked Questions
What software do I need for this tutorial?You need Adobe After Effects.
Can I use this technique for other objects as well?Yes, you can use this technique for any object you want to remove.
How important are masks in this technique?Masks are crucial as they precisely define which areas are to be edited.
Are there alternatives to content-aware fill?Yes, the clone stamp is an effective alternative, especially for still images.
