In this tutorial, you will learn how to simulate a car accident in Adobe After Effects by using a null object as an auxiliary layer and utilizing the functions of Expressions. This method allows you to create a realistic animation where a person moves proportionally to a car driving through the scene. By using null objects, you can store important data such as positions and work more effectively. In this tutorial, you will learn the following:
- Introduction to null objects and their use
- Creation and animation of Expressions
- Linking the movements of the person with the car
Key Takeaways
In this tutorial, you will learn how to introduce null objects, store position data, and apply Expressions to efficiently control the movements of animated elements. You will explore the possibility of adding conditions to your Expressions to dynamically control the behavior of objects.
Step-by-Step Guide
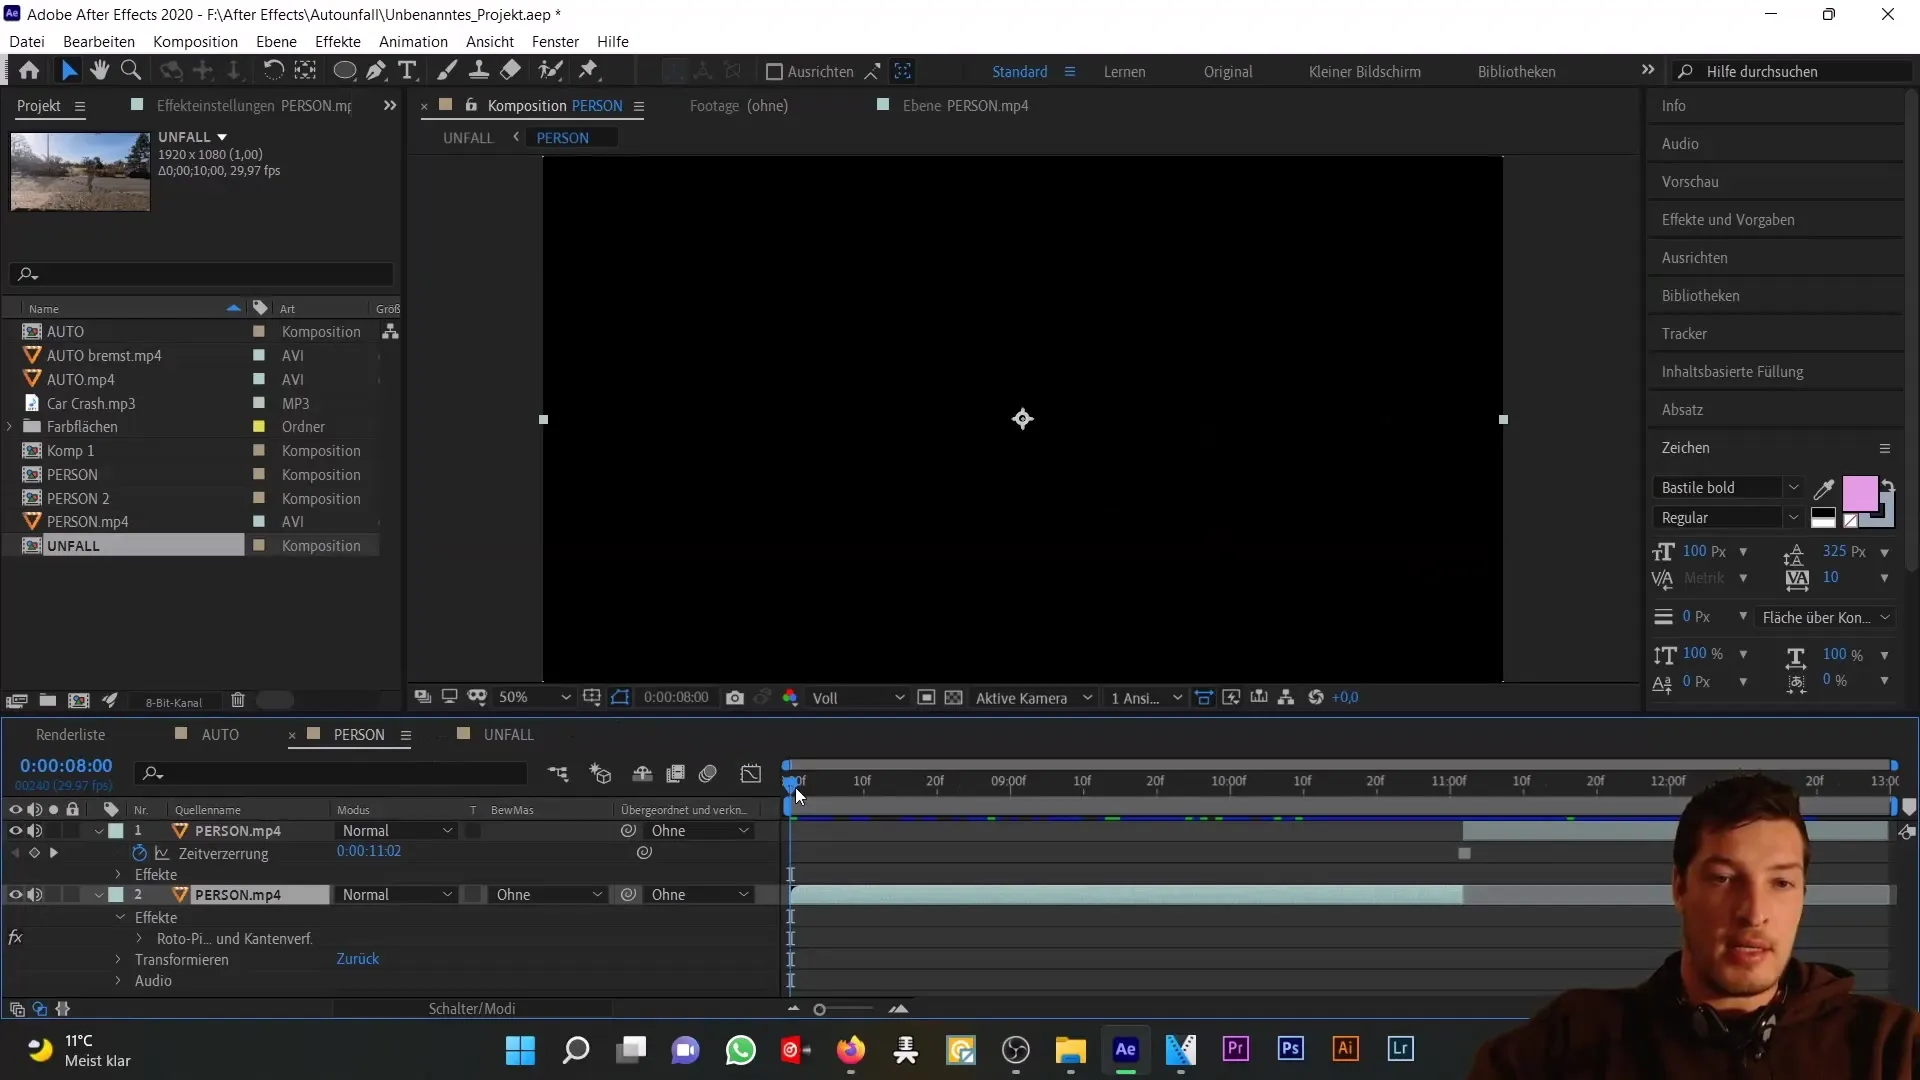
First, make sure you have the necessary components in your After Effects project file. You are in the people composition where you are animating the person. Using the red brush tool, you can cut out the image area to create a still image.
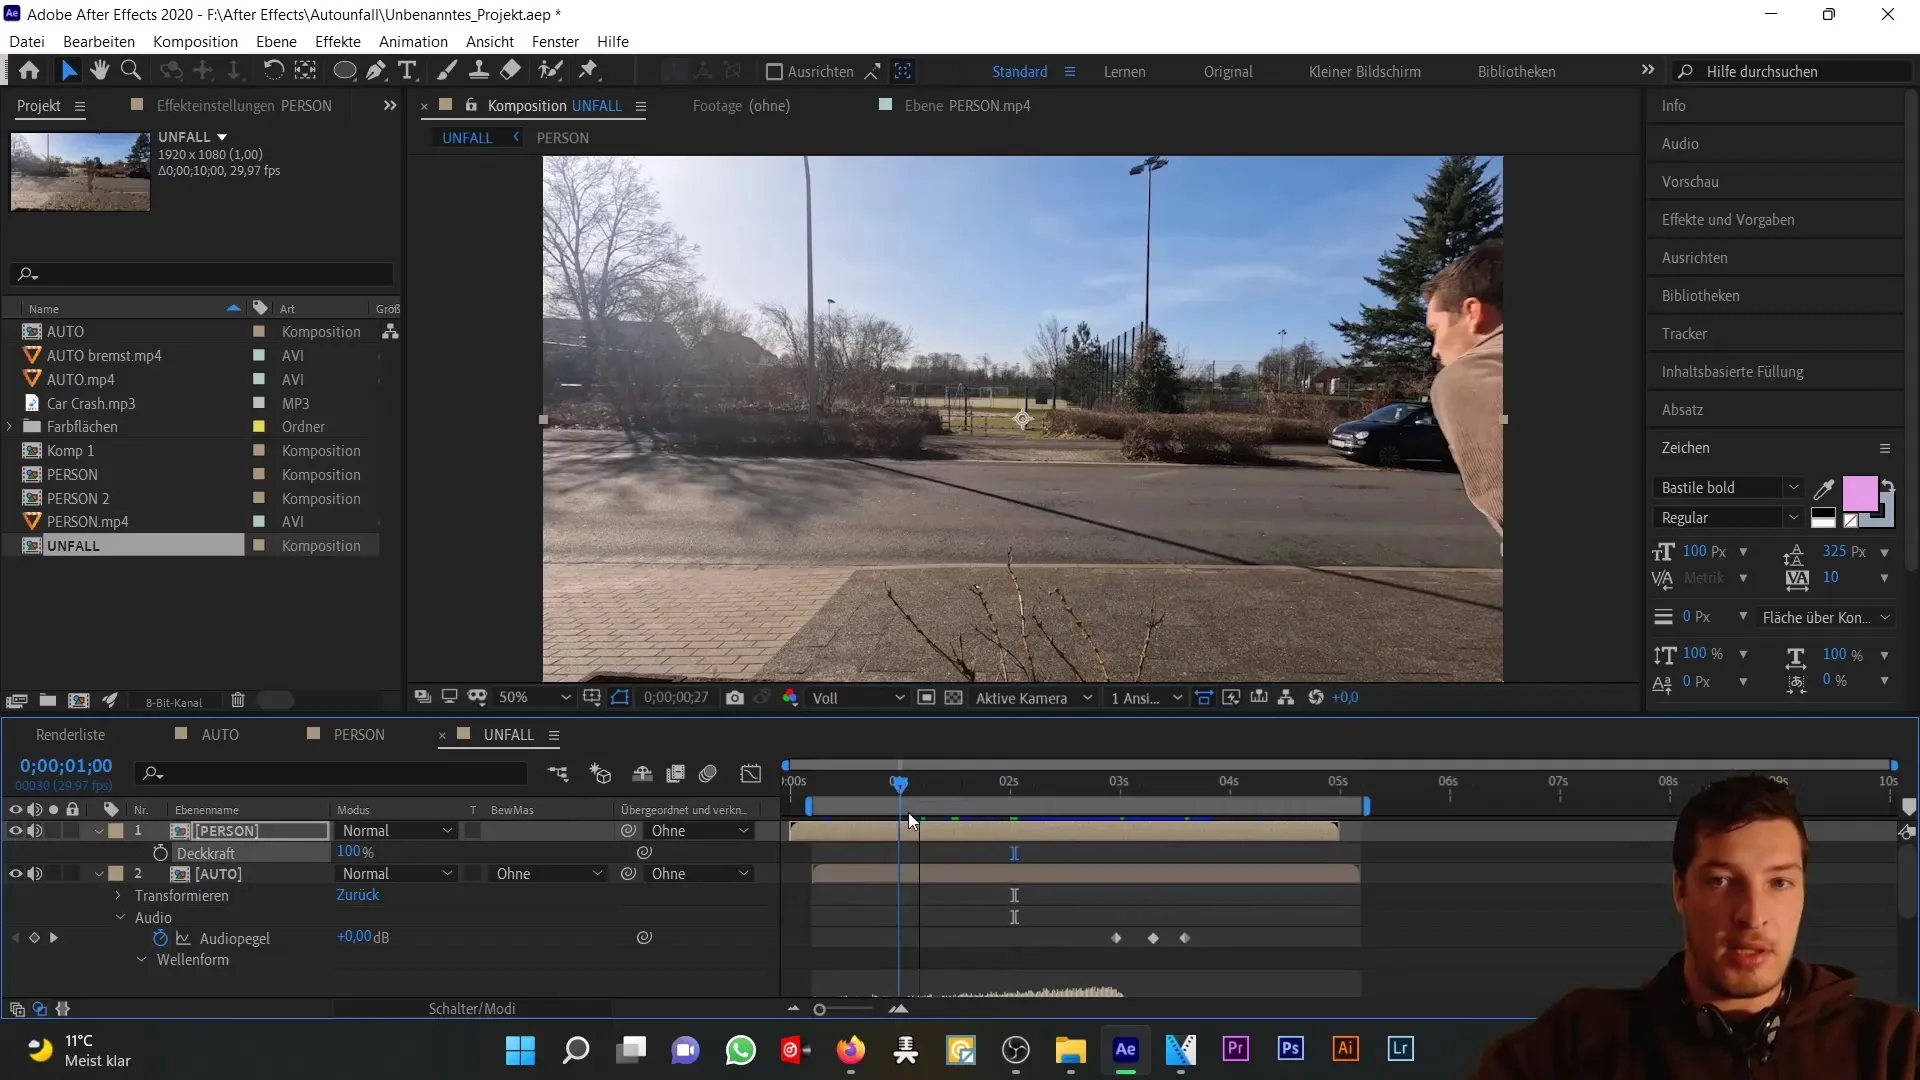
Now, go back to the accident composition and increase the opacity of the people composition to 100%. You will then see the underlying image of the car, which currently looks unrealistic. However, this is not the main focus as we are dealing with animating the person.
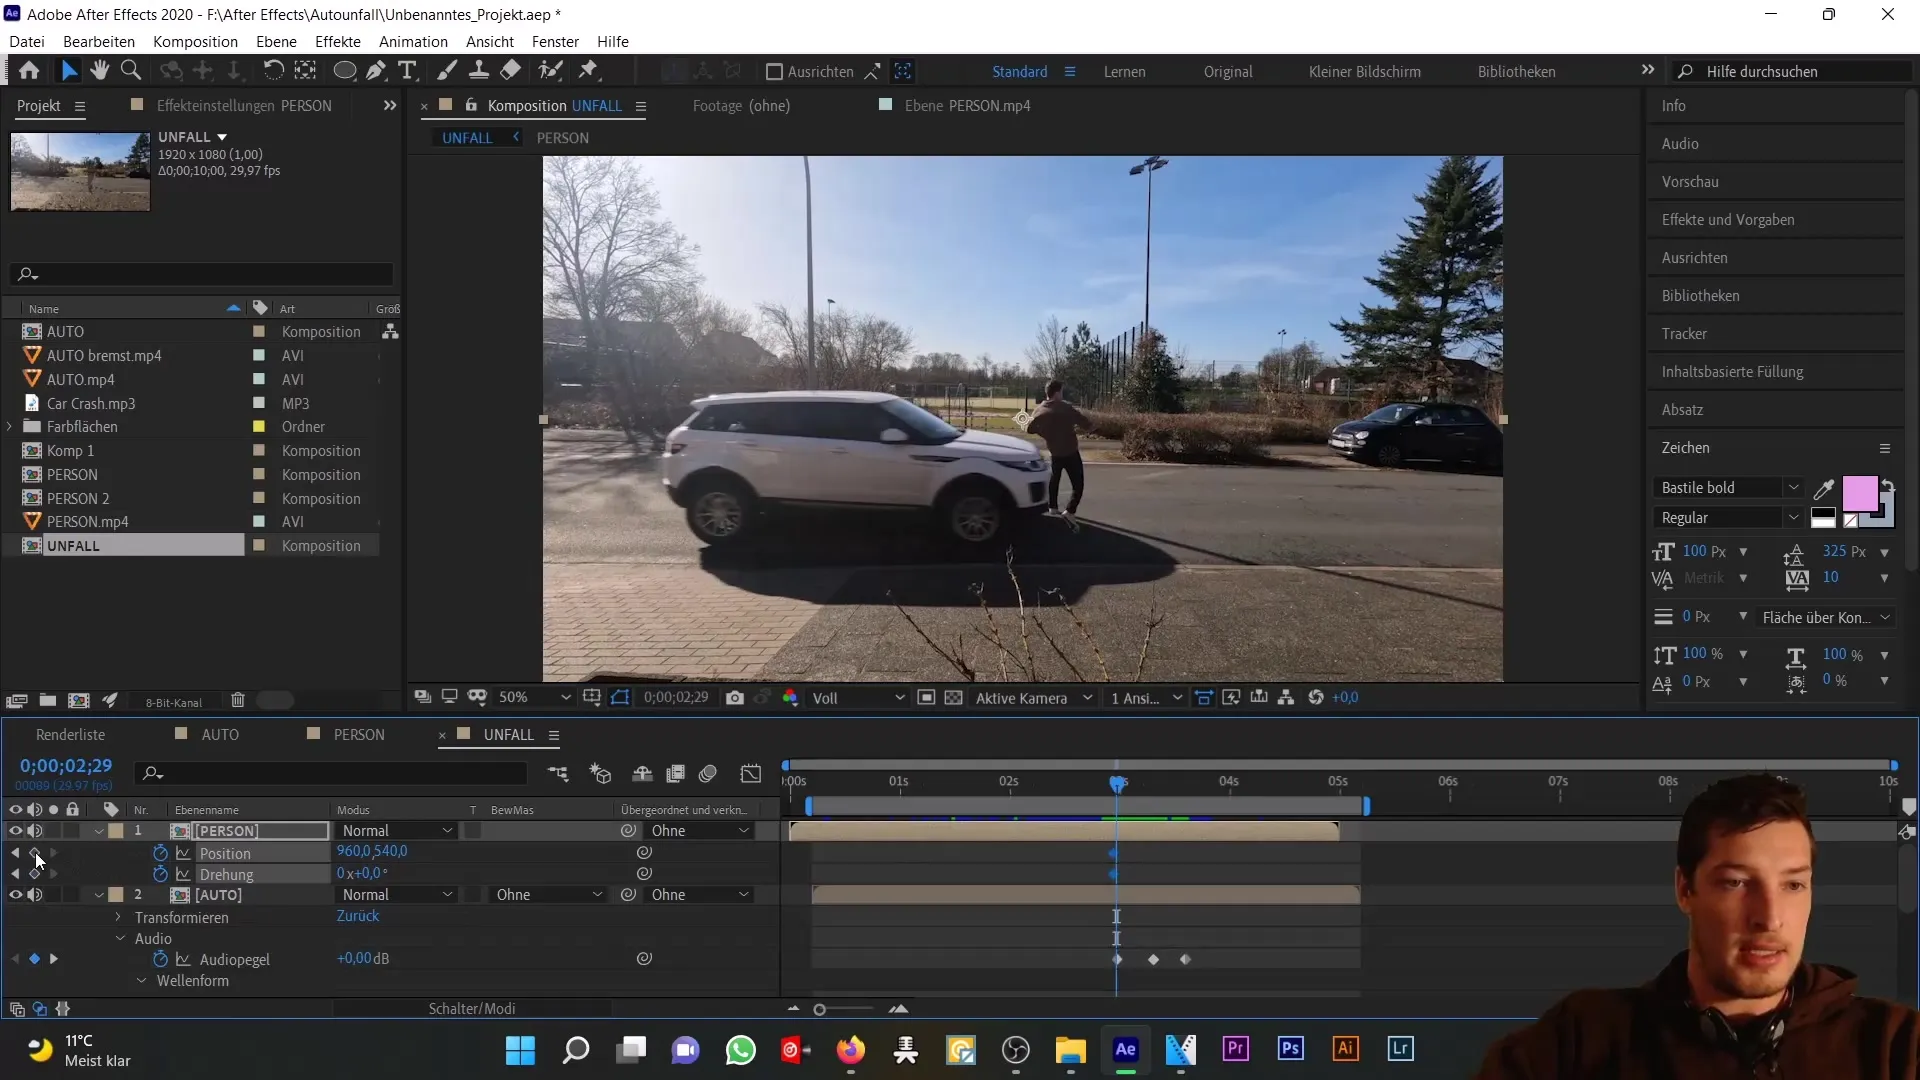
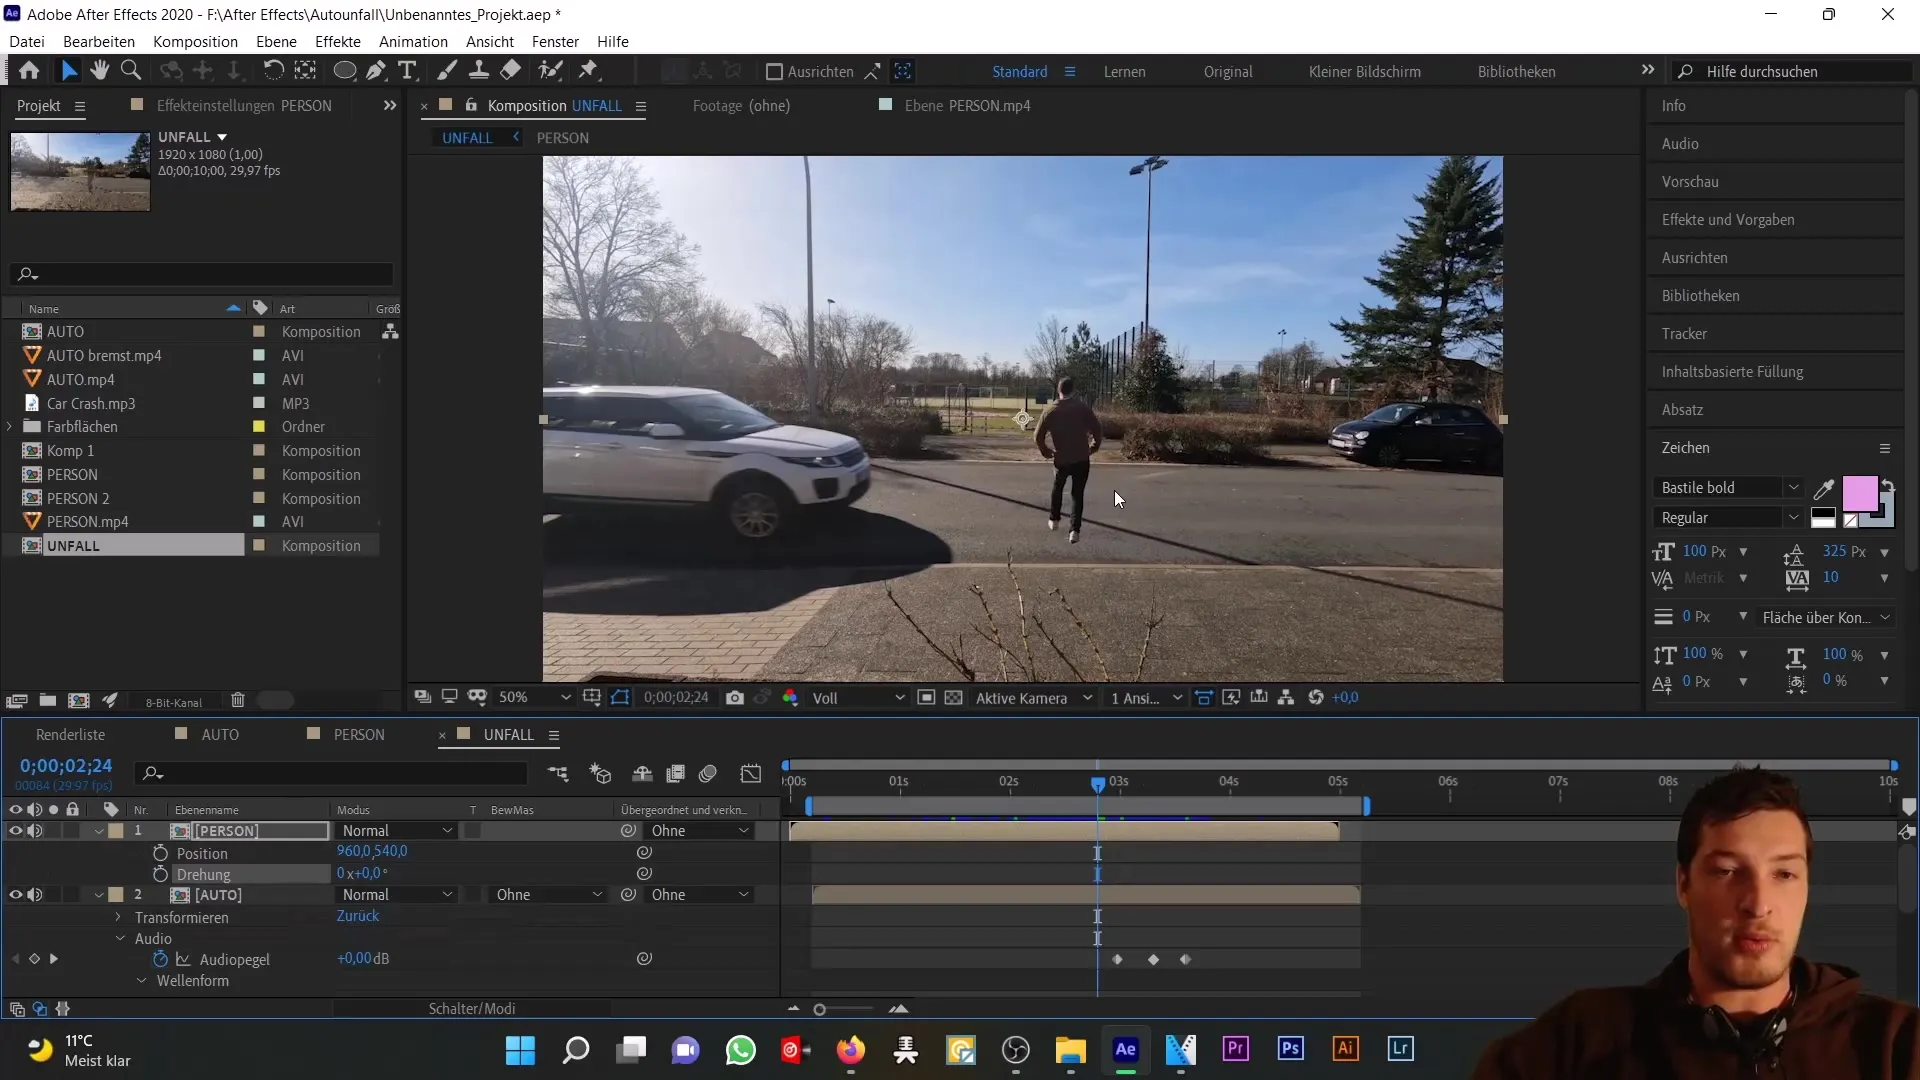
To create the animation, the most intuitive method is to animate position and rotation of the person using keyframes. You can activate the stopwatch for position and rotation with P and Shift + R, and set the keyframes to adjust the person's movement to the car. You can ensure that the person is aligned with the car's hood. This process can be time-consuming as it needs to be adjusted frame by frame.
Since manual animation is time-consuming, you now want to introduce a null object. Not only will this help you store the car's position data, but it is also the first step in using Expressions.
Now create a new null object and position it over a marked point of the car, for example, the mirror. After expanding the position data, you will animate it so that the null object will also be moved over the mirror at a later time. Make sure to perform this animation not only for the visible area but also for the area where the car leaves the frame.
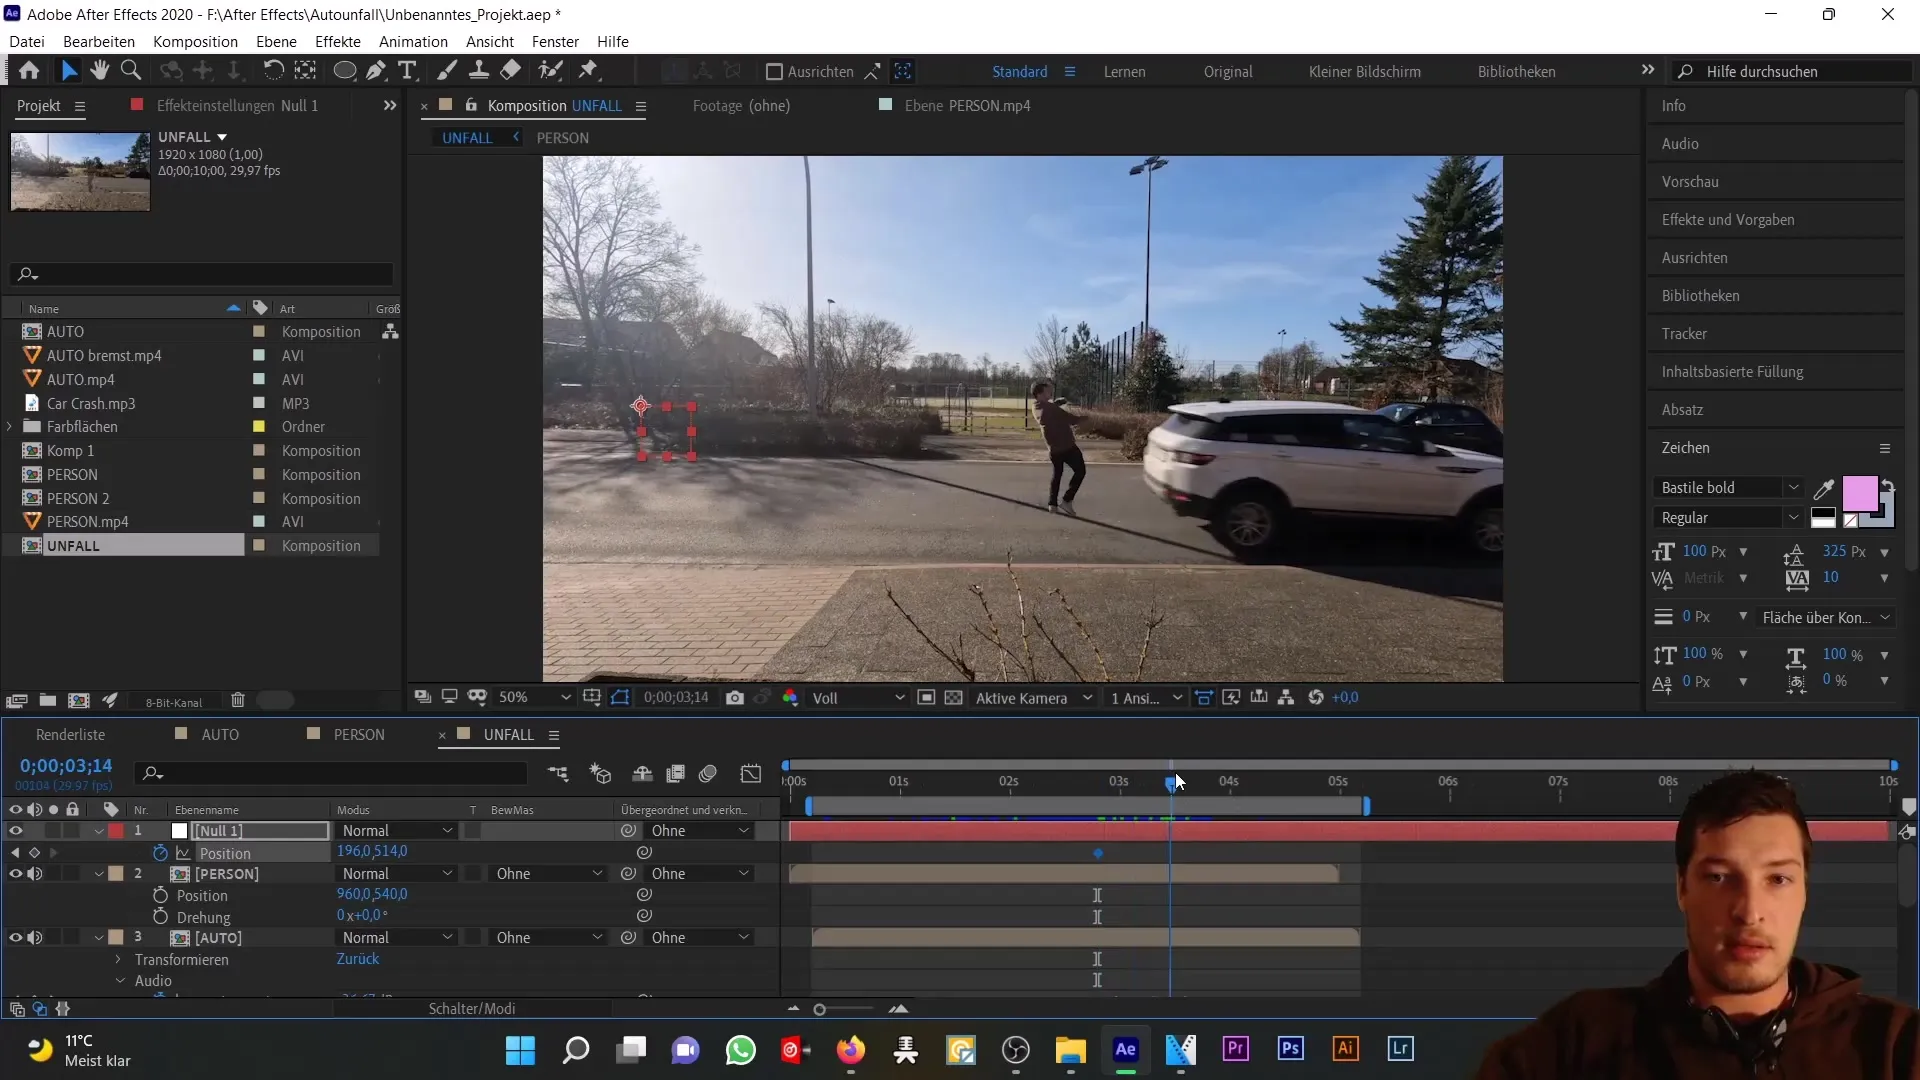
Now that you have set the position data of the null object, you can use this data to control the animation of the person. The picker tool will help you link the person's position to the null object. However, you may encounter an issue at this point. Before the moment of the accident, the person could be in the wrong position as they are "stuck" to the car when you have already assigned the position.
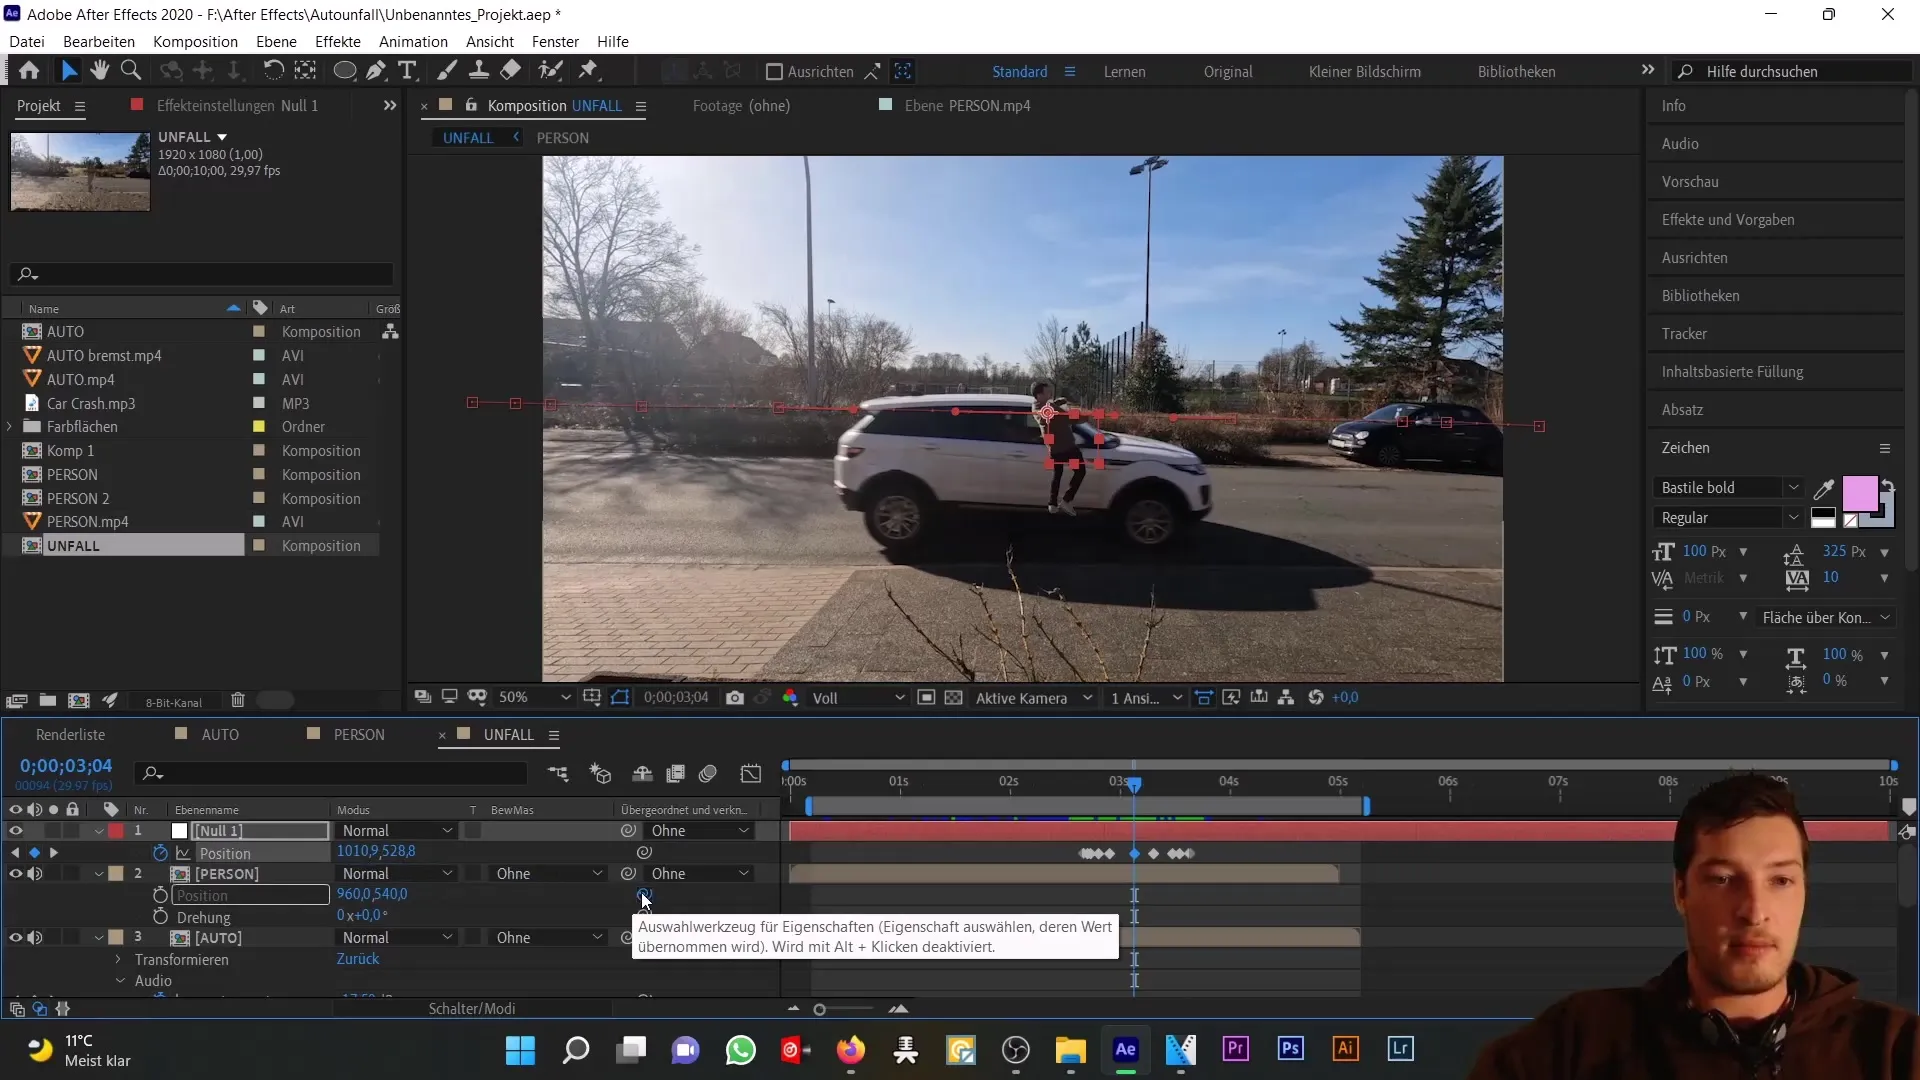
To solve this issue, you need to consider how to control the movements so that the person is only bound to the null object from a certain moment onwards. You can adjust your expression for this. An exciting and useful element is using conditions within your expressions.
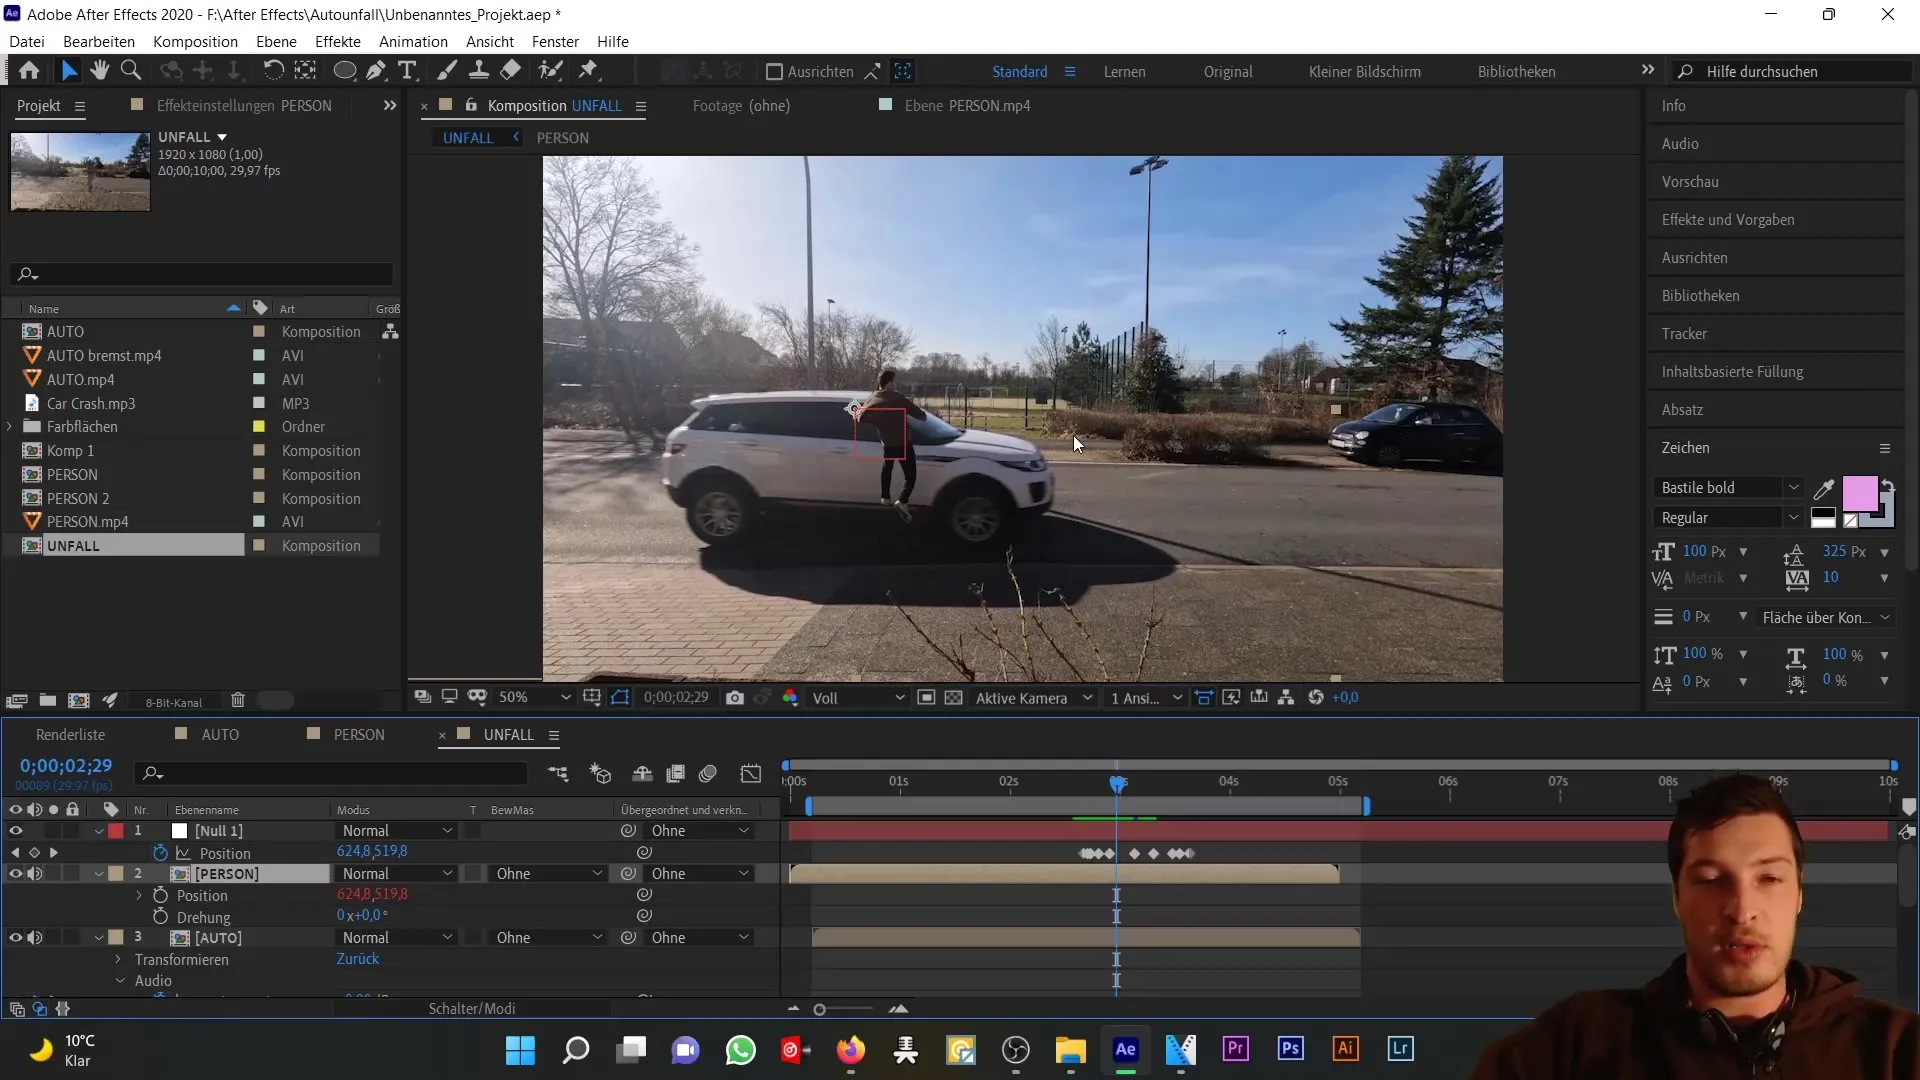
Start by separating the dimensions of the null object's position data. You do this by right-clicking on the position data and selecting "Separate Dimensions," creating separate X and Y data. Perform the same step for the people composition.
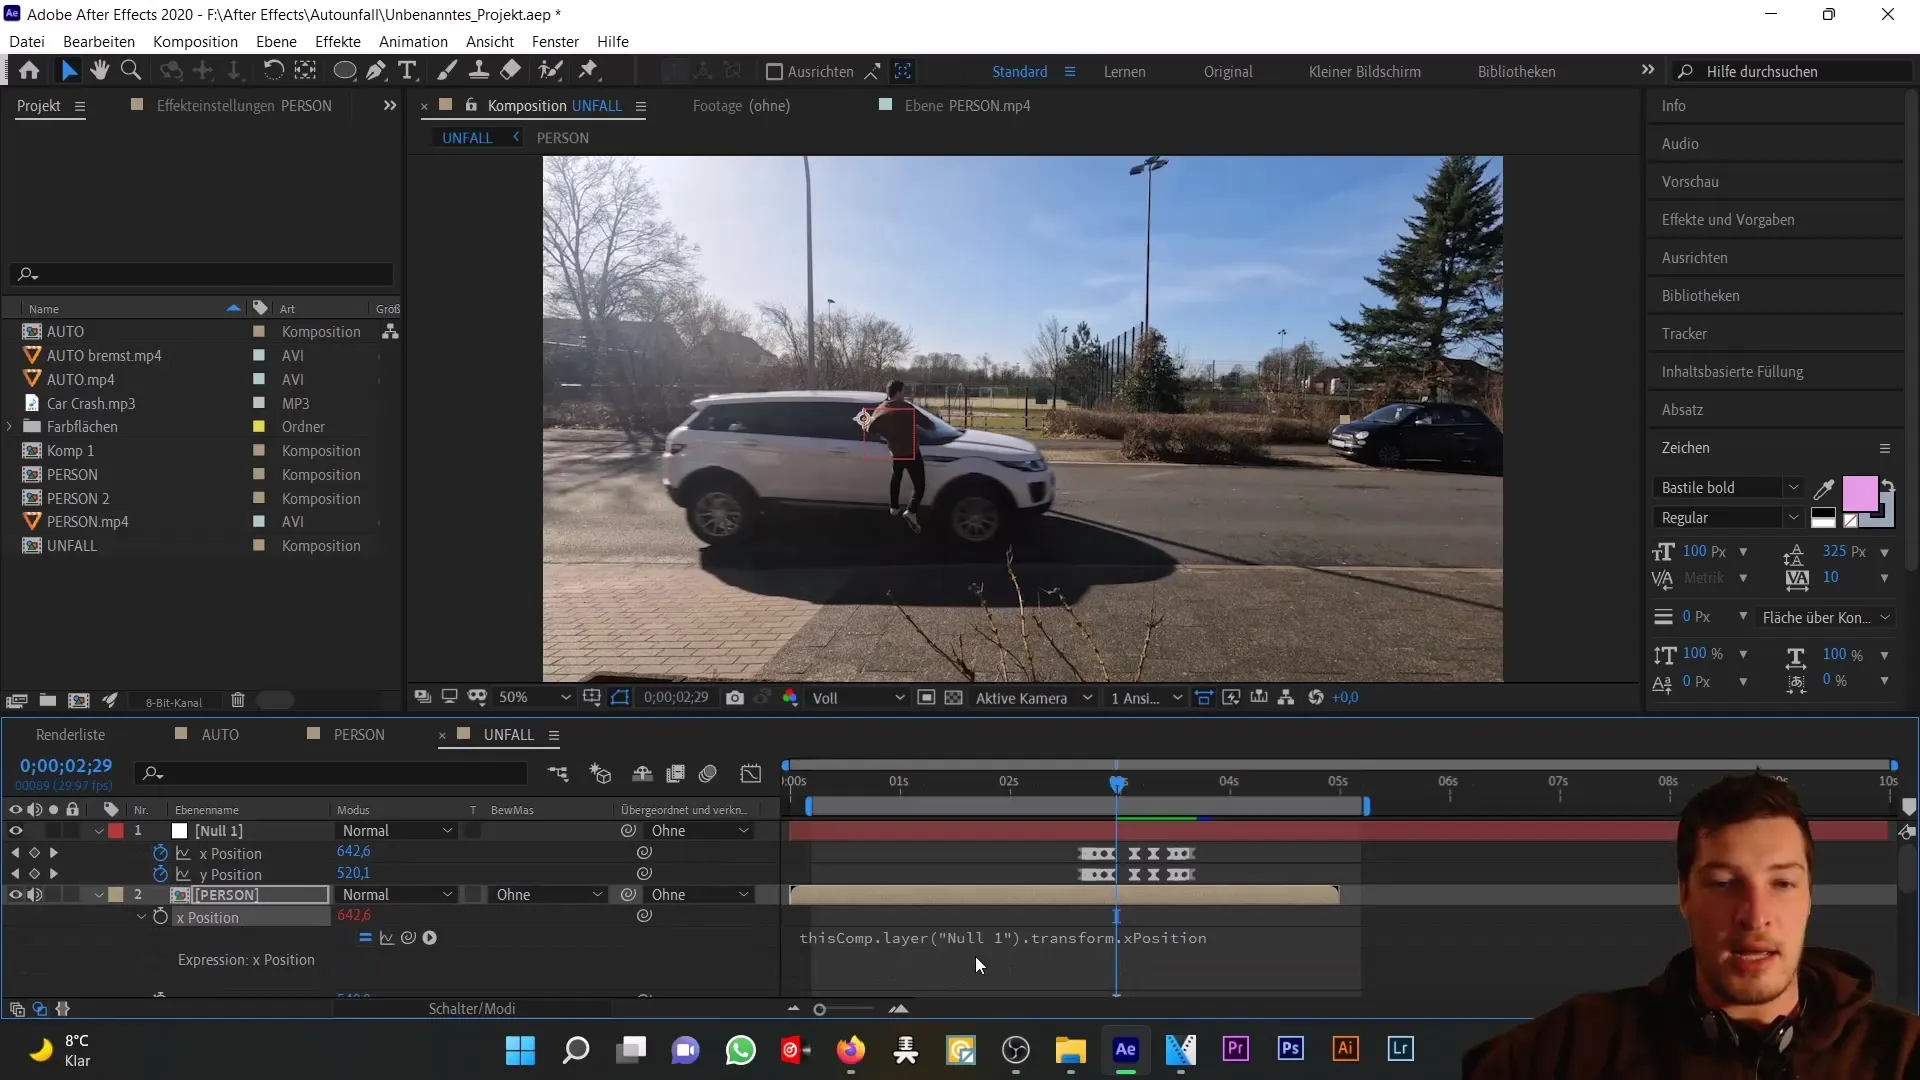
Now link the X position of the person to the X position of the Null object. Before you do that, save the value of the Null object in a new variable - for example, call it XP for the X position.
In the next step, add a condition to your expression. Write "if (XP > 642)" and define what should happen when the condition is met. Here, you ensure that the person aligns with the position of the car once they are in the relevant area on the screen. Otherwise, the person should maintain their original position.
By implementing this logic, you can ensure that the person only aligns with the car once they have moved far enough. Now test the animation and see if the condition works well.
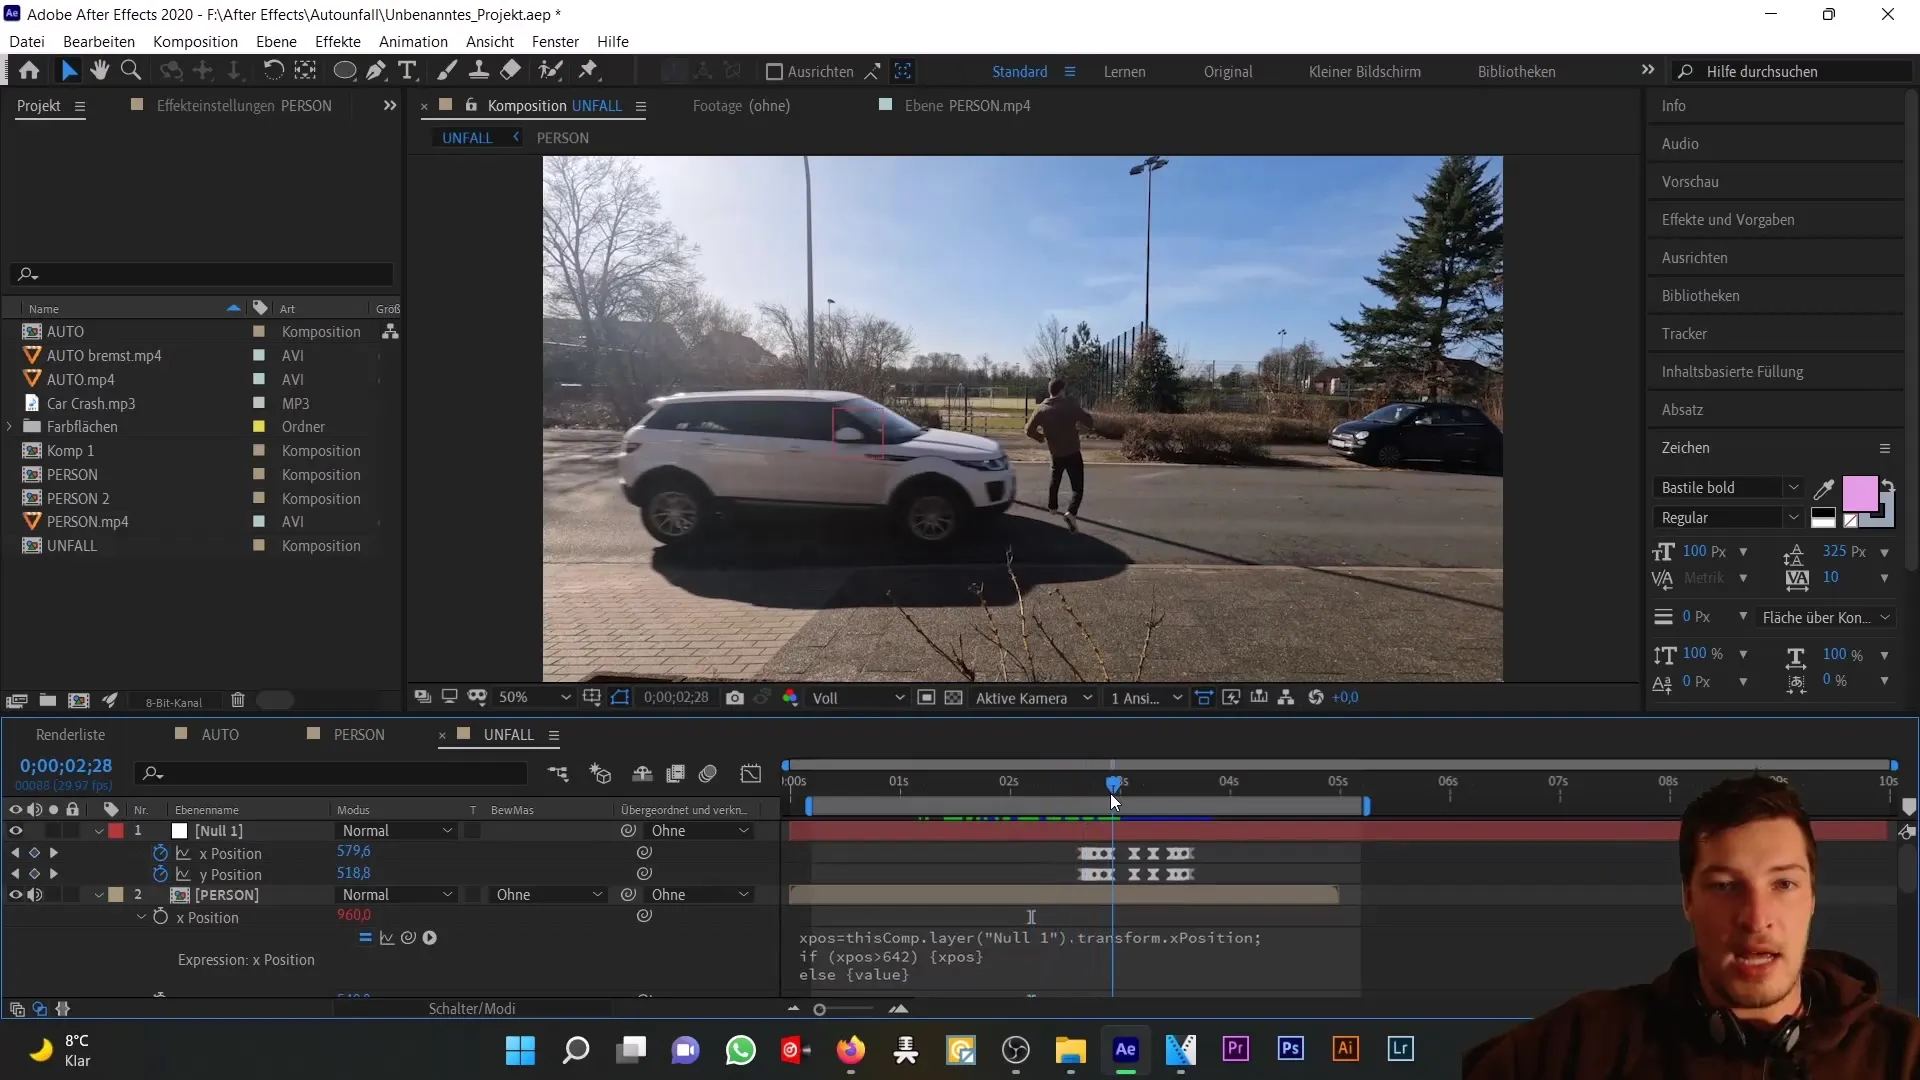
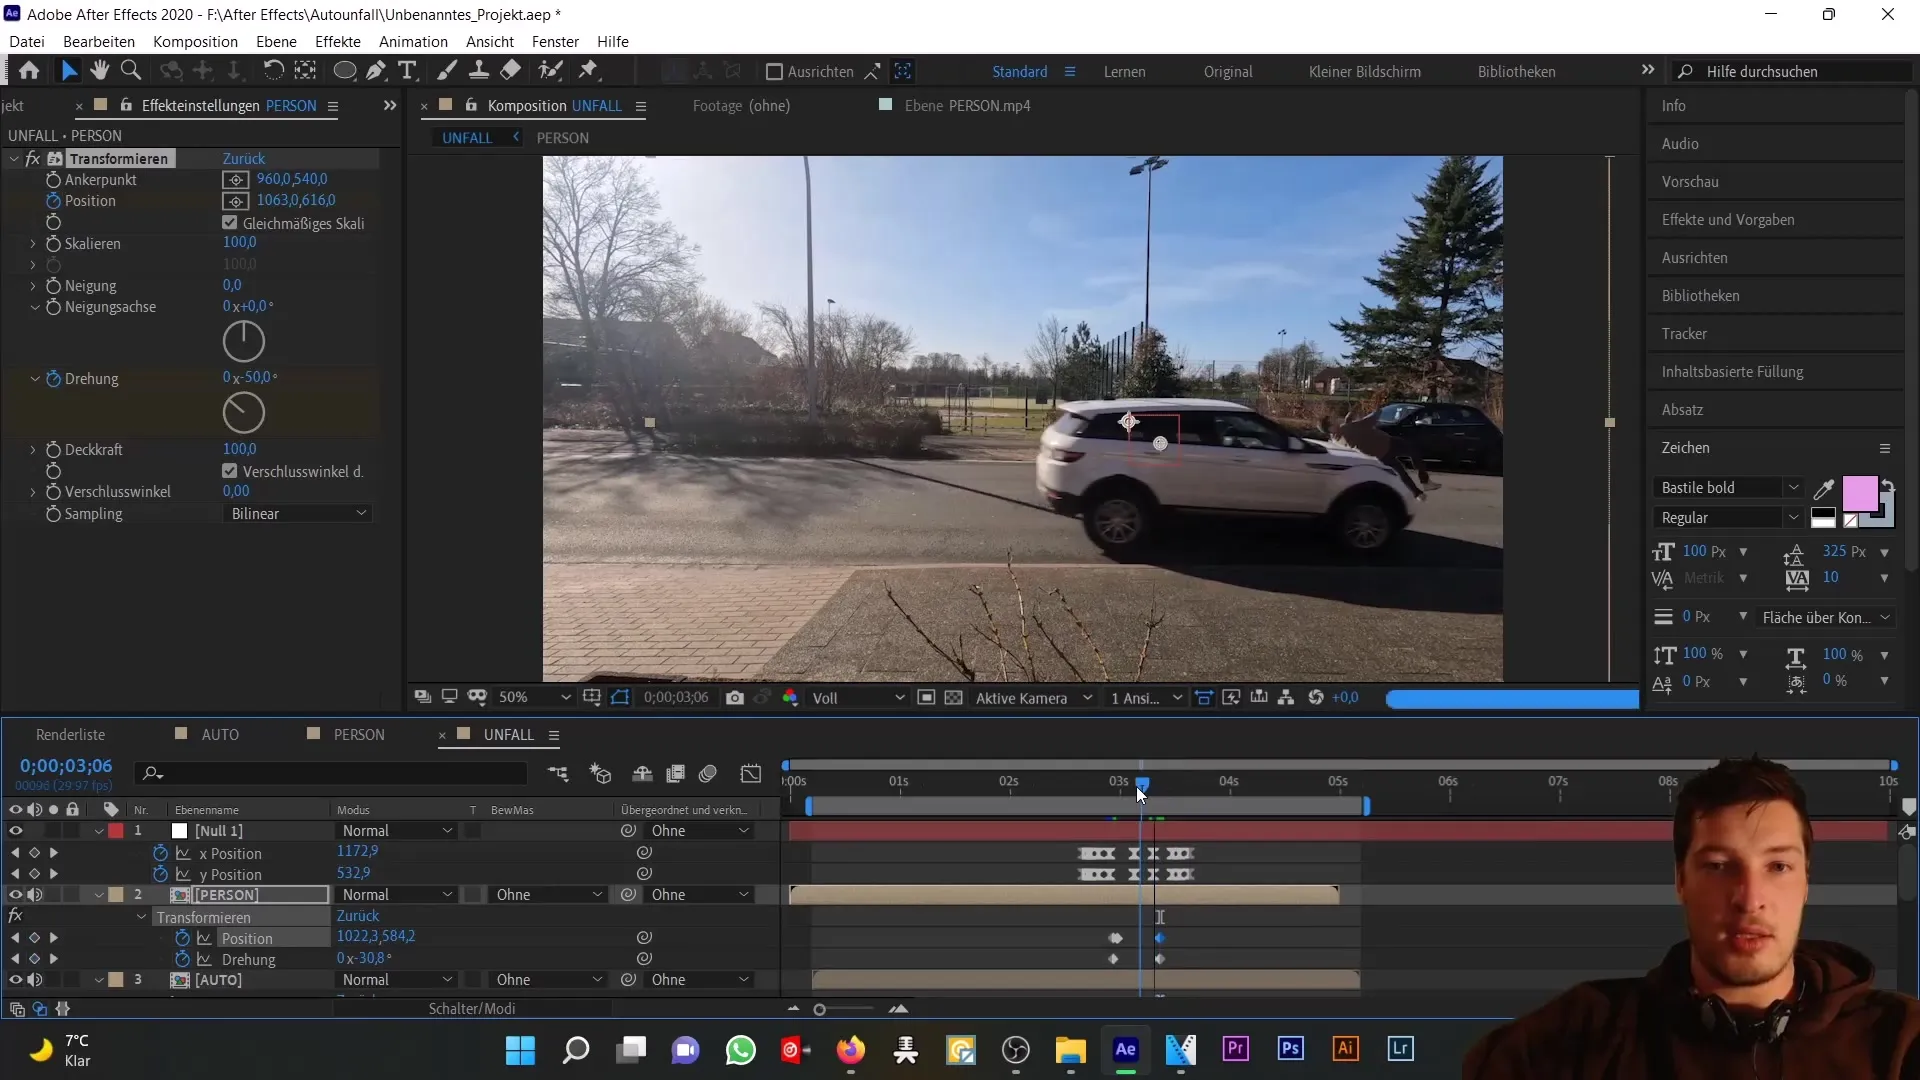
Now it's time to make fine adjustments since you have already implemented an expression. To make adjustments, go to "Effects" and then "Distortion". This will give you access to further adjustment options for the position and rotation of the person.
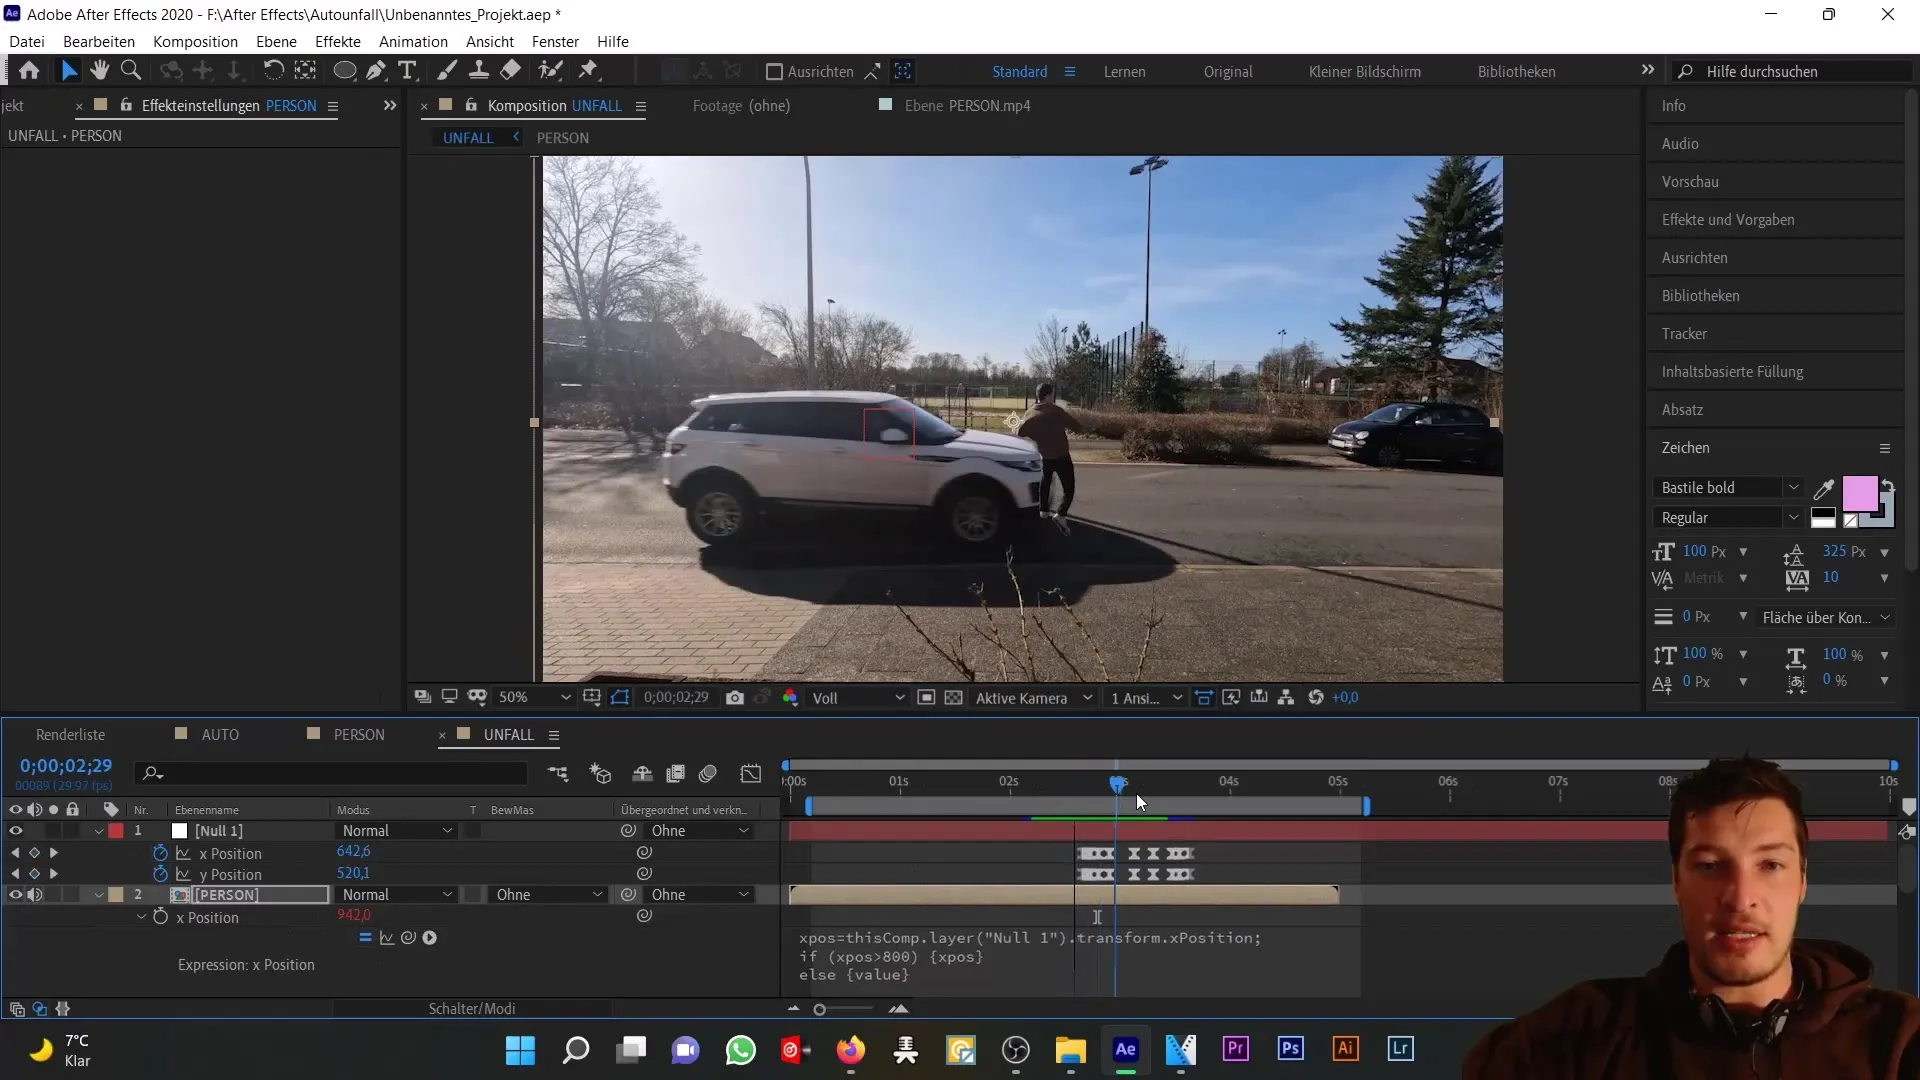
With these adjustments, you can guarantee that the animation looks realistic. Ensure that the position of the person on the car's hood is well-adjusted. You can also use masks to ensure that parts of the person, like the legs, are correctly placed behind the car.
To round out the overall picture, continue the animation and make sure that the person remains on the car's hood throughout the car's entire movement. Make sure to adjust the positions and rotations precisely and keep the animation consistent across all relevant frames.
Summary
In this tutorial, you have learned how to use a Null object and expressions to create a realistic animation of a car accident in After Effects. You have learned how to store position data, insert conditions in expressions, and make fine adjustments to enhance the animation experience.
Frequently Asked Questions
How can I create a Null object in After Effects?To create a Null object, go to "Layer" > "New" and select "Null Object".
What does using Expressions in After Effects mean?Expressions allow you to dynamically control animation effects and movements by using mathematical conditions and logical statements.
How can I adjust the movements of my animation?You can adjust the position and rotation of objects through keyframes or expressions to create realistic movements.


