Adobe After Effects is a powerful software for creating animations and visual effects. If you are just starting out, the user interface can seem overwhelming. In this tutorial, we will explore the header section of the After Effects user interface and explain to you the hierarchy structure in the software. By gaining a better understanding of the user interface and the project structure, you will be able to work more effectively with After Effects.
Key Insights
- Understanding the header section of After Effects
- The hierarchy structure: projects, compositions, and layers
- First steps to create a new project and a new composition
The Hierarchy Structure of After Effects
Before delving into the header area in detail, it is important to understand the hierarchy structure of After Effects. This structure looks as follows:
- Project: The top level where everything is saved.
- Compositions: Contain the different elements of your project.
- Layers: Individual elements within a composition that can be edited and animated.
This means that in After Effects, you start with a project that contains multiple compositions, which in turn consist of various layers.
Step-by-Step Guide
Step 1: Create a Project
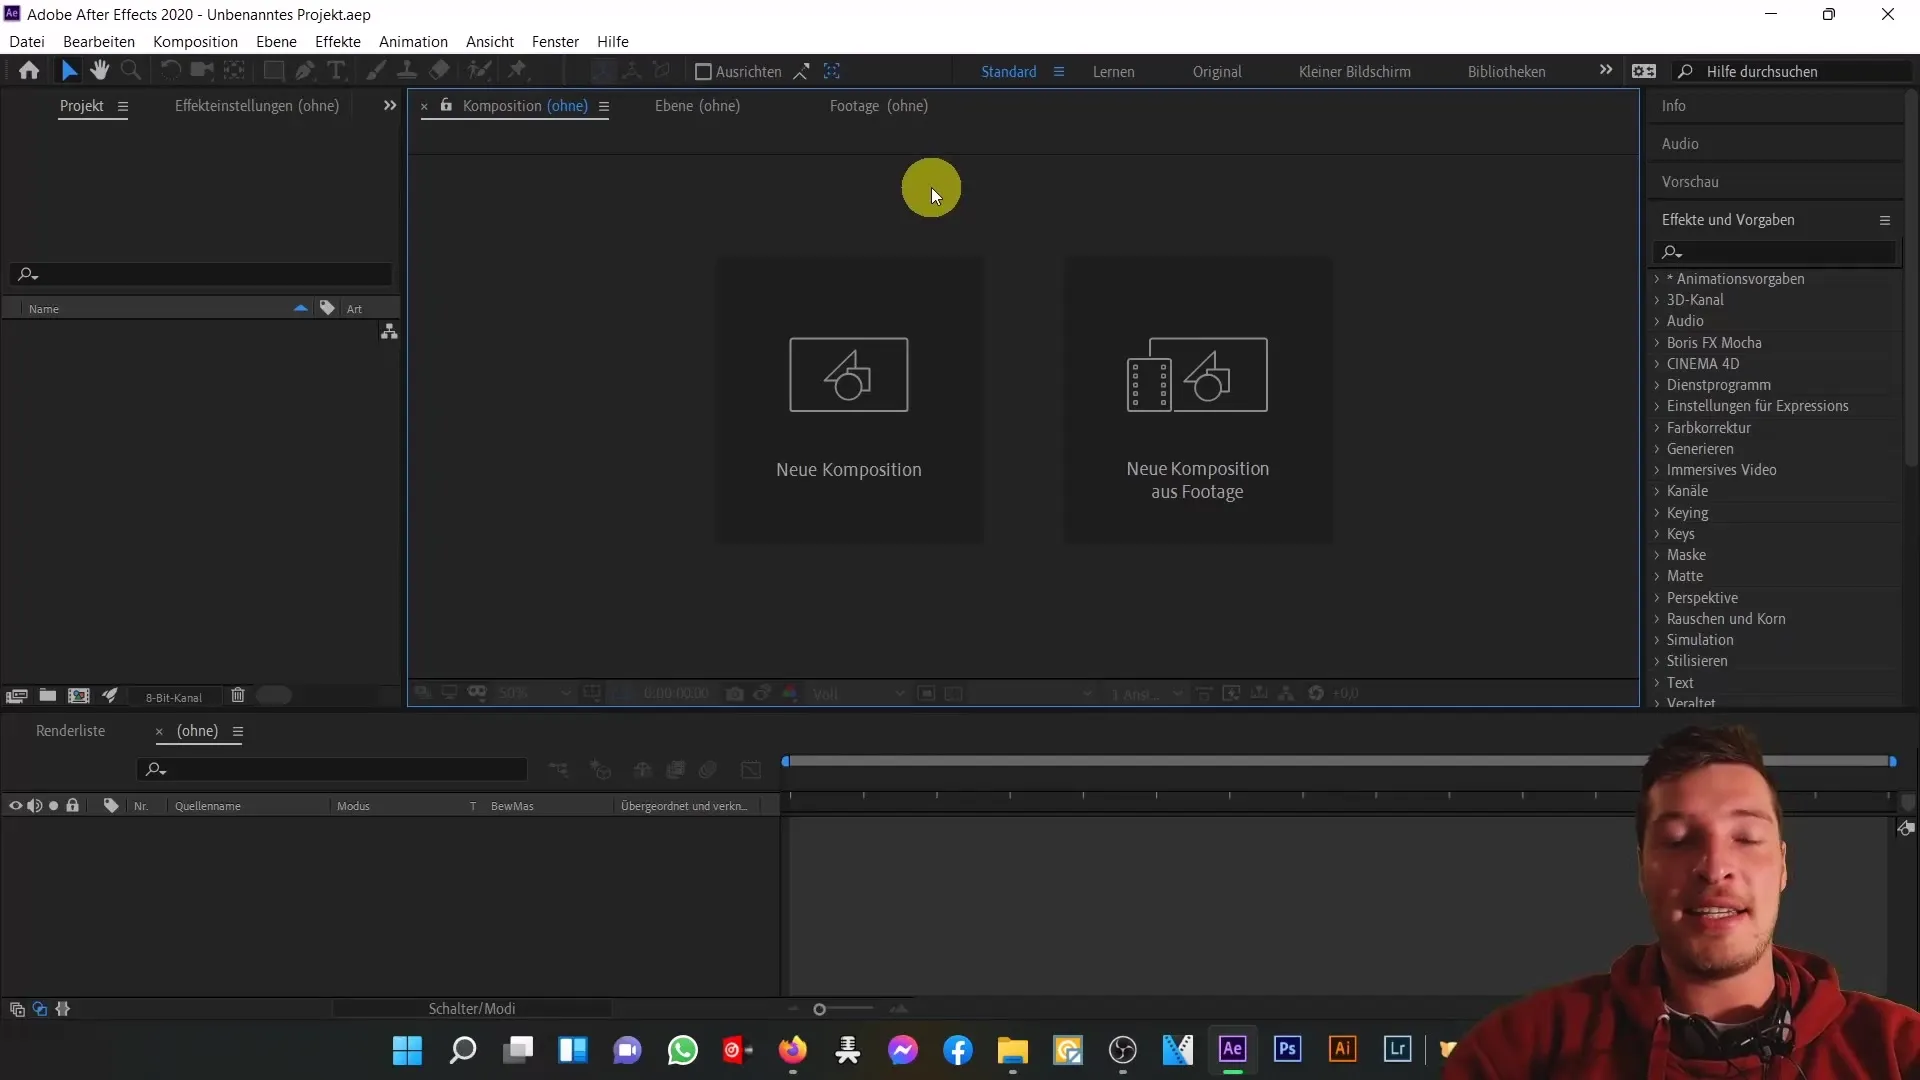
To create a new project in After Effects, go to the menu bar and click on "File," then "New," and finally "Project." You will land in an empty project window.
Step 2: Create a Composition
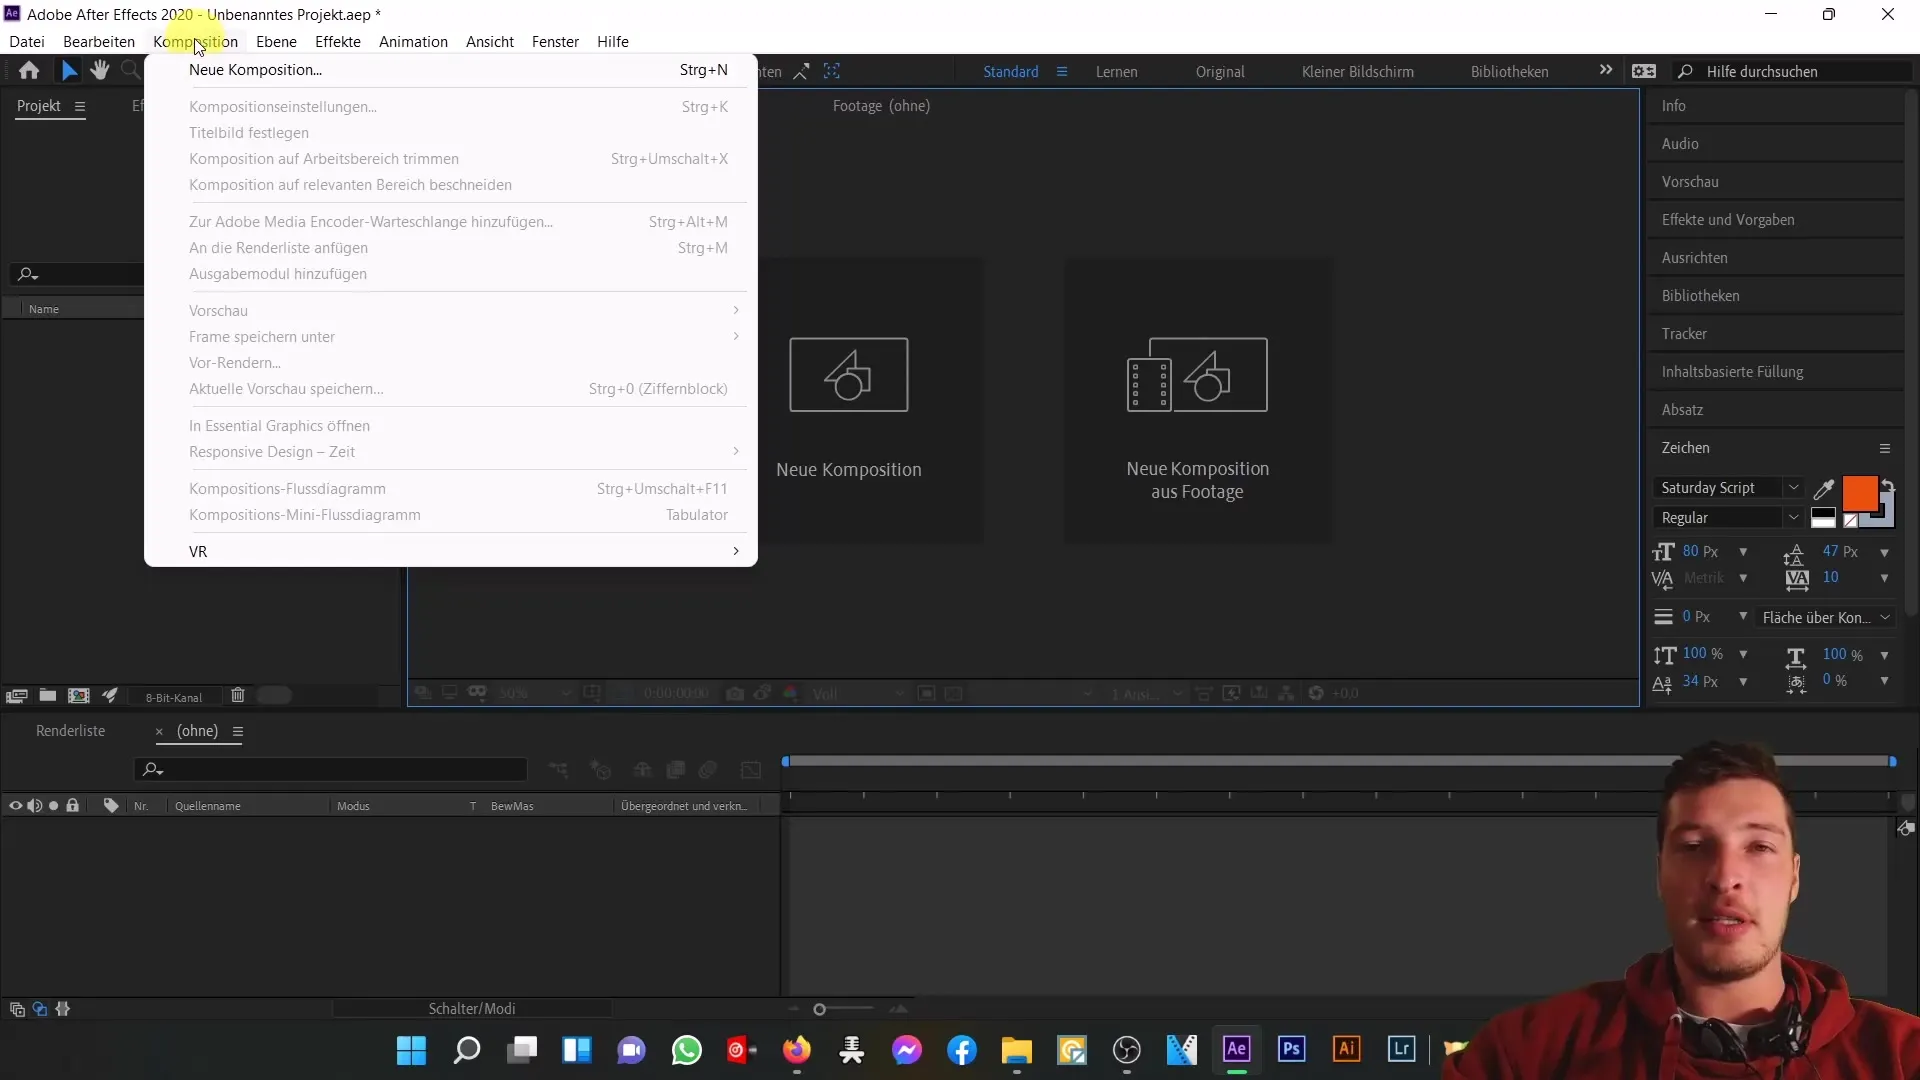
Now that you have an empty project, you want to create a composition. You can do this through the menu bar by clicking on "Composition" and then "New Composition." Alternatively, you can use the shortcut Ctrl+N.
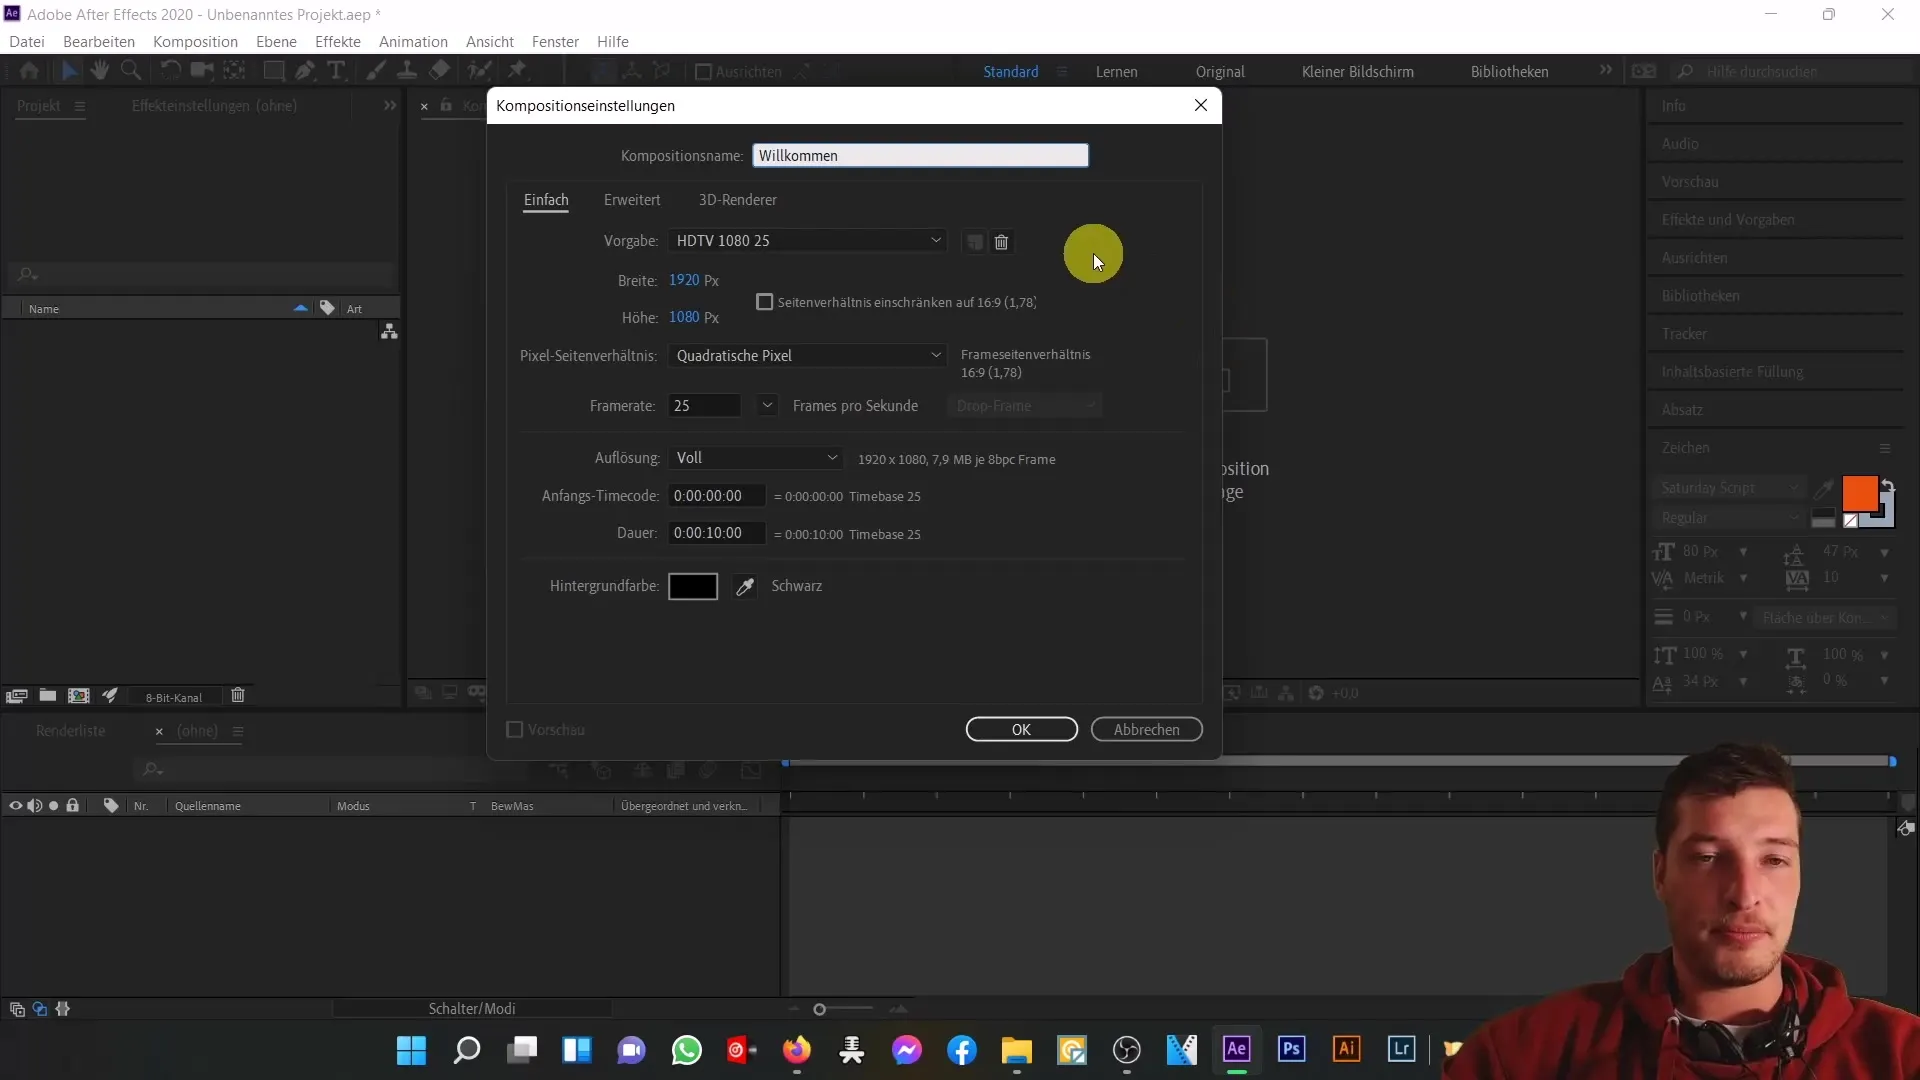
When the composition settings menu appears, give your composition a name. Also, choose the necessary settings such as resolution (e.g., Full HD with 25 fps) and the composition duration.
Step 3: Add Layers
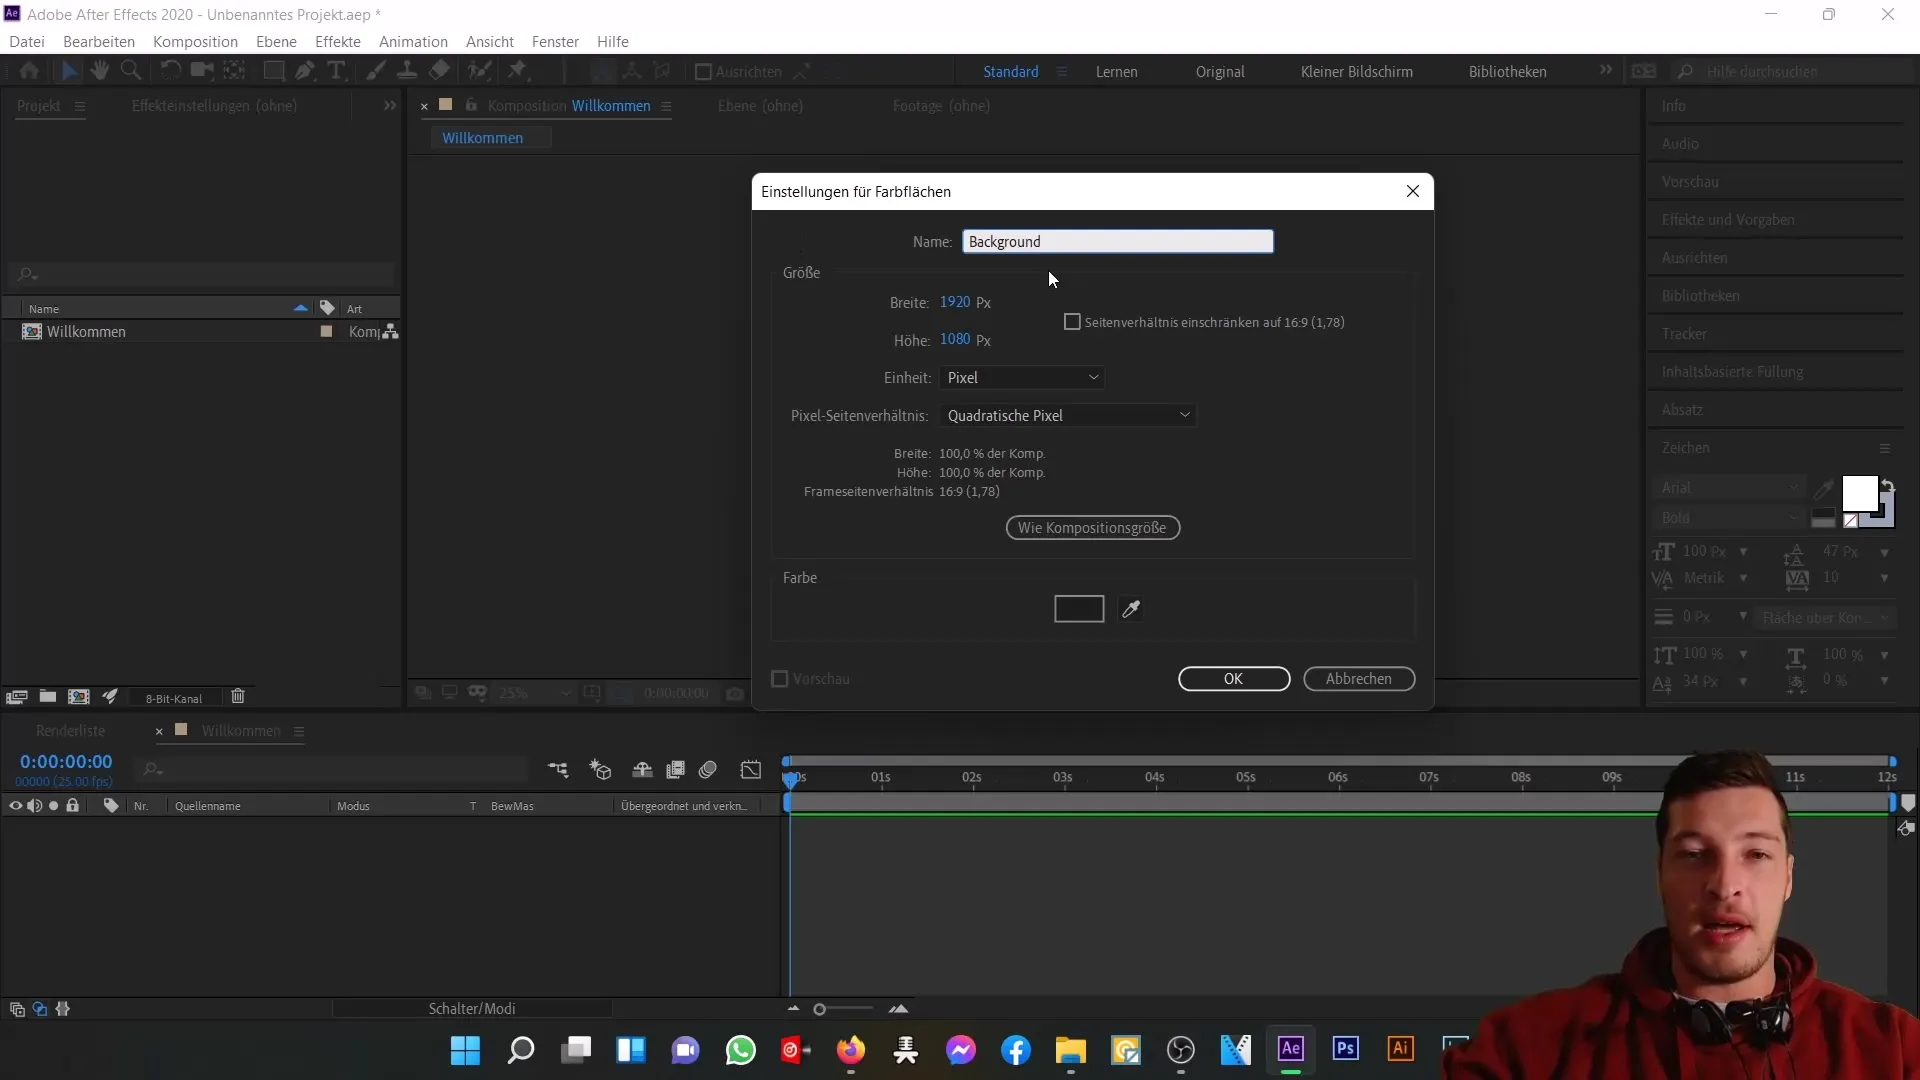
Once you have created your composition, you can add layers. Choose "Layer," then "New," and select the type of layer you want to create, such as a solid color layer.
When creating a solid color layer, you can give it a name that describes the function of this layer. For example, you can name it "Background."
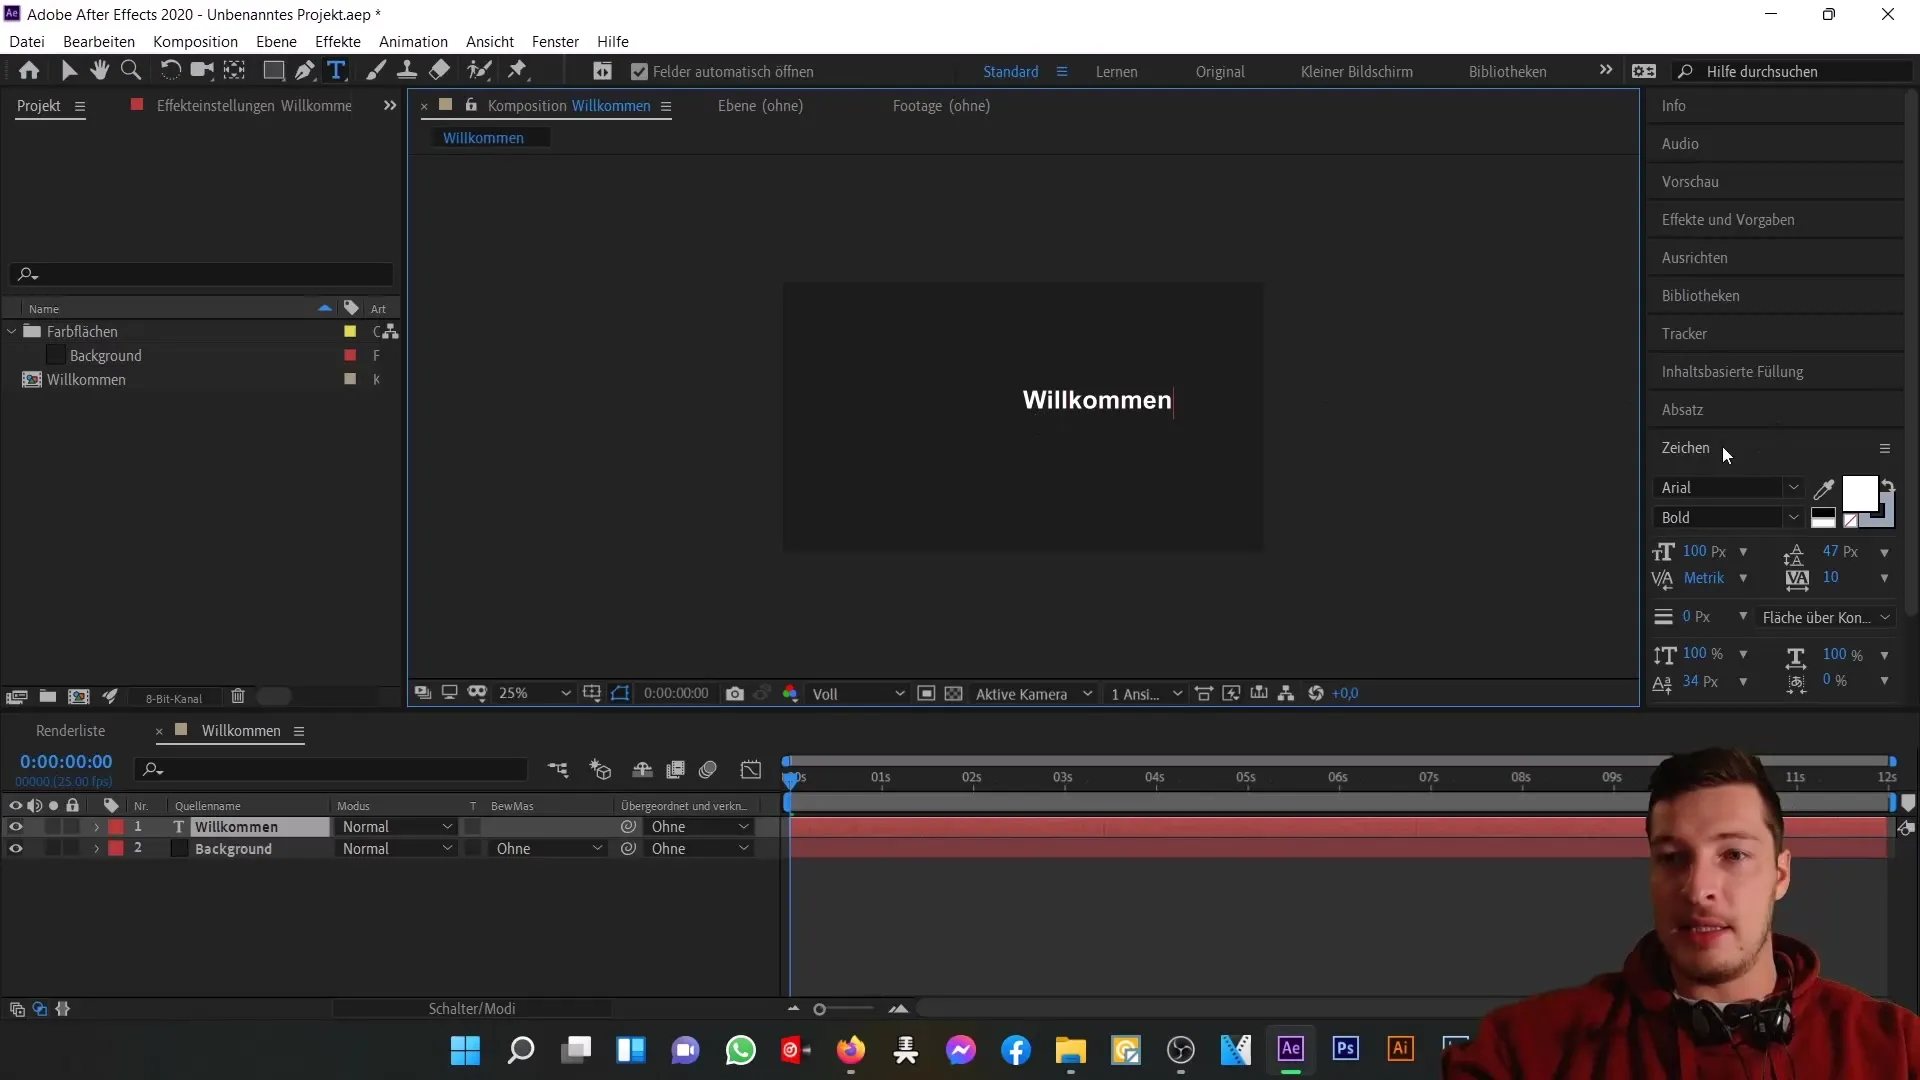
Step 4: Add Text
To add text, go to "Layer" again, then "New," and select "Text." A text box will be created in your composition. You can then customize the text as desired.
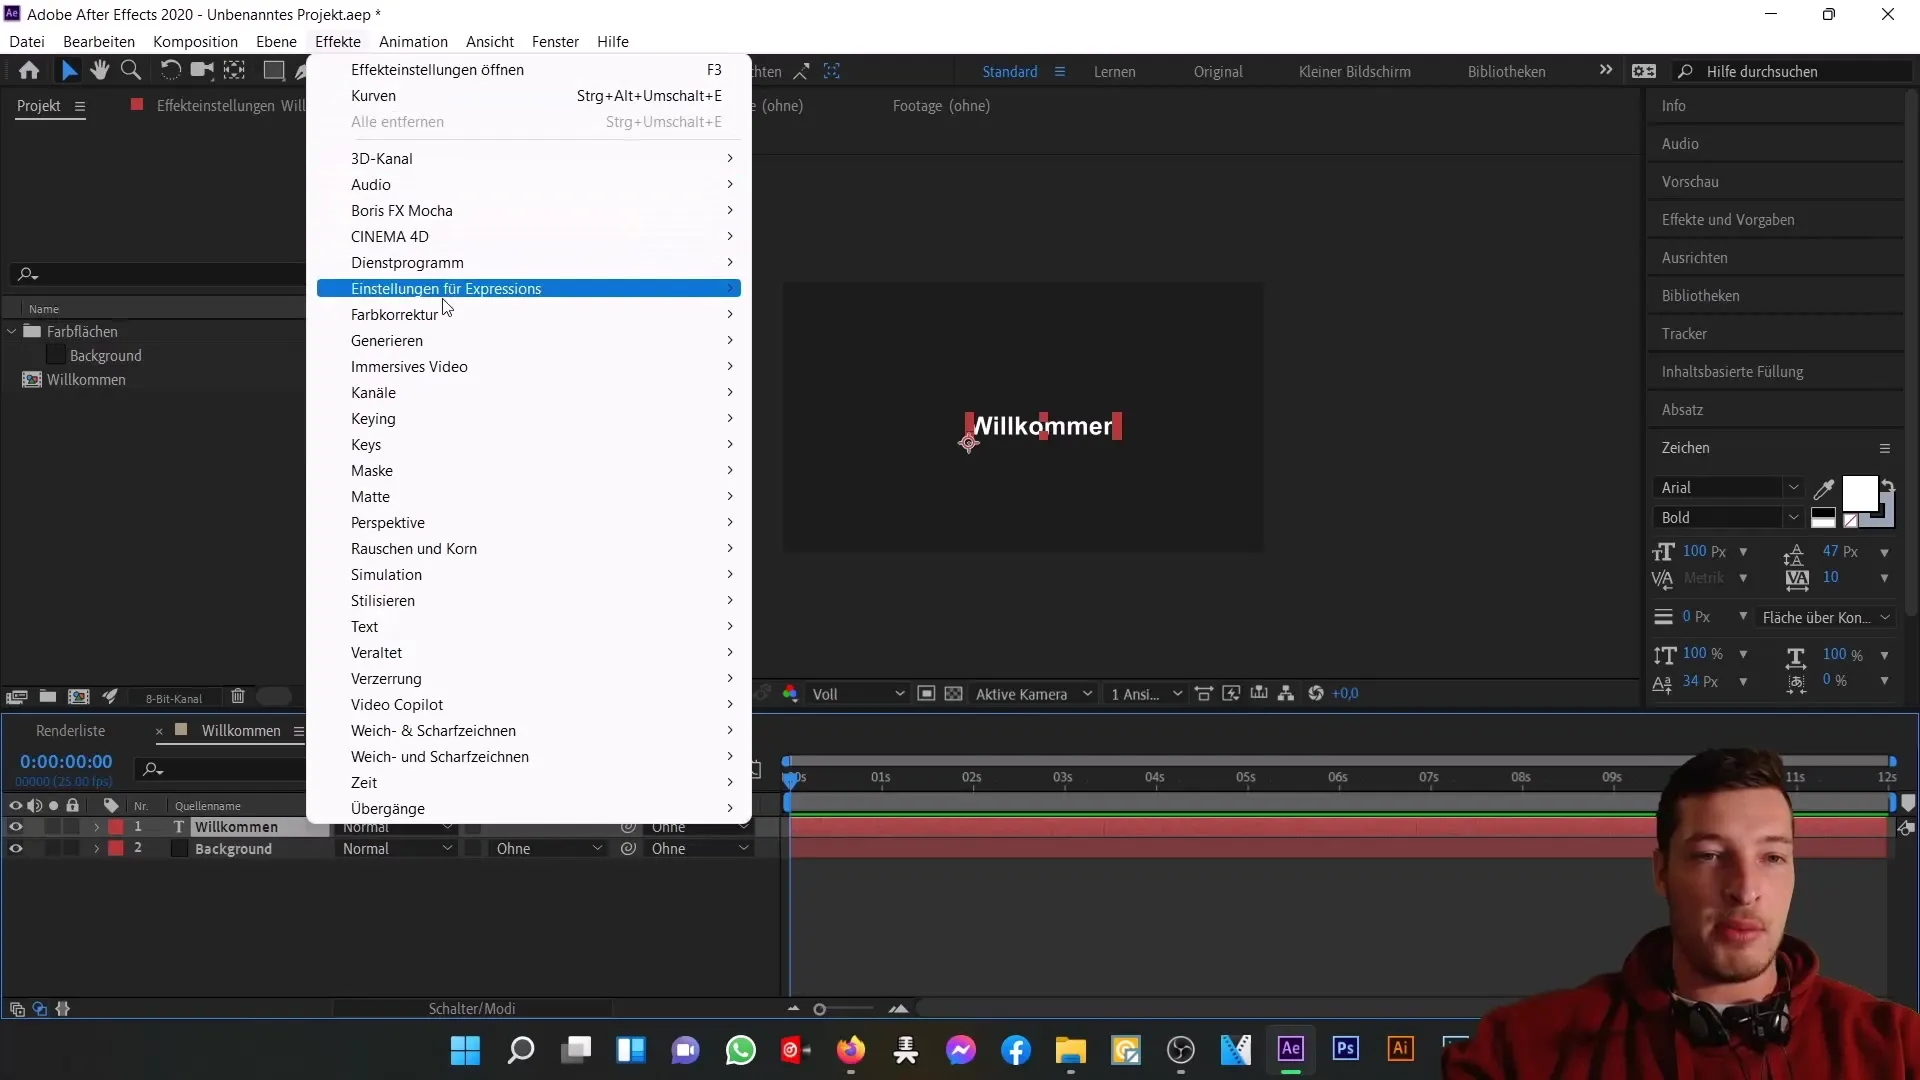
Step 5: Apply Effects
To add visual effects to your composition, go to the menu bar and select "Effects." There you can choose the desired effect and apply it to the layer you want to edit.
Step 6: Check Project Settings
It is important to check the project settings, which you can access via "File" > "Project Settings." This way, you can ensure that everything is tailored to your needs and the requirements of your project.
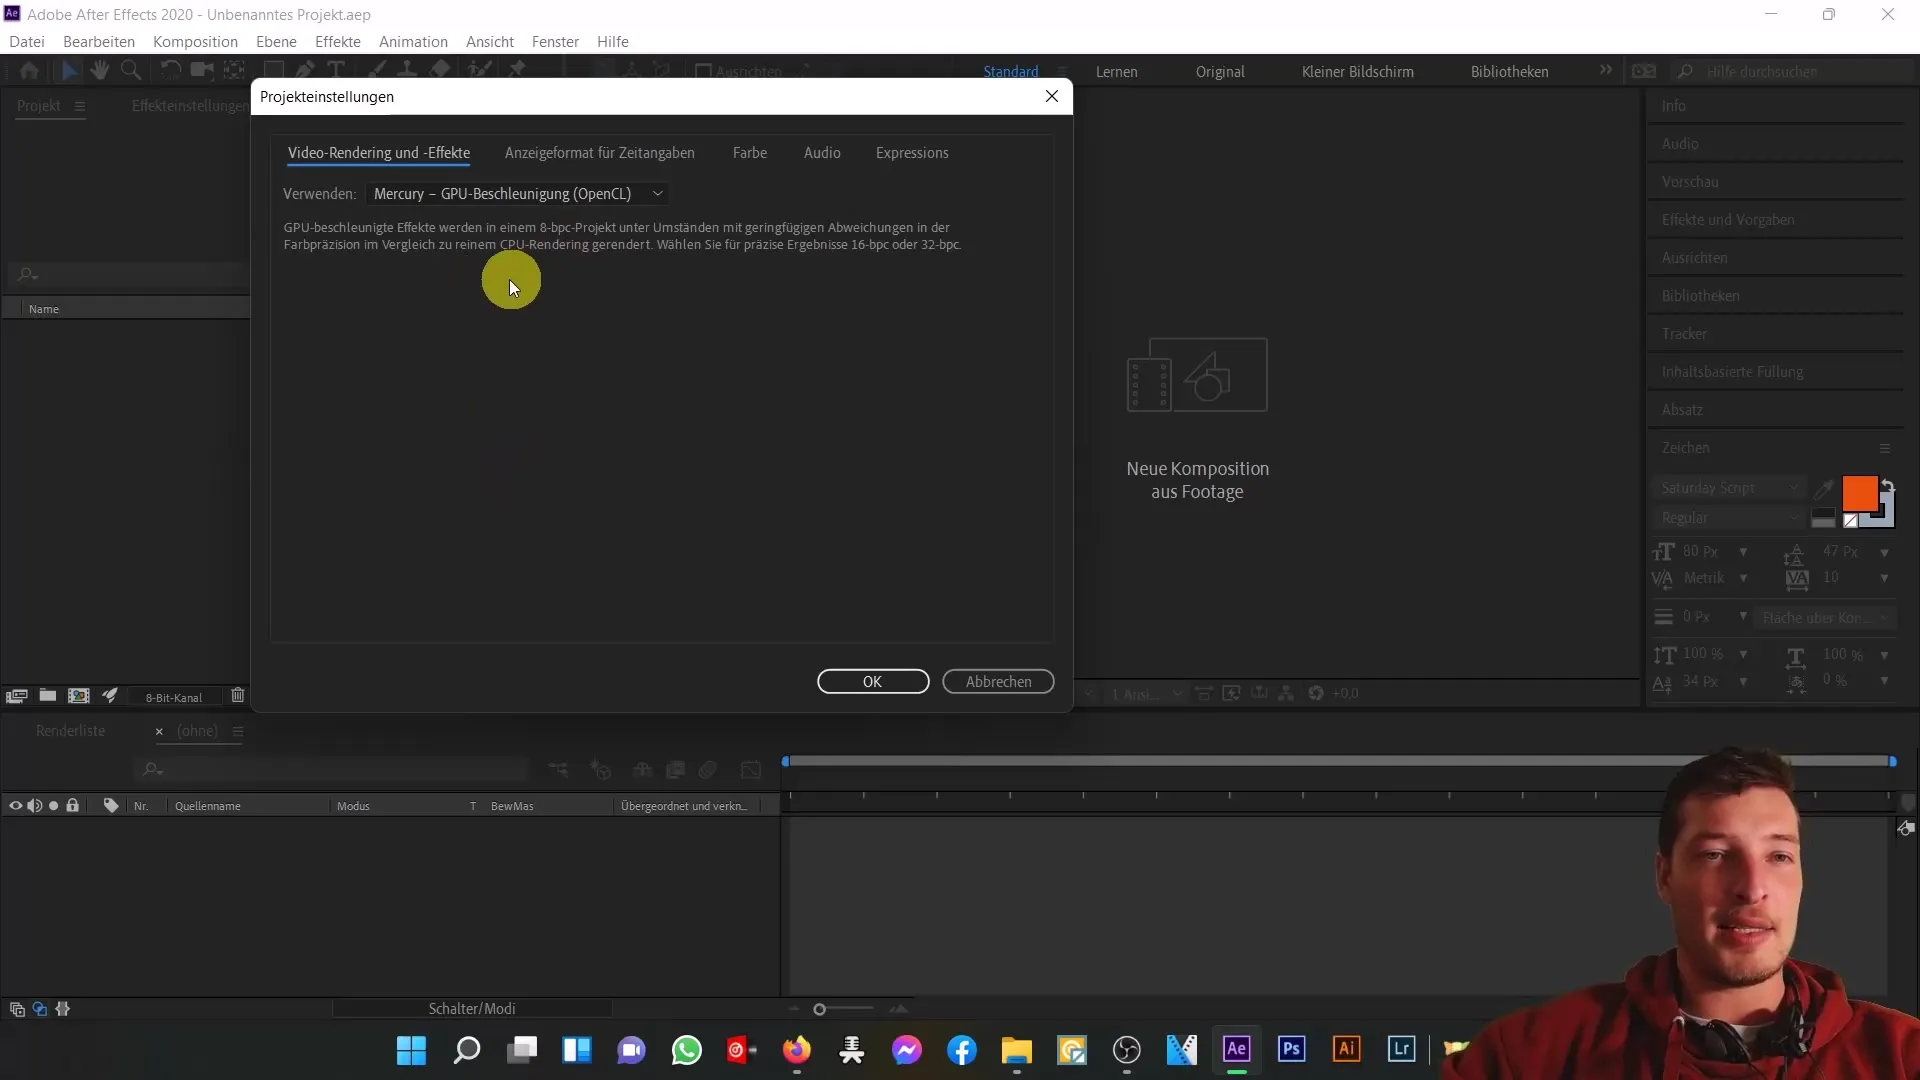
If you want to render with GPU acceleration, make sure to activate the appropriate options.
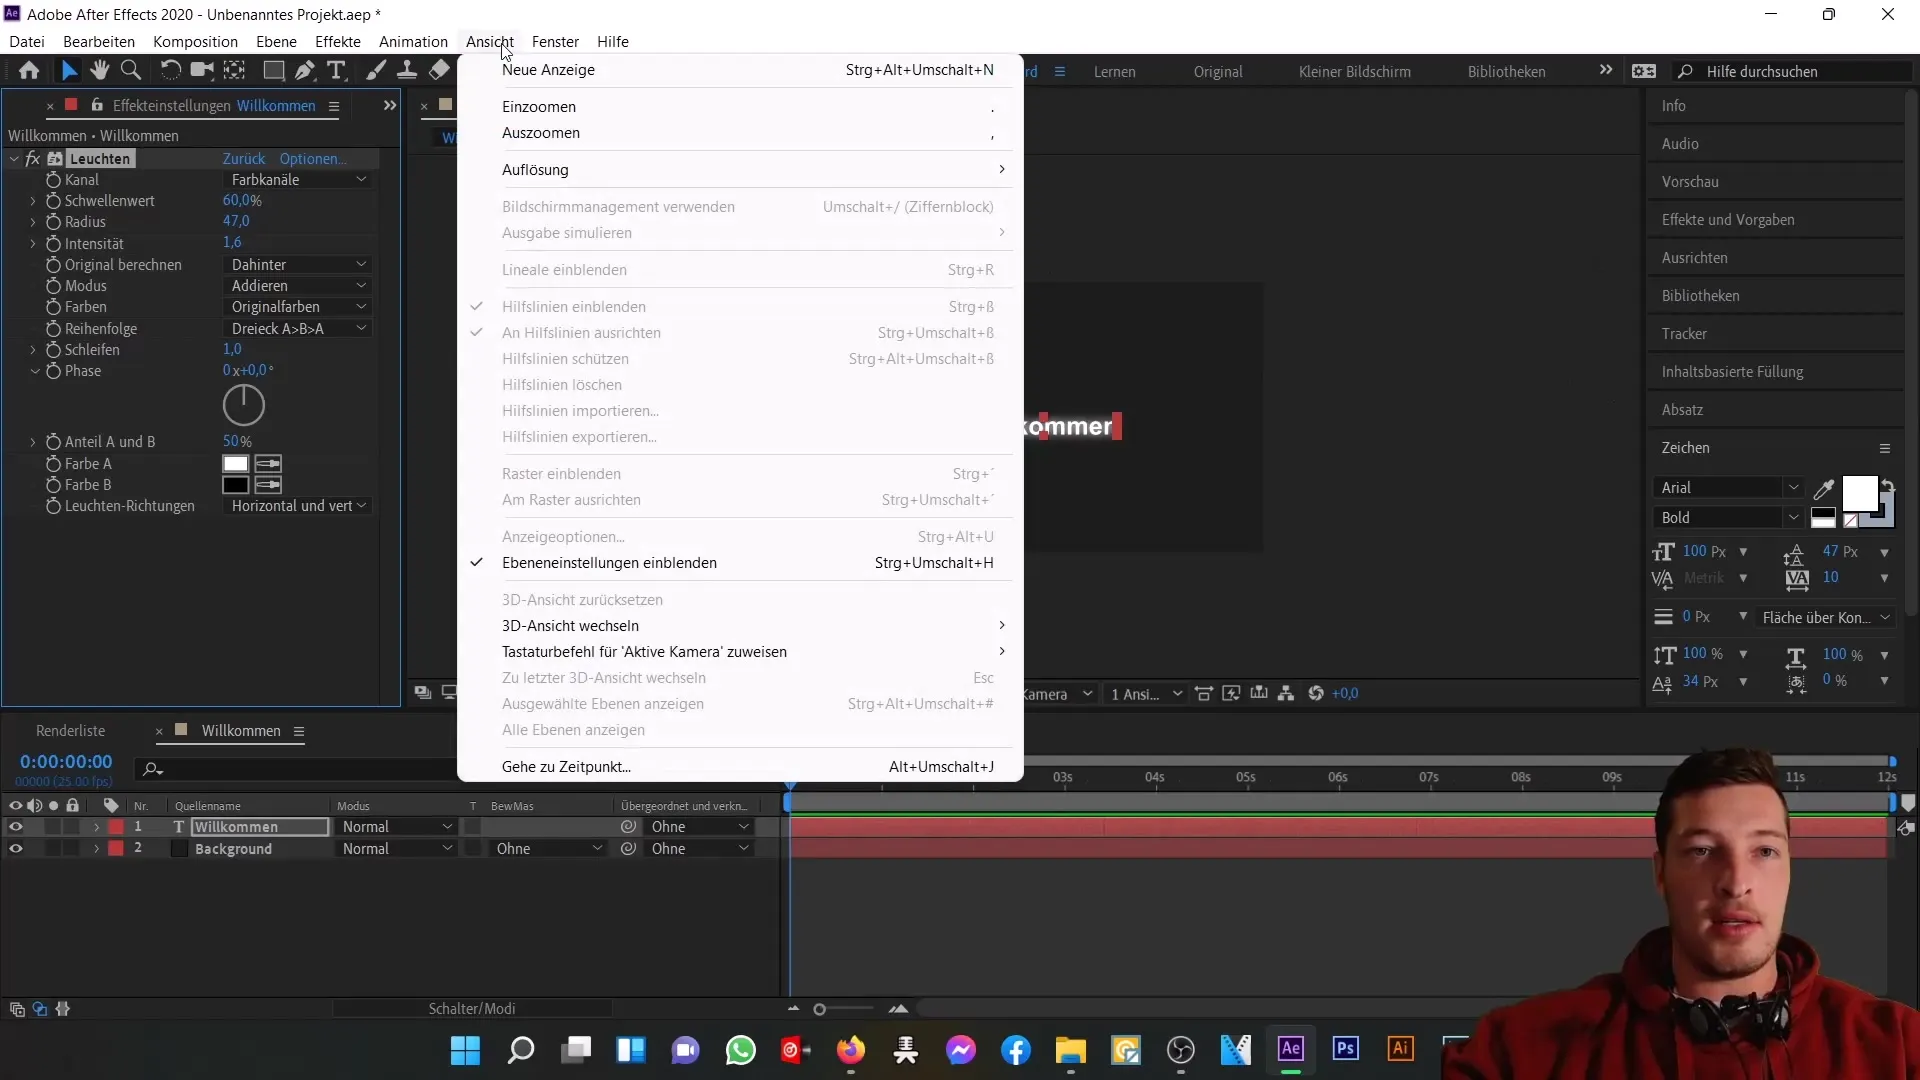
Step 7: Customize Workspace
If your workspace does not meet your preferences, you can select the default view or try other views via the menu bar under "Workspace".
Summary
In this tutorial, you have learned how to use the basic elements in the header area of Adobe After Effects. You have learned how to create a new project, create a composition, add initial layers, apply effects, and customize your project settings. This knowledge forms the basis for working further with this powerful software.
Frequently Asked Questions
What are compositions in After Effects?Compositions are separate projects within your main project where visual elements are organized.
How do I add effects to a layer?Select the layer, go to "Effects" in the menu bar, and choose the desired effect.
What should I do if my workspace does not look like it does in the tutorial?Go to "Workspace" in the menu bar and select "Default" to restore the default view.


