In this guide, I will show you how to optimally use the Adobe Media Encoder to simplify and optimize the export process of your After Effects projects. The Media Encoder is a valuable tool in the Adobe Creative Cloud that allows you to generate your video outputs in various formats while efficiently managing quality and file size. In the following steps, you will learn how to export compositions from After Effects, select the best export settings, and smoothly carry out the entire process.
Main Findings
- The Adobe Media Encoder allows for outsourcing rendering processes from After Effects.
- It provides extensive export formats, especially for online platforms like YouTube.
- You can adjust render quality and save your export settings.
- The Media Encoder allows for monitoring folders for automatic export.
Step-by-Step Guide to Using the Adobe Media Encoder
Installation and Accessing the Media Encoder
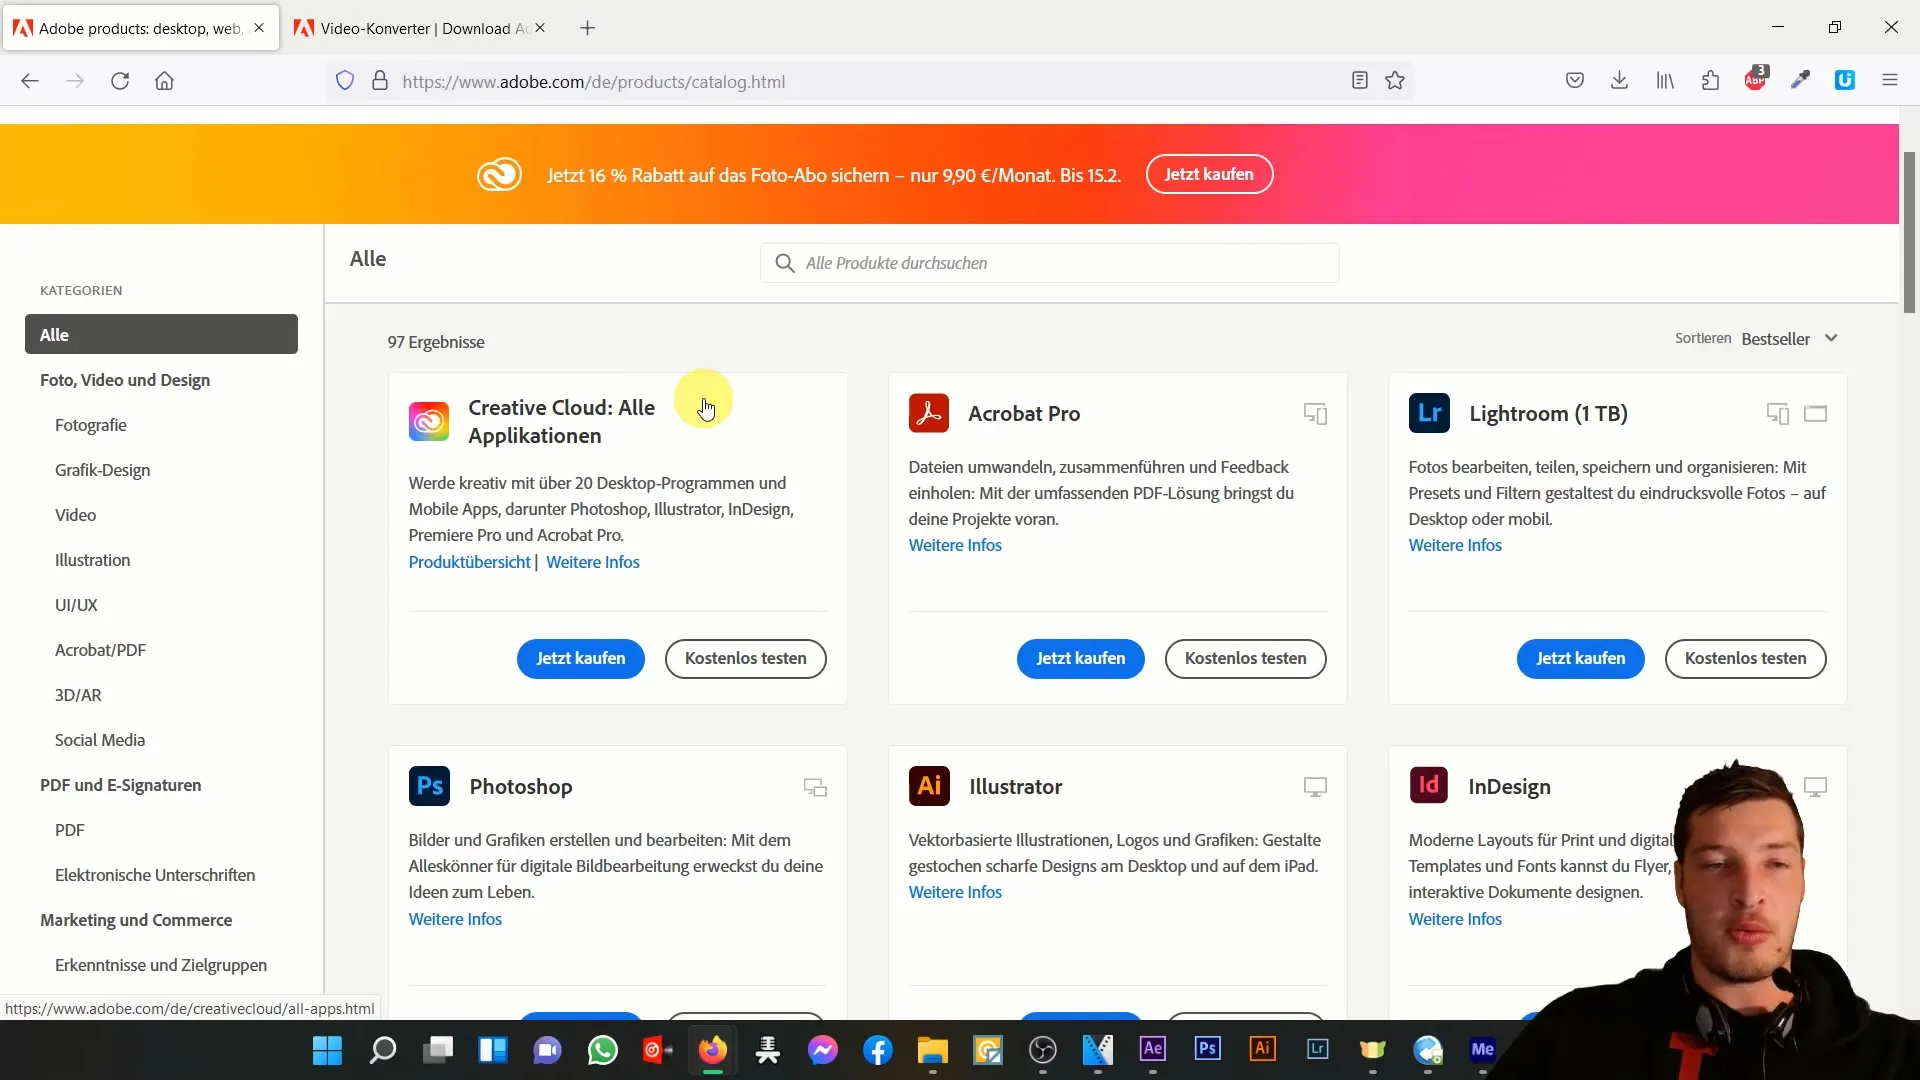
To use the Adobe Media Encoder, you must ensure that you have the software installed in your Creative Cloud. This is typically included in the overall package of Adobe software. Verify your access by opening Creative Cloud and downloading the Media Encoder.
Preparation in After Effects
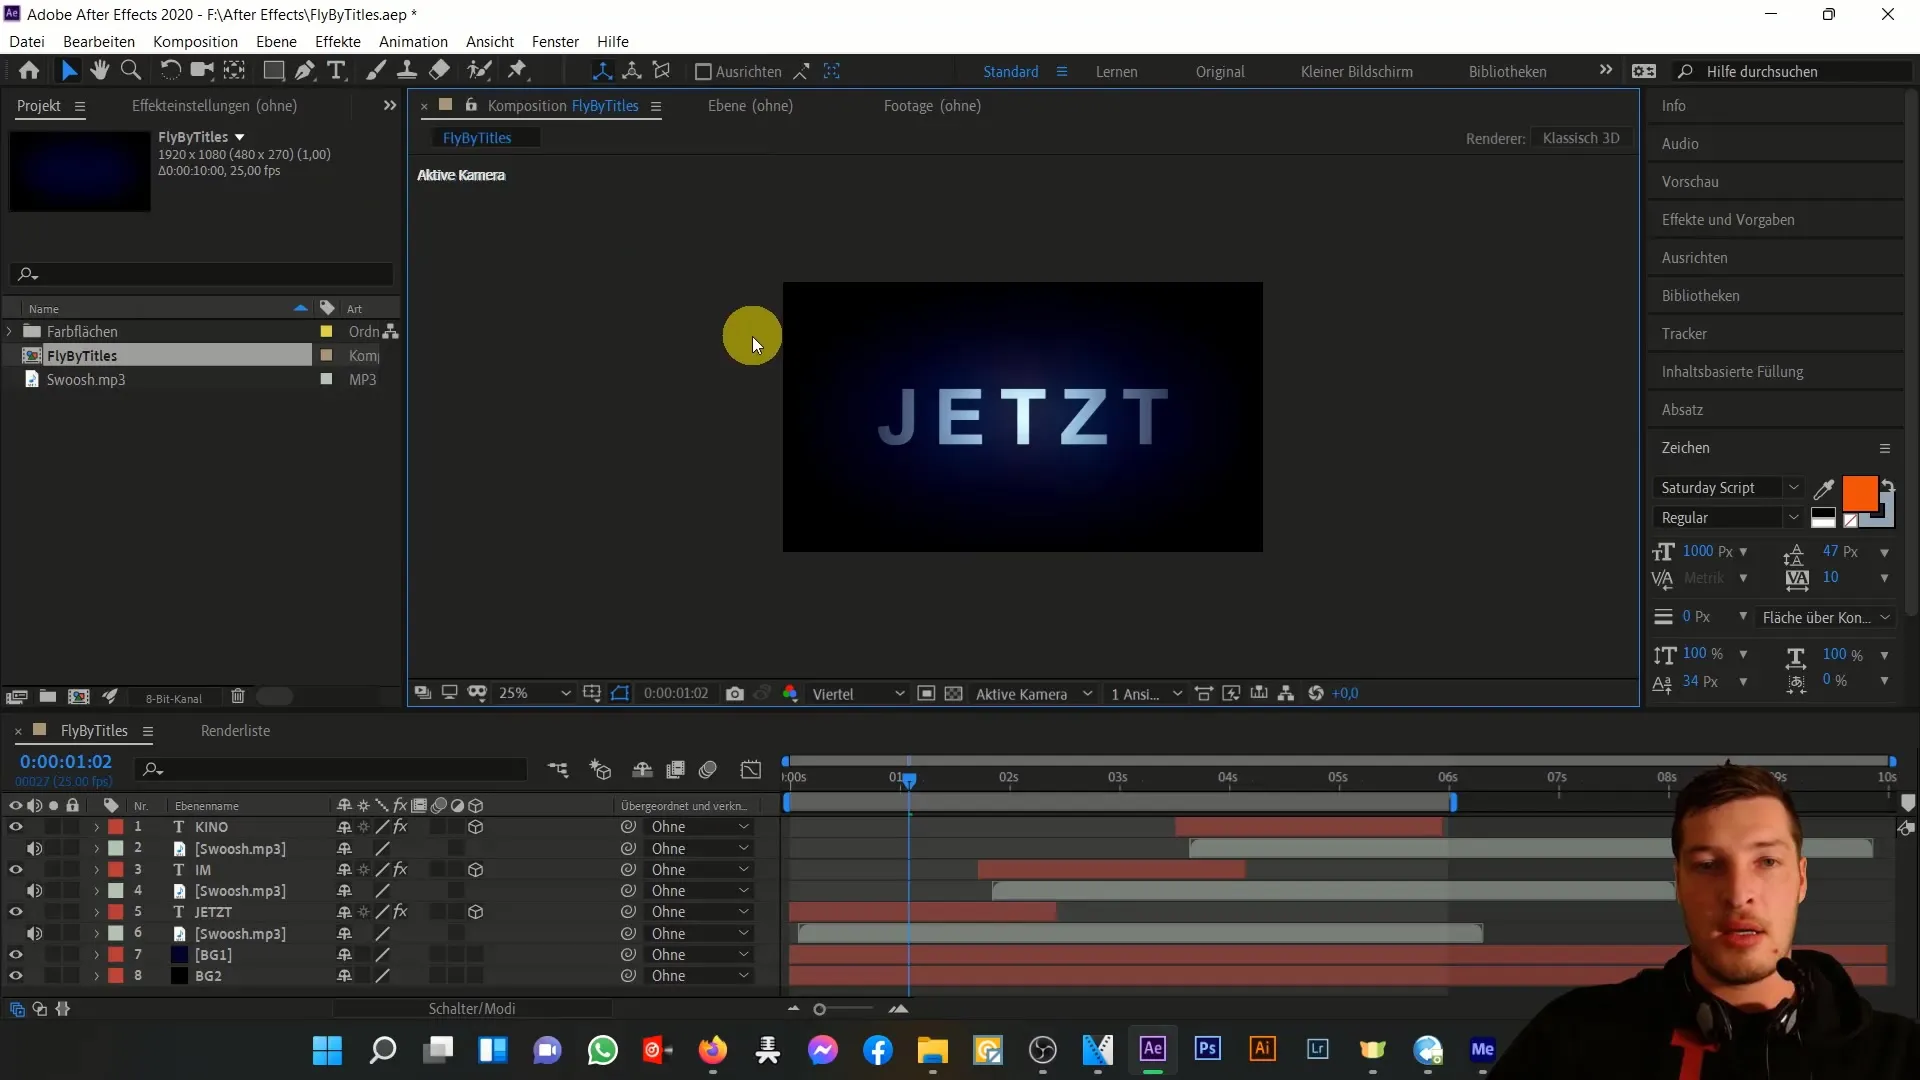
After installation, open After Effects and load your project. In this example, we are using the composition "Fly by Titles." To export this composition via the Media Encoder, click on "Composition" in the top menu bar.
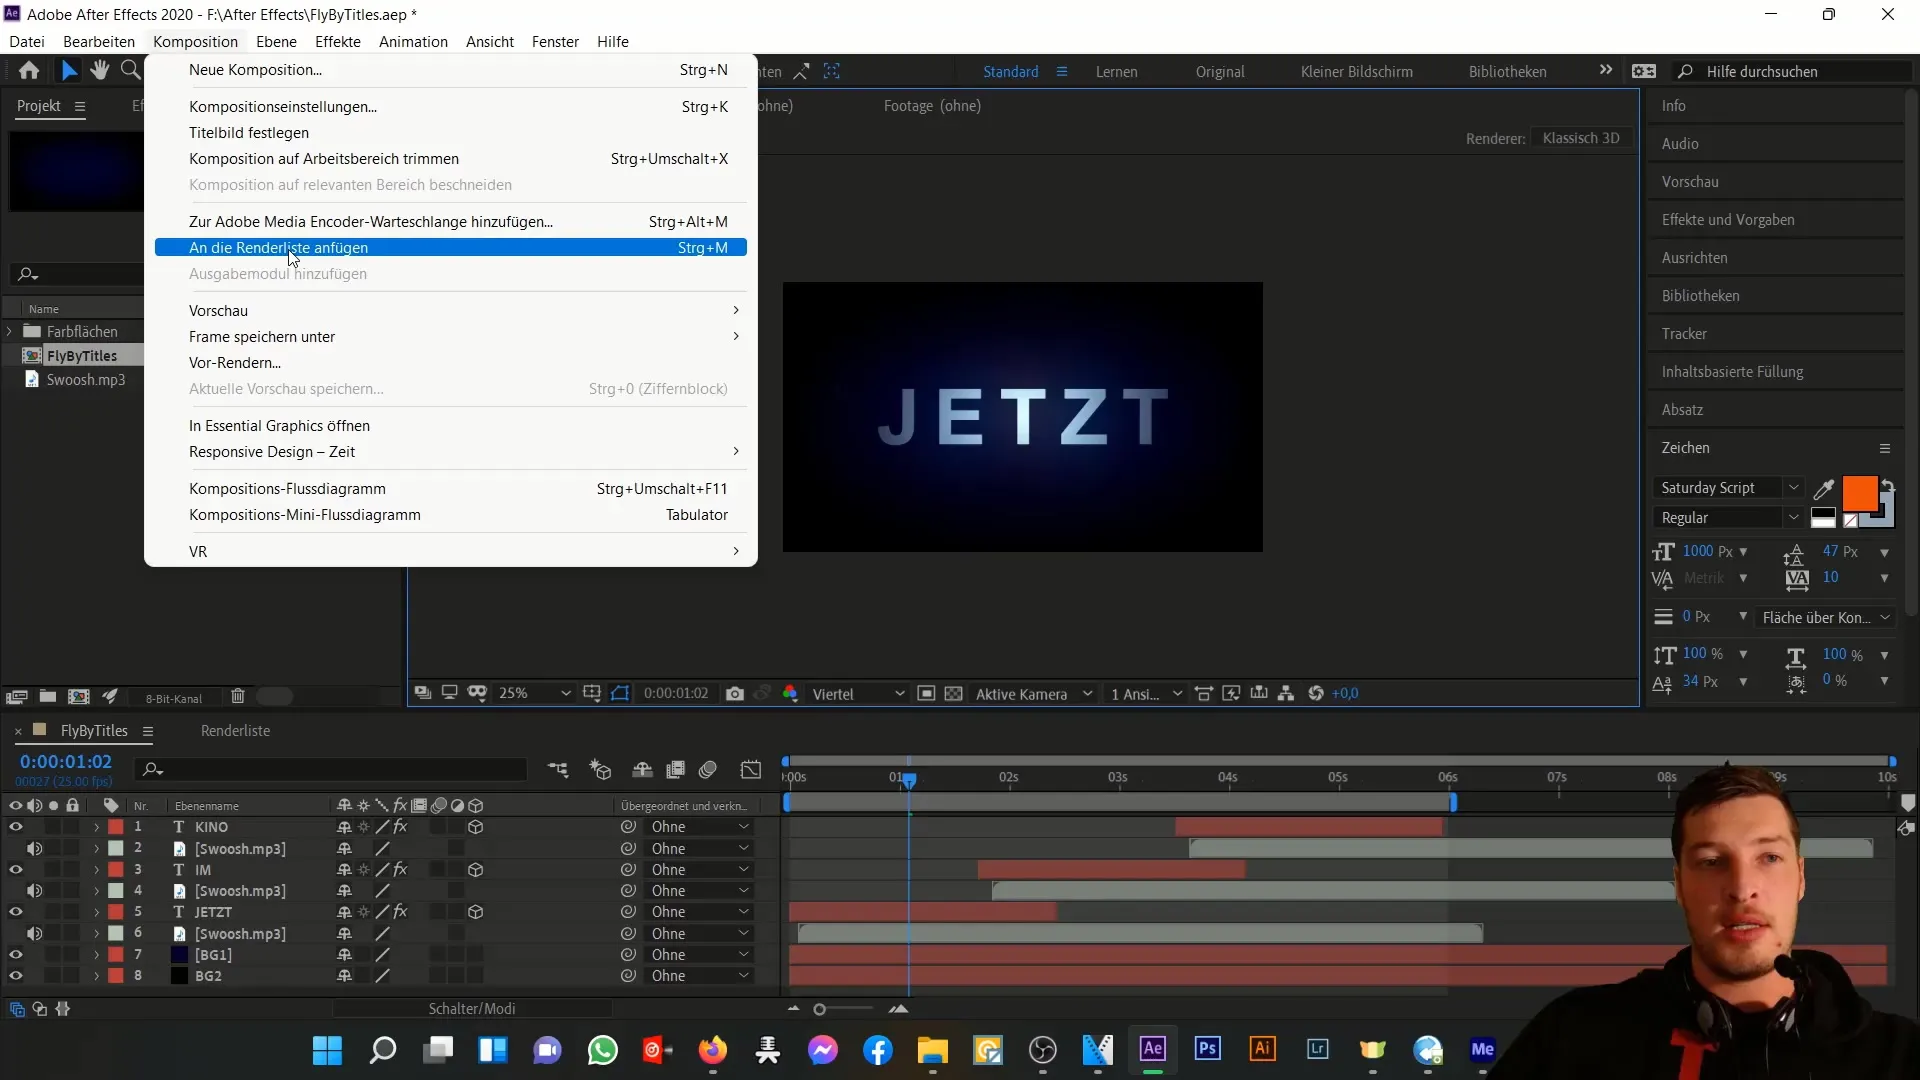
Next, do not select the option "Add to Render Queue," but click on "Add to Adobe Media Encoder Queue" instead.
Exporting via the Media Encoder
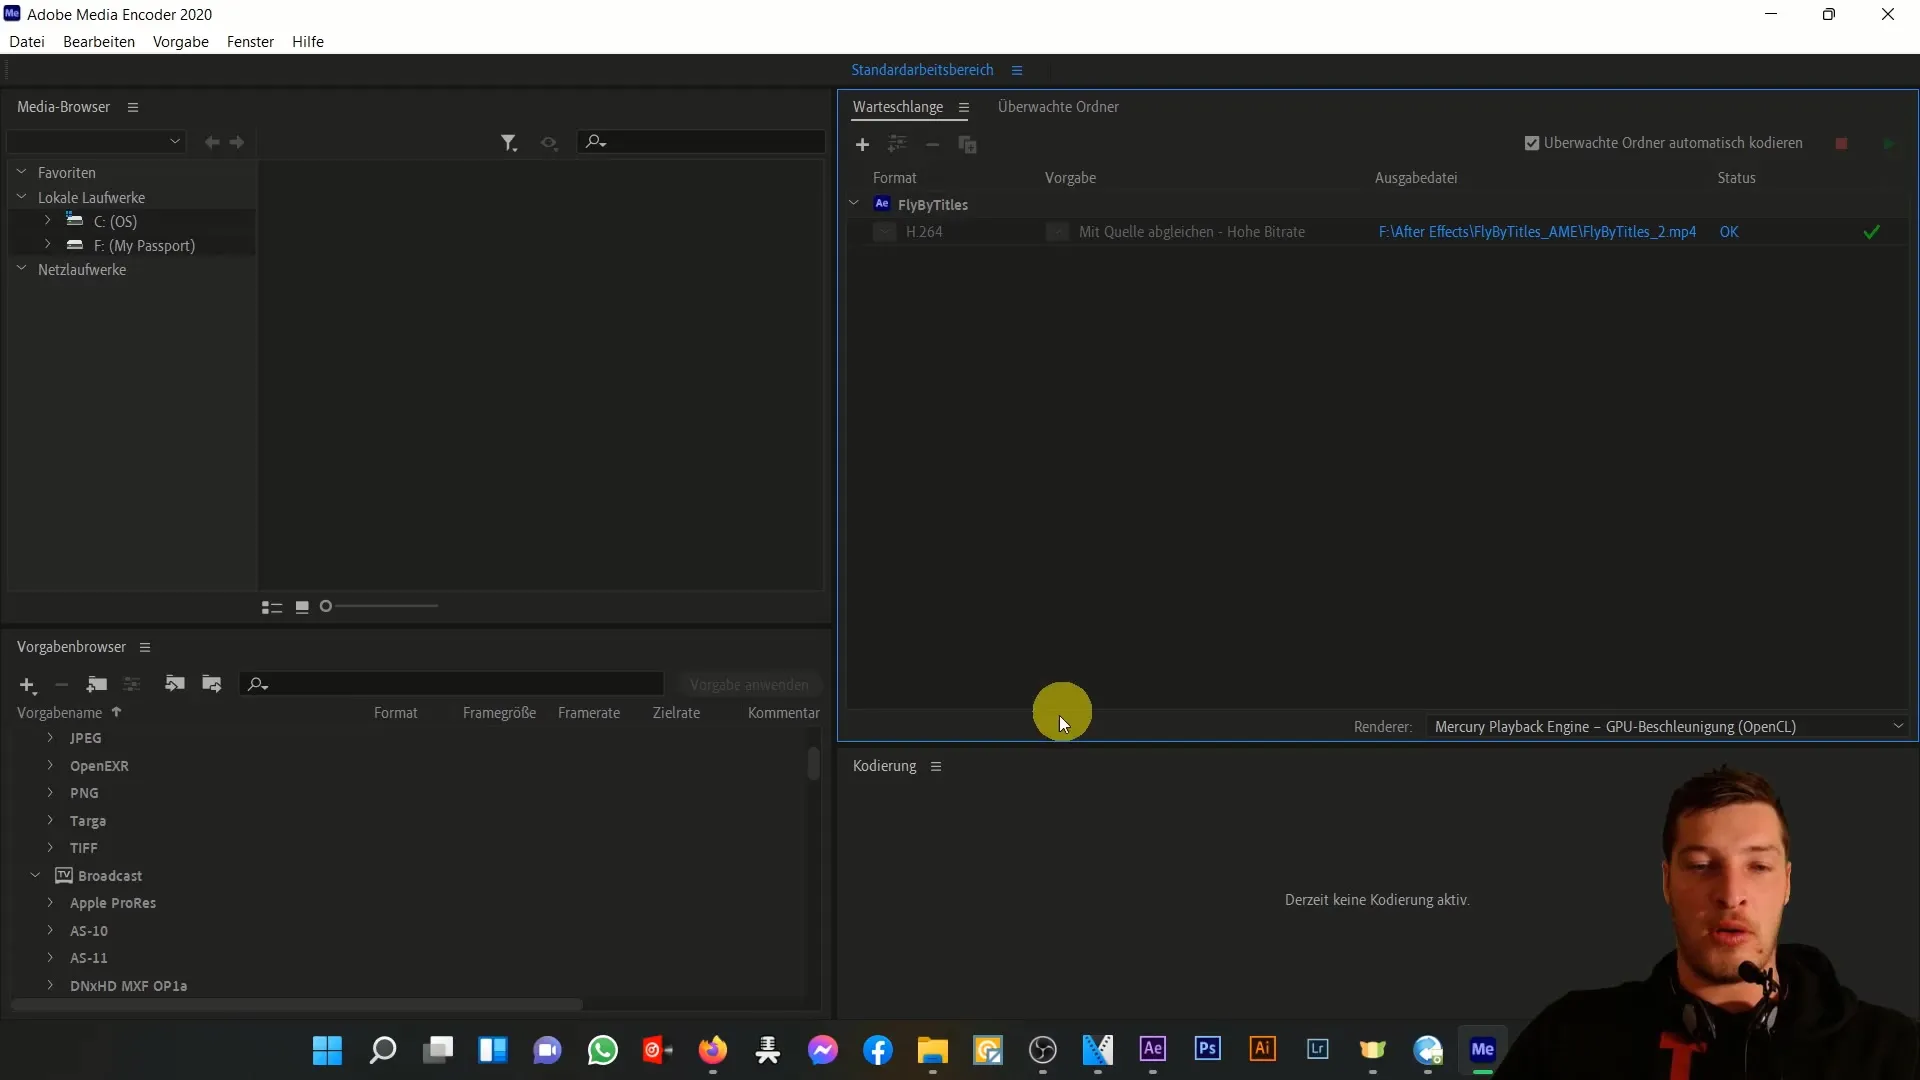
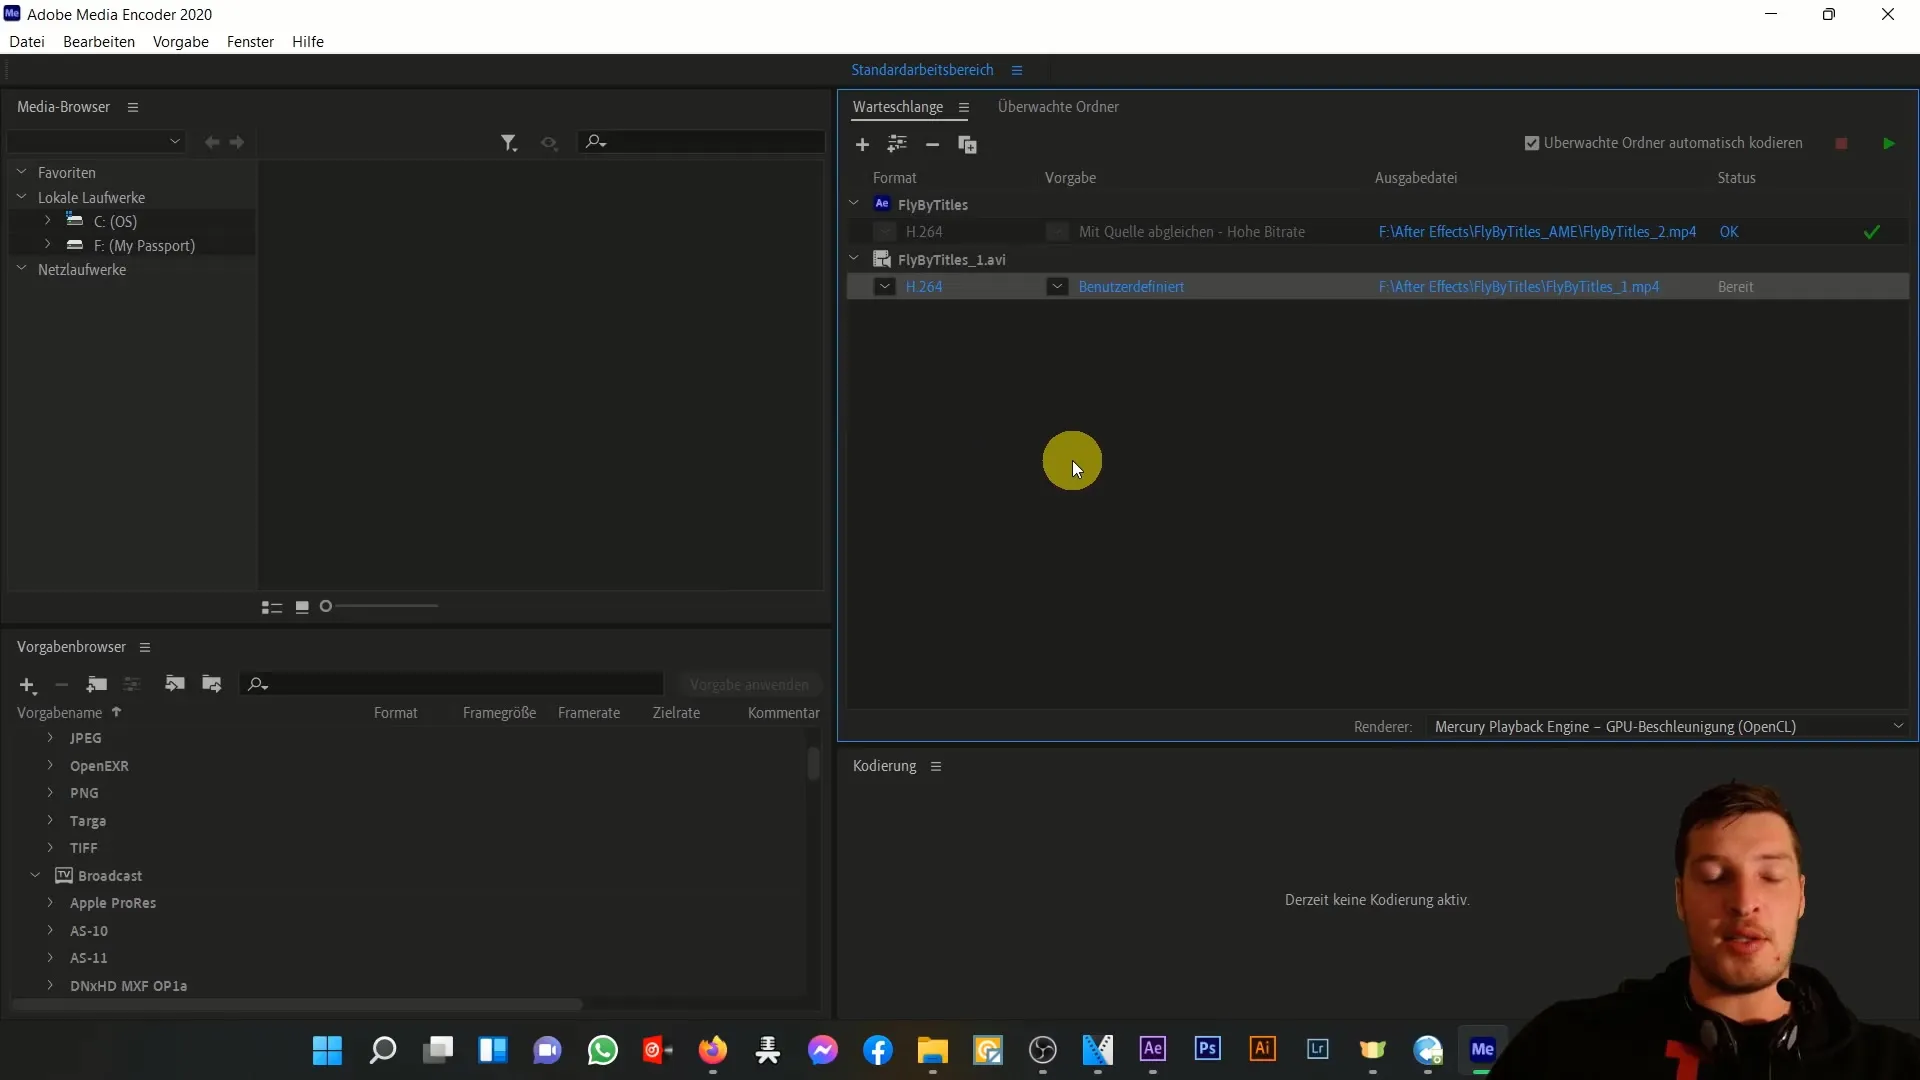
The Adobe Media Encoder will now open, and you will see that your composition has been transferred here. On the left side, you will find the format options. In this example, we will choose the MP4 format, which corresponds to the H.264 standard – an excellent choice for video imports, especially for platforms like YouTube.
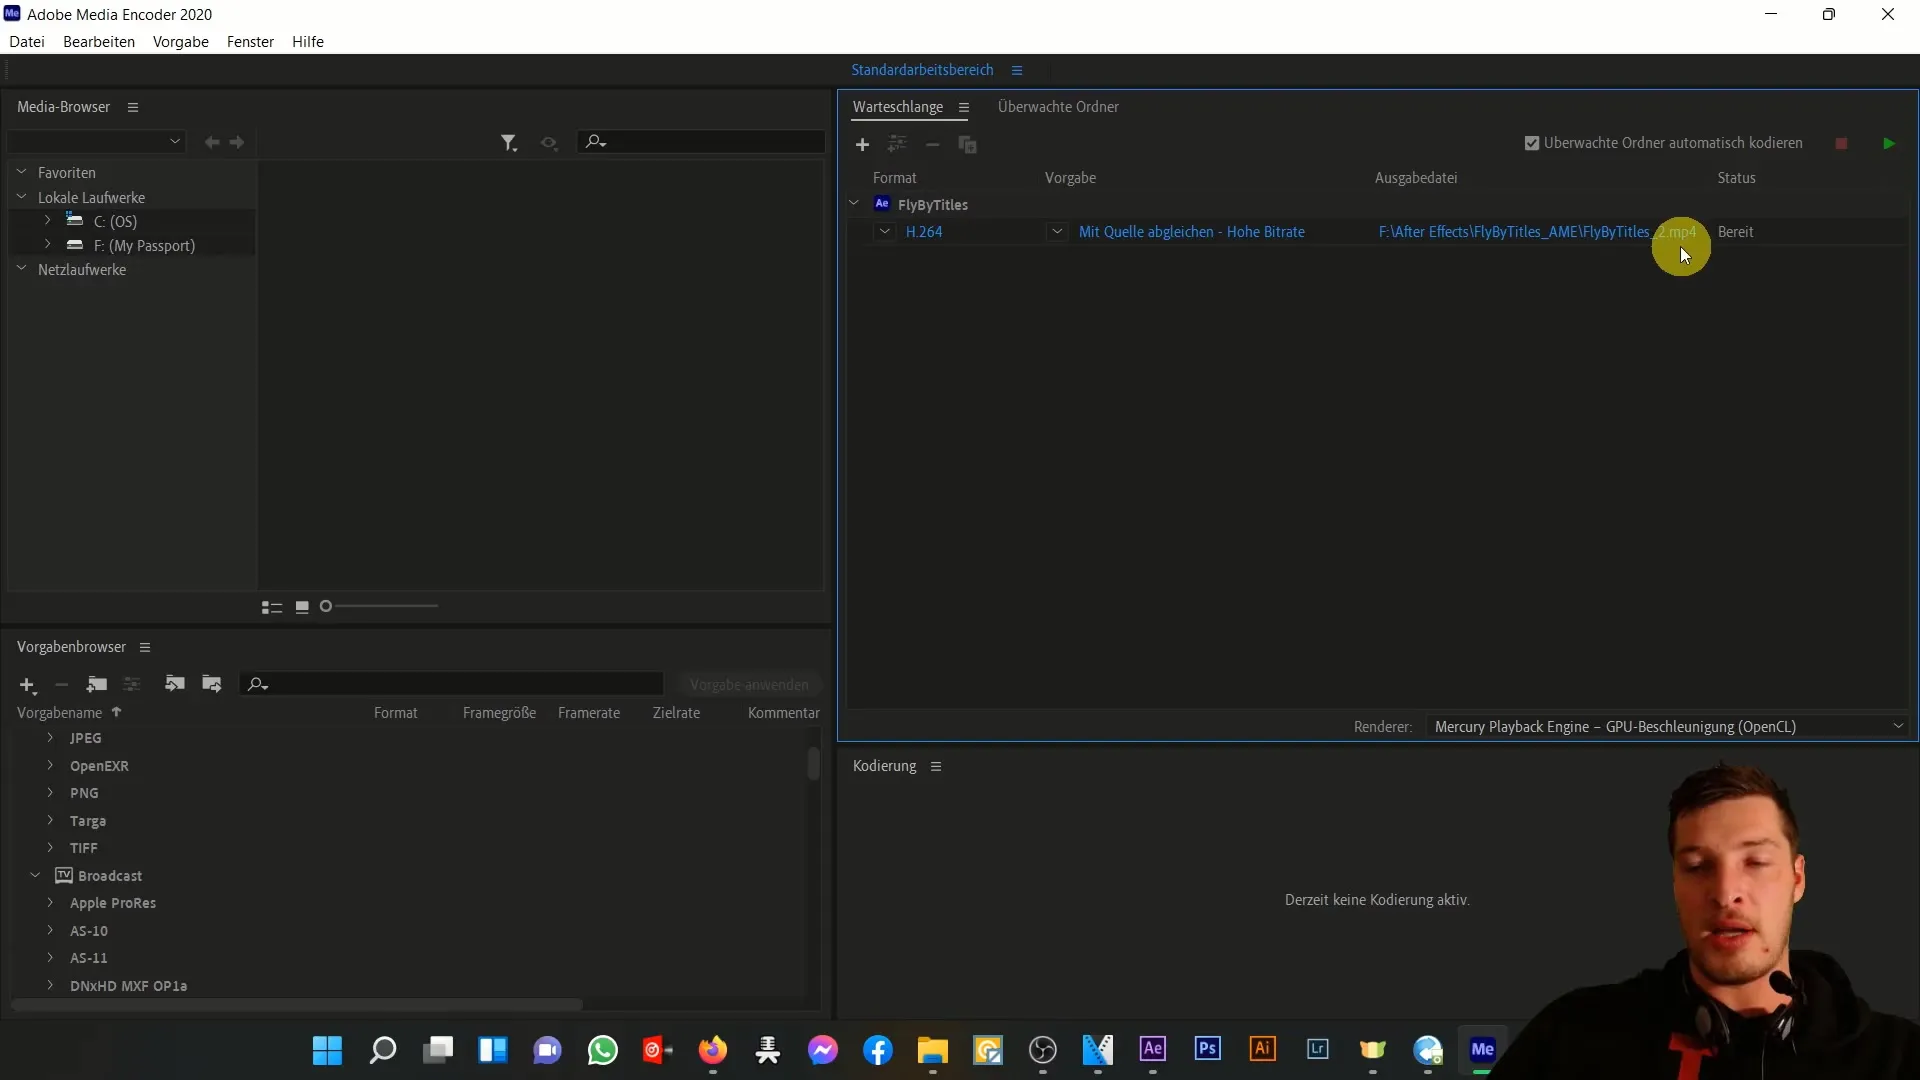
H.264 is known for ensuring small file sizes with good quality. You can now start the export by clicking the green "Play" button.
Checking the Exported File
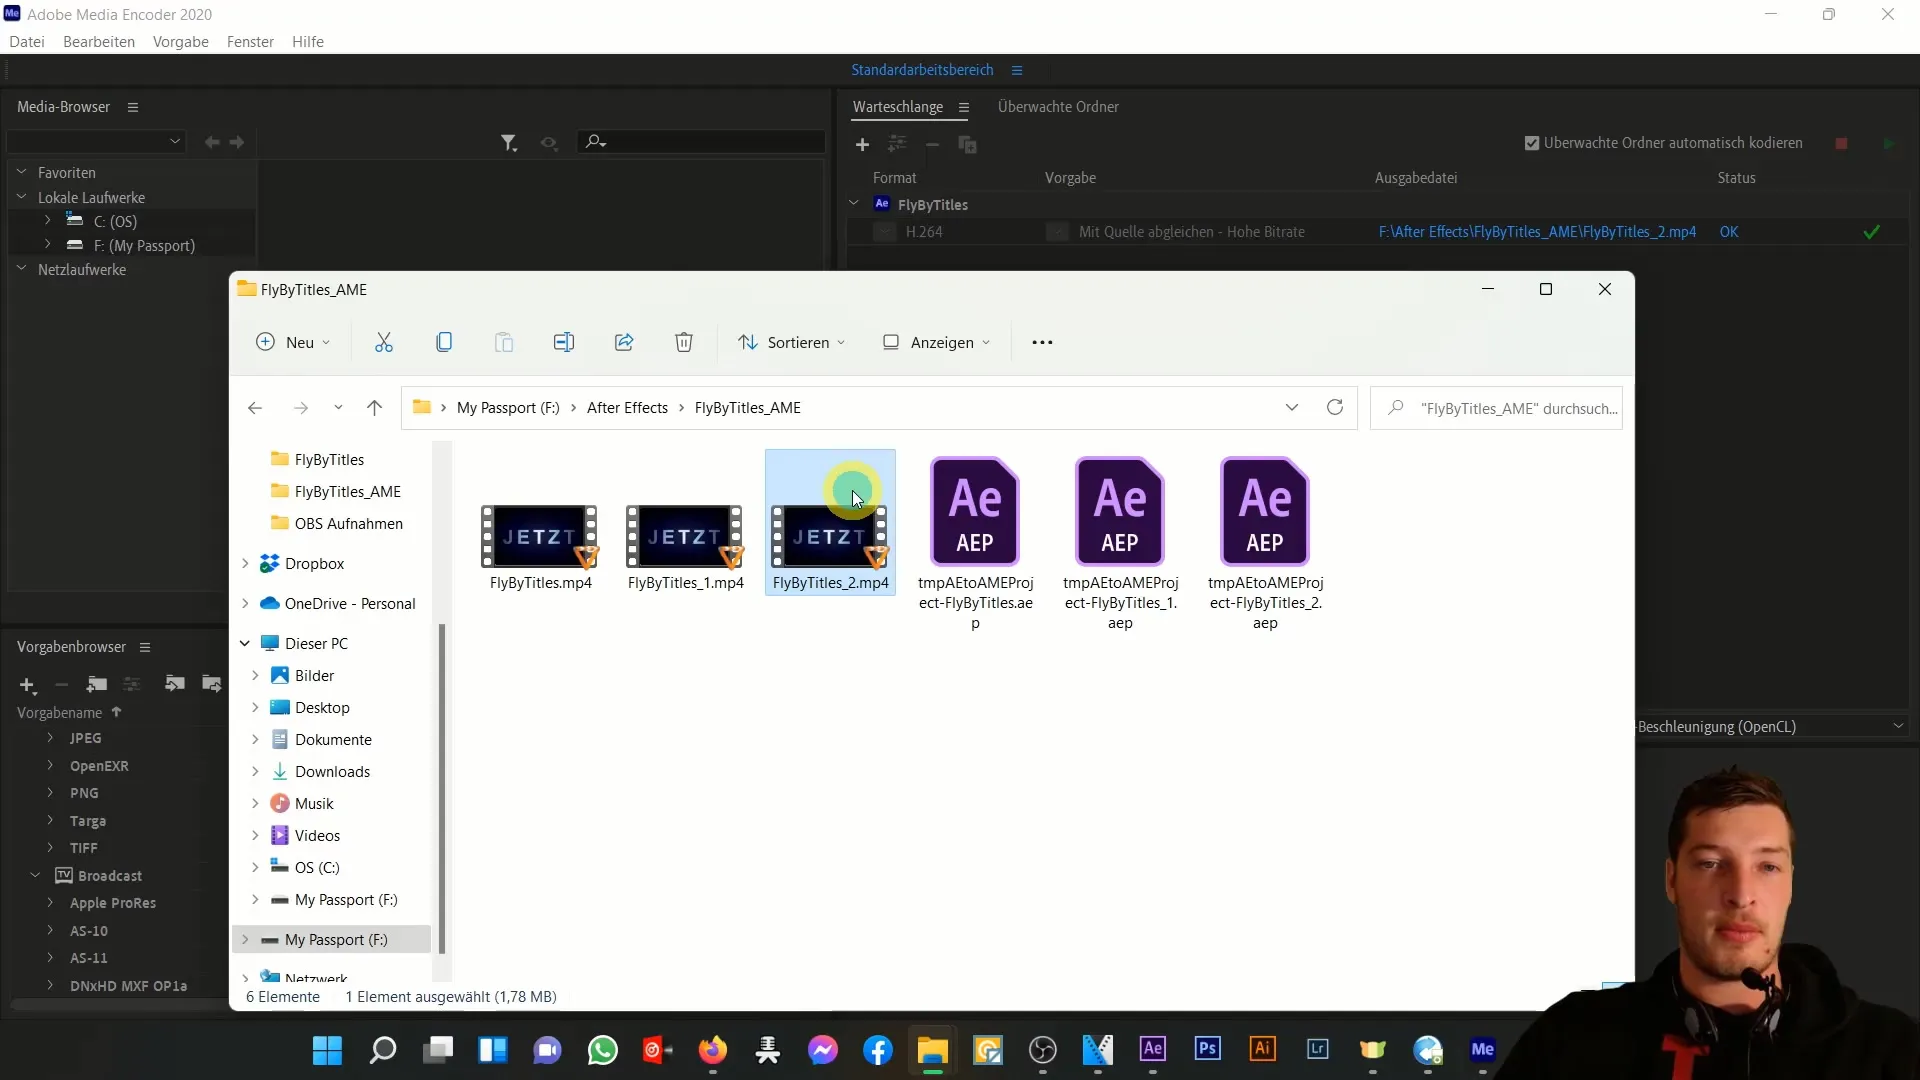
Once the export is completed, you will find the finished MP4 file in the subfolder of the composition. In our example, the file size is only 1.78 MB, which is significantly smaller compared to other formats like AVI or MOV.
To check the quality of the exported file, you can simply play the video and ensure it meets your expectations.
Adjusting Export Settings
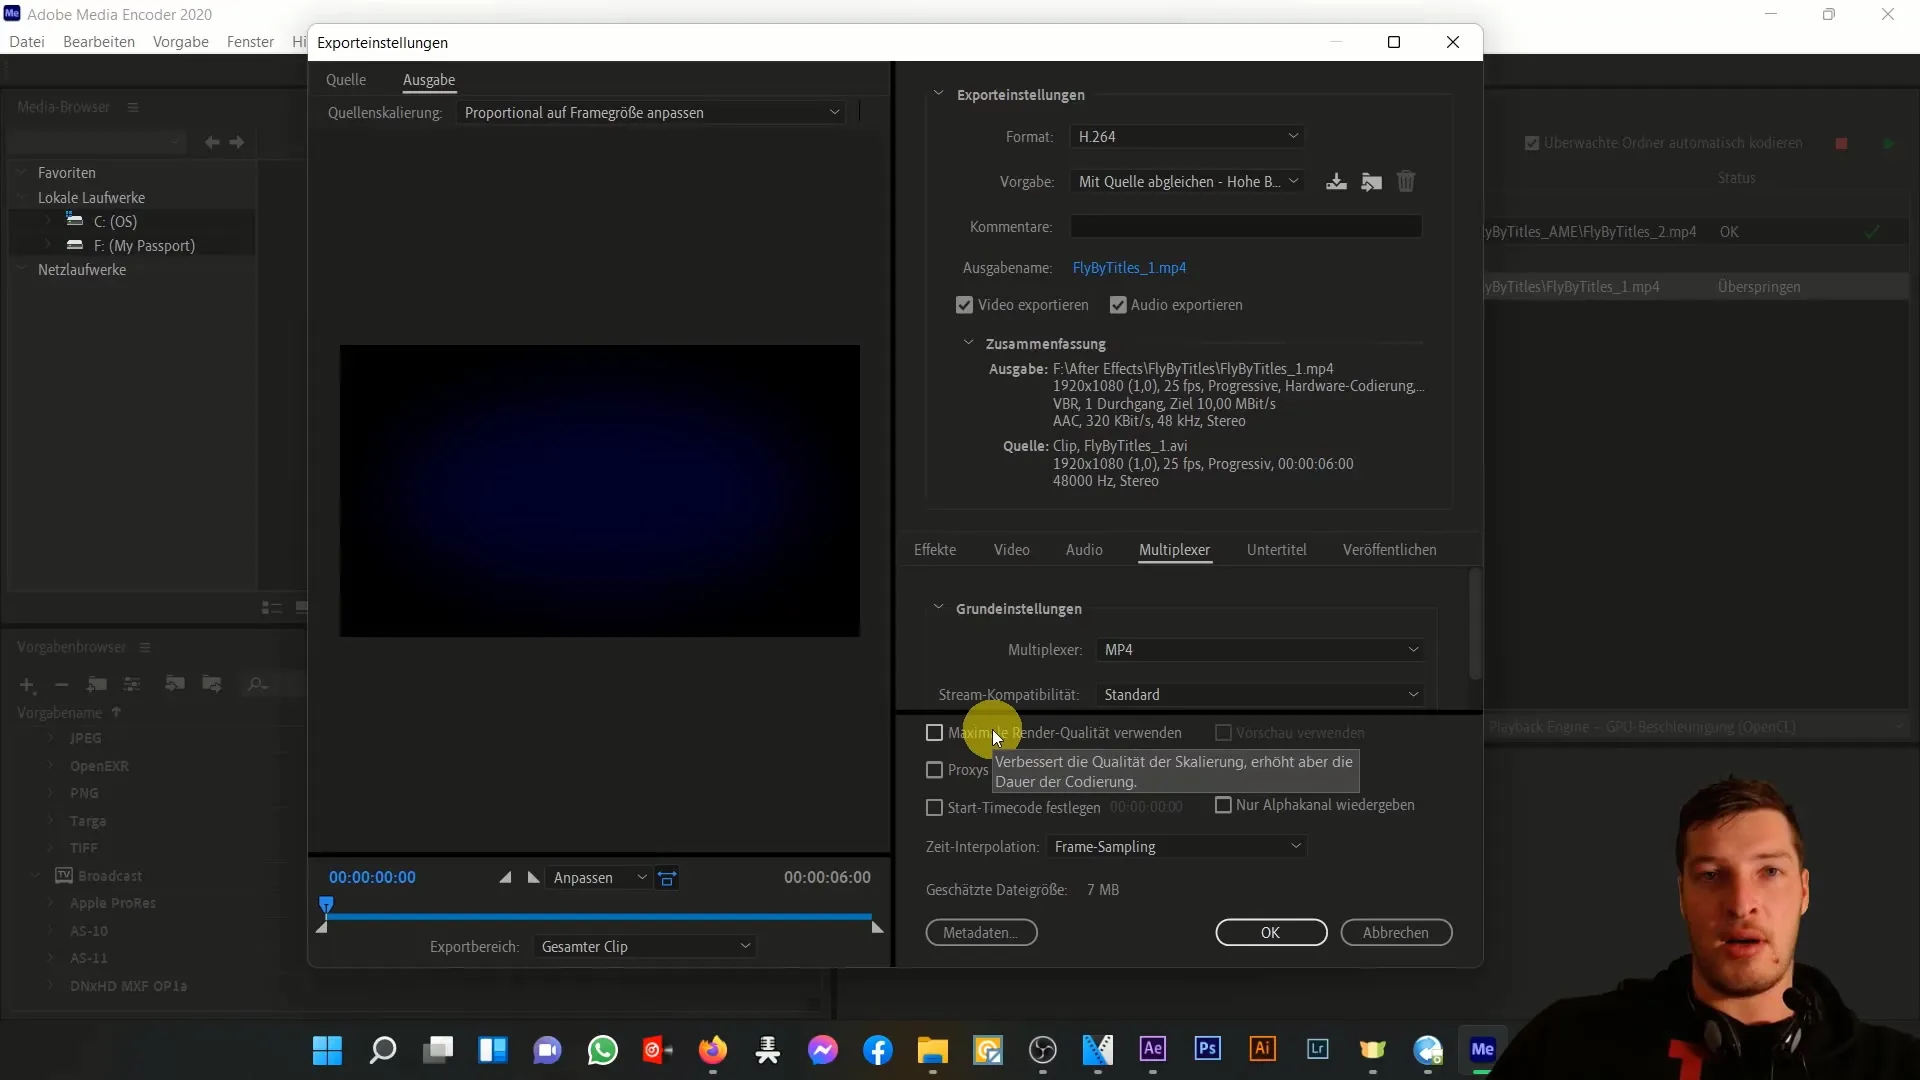
If you wish to make further adjustments, you can configure the export settings in the Media Encoder. Right-click on the format and select "Export Settings." Here, you can adjust various parameters, such as the video's width and height or the audio playback settings.
I recommend enabling the option "Use Maximum Render Quality." However, bear in mind that this may extend the render time.
Automation through Watch Folders
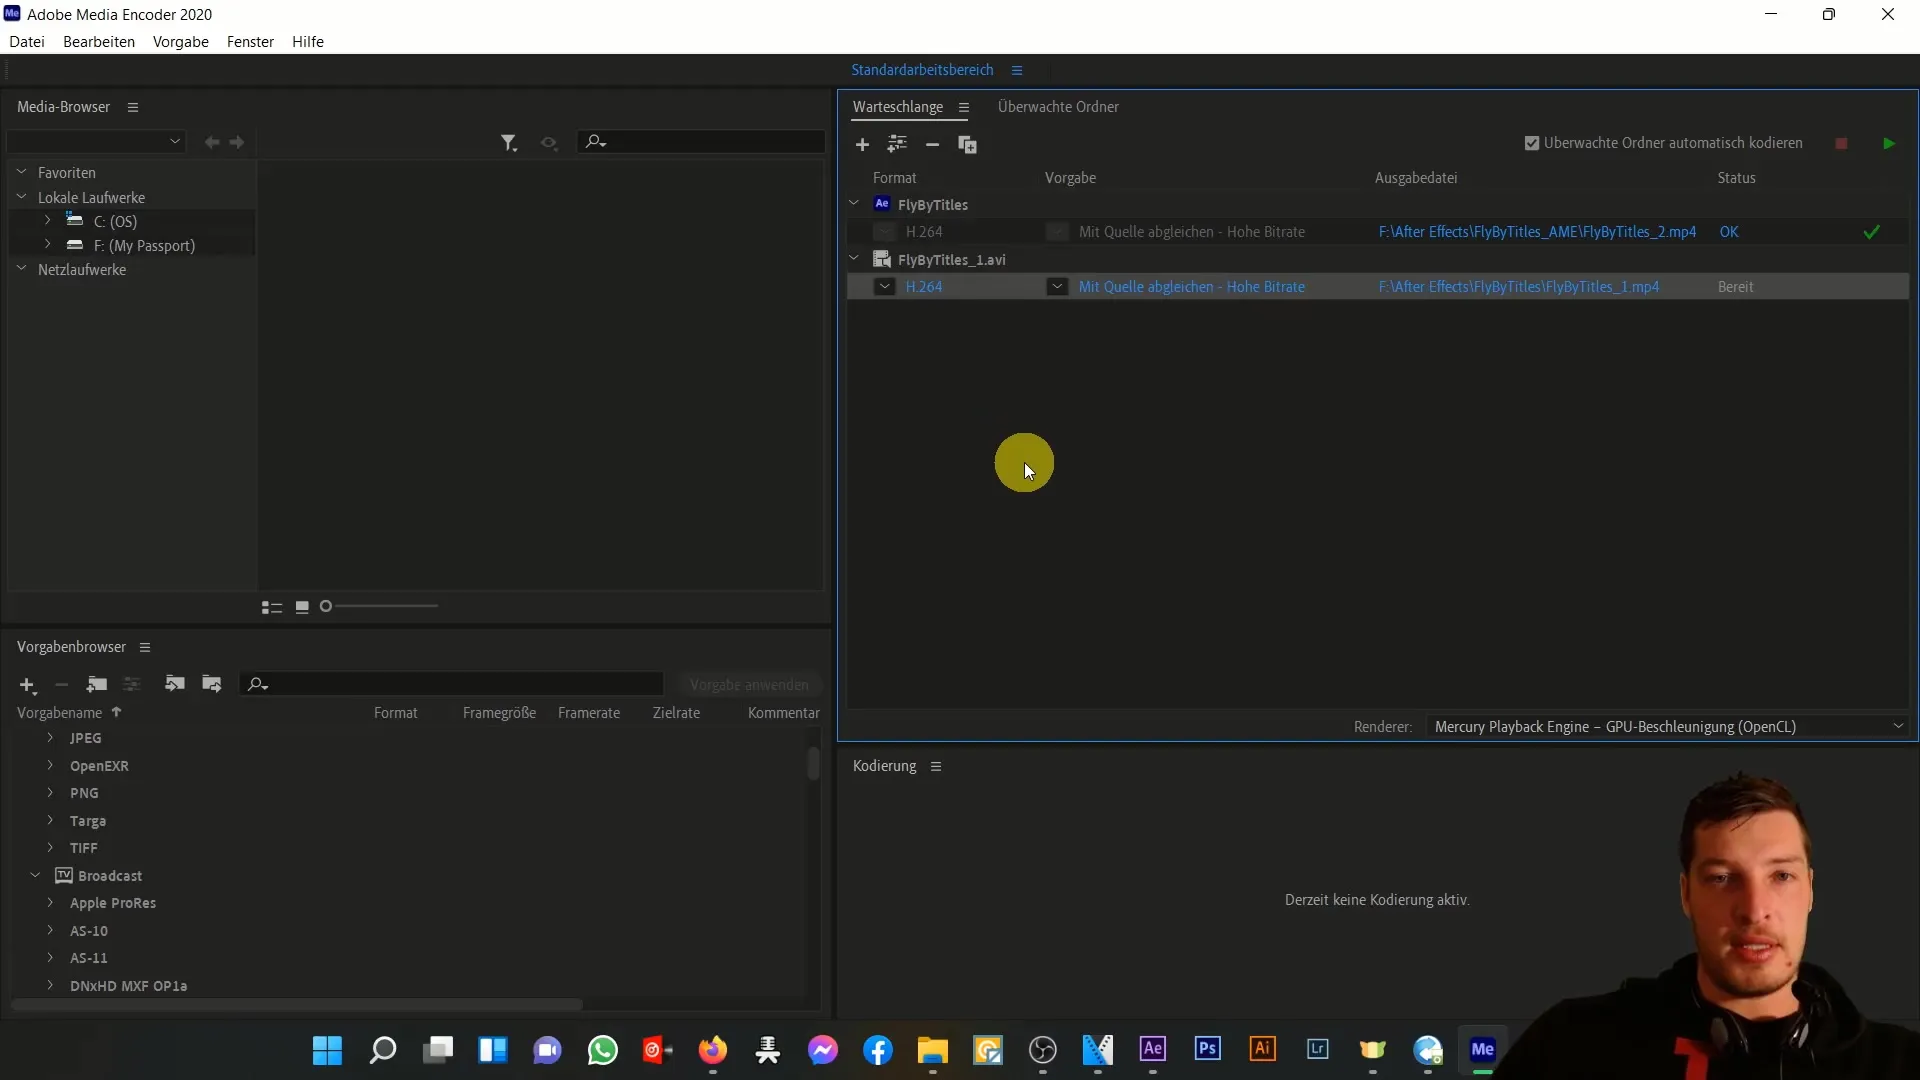
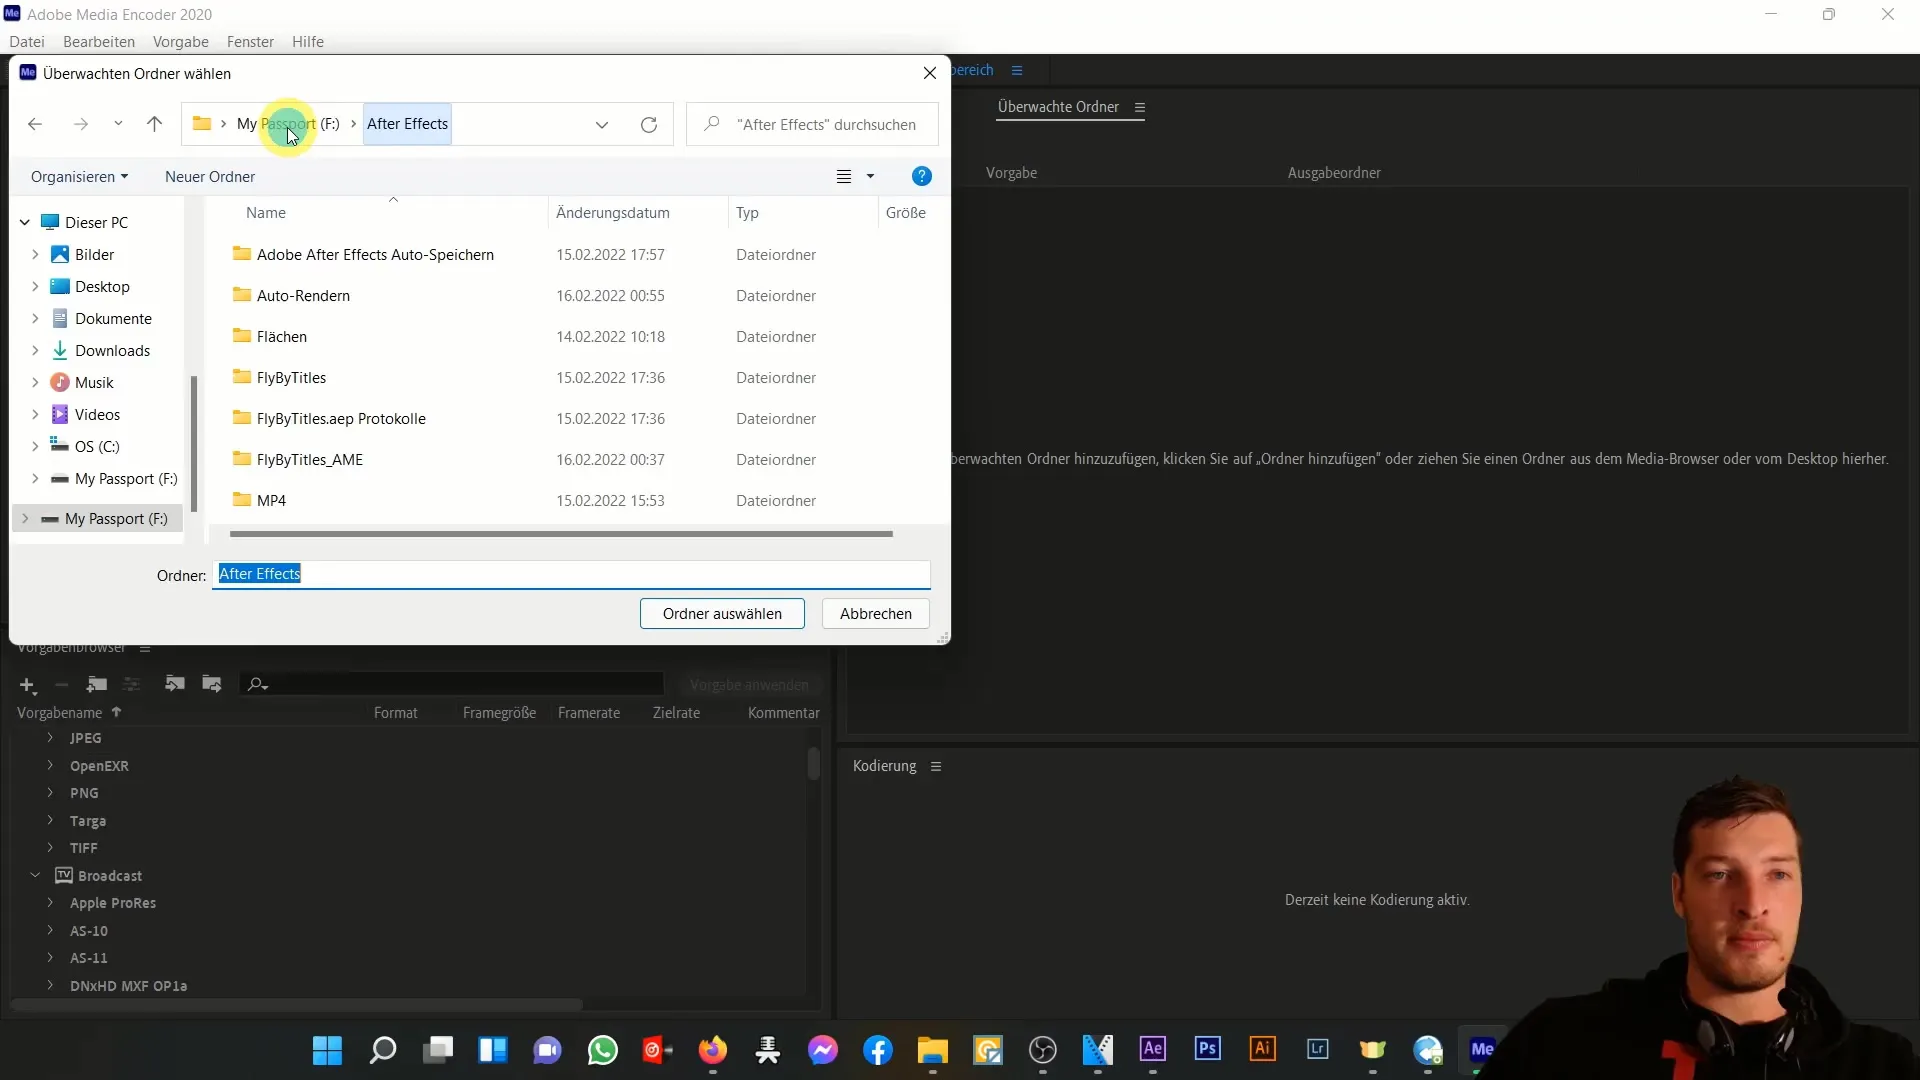
The Media Encoder offers a handy feature that allows you to add watch folders. When a new file is placed in a monitored folder, it will be automatically exported according to your settings. This is especially useful when dealing with many files that need to be processed in a batch operation. To use this feature, go to the "Watch Folders" tab and add a new folder.
Conclusion and Further Options
After configuring your projects accordingly, you can let the Media Encoder run in the background while continuing to work on your projects in After Effects. This maximizes your efficiency. Once all settings have been made, click on "OK" to save the export settings.
Summary
In this guide, you have learned how to effectively use Adobe Media Encoder to create exports from After Effects. You now know how to install the software, export compositions, customize export settings, and how the watch folder function works. With this knowledge, you are well equipped to professionally export and edit your videos.
Frequently Asked Questions
What is the Adobe Media Encoder?The Adobe Media Encoder is a software for outsourcing and creating video outputs from Adobe programs like After Effects and Premiere Pro.
How do I install the Adobe Media Encoder?You can download and install the Adobe Media Encoder via Creative Cloud if you have a subscription.
Which format should I use for YouTube?MP4 with the H.264 codec is the recommended choice for publishing on YouTube.
Can I customize export settings in the Media Encoder?Yes, you can customize export settings by right-clicking on the format in the Media Encoder.
What are watch folders in the Media Encoder?Watch folders allow the Media Encoder to automatically export new files in a specified folder.


