In this tutorial, I focus on the front view of a cell phone in Adobe After Effects. We will explore an alternative method to precisely cut out the phone and display it in an image sequence. This approach allows you to create a high-quality front view that will not be altered in the final video. Handling the alpha channel correctly to display transparent areas is particularly important. Below you will find a step-by-step guide to successfully apply this technique.
Key Takeaways
- There are several ways to cut out objects in After Effects.
- Using PNG image sequences ensures high-quality results.
- Activating the alpha channel is crucial to accurately represent transparencies.
Step-by-Step Guide
To create the front view of your cell phone in After Effects, follow these steps:
First, open Adobe After Effects and import your video material. Before you start cutting, it's important to narrow down the workspace to the individual frame you want to use by navigating to the specific part of the video you have selected.
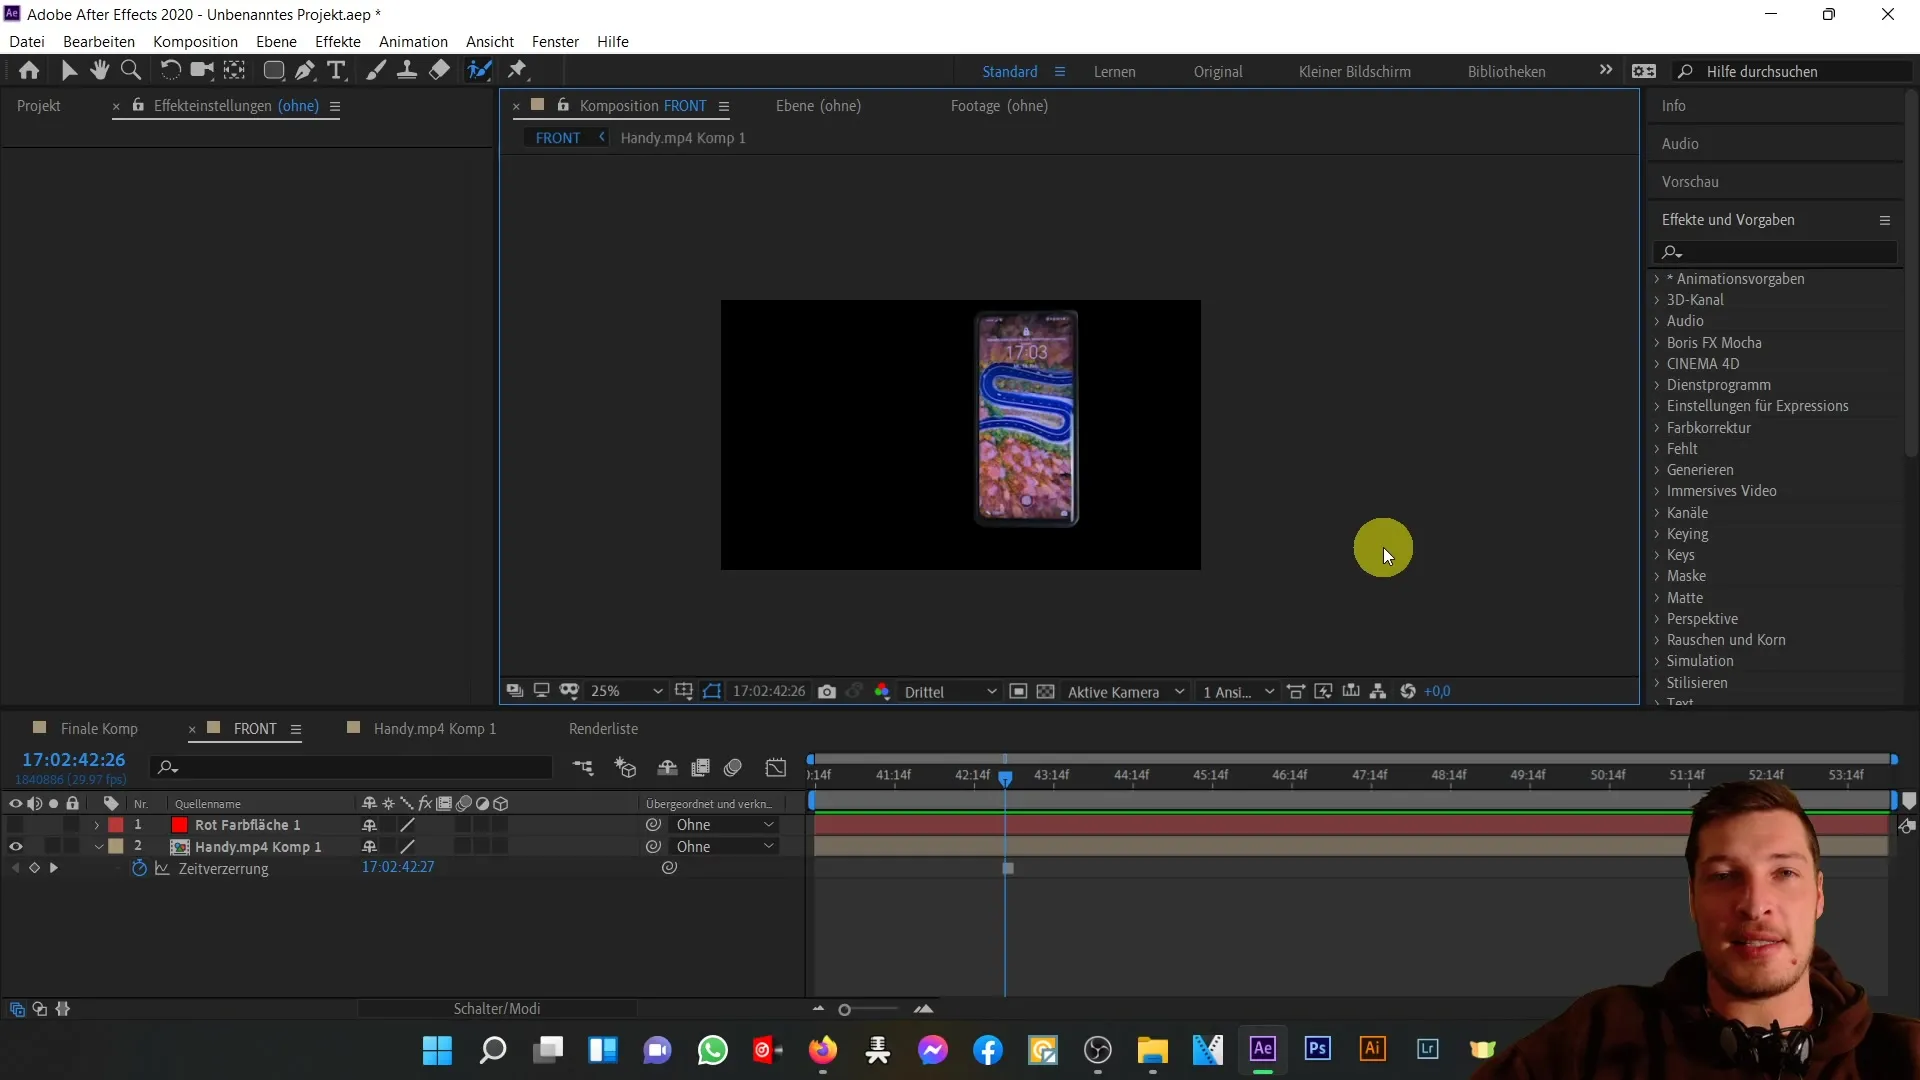
Now, in the "Composition" menu, select the option "Add to Render Queue." Make sure to use an image sequence as the output module, not a video format. For example, you can select the PNG sequence.
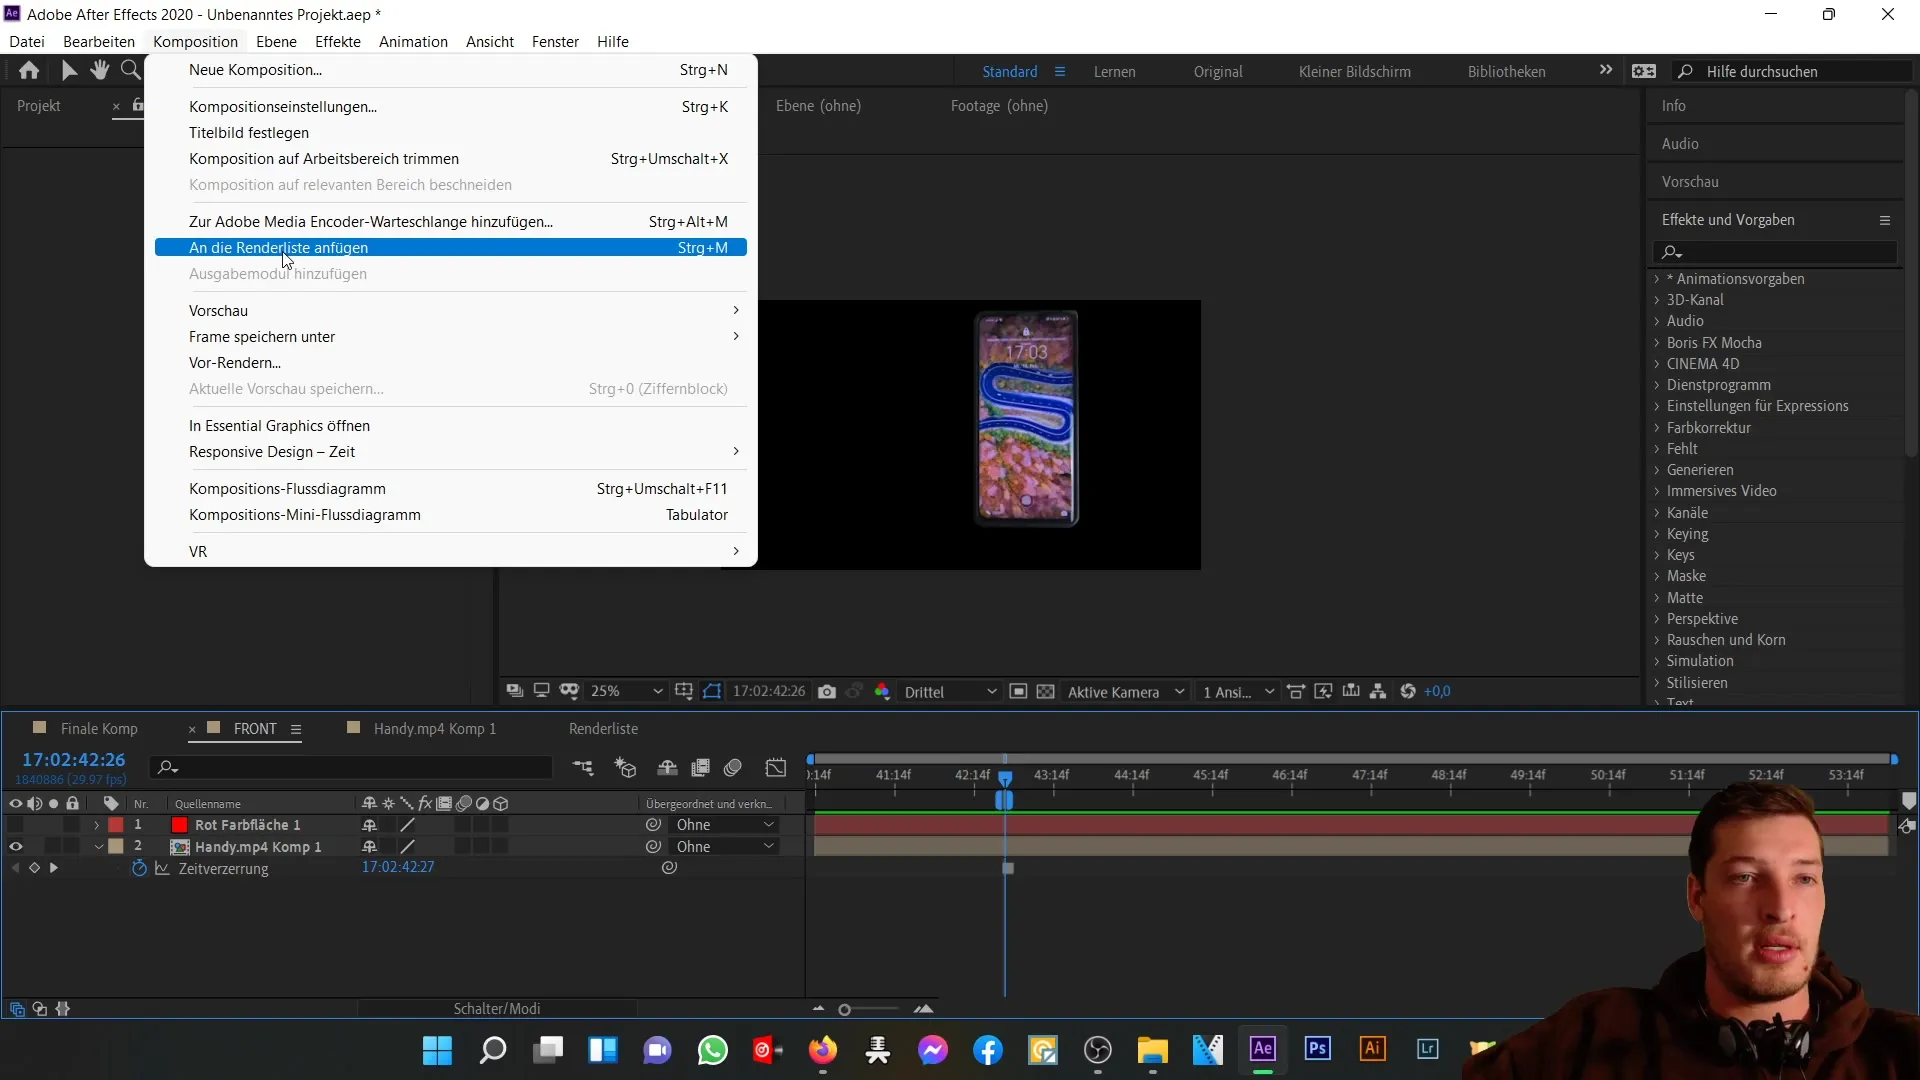
Be sure to select the file format "PNG." Since you only want to render a single frame, only one PNG image will be generated, which is exactly what we need in this case. Additionally, ensure that the "RGB" channels and the "alpha channel" are activated. This is crucial to represent transparencies correctly.
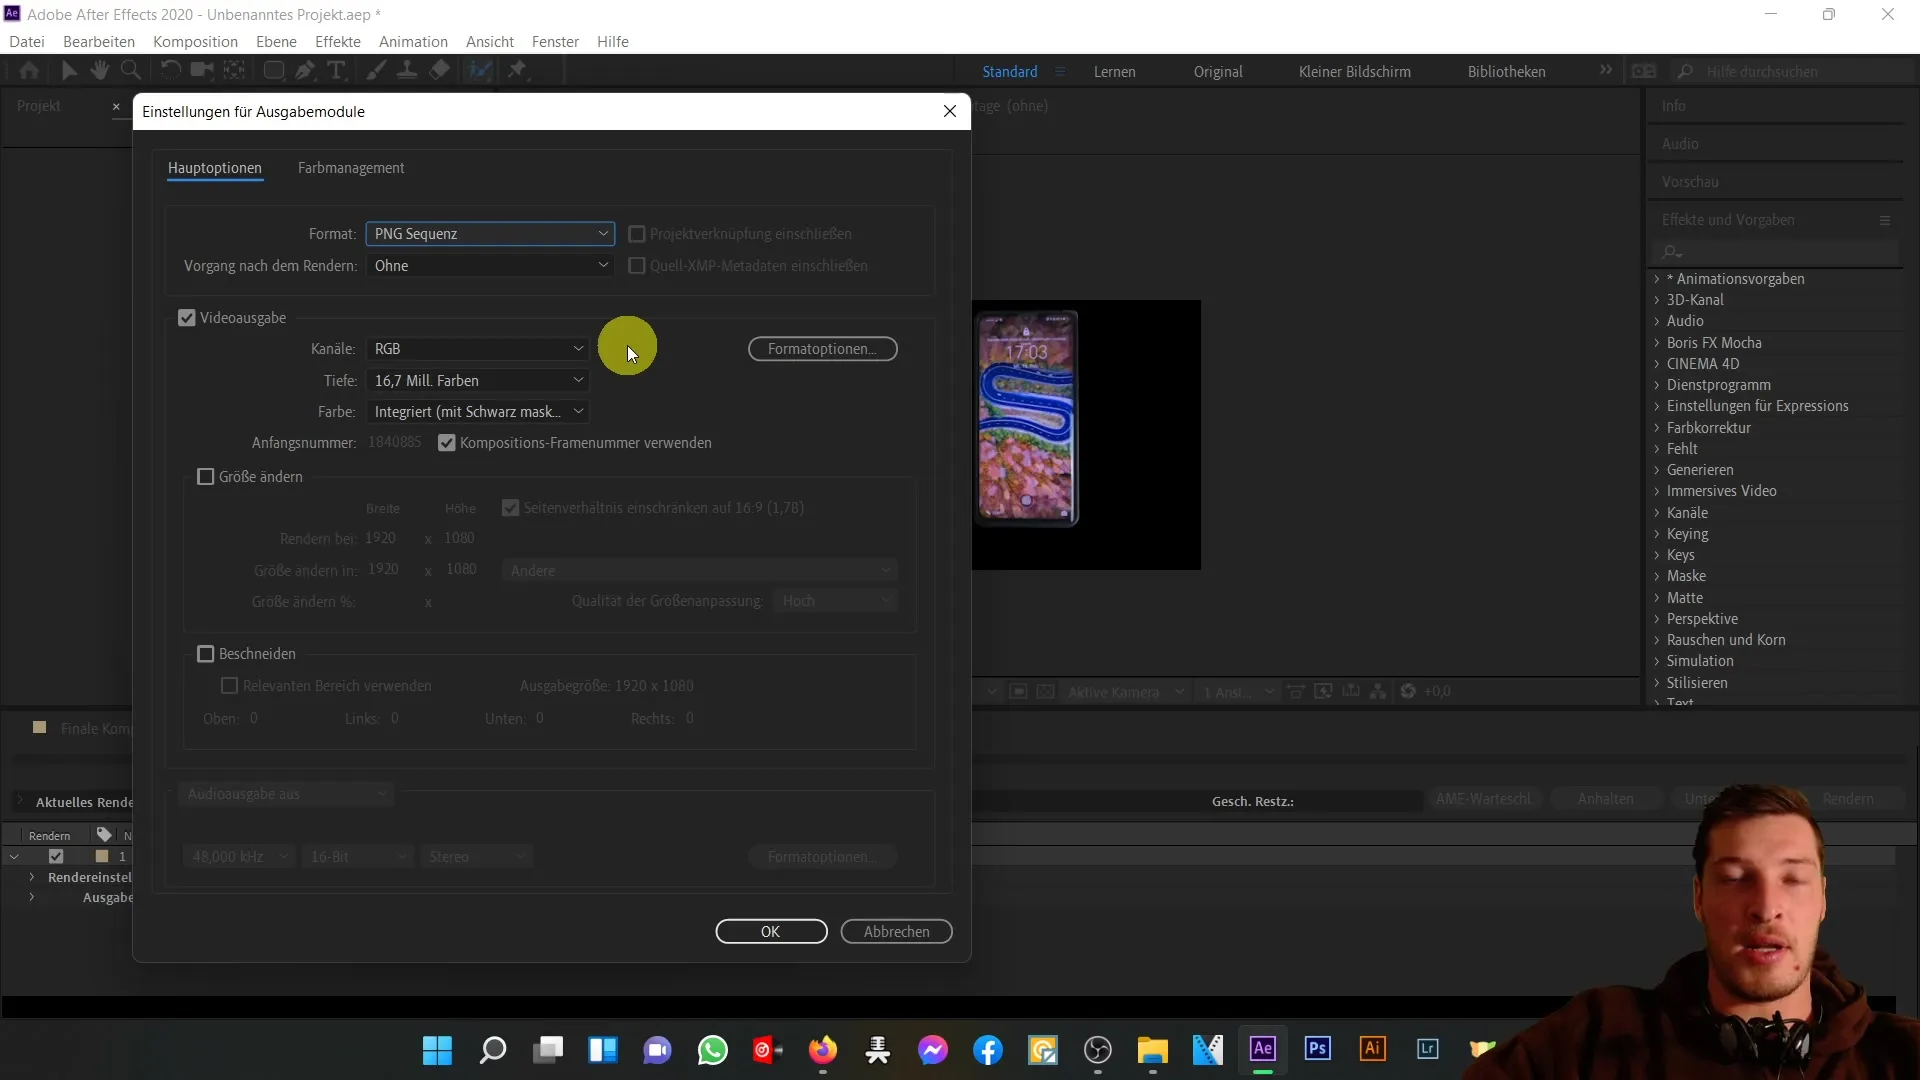
Give your output a meaningful name, such as "frontrich," and click "Render." This will create the image, and you will find it in your project immediately.
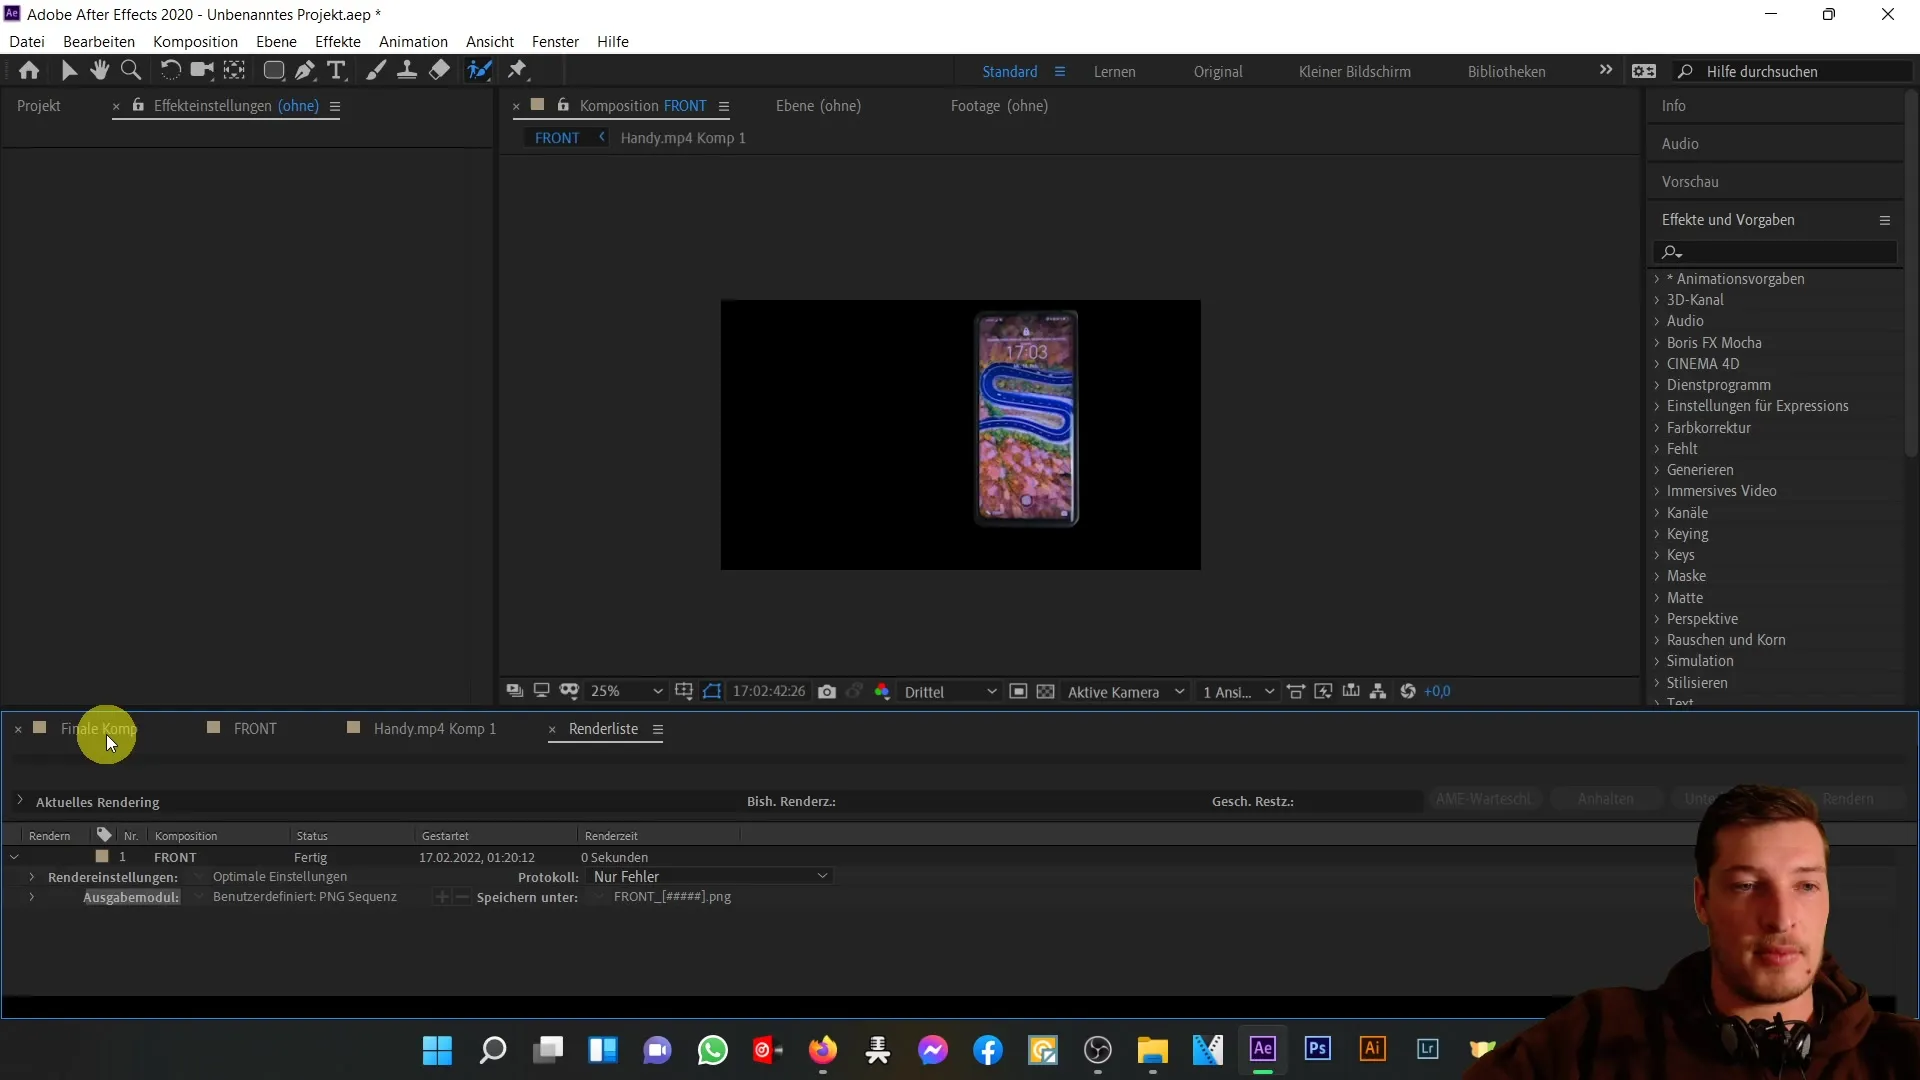
After the image is created, import it into your project if you haven't already. When you add the rendered image to your final composition, you will notice that it is the same phone image seen in the still composition.
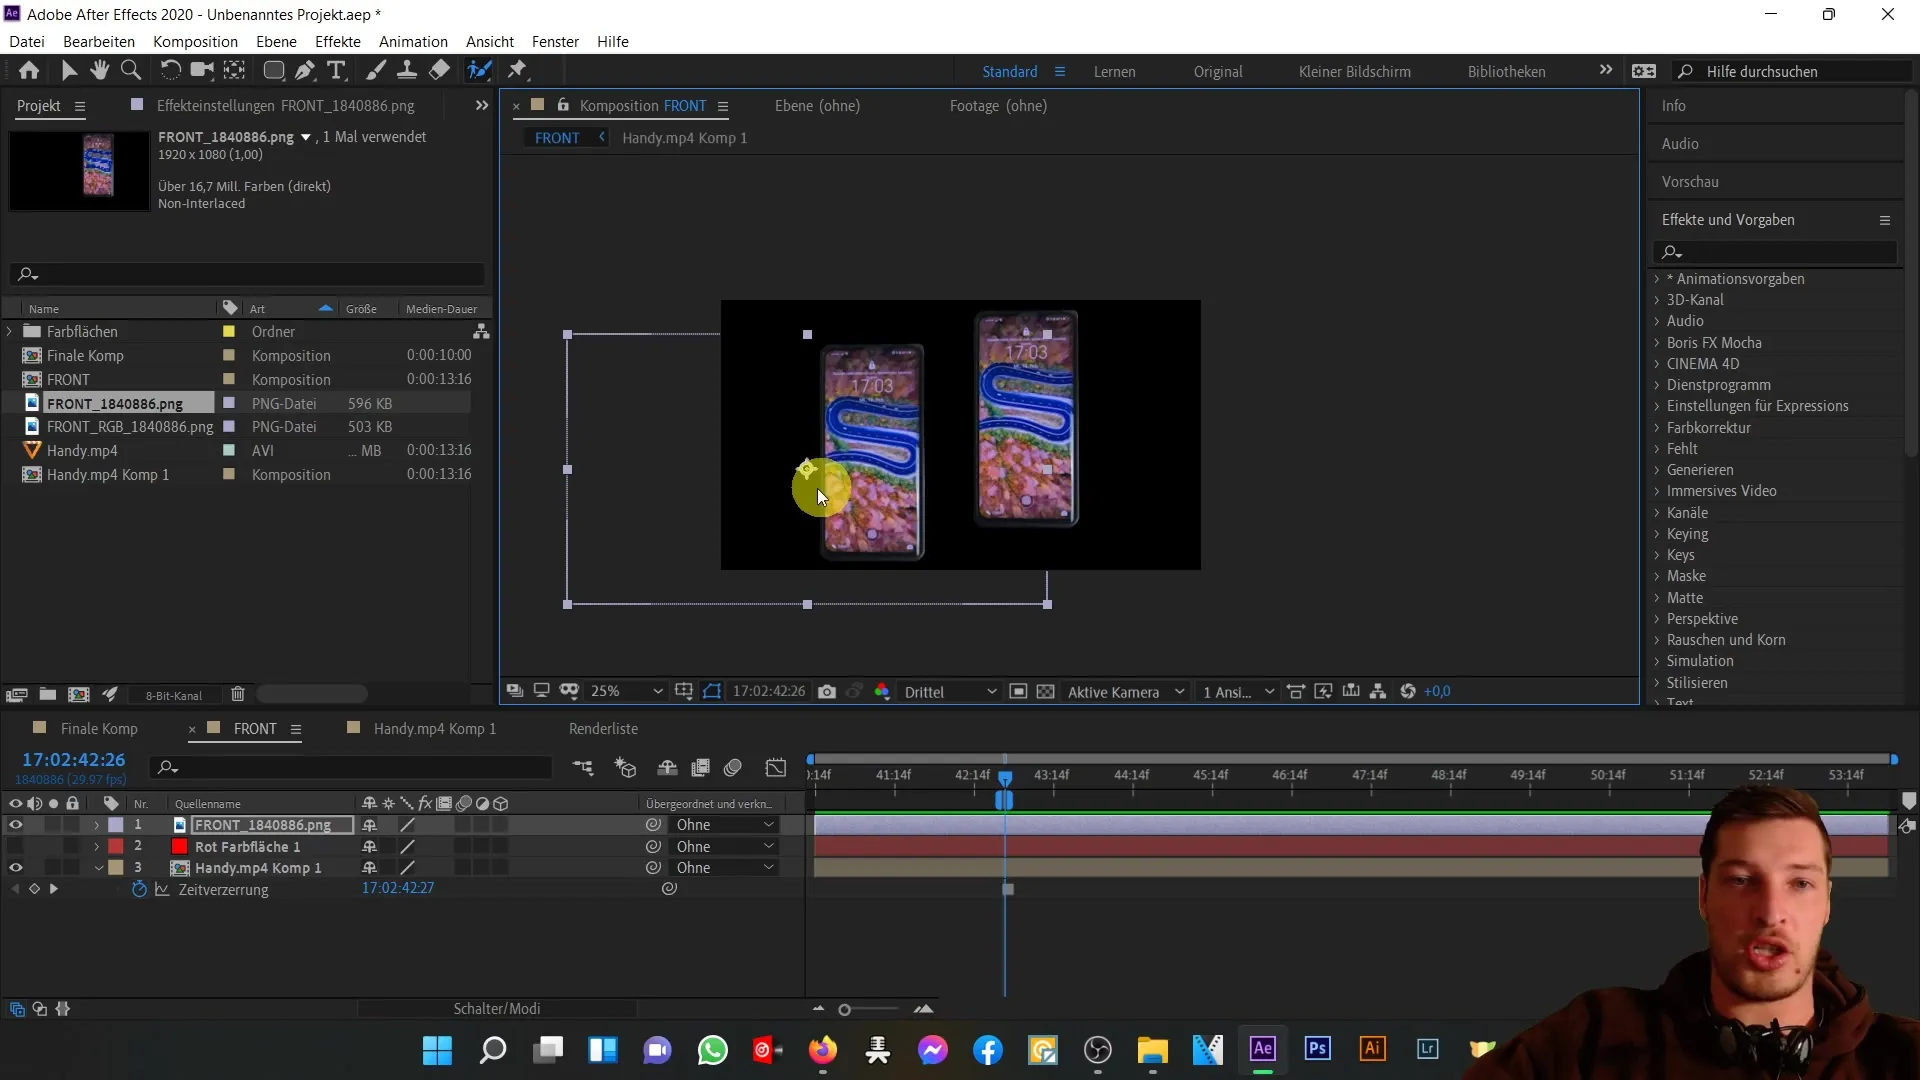
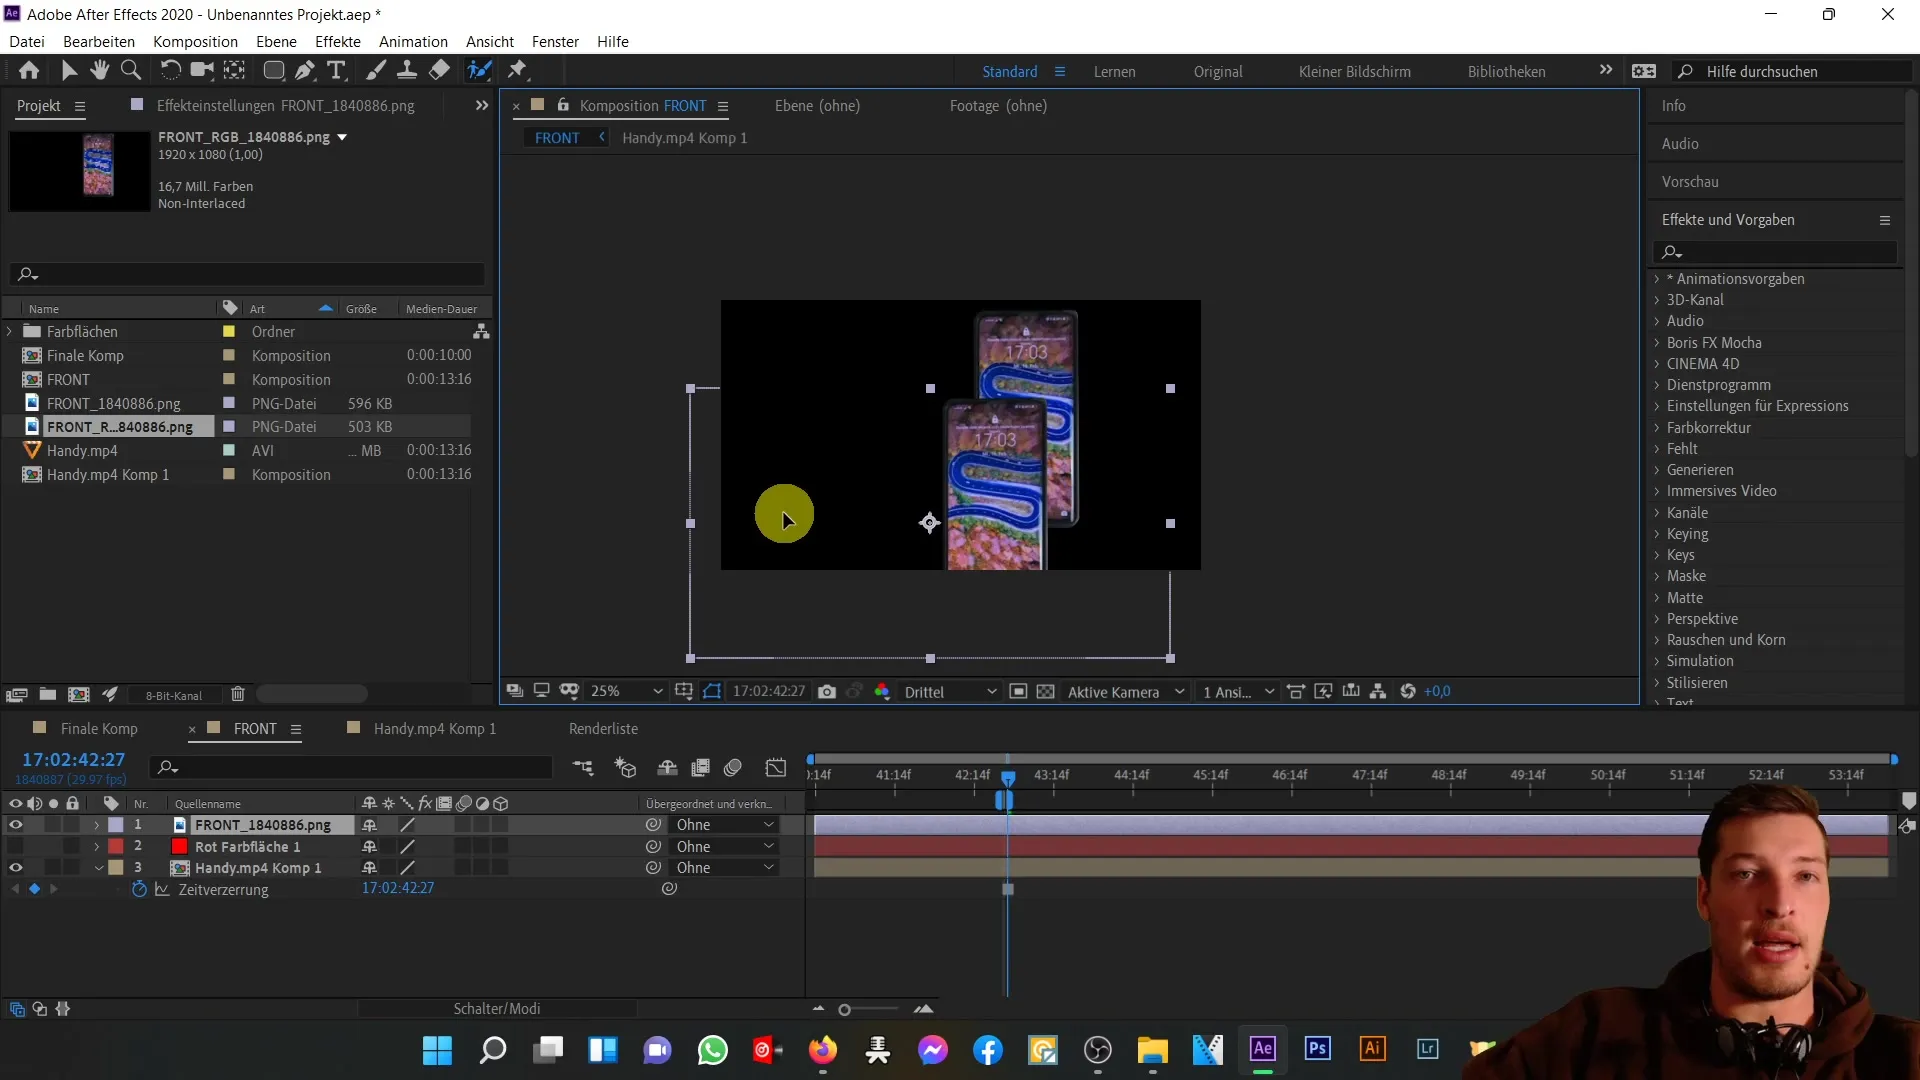
To ensure all transparent areas are rendered correctly, it is important to have the alpha channel activated. If you hadn't activated this, the entire background of the composition would display in black instead of just your phone. So make sure it's set up correctly.
Although I've shown you one method here, there are other ways in After Effects to cut out objects. For example, you can use the Roto Brush Tool. To do this, double-click on the phone layer.
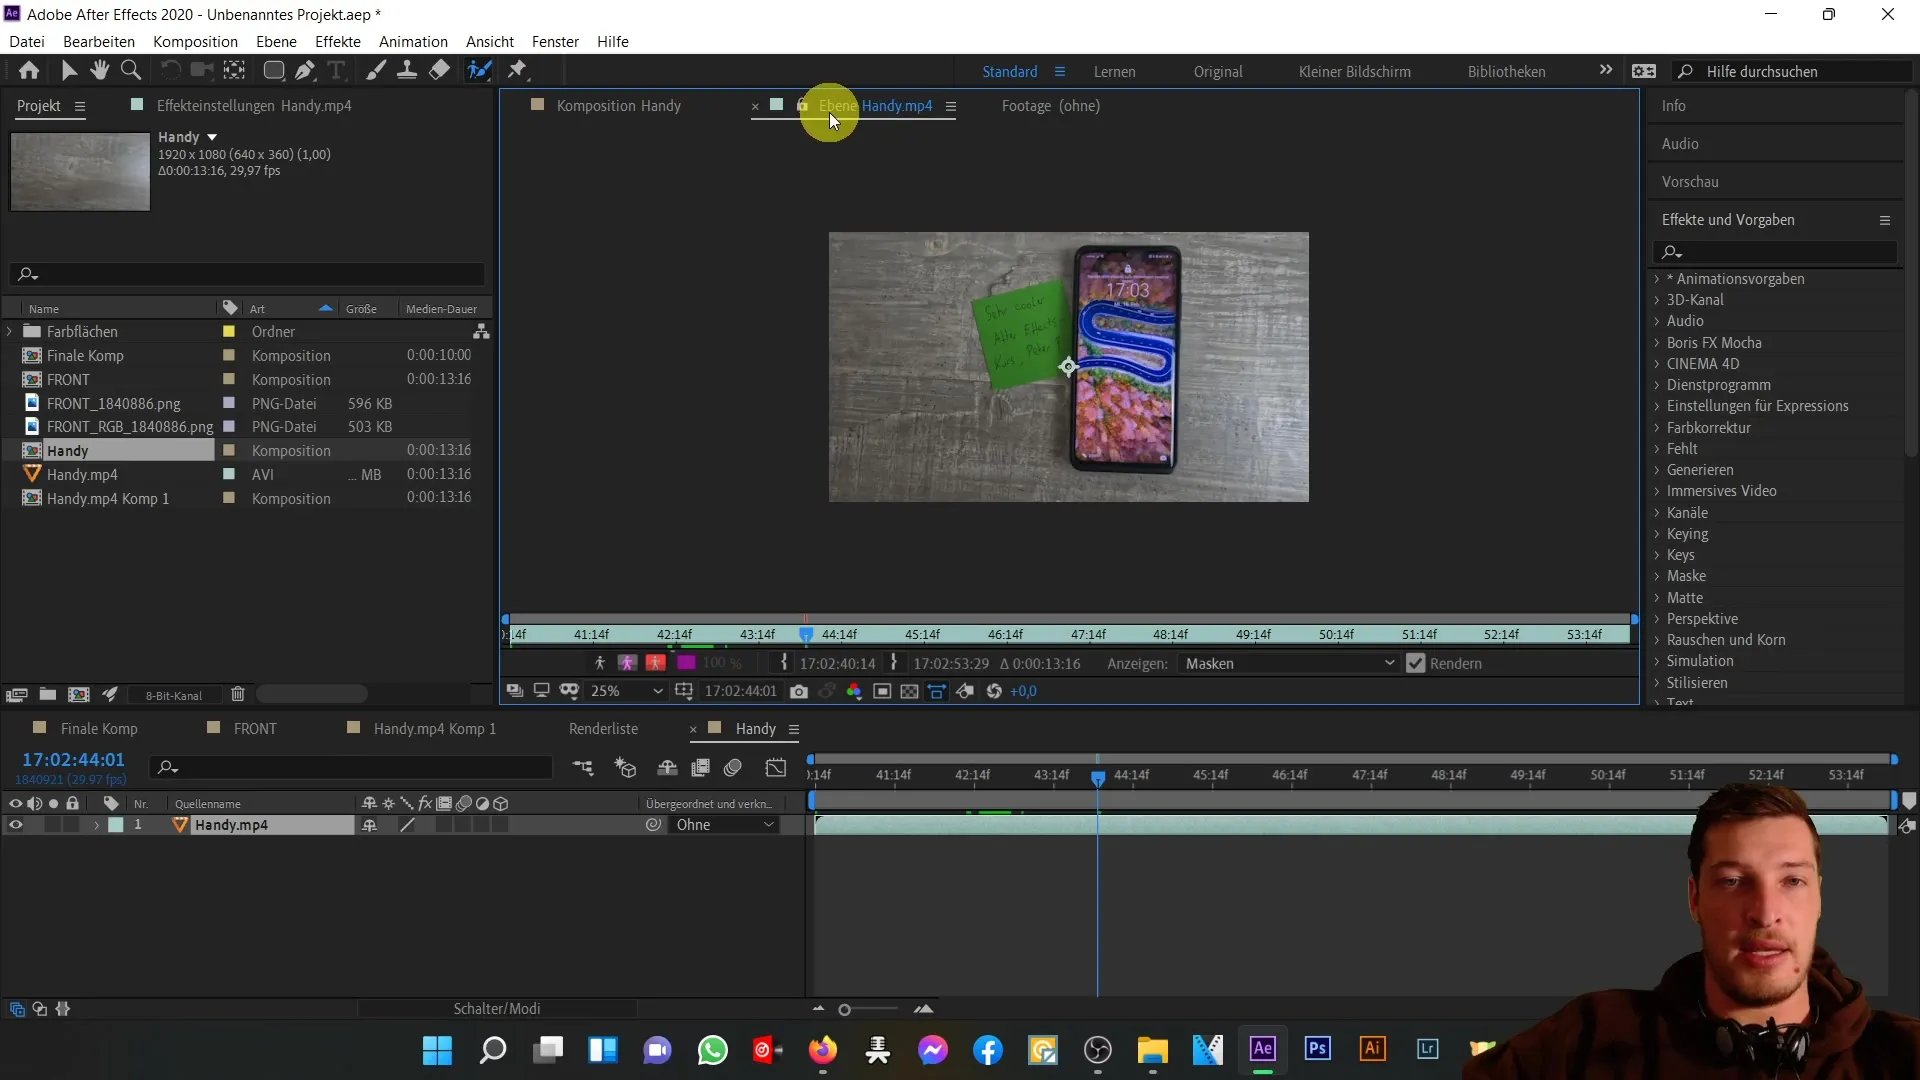
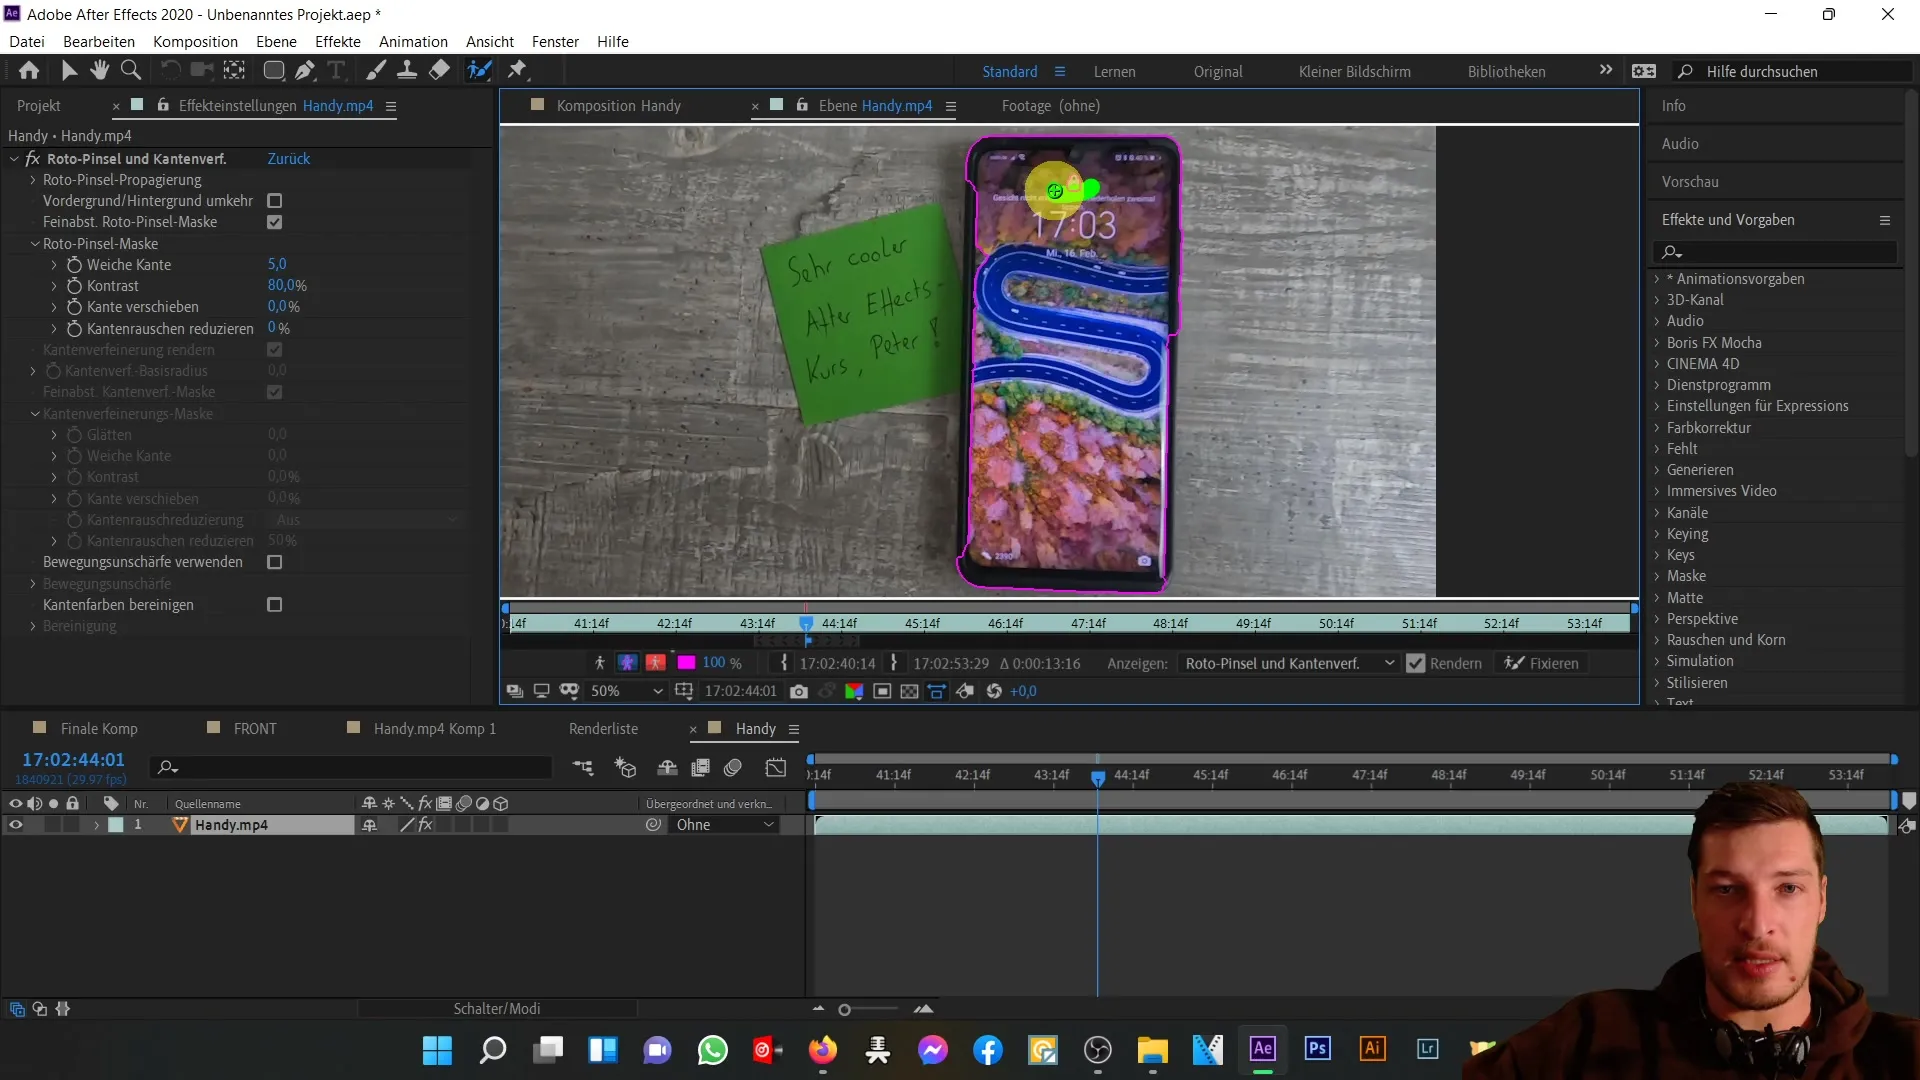
Then click on the Roto Brush Tool, which will bring up a small green dot. You can now move this dot around the image to mark an area for cutting out.
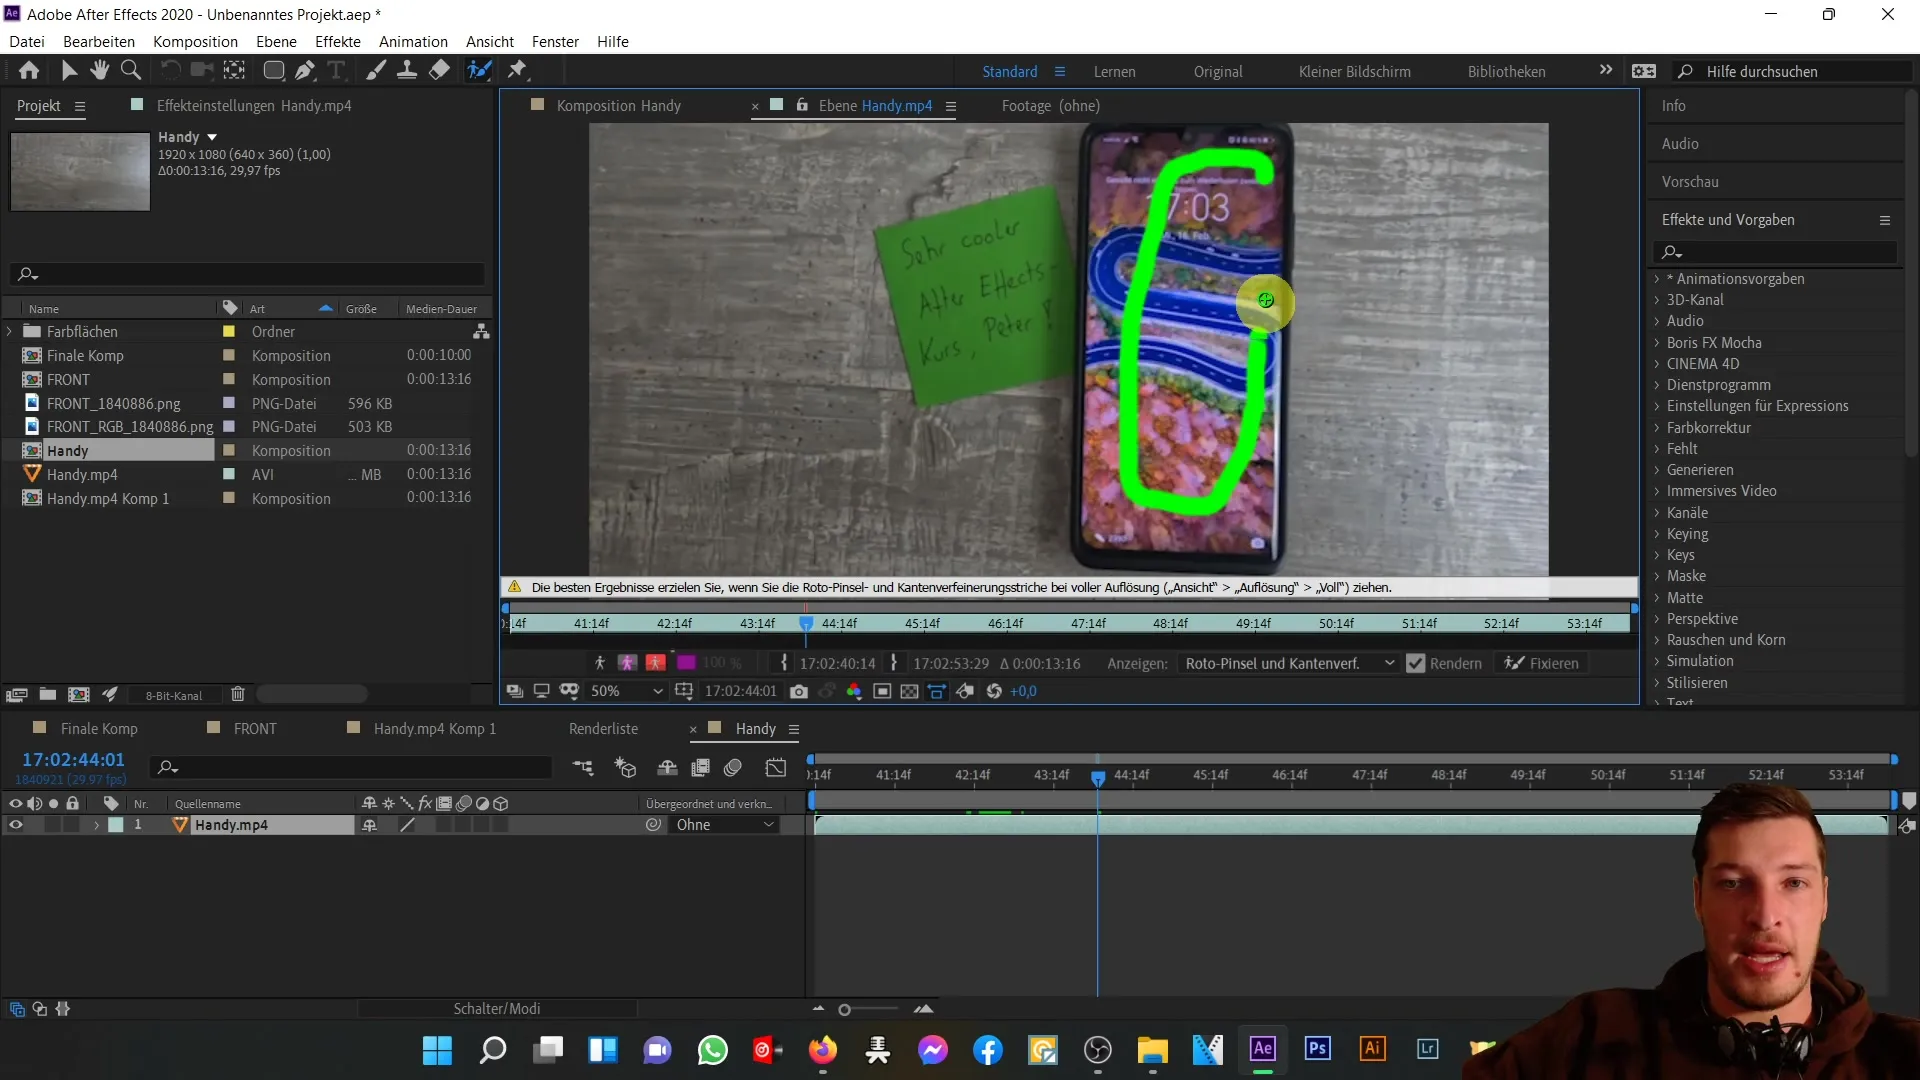
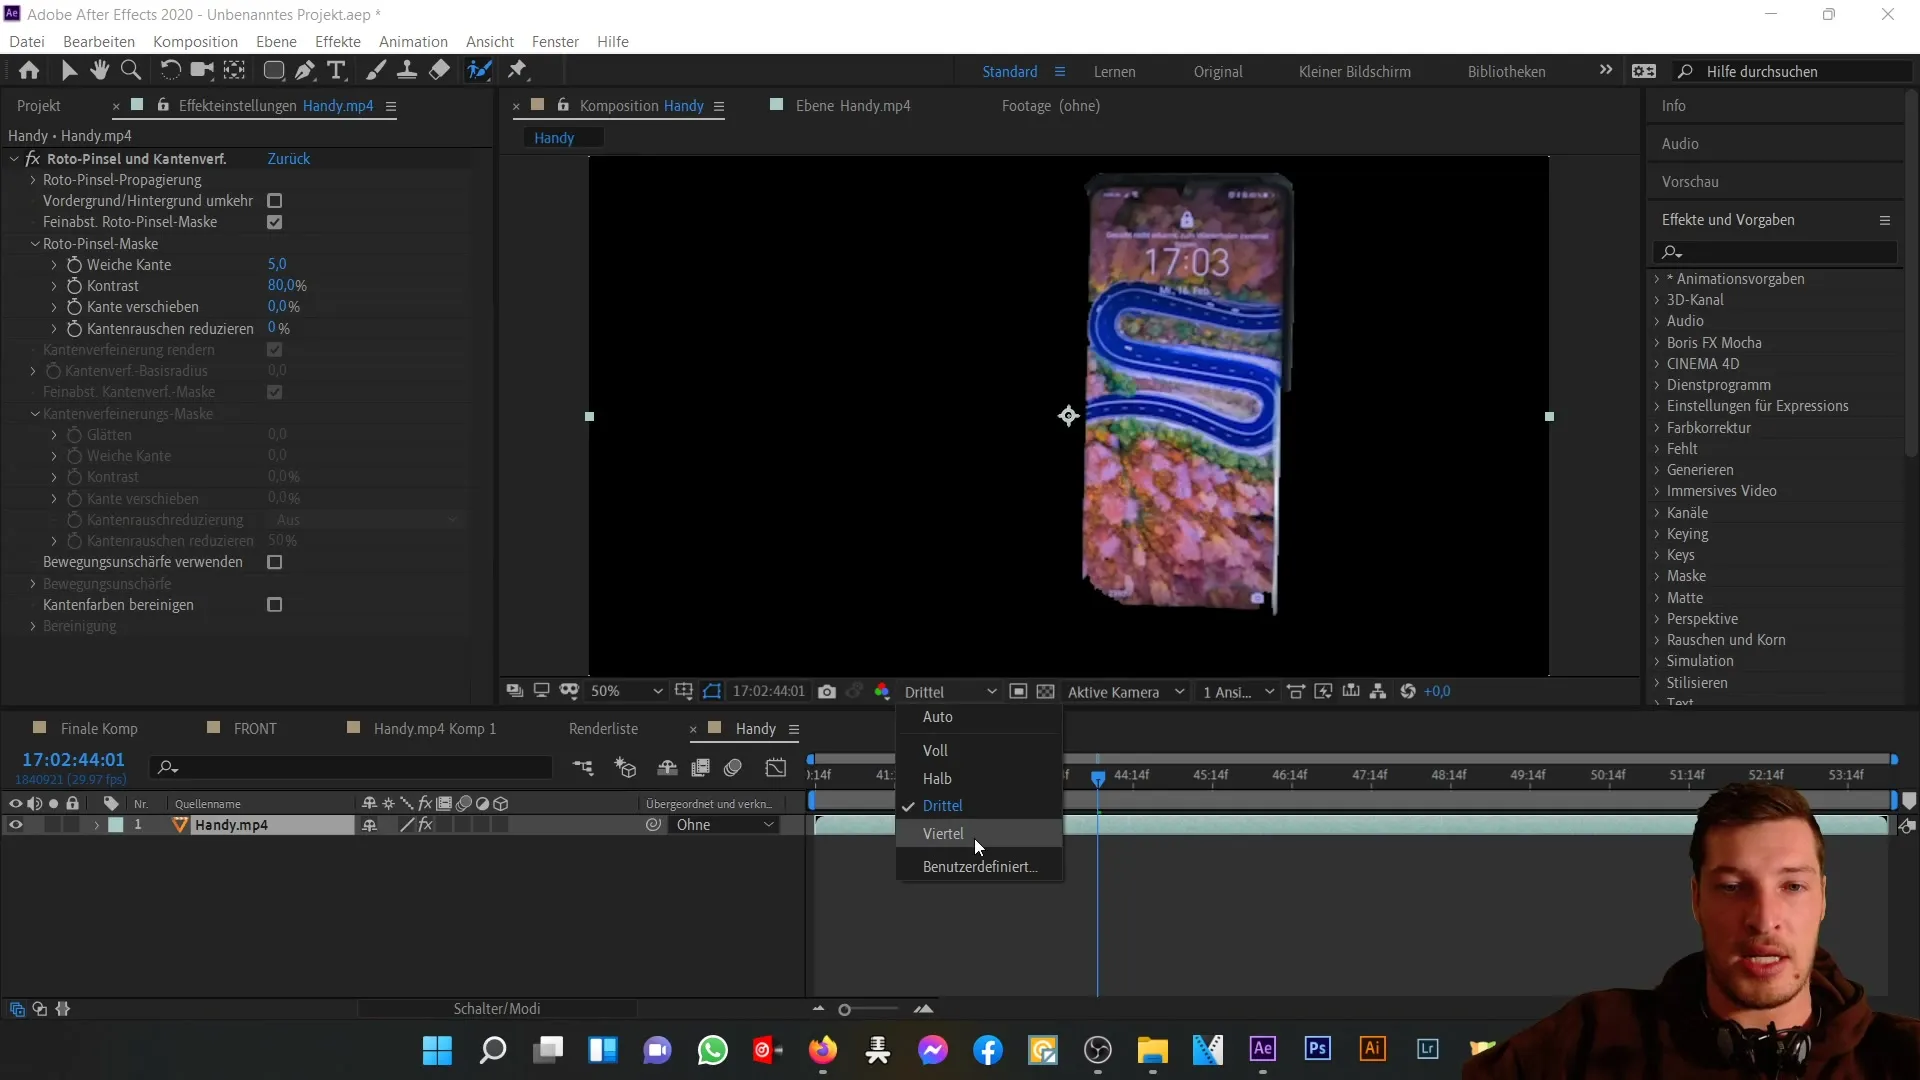
The Roto Brush Tool gives you the ability to work precisely when cutting out your phone elements. It is advisable, however, to set the resolution to "Full" rather than "Thirds" as the tool functions optimally only in that setting.
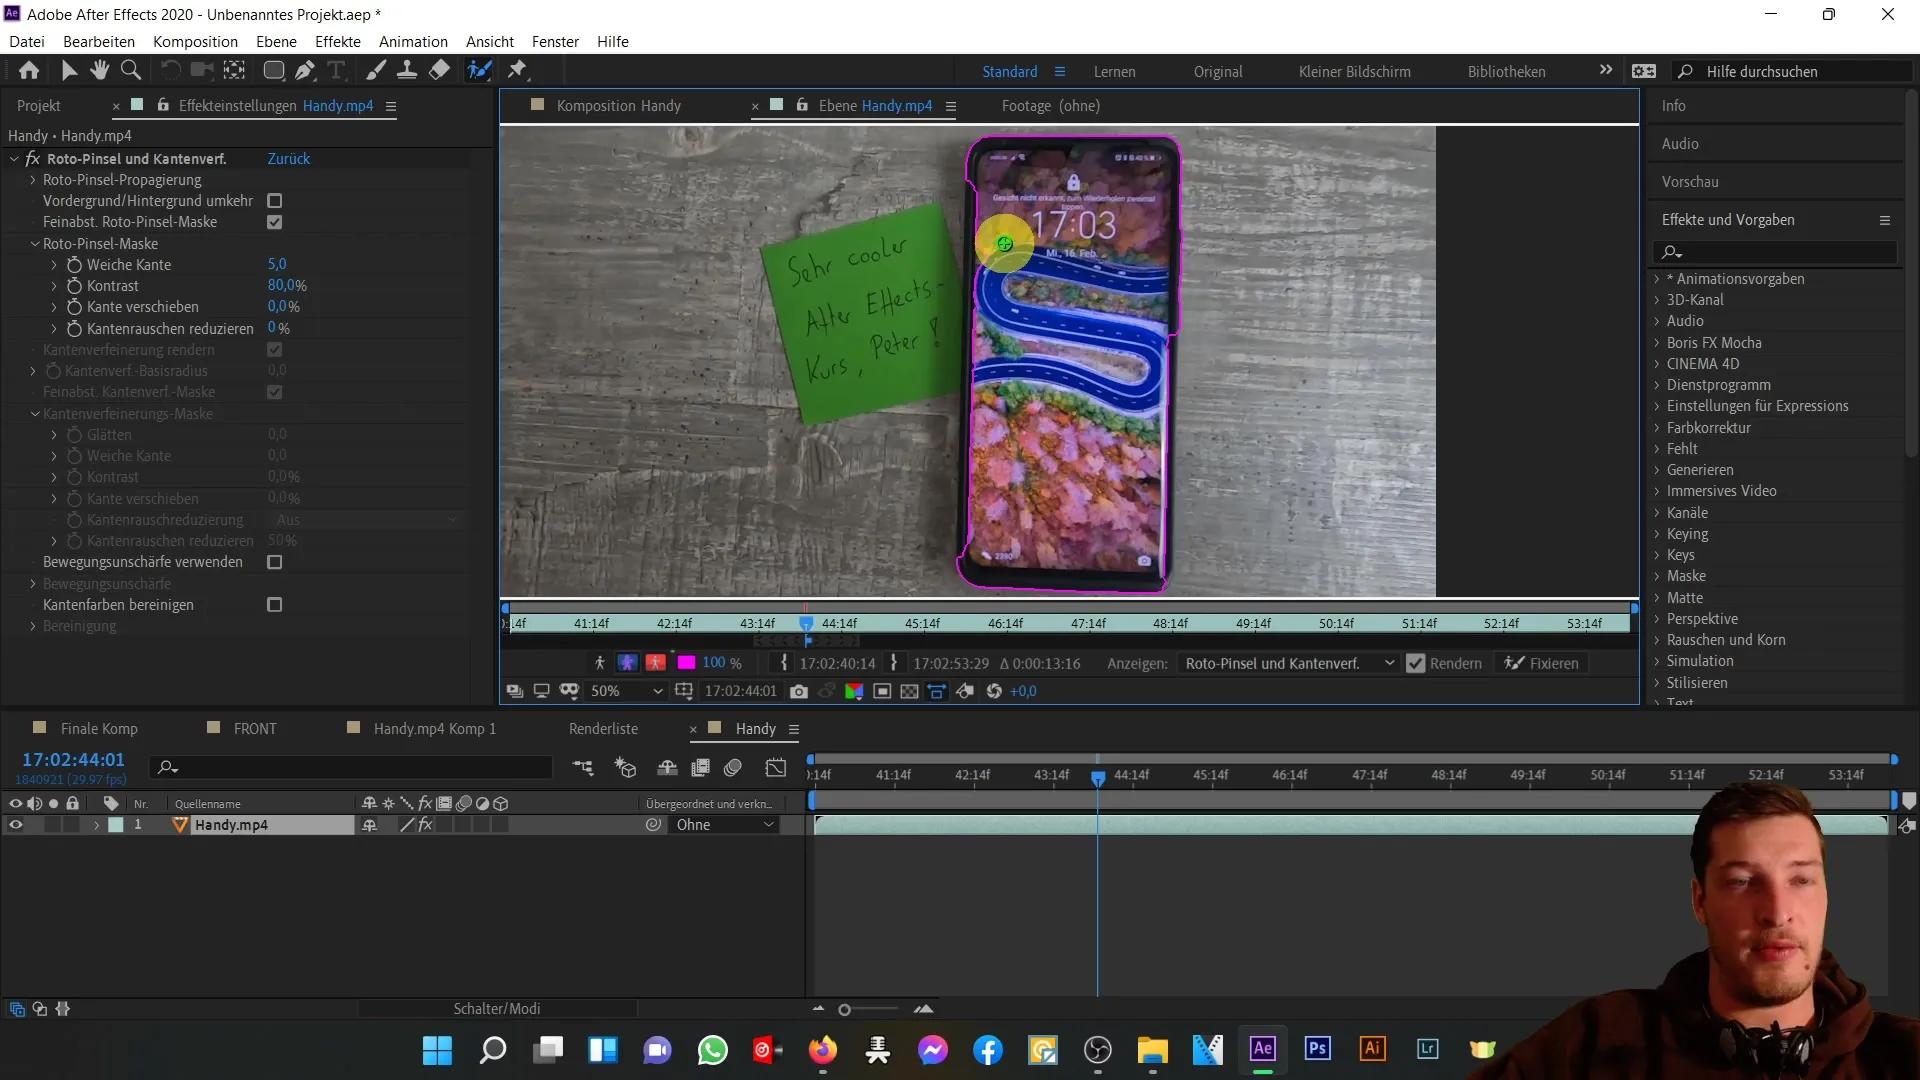
If the suggestion from the Roto Brush Tool isn't satisfactory, you can manually adjust as needed. Remove excess parts or readjust the cut-out image again.
After making all adjustments, you will notice that cutting out using the rounded rectangle tool is more effective in this case, as it is a rectangular shape.
Now you can move on to the next composition, where we will focus on the back of the phone and repeat the same steps.

Summary
In this tutorial, you learned how to cut out the front view of a mobile phone in After Effects and render it as a PNG image sequence. Proper handling of the alpha channel is crucial to ensure seamless integration into your projects. This technique allows you to create high-quality and temporally invariant settings for your project.
Frequently Asked Questions
How do I activate the alpha channel in After Effects?You activate the alpha channel in the render dialog by selecting the alpha channel along with RGB.
What file format should I choose for output?It is recommended to choose the PNG format to create an image sequence.
Can I use other tools for cutting out?Yes, you can use the Roto Brush tool as an alternative to cut out complex objects.
How can I improve the quality of Roto Brush tool editing?Set the resolution to "Full" to achieve more precise results.
How do I save my edited image in After Effects?Go to "Composition", select "Add to Render Queue" and choose the desired settings for image output.
