Now I'll show you how to create this star. It looks really cool.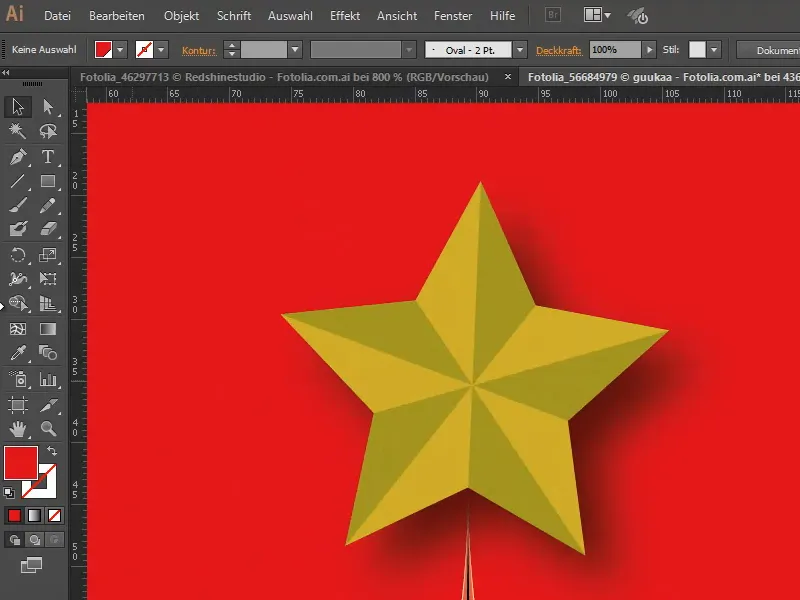
Step 1
I create a new document and use the star tool.
It is important - when I click in, I can set this - that I have set 5 points.
I now draw a star with it.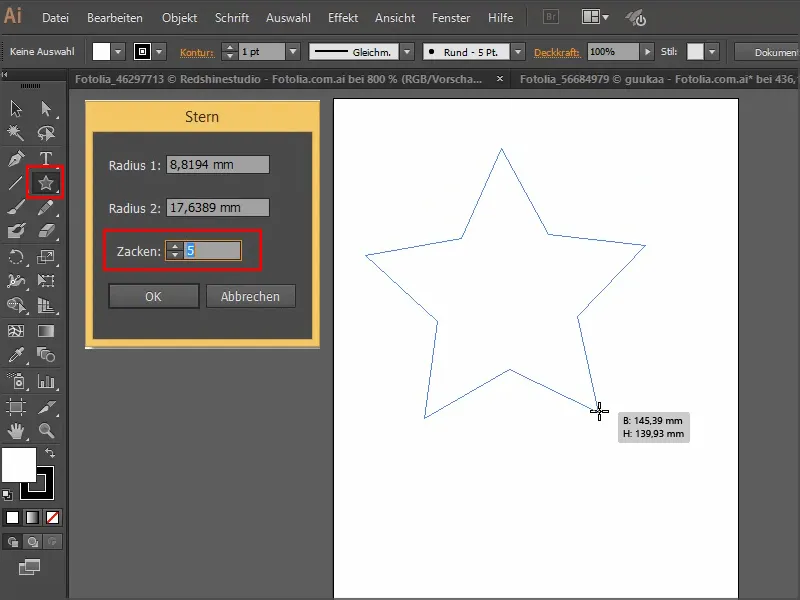
Step 2
Then I fill it with a color, for example yellow.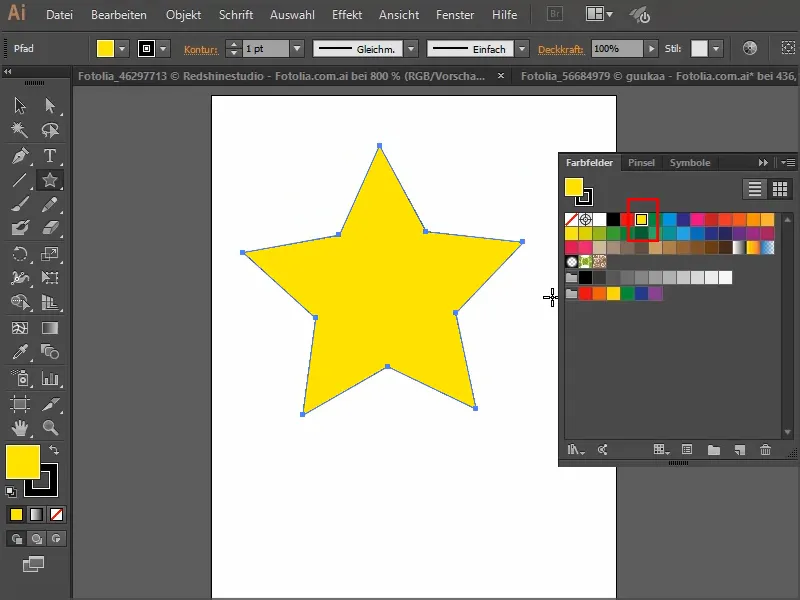
Step 3
It is very important that I now draw lines from the points to the opposite corner.
It is very helpful if you have activated the check mark for View>Intelligent guidelines, as this allows you to hit the corners and tips more precisely.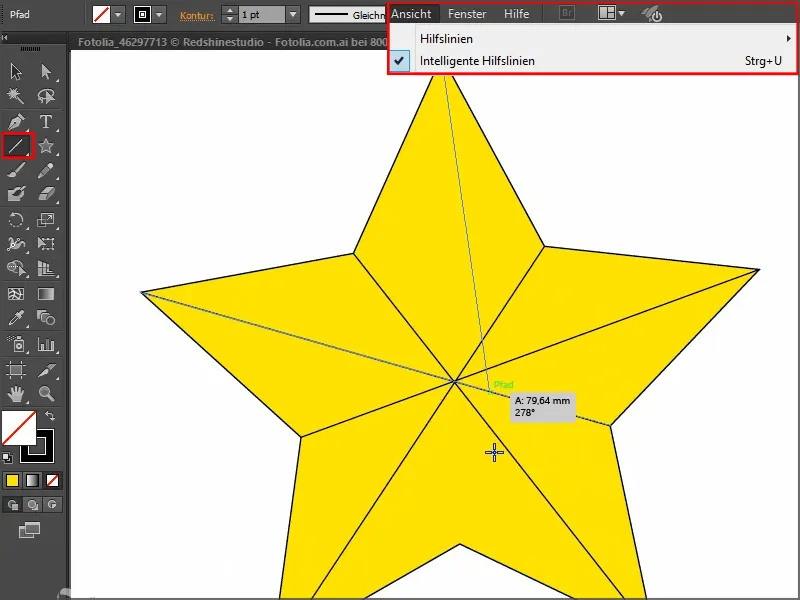
Step 4
I select the star. Now I can get straight to work with the interactive paint tool and fill the areas with a slightly darker color.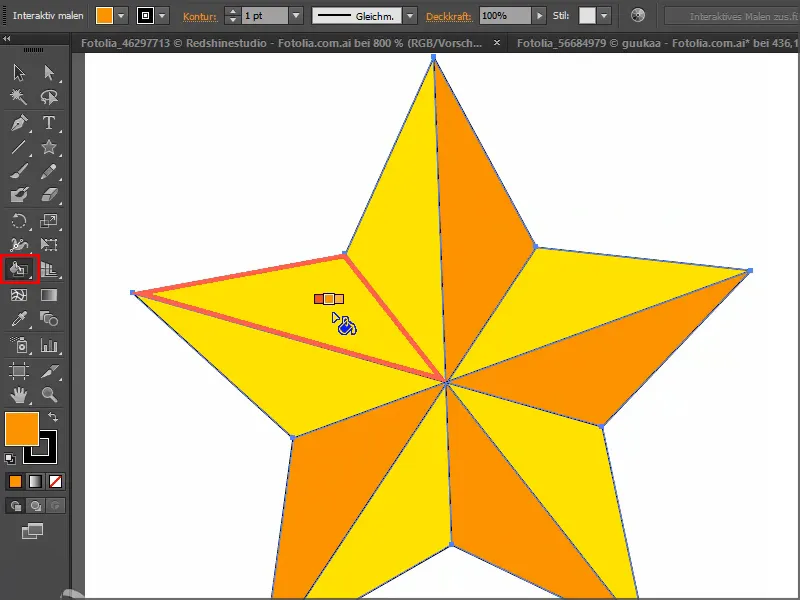
Step 5
I still have to remove the outline.
It looks good like this.
Step 6
This has automatically become a group and I can simply grab the star and drag it directly into my picture.
It's a bit too big at first. So I hold down the Shift keyand make it proportionally smaller until it fits exactly.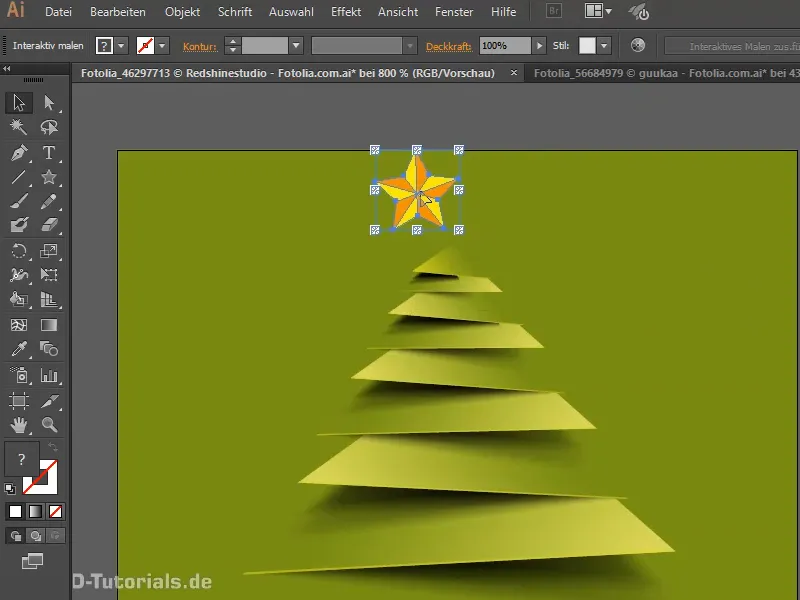
Step 7
Or I drag it onto the other image.
You could also apply a drop shadow...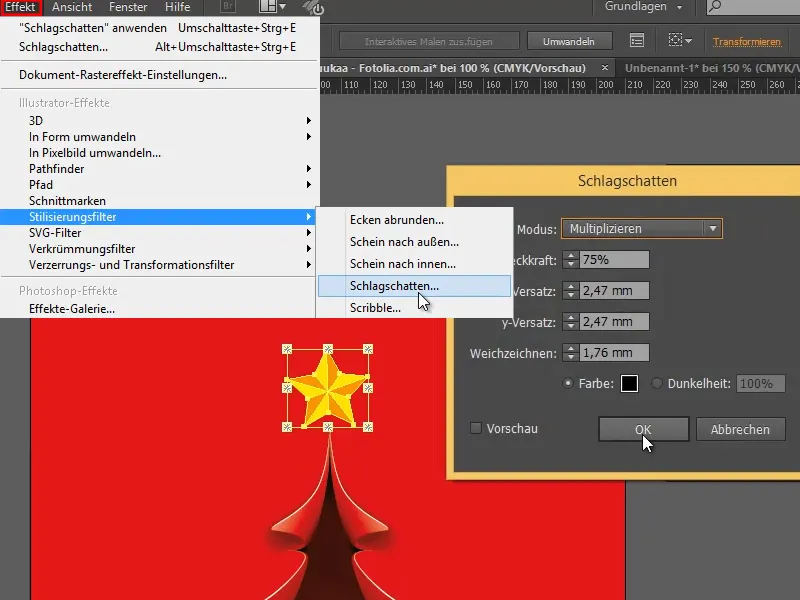
... and it looks quite good.
I hope you were able to pick up a few tricks and I'll see you at the next tutorial.


