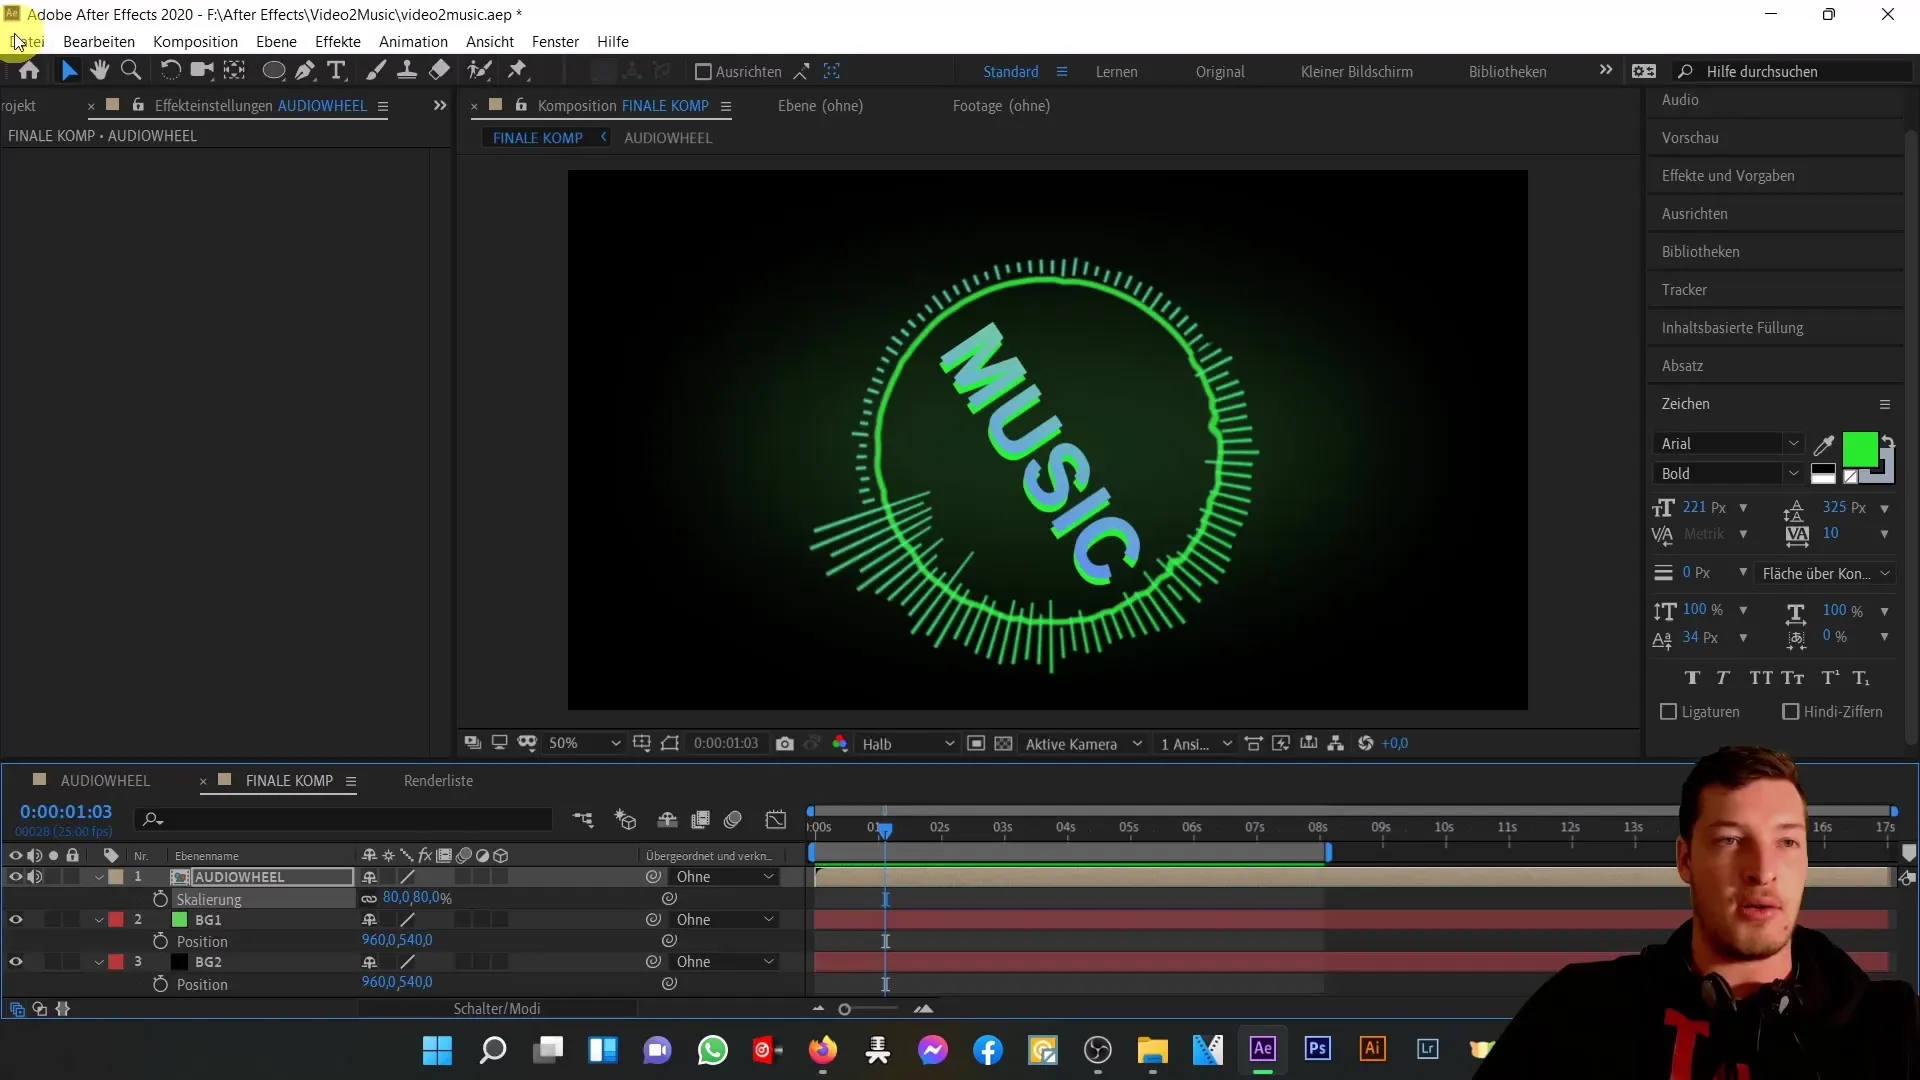
In this tutorial, you will learn how to animate music using Adobe After Effects by utilizing various effects such as the audio spectrum effect and polar coordinates. You will also learn how to align elements to a mask path to create impressive visual effects that sync with your music. Let's dive right into the work!
Main Takeaways
- Applying the audio spectrum effect to visually represent music.
- Using polar coordinates to convert between Cartesian and polar coordinates.
- Aligning elements to mask paths for creative animations.
Step-by-Step Guide
Create a New Project
Start by creating a new project in Adobe After Effects. Go to File > New > New Project. Import your MP3 file that you want to use for the animation. To do this, drag the file into the project window. Now create a new composition by dragging the audio file onto the new composition button. This will create a new composition with the same name and length as the audio recording.
Adjust Composition Settings
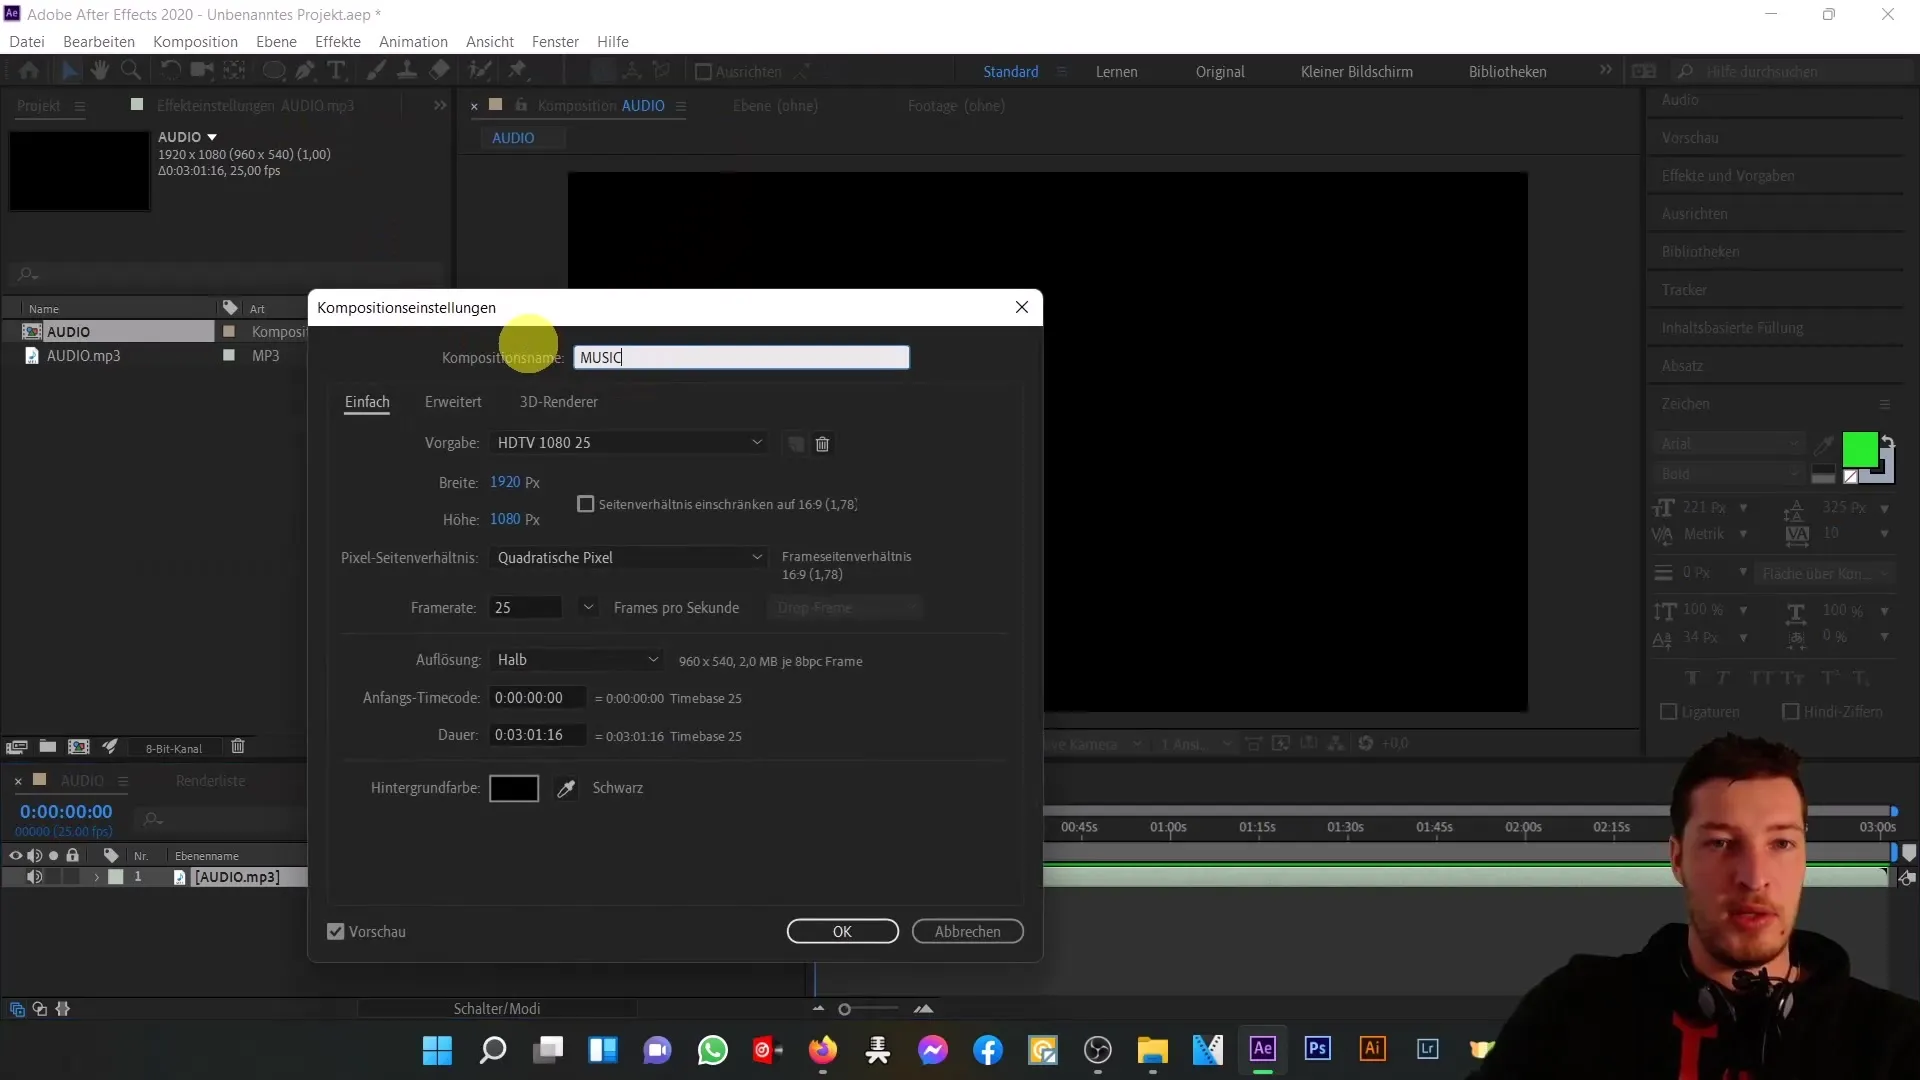
Open the composition settings and change the name to "music wheel". Check the defaults: Full HD and 25 frames per second are fine. Confirm with Okay.
Create Color Layers and Effects
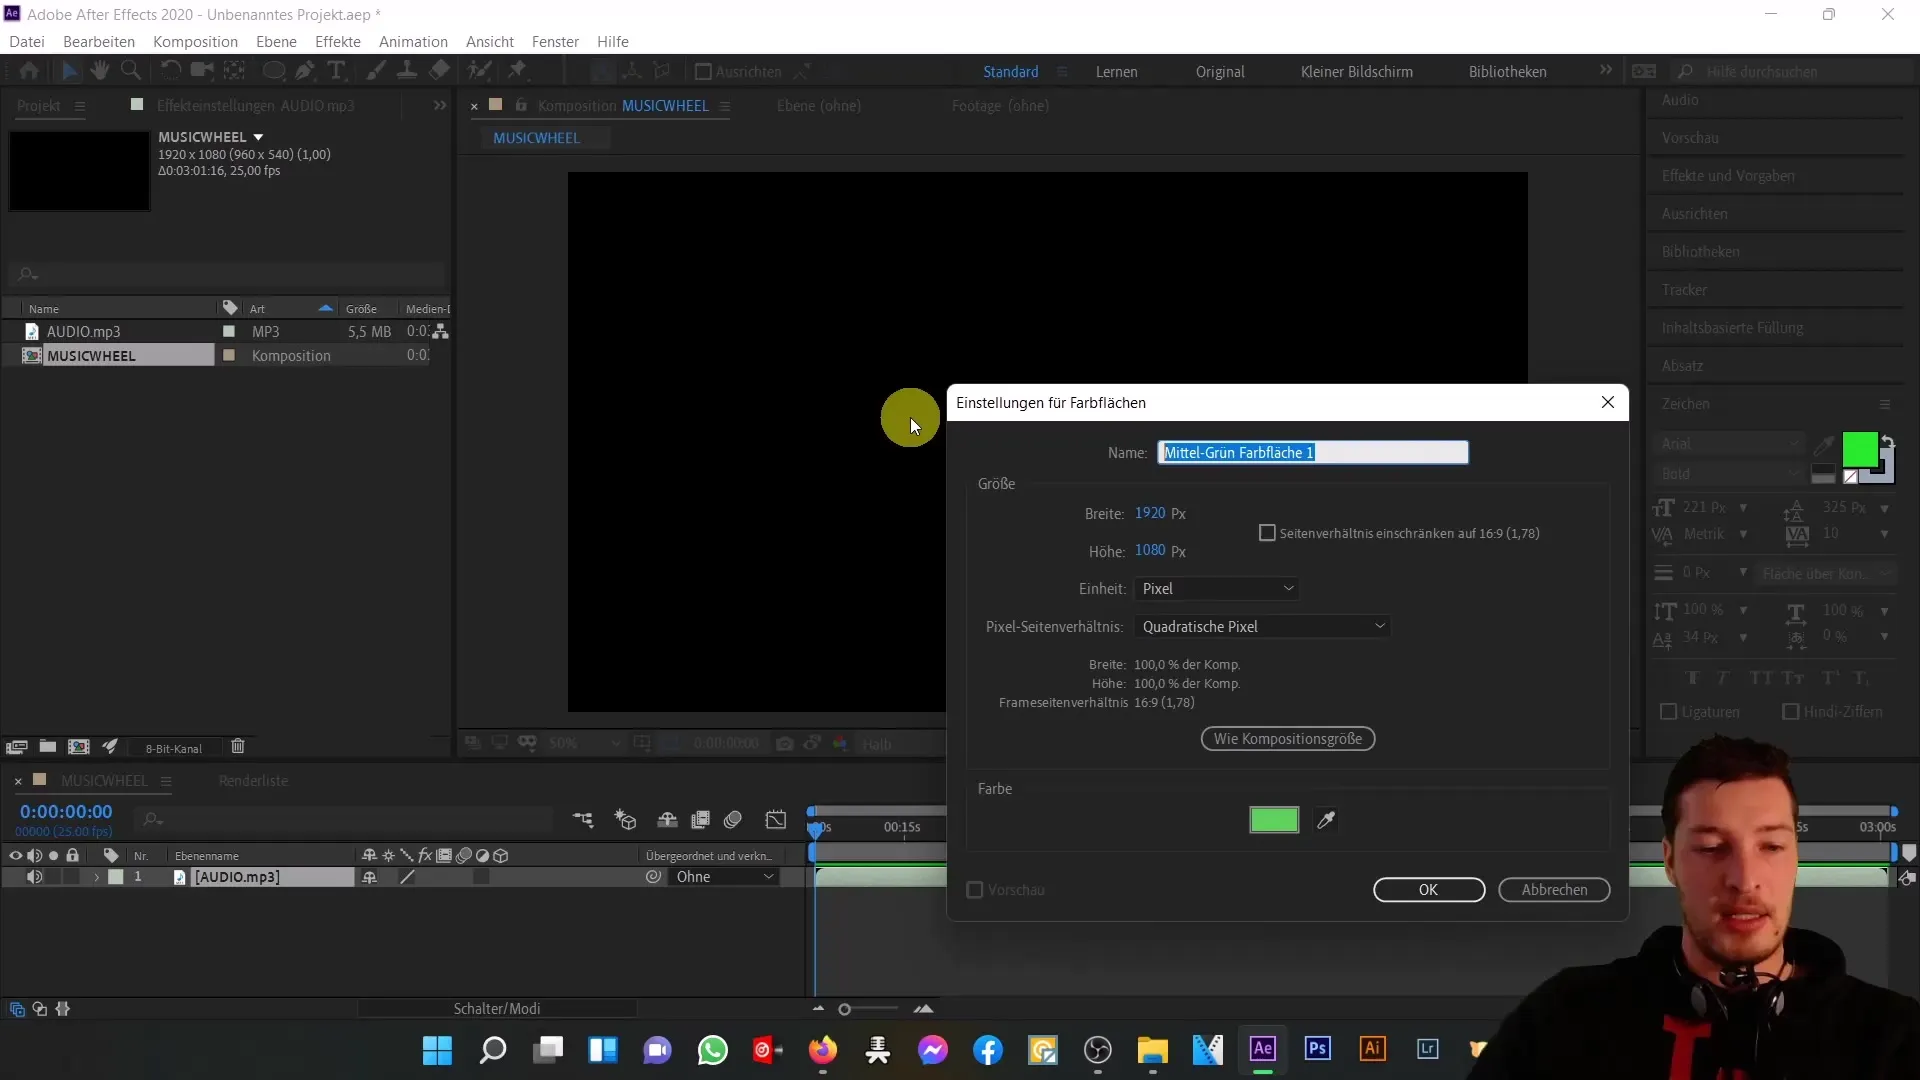
We will create two color layers for the animation of the two circles around the text. Add a new color layer by Layer > New > Solid and name it "wheel 1". The color is initially unimportant as we will add effects later. Now apply the "Audio Spectrum" effect. Go to Effects > Generate > Audio Spectrum.
Adjust Audio Spectrum Settings
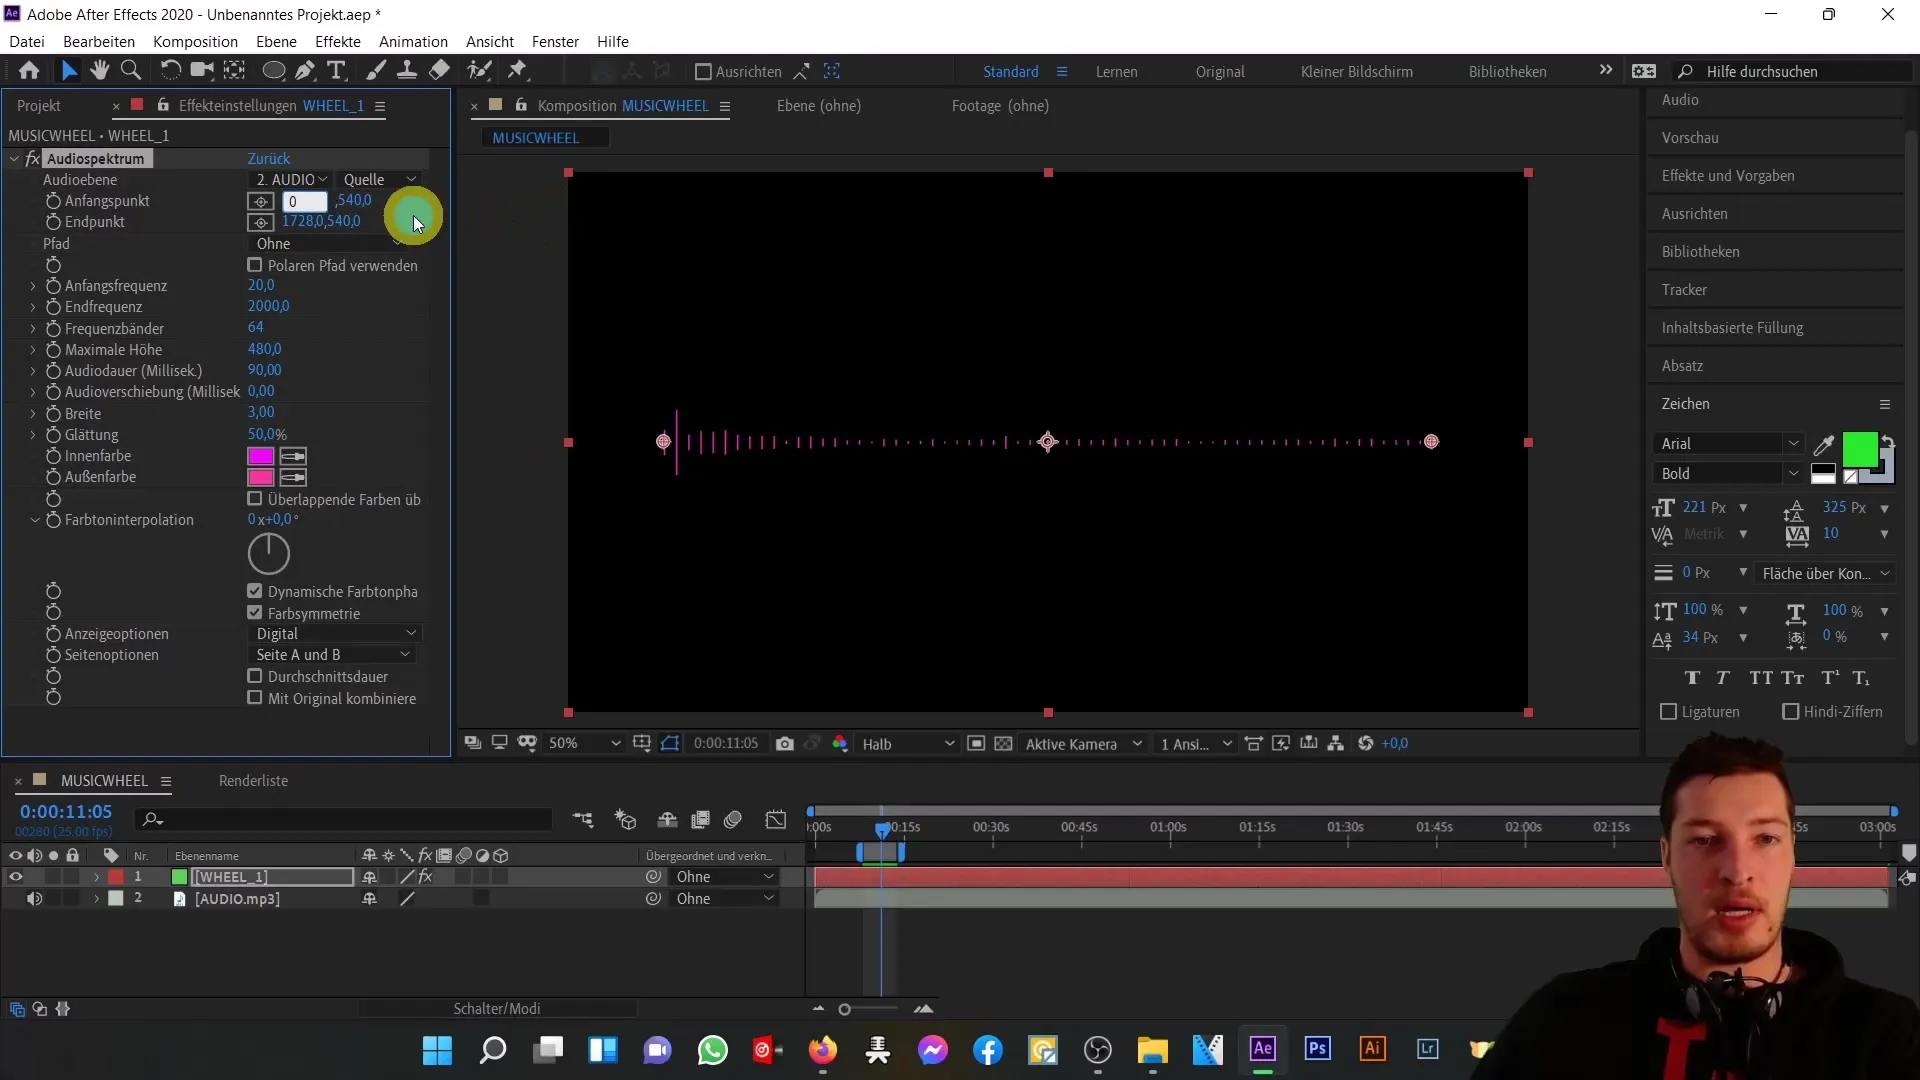
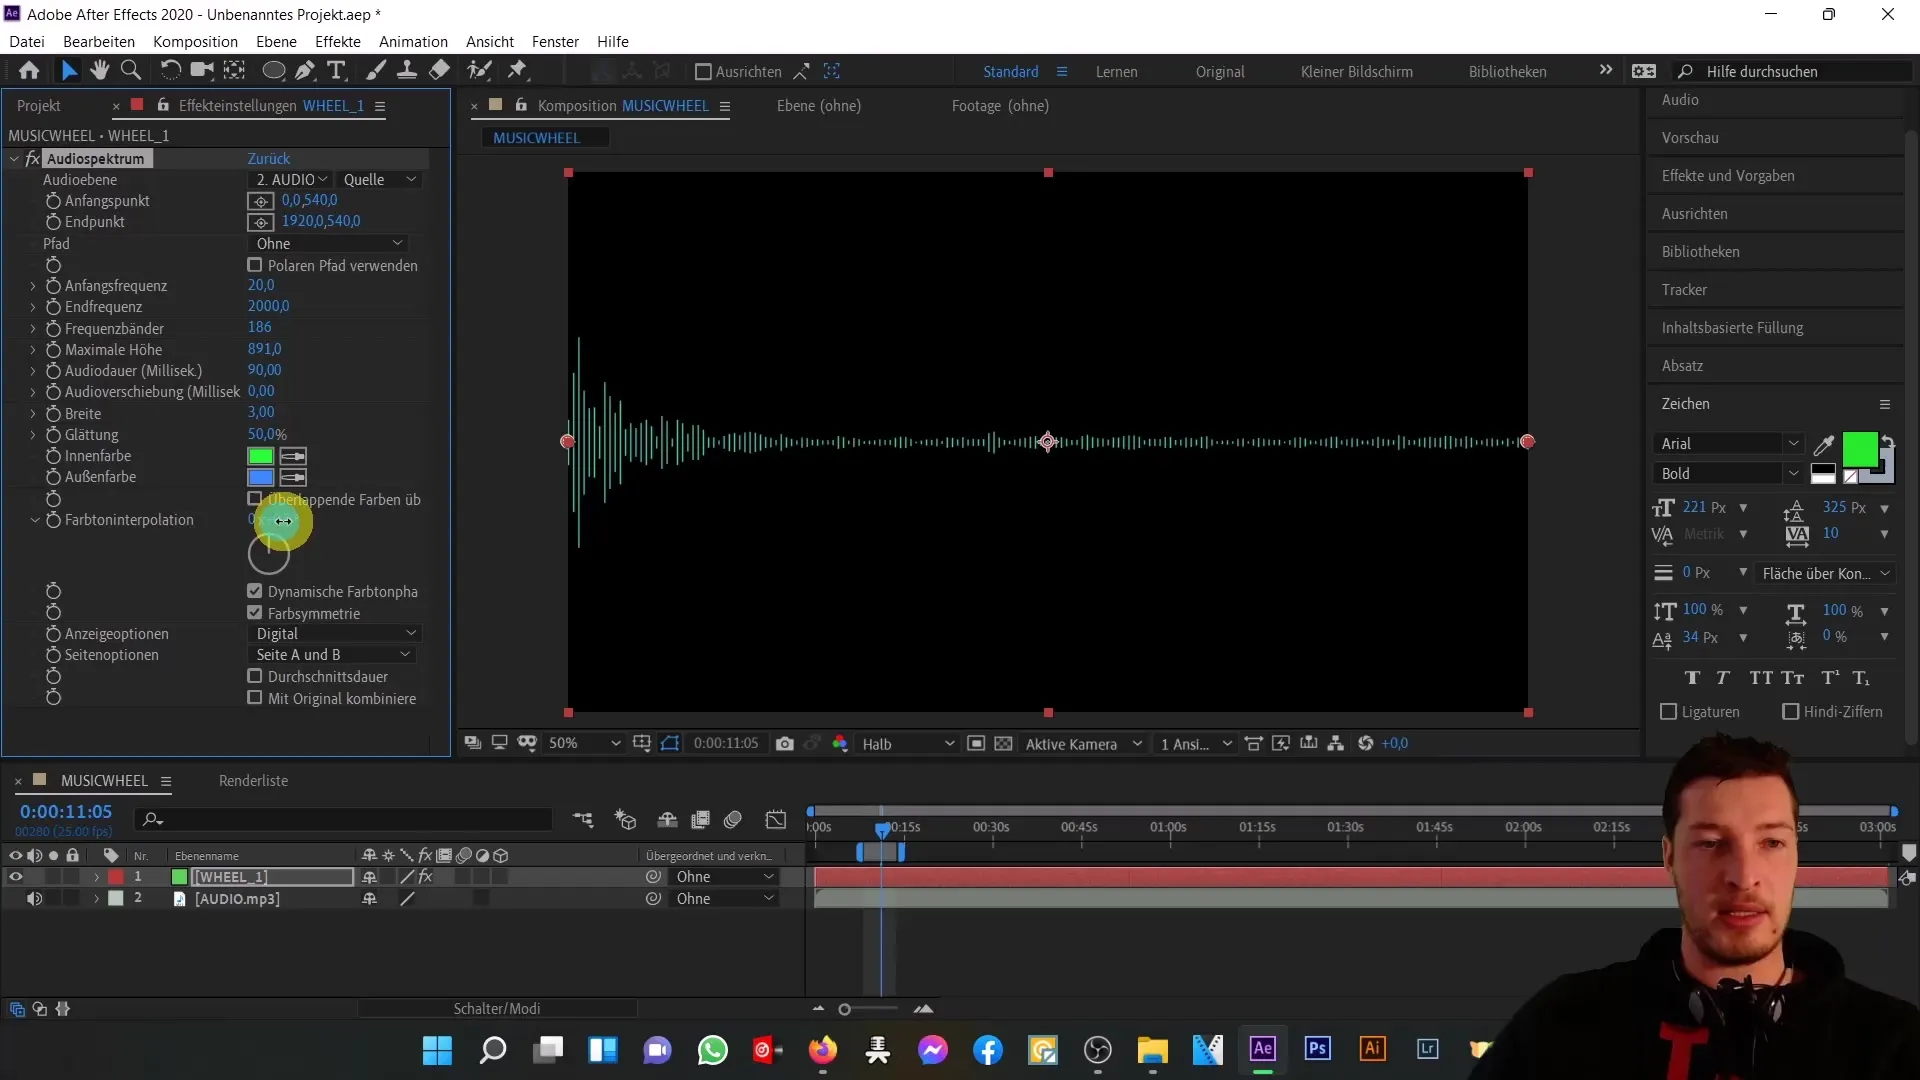
Make sure the audio layer is set to the imported MP3 file. Place the start and end points of the audio spectrum at the edges of the composition. Change the X value of the start point to 0 and the end point to 1920. Adjust the frequency bands to customize them (e.g., 200 for a pleasing visual effect).
Set Maximum Height and Width
The maximum height plays a key role in the music peaks. Set it to around 900. The width of each band can remain at 3 to ensure a clear representation. Choose inner and outer colors for the spectrum to look good and match the music inspiration.
Apply Polar Coordinates
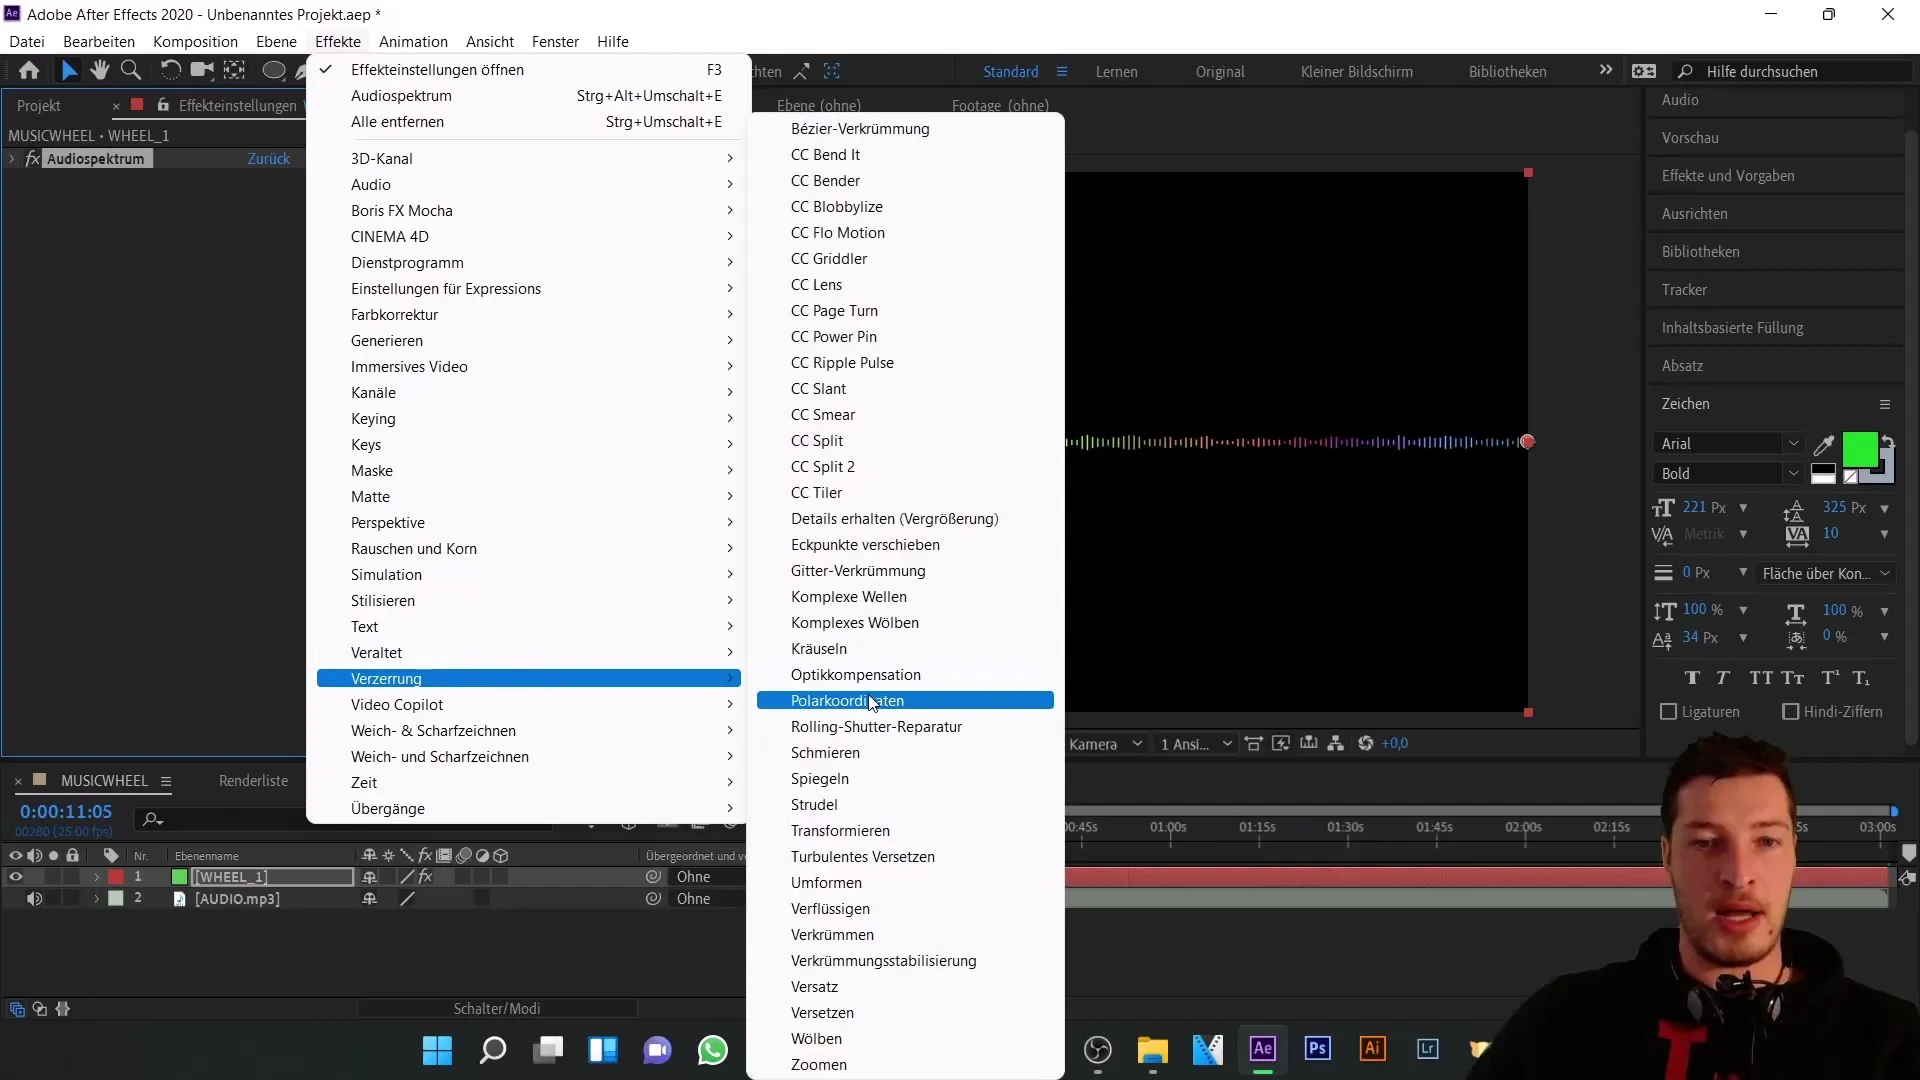
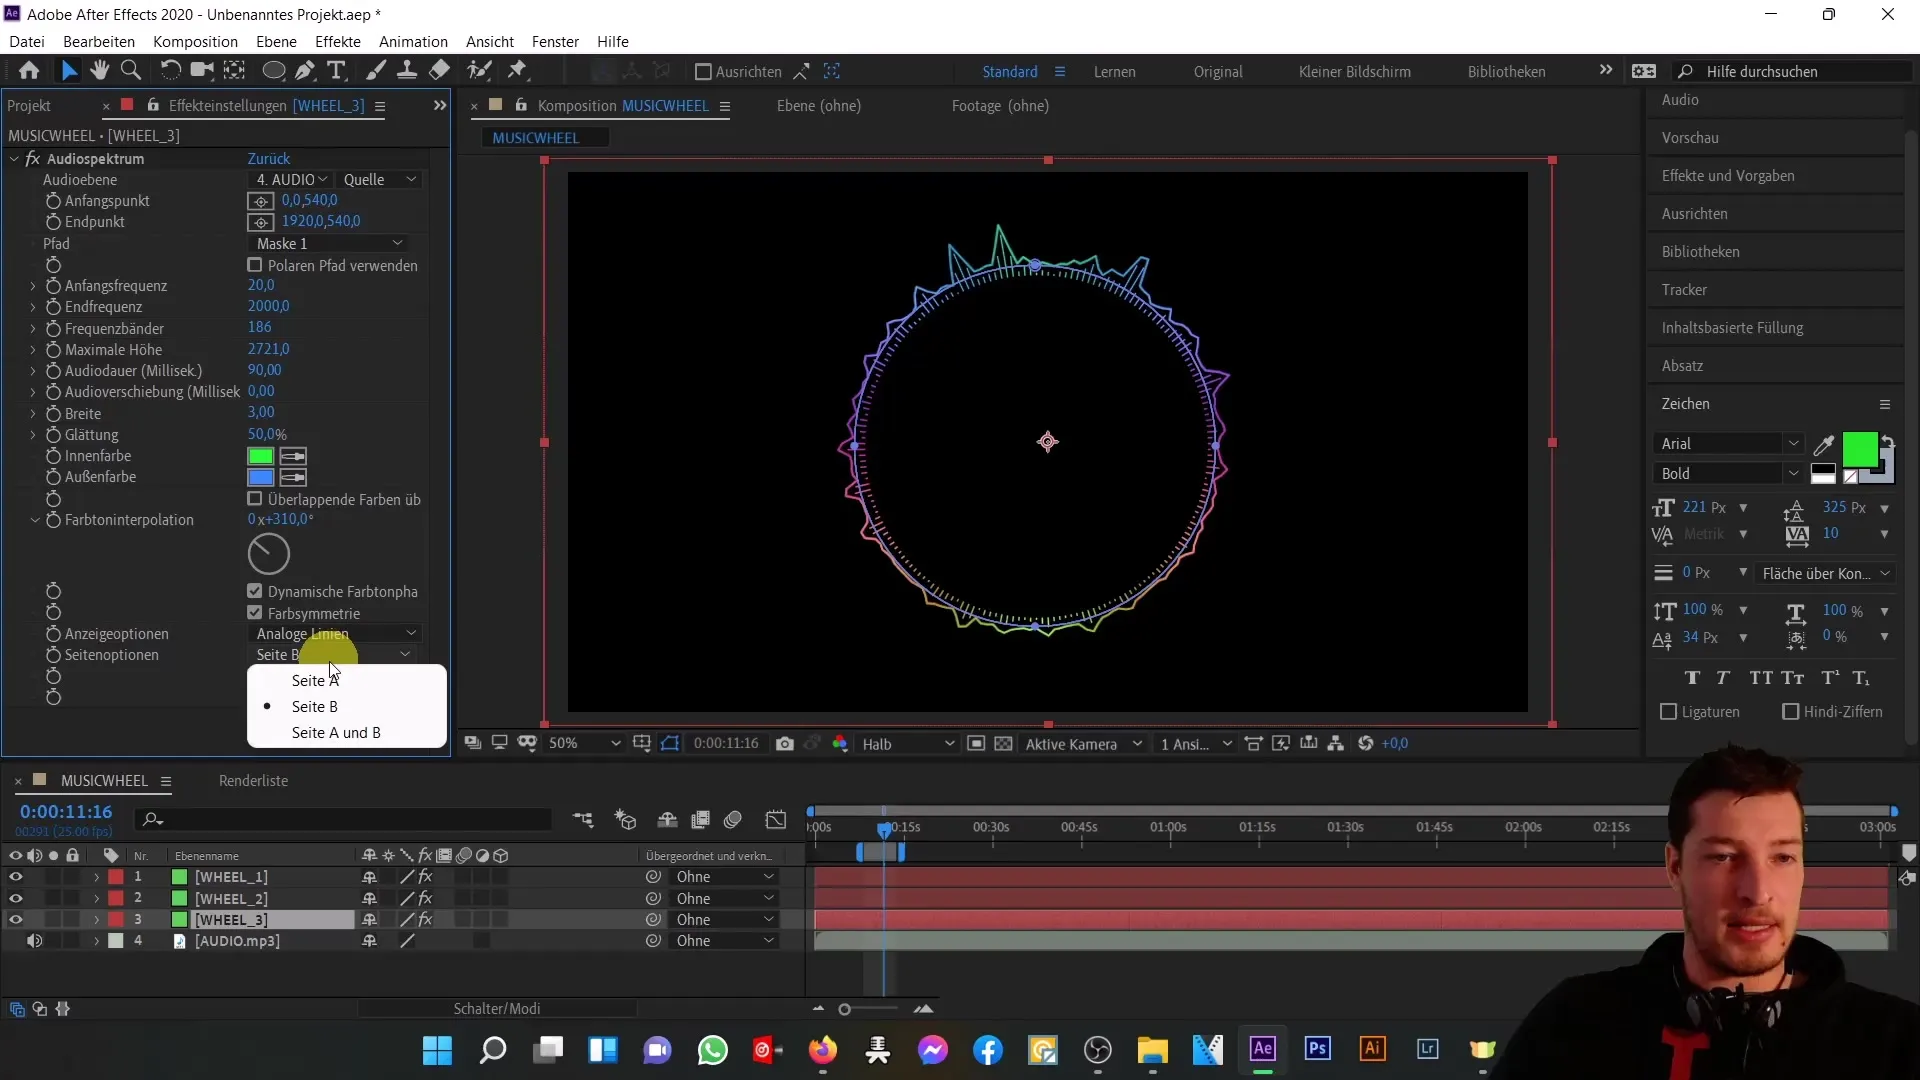
To bring the representation into a circular form, use the "Polar Coordinates" effect. Go to Effects > Distortion > Polar Coordinates. Change the option from Rectangular to Polar and adjust the percentage for interpolation to make the spectrum circular.
Create and Adjust Mask
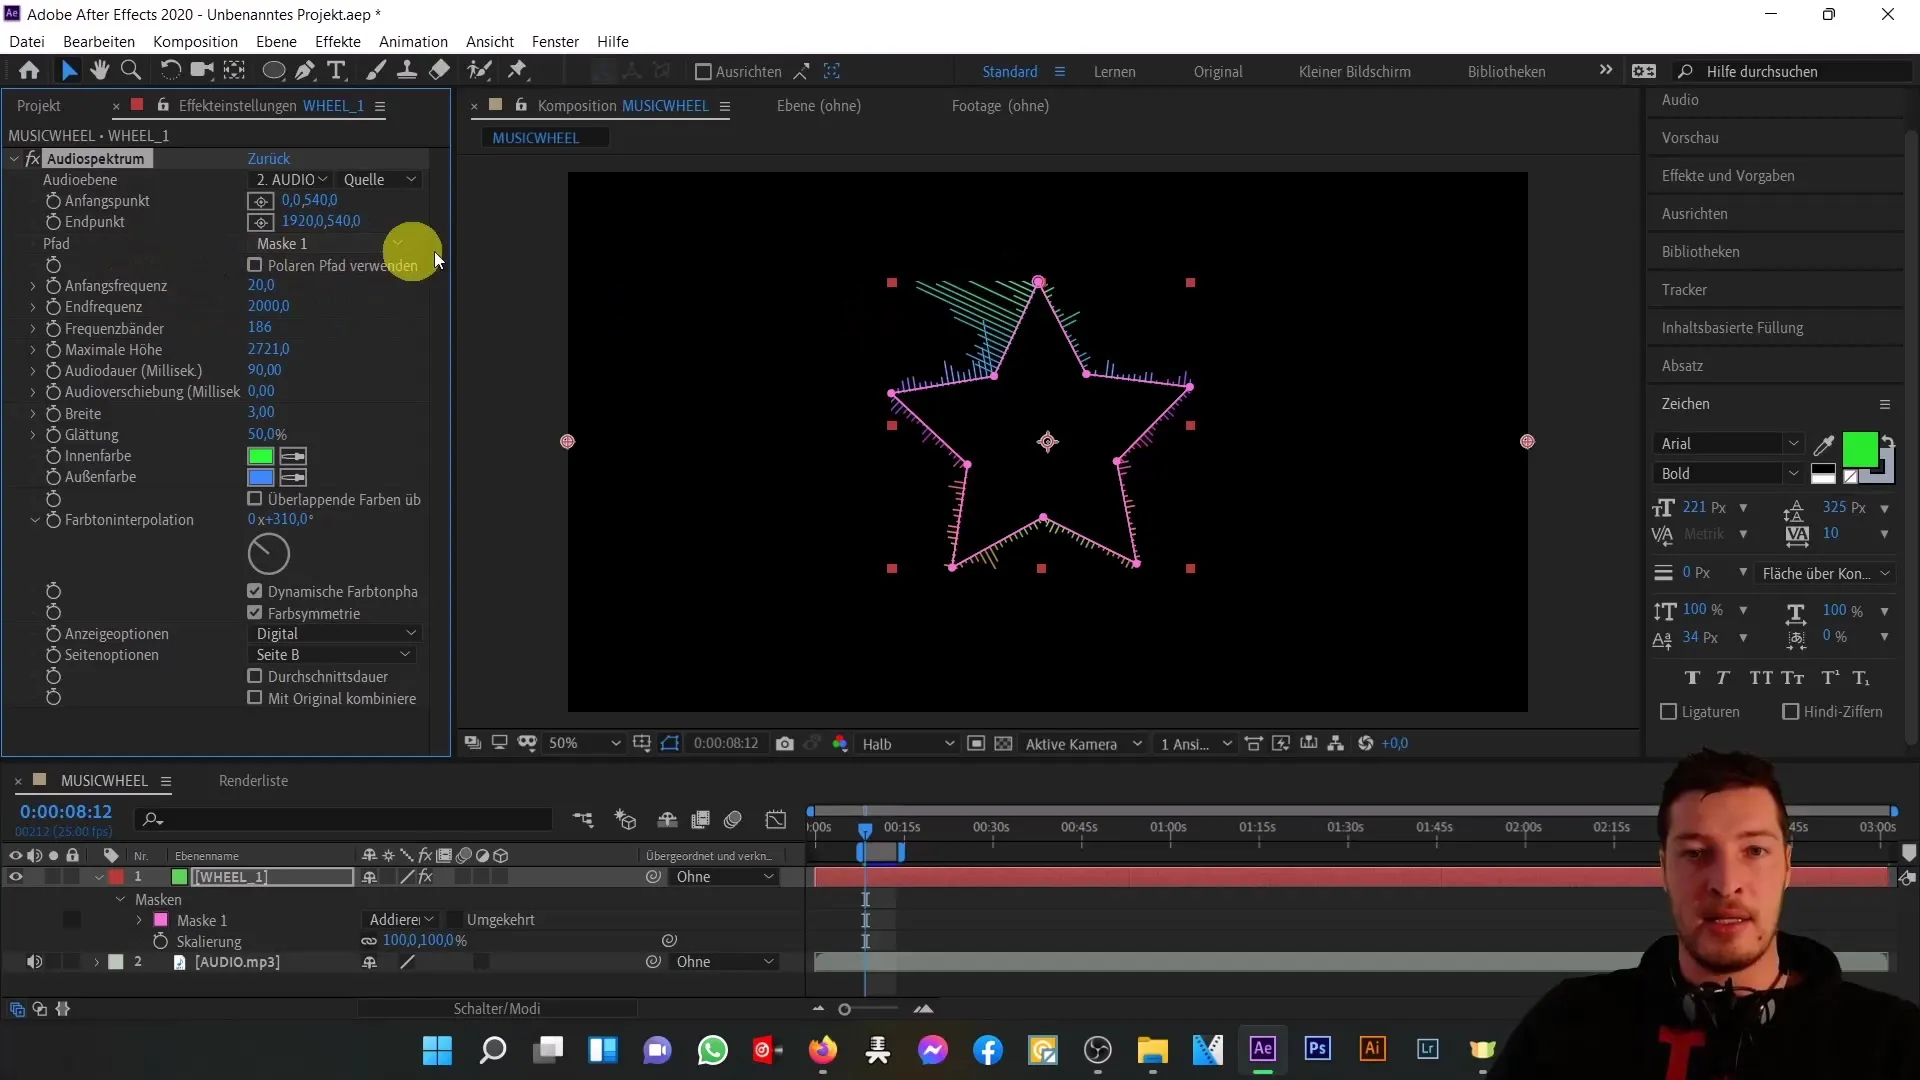
For the animation of the middle circles, we will create a mask to align the audio spectrum to a shape. Select the pen tool and draw a mask in the composition. To optimize your spectrum display, go to the mask options and change the setting from "Add" to "Subtract".
Create the Inner Circle
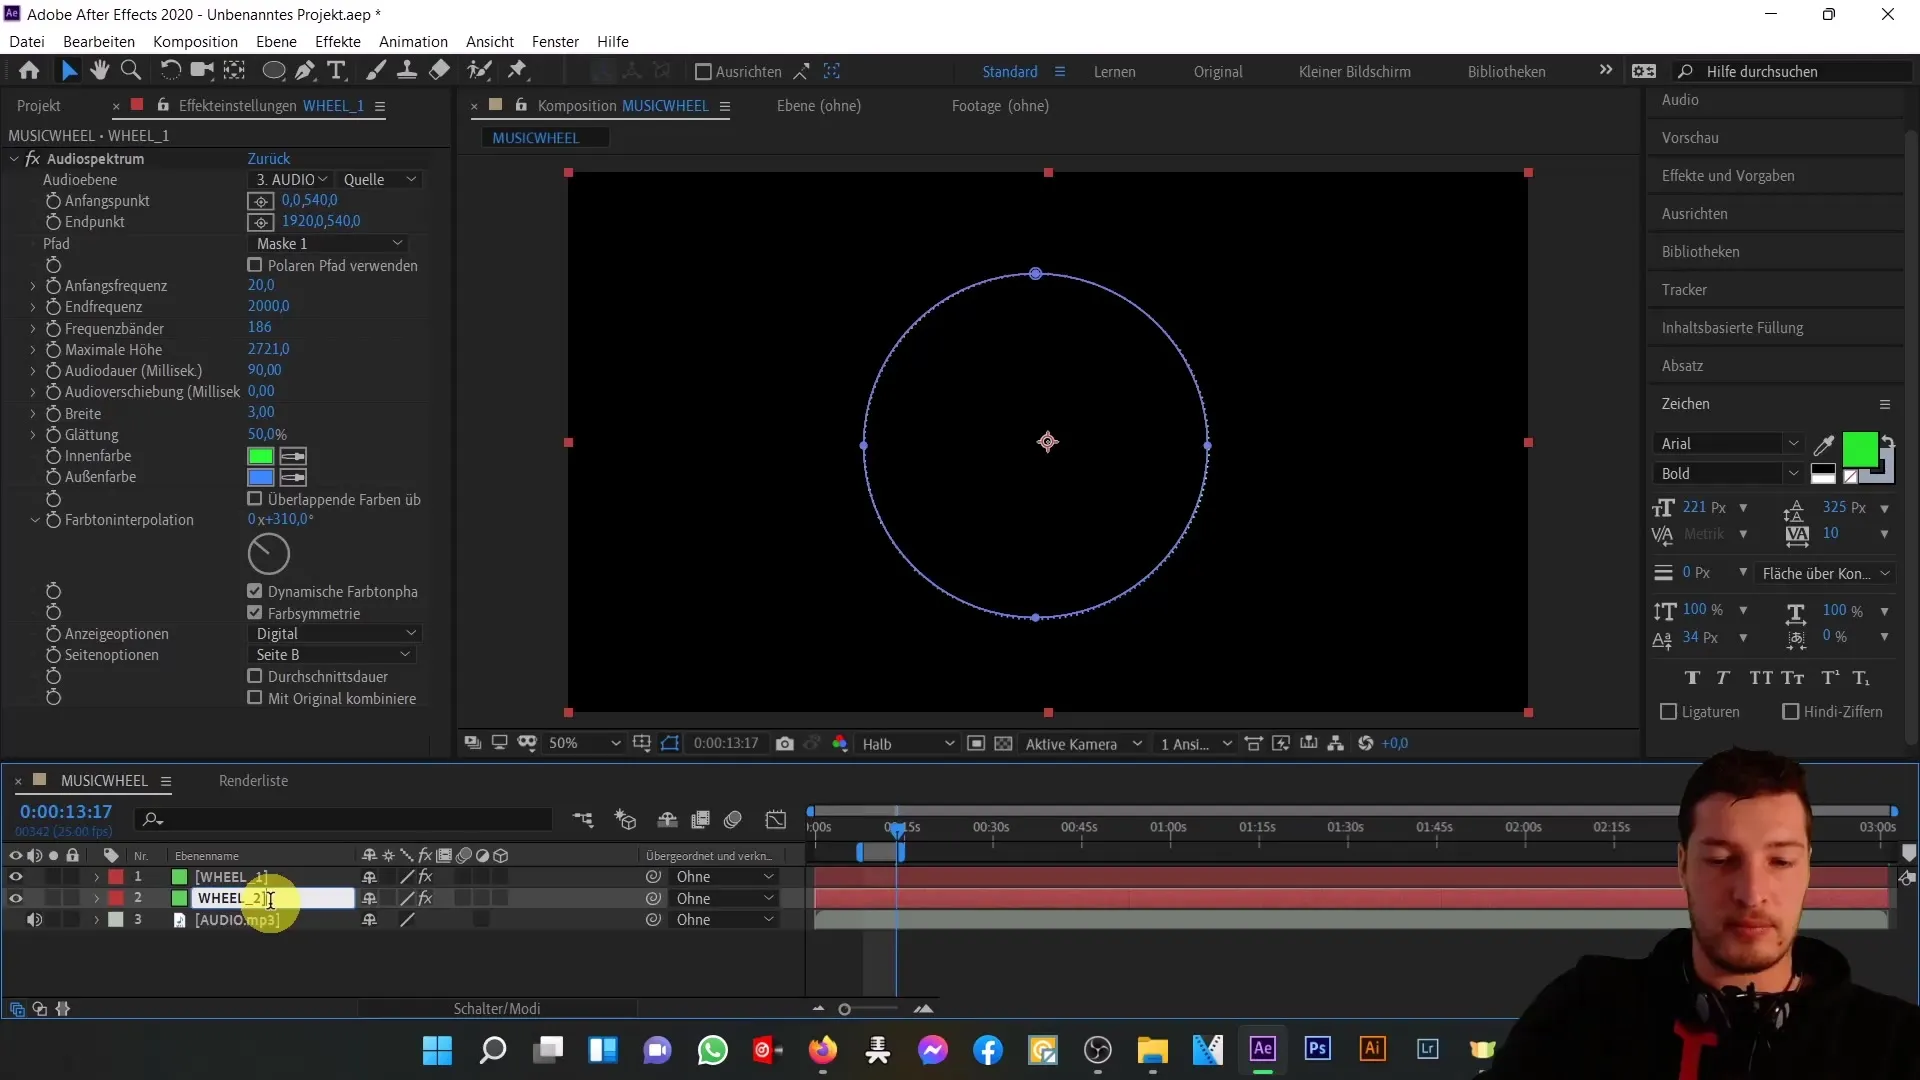
Create a second color layer for the inner circle by duplicating the first layer (Ctrl + D) and renaming it "wheel 2". Apply the analog lines effect to create a neat representation.
Adjusting the Inner Circle
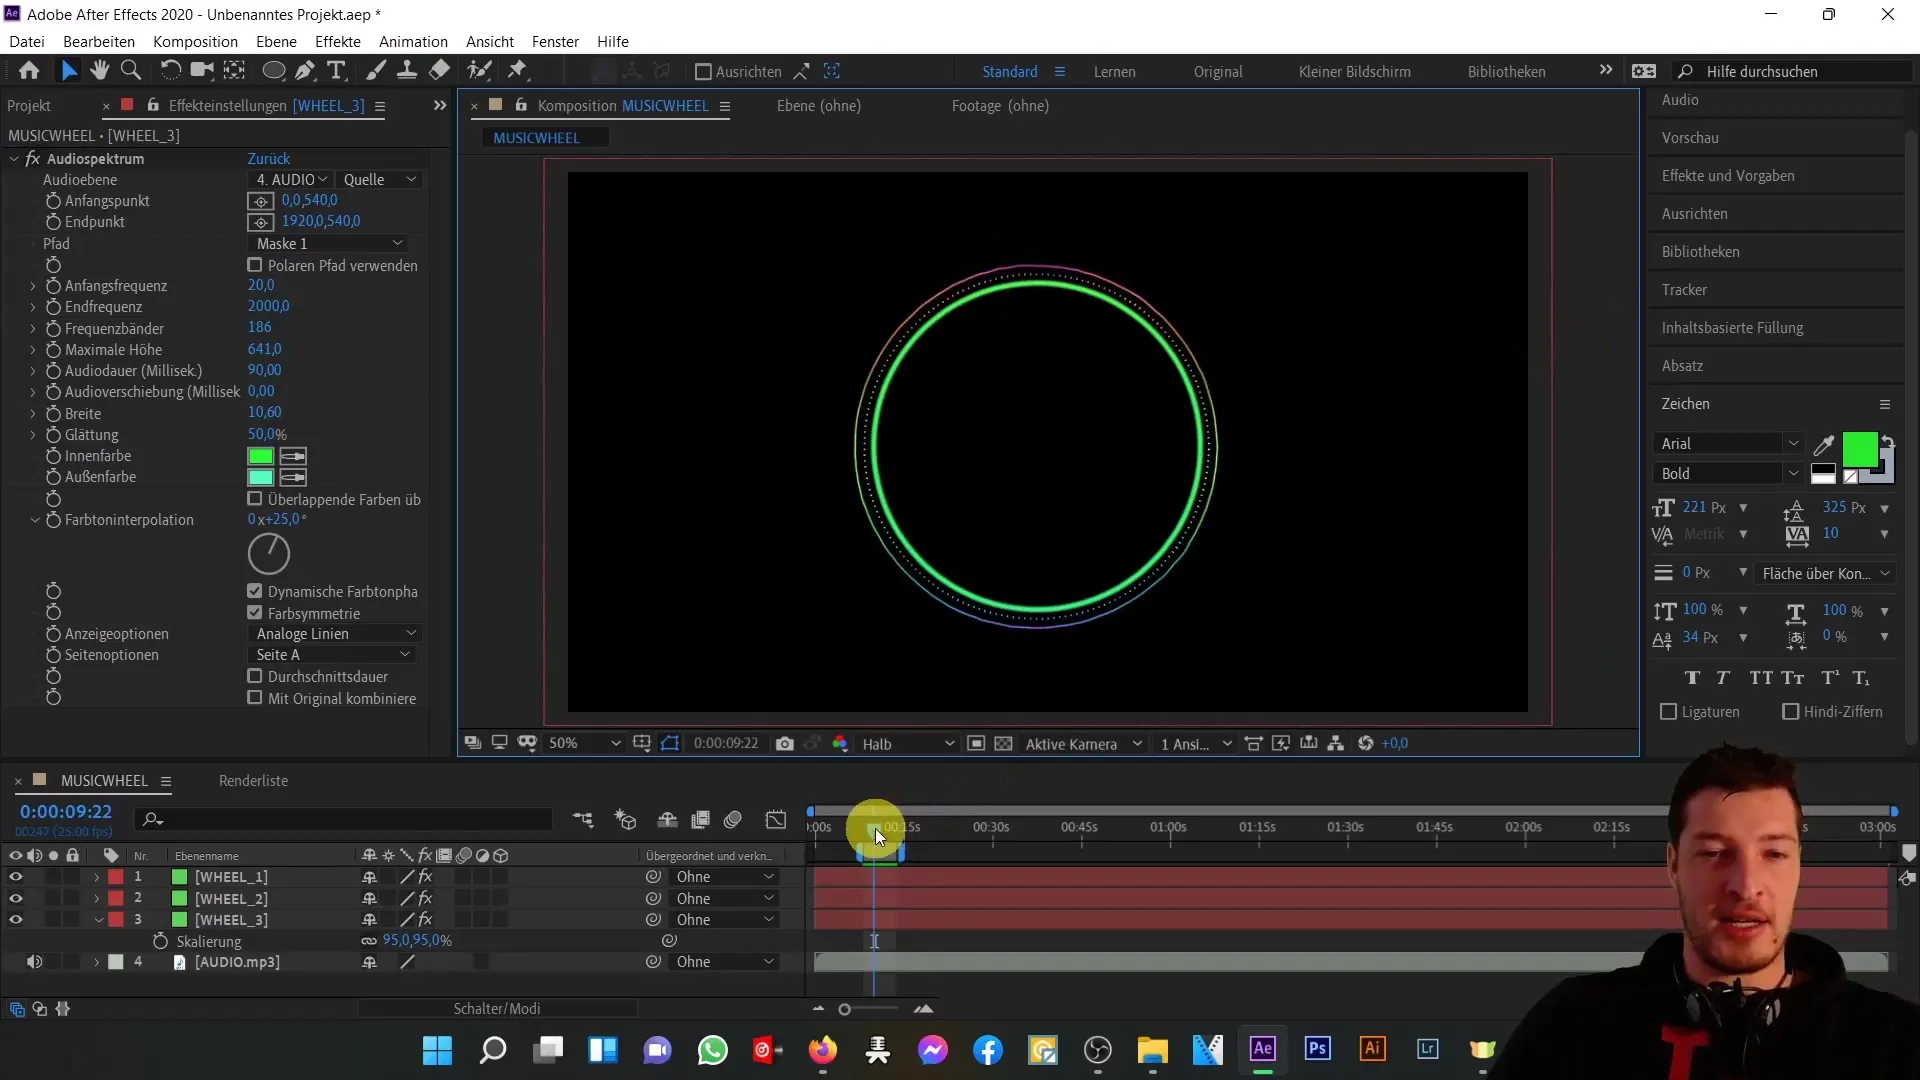
Repeat the process for a third inner circle, which is slightly smaller than the second one. Set its maximum height downwards and adjust the width of the respective band so that the peaks are clearly visible, but not exaggerated.
Preview and Finalization
Now play the preview of your composition. You should be able to follow the animations of your circles wonderfully synchronized with the music. Adjust the settings if necessary to achieve the desired result.
Summary
In this tutorial, you have learned how to visually animate music in Adobe After Effects. By using the audio spectrum effect, transforming with polar coordinates, and aligning to a mask path, you were able to create impressive animations that complement and highlight your music.
Frequently Asked Questions
How do I import an MP3 file into After Effects?You can import an MP3 file into After Effects by dragging it into the project window.
How do I change the composition settings?Right-click on the composition in the project window and select "Composition Settings."
What is the audio spectrum effect?The audio spectrum effect visualizes the frequencies and volumes of an audio file as a graphical representation.
How can I create a mask path?Select the Pen tool and draw the desired shape in the composition to create a mask.
How do I apply the polar coordinates effect?Go to Effects > Distort > Polar Coordinates and choose between the options for converting to polar or rectangular representations.


