In this tutorial, you will learn how to use Expressions in Adobe After Effects to create animations based on the peaks of an audio file. You will see how to create a Null object to store audio information and apply this information in real time to various properties, such as scaling text.
Key Takeaways
- Null objects allow you to store audio information and use it for various animation effects.
- Expressions enable you to dynamically control properties based on audio peaks.
- Linking properties to audio can create an interactive arrangement that responds to the music animation.
Step-by-Step Guide
To start animating music in After Effects, follow these steps:
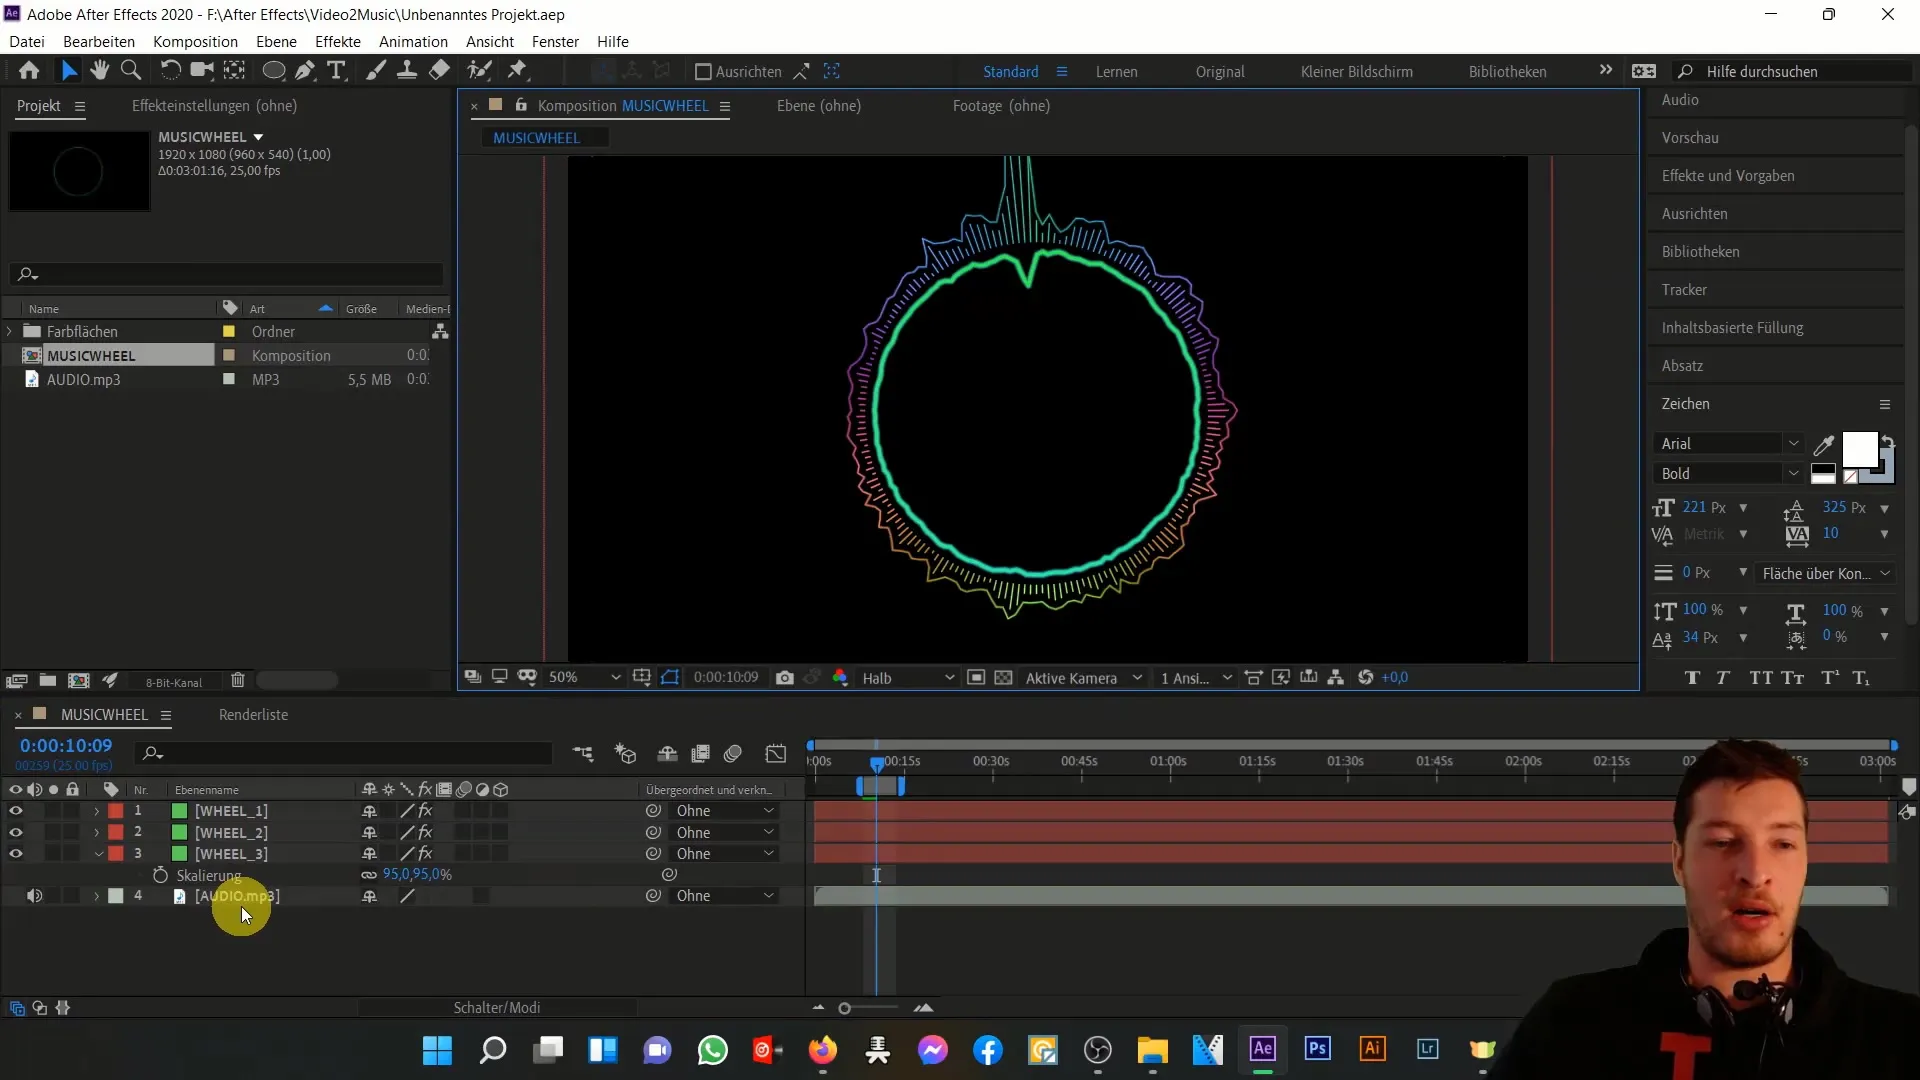
First, select your audio file. Right-click and choose "Keyframe Assistants" and then "Convert Audio to Keyframes" from the context menu. This will automatically create a new layer, which is called a Null object. The Null object serves as a storage for audio amplitudes.
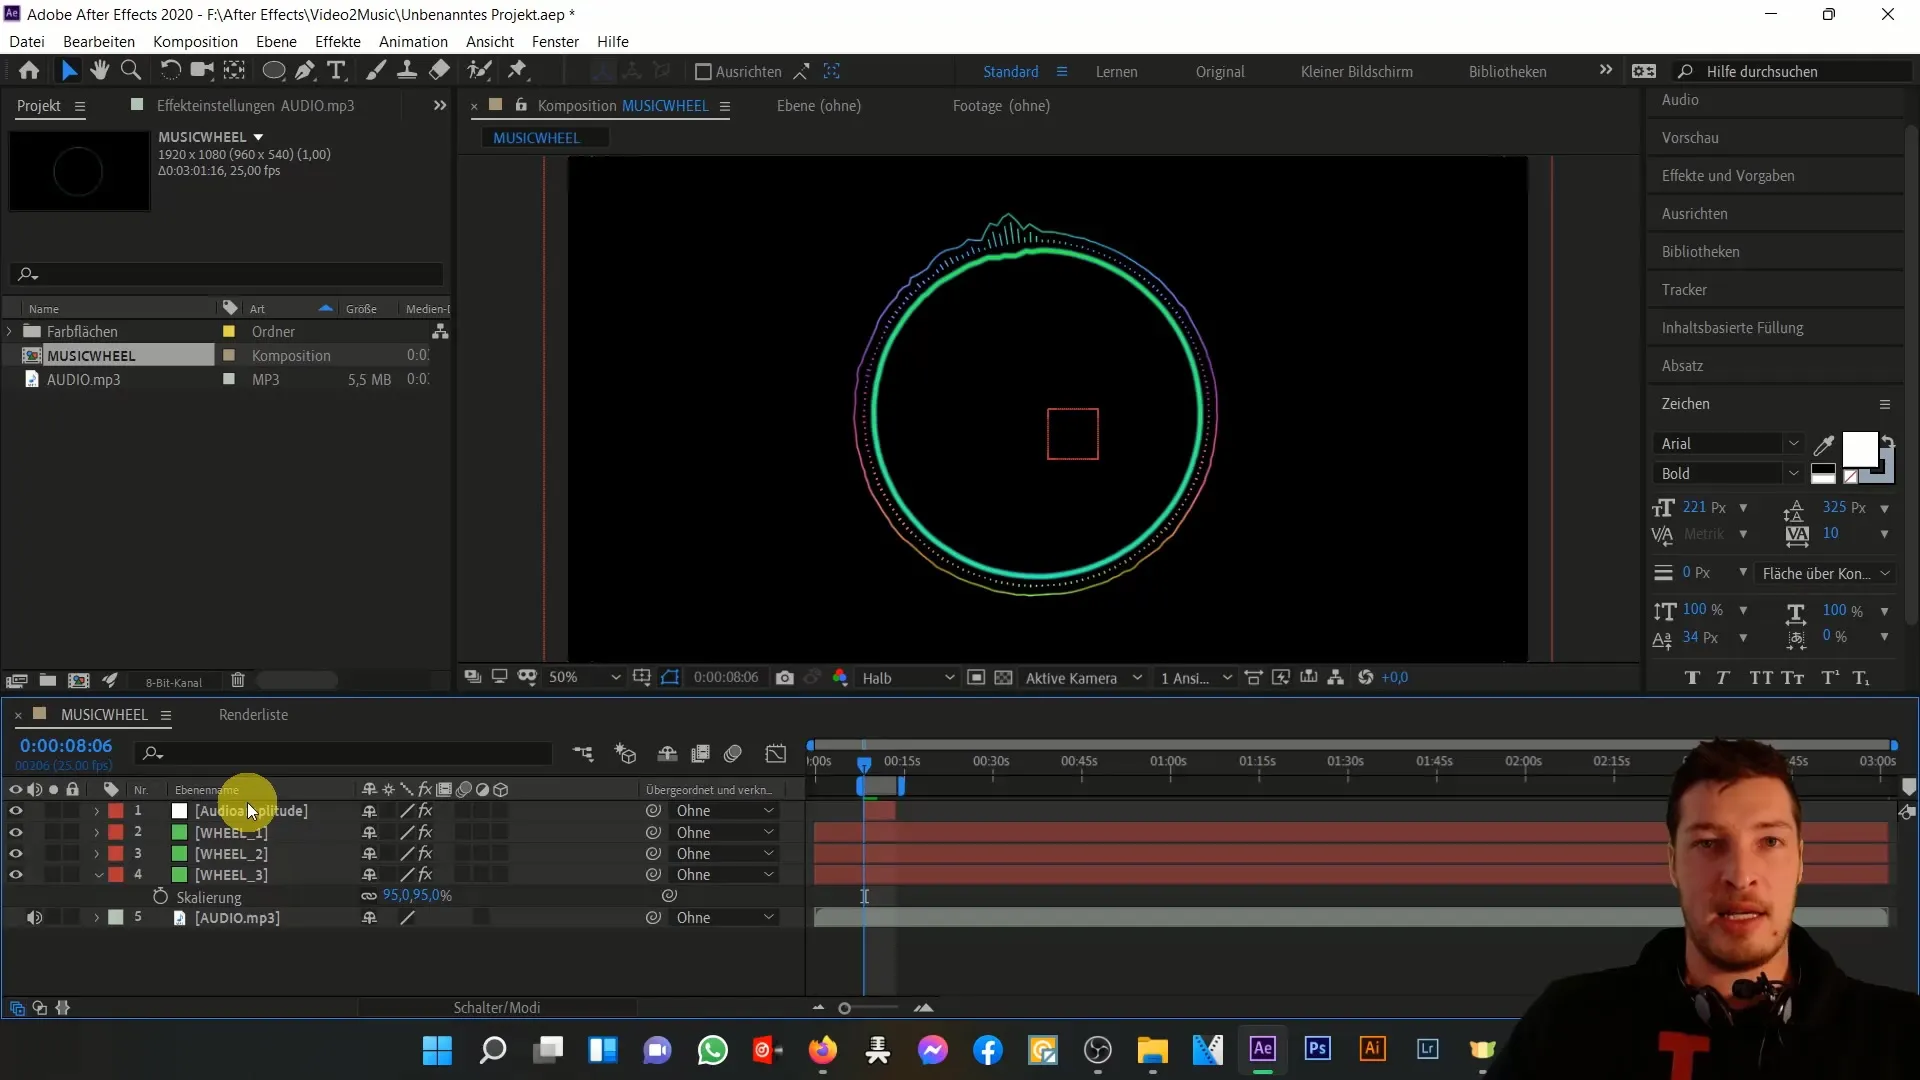
You can find the Null object in your composition. It is just a helper layer and is not rendered, but it helps you organize information. The Null object stores the peaks of the audio file in keyframes.
Check the properties of the Null object. Here you can see the audio amplitudes, which represent the peaks from your track. All this information is organized by individual channels - left, right, and both channels.
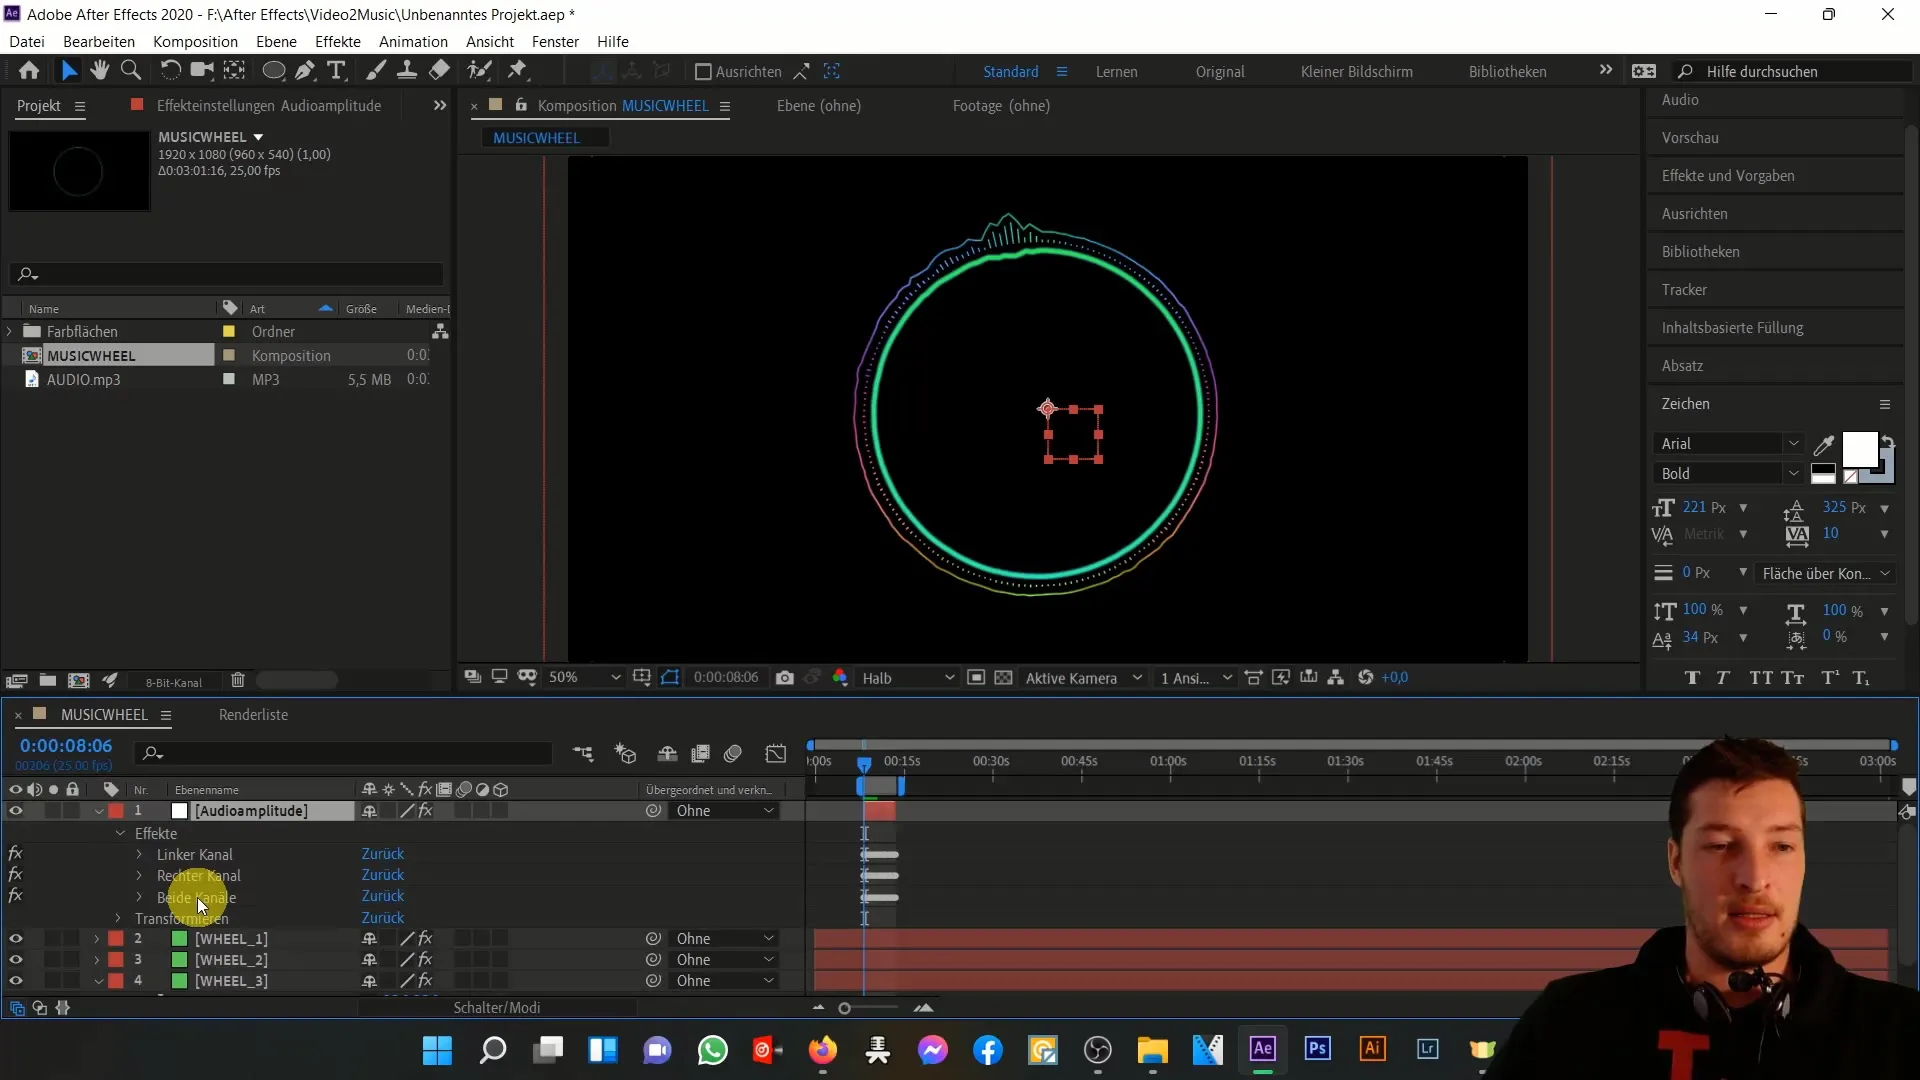
If your track does not have differences between channels, you can skip the specific channel steps and focus the effects on both channels. You can clean up the effects of the left and right channels to simplify the view.
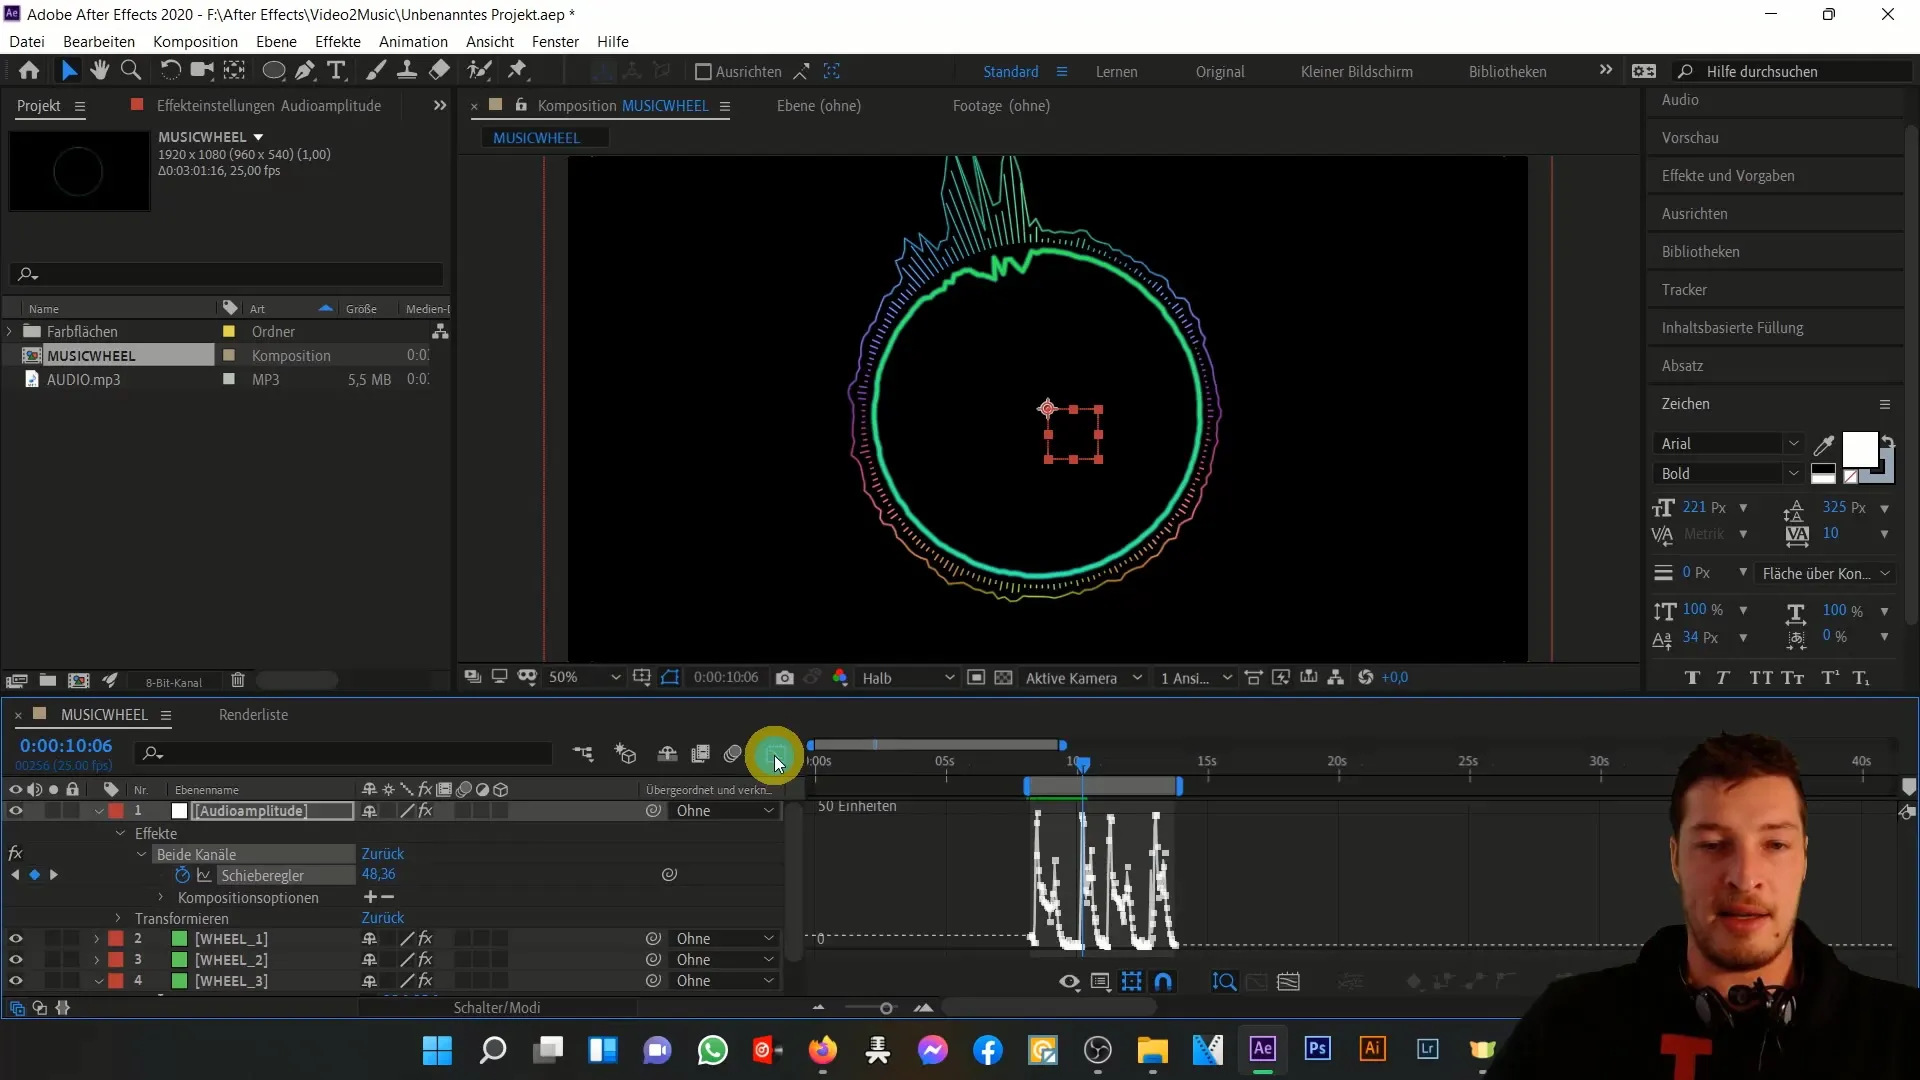
To visually represent the peaks, you can click on the Graph Editor. Through the visualizations, you can see how much your track's volume fluctuates. You can move the slider and observe the peaks from almost zero to 50 units.
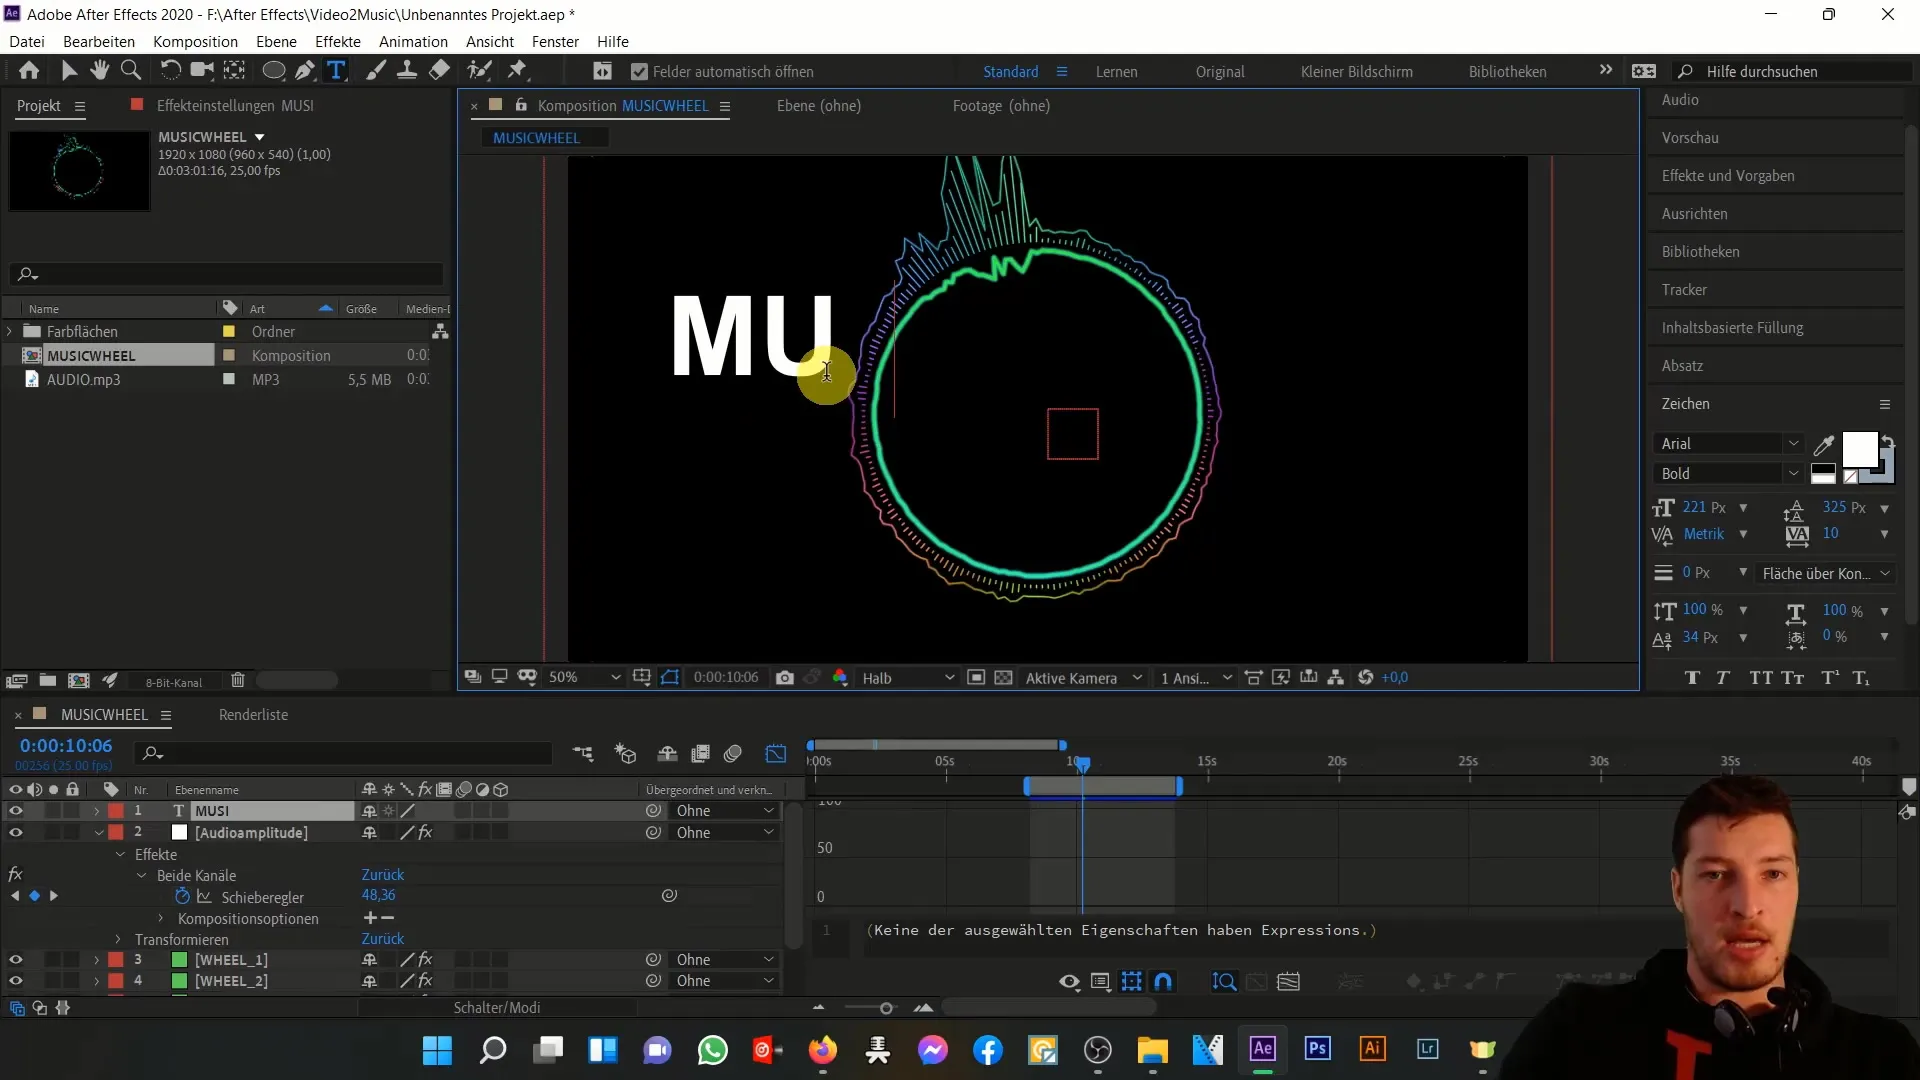
Now, we will insert a text into the composition. Create a text layer titled "Music" and position it in the center of your composition.
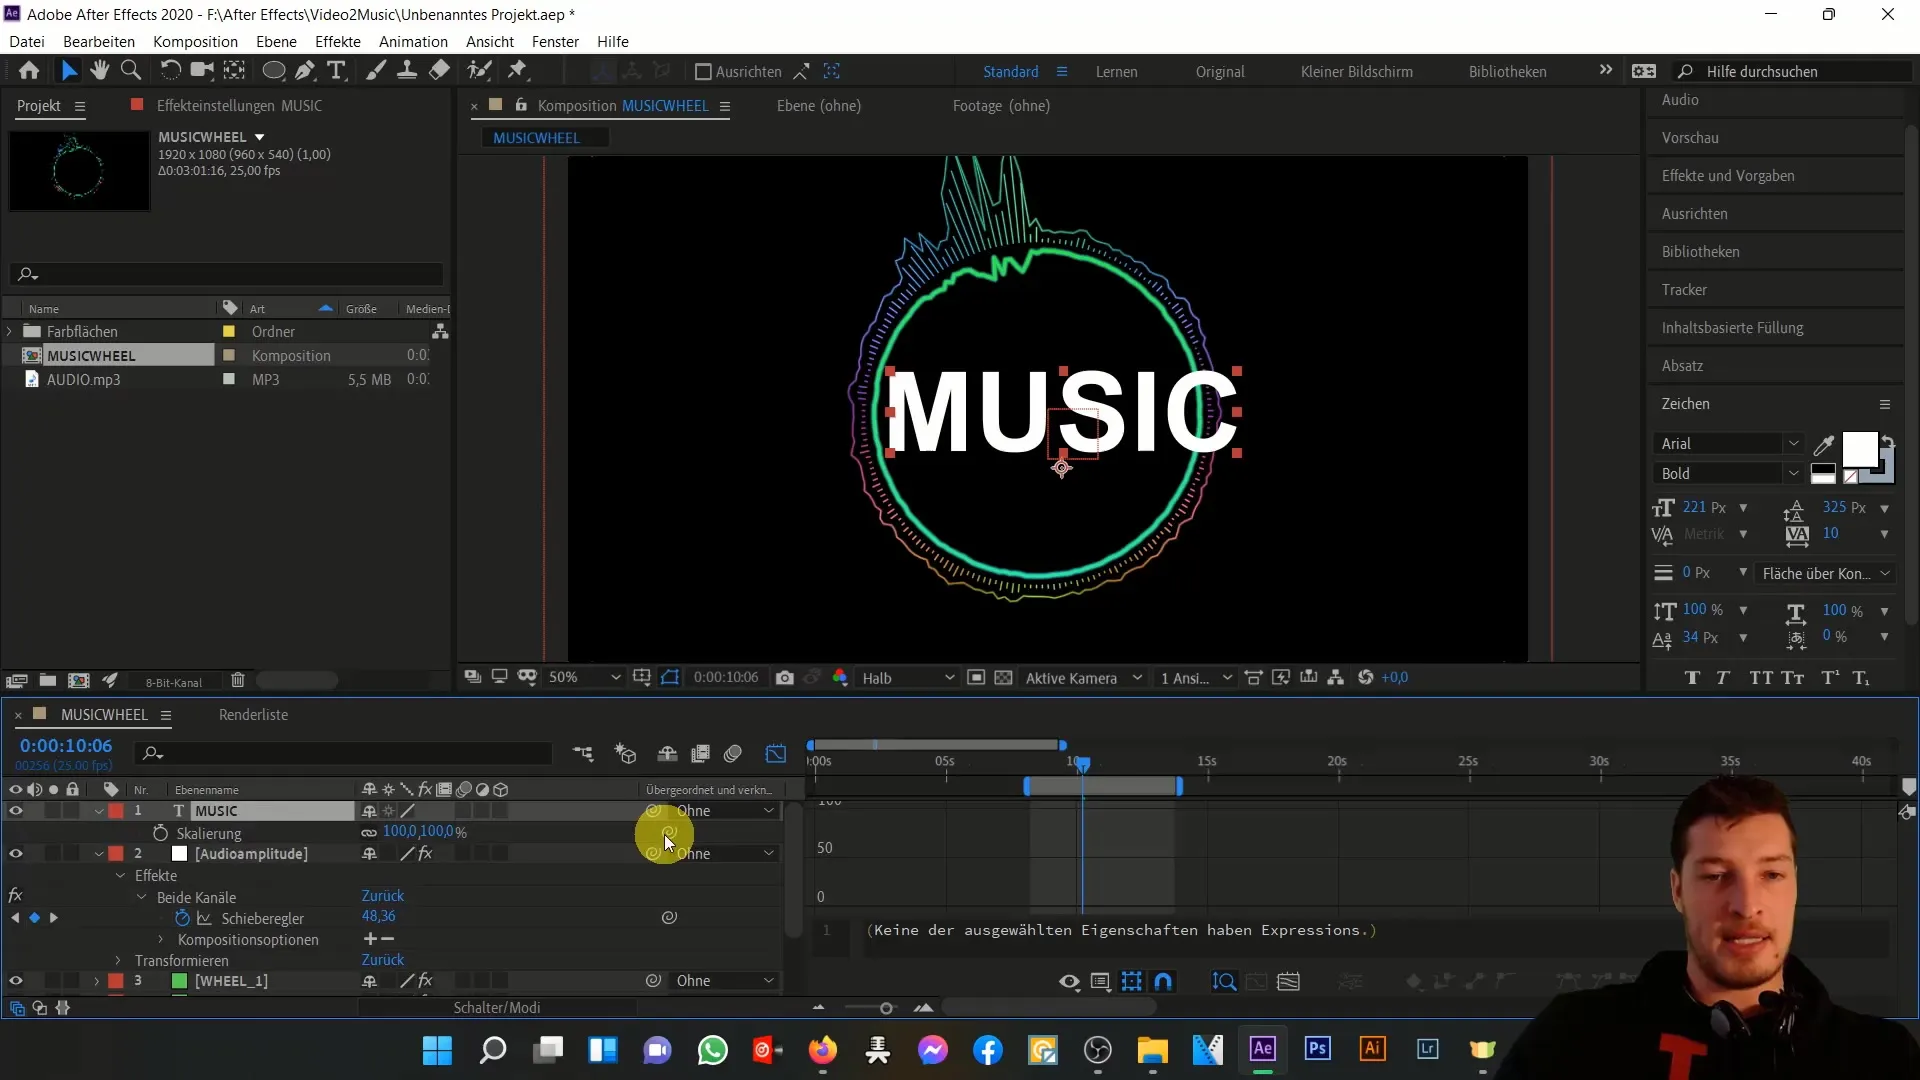
Next, link the scaling of the text layer to the slider of the Null object. Click on the text layer, press "S" to activate the scaling option. Use the Puppet Tool to link the scaling to the slider.
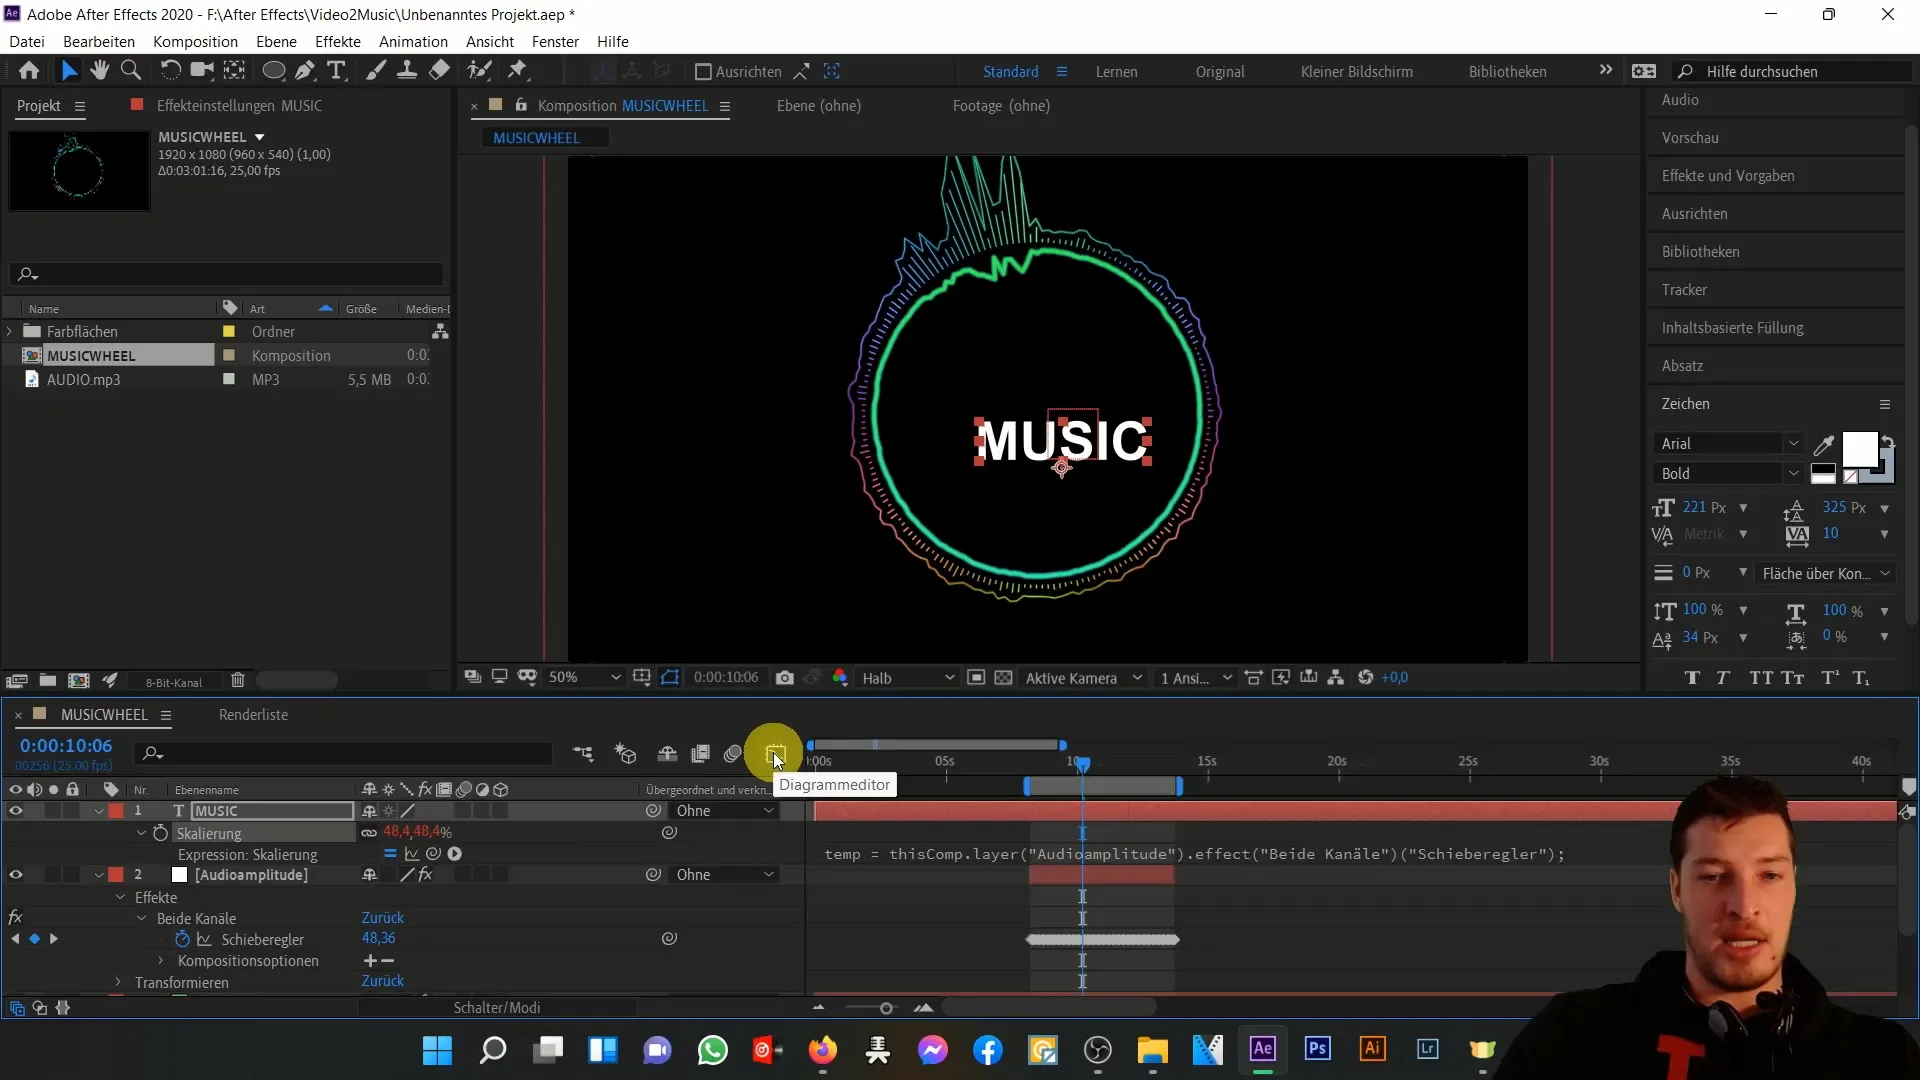
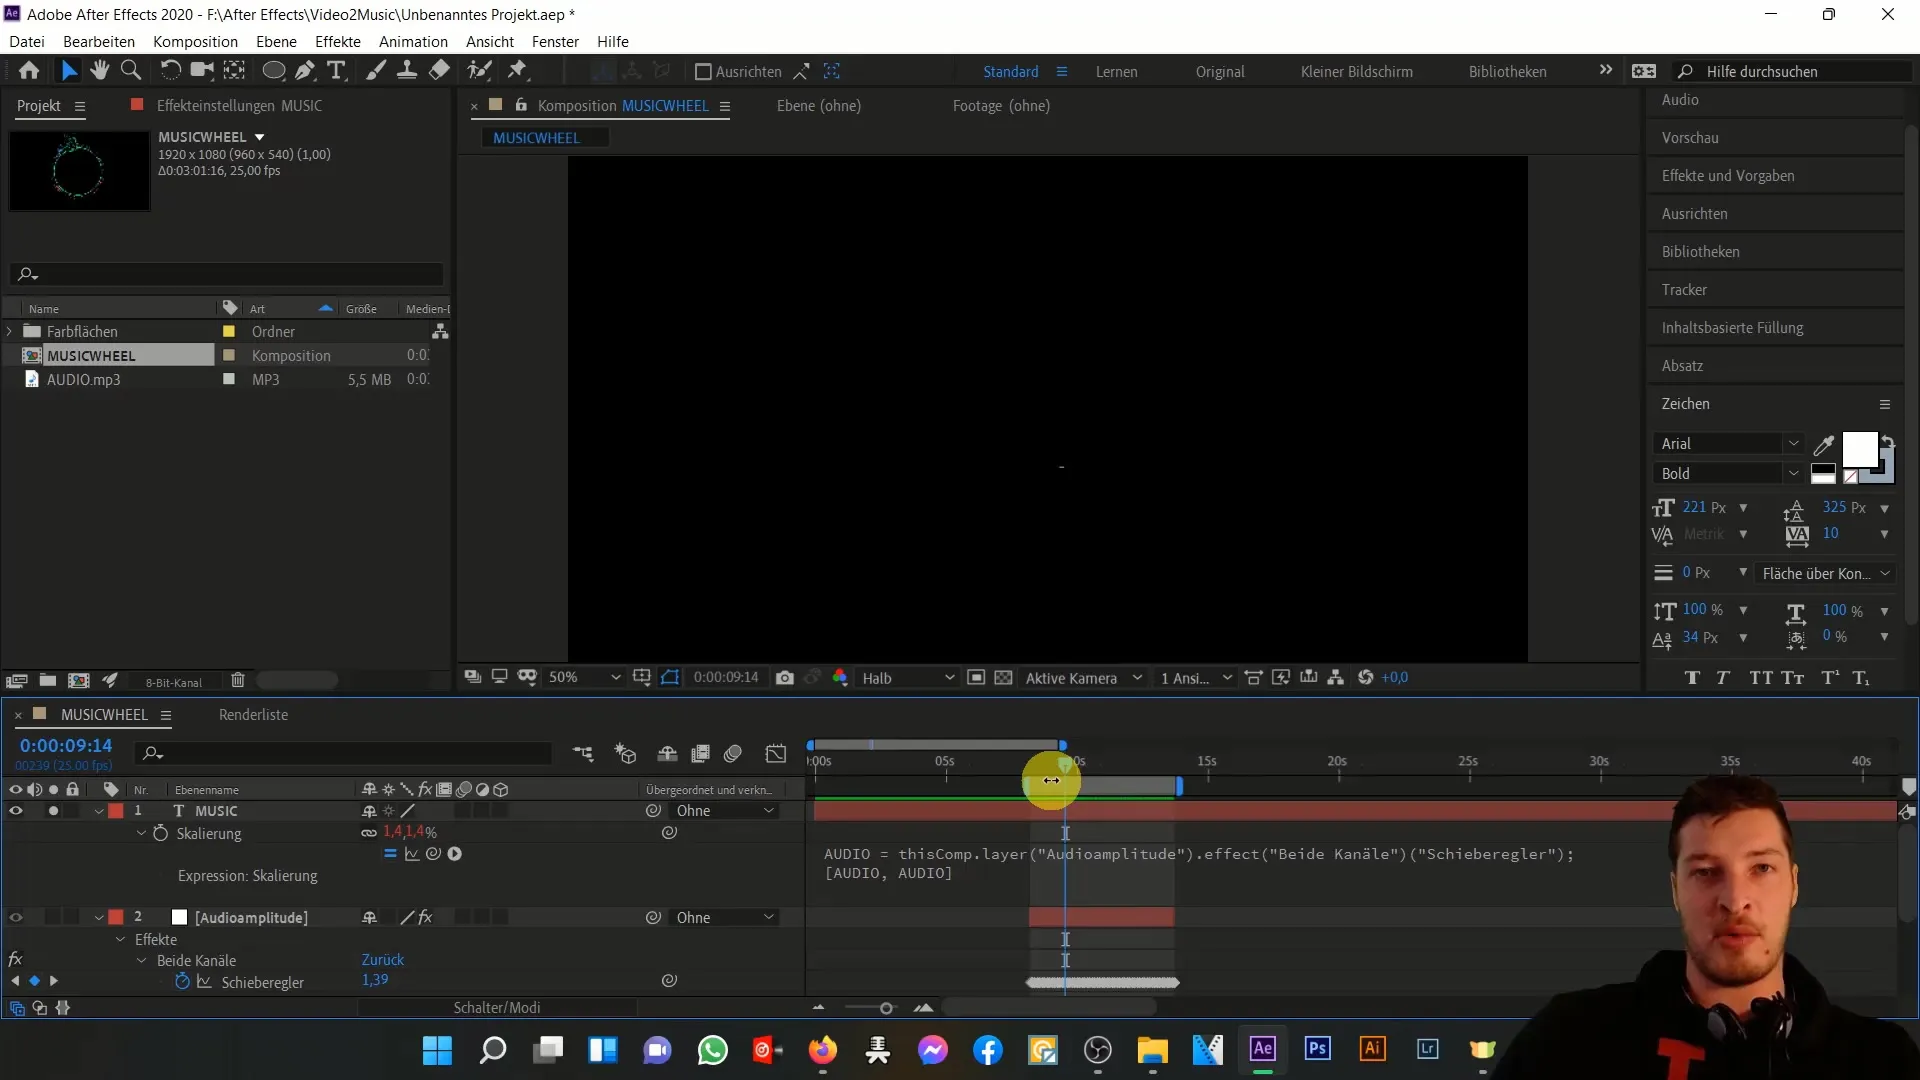
After linking, you will see that the scaling has been updated in the expression. The linking saves the value of the audio amplitude in a variable that you can rename as desired.
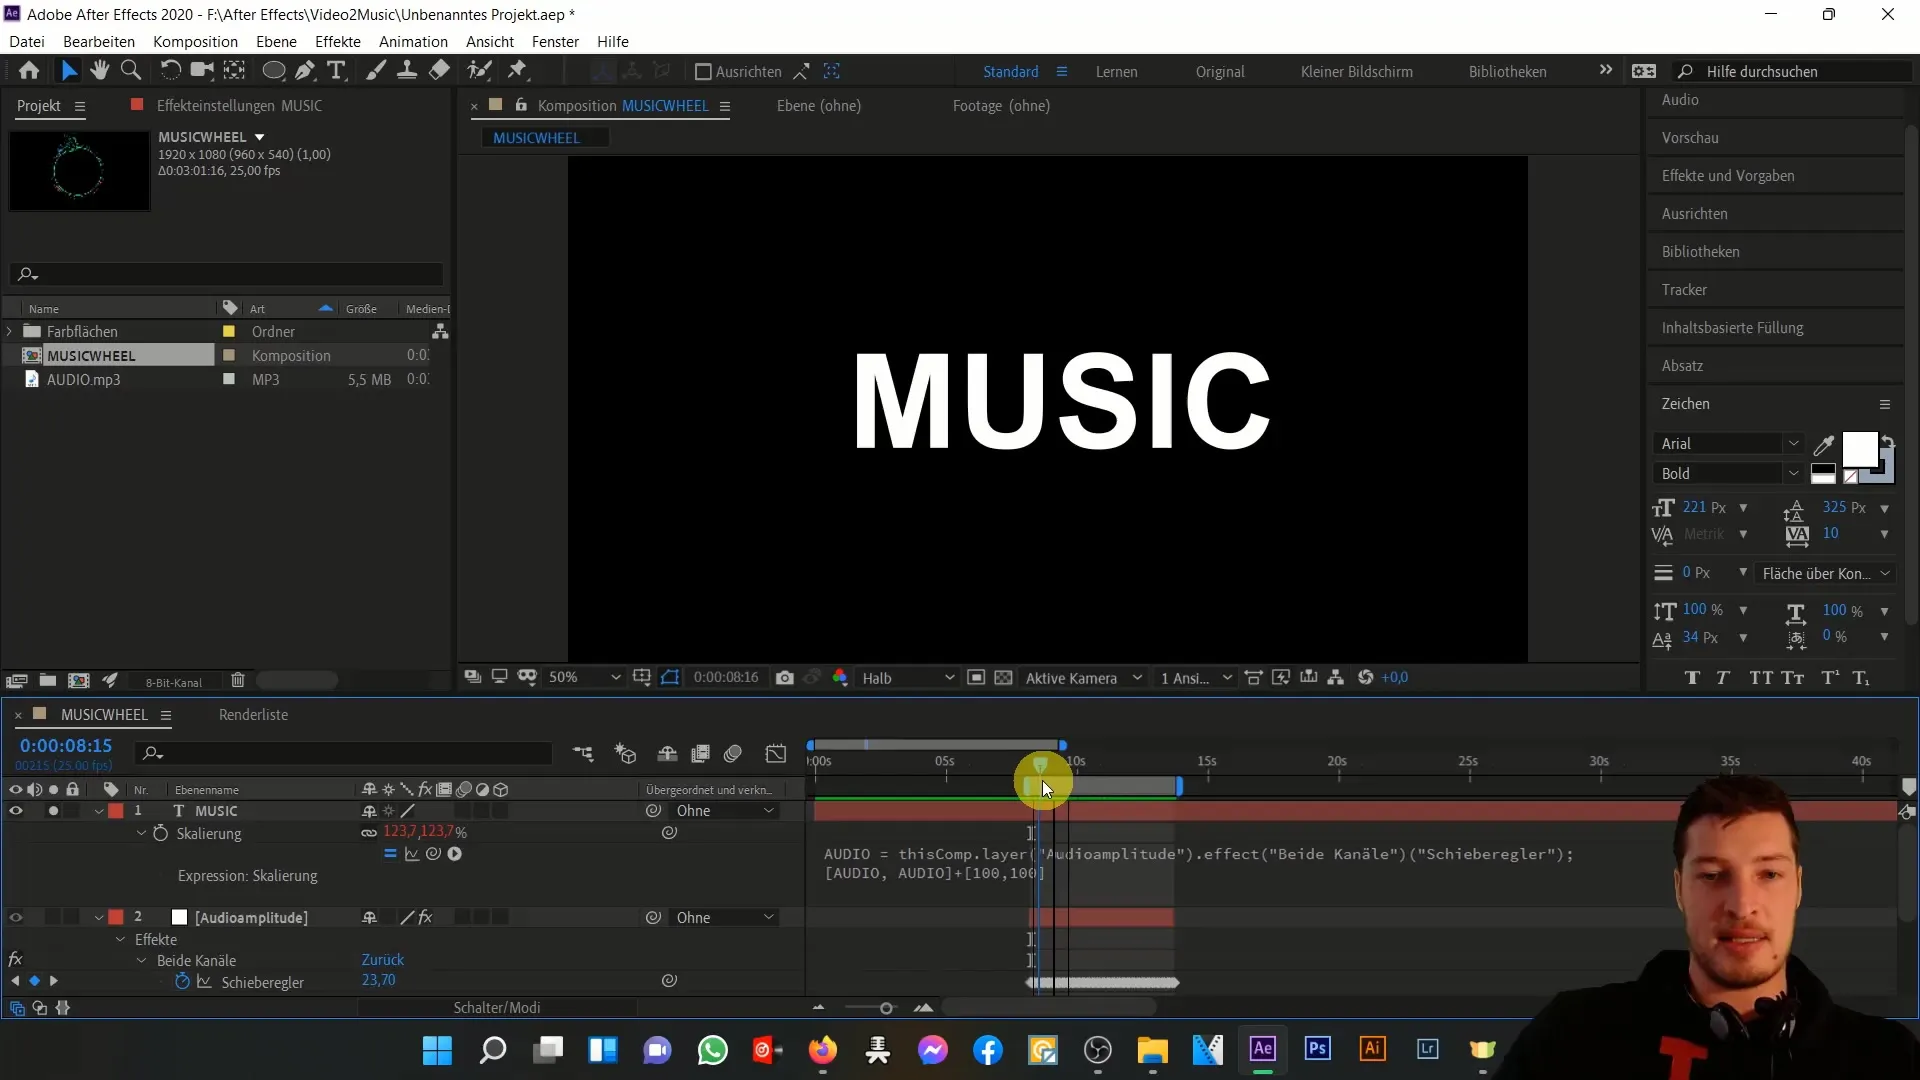
If you want to preview the animation, you will see that the size of the text layer dynamically responds to the music peaks.
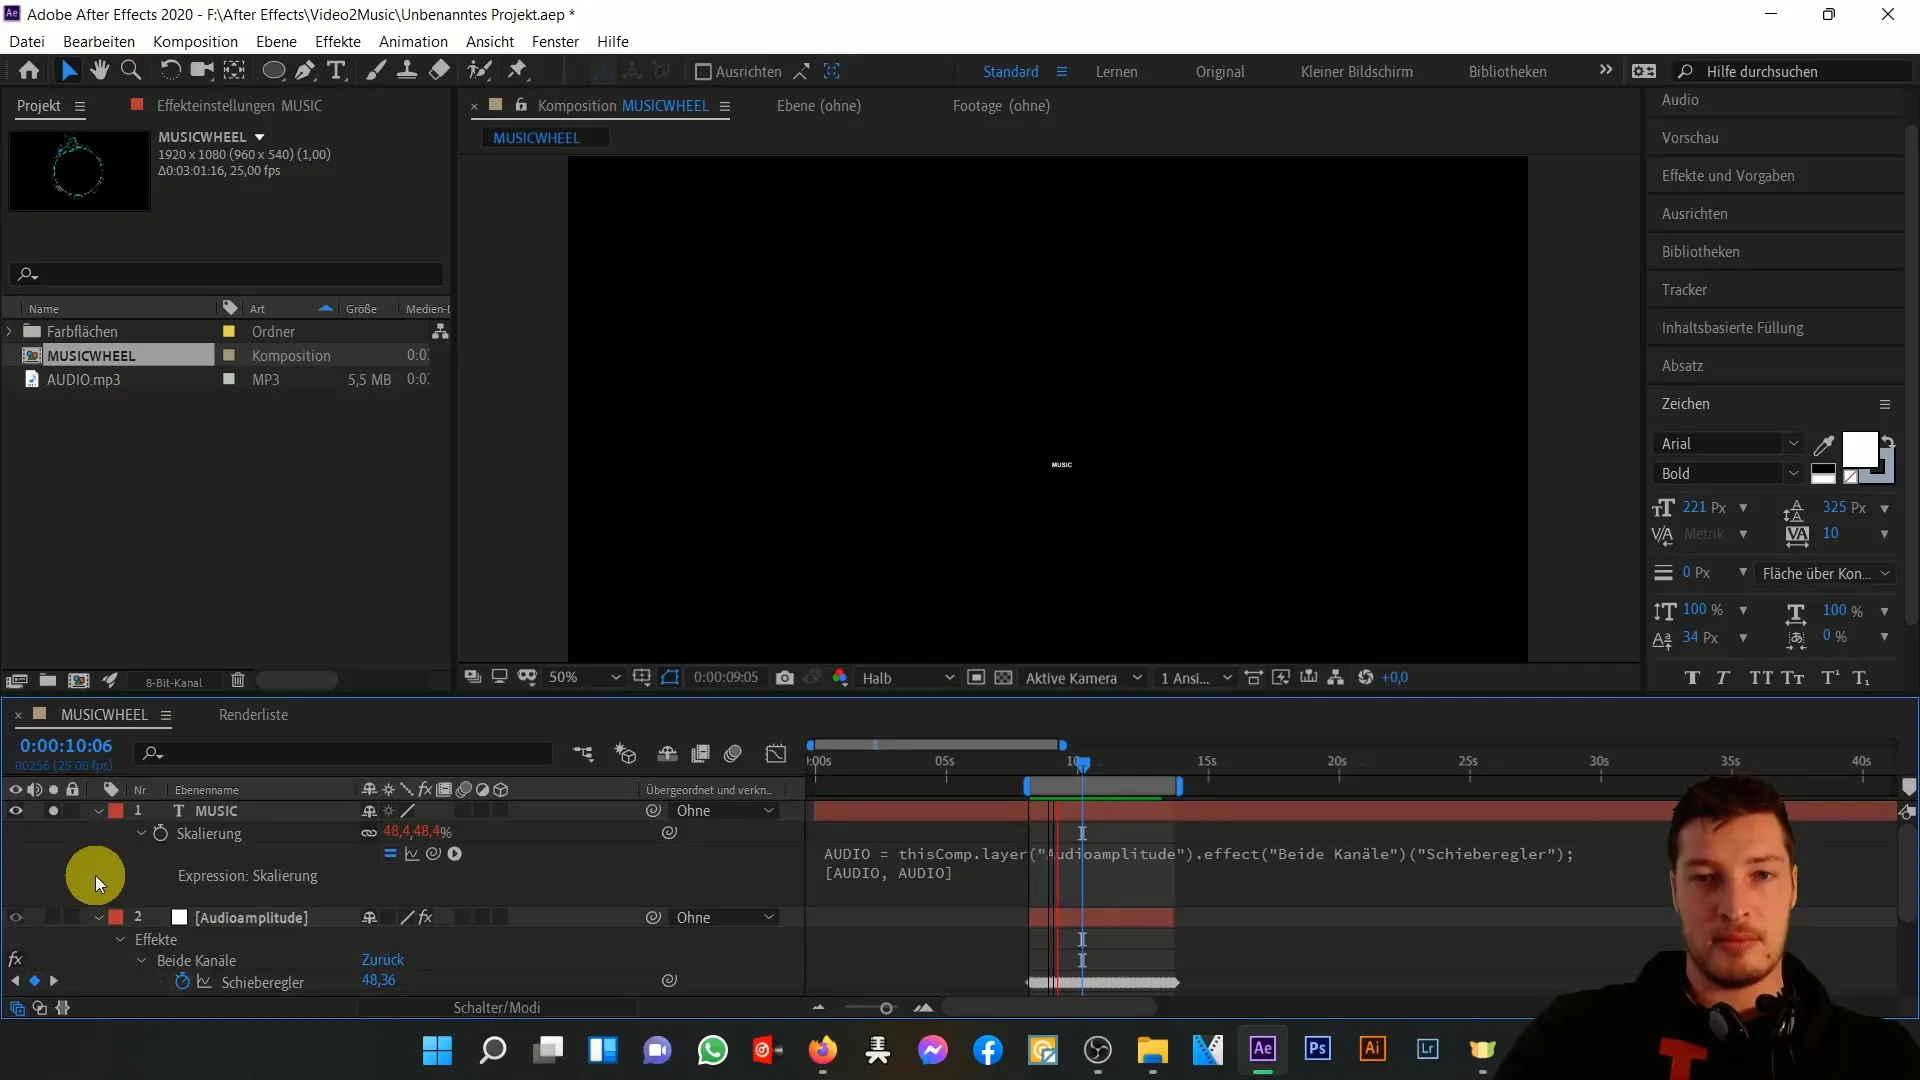
Now, we will make sure that the text scaling always stays at 100%, even when the music is quiet. Modify the expression so that it does not drop below 100% at low peaks.
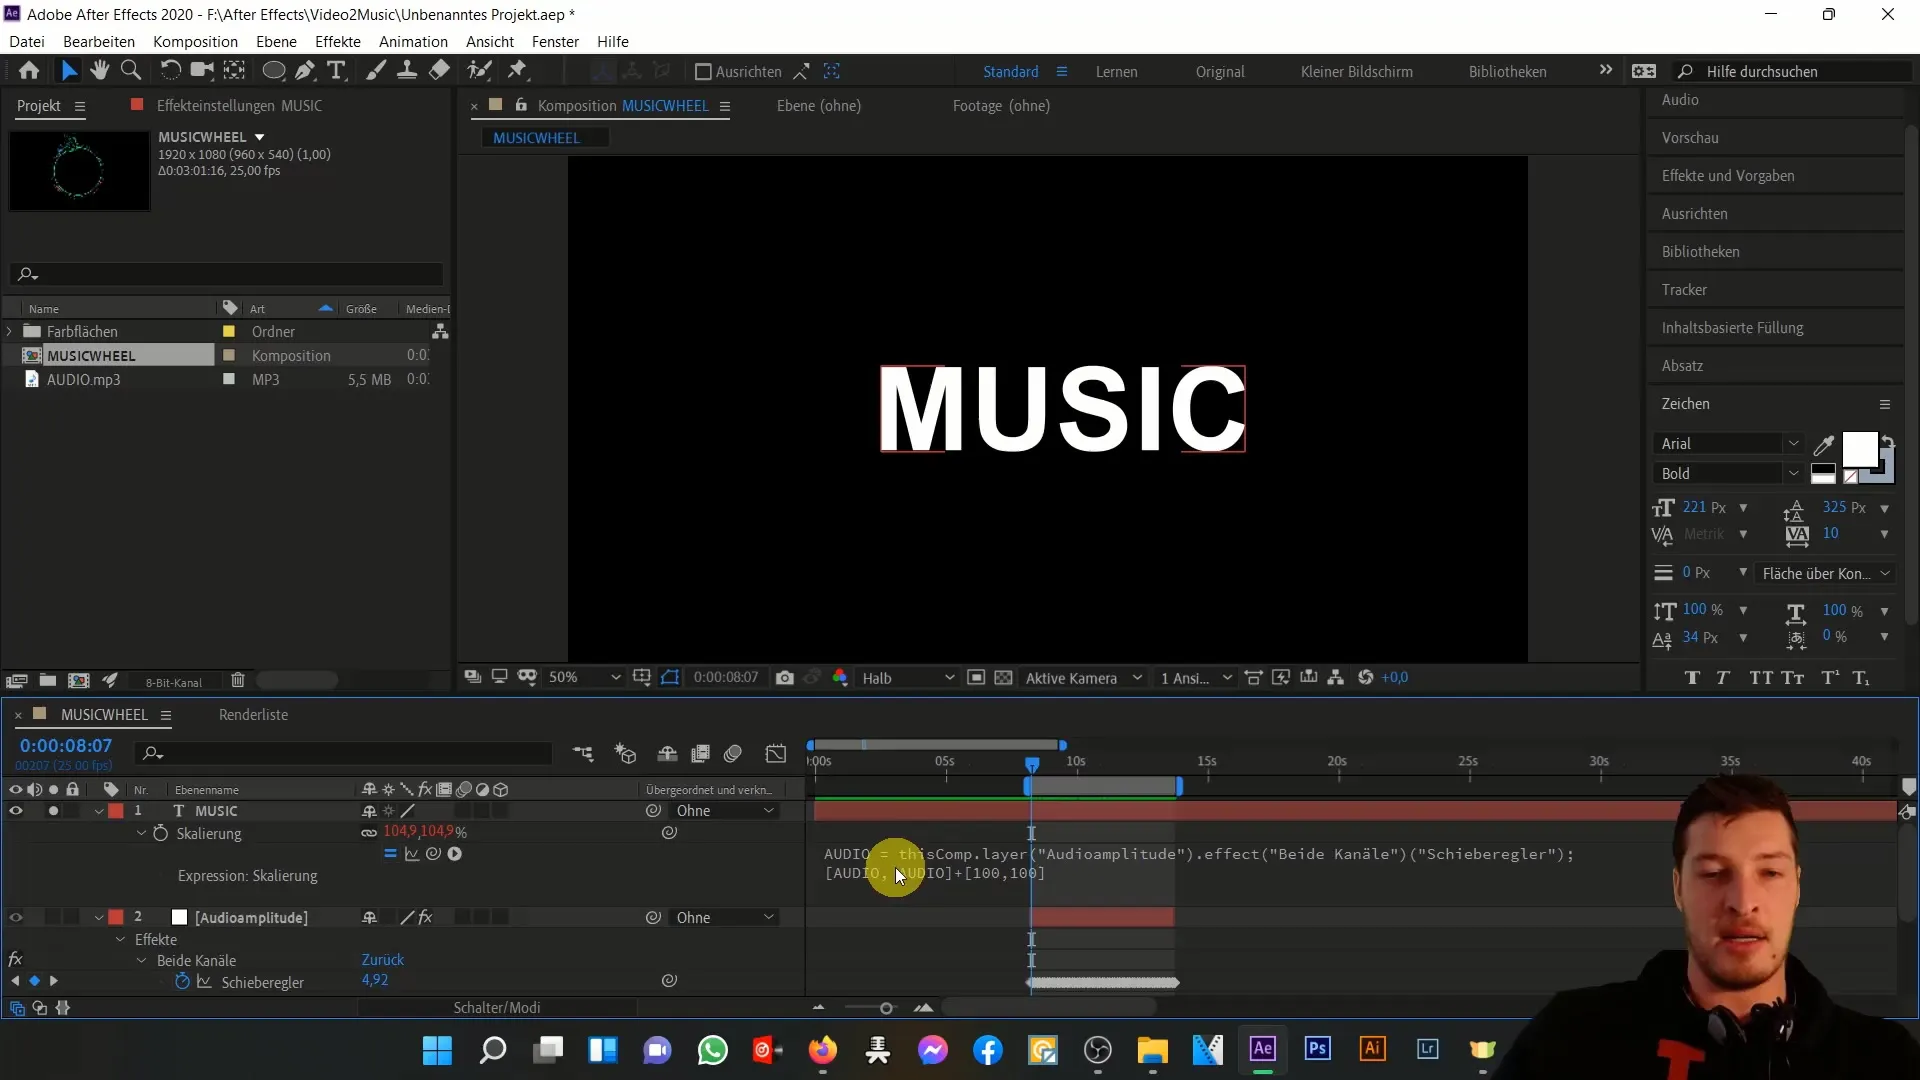
You can achieve this by adding a simple addition in the expression. For example, when the slider reaches a quiet point, the text will be set to at least 100%, and when there is a strong peak, the value of the stored audio will be added to the scaling.
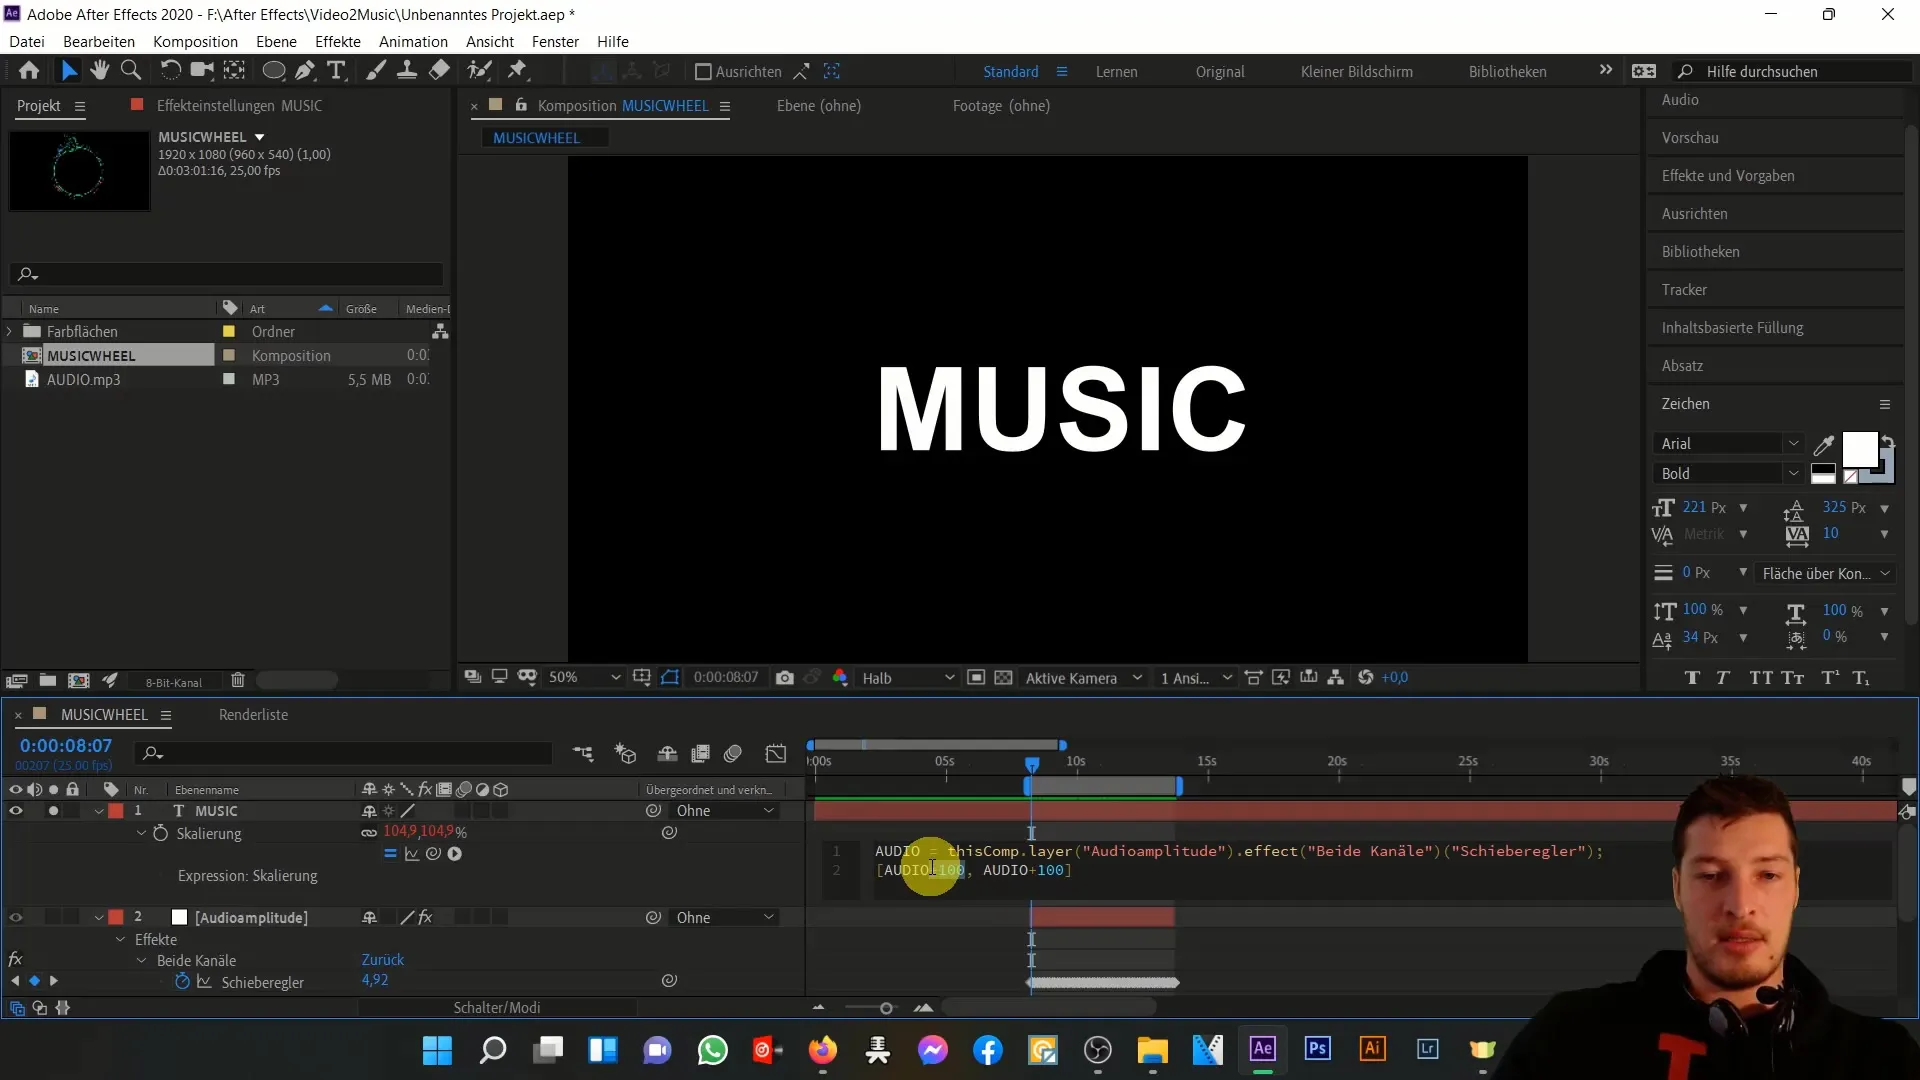
Also consider applying more complex mathematical operations to the expressions, such as multiplication or using brackets for precise calculations. This way, you will have finer control over how strongly the animation reacts to the music.
In the next part of this guide, we will focus on how you can optimize the scaling behavior so that the smallest changes in the music do not immediately change the size. Concentrate on controlling and designing the animation with the right values.
Summary
In this guide, you have learned how to use expressions in After Effects to translate the dynamics of your music into animations. You have learned how to use null objects to store audio information in keyframes and thus dynamically link the scaling of text layers.
Frequently Asked Questions
What are null objects in After Effects?Null objects are invisible layers that serve as information storage and help control animations.
How do expressions work in After Effects?Expressions are scripts that link properties together and dynamically react to values.
How can I adjust the scaling so that it does not fall below 100%?Use simple mathematical operations in the expressions to set the minimum value for scaling.


