Welcome to my After Effects tutorial, where I show you how to adjust the content of texts in your animation based on music beats. In this tutorial, we focus on adapting text content during strong music beats and explain in detail how you can implement this in your composition.
Main Insights
You will learn how to optimize the scaling and positioning of your text layer, add matching color changes, incorporate brightness effects, and animate the text content - all synchronized with the music.
Step-by-Step Guide
To correctly animate your text layer and synchronize it with the music, follow these steps:
First, let's look at the scaling of the text layer to ensure that it is centered. Open the text layer and check the scaling values. It is important that the scaling occurs evenly from the center. We need to adjust the anchor point of the text layer so that the crosshair is positioned centrally in the text. Move the anchor point on the X-axis and then on the Y-axis to place it precisely where desired.
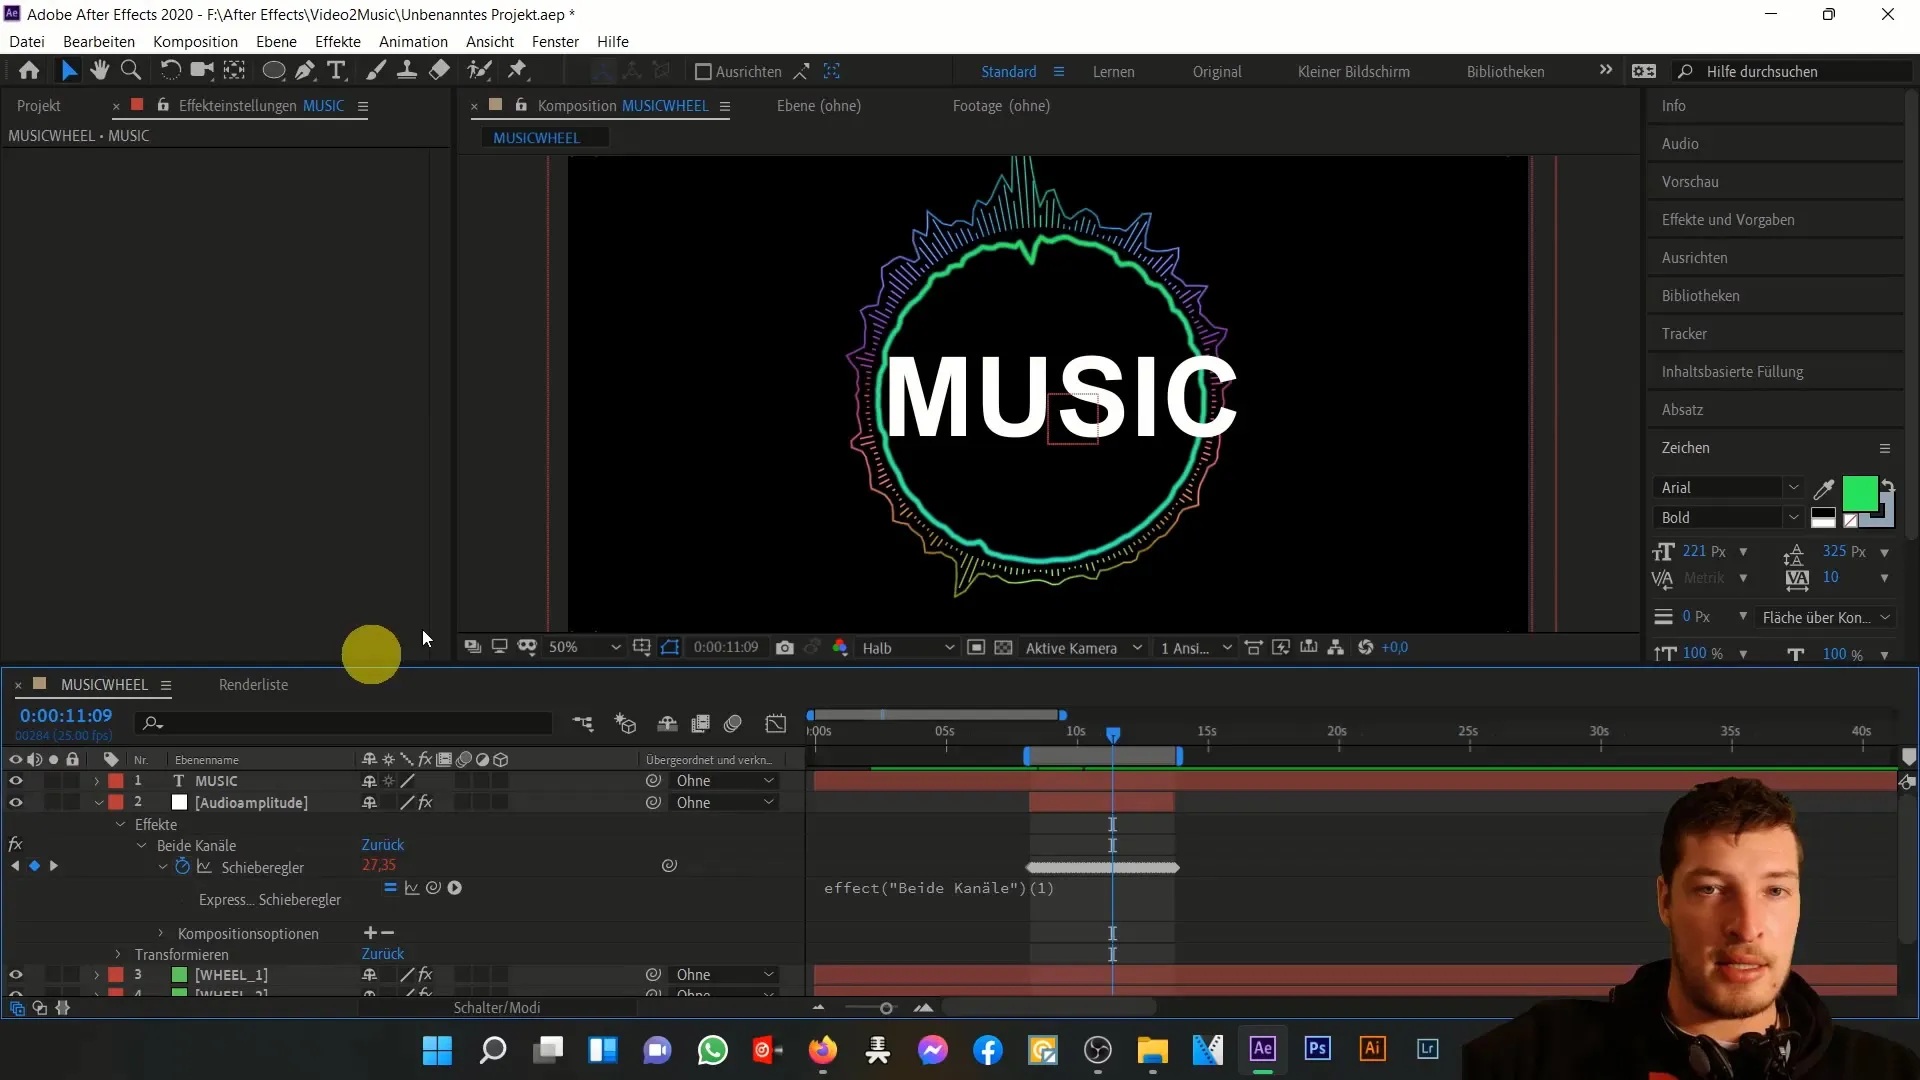
Once the anchor point is correctly set, center the text layer horizontally and vertically using the align tool. Make sure to adjust the position values accordingly for a neat appearance.
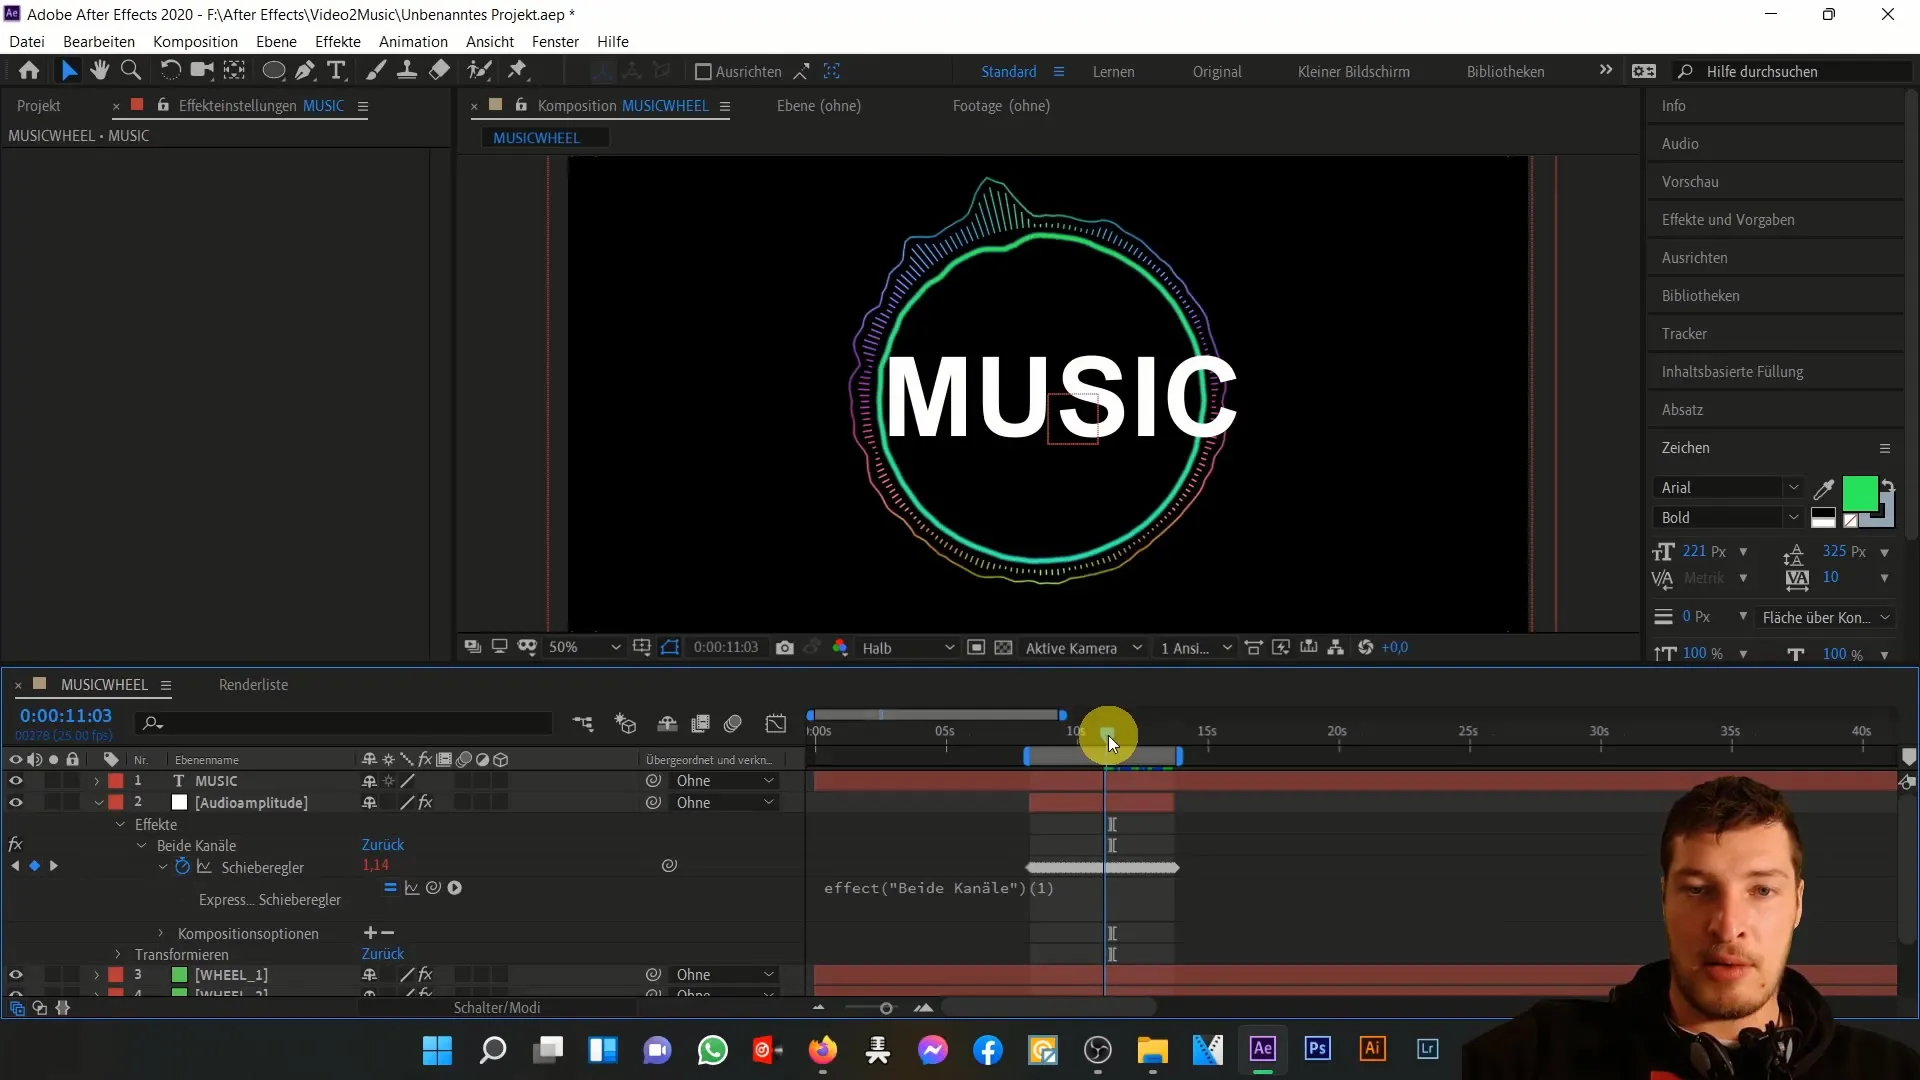
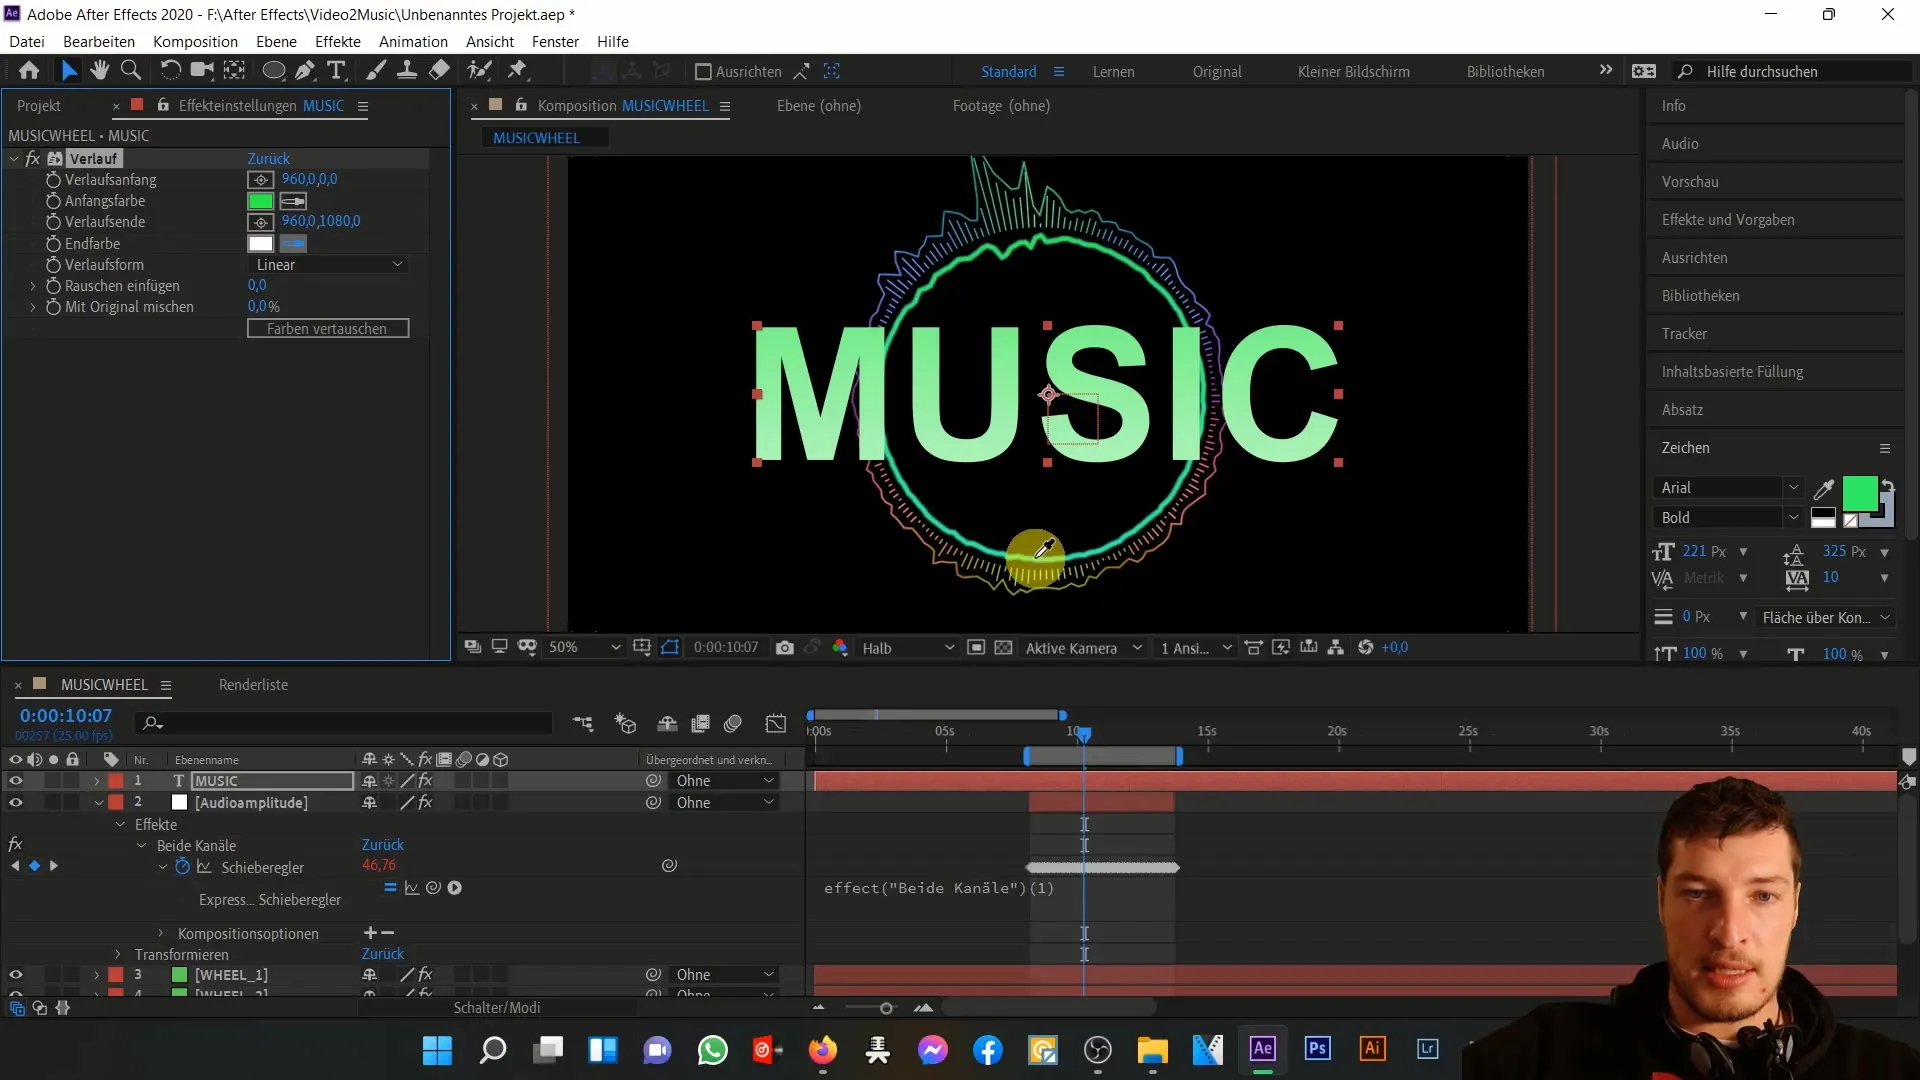
Now for the exciting part: we want to add a color change that is synchronized with the music. To do this, select "Gradient" under "Effects" and adjust the starting color to match the value of the inner circle. The end color should be a nice turquoise. Adjust the gradient until you are satisfied with the result.
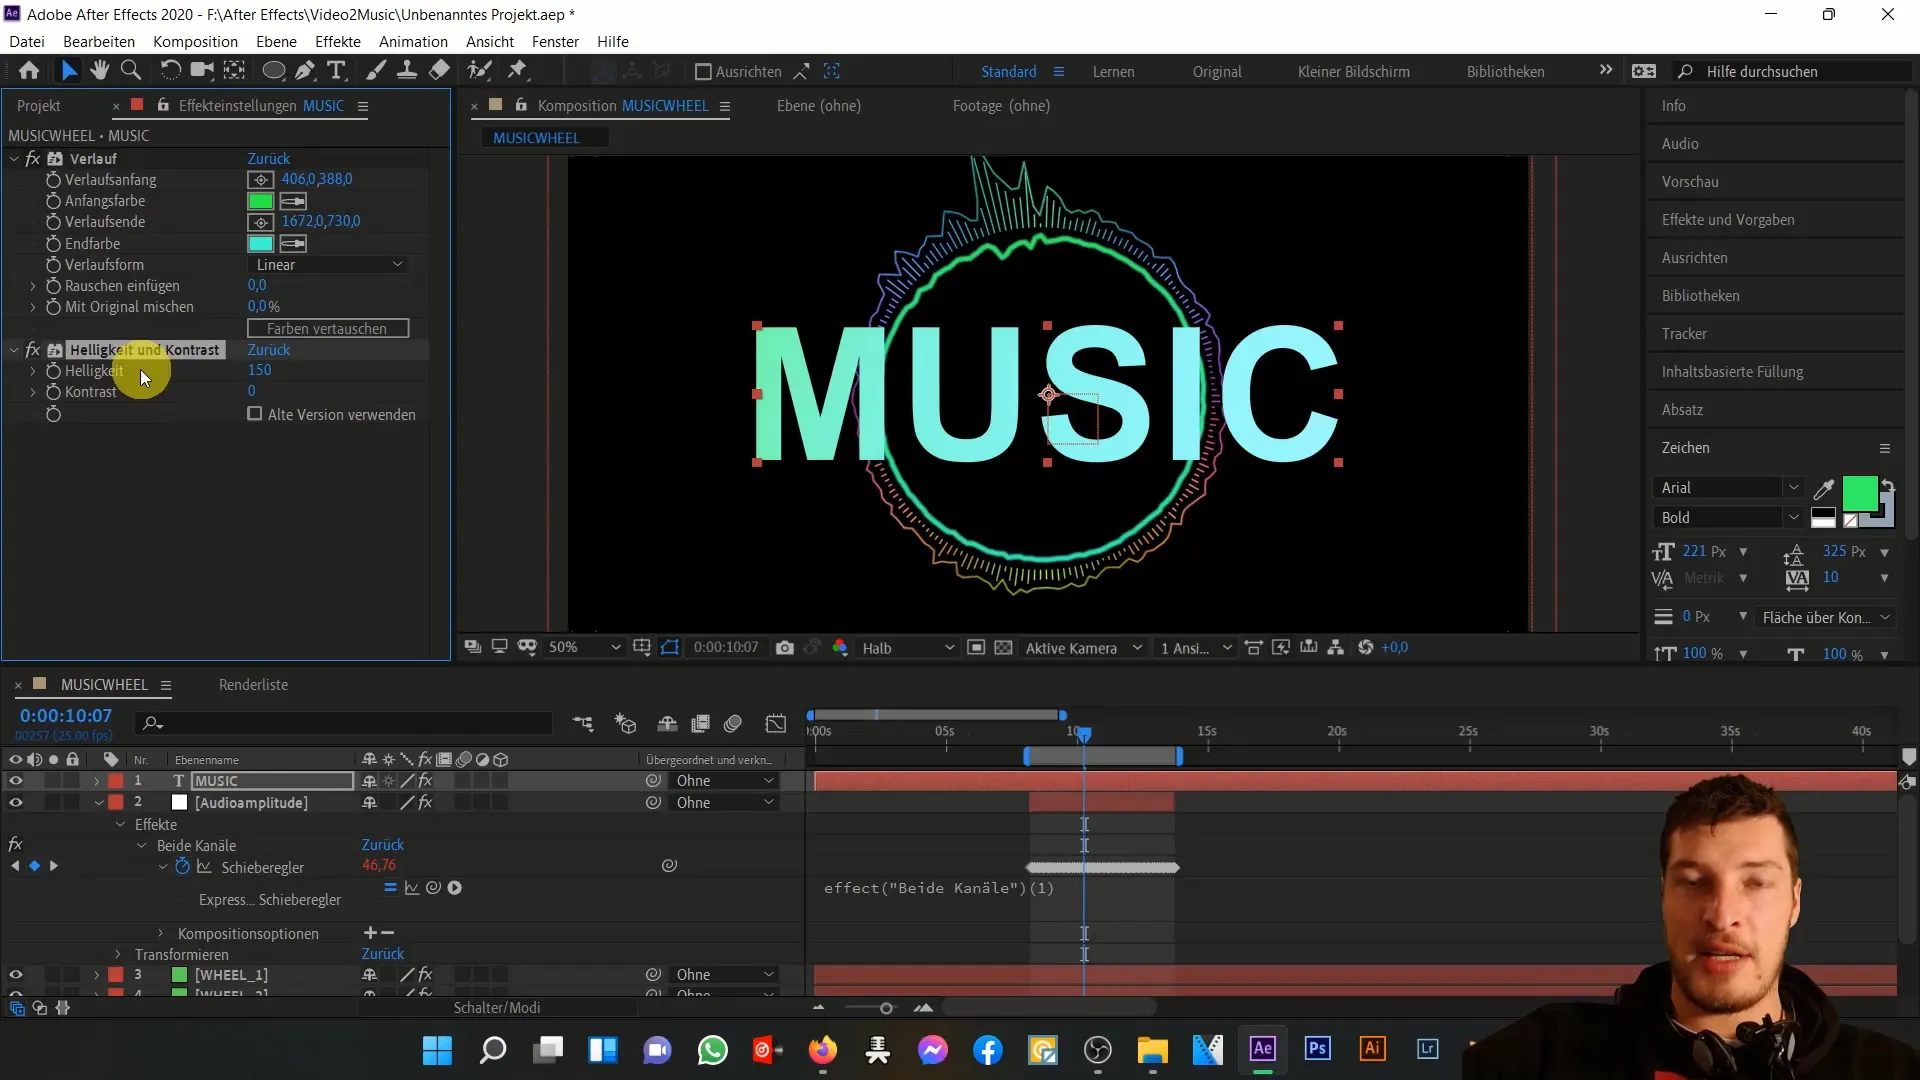
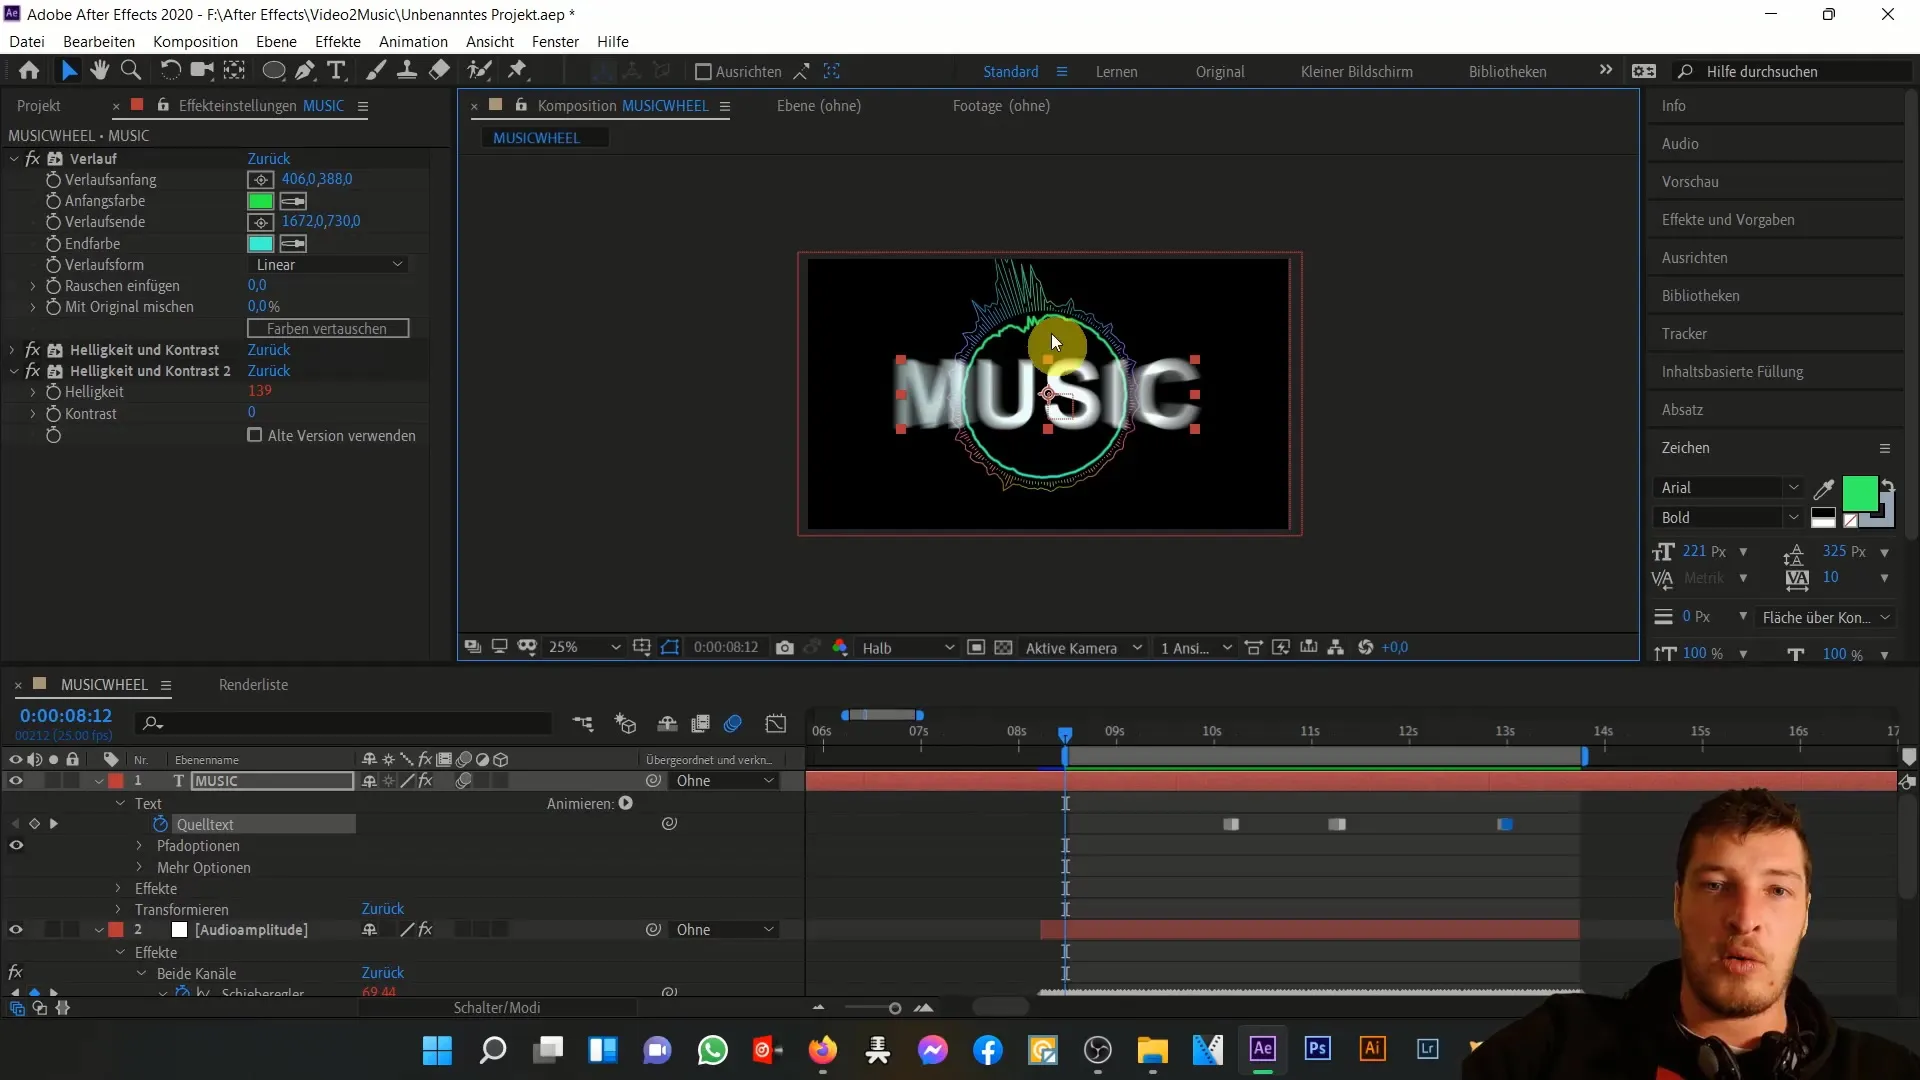
Next, add the "Brightness and Contrast" effect. First, increase the brightness and see how close you get to the desired effect from the project example. It is important to link the effect with the audio amplitude. Bring back the linear effect to the text layer and ensure that the effect only triggers during high music beats.
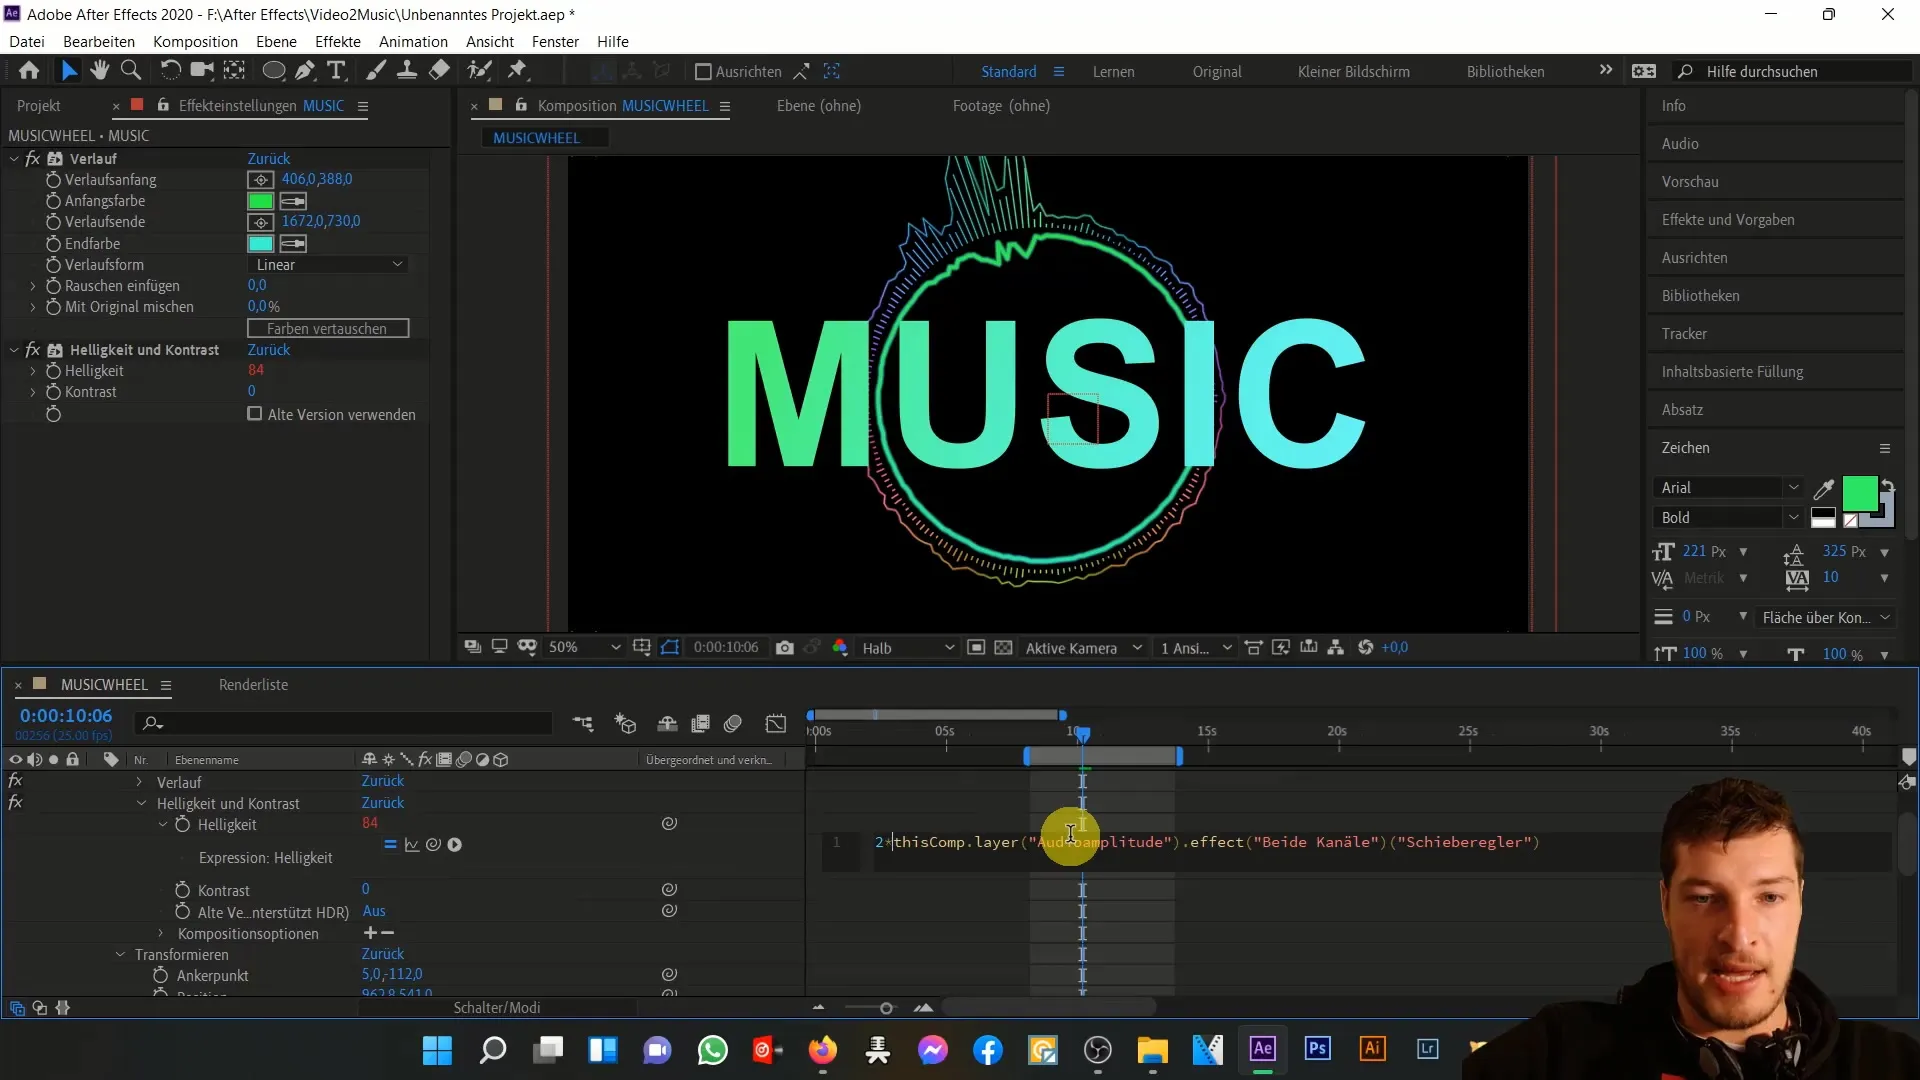
Now onto something interesting: linking the brightness of the text layer to the slider of the audio amplitude. Hold down the ALT key and click on the stopwatch next to the brightness. Use the picker tool to select the slider.
You should now see the brightness of the text layer reacting depending on the music beats. You may need to adjust the value in the expression to make the brightness increase even more during the maximum beats. Duplicate the effect if needed for a more intense result.
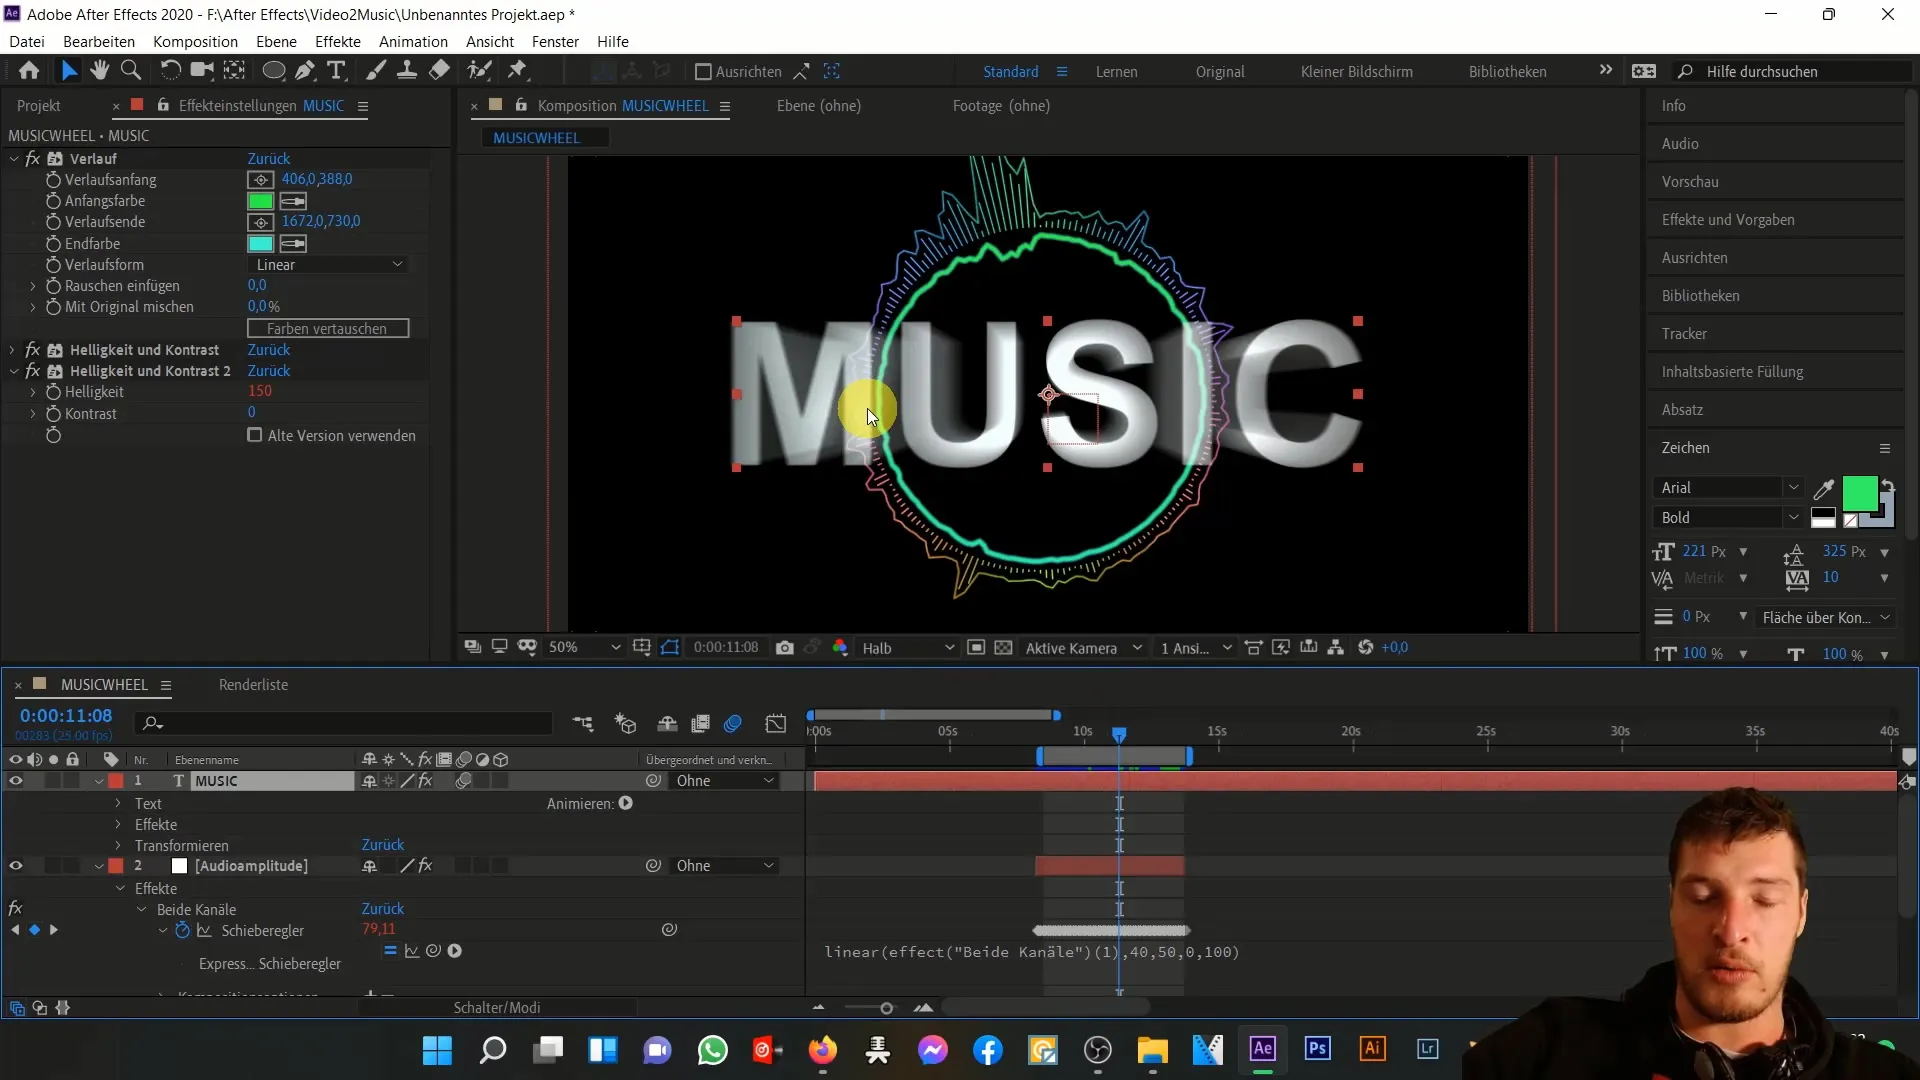
To make it more dynamic, enable the Motion Blur effect for both the text layer and the overall composition. This will add an extra level of dynamism to the animation when the text layer peaks during the middle points of the music.
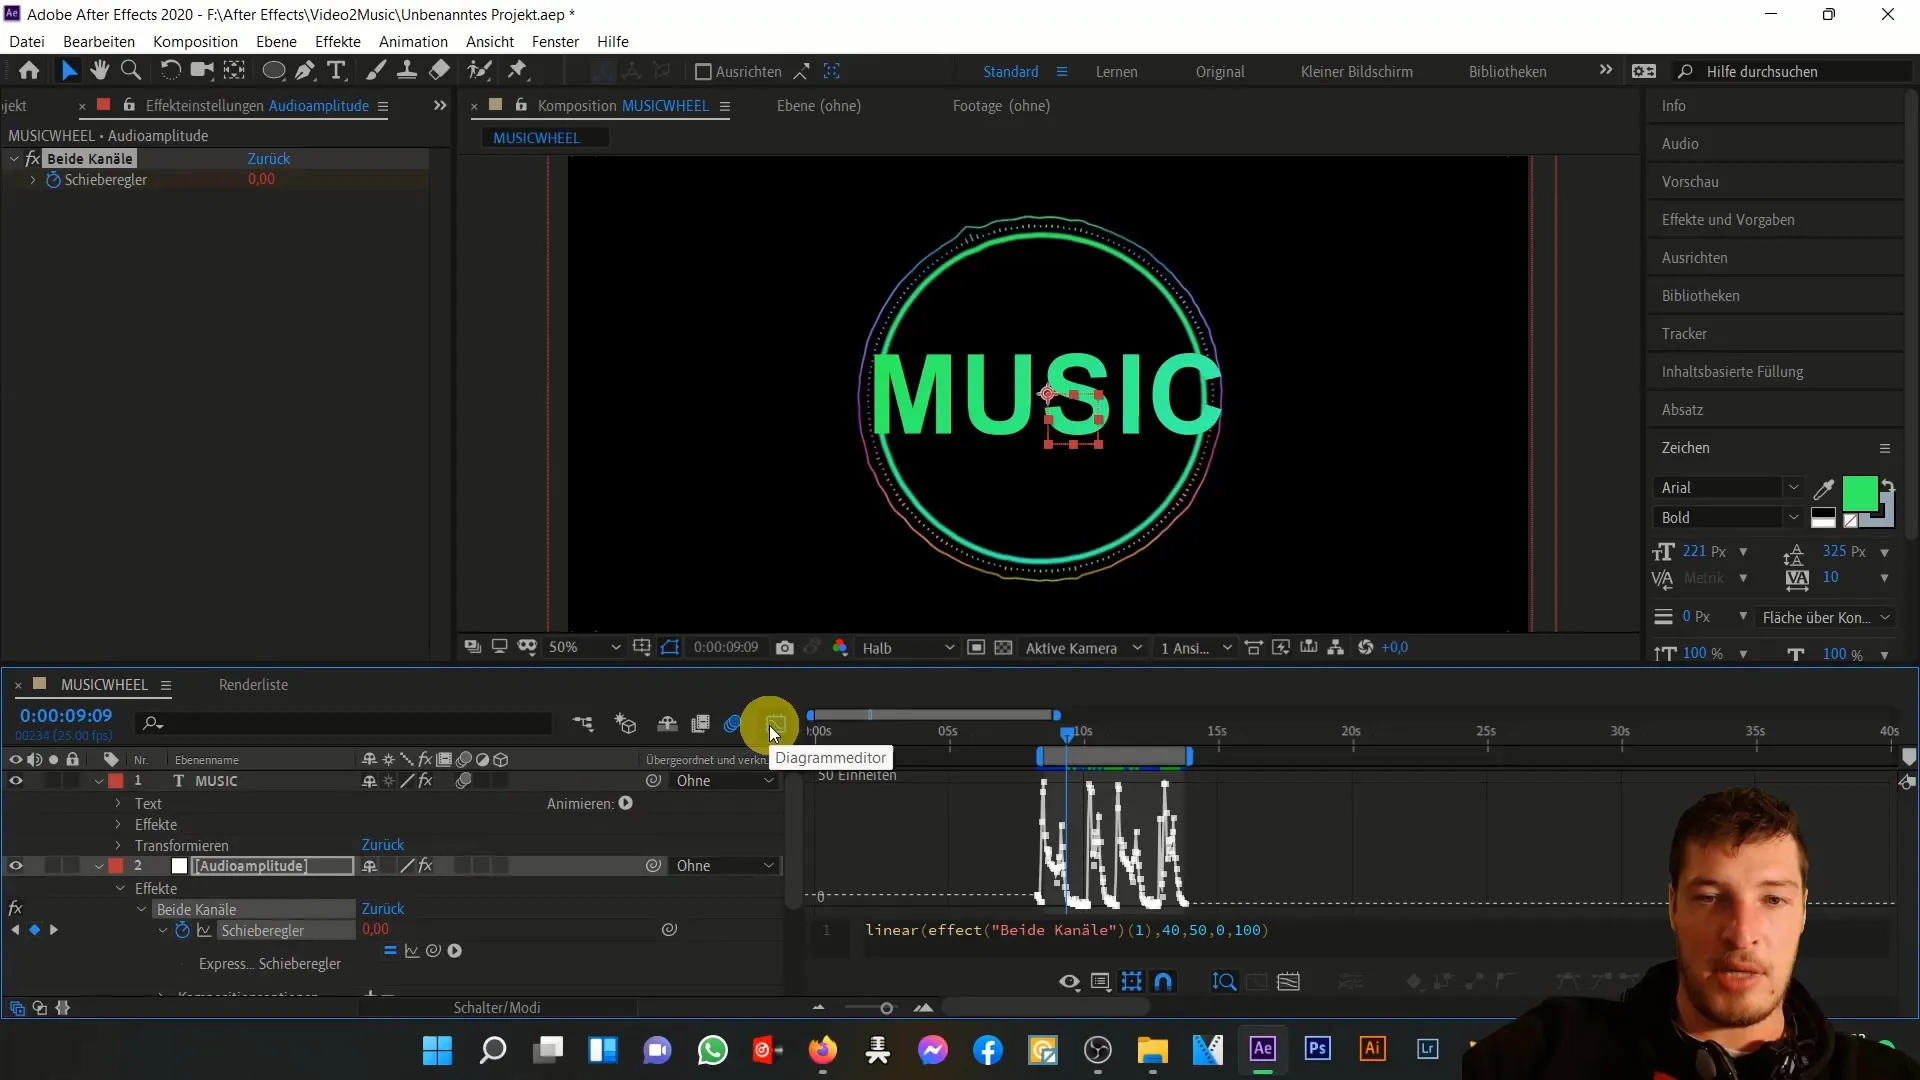
As the next step, let's focus on text changes. We want to adjust the text content during the strongest beats. Use the graph editor to determine the most accurate timings for text changes and then go to the text layer.
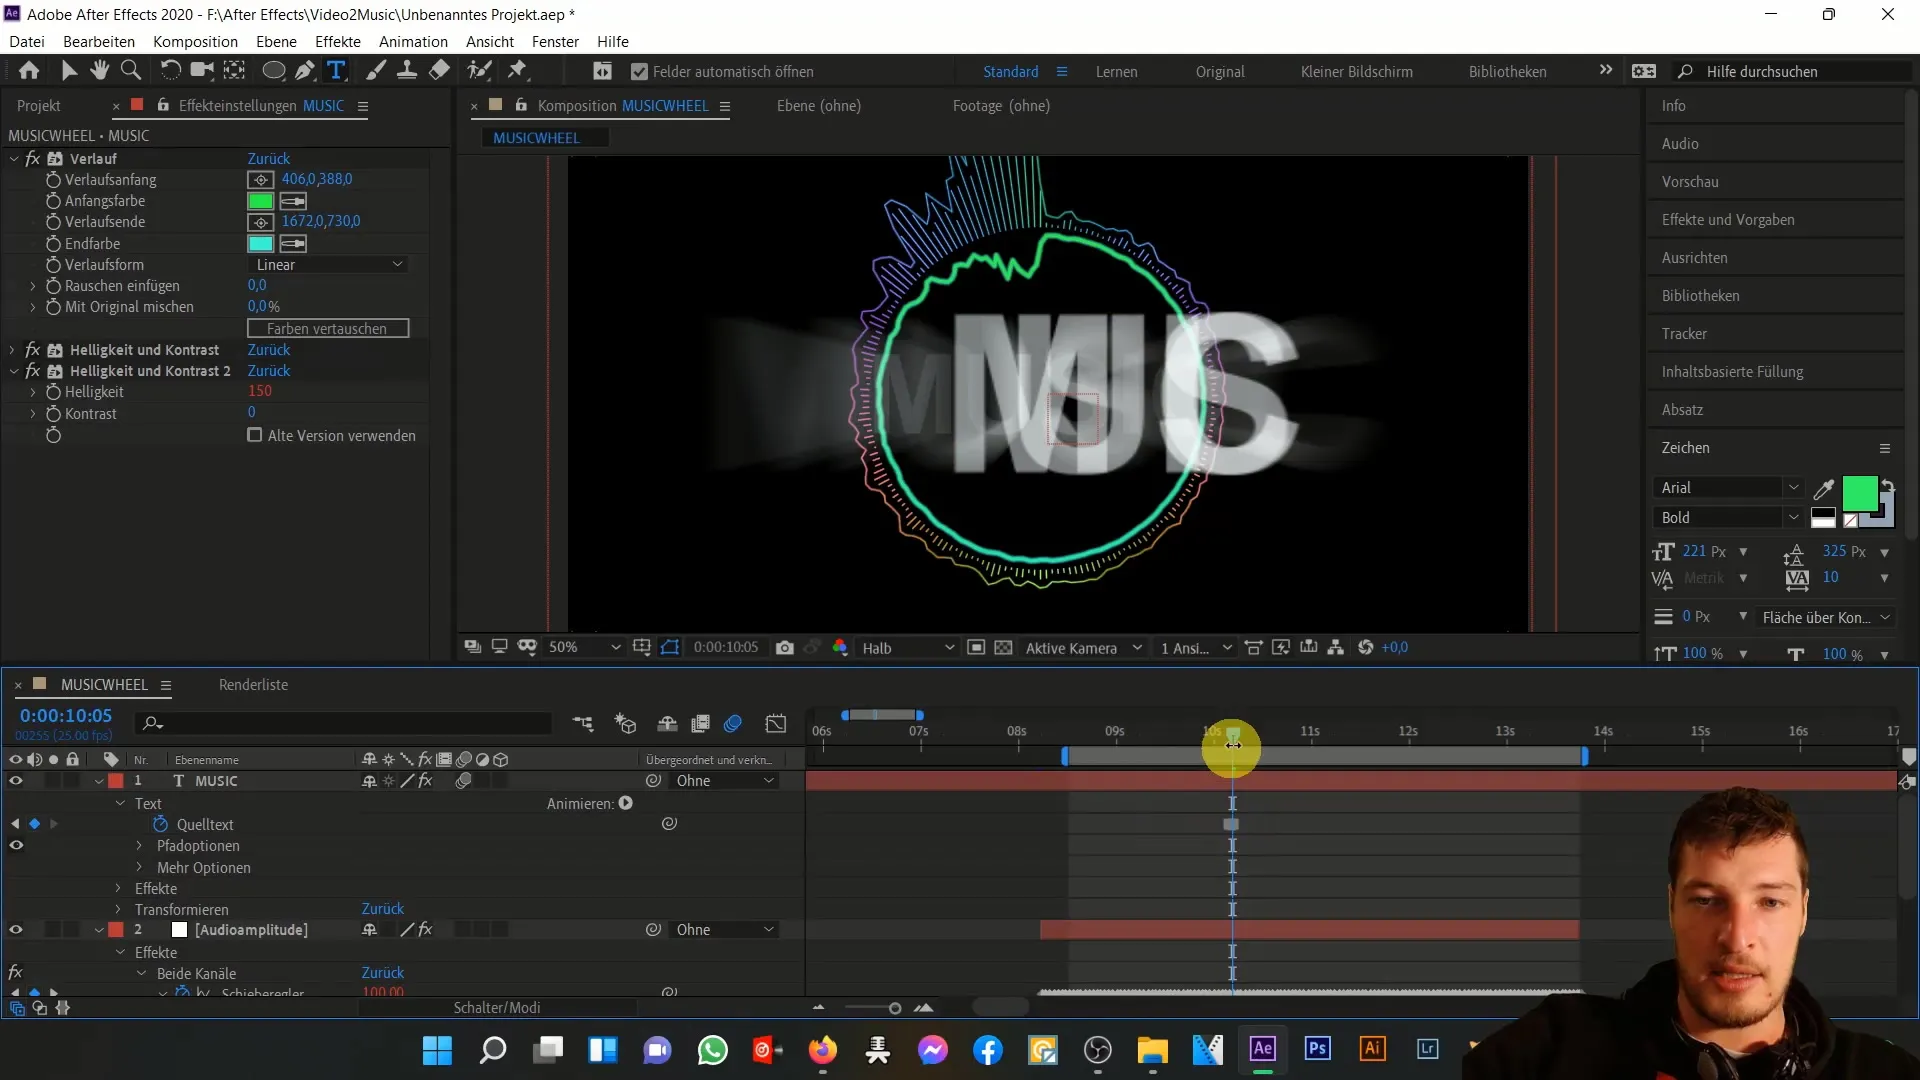
Here we use keyframes instead of expressions for text input. Place a keyframe one frame before where the first music beat occurs and change the text to "music." Repeat the step for the next beat and write "is," followed by "my," and finally "passion."
Once all keyframes are set, preview the animation. Pay attention to how well the synchronization between text and music works, especially focusing on the color changes and brightness effects.
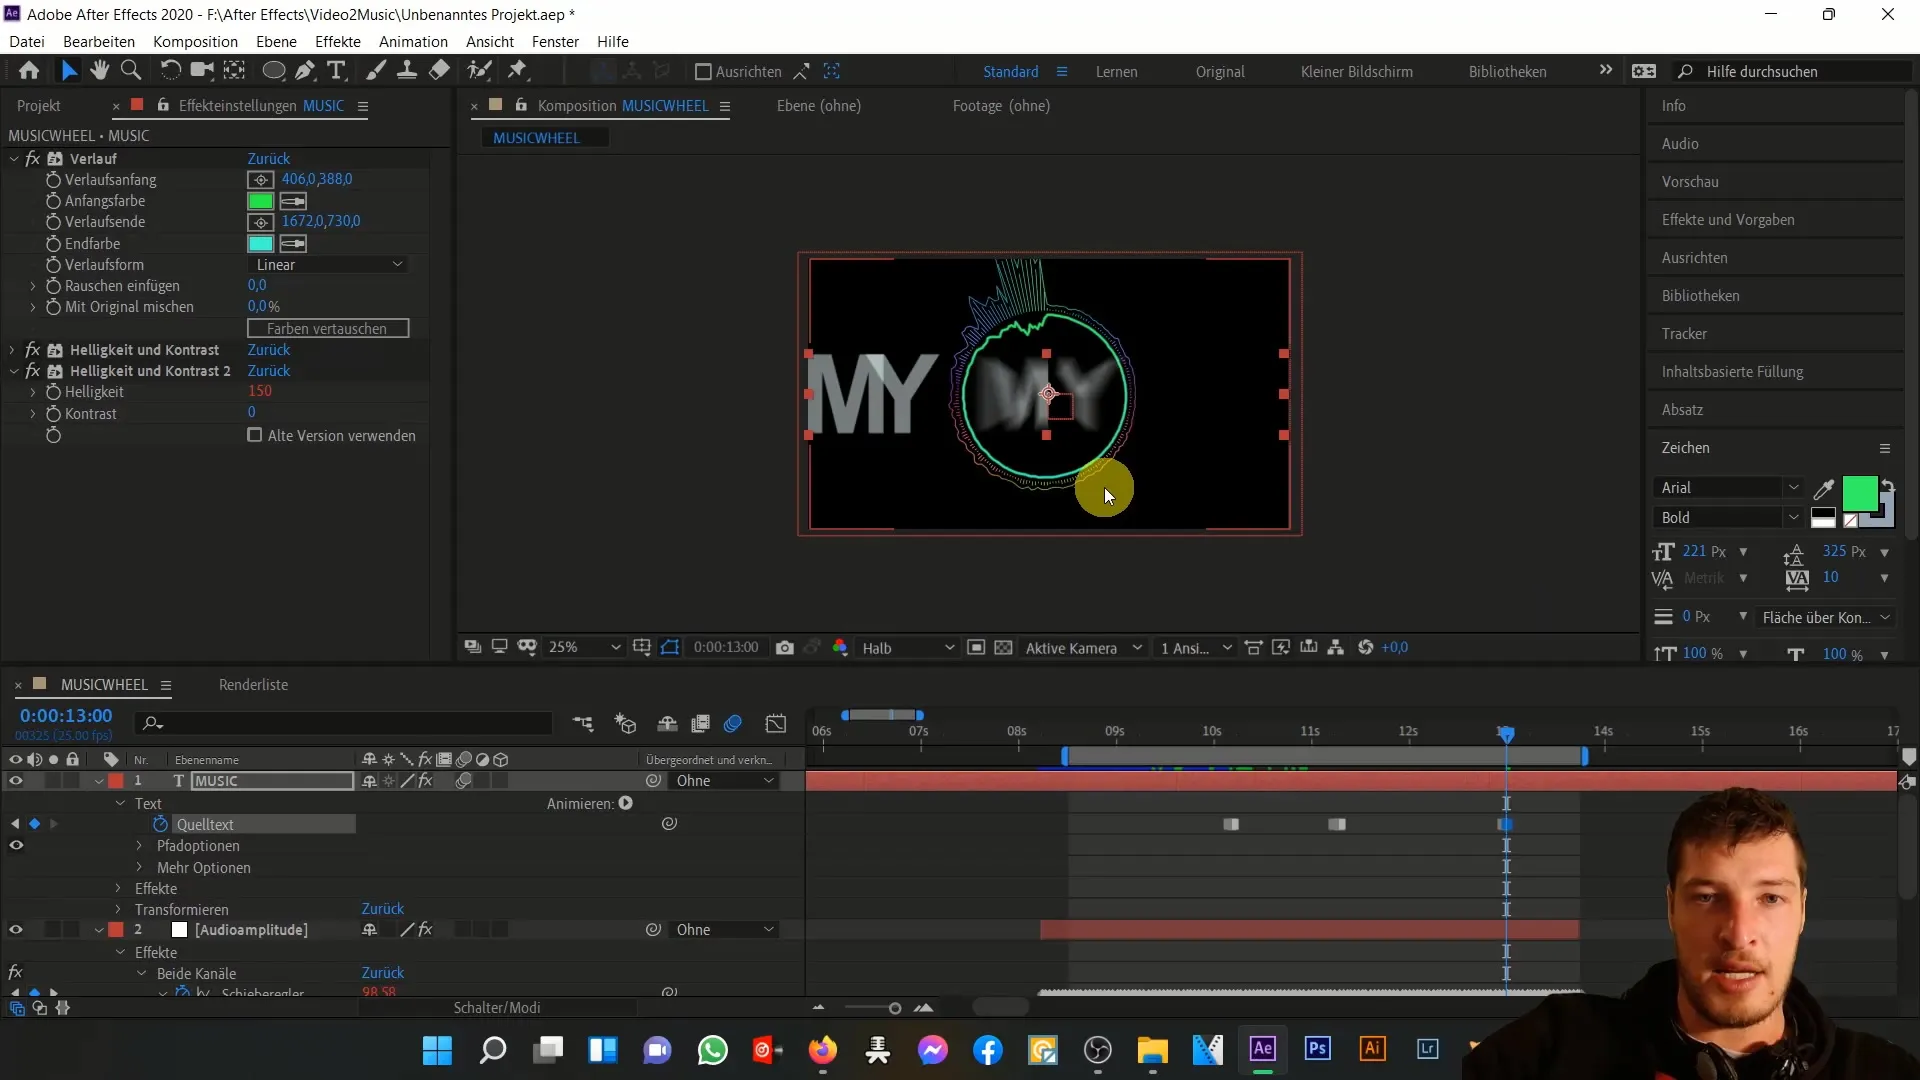
If you are satisfied with the preview, you can make the final adjustments to the overall composition. Optionally, you can continue to animate the entire composition so that everything slightly shakes and rotates.
Summary
In this tutorial, you have learned how to animate texts in After Effects and adjust them in relation to musical beats. You have experienced how important it is to optimize the adjustment parameters such as scaling, anchor point, color, and brightness. Synchronizing text with music gives your animation a dynamic and professional look.
Frequently Asked Questions
How can I adjust the anchor point of a text layer?You can adjust the anchor point by opening the text layer and cleanly moving the anchor point to the center of the text in the transformation area.
How do I link brightness to audio amplitude?Hold down the ALT key and click on the brightness stopwatch. Then choose the source for the slider.
How can I animate the text content?Use keyframes to change the text content at the corresponding audio peaks. Set keyframes in the text layer and adjust the texts as needed.
Do I need to activate motion blur?Yes, activating motion blur in the text layer and the entire composition ensures a more dynamic animation.
Can I use other effects as well?Yes, you can experiment with different effects and animations to achieve unique results.


