Welcome to this After Effects tutorial, where I will show you how I created an appealing course image. In this video, we will be working with 20 different layers to achieve an impressive result. I will explain to you step by step how you can combine and design the individual elements to realize your own creative project. Let's get started!
Key Findings
- Combination and manipulation of 20 layers in After Effects
- Use of Keylight, masks, and color effects
- Possibilities for color correction and effect creation
Step-by-Step Guide
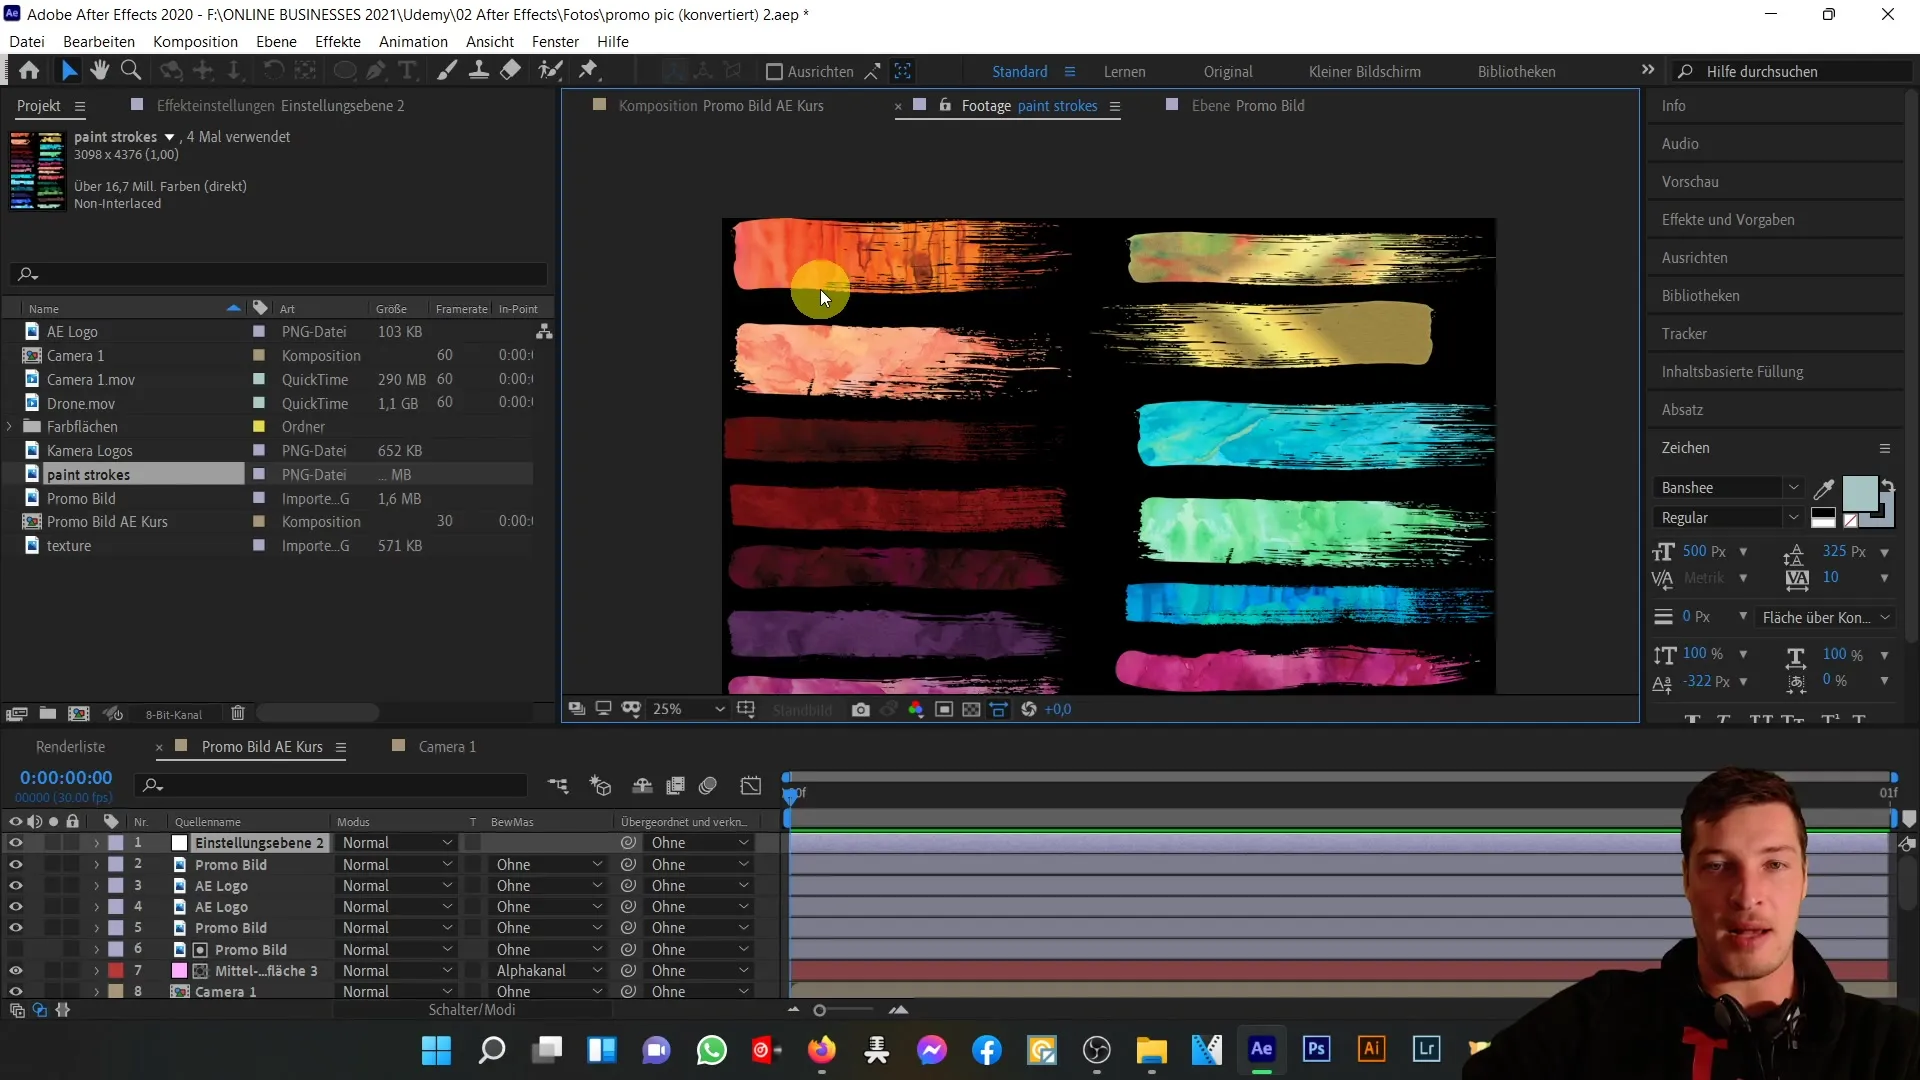
First, we will look at the source materials used to create the course image. You can see here the After Effects logo, a file with various paint splatters, and a texture file that serves as the background structure. These are the basic elements we will be working with.
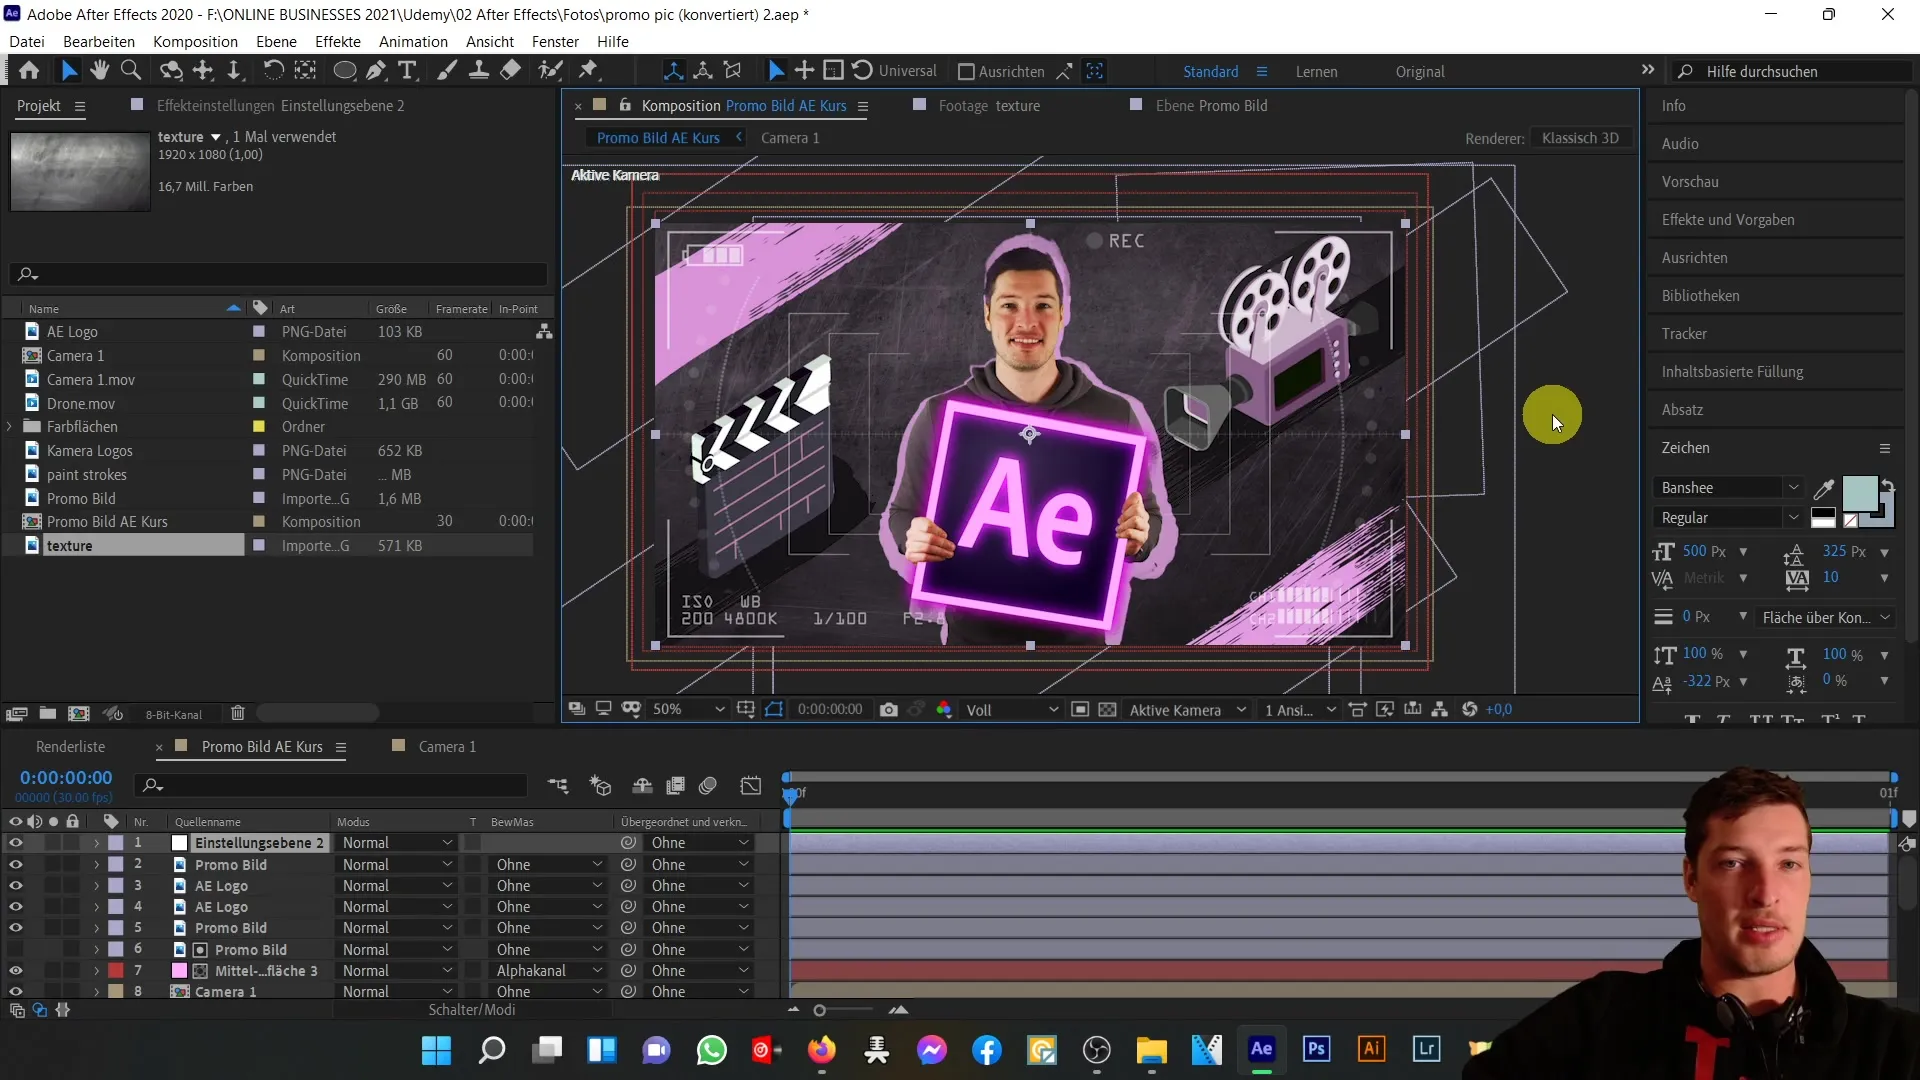
Next, we will examine the composition that brings together the aforementioned elements. The camera composition includes various media, including a drone file integrated into the inner area. By careful cutting and placing, I achieve the desired effect.
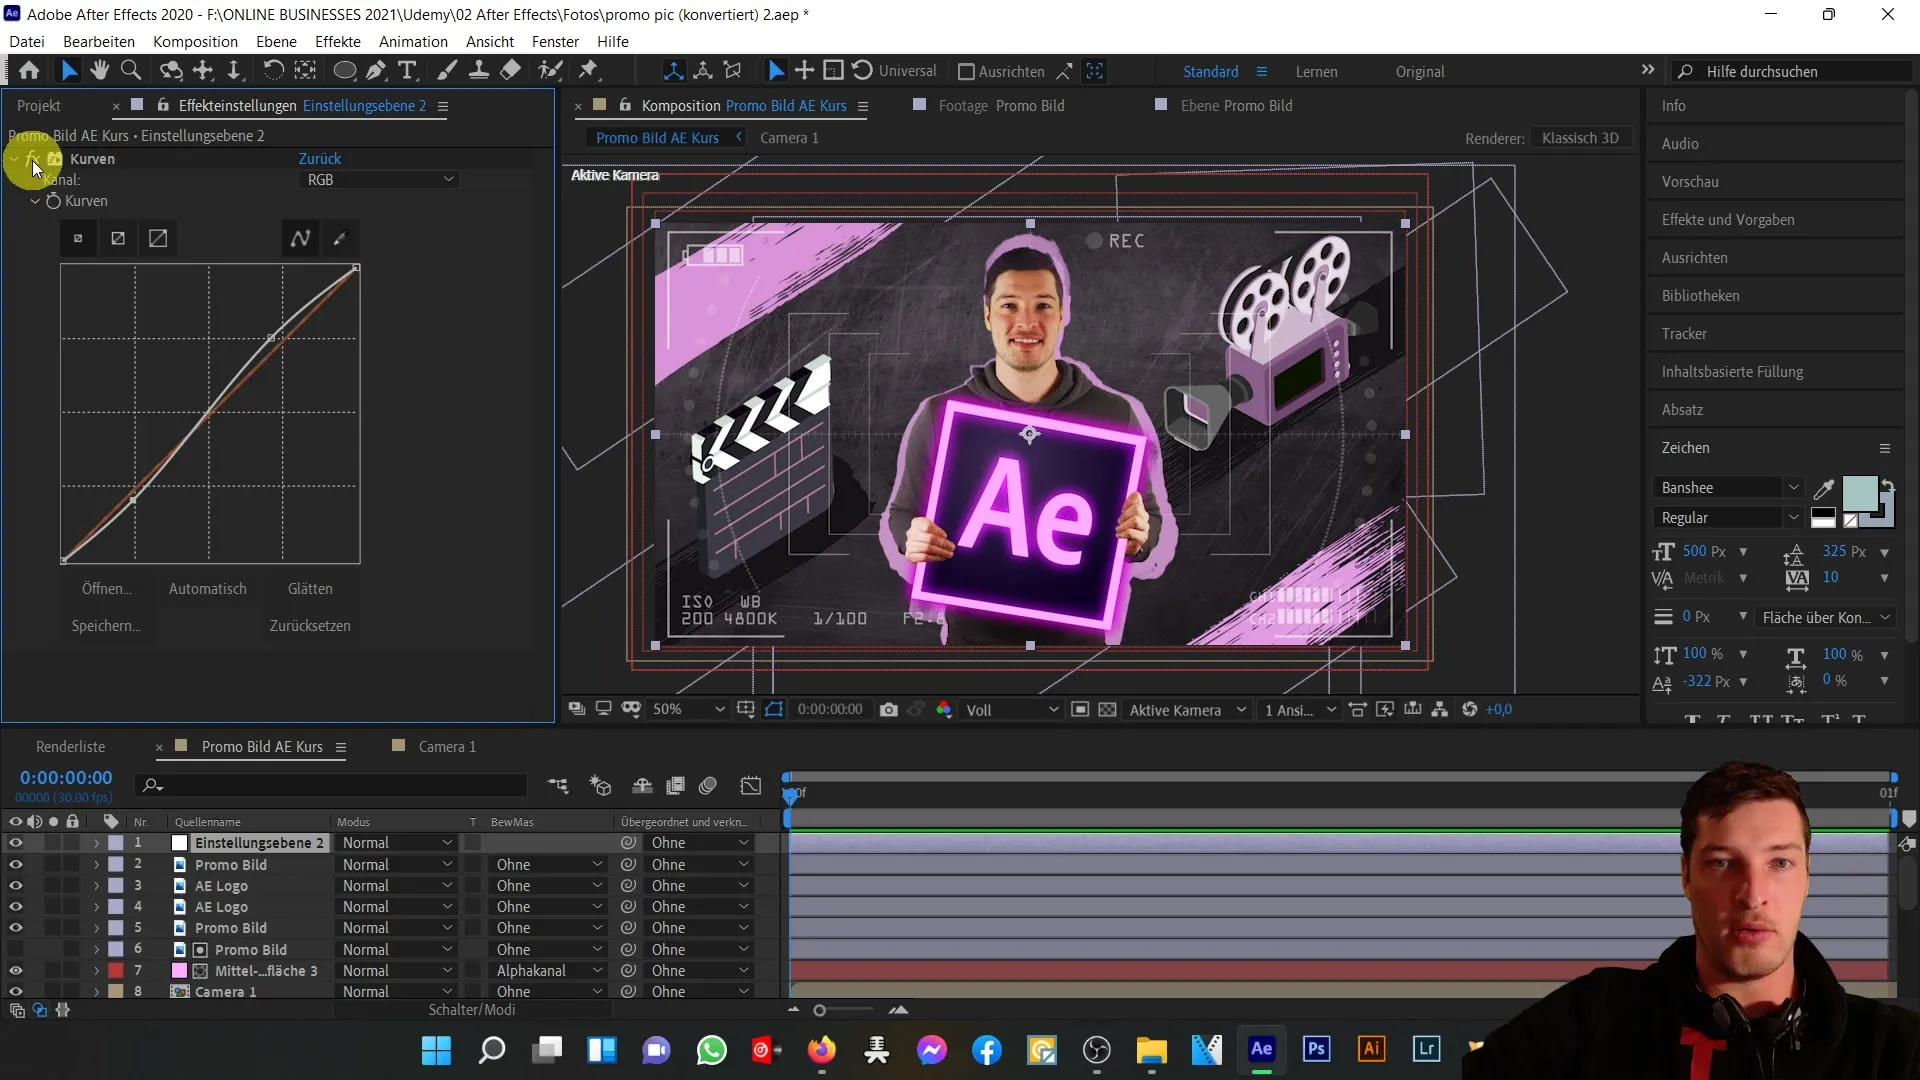
Now let's go through the individual layers. The first layer we have is the adjustment layer responsible for color correction. Here we increase the contrast for a more beautiful overall image.
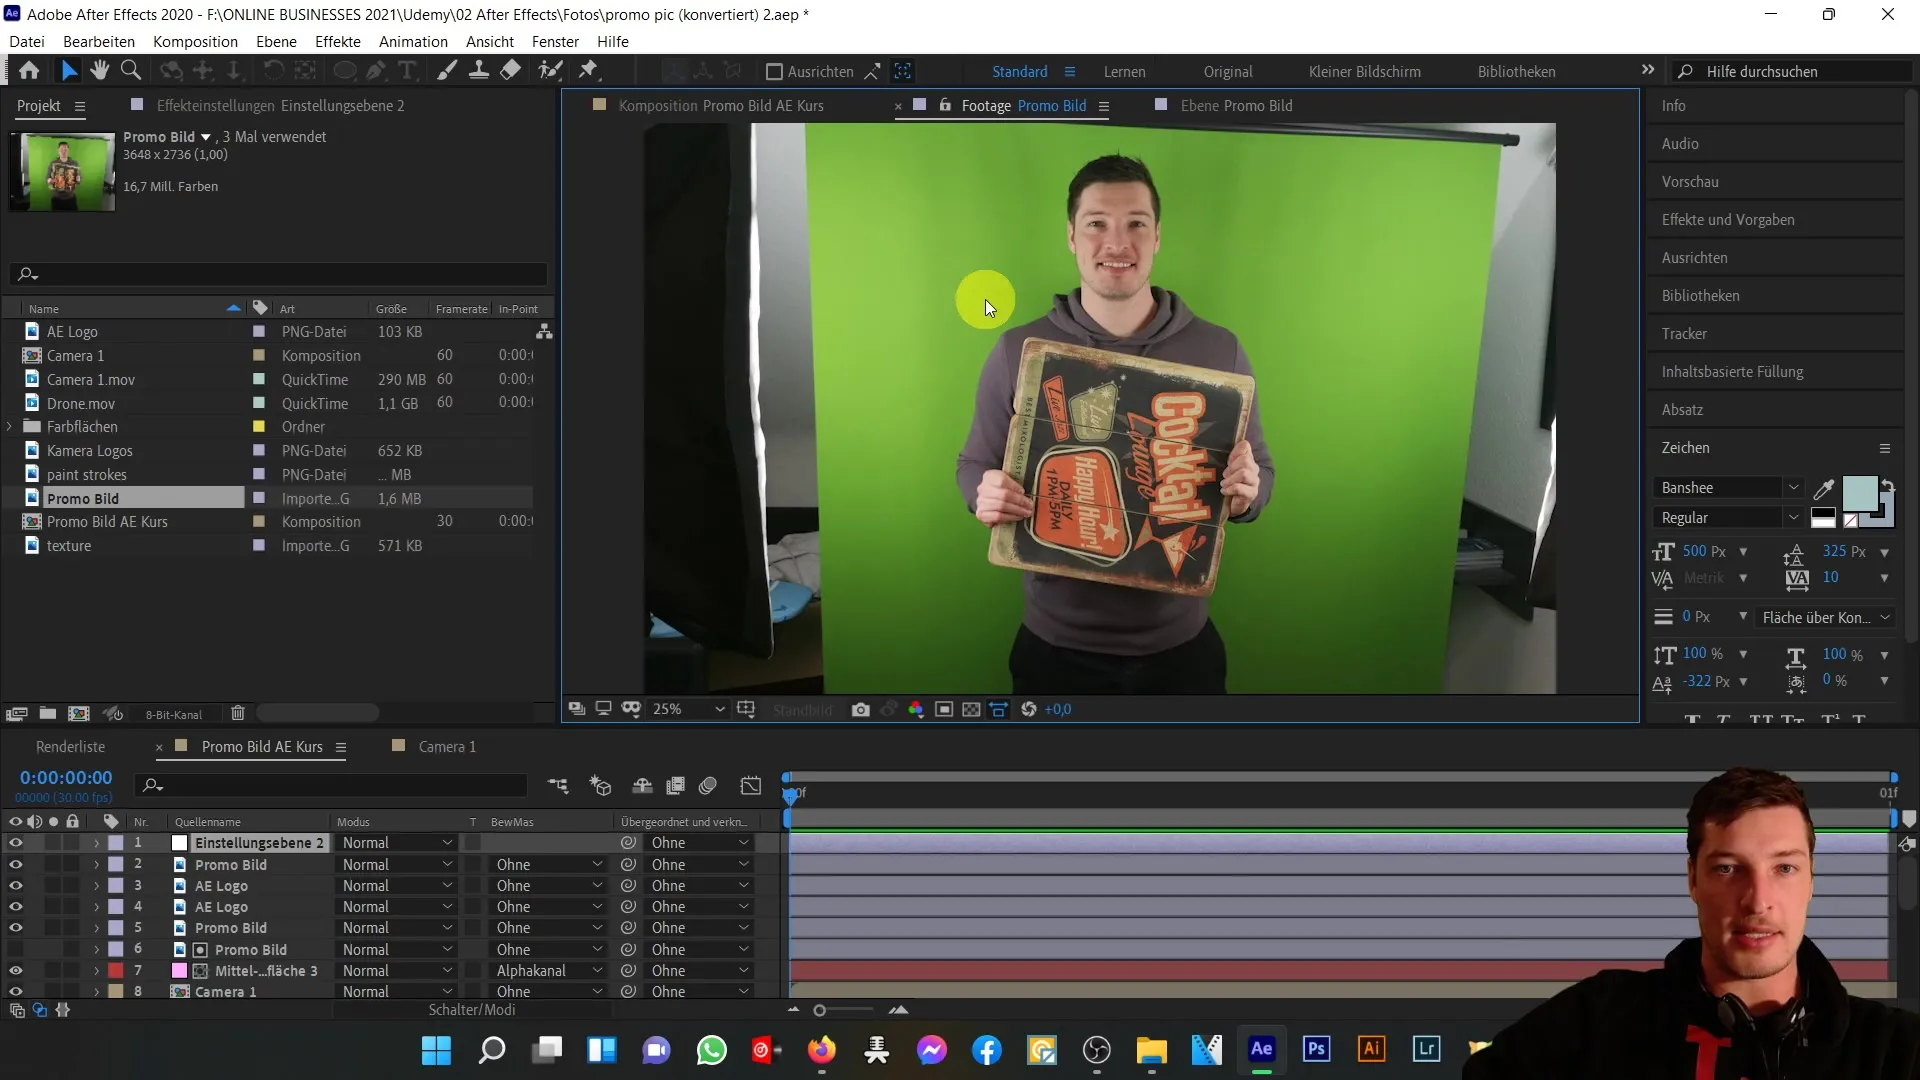
Next is the main promo image. Here, I used Keylight to cut out the green areas, and at the same time used masks and the roto-brush tool to highlight the hands.
To enhance the effect, a small color effect runs through all layers of the promo image. In addition, we placed the After Effects logo twice behind my hands. On top, it is provided with a glow effect, while the second logo layer sits further back to create the impression of a sign.
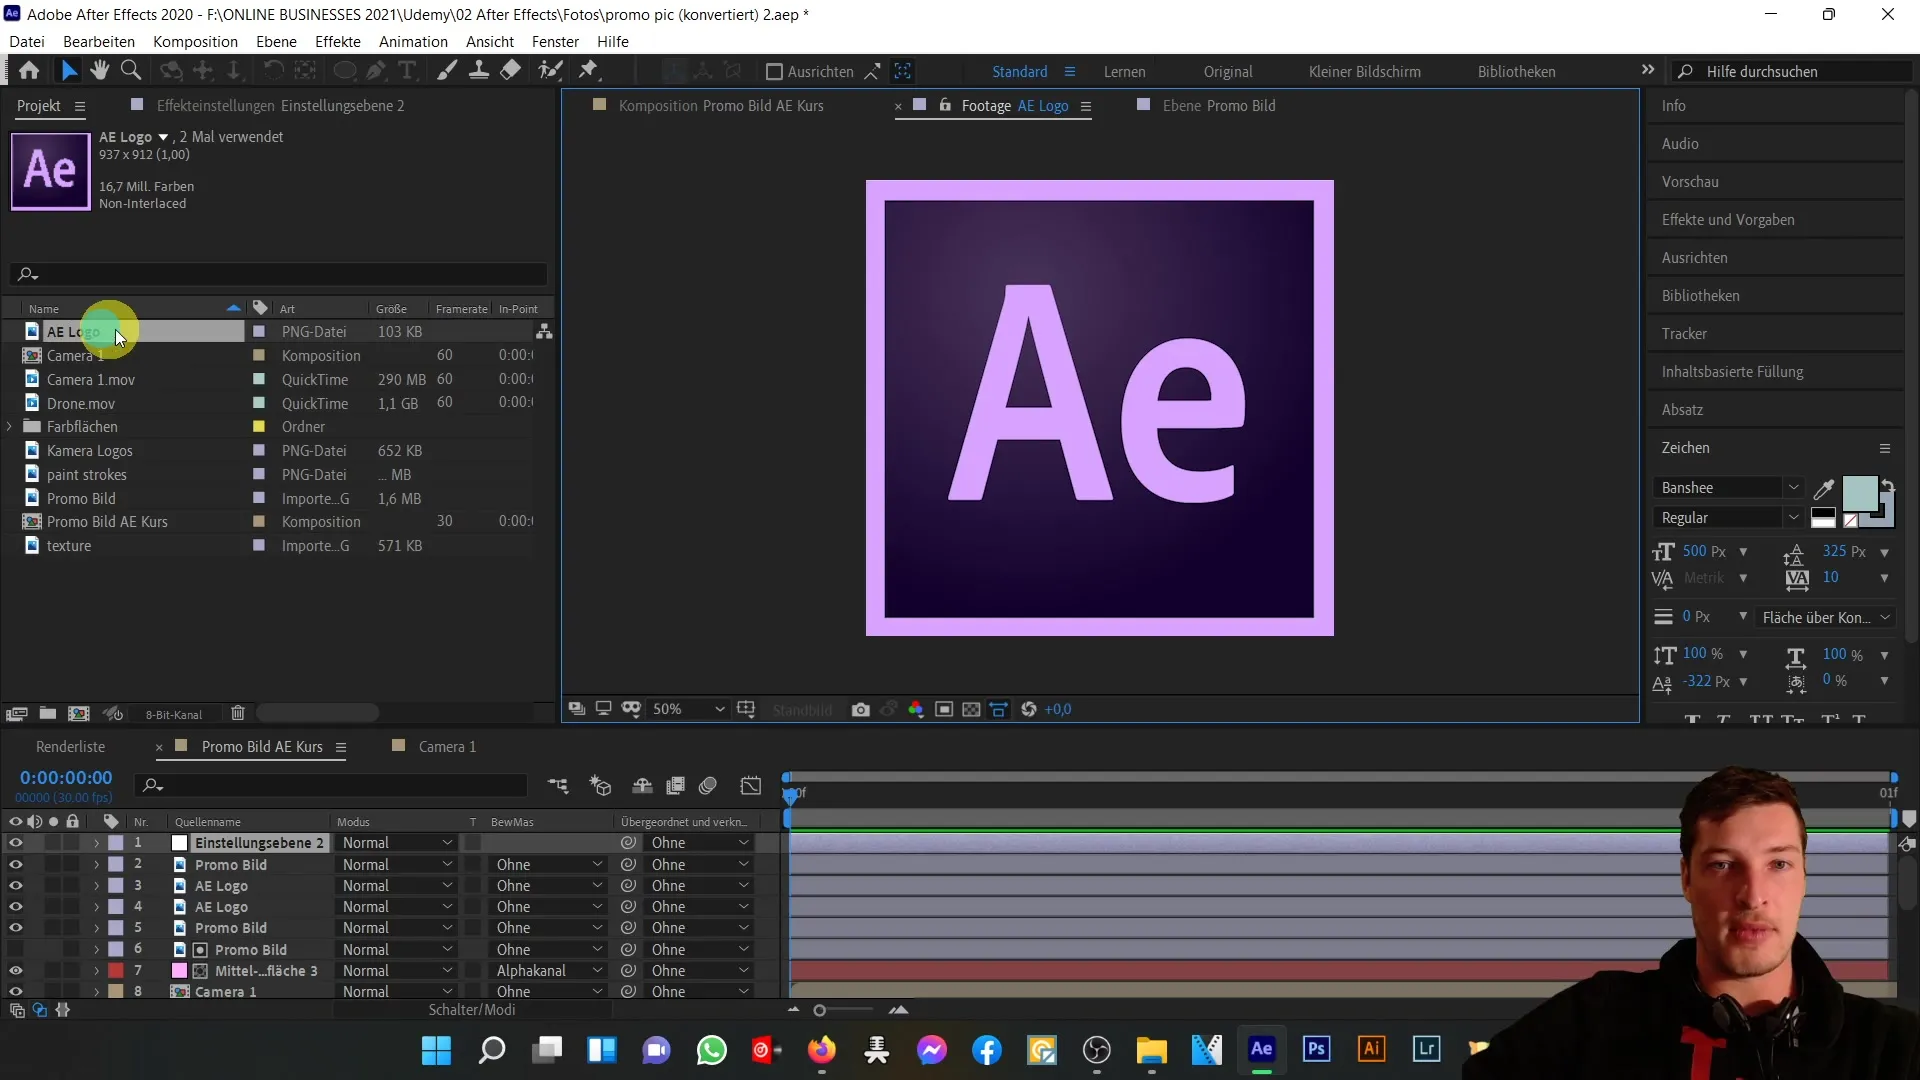
When we switch the promo image to solo, we see the main components and again use Keylight to eliminate the green areas.
Next, I move on to the pink-purple-colored layer located behind me. This layer is scaled and created as an alpha channel to outline around me.
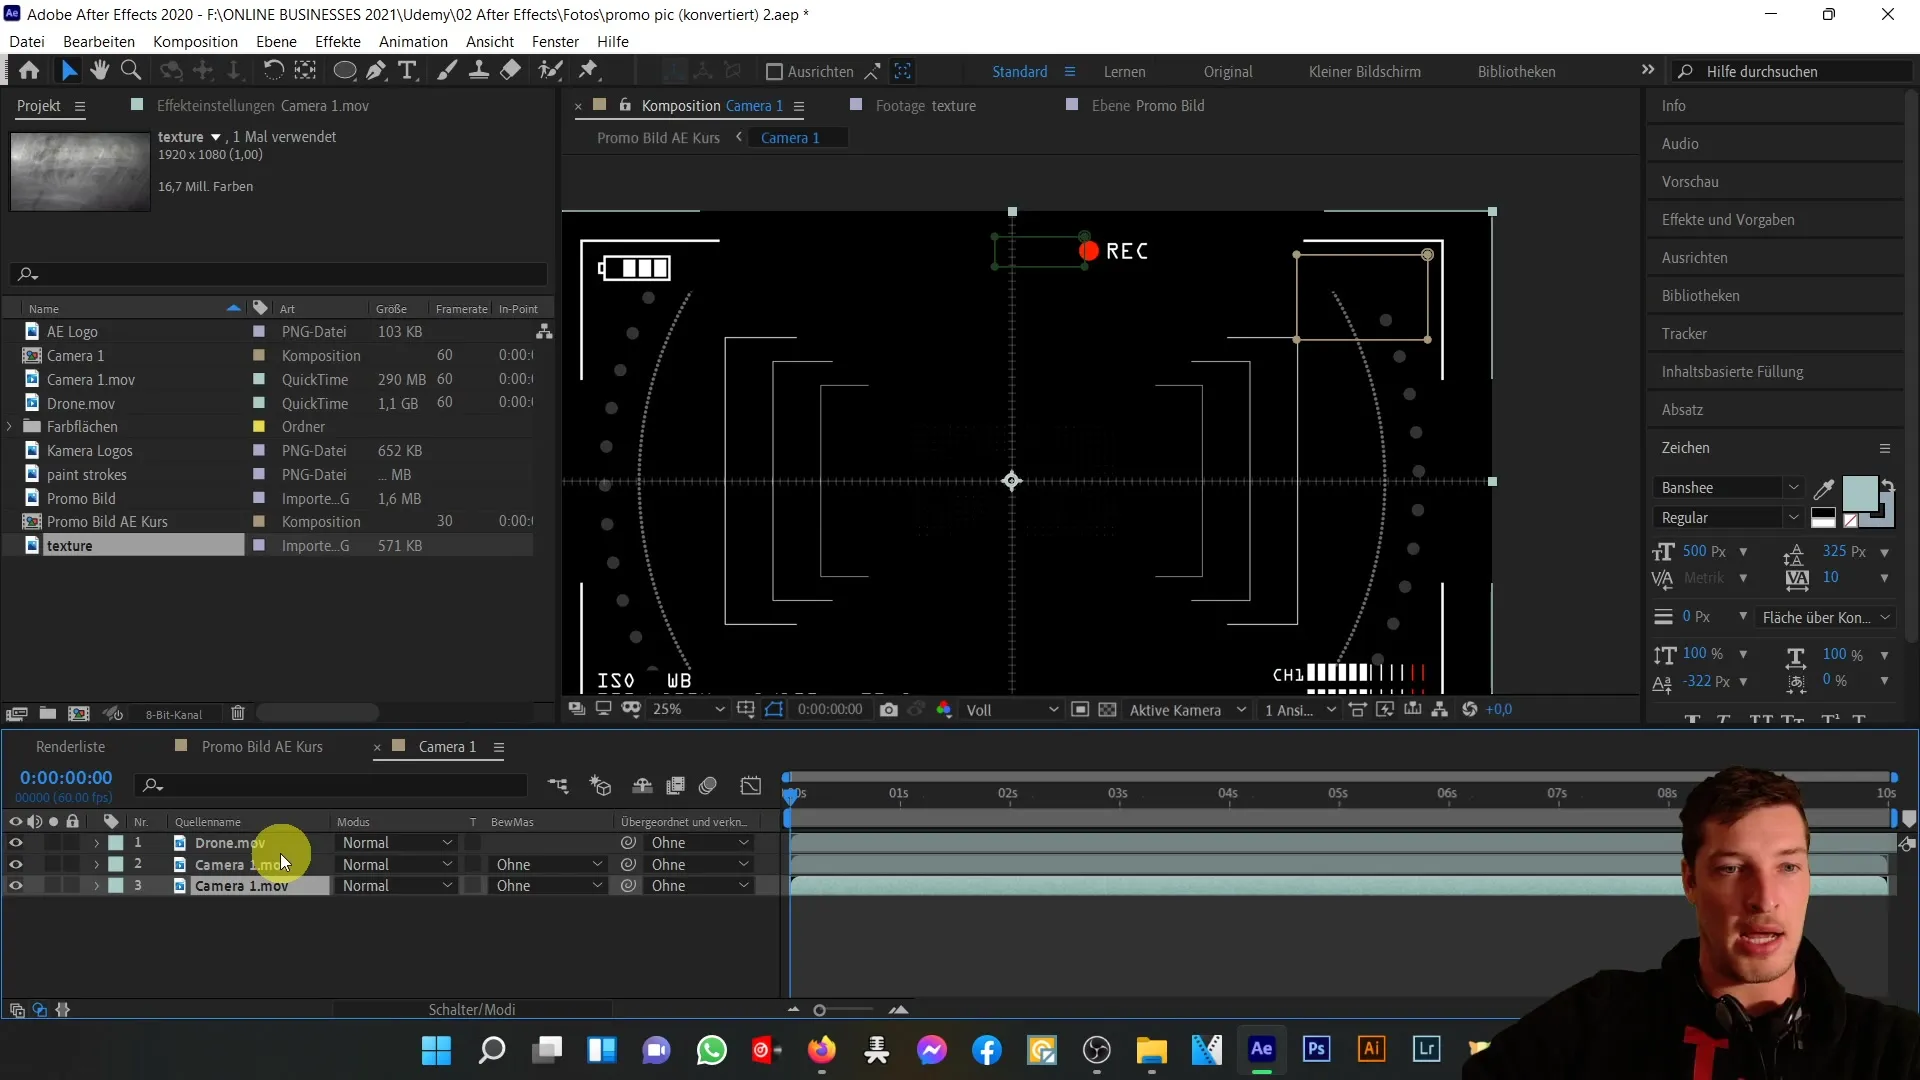
Beneath that is another camera composition responsible for the battery and focus. Here, the opacity is reduced and a black-and-white effect is added.
In feedback on the media description, I want to mention that the camera logos were adjusted separately here to achieve consistent coloring throughout the image.
I cut out the camera using the roto-brush tool and provided it with hue and saturation adjustments to achieve the correct color matching.
For the cutting elements, I did something similar - here too, it was necessary to adjust the colors to the basic colors of the image.
The brush strokes were created accordingly by cutting out the brush strokes and creating them as an alpha channel to achieve the desired effect.
Finally, we have a texture and a color area that was overlaid on the texture using a luma mask, rounding off the entire image and giving it more depth.
In conclusion, you can see how I created visually appealing promotional images by combining 20 layers. By correctly applying masks, color changes, and effects, you too can realize your own creative projects in After Effects.
Summary
With this tutorial, you now have an understanding of the various steps and techniques that can be used in creating an After Effects course image. By combining effects and clever layering, you can achieve valuable creative results that give your projects a special touch.
Frequently Asked Questions
What is Keylight in After Effects?Keylight is a tool that helps you to isolate green or blue backgrounds and extract objects.
How can I perform color correction in After Effects?You can use adjustment layer to fine-tune color values with the "Curves" effect and adjust the contrast.
What are masks in After Effects?Masks are areas that determine which parts of a layer are visible or invisible. They are crucial for object extraction.
