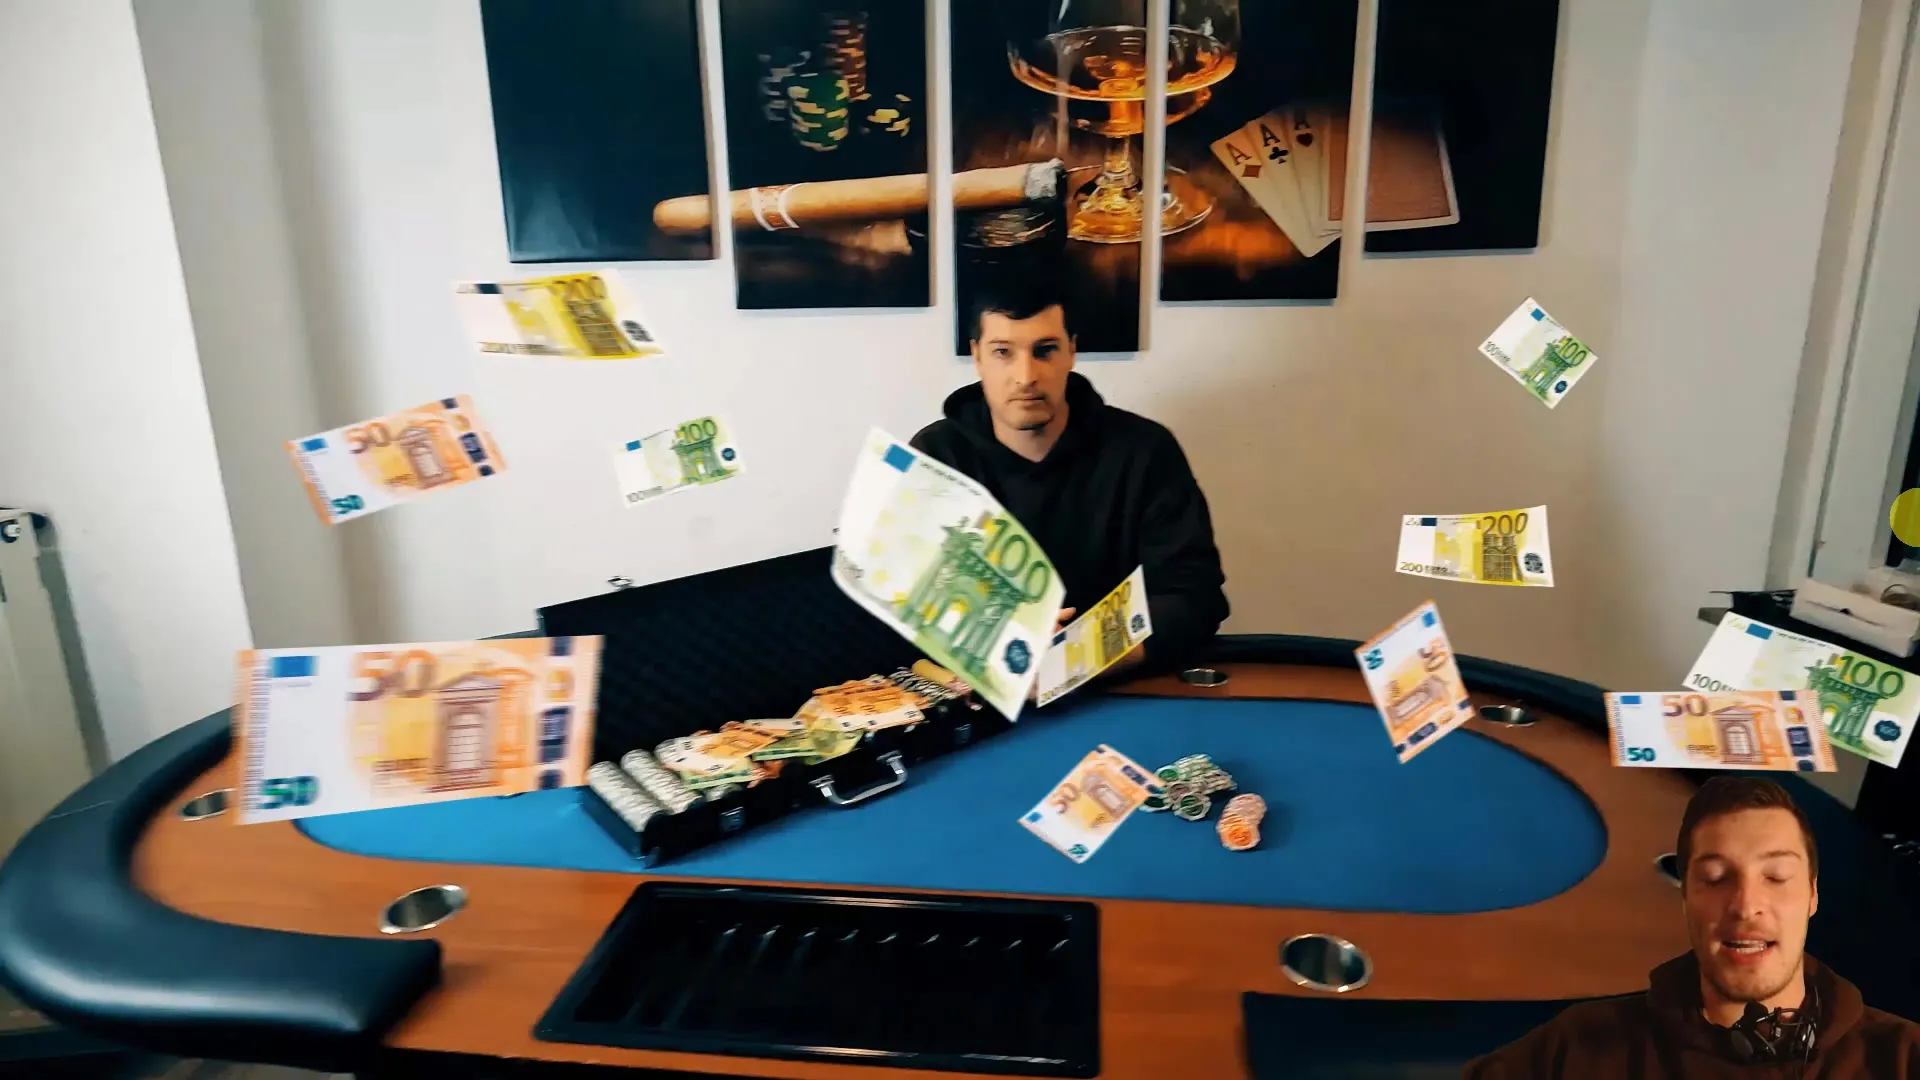
In this tutorial, I will show you how to make banknotes float in space. We will go step by step through the essential aspects of animation and sound adjustments in Adobe After Effects. By the end of the first part, we will have created the basic structure to realistically make the banknotes fly through space.
Main findings
In this first part of the tutorial, you will learn how to integrate various sound effects into After Effects. You will understand how to use the 3D tracker camera to position and animate objects believably in space. Additionally, you will learn how to import banknotes, duplicate them in the composition, and adjust their position and rotation to achieve a fascinating visual effect.
Step-by-step guide
First, we will take a look at the project example to visualize the desired effects. In the animation, banknotes elegantly fly through space and move according to the specified airflow.
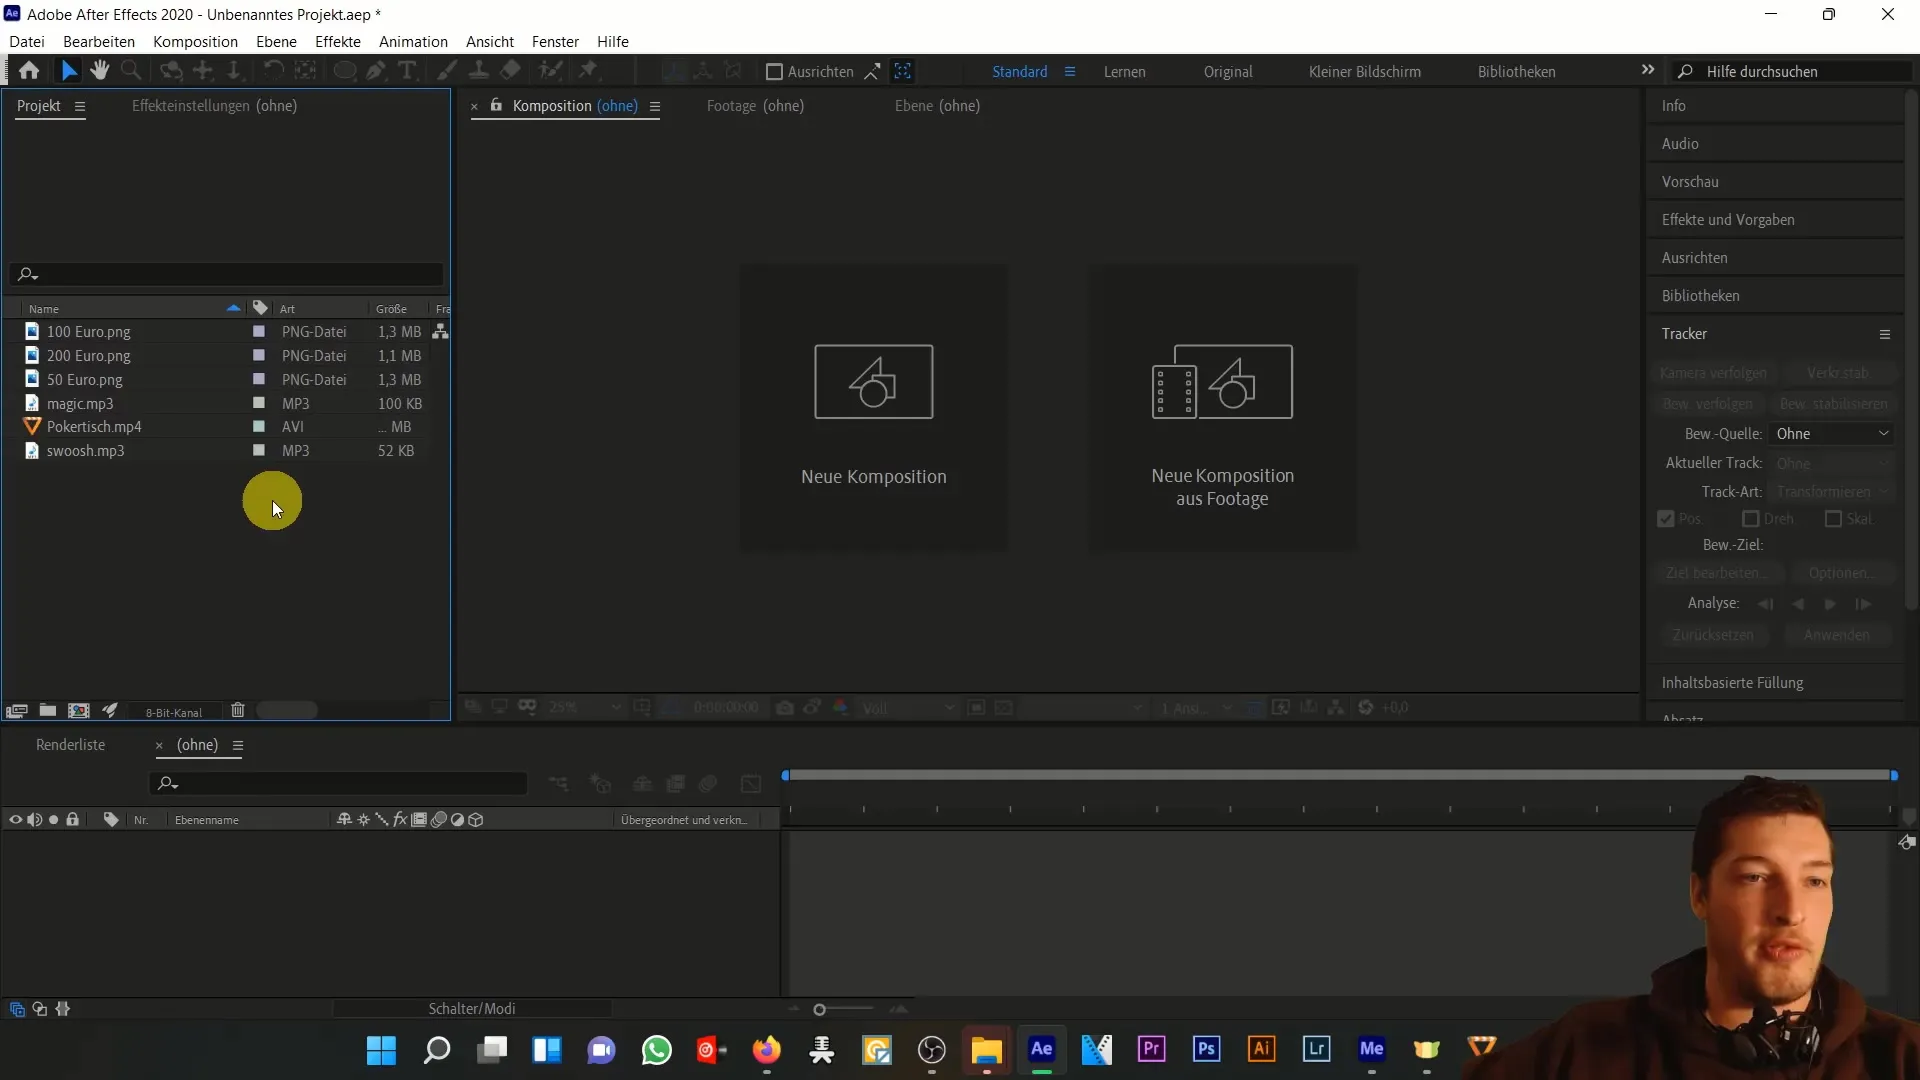
To start with After Effects, open the software and create a new project. Make sure that all course materials are available in one folder so that you can easily access them.
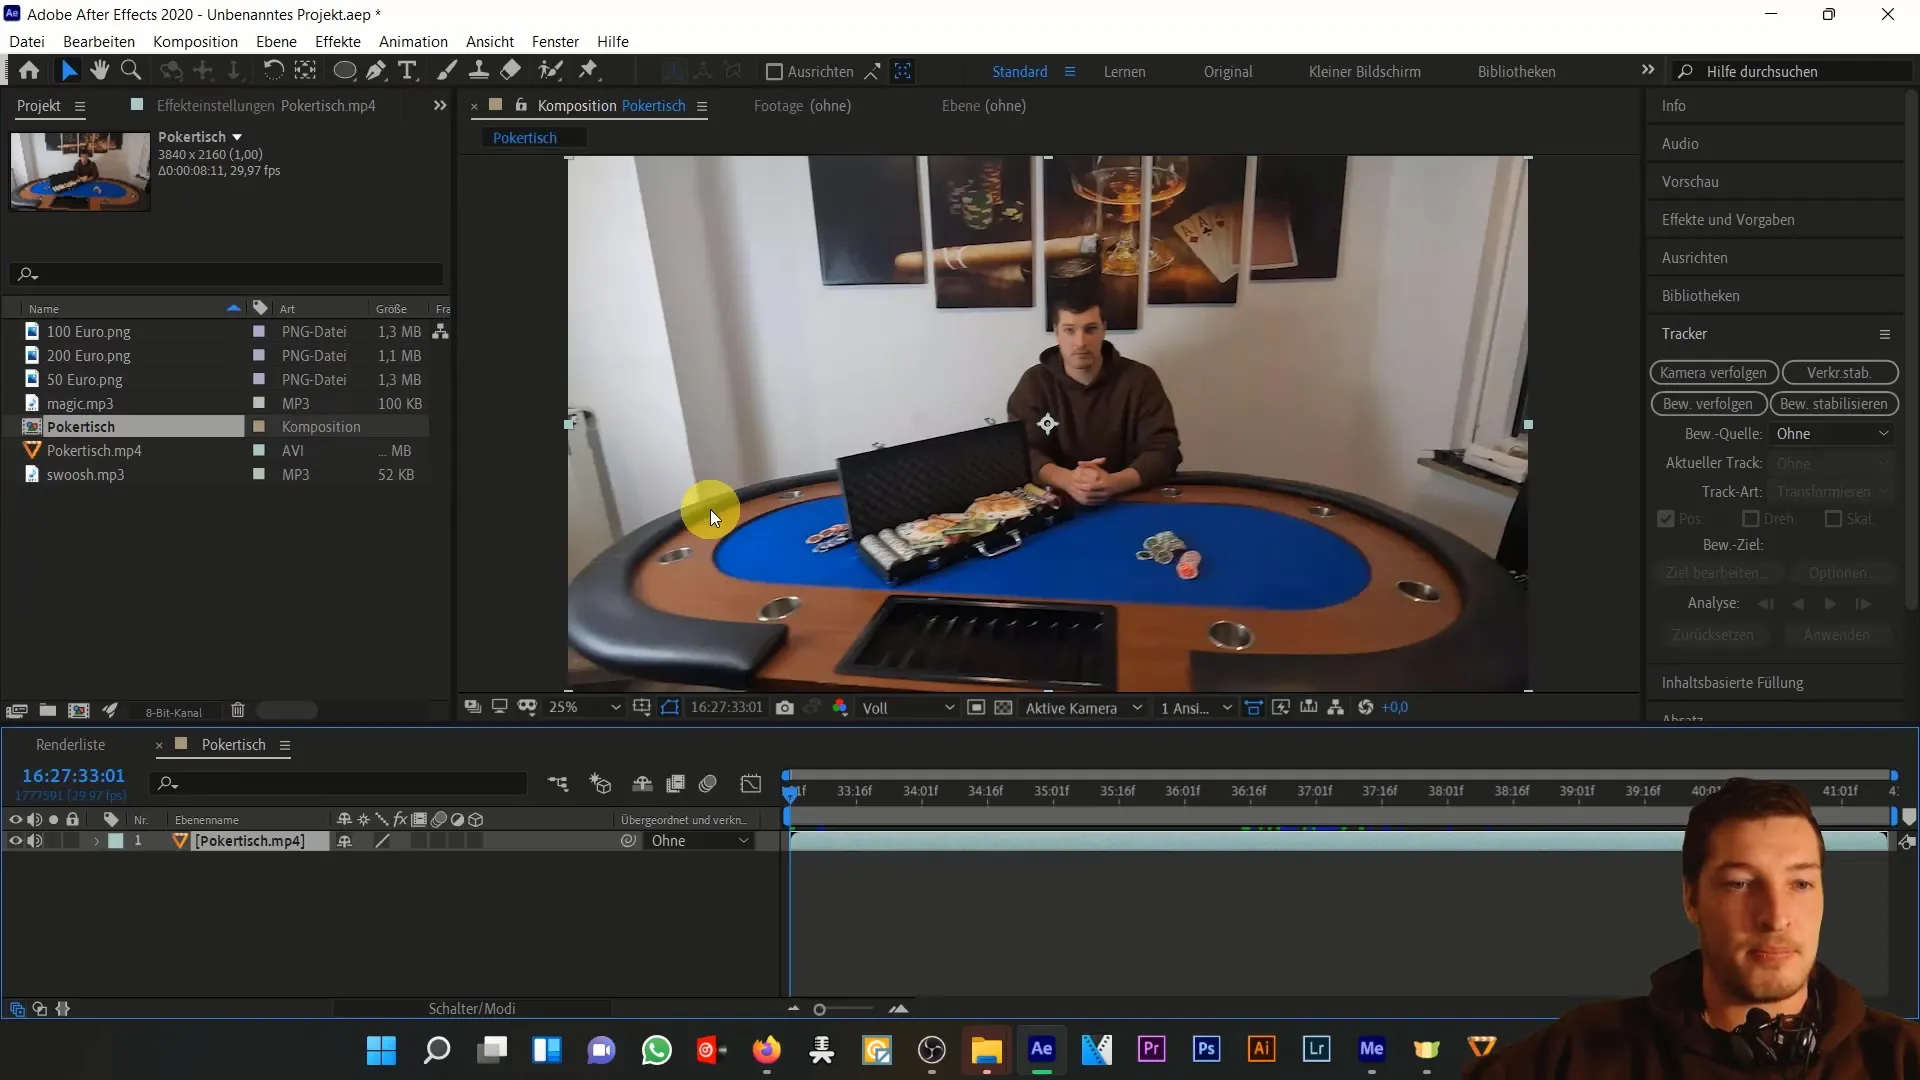
Now, add the source file, in this case the "pokertisch.mp4" file, to your composition. It is important to integrate the audio files as well. You will need the background noise "magic.mp3" to set the atmosphere, as well as the "swsh" sound that plays when the banknotes are pulled back into the suitcase.
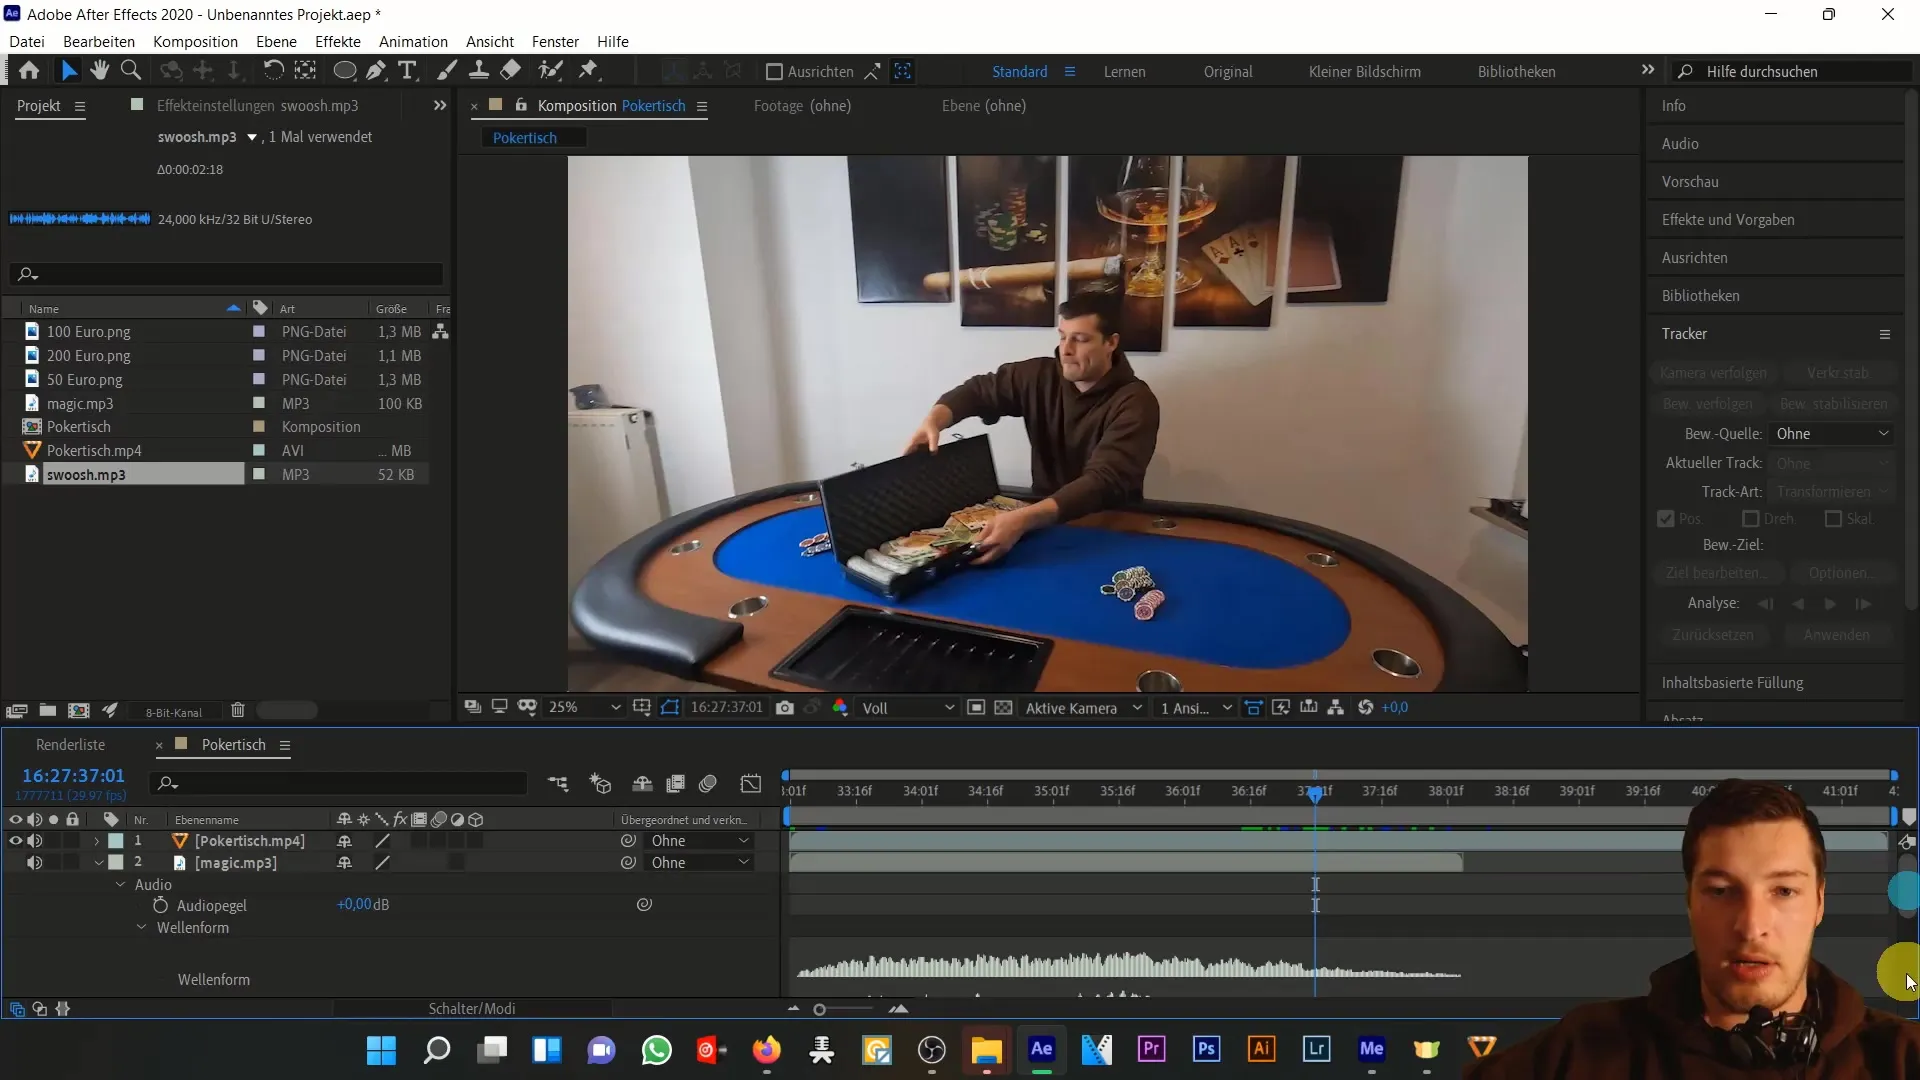
Check the waveform of the two sound data and adjust them accordingly. The "swsh" sound should be perfectly timed to provide a seamless experience. Move the "swsh" file so that it plays when the suitcase closes.
To adjust the volume of the sounds, you can use the audio preview to quickly assess the sound quality. Press the comma key to activate the preview.
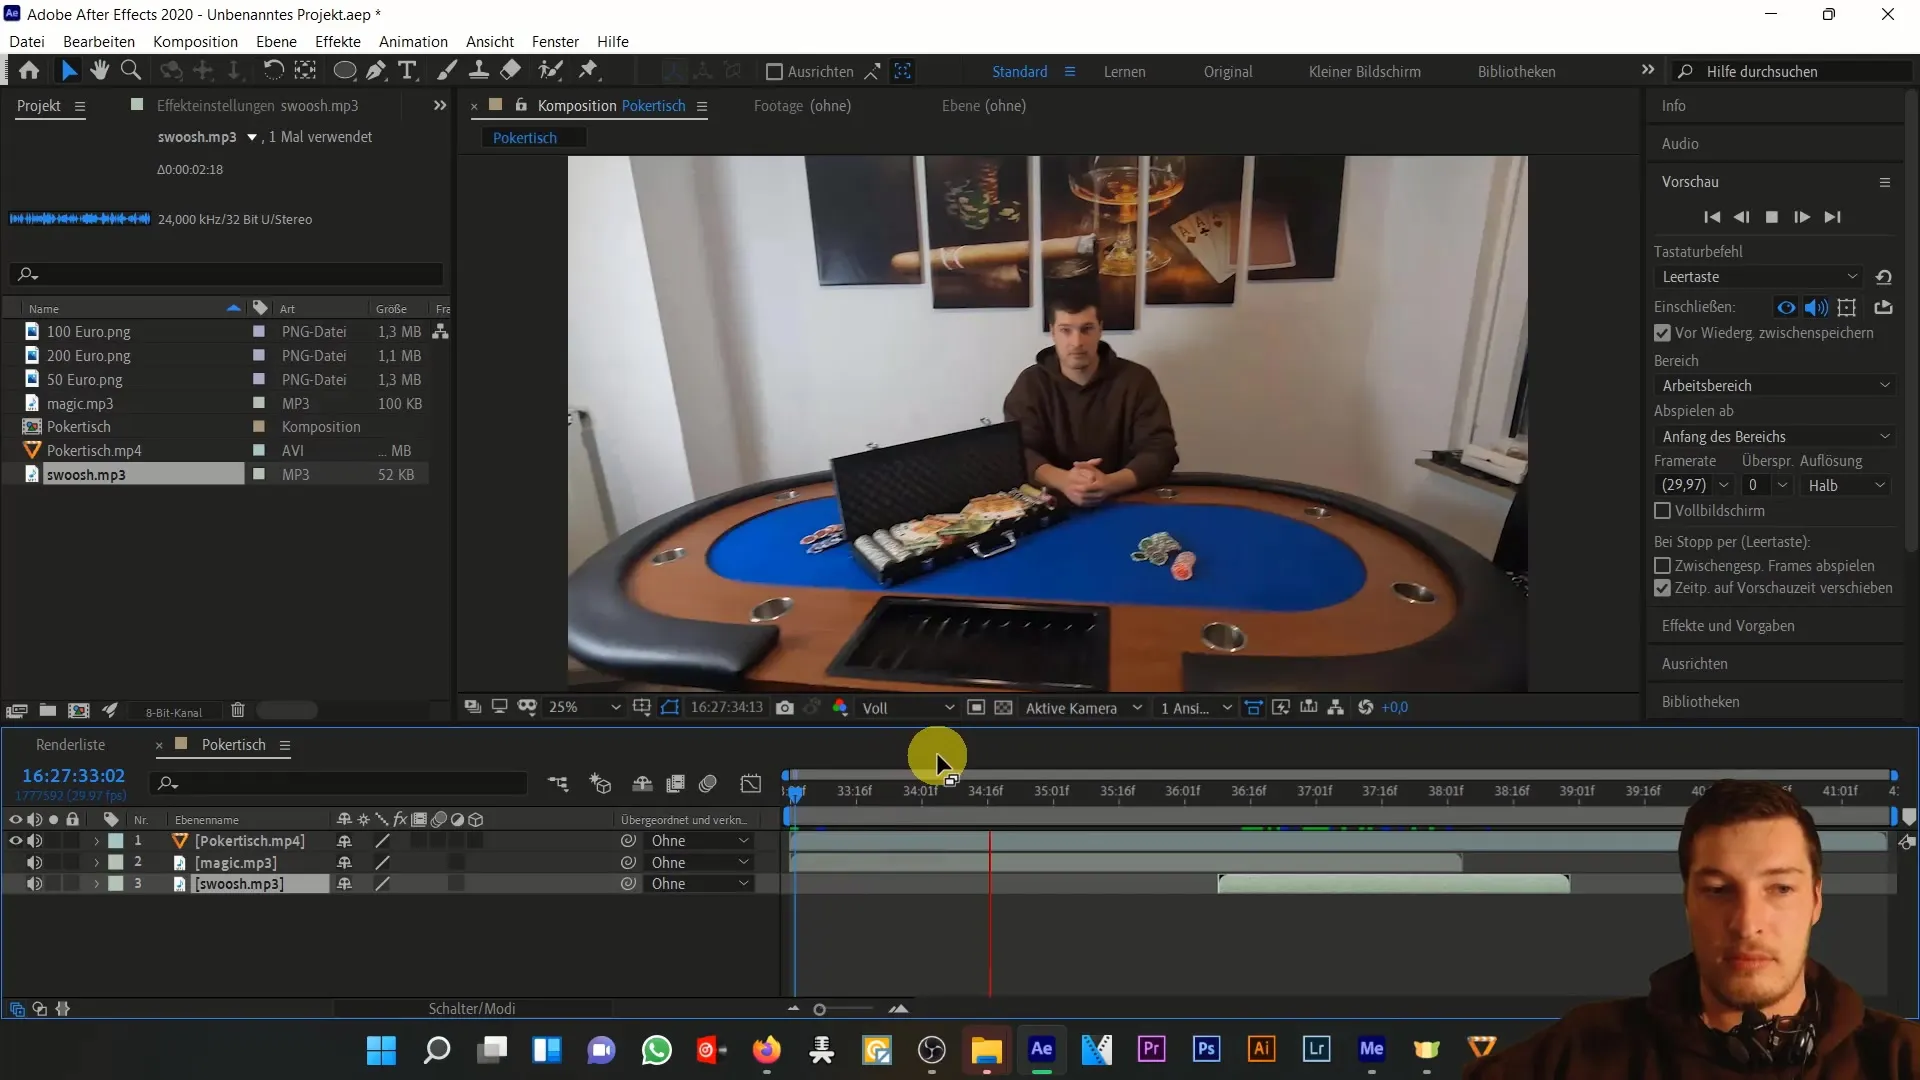
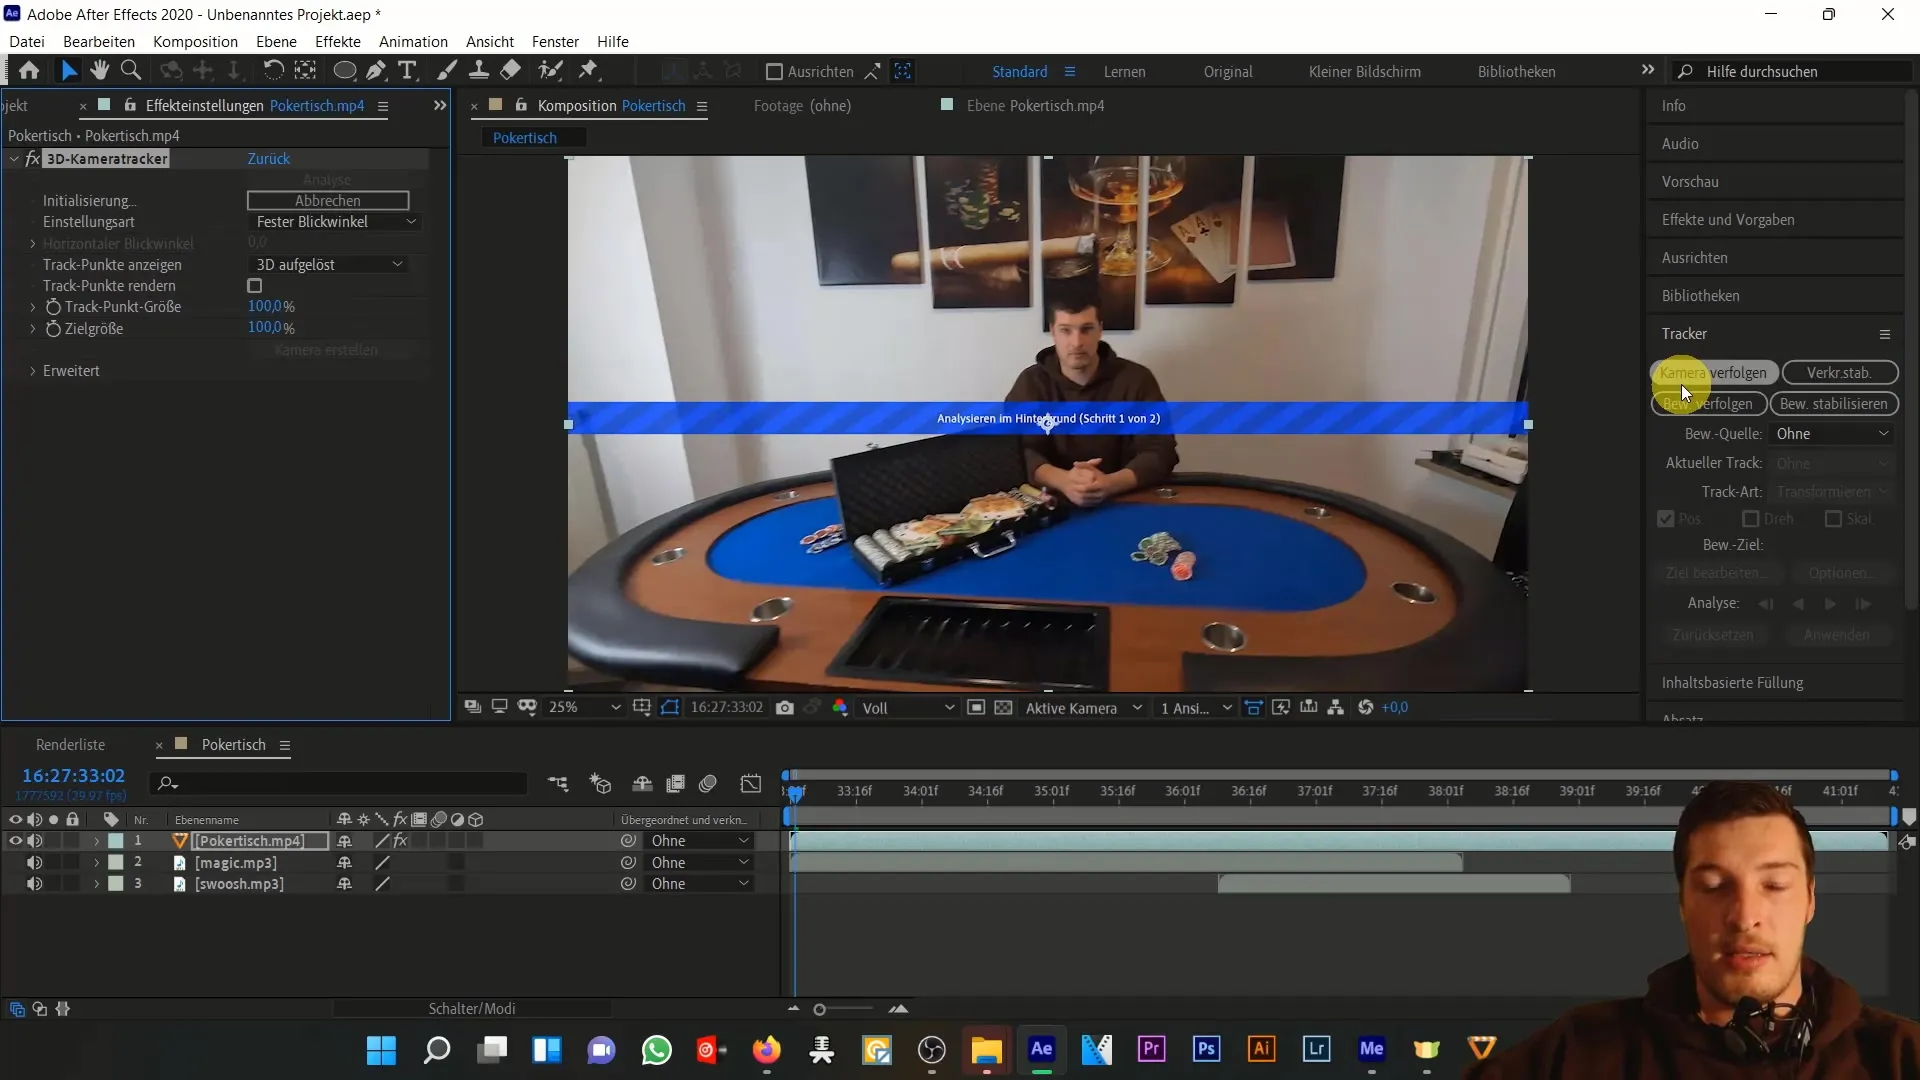
Now, it's time to choose the tracker. Track the camera as it captures the scene. It is analyzed frame by frame similar to the animation to find the best tracking points and create the 3D tracker camera.
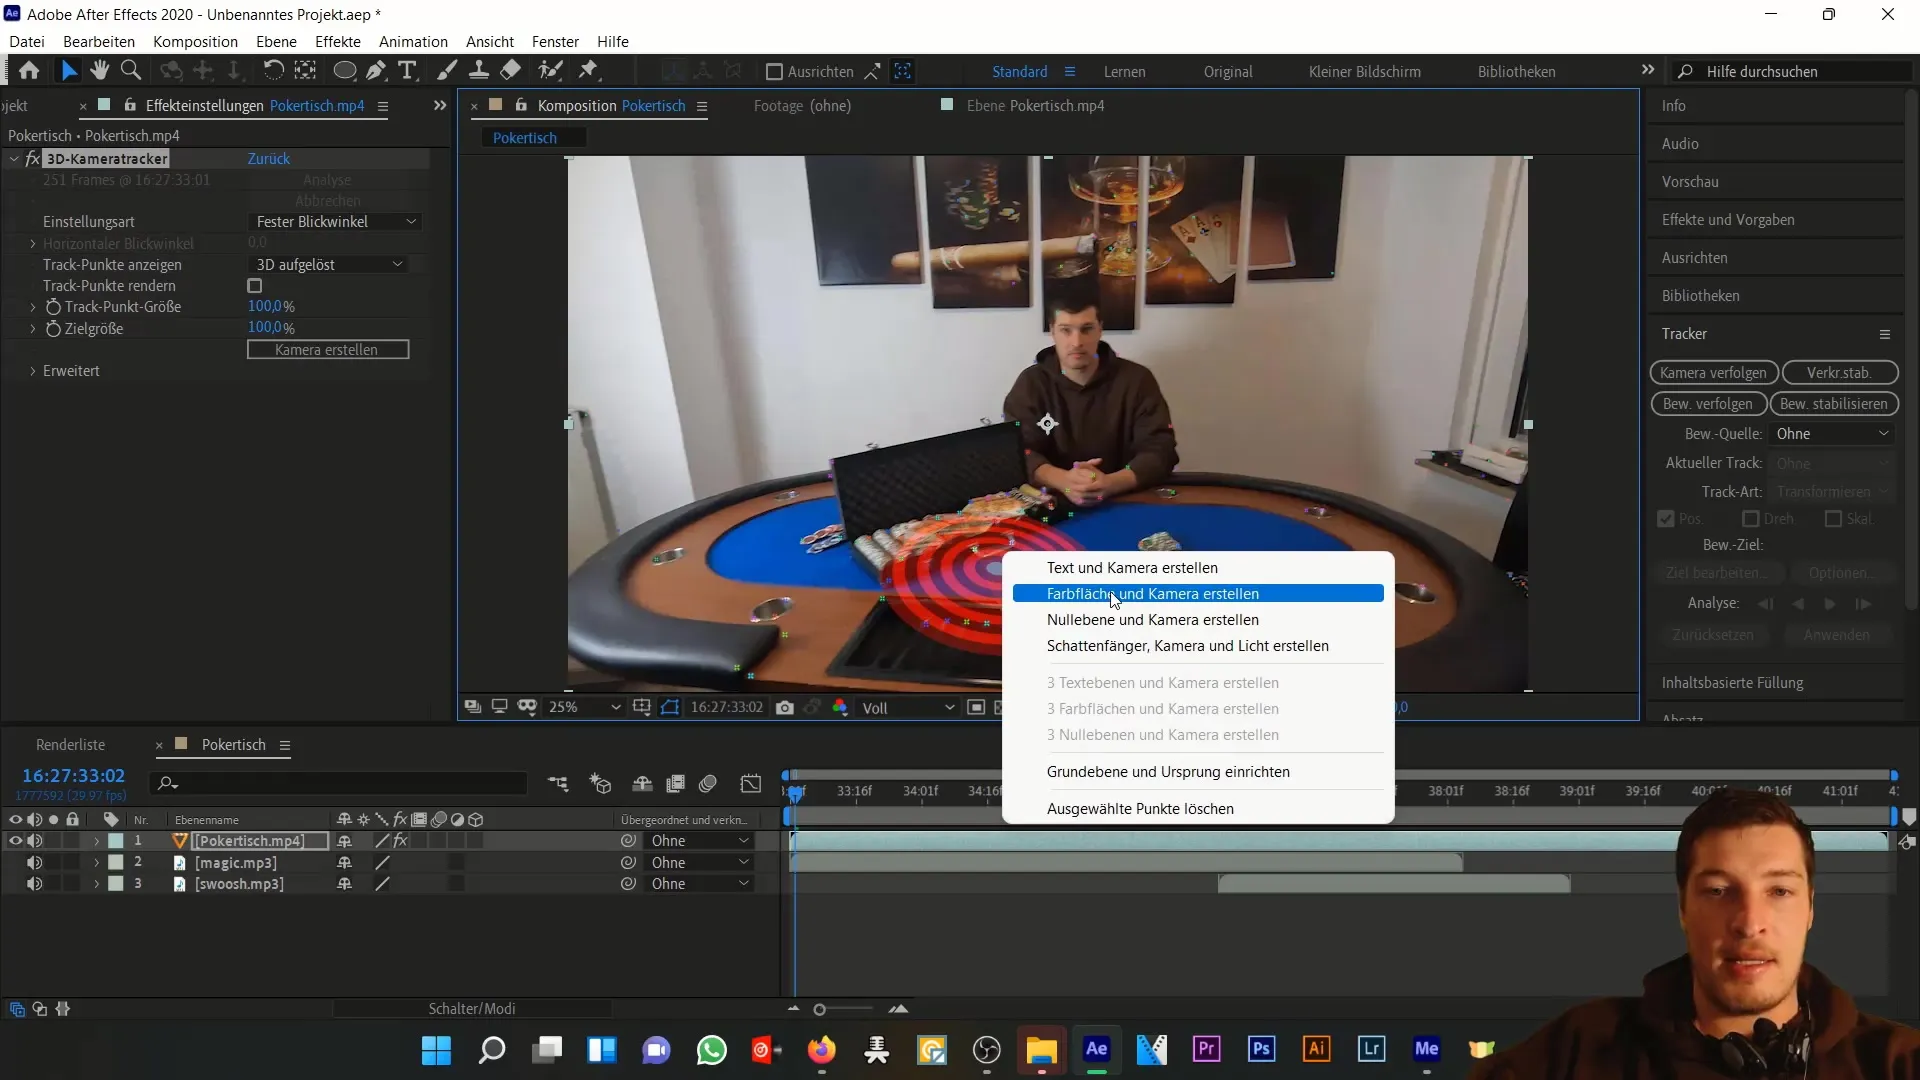
Once the analysis is completed, you will see small crosses that mark the camera tracking points. We will use these points to create a new camera that stores the analysis data and is used to animate the banknotes.
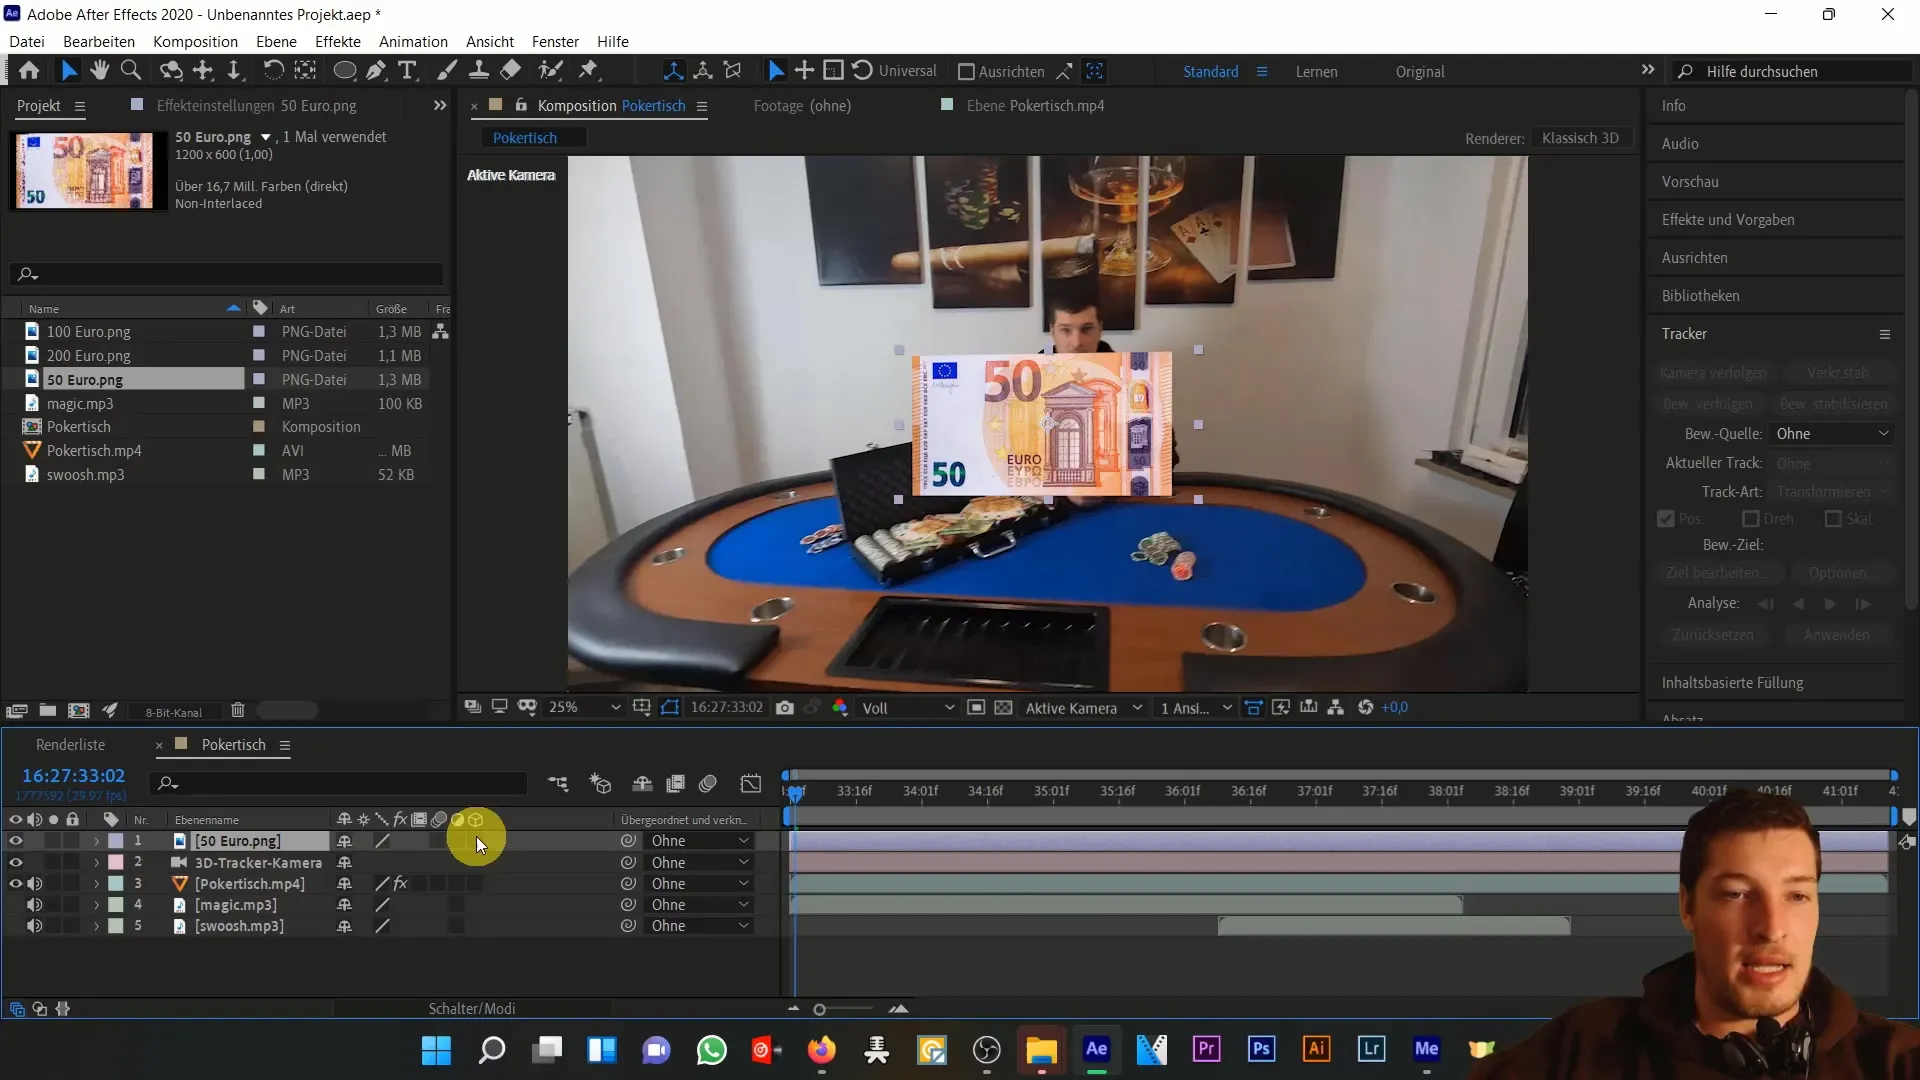
Now you can add the individual banknotes. Start with the 50 € note. Make sure to mark this layer as a 3D layer so that it moves according to the camera. You can now adjust the position and rotation of each note to achieve a realistic effect.
Duplicates of the banknotes are important to create the illusion of abundance. Use the shortcut P for Position and Shift + R for Rotation to quickly adjust the respective parameters and distribute the notes with interesting movements in the space.
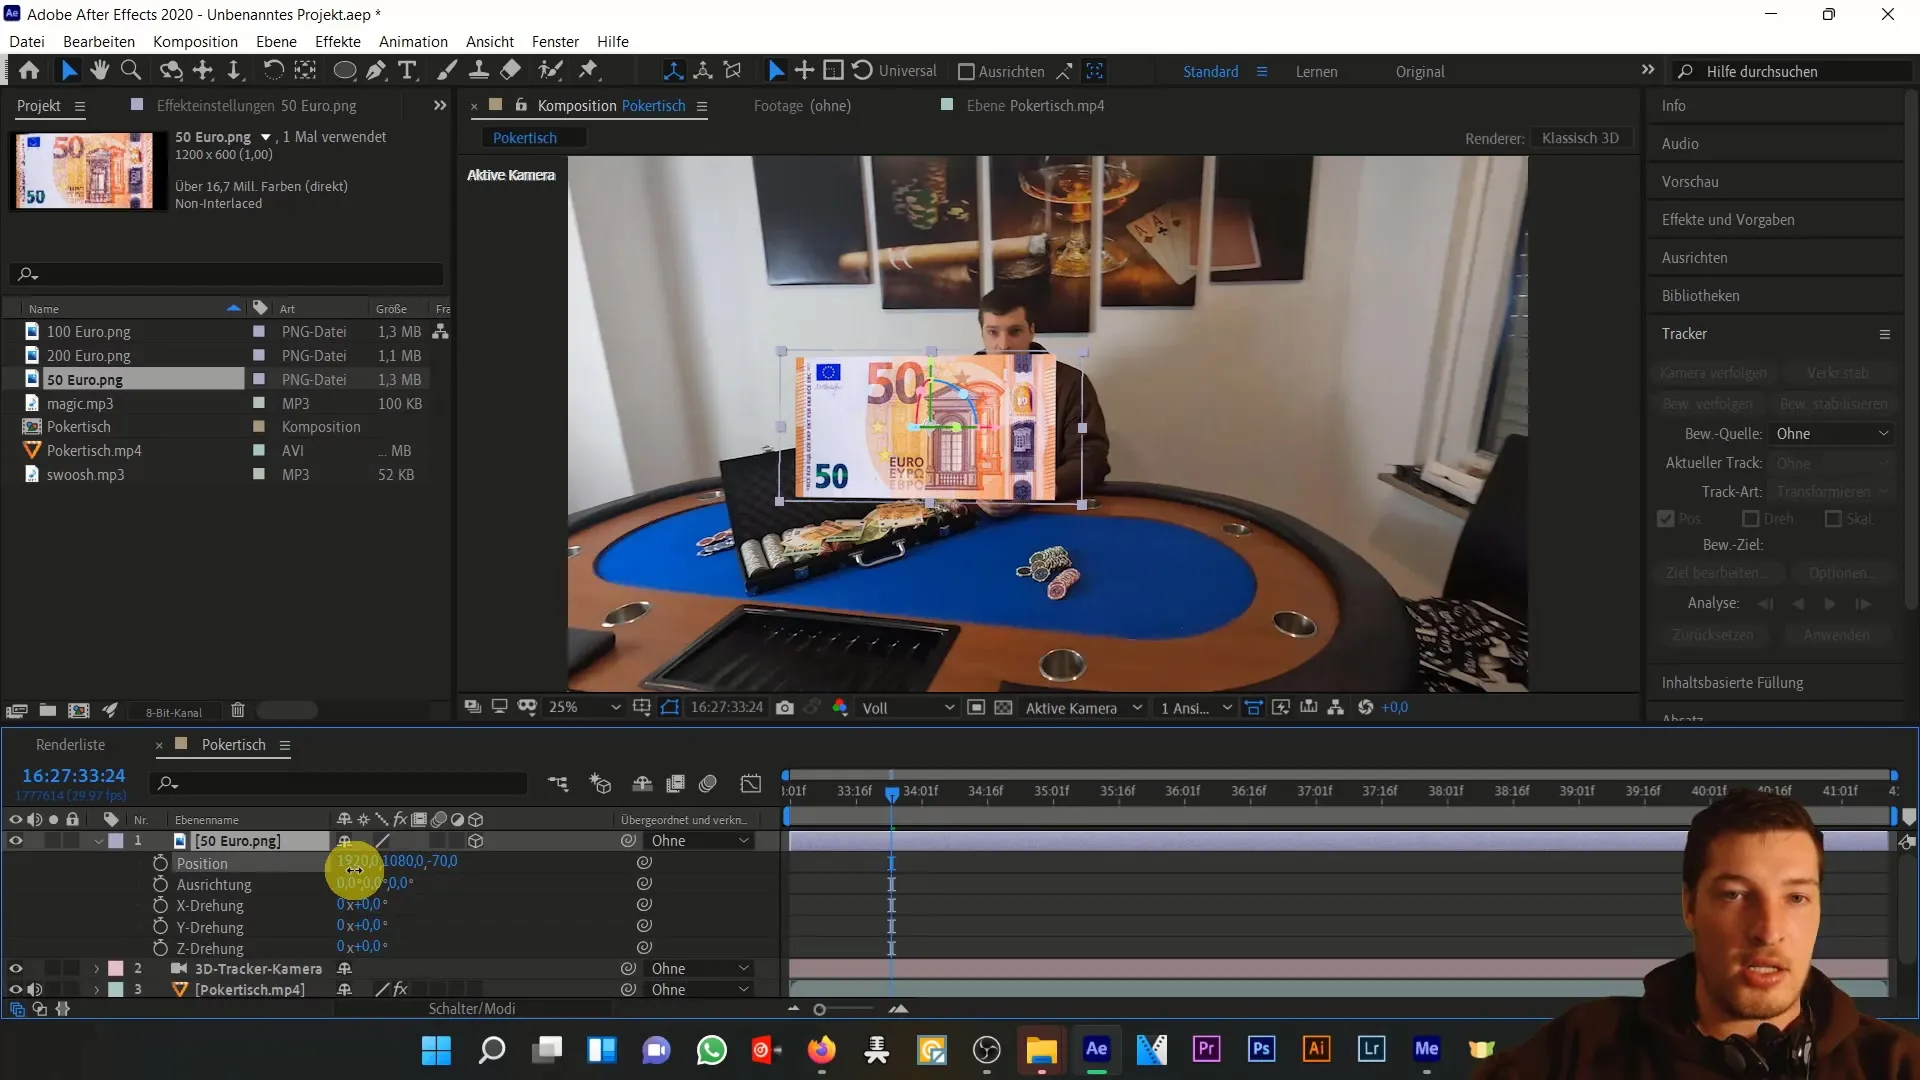
Experiment with the positions and rotations of the individual notes. Position them at different distances from the camera to enhance the three-dimensionality. The correct distance ensures that the notes move nicely in the foreground and background during camera movement.
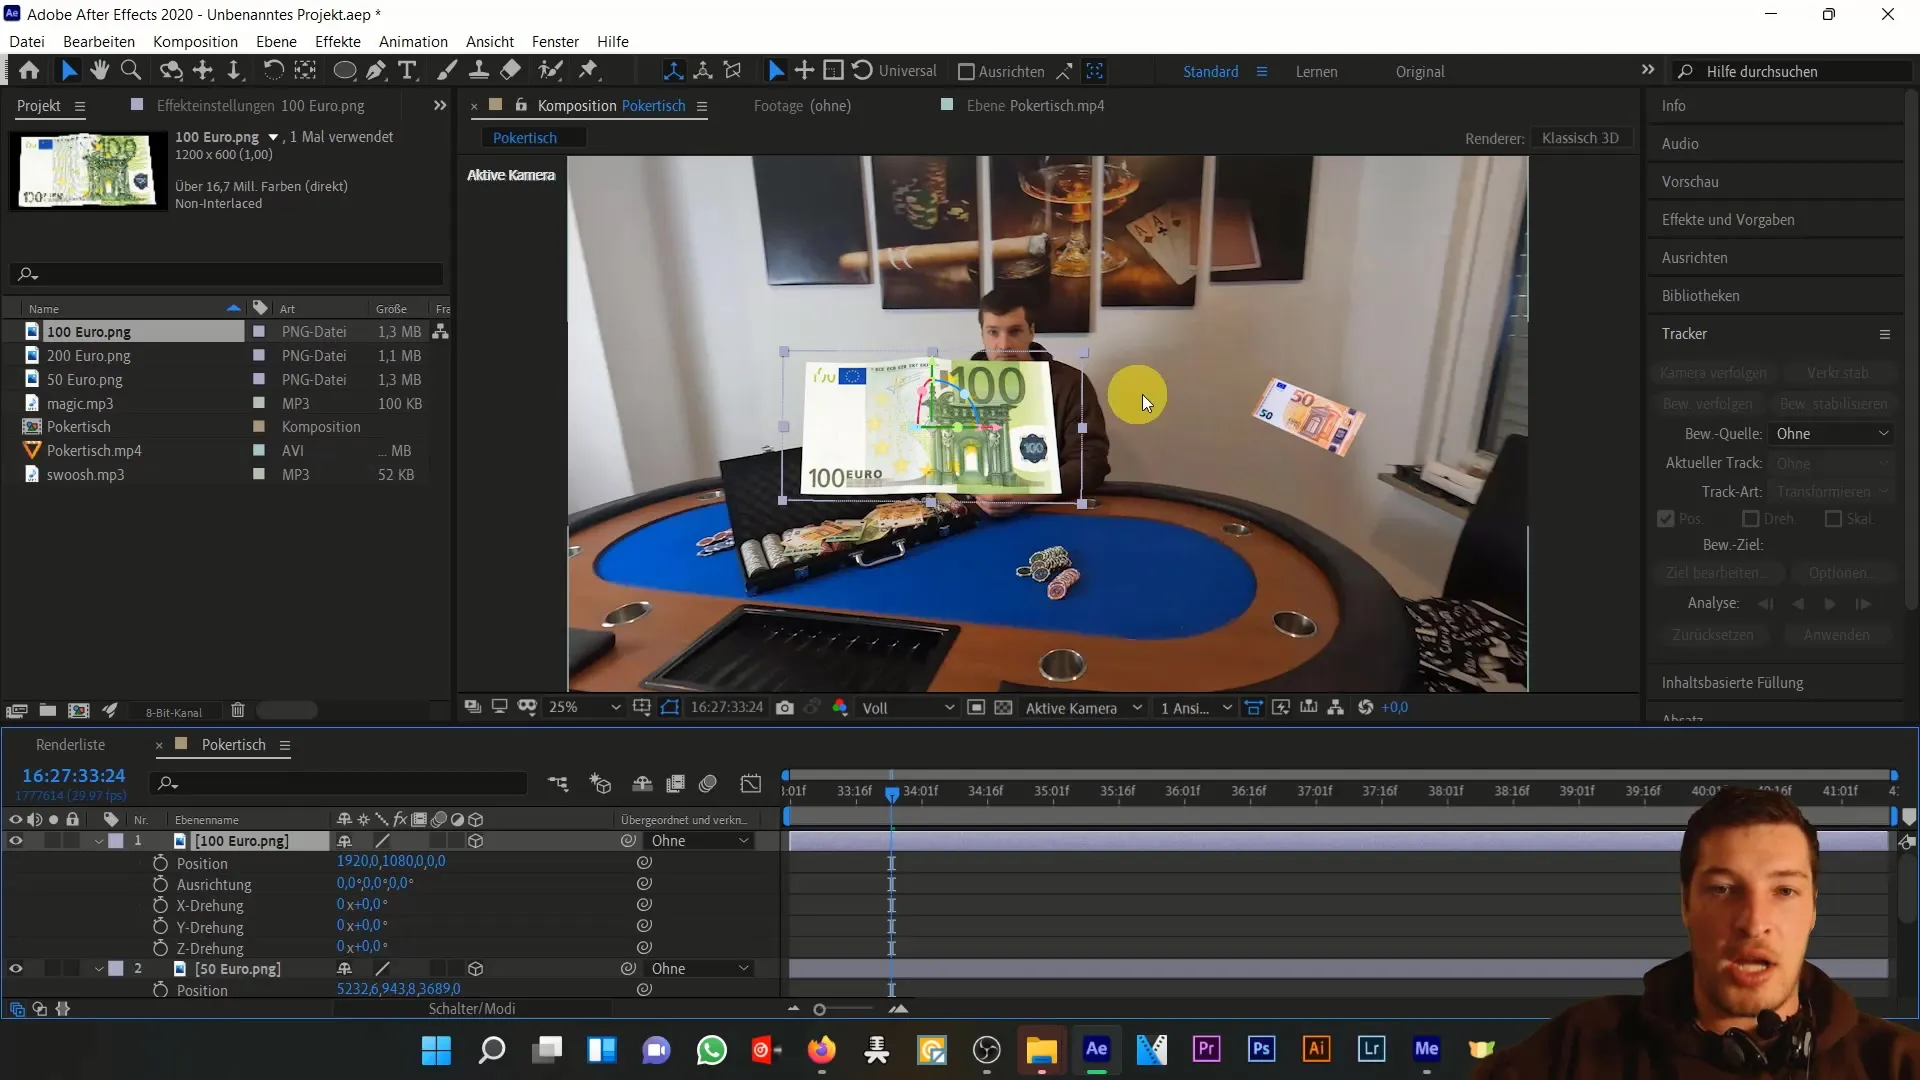
Add more banknotes, paying attention to different positions to increase the complexity of the animation. With each new addition, consider the Z-axis to create both foreground and background elements.
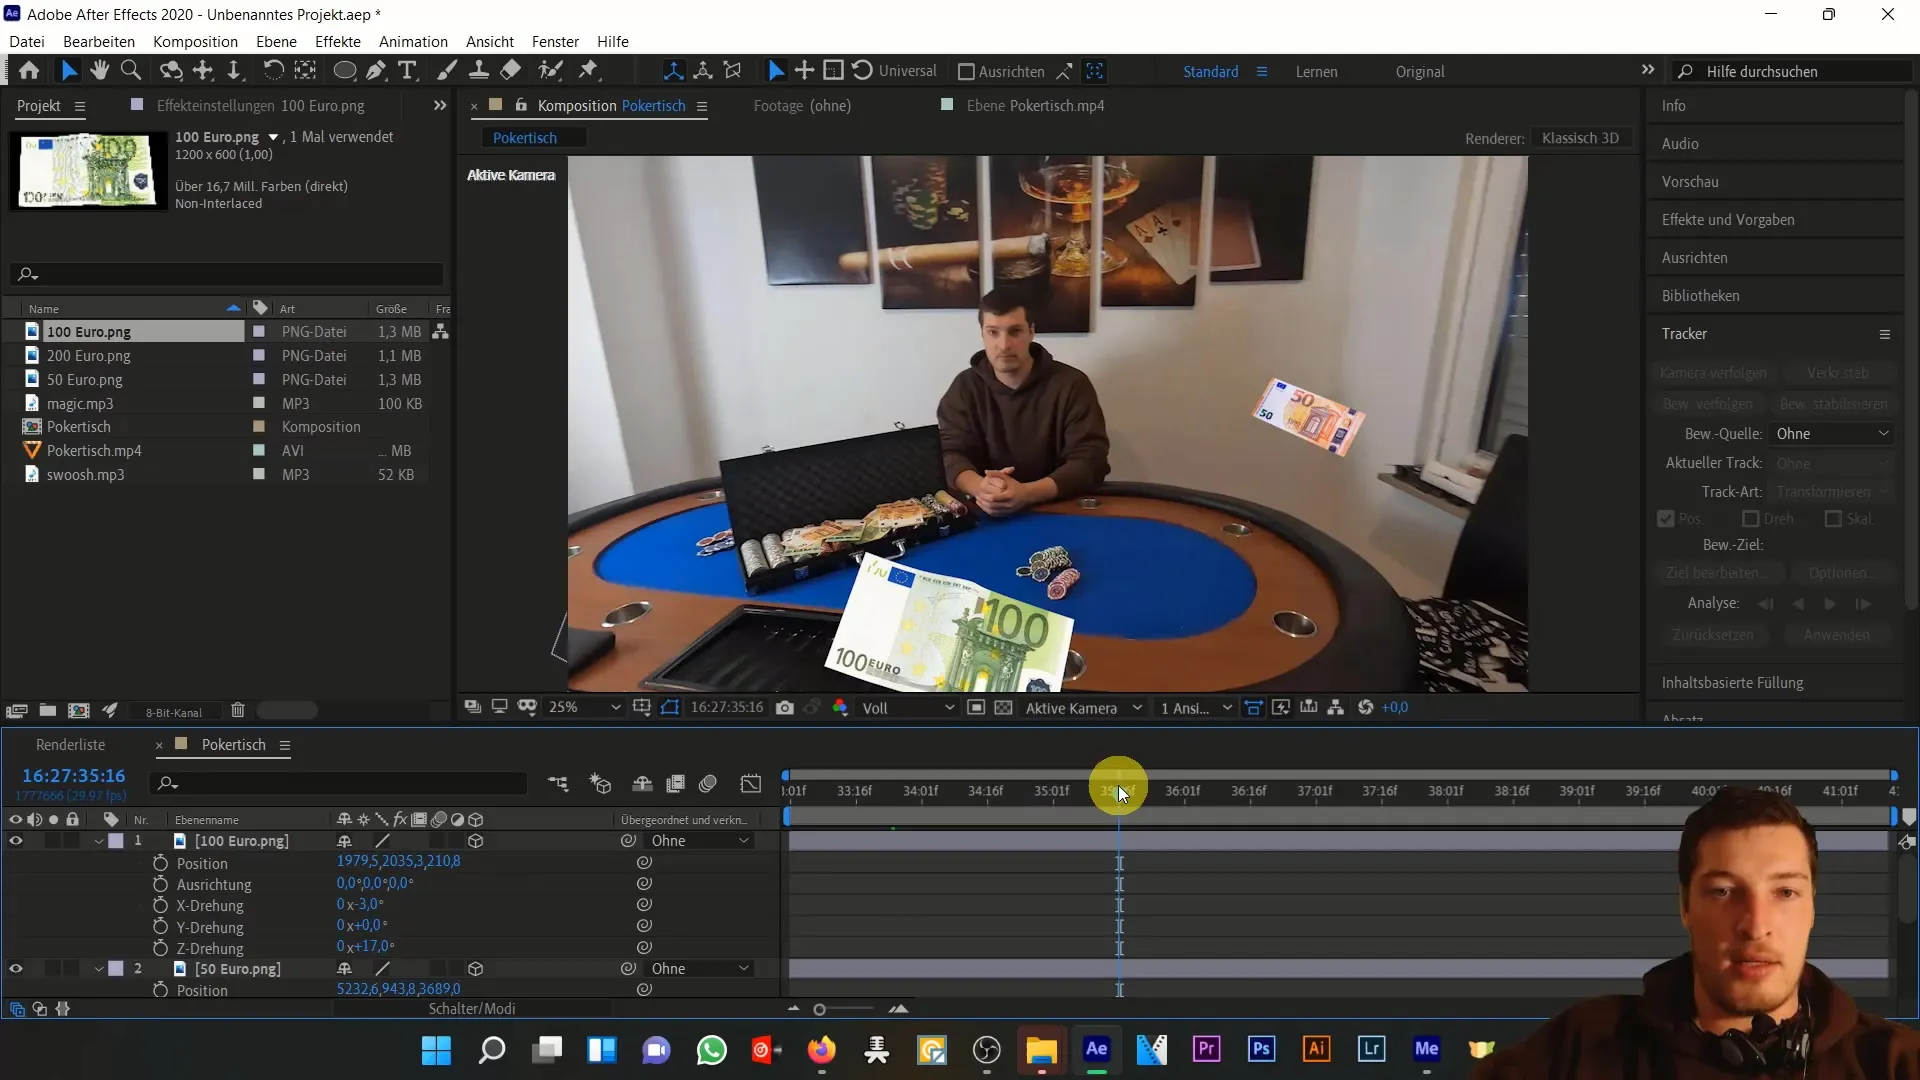
Once you have created a versatile arrangement, finish this first part of the tutorial. In the upcoming parts, we will implement the movement of the banknotes and make further optimizations.
Summary
In this first part of the tutorial, you have learned how to perform basic steps in After Effects to create an impressive animation of banknotes in 3D space. From integrating sounds to using the 3D tracker camera, the first step into the world of animation has been shown to you. In the next part, we will focus on the movement and interaction of the banknotes.
Frequently Asked Questions
How can I find the right settings for the camera?Experiment with different values for position and rotation to achieve the optimal result.
Can I use my own audio files?Yes, you can certainly import and customize your own sound effects.
How important are the duplicated banknotes?By duplicating and varying the positions, you increase the depth and realism of your animation.


