In this tutorial, you will learn how to animate 3D objects, especially banknotes, in Adobe After Effects, so that they fly through the space and return to a suitcase at a specific point. We will focus on the important technique of controlling movements in time to achieve a smooth and appealing animation. By the end of the tutorial, you should be able to create your own 3D animation and utilize the tools and techniques that will assist you in this process.
Key Insights
- Structuring your compositions is crucial for the animation process.
- The keyframes used are particularly important for the temporal control and movement of your objects.
- Motion can be smoother by adjusting the curve line.
- Effects like Motion Blur increase the realism of your animation.
Step-by-step guide
Start your project by returning to your overall composition. You can rename your sub-compositions to increase clarity. The first sub-composition containing the cylinder effect, I name "Cylinder", and the second one "Banknote" for easy access.
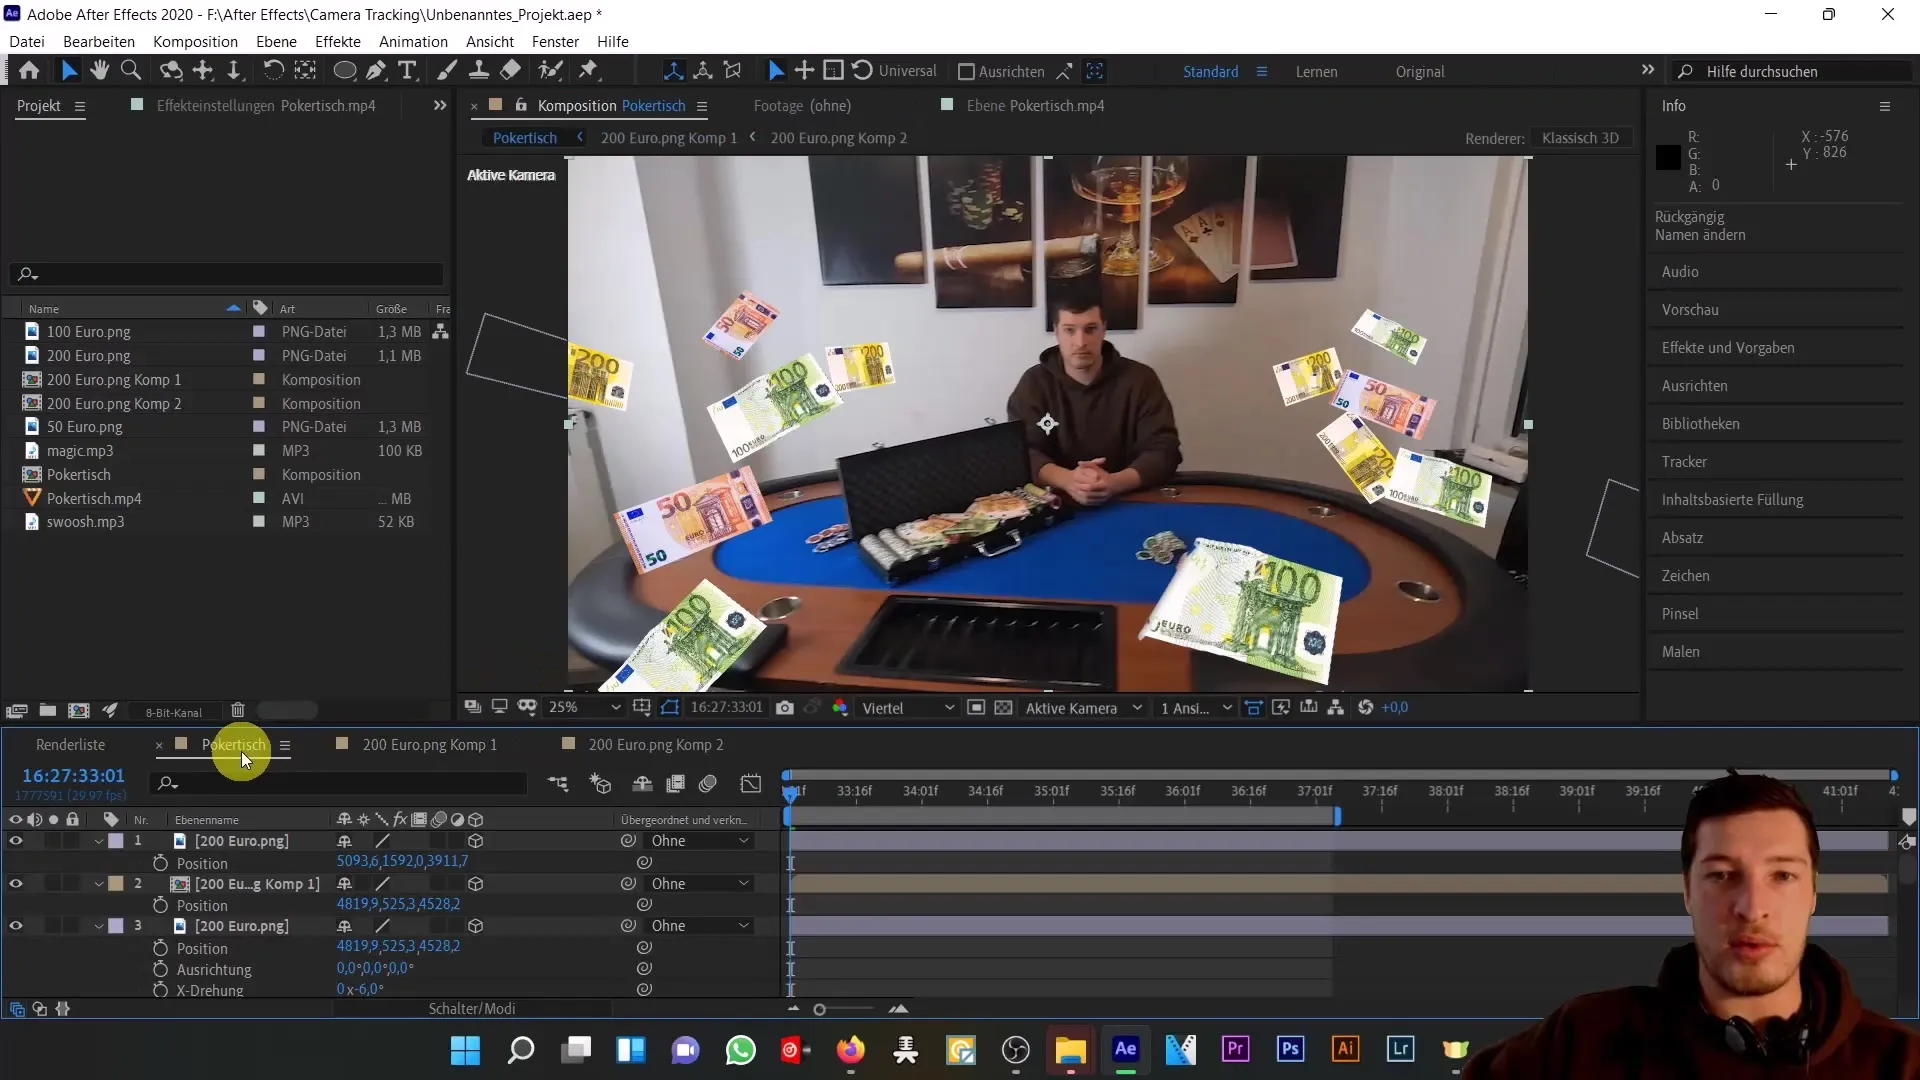
Examine the structure of your composition. Your banknote should be at the top level, embedded in the cylinder sub-composition. Ensure everything is correctly nested to avoid confusion.
Once you have set up the structure, move the cylinder sub-composition to the center of your workspace to keep your banknote in clear view. Enlarge it by bringing the Z-position forward and scaling the entire object to about 120%.
Now, let's start making the banknote fly. Make sure the banknote is initially positioned to the right outside the image area. Set the position to "P" and create your first keyframe. Move the banknote to the center of the image two seconds later and set the next keyframe.
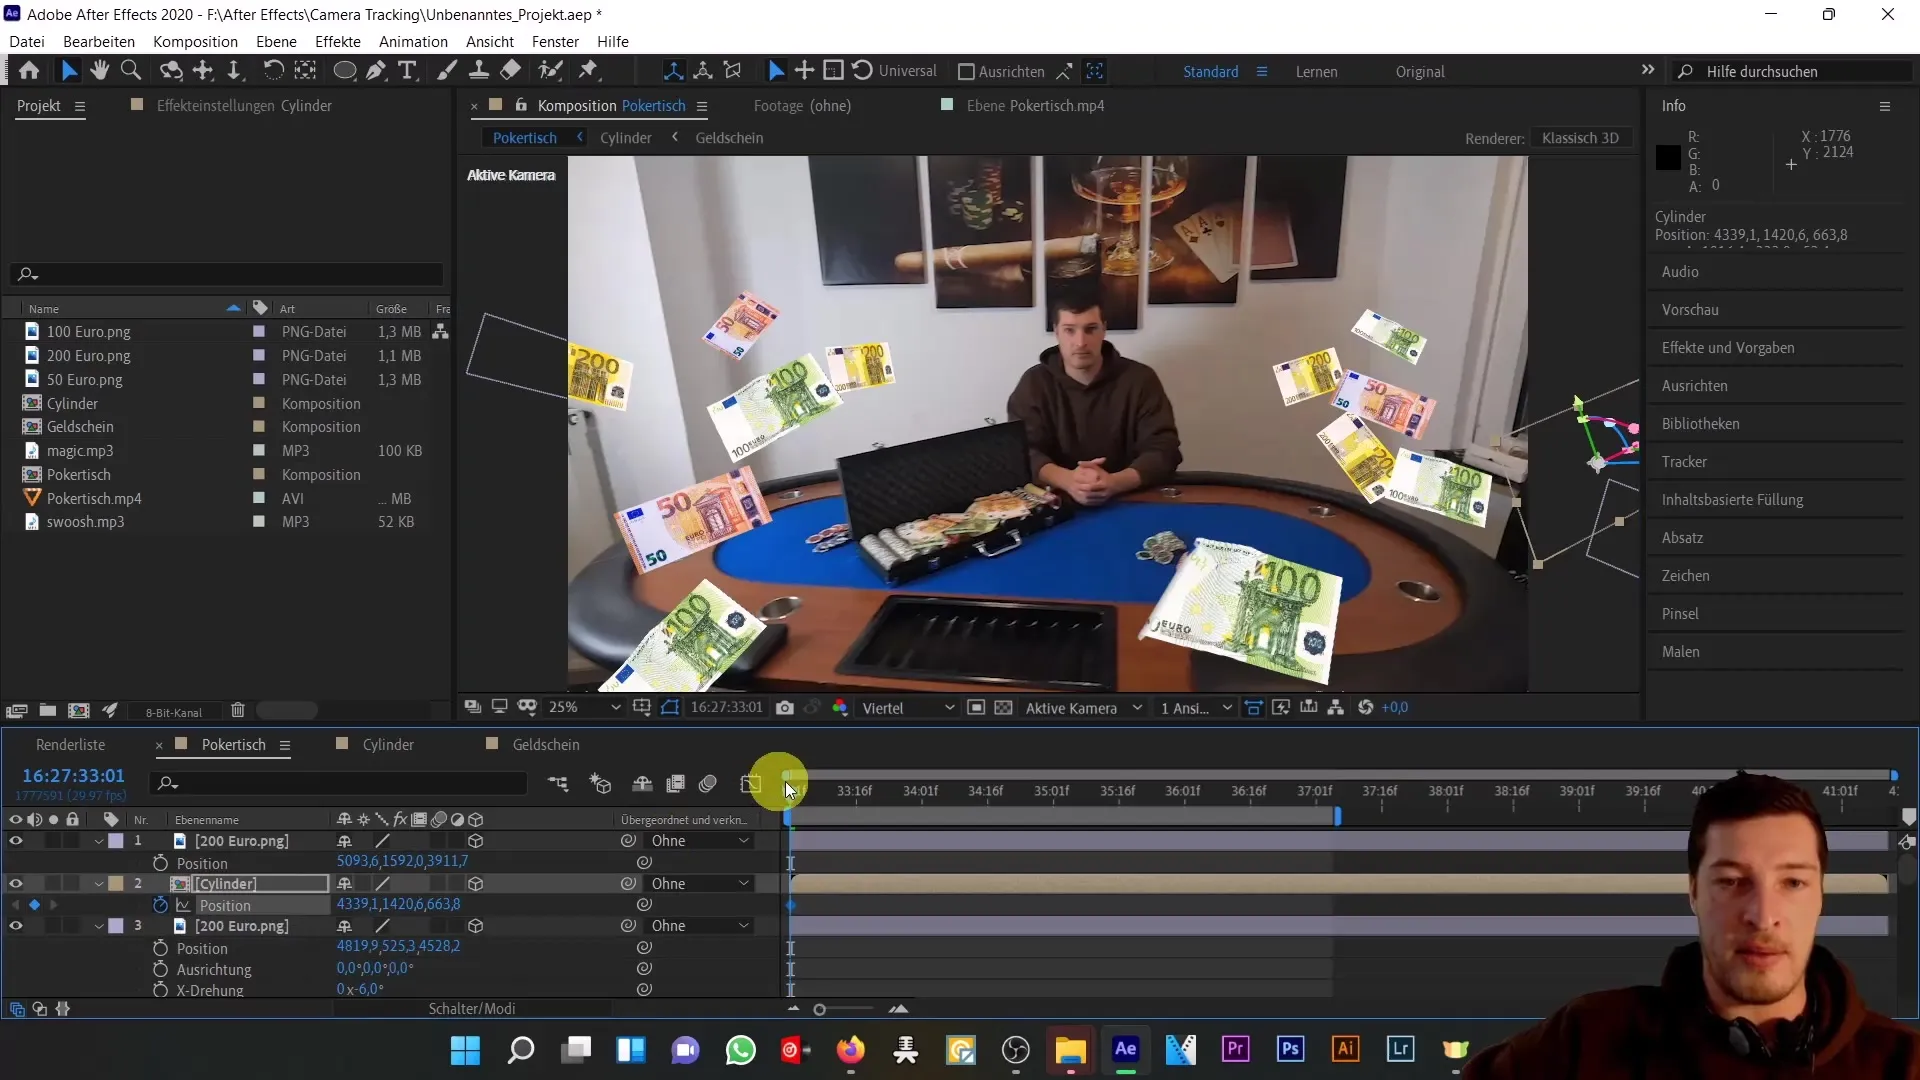
Shortly before the suitcase closes, the banknote should disappear from the image. Our goal is an animation lasting from 0 to 5 seconds. Adjust the keyframes to make the movement smoother across this time axis.
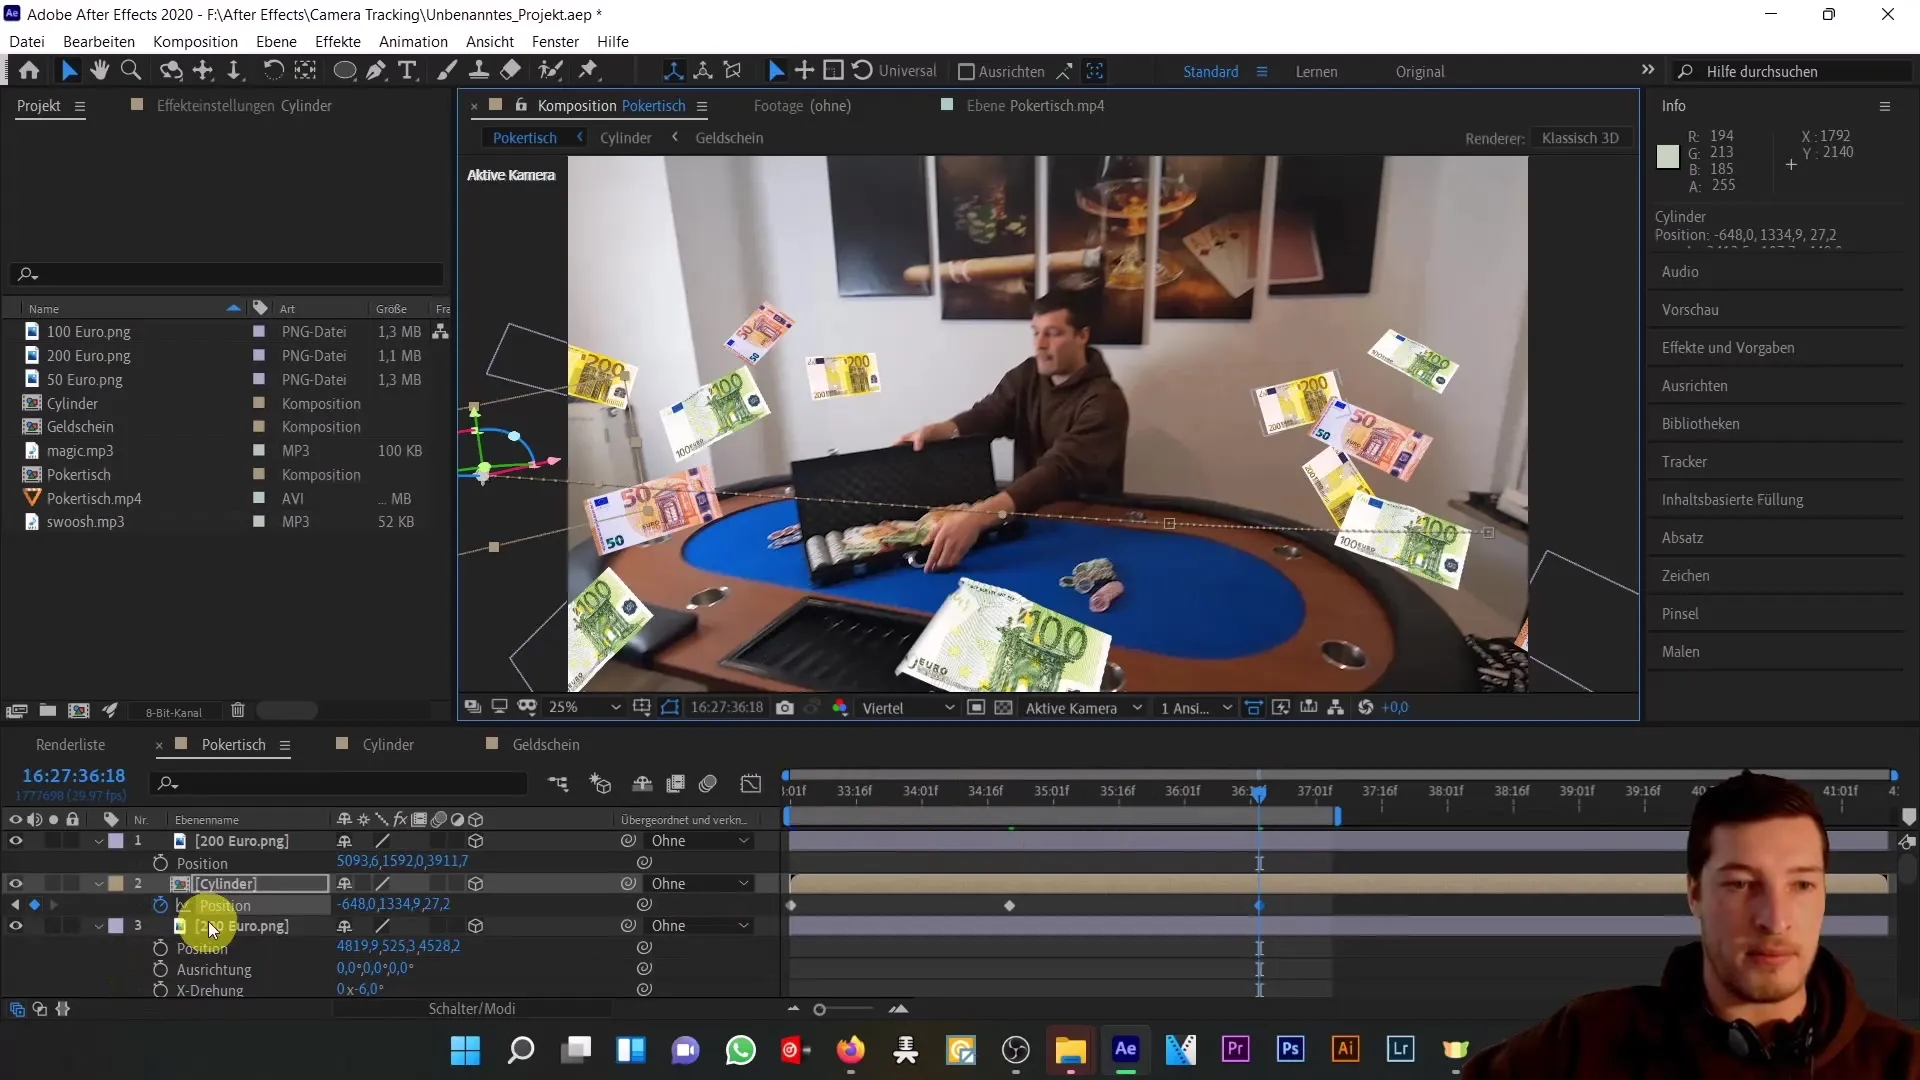
Now, let's improve the flight path of the banknote. Treat the position data like a mask path. Drag the small points along the position and adjust the tangent to create a smoother curve. This will make your animation more dynamic as the banknote floats up and leaves the image area.
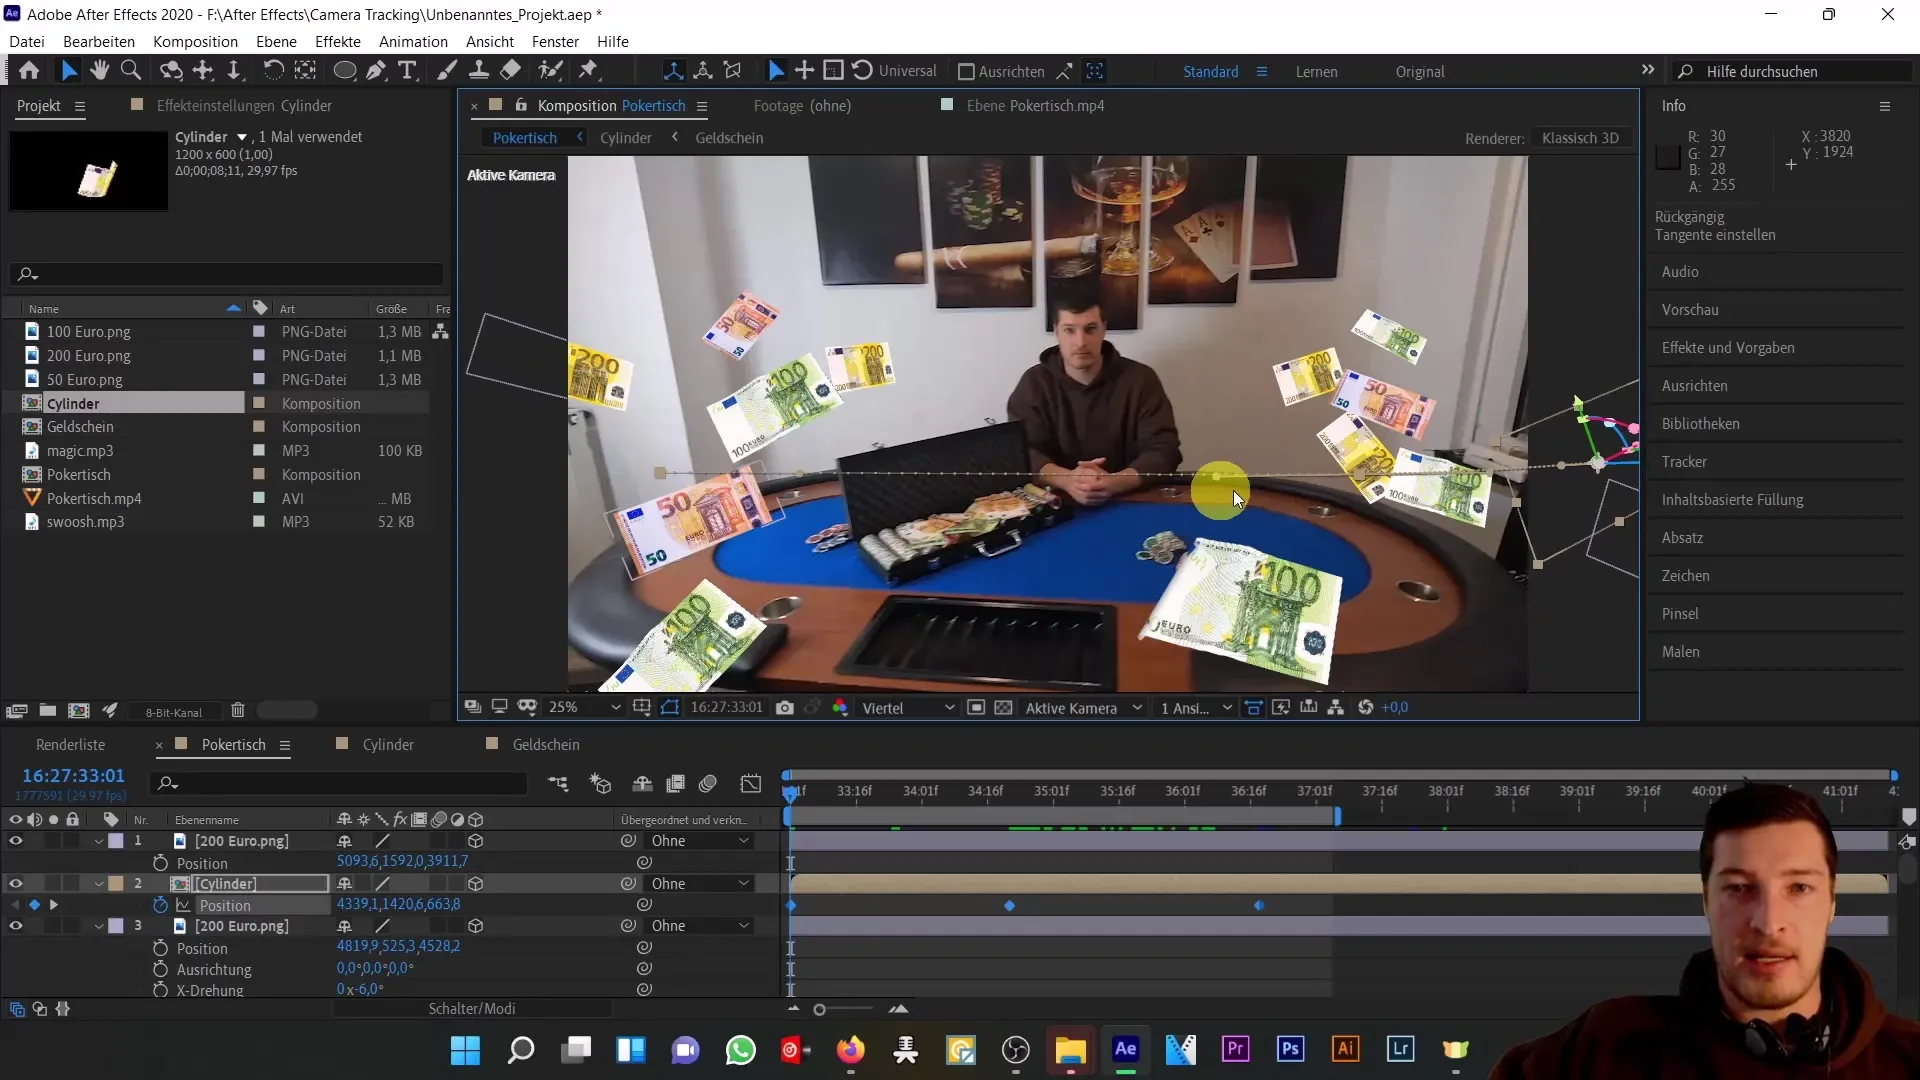
Now that your banknote has smoothly floated through the image, you can use the best settings for your keyframe assistant to make the animation smooth. Choose the "Easy Ease" option to soften the movement.
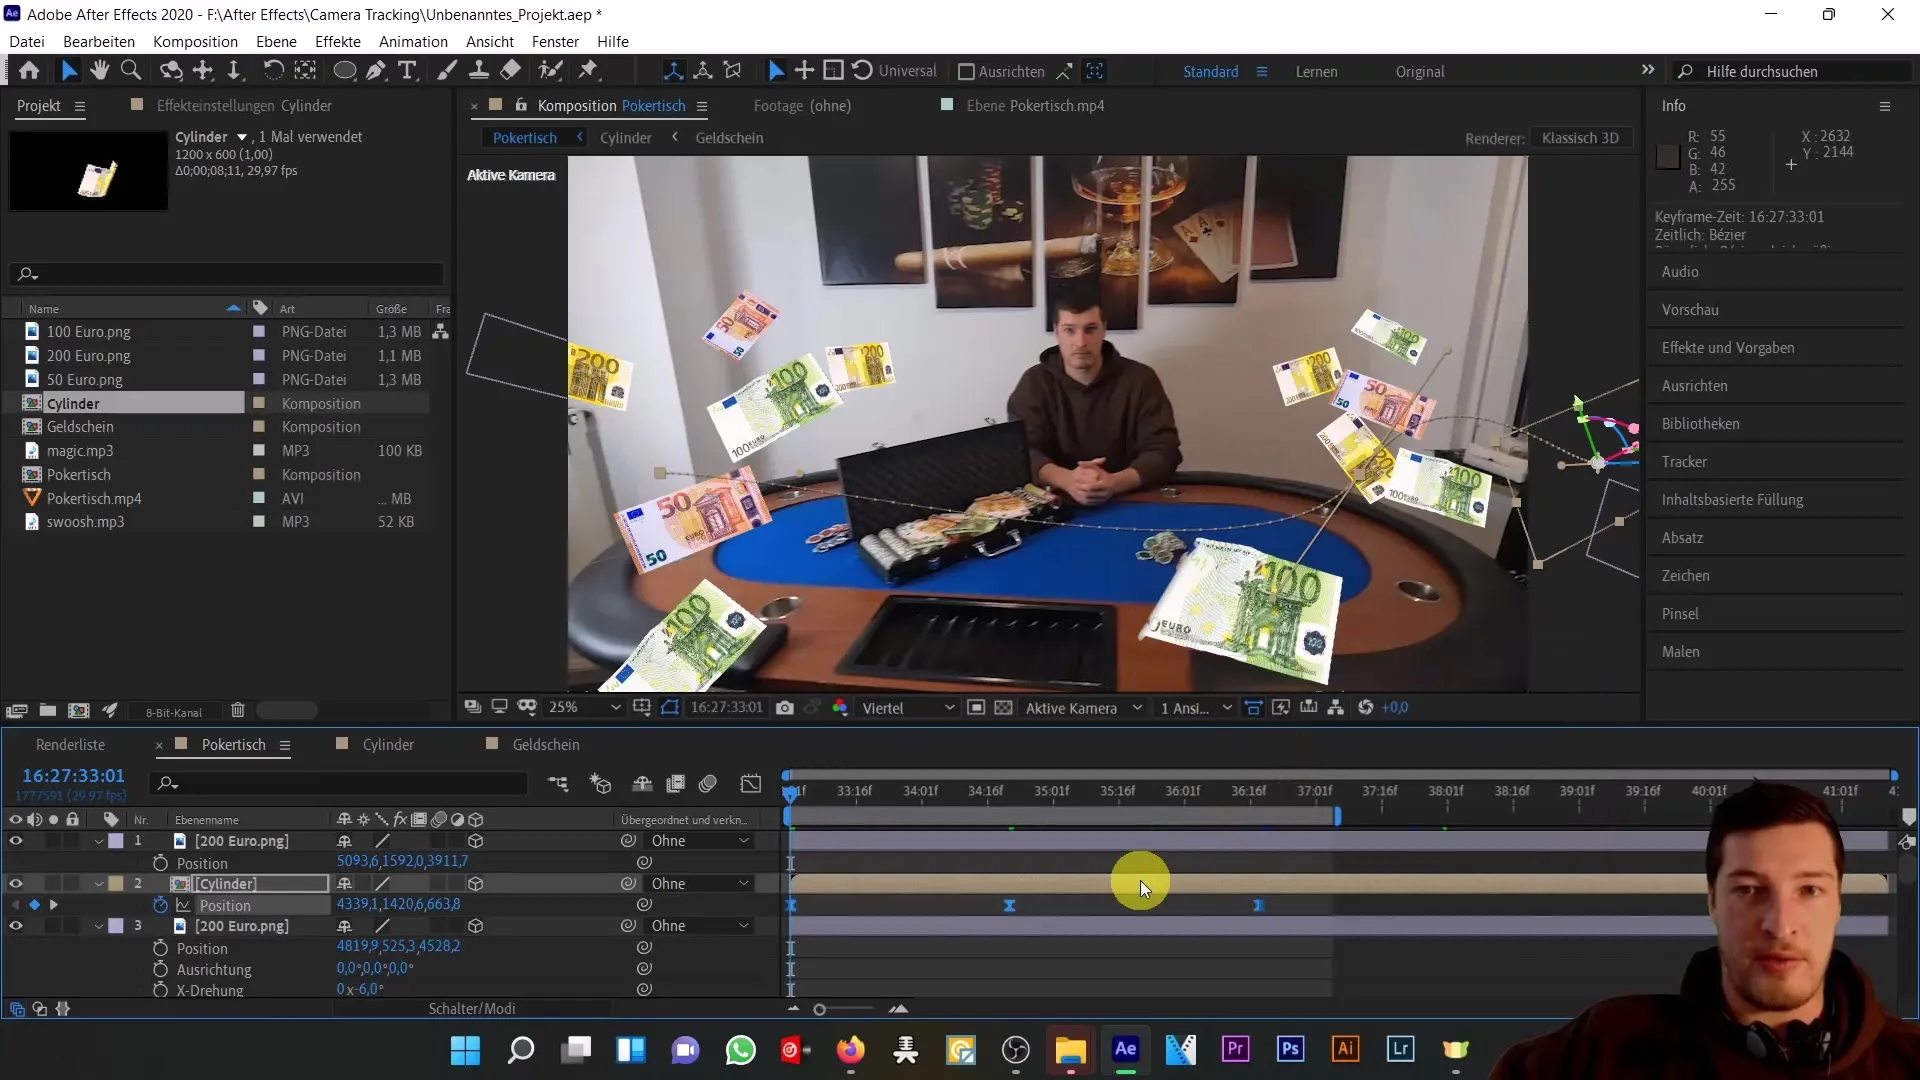
The flight of the banknote is now complete – all that remains is for all banknotes to return to the suitcase. Select a banknote, for example, a 50 euro banknote, and activate the stopwatch for position and rotation.
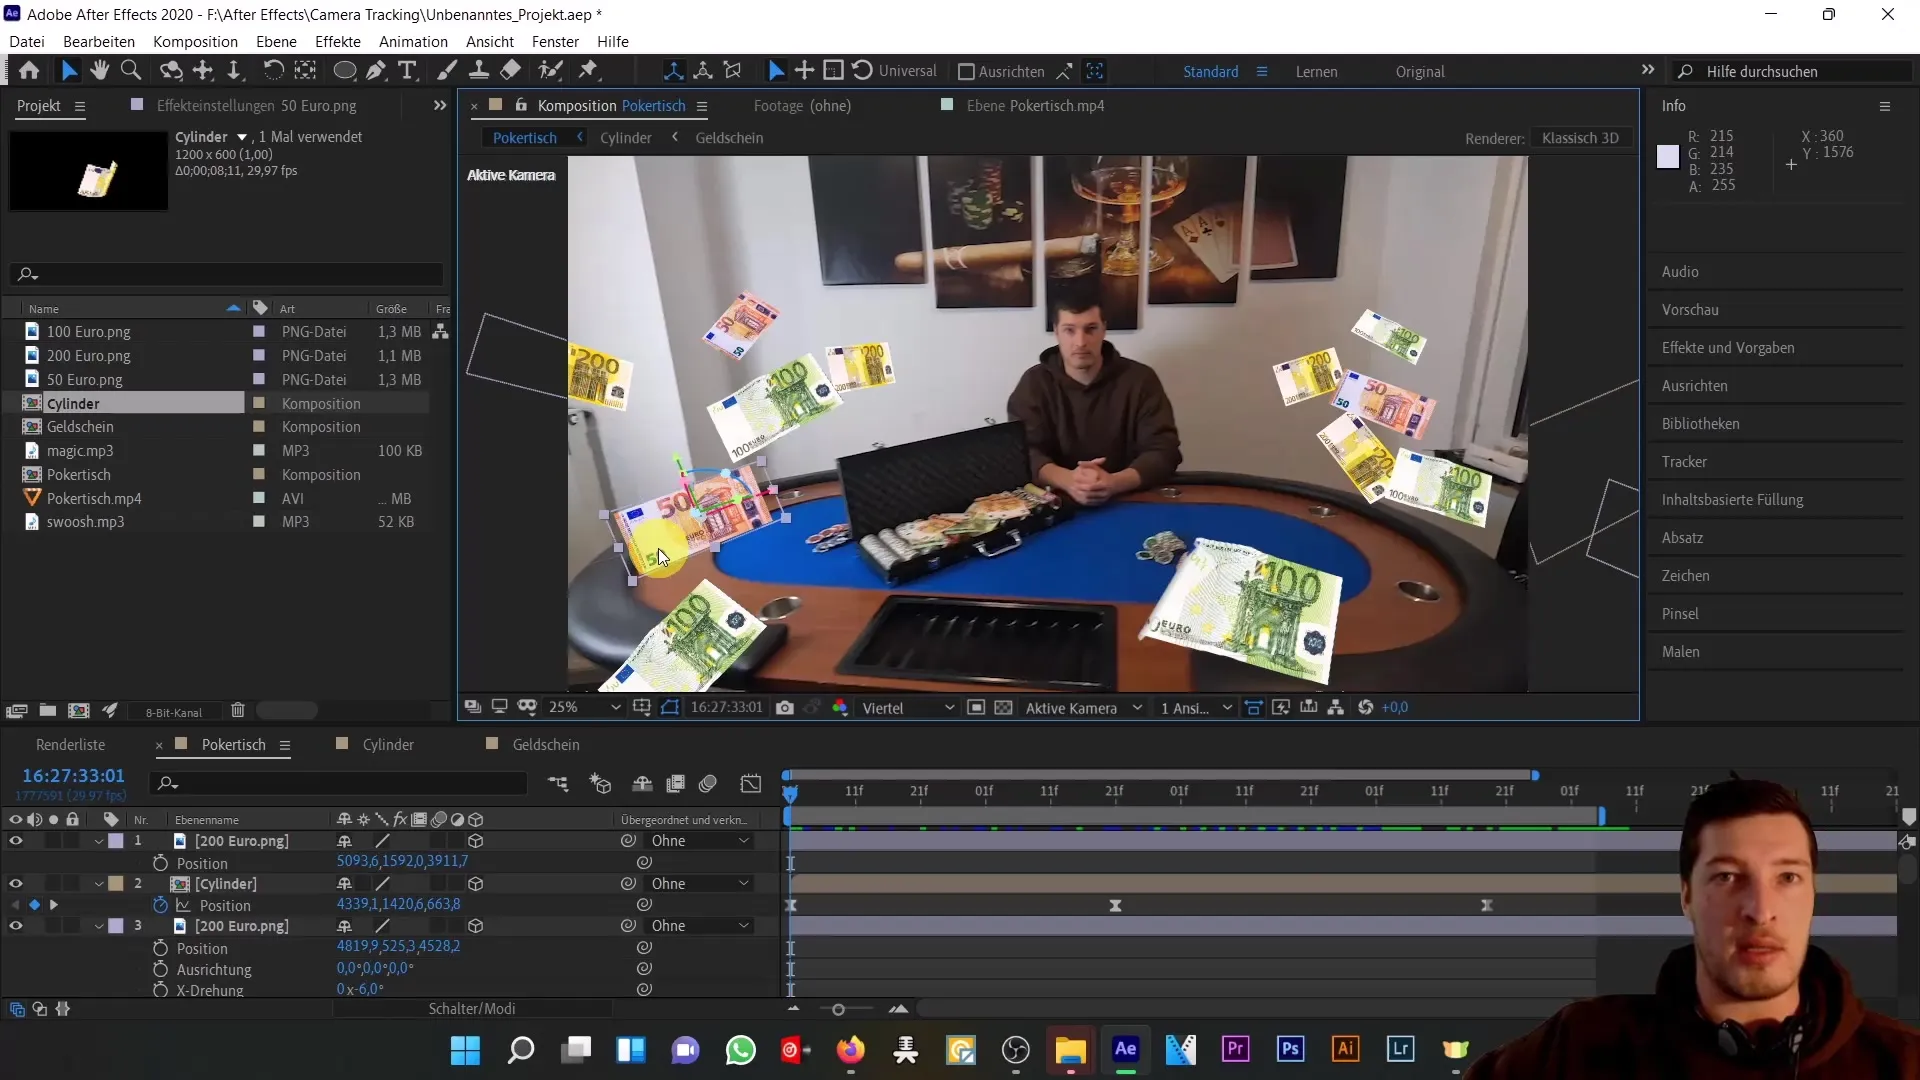
Divide the animation into two sections: the banknote flies to the right first and then returns to the suitcase, while the other banknotes, already on the right, fly directly into it. Set the keyframe for the banknote's position shortly before the suitcase closes.
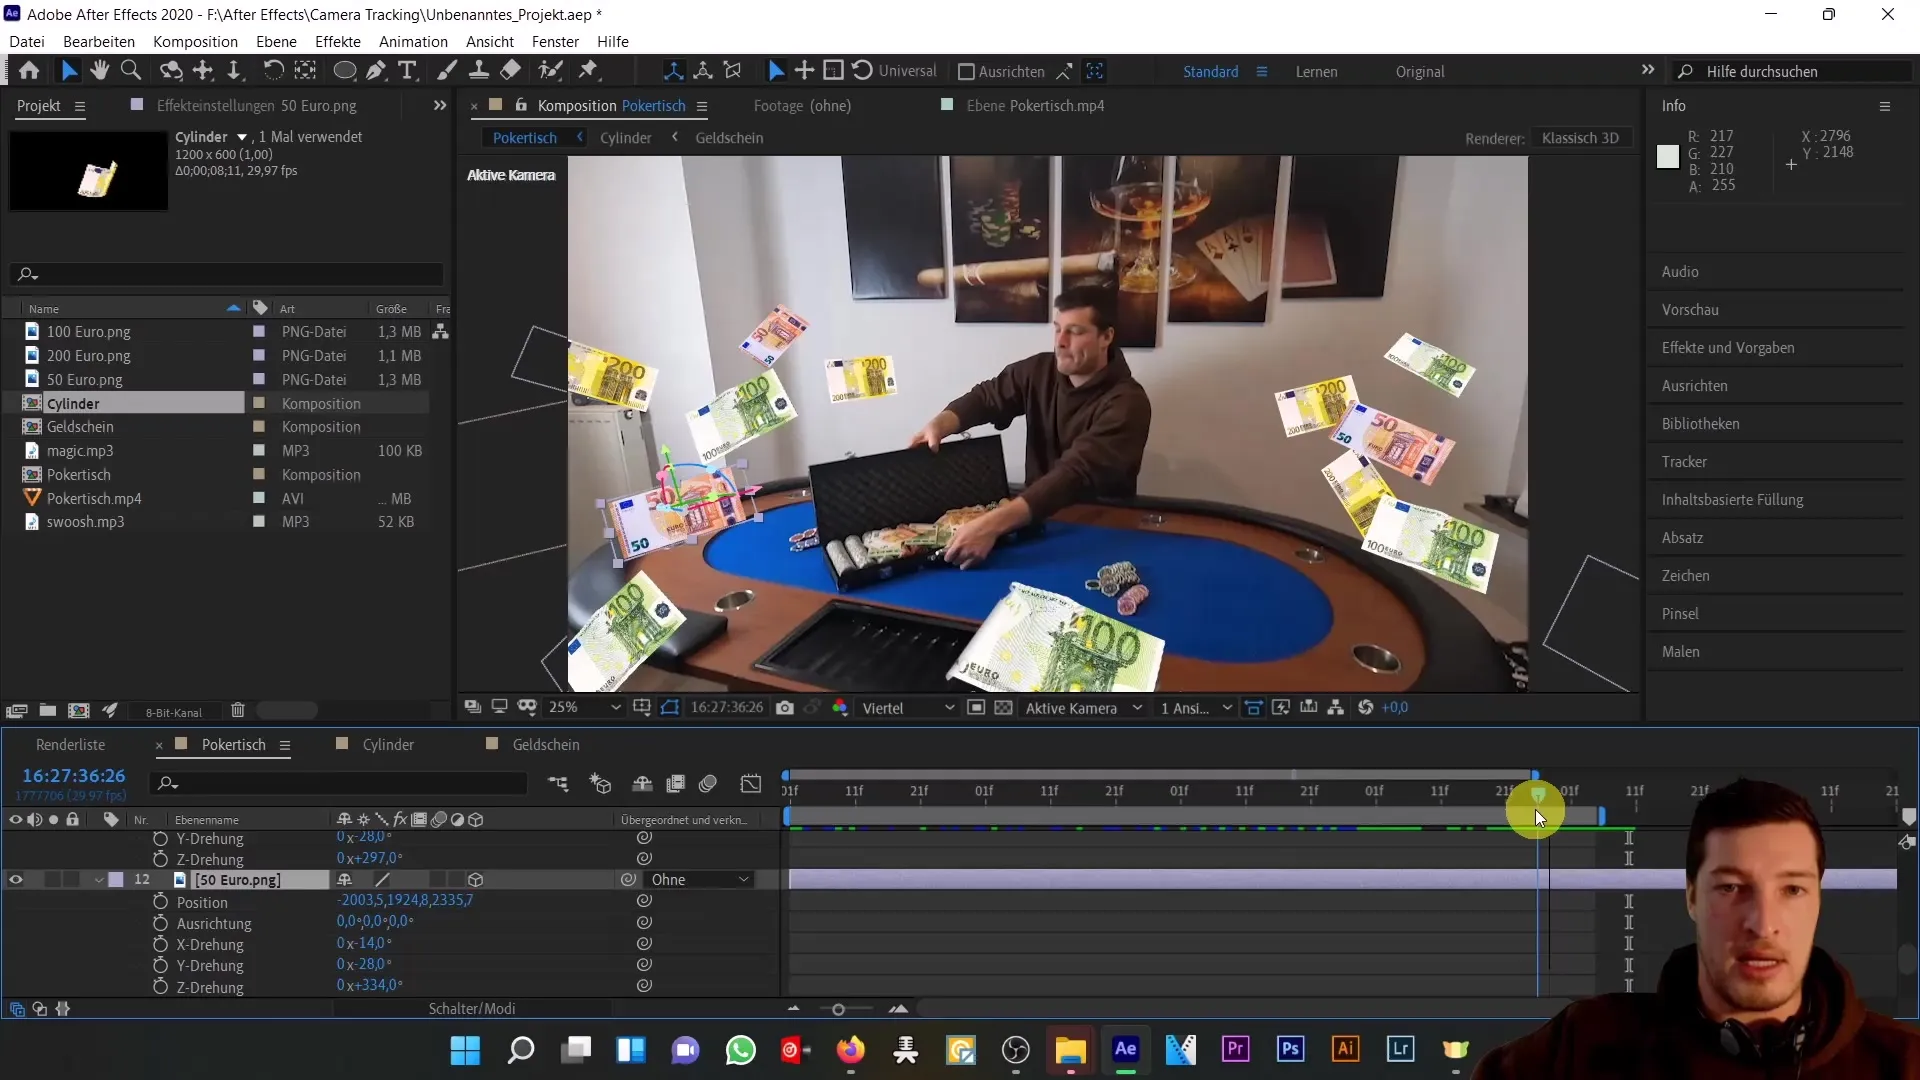
Now, move a few frames forward and let the banknote fly into the suitcase. Make sure to adjust the position and Z-offset to make the banknote look reachable from the viewer's perspective.
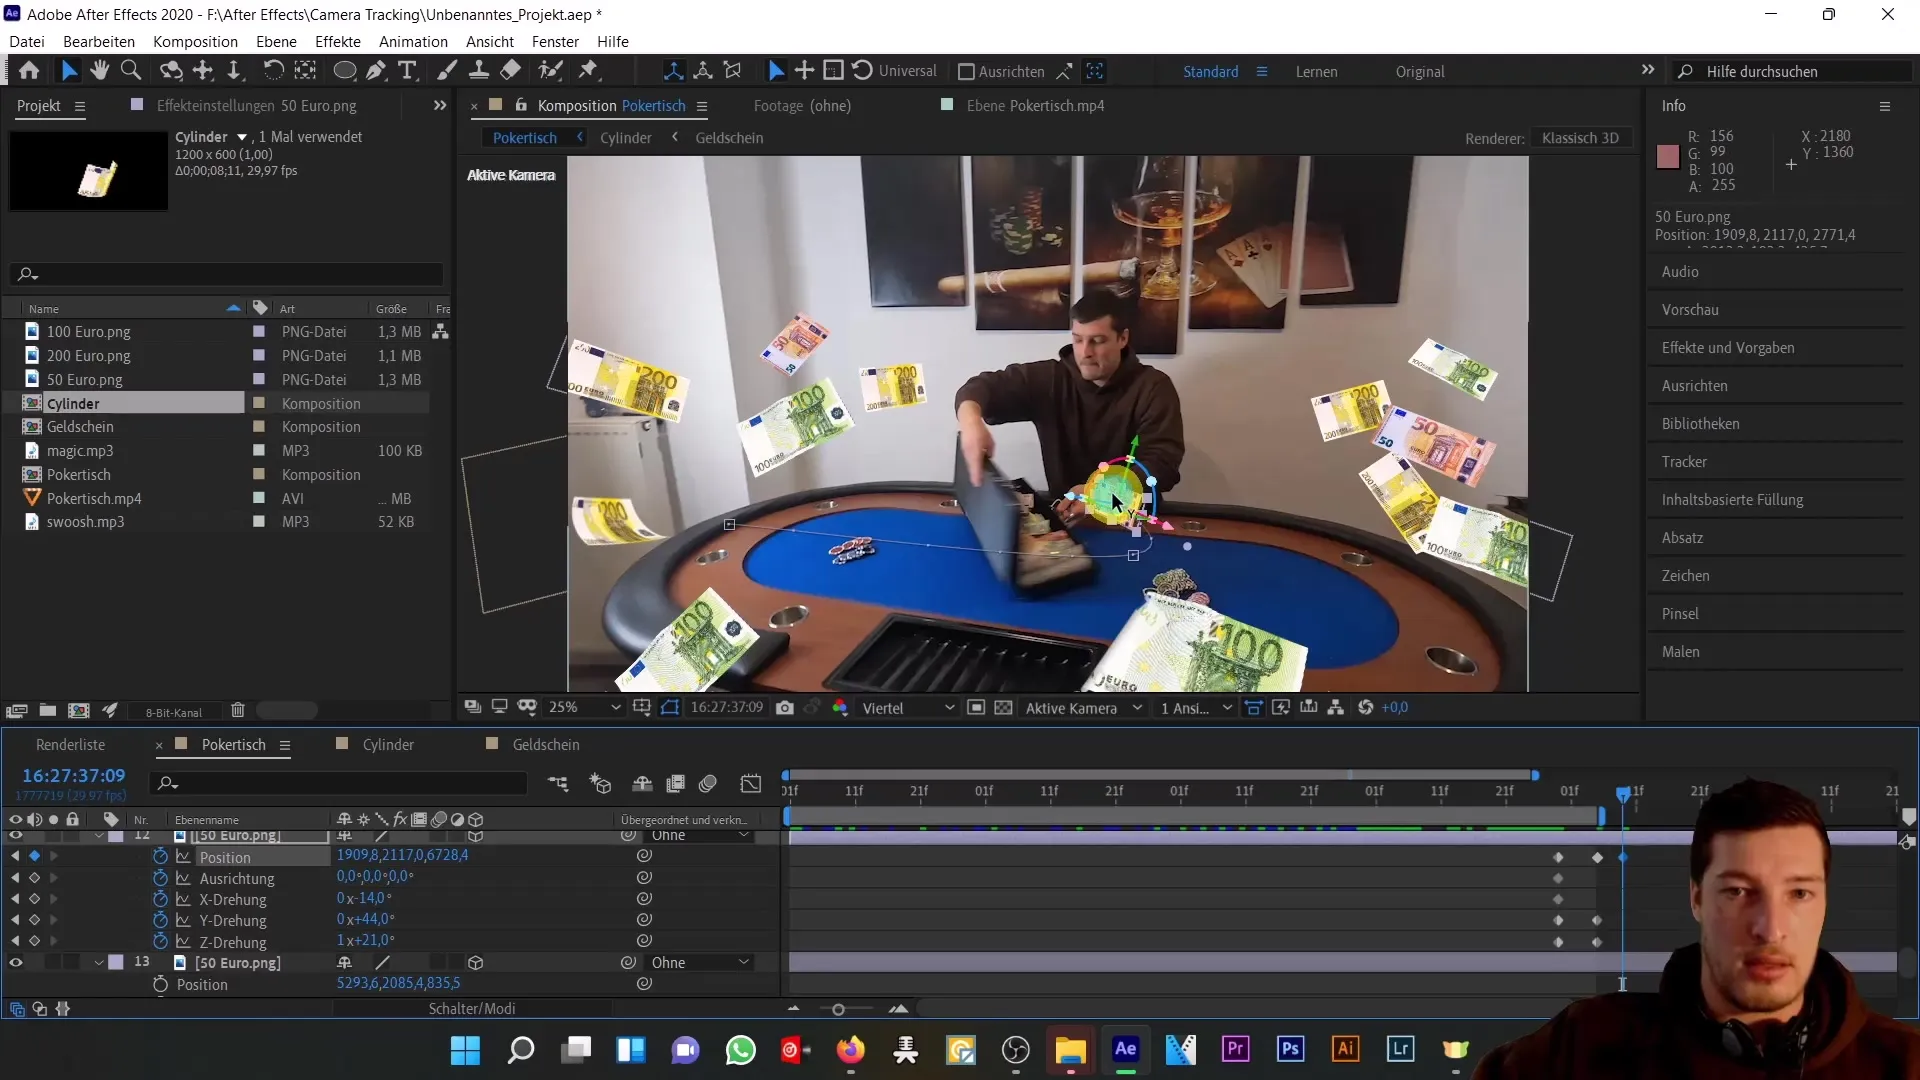
The final step is to mask the bill while closing the suitcase lid. Use the pen tool to create a rough mask. Animate the mask to cover the bill at the right moment.
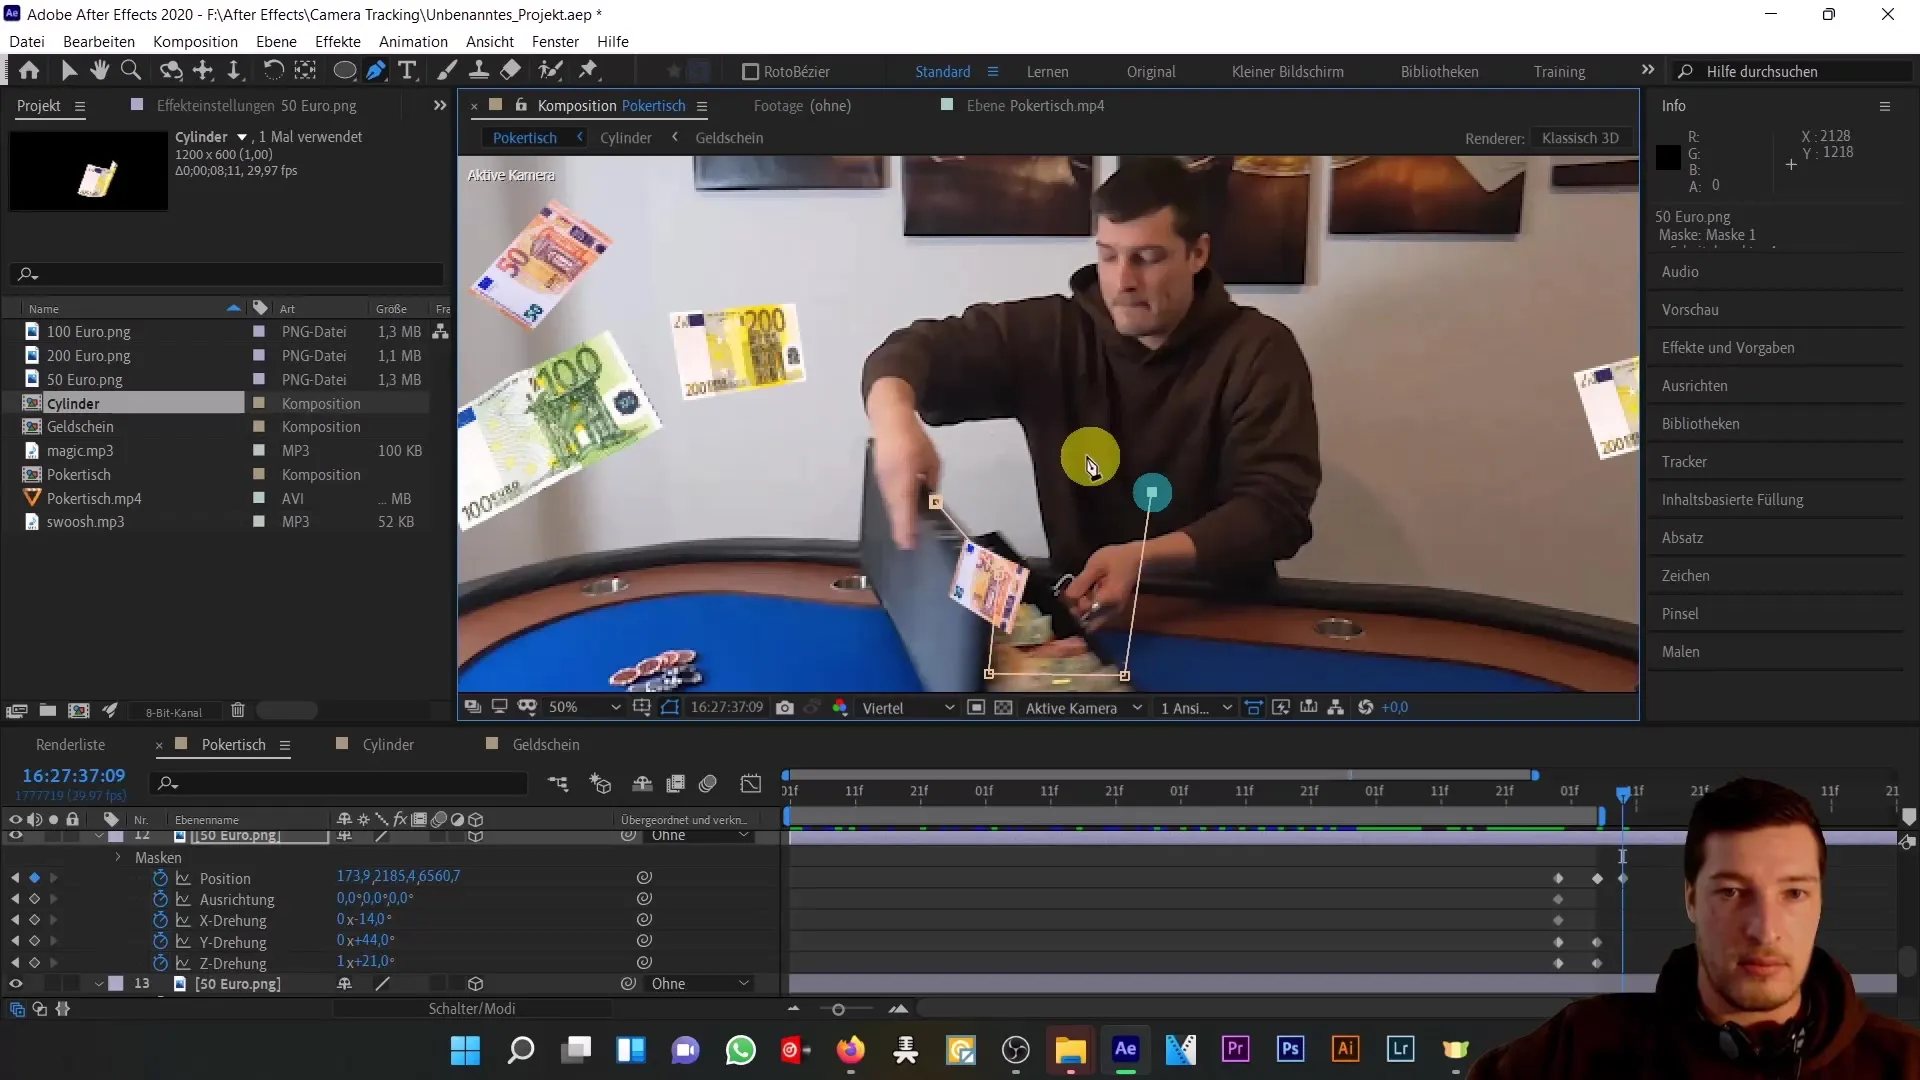
To enhance the entire effect, enable motion blur for the bill. This ensures that your animation looks even faster and more realistic.
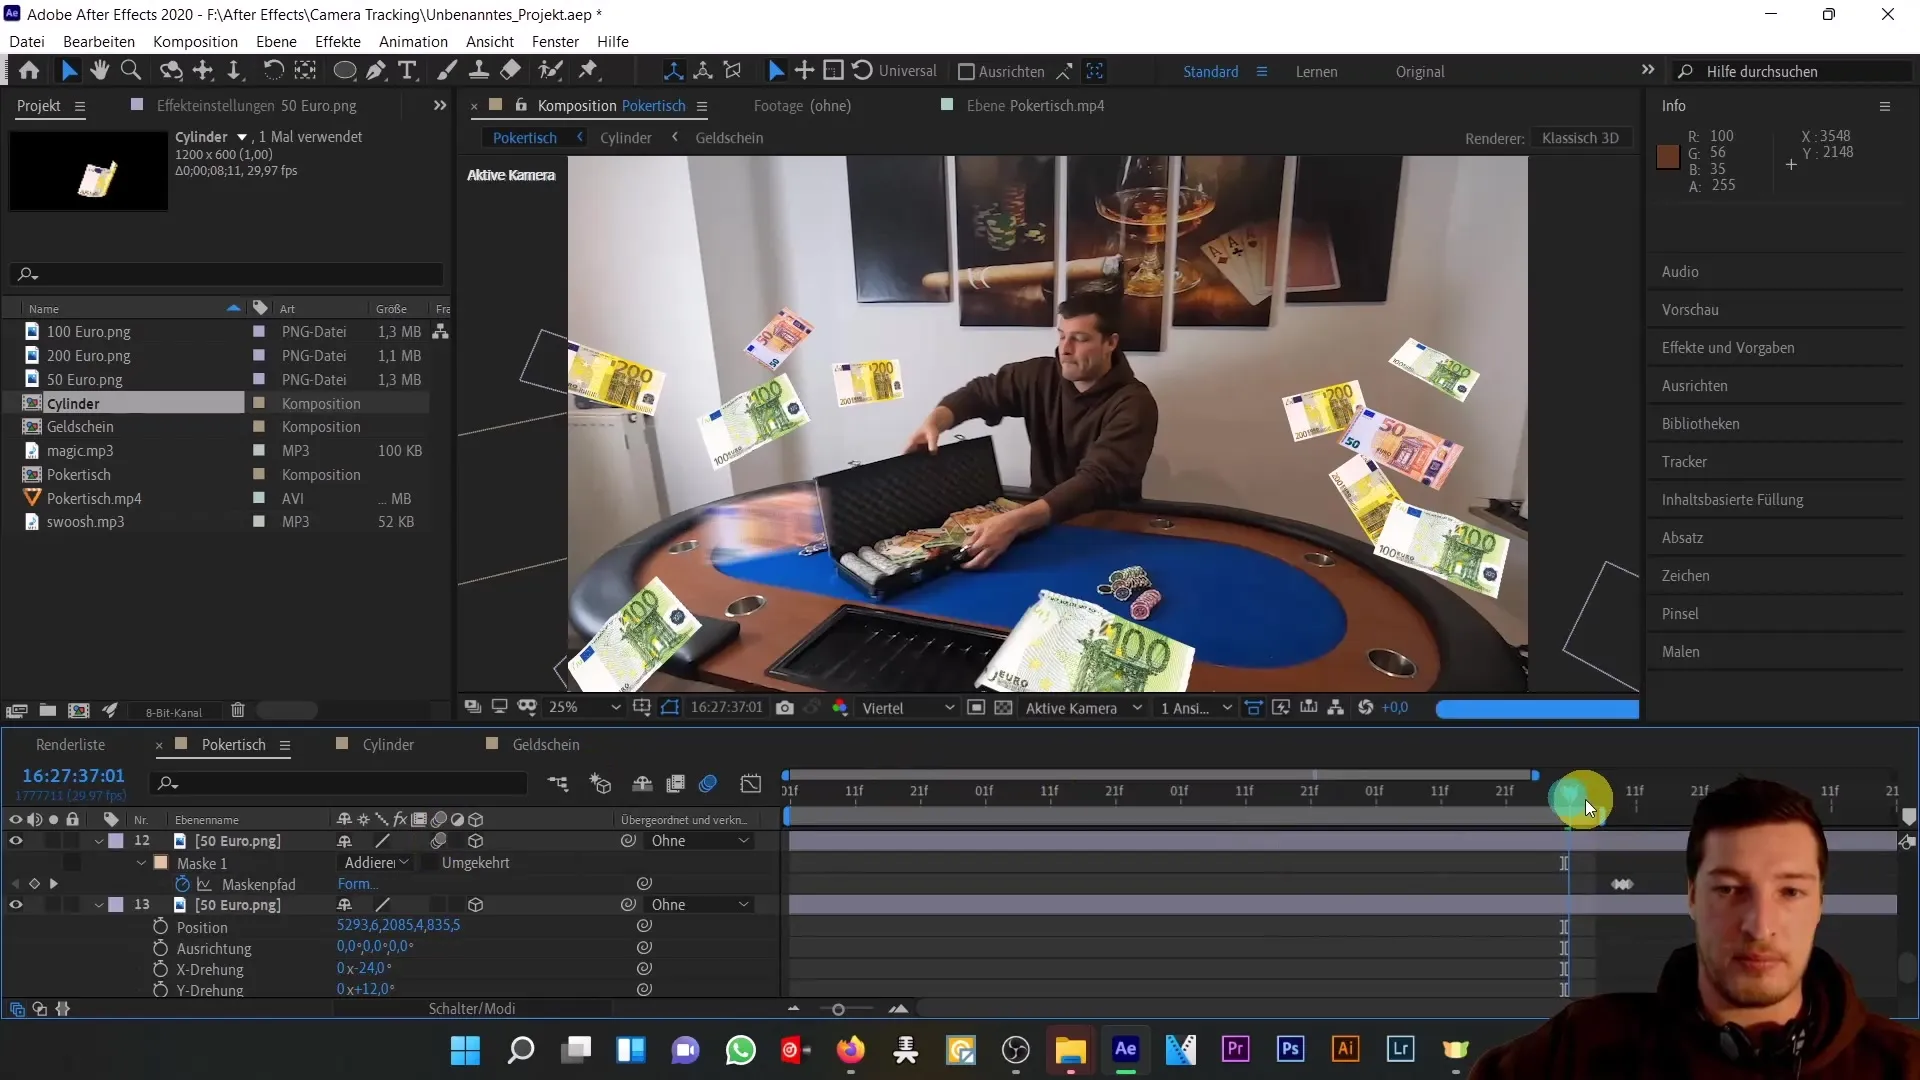
In the final steps, the entire animation should be checked to ensure that everything looks smooth and effective. Make sure to also make level and curve adjustments for better color and contrast settings.
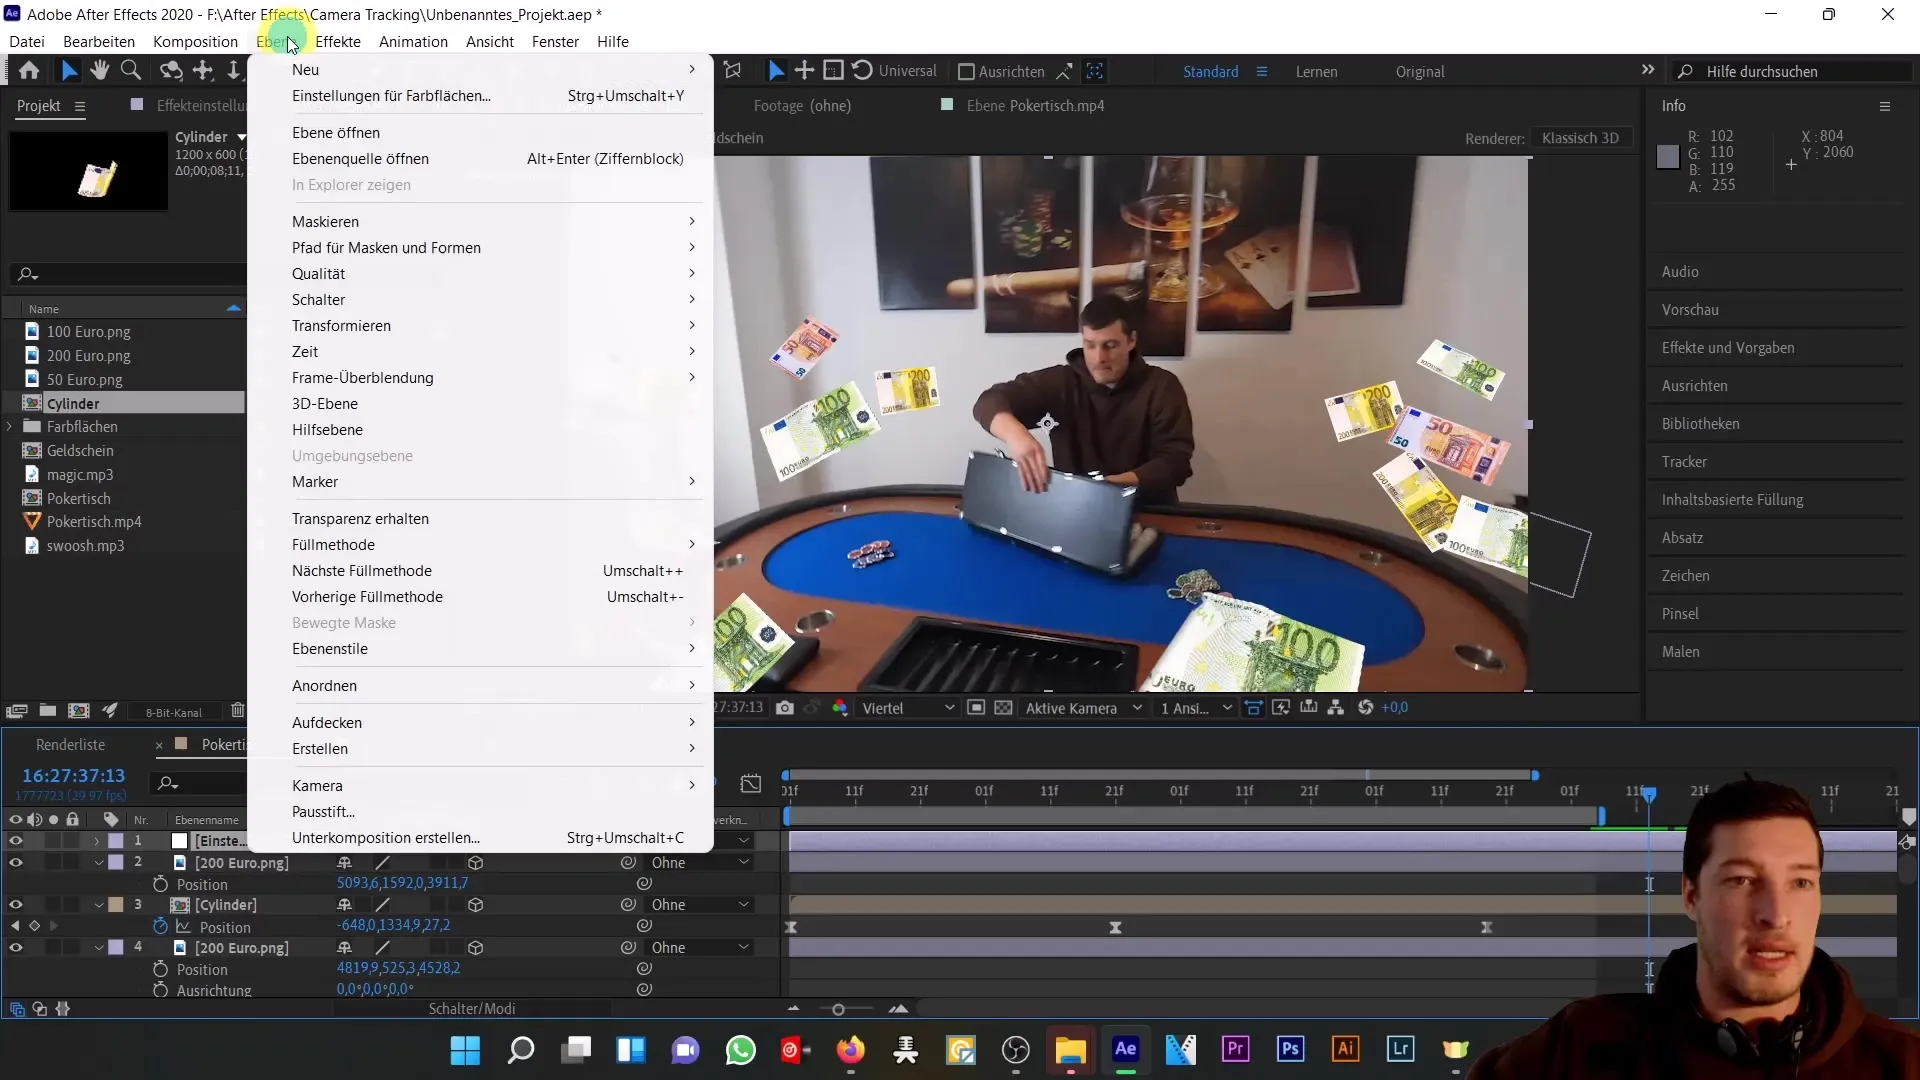
In this tutorial, you have learned how to animate bills in After Effects so they fly through space and return to a suitcase. We covered key techniques for object animation, including setting keyframes, adjusting movements, and applying motion blur to make the animation more appealing. With these techniques, you are now able to create your own impressive animations.
Frequently Asked Questions
How can I move the keyframes?Click on the keyframes and drag them along the timeline.
How do I enable motion blur?Click on the motion blur icon in the timeline of your layer.
What is the difference between Easy Ease and Linear Animation?Easy Ease makes the movement smoother, while linear means that the movement occurs uniformly without acceleration or deceleration.
Can I animate multiple bills at the same time?Yes, you can apply the same techniques for each bill to include them in the animation.
How can I adjust the colors of the bills?Add an adjustment layer and use a curves effect to adjust the colors.


