In this tutorial, I will explain how you can create time distortion in Adobe After Effects to simulate a realistic braking process for a car accident simulation. The focus is on artistically reducing the car's speed to enhance the dramatic effect of an accident. Prior experience with After Effects is beneficial, but I will explain each step in detail so even beginners can follow along.
Key Takeaways
- Utilizing time dilation and time distortion enables a realistic simulation of a braking process.
- Keyframes are essential for controlling time distortion.
- A gradual approach to speed reduction is crucial to achieve an authentic effect.
Step-by-Step Guide
First, you should import your project files into After Effects and create a new project. Ensure all necessary materials are already present in your project.
Before starting with the effects and adjustments, it's beneficial to analyze the characteristic movement of the vehicle. Often, we have a constant speed, which is not always the case in reality. Slowing down the car helps realistically depict the braking process.
To utilize time distortion, you could use the "Frame Hold" or "Time Stretch" function. For our purposes, we will focus on examining Time Stretch more closely. You determine a point at which the car is at 100% speed and when it starts to slow down - perhaps at 110%.
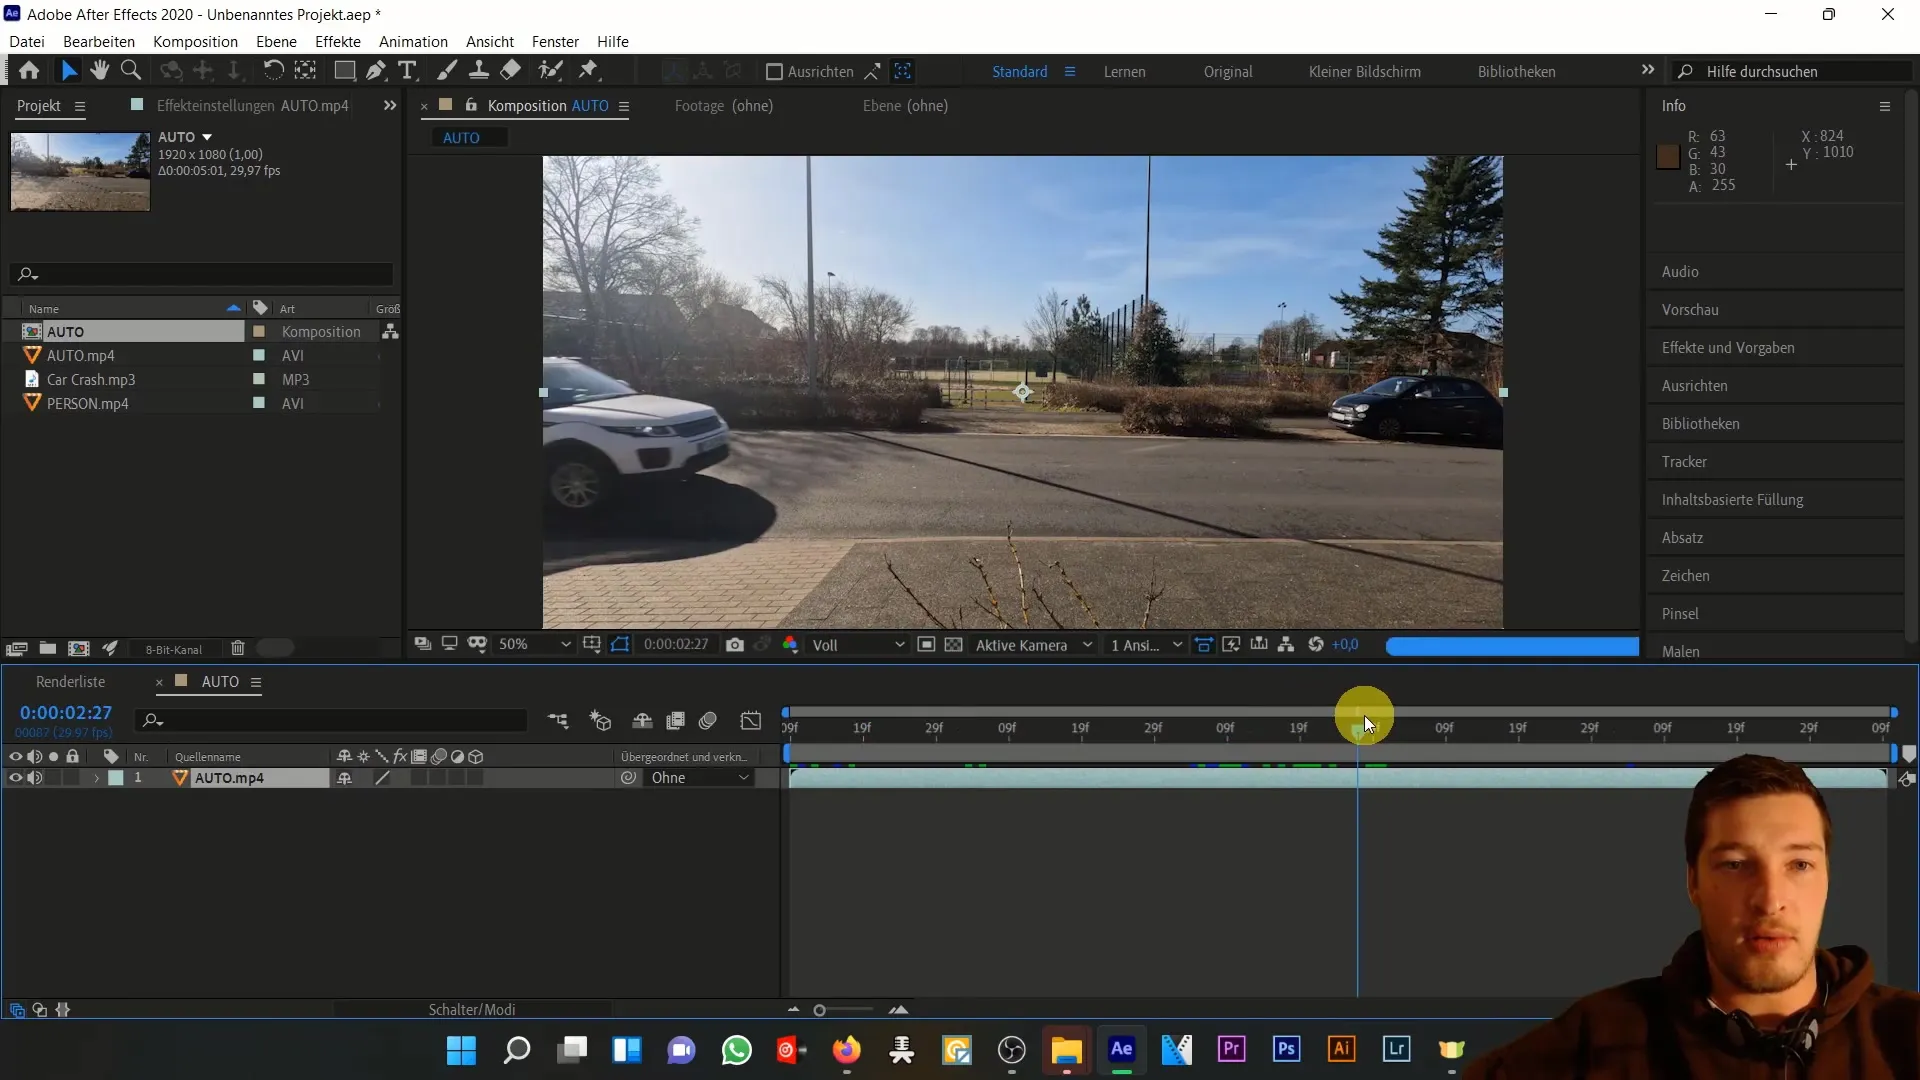
Use the key combination Control + Shift + D to split the layer at this marker. Now, you can set the time stretch for this clip to 110%. In the preview, you can see how the clip's duration changes.
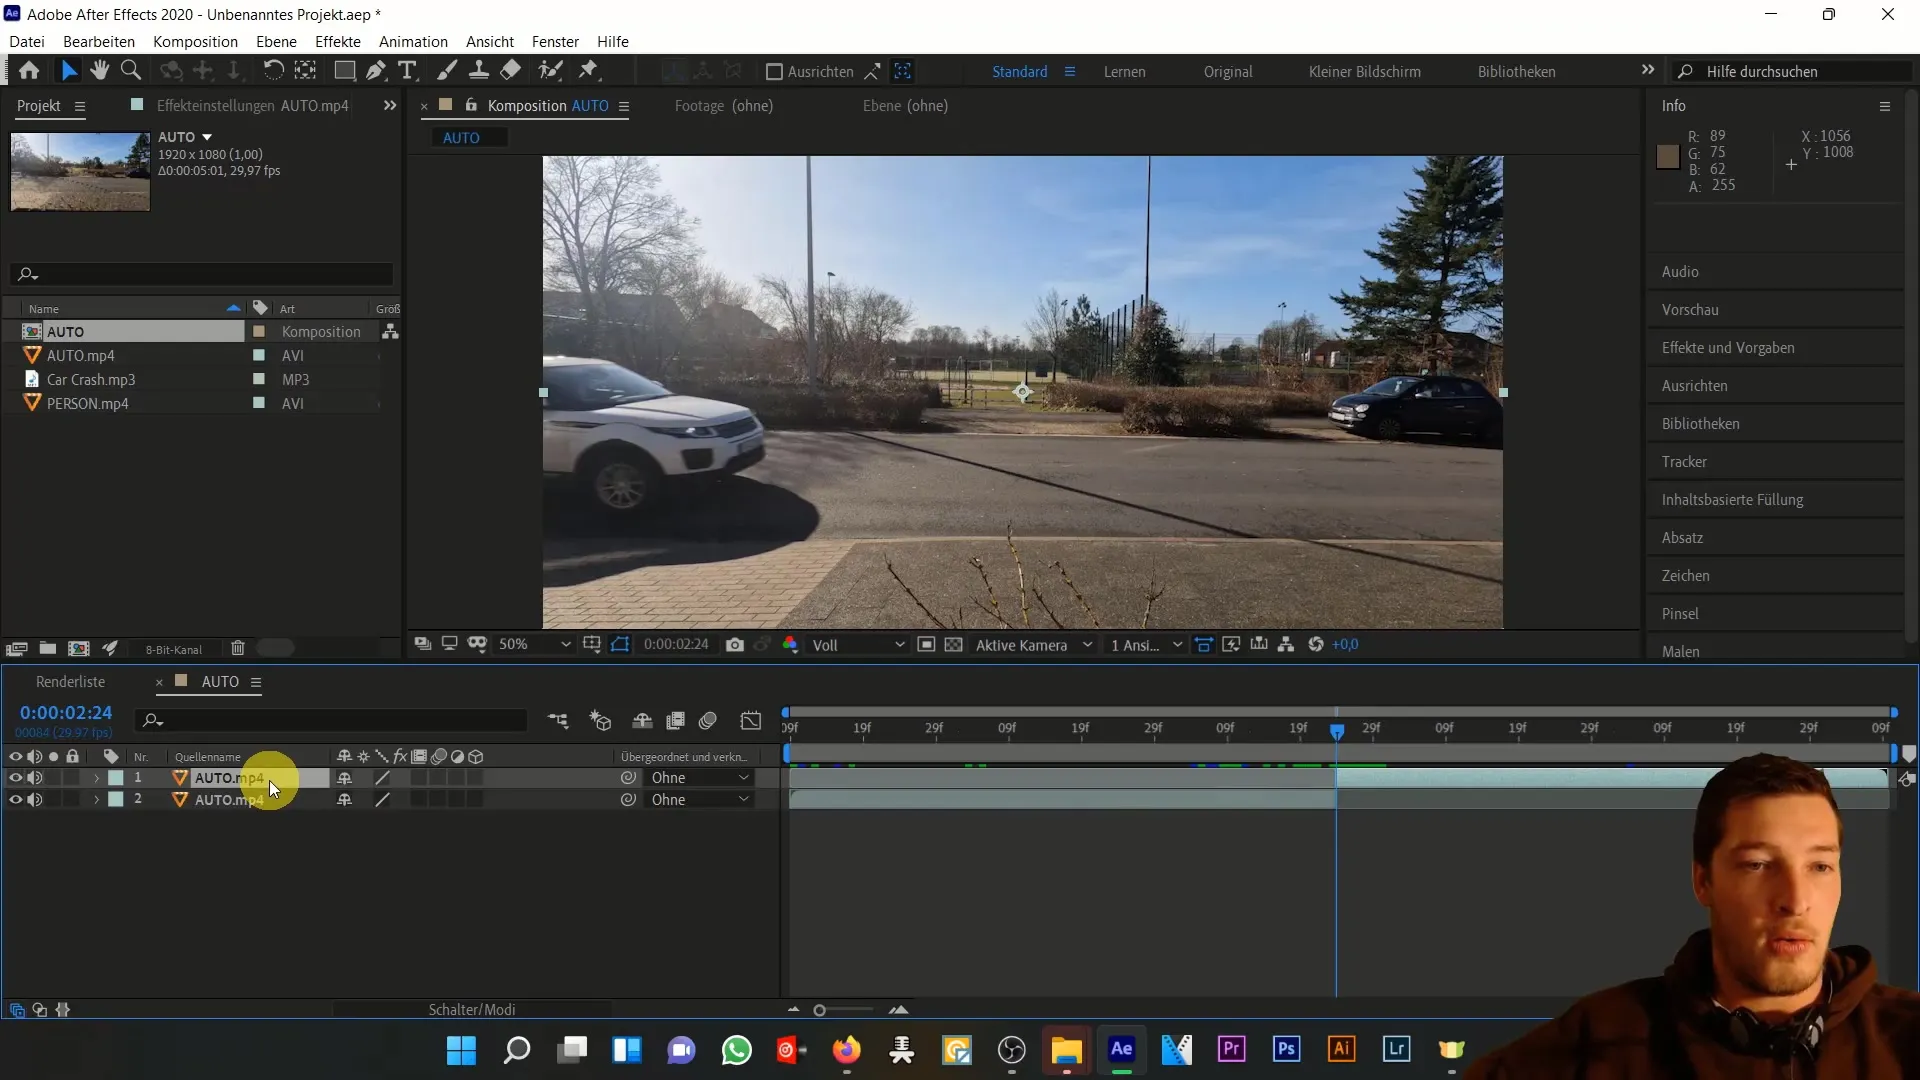
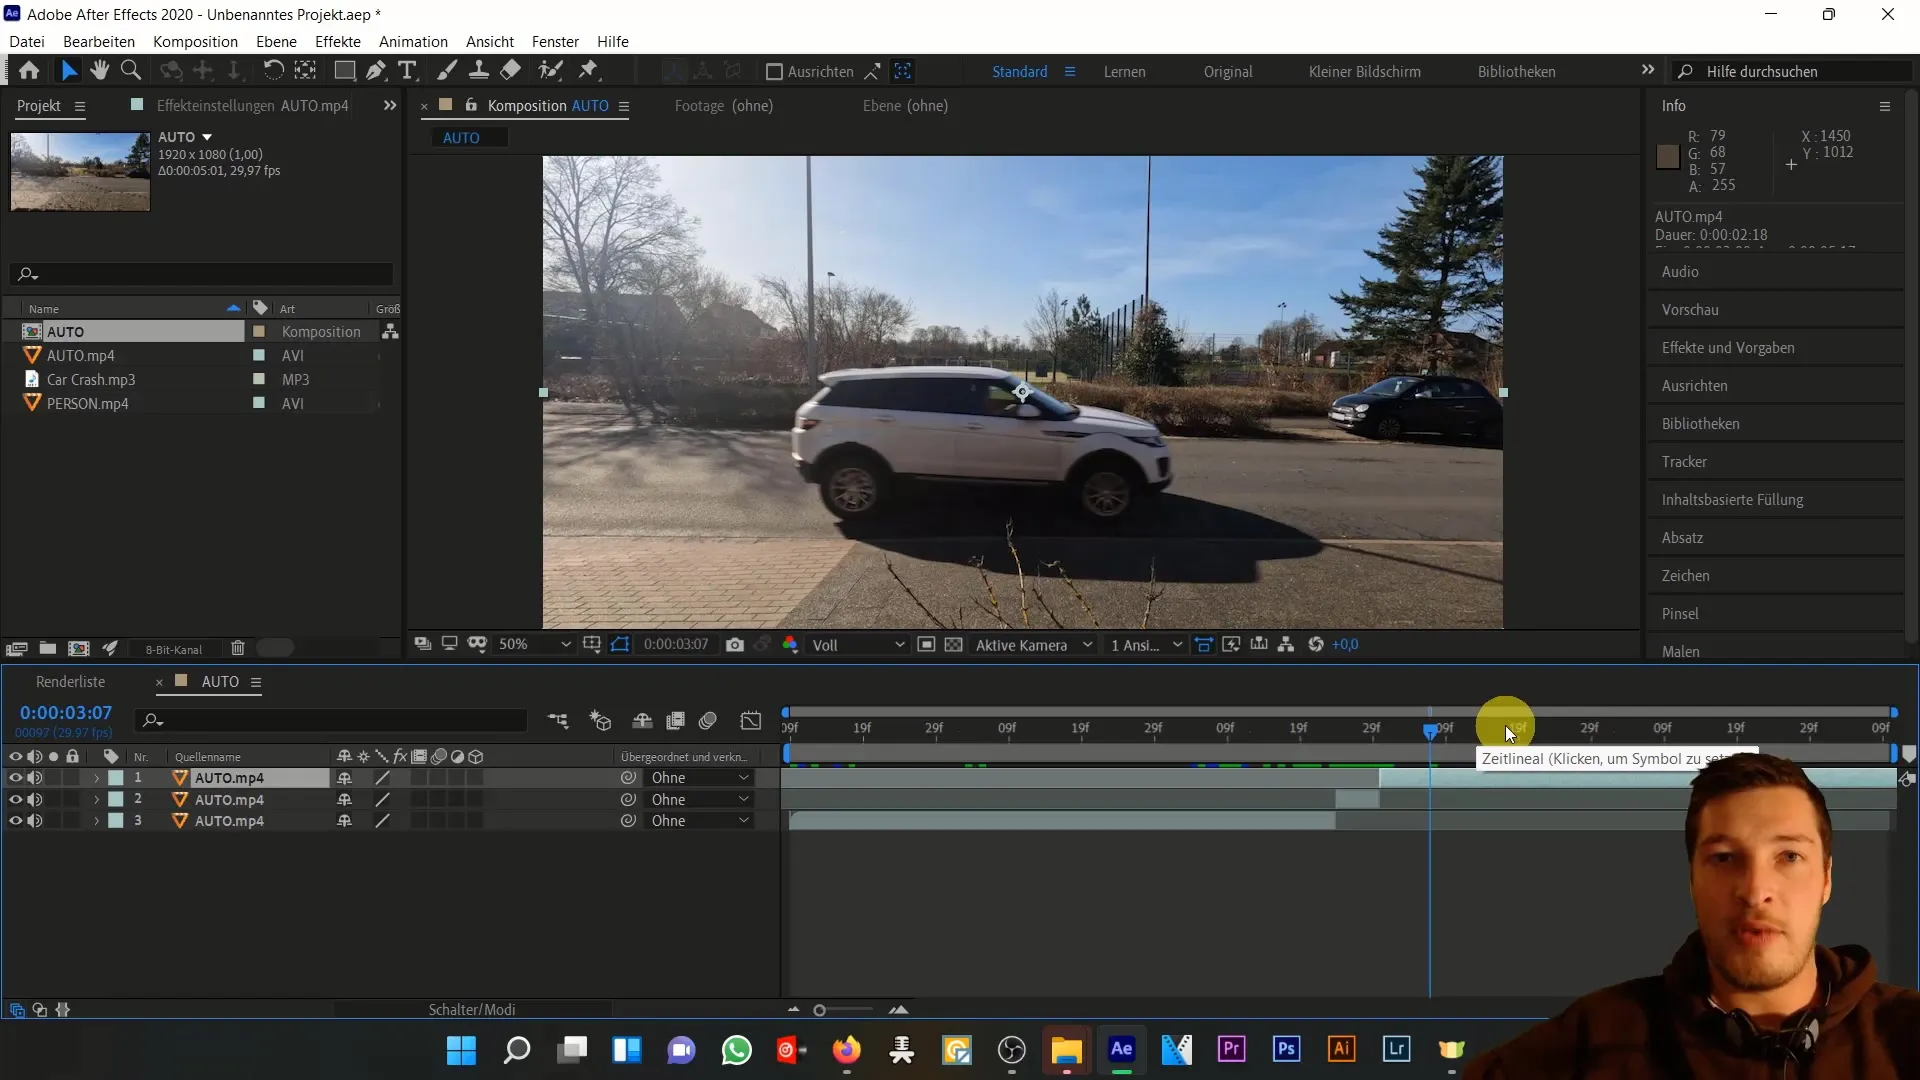
Now, select the next time markers to further slow down the car - for instance, to 120% and so on until you reach a value of about 150%. It's important that the speed doesn't abruptly jump from 100 to 150%, but rather there is a smooth transition.
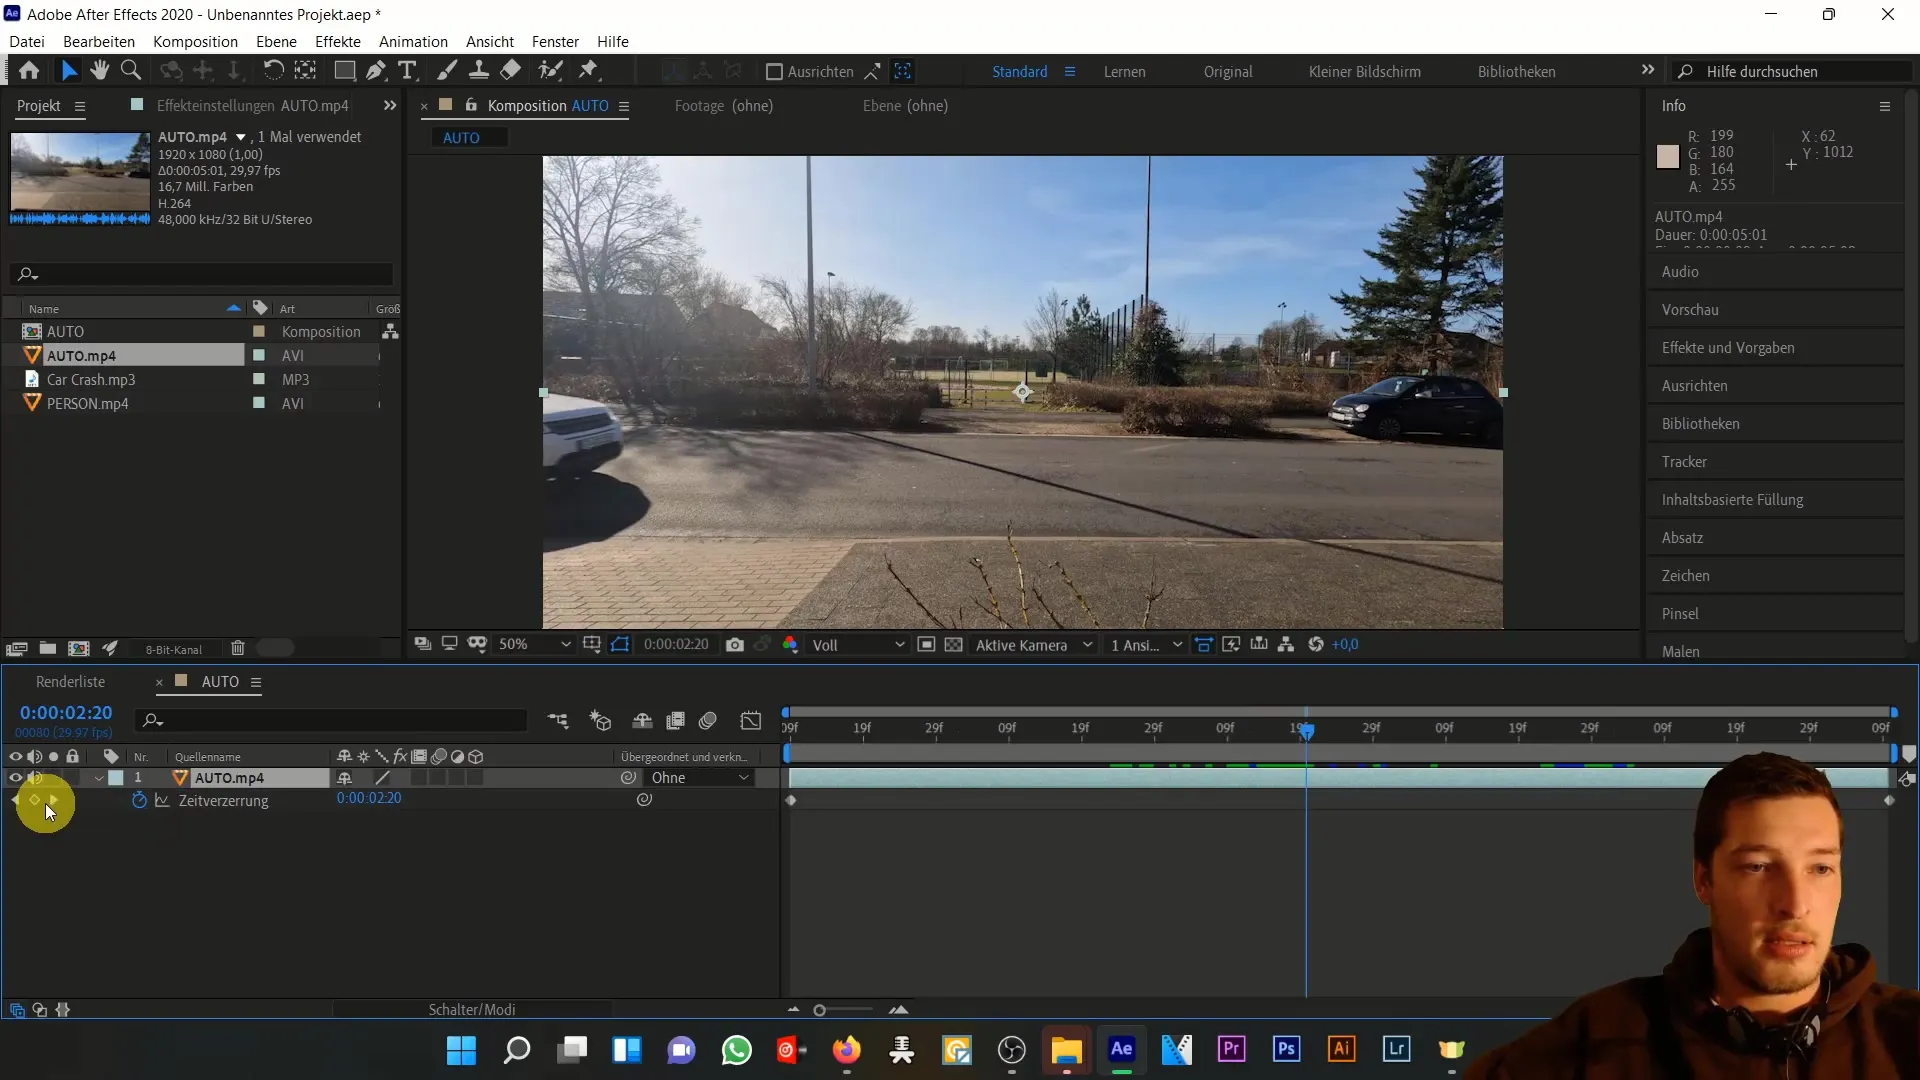
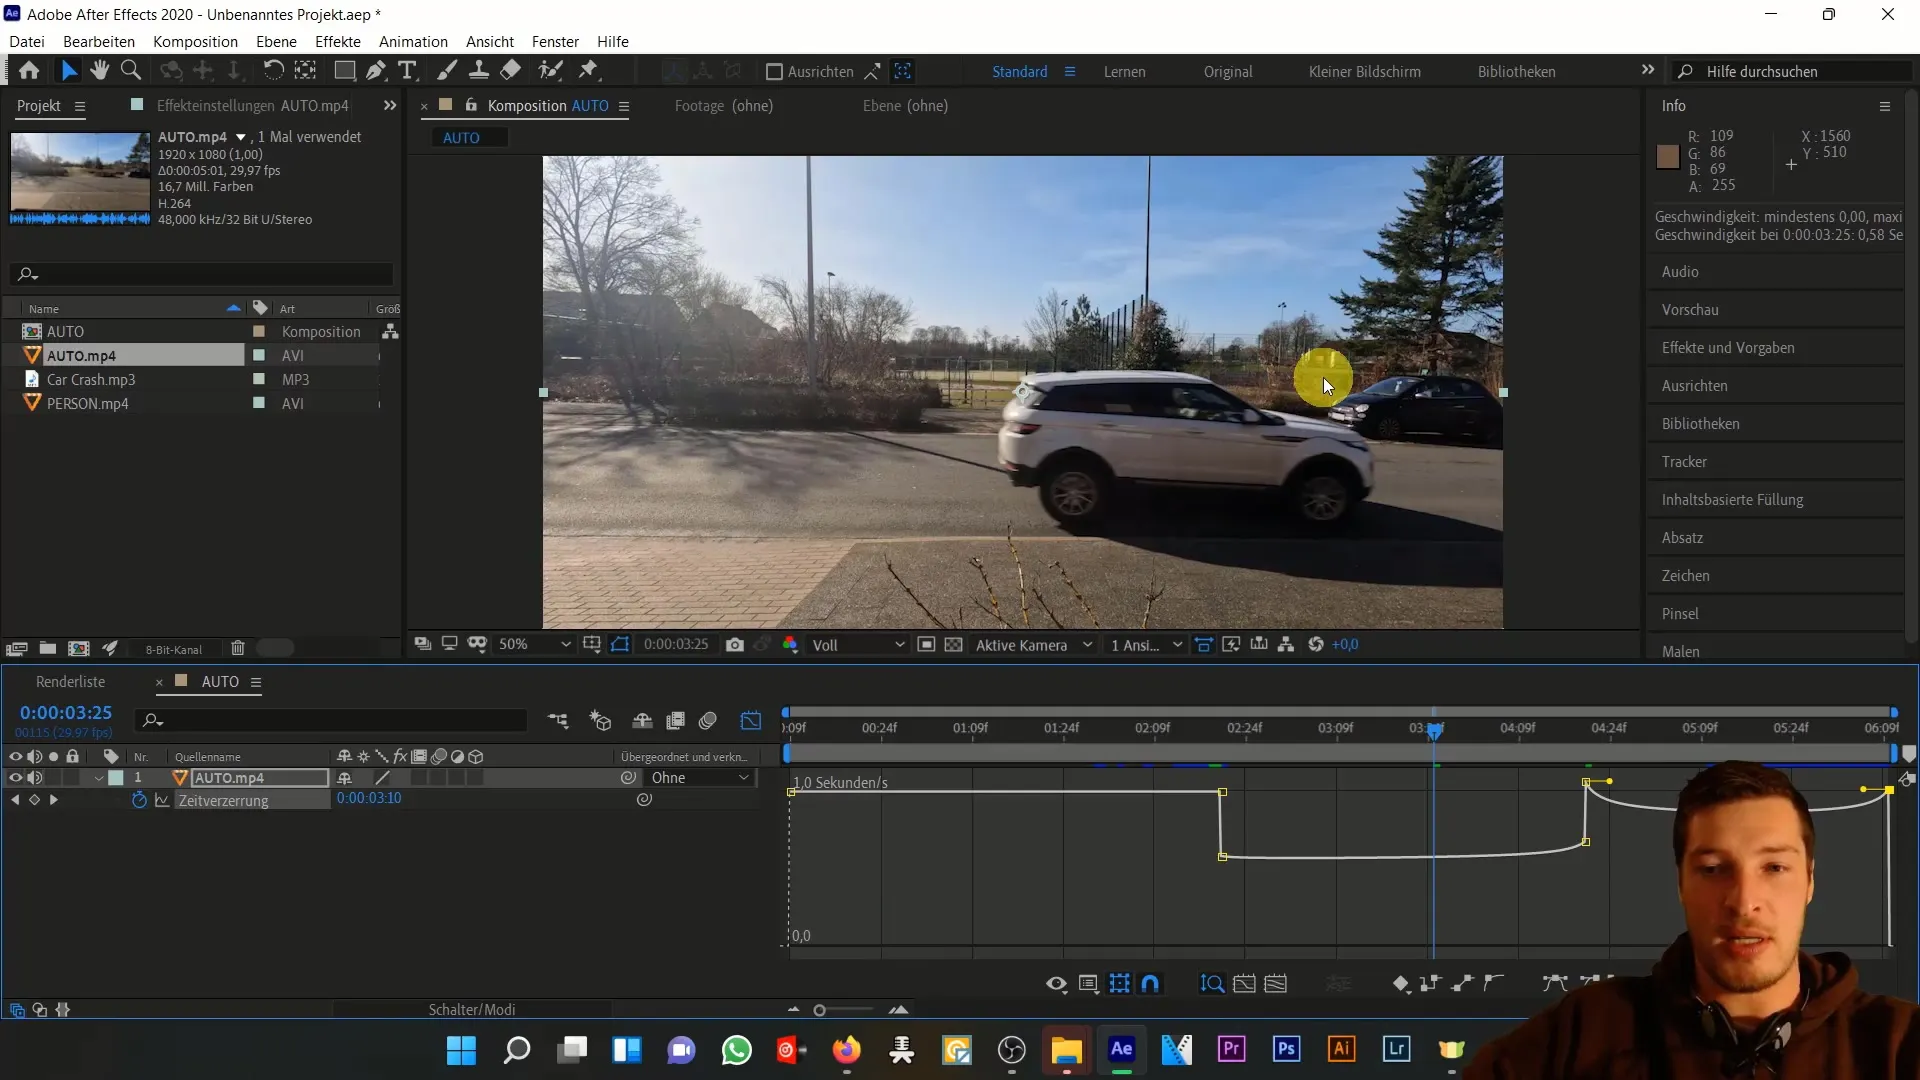
Next, reinsert the car into the composition to work with time distortion. To do this, right-click and select "Time" and then "Enable Time Remapping." Two keyframes will be added to represent the beginning and end of the time distortion.
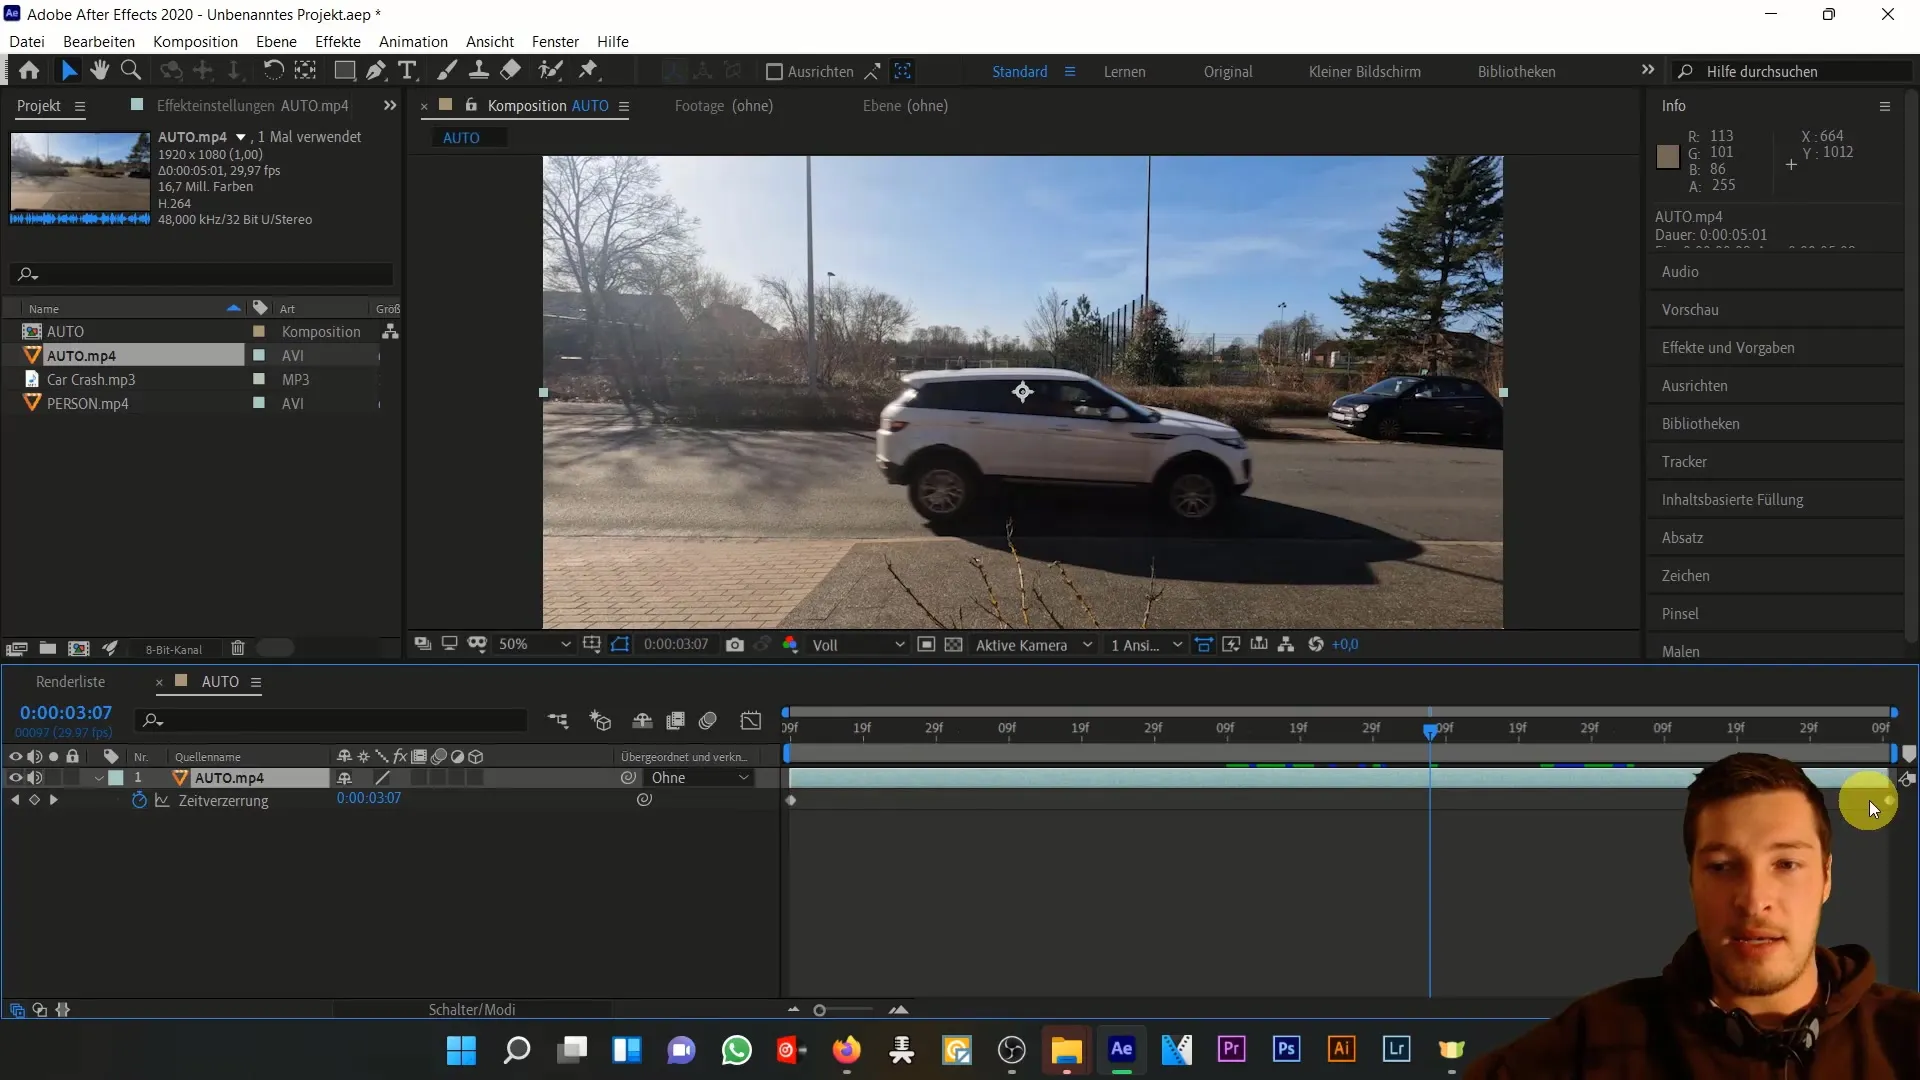
Now determine the relevant time points for the keyframes. Place a keyframe when the car enters the frame and another when it completely exits the frame. These two points are crucial for timing the time distortion.
Observe the motion in the graph editor. Between the keyframes, you can visually capture and adjust the area where the car slows down. Increase the distance between the second and third keyframes to intensify the slowdown.
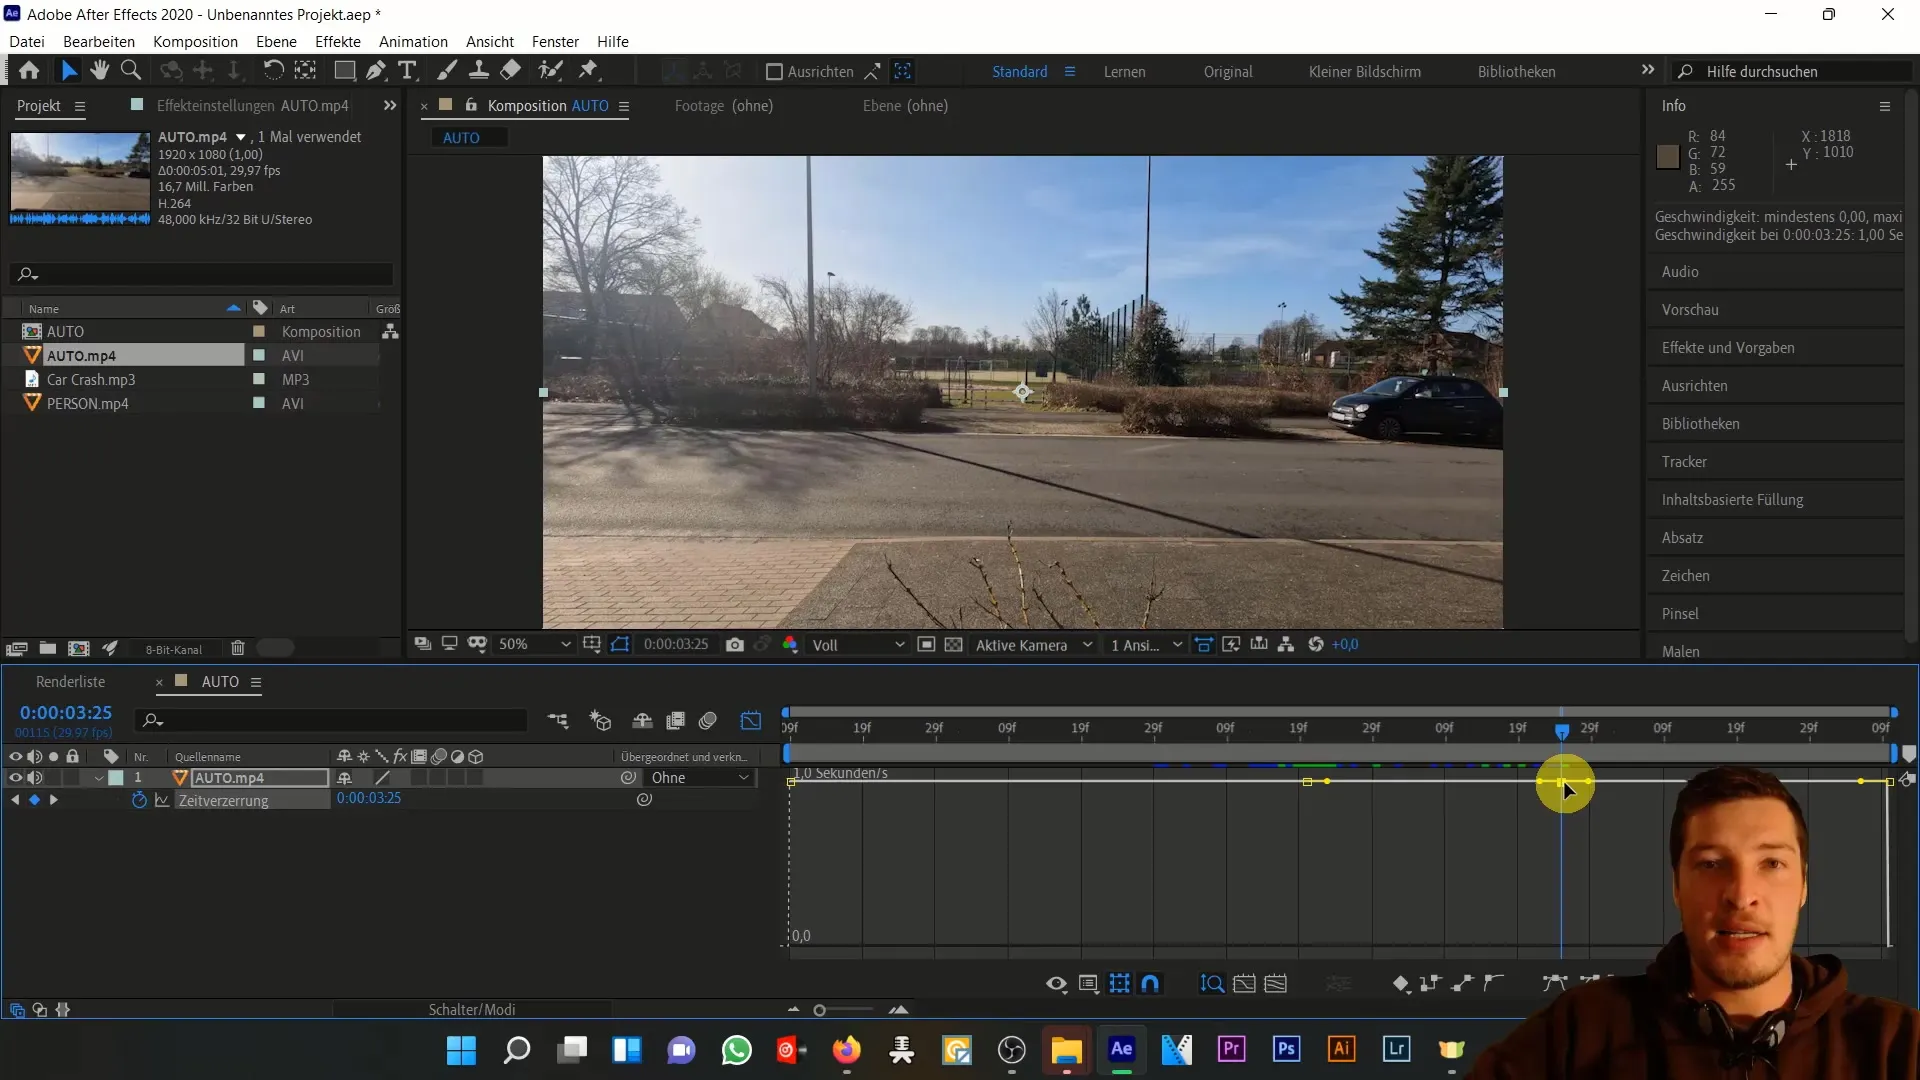
By moving the third keyframe further to the right, you will notice the clip's speed increasing to compensate for the time difference. Feel free to experiment with these values to achieve the desired effect.
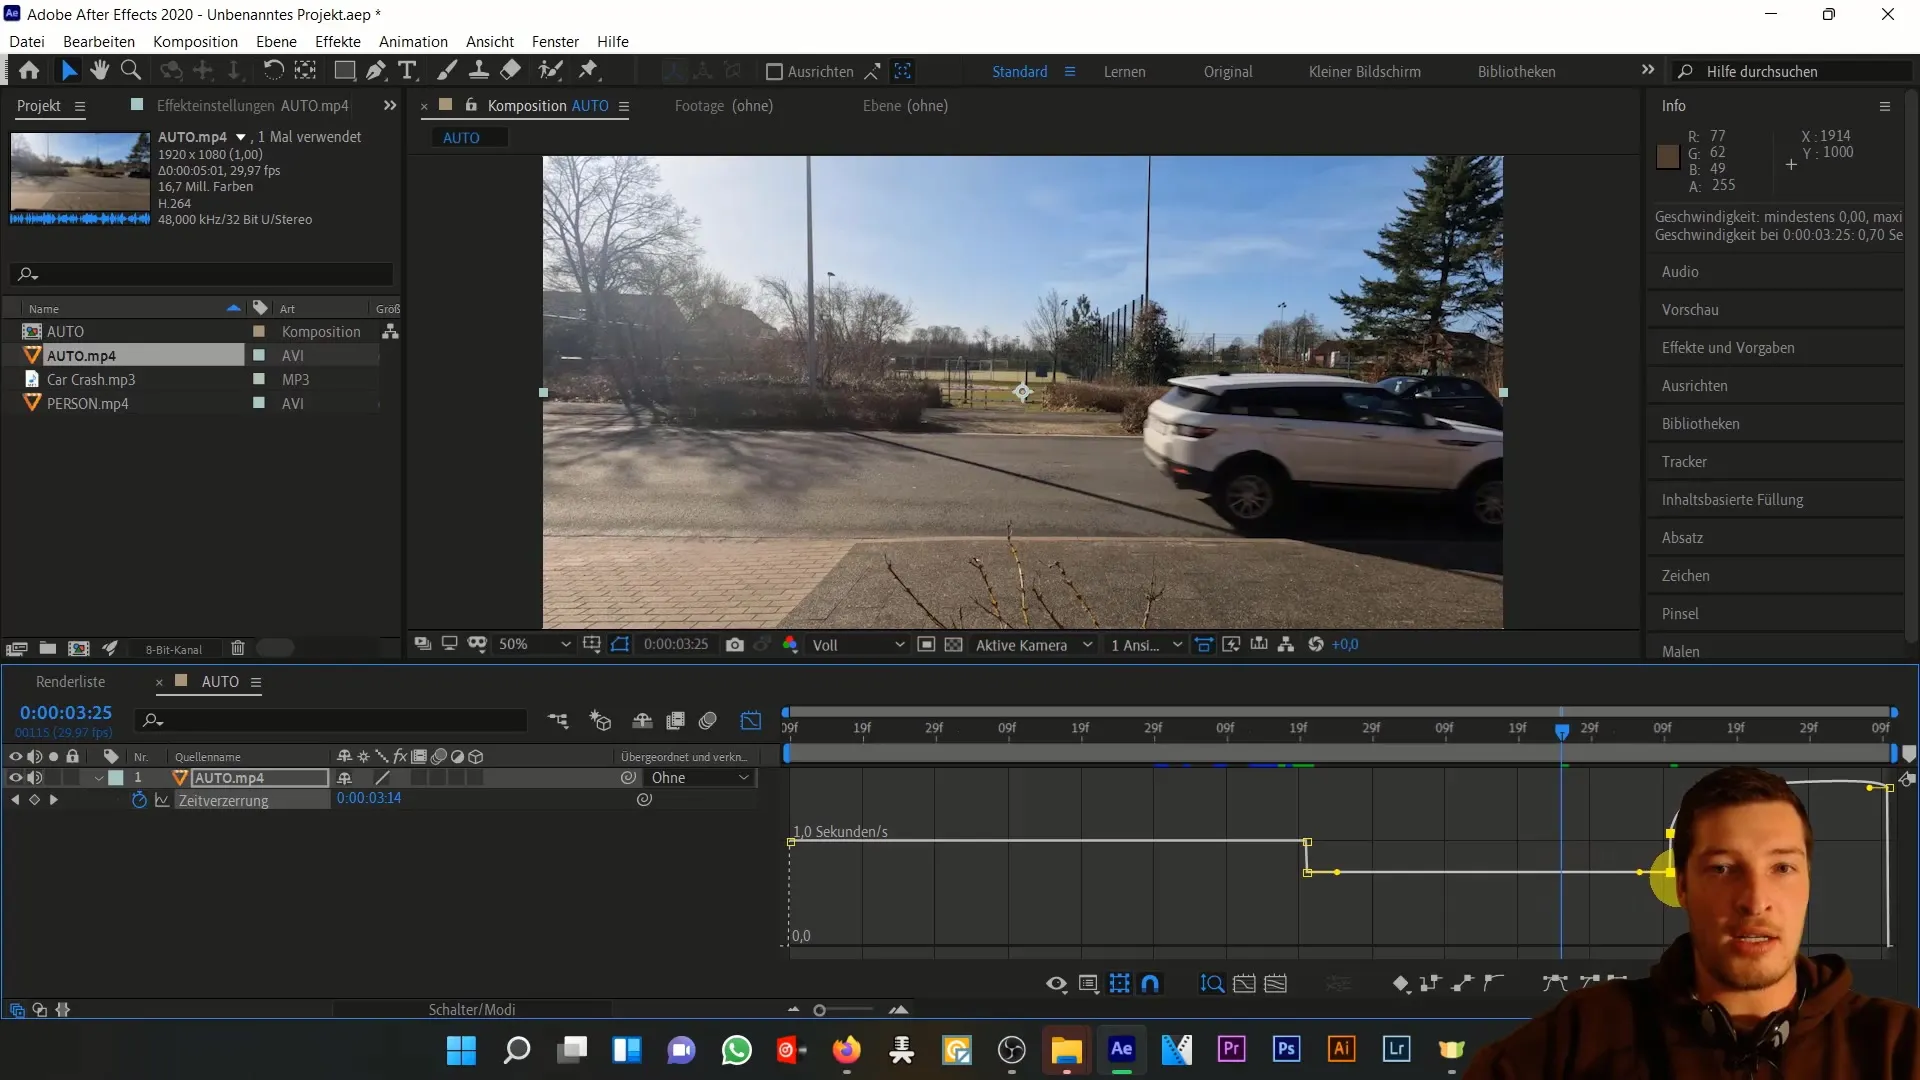
If you want to further slow down the time distortion, grab the keyframe and move it further to the right. Increase the stretch to decelerate the speed. Carefully align the composition's center to create a harmonious transition in the end.
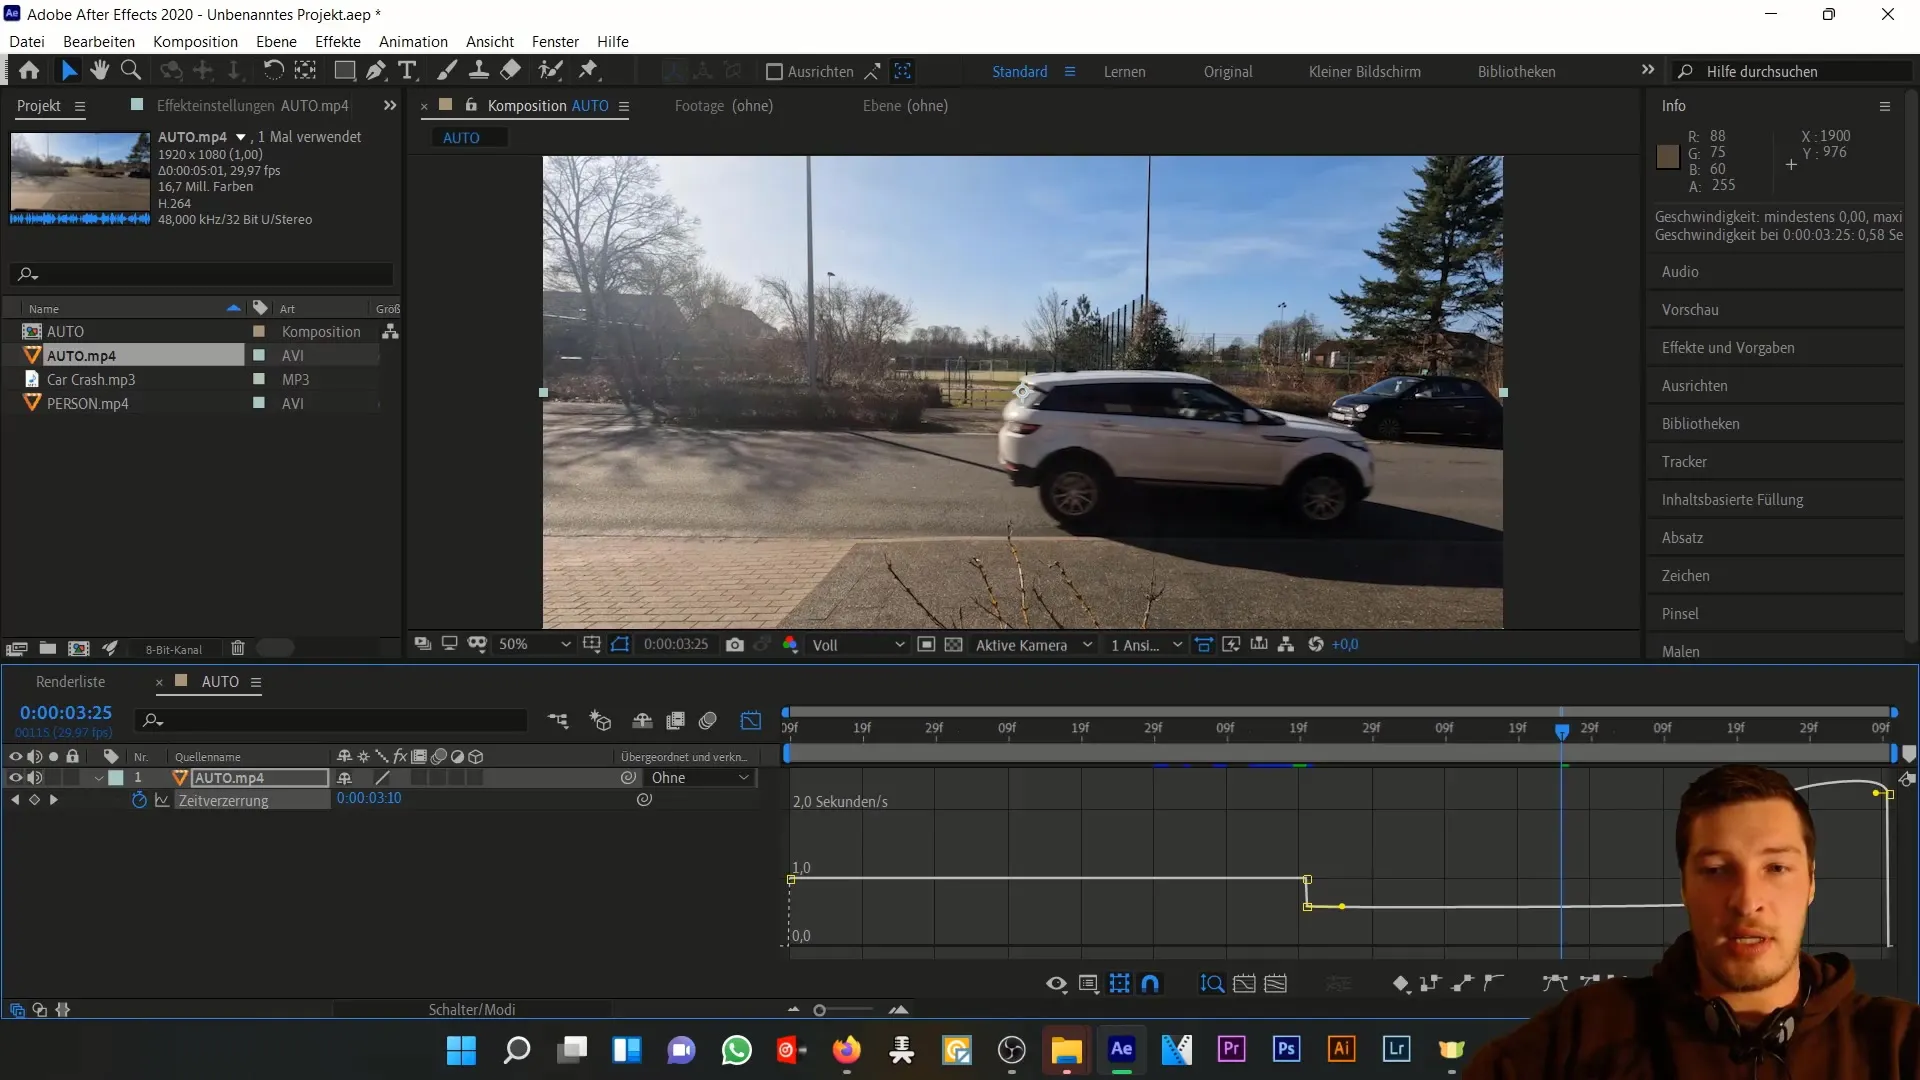
To ensure a more realistic simulation, adjust the keyframe effect in areas where the car starts or just before it leaves the frame. Avoid rapid consecutive movements that do not represent a realistic braking process.
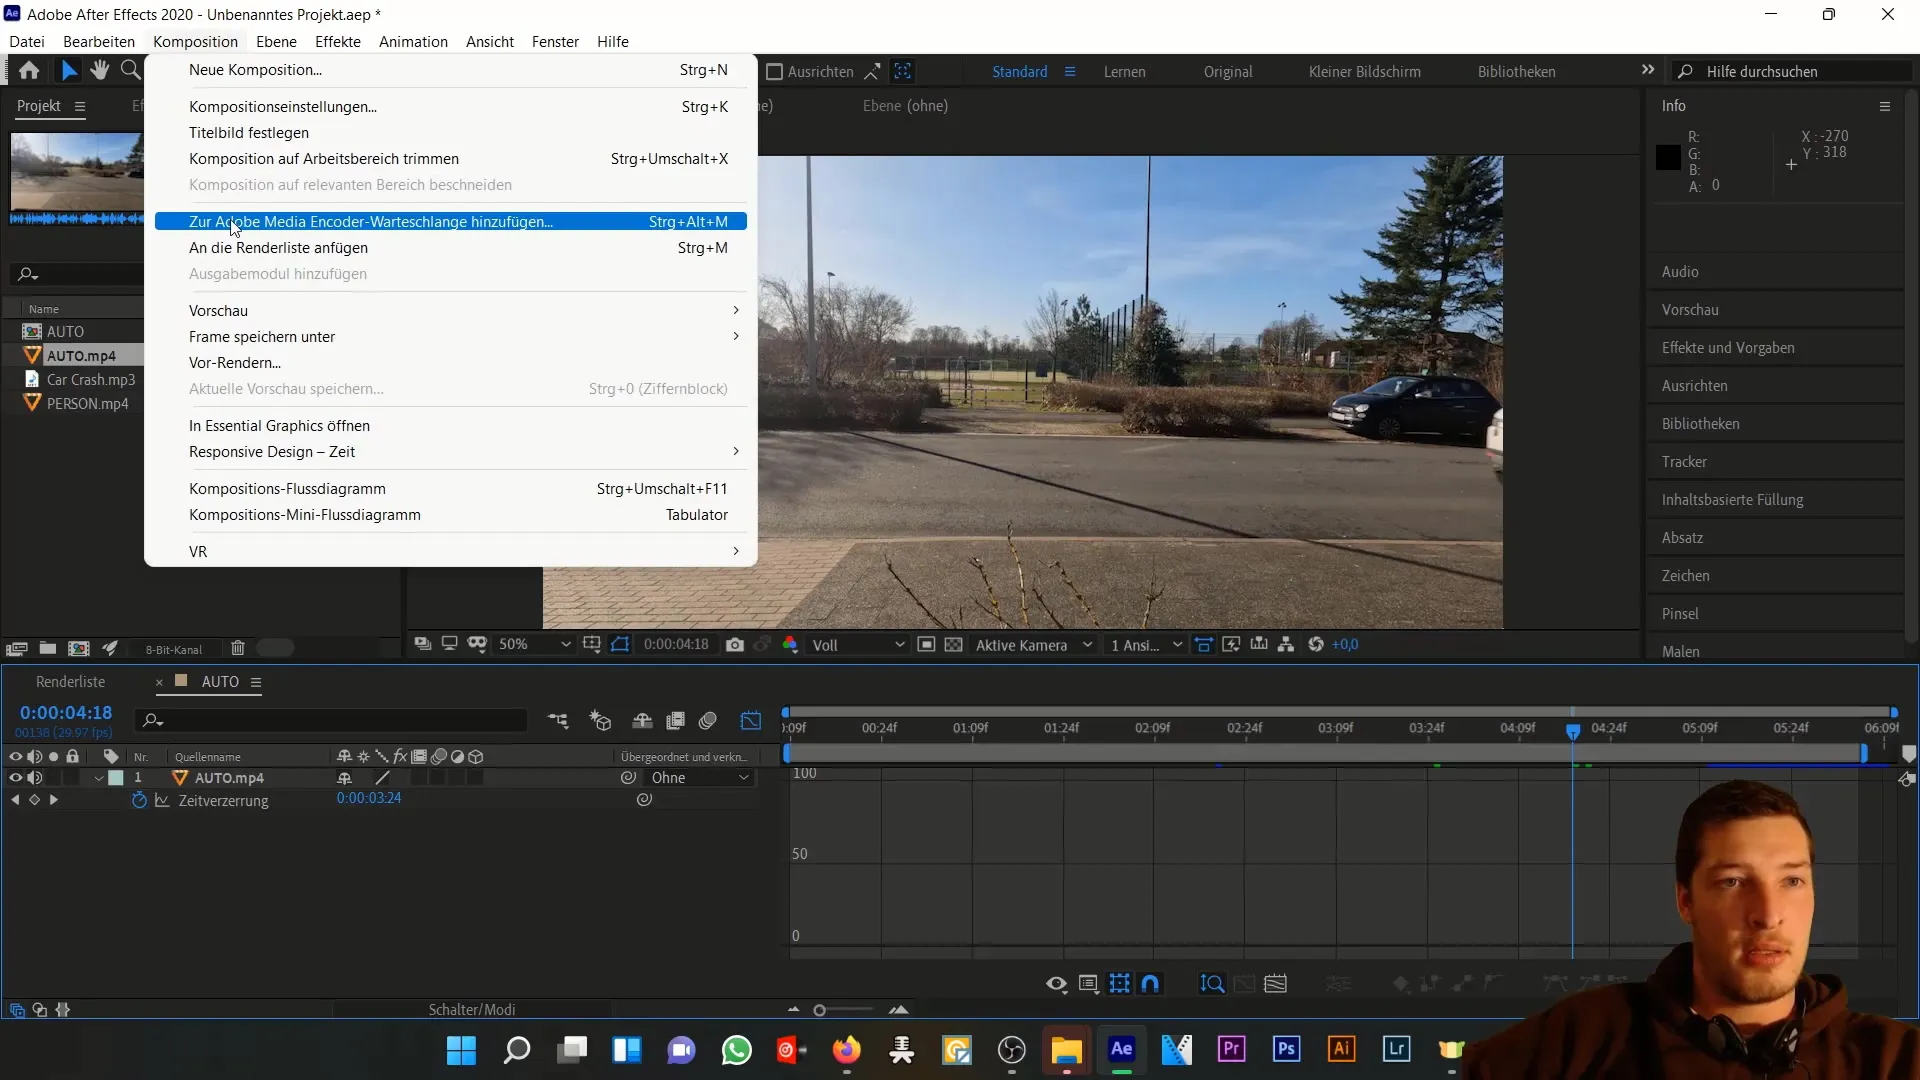
Now reduce the work area to the last frame to optimize rendering. Save the composition by selecting the option "Add to Adobe Media Queue" from the "Composition" menu.
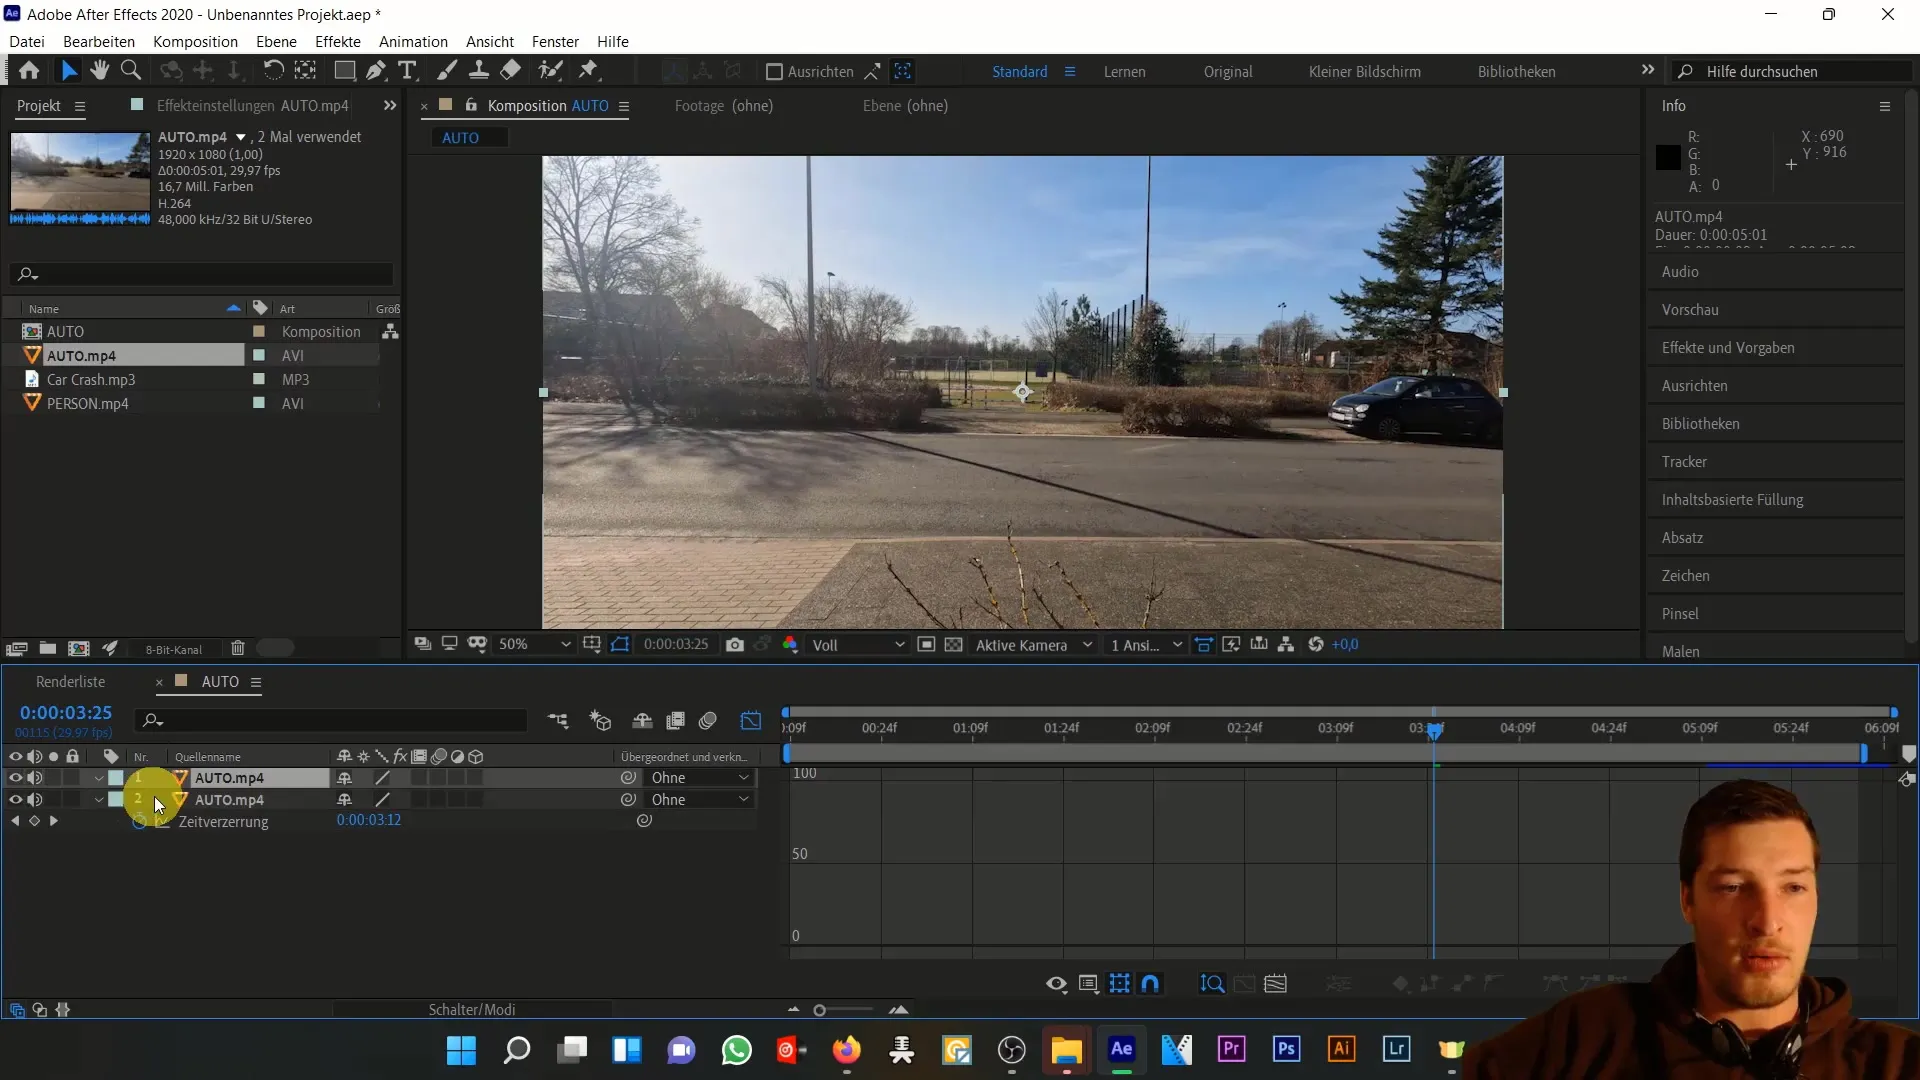
After rendering the project, you can review the effects again and make fine adjustments as needed. You can duplicate the original file to make a direct comparison between the untreated and edited version.
Summary
In this tutorial, you have learned how to simulate a realistic braking process in After Effects using time distortion and keyframes. By adjusting the speed curve selectively, you can achieve dramatic effects and convincingly portray the illusion of a car accident.
Frequently Asked Questions
How do I activate time distortion in After Effects?Go to the layer, right-click on "Time," and choose "Enable Time Distortion."
How can I adjust the speed of the car?Use keyframes to control time distortion at specific points.
What is the difference between time stretching and freeze frame?Time stretching changes the speed of a clip, while freeze frames pause the clip.
How many keyframes do I need for a realistic simulation?At least two keyframes, one for the start and one for the end of the braking process.
Can I change the speed afterwards?Yes, you can adjust keyframes at any time to change the speed.


