In this tutorial, I will show you step by step how to adjust the basic settings of the layers for simulating a car accident in Adobe After Effects. We will adjust various audio and video files and ensure that the individual elements work together harmoniously. You will learn how to treat the audio tracks correctly and strategically place the video content to achieve a realistic representation. This guide focuses on editing the elements so that the animation achieves the desired effect.
Key Takeaways:
- Handling audio tracks is crucial for a successful simulation.
- Precise alignment of layers ensures a coherent result.
- Smallest details, such as adjusting volume and timing, are important for the auditory and visual effect.
Step-by-Step Guide
First, it's important that you have your newly rendered audio file ready. I have renamed my file to "carcrash.mp4." We now open the project in After Effects and insert this file into the car composition. To do this, you need to remove the previous distorted file.
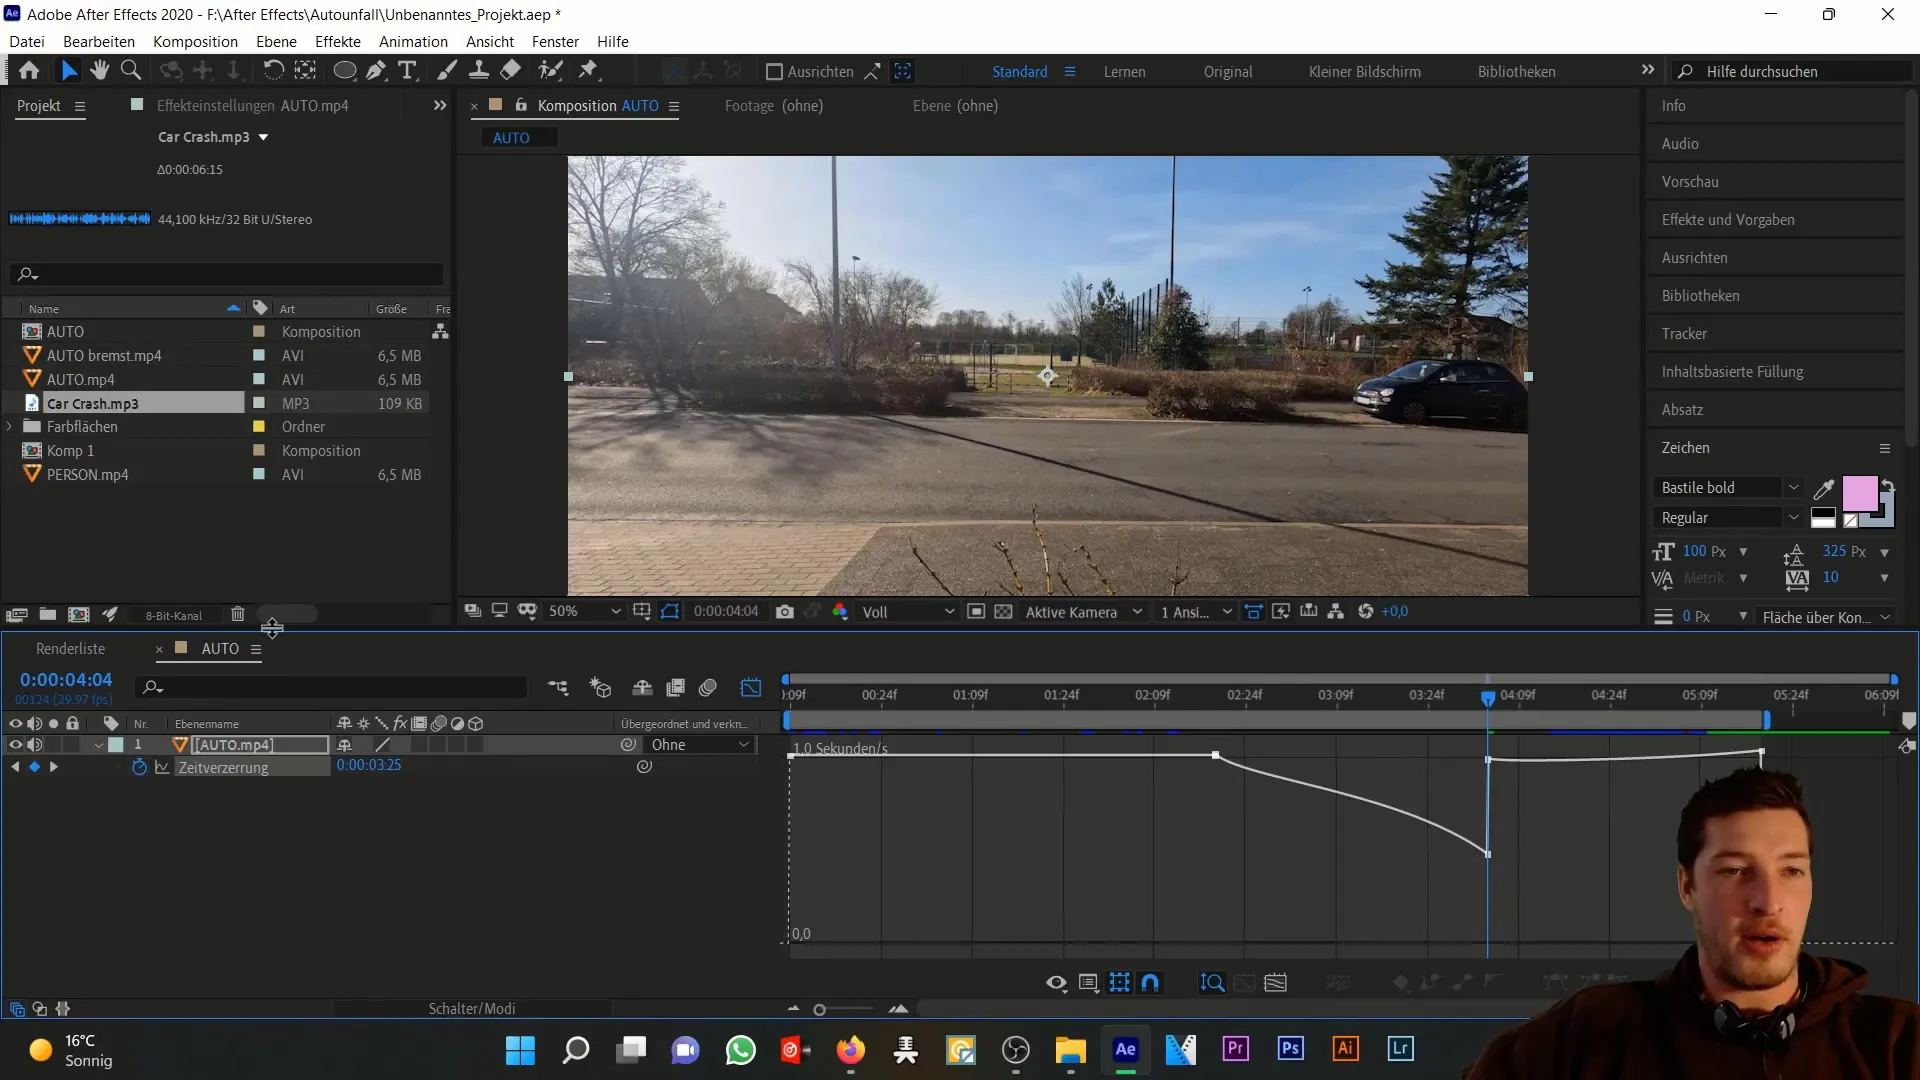
Now we close the graph editor and add our new "carcrash" file to the car composition. Additionally, we also include the original car file, as we want to continue using the audio track of this file. It is important to use the slowed down video track of the newly rendered file, as it distorts appropriately when the car is braking in the image.
Next, we combine the audio elements. We already have a "carcrash MP3" file that includes a slight braking sound. These files will be blended together later on so that the distorted audio track is not noticeable.
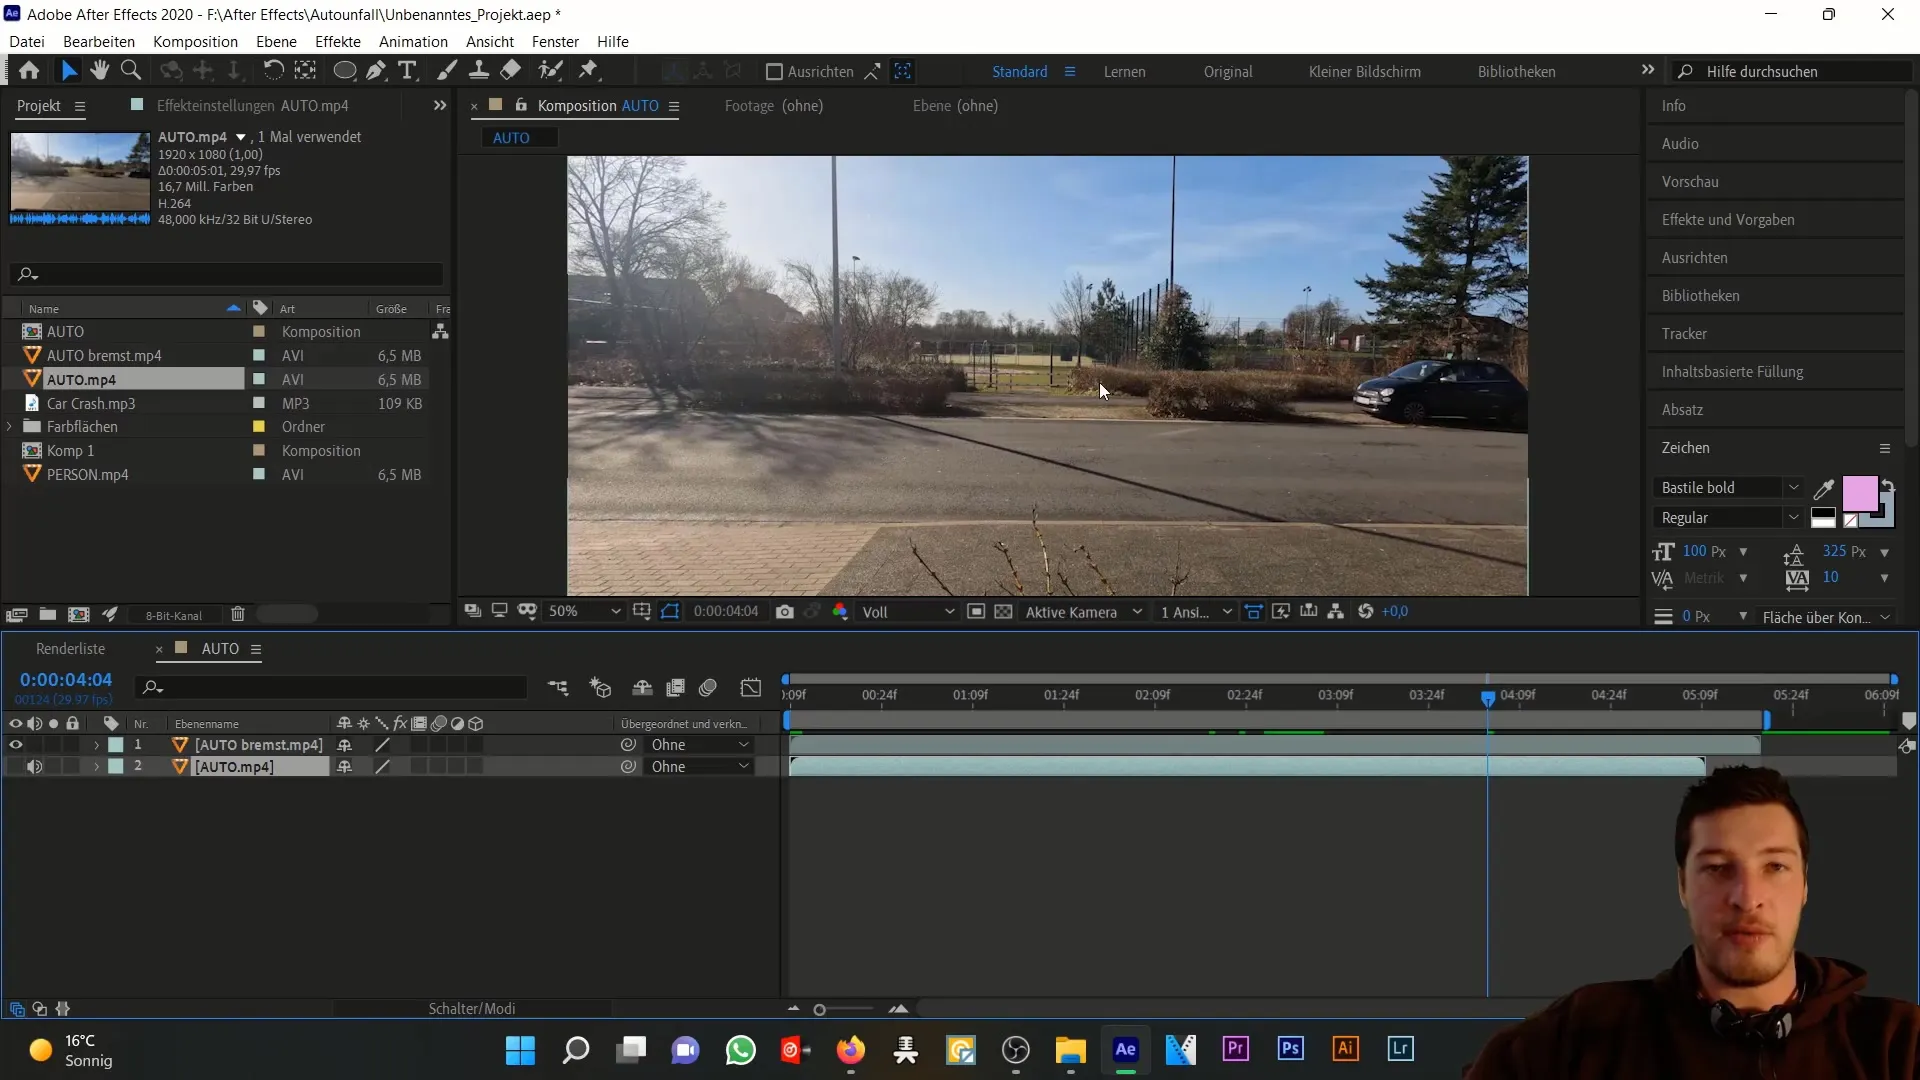
Now, let's continue with the character setup. I import the MP4 file of the person into a new composition. Whether you create a separate composition for people or cars, it is important that you name the files properly. Let's create a new composition called "Accident" that serves as the main composition for everything we want to bring together.
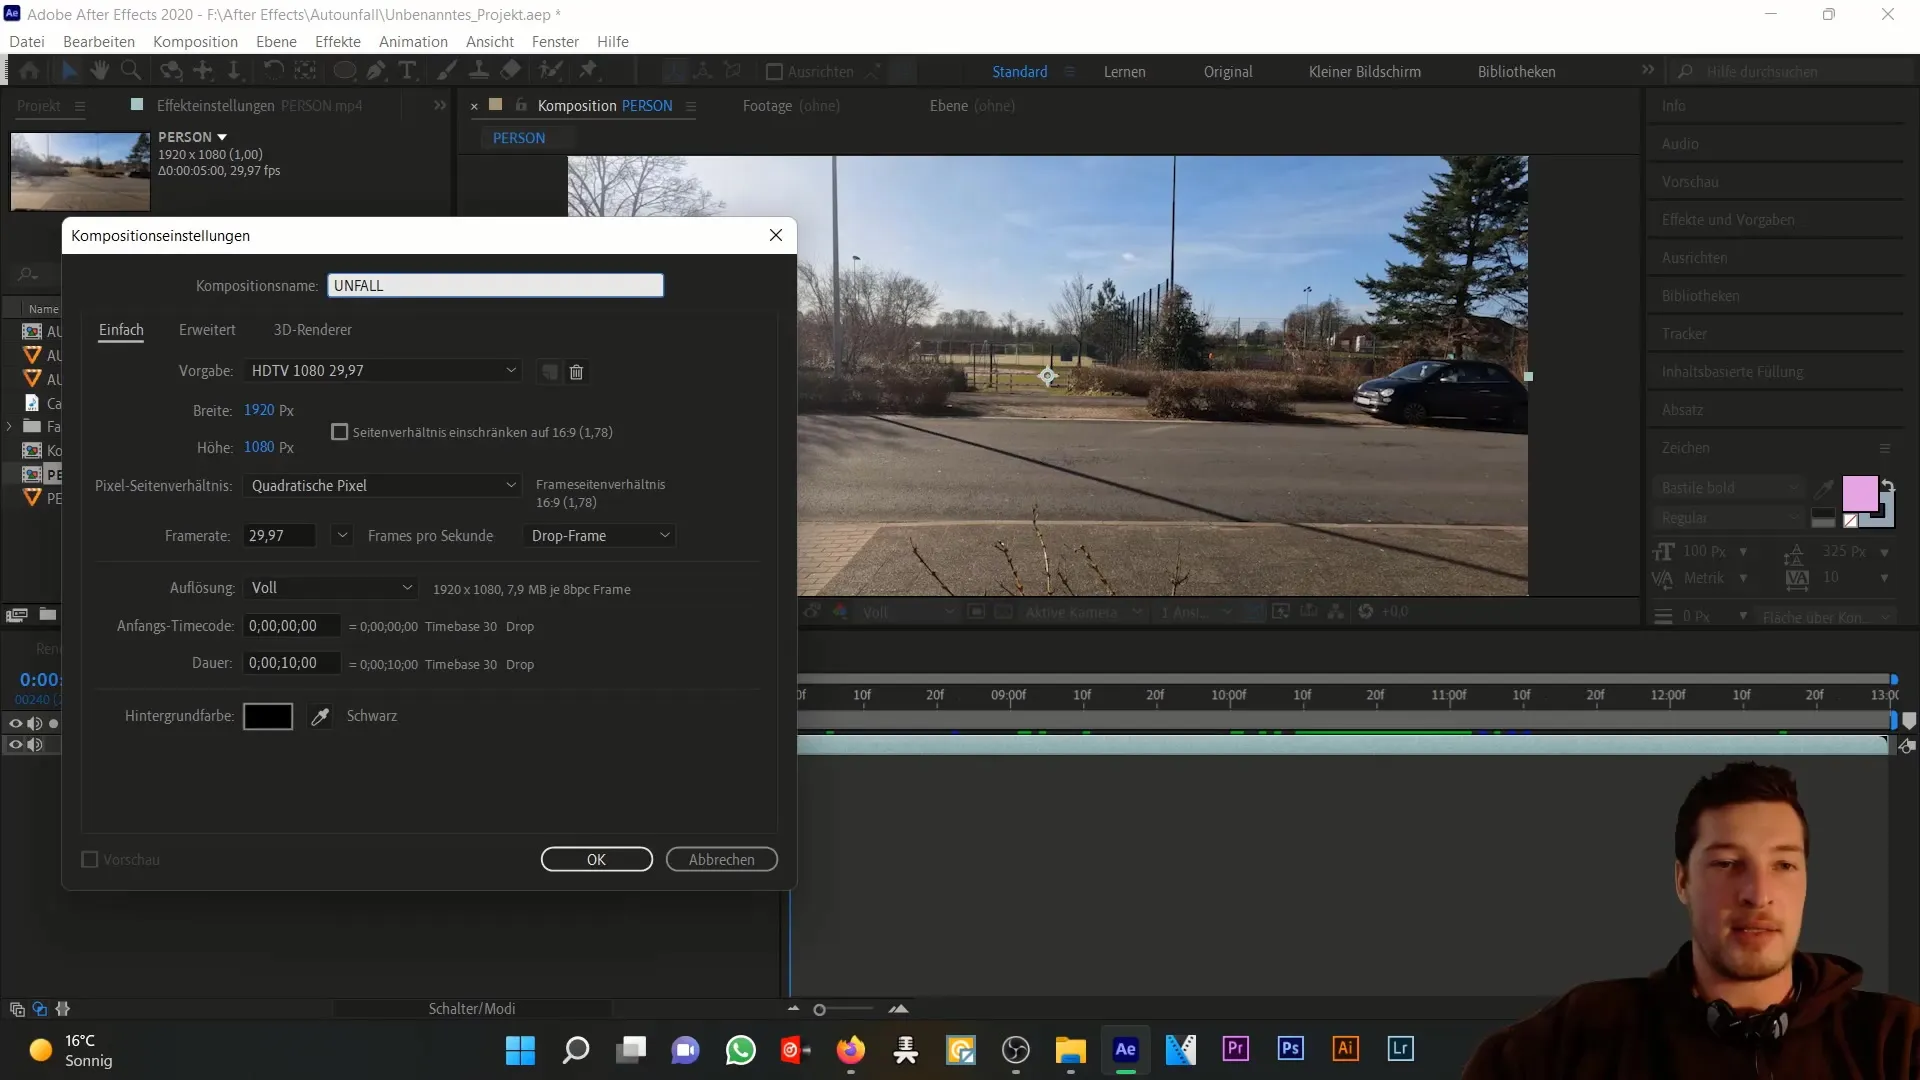
In the new "Accident" composition, the settings should be adjusted to Full HD, 29.97 frames per second, and a duration of about 10 seconds. Now we import the car composition, the people composition, and the crash MP3 file into this new composition.
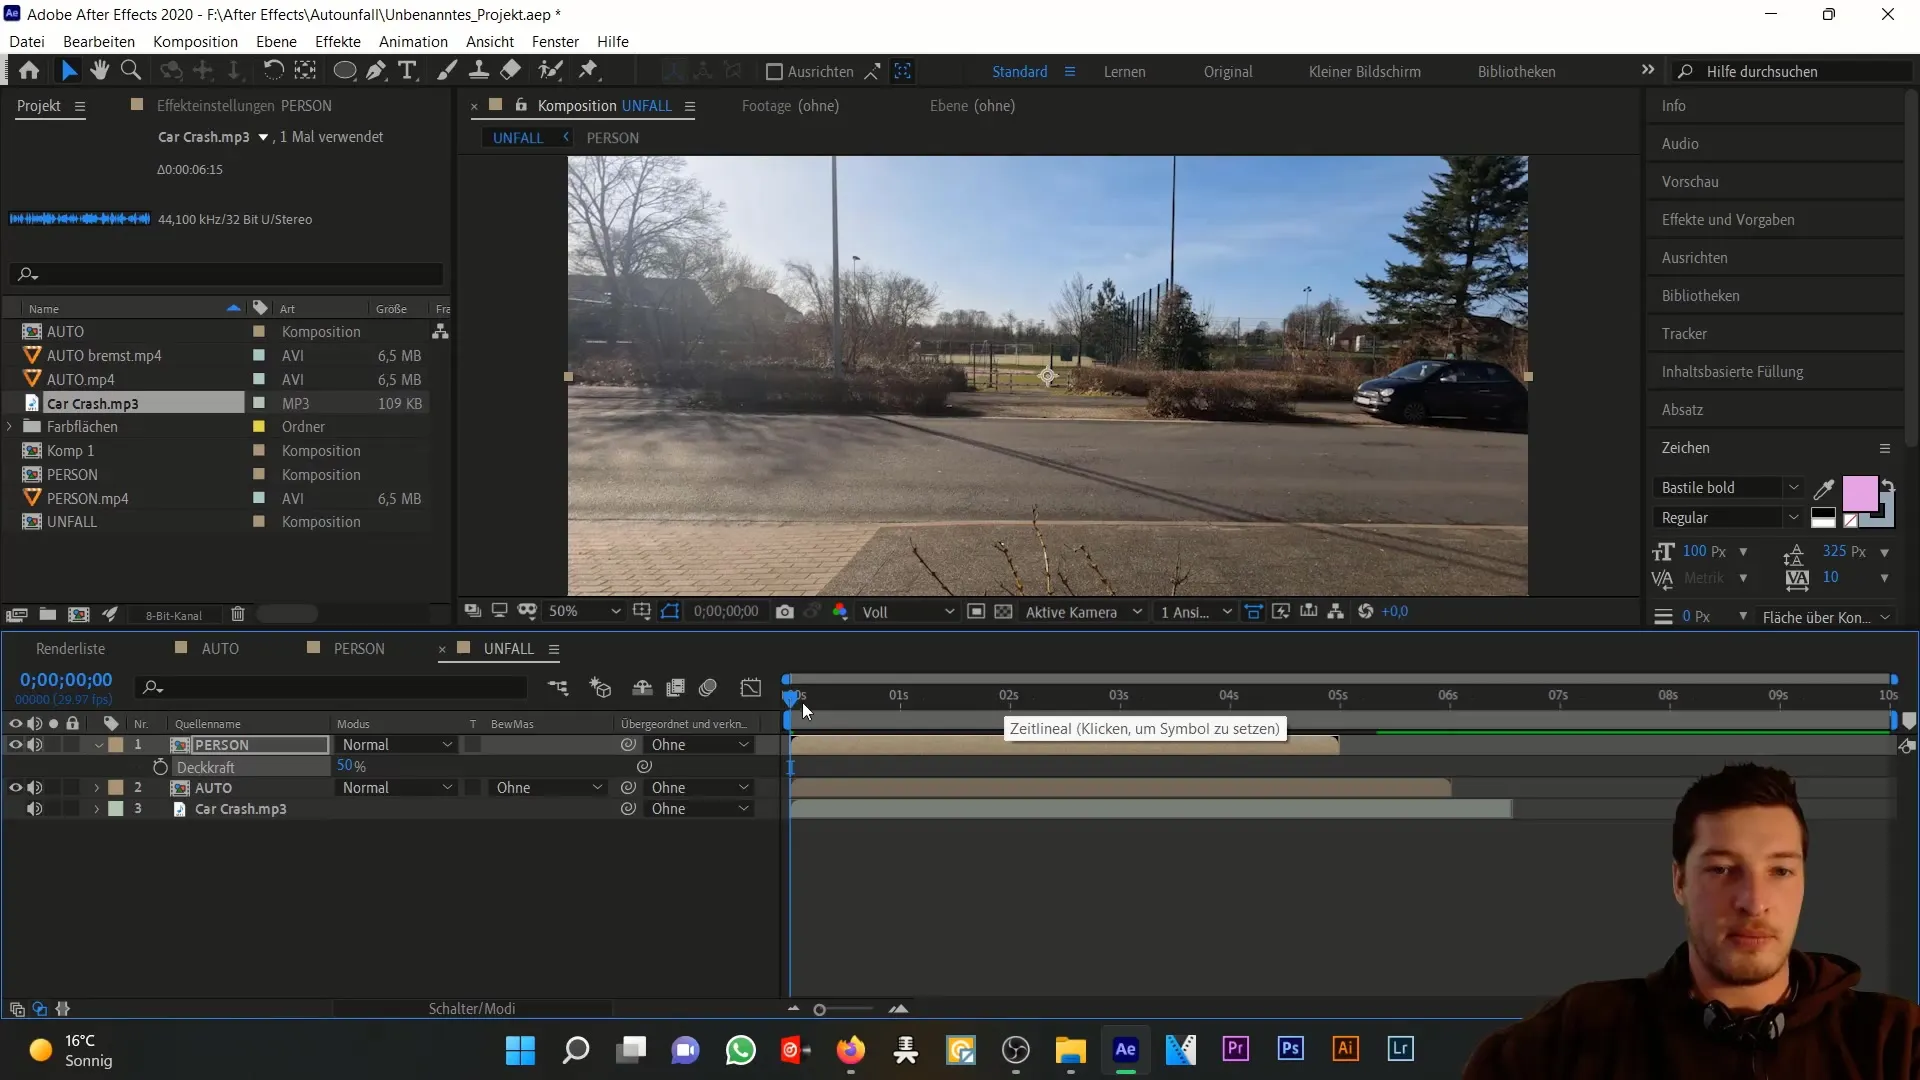
Place the people composition on top in the timeline and set its opacity to 50% using the keyboard shortcut "T". Now we can align the file elements with each other. We move forward in the timeline and check where the alignment of the layers works best.
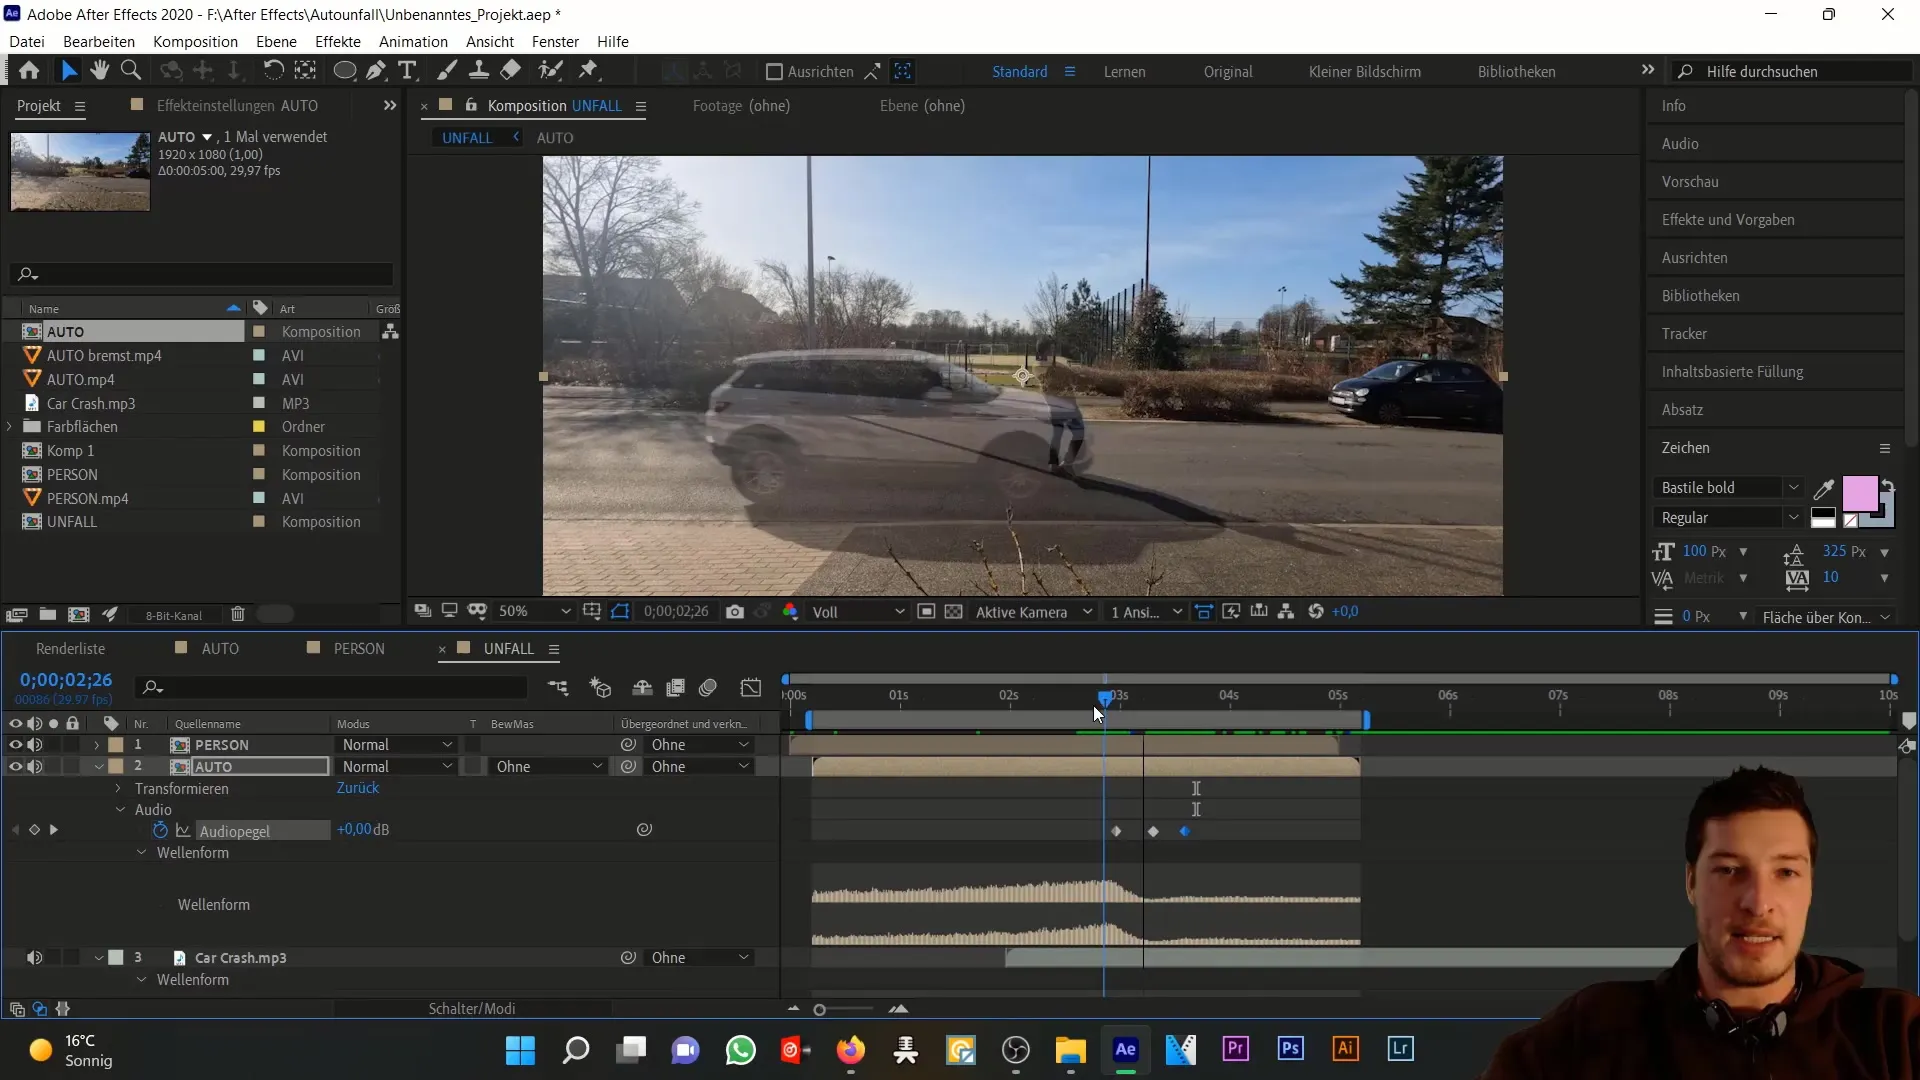
For the impact, we need to position the person to move at half the height of the car. This means we need to move the car back in the timeline to achieve the perfect moment of impact.
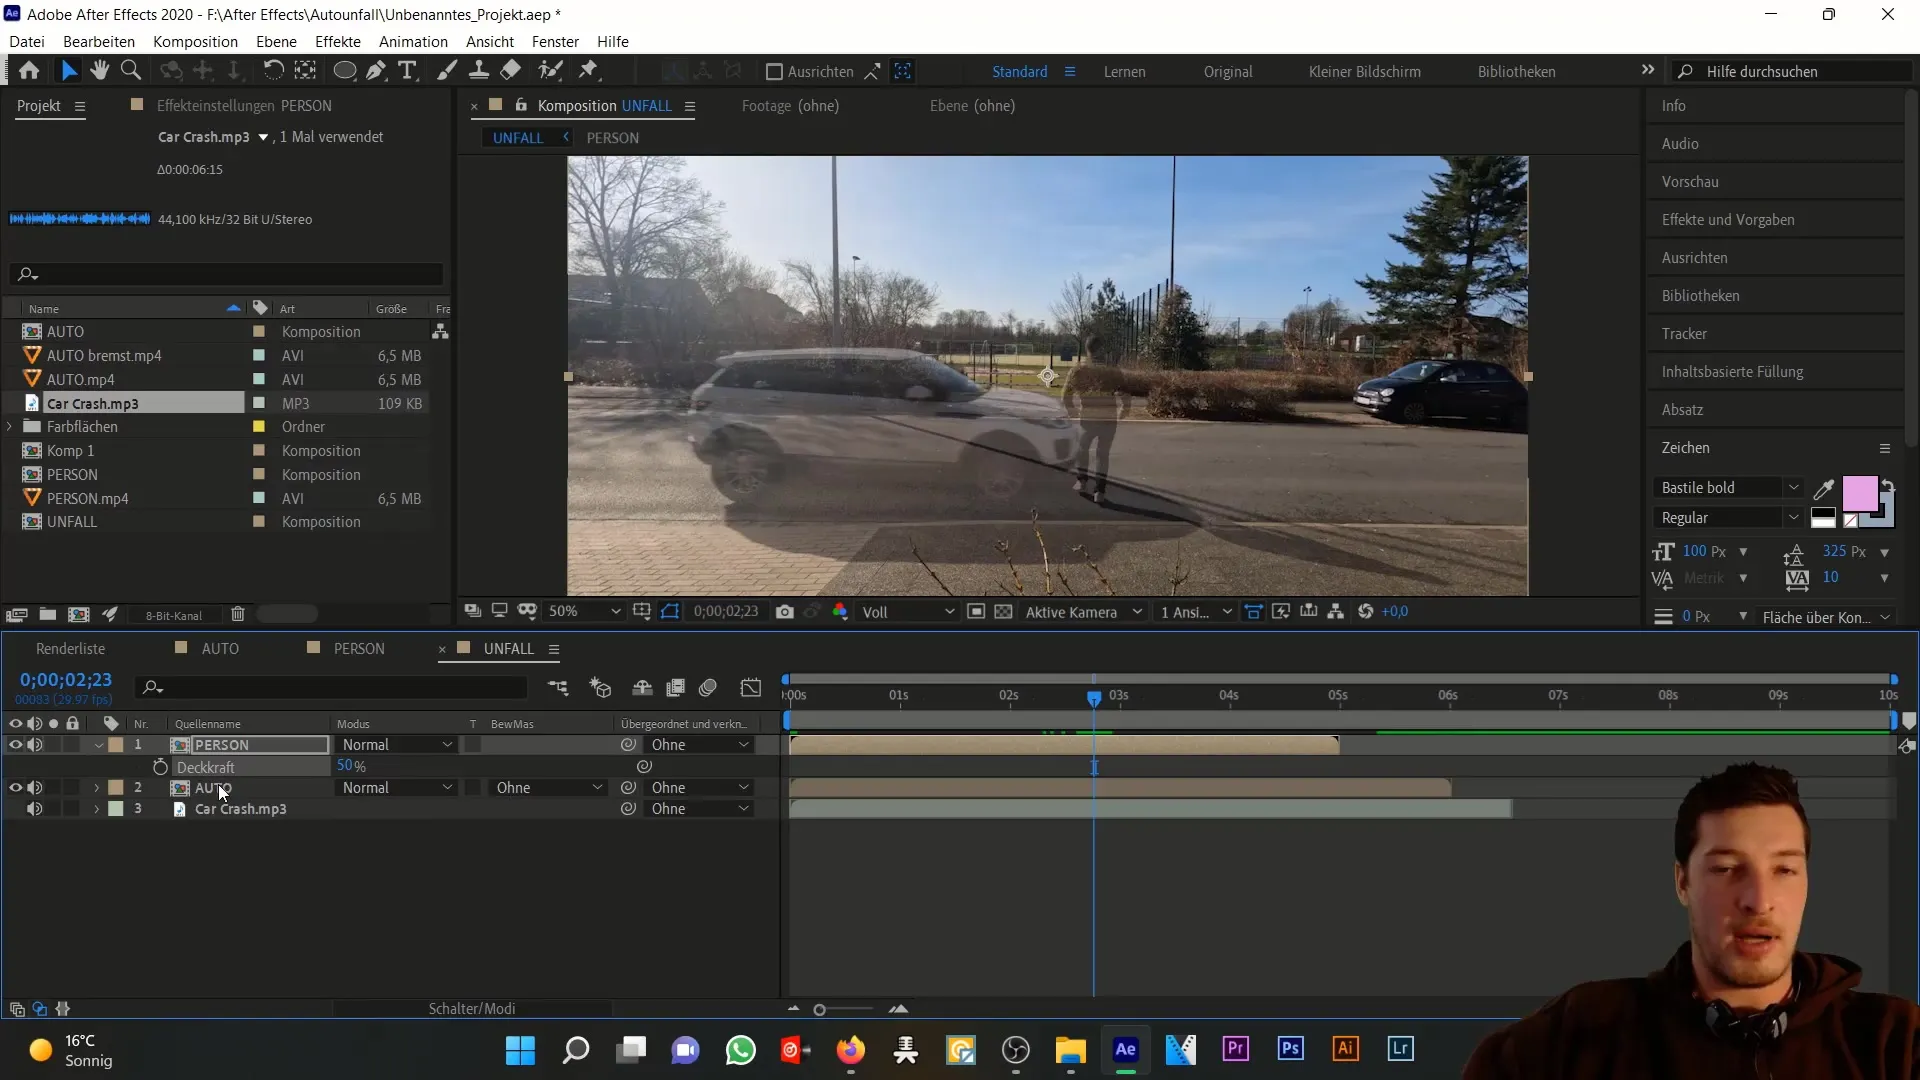
Check the result. It should already look good. Now we need to move the MP3 file to the correct position in the timeline. You should display the waveform of the audio track by either hovering over the audio output or selecting the layer and pressing "LL".
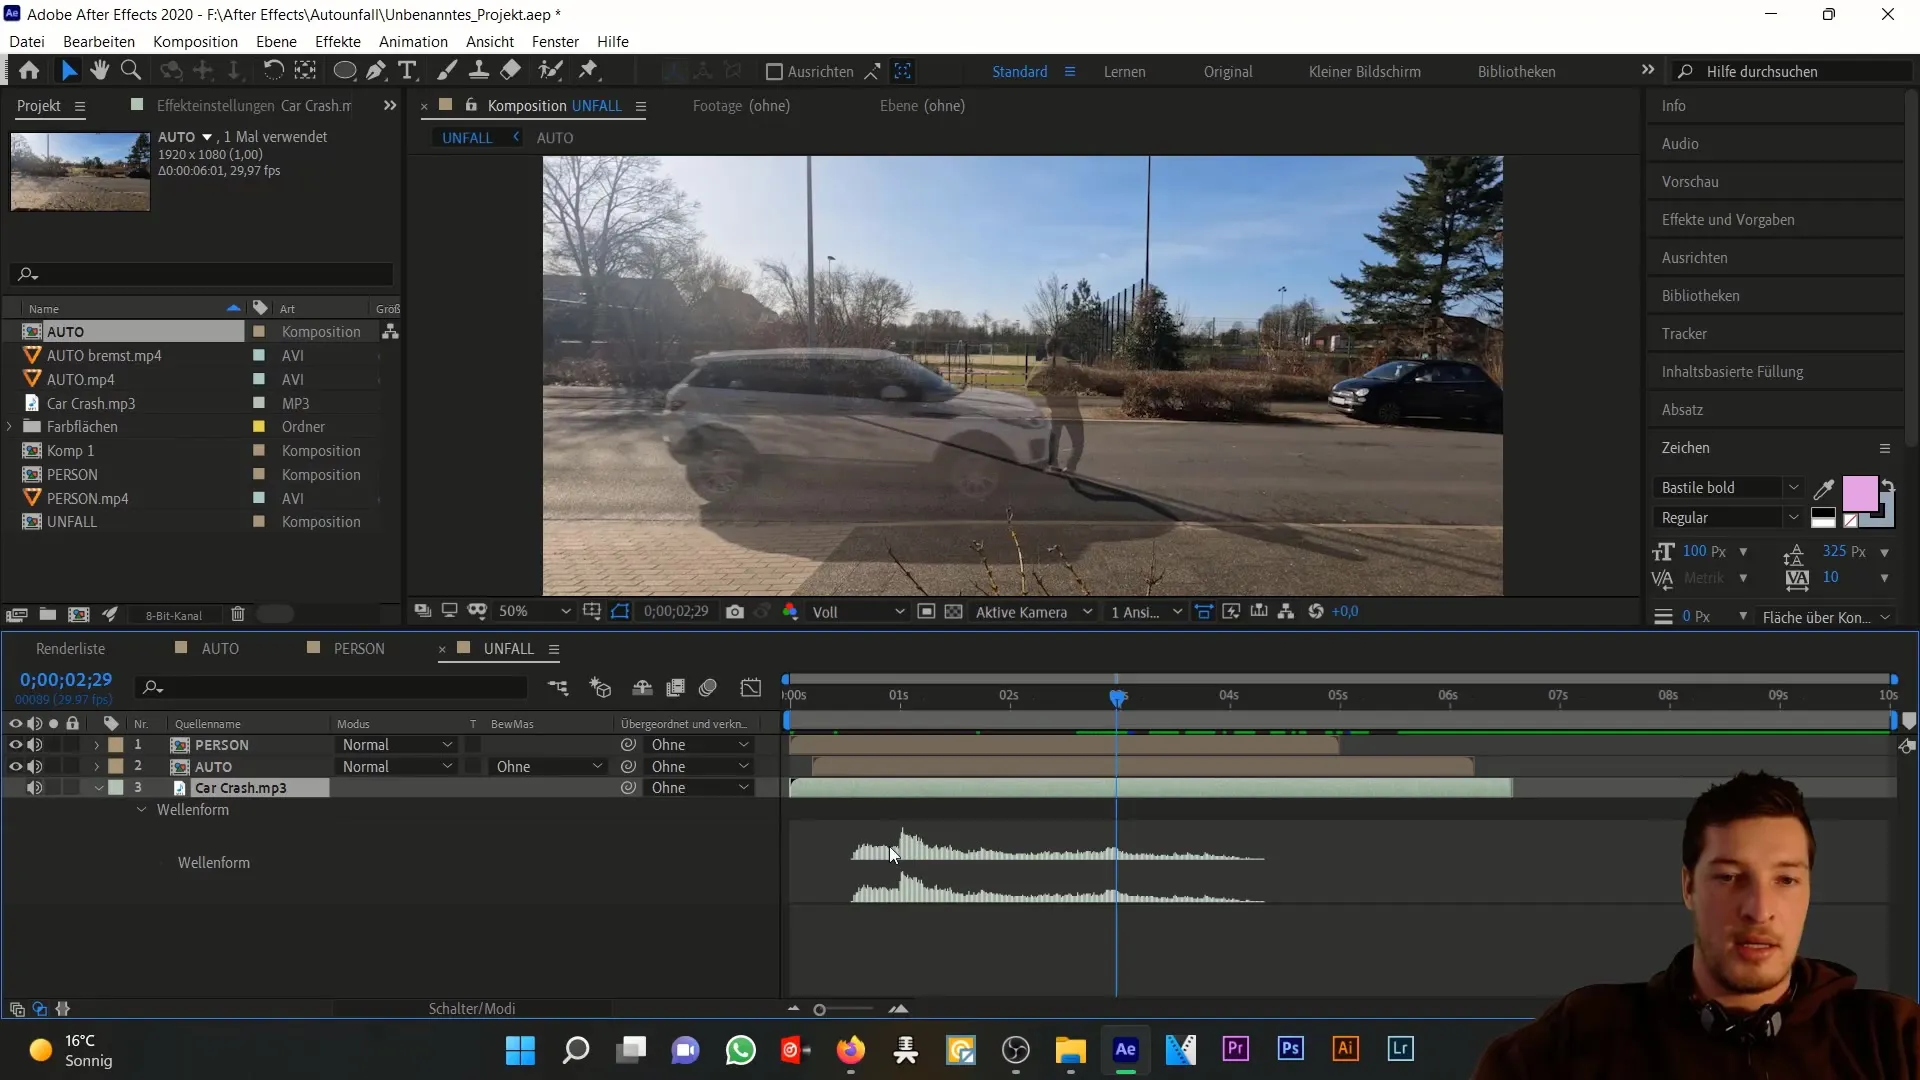
Now, we look for the impact point in the waveform of the MP3 file, which is the moment of the crash. We drag this point into the current timeline so that it is at the right moment.
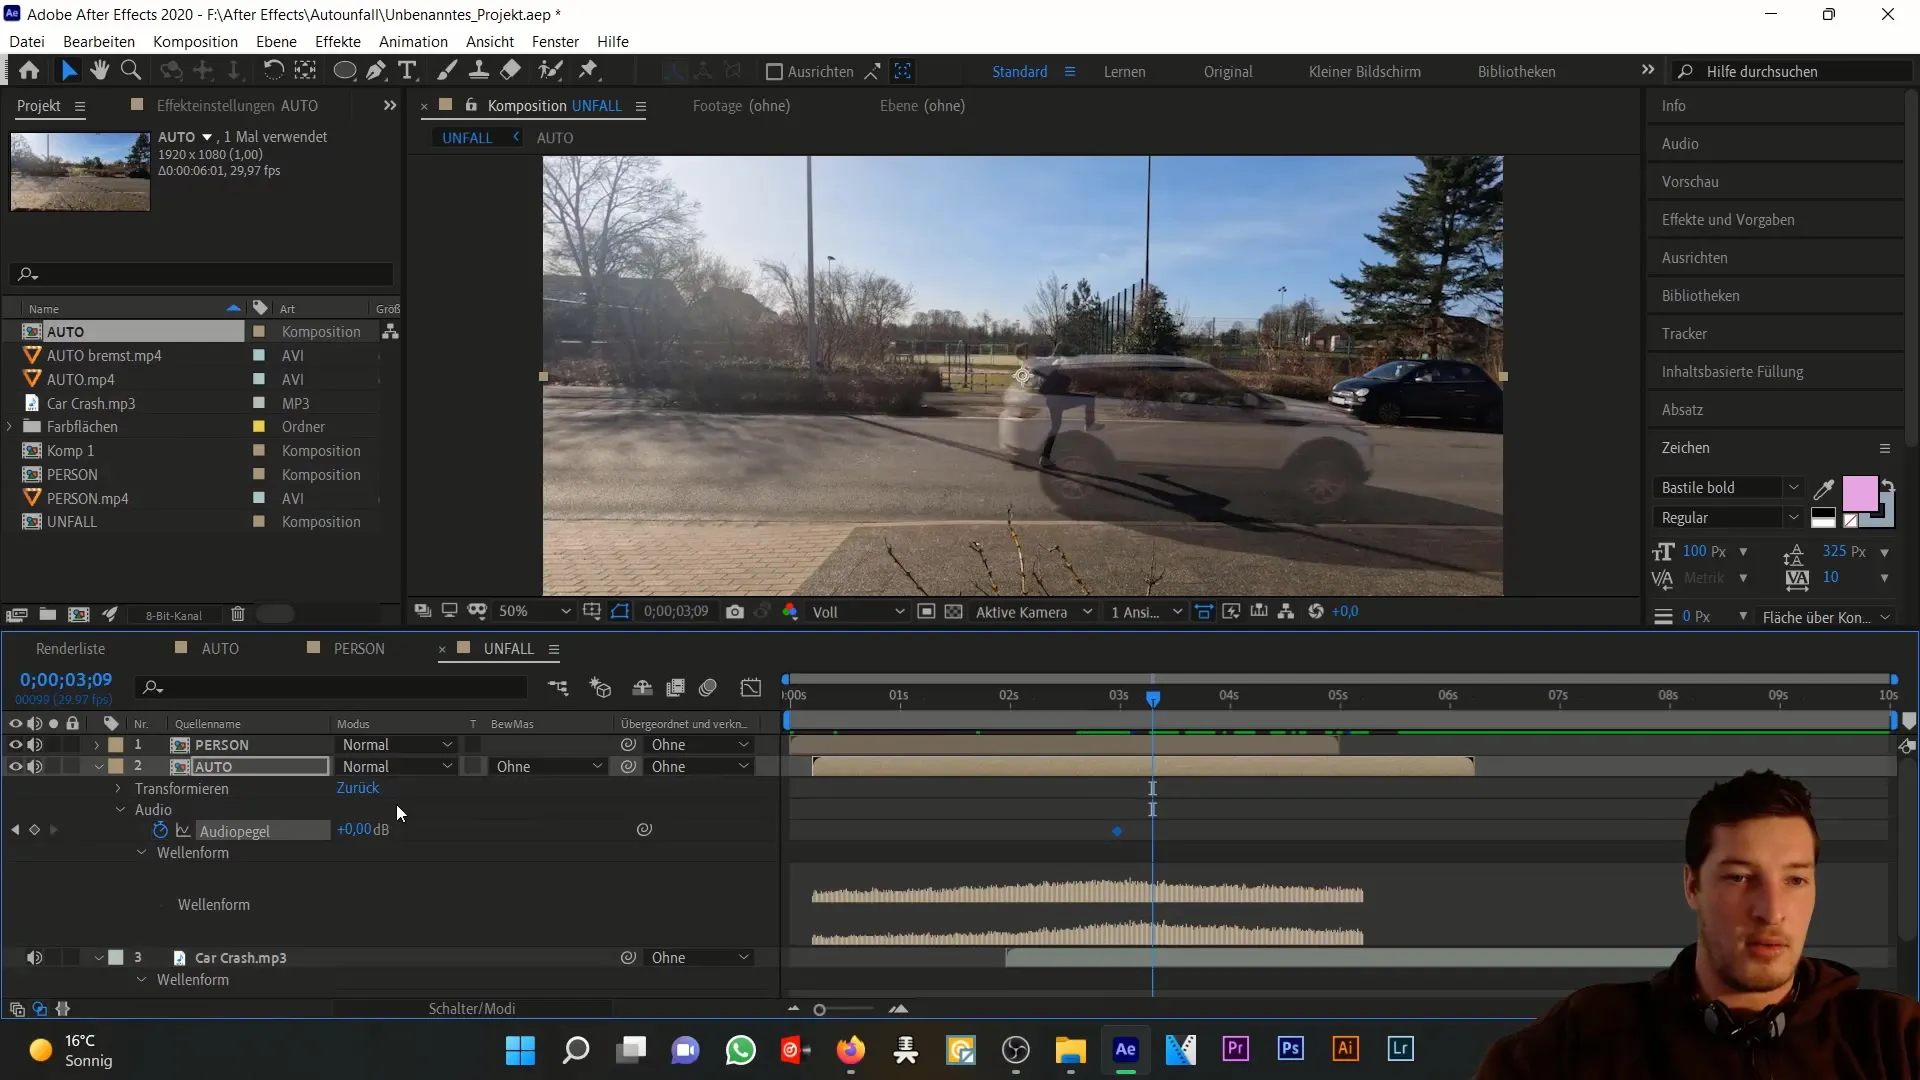
It's time to adjust the volume of the car. I create a keyframe at 0 decibels. You can move through the timeline and then set the volume to -35 decibels at the crash event. At the end, the volume should be set back to -20 decibels.
Make sure that the audio track ends at the end of the composition. The easiest way to do this is by adjusting the work area in this composition and selecting "Trim Comp to Work Area" from the right-click menu.
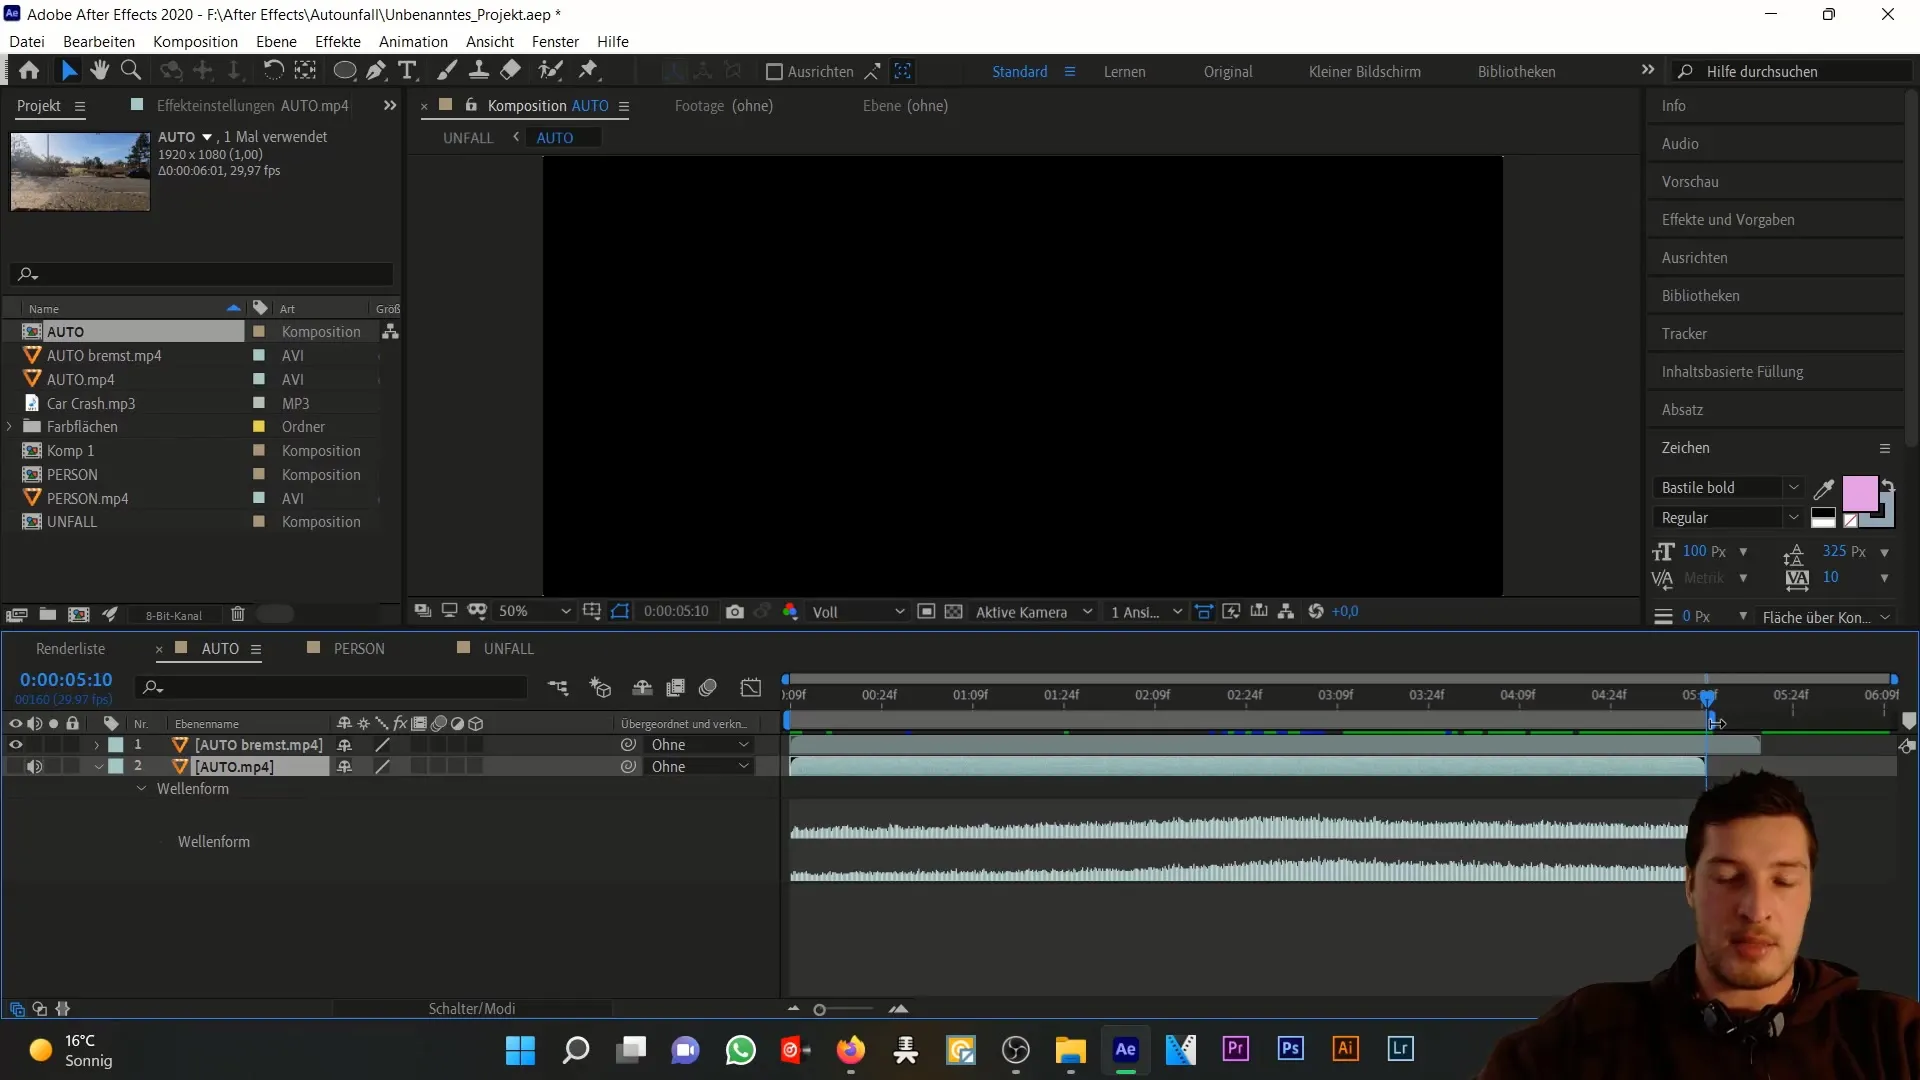
I switch back to the accident composition. You can now see that the composition ends with the end of the audio track. This is a good marker to limit the editing. The car composition is our base image and the person composition will be further edited from there.
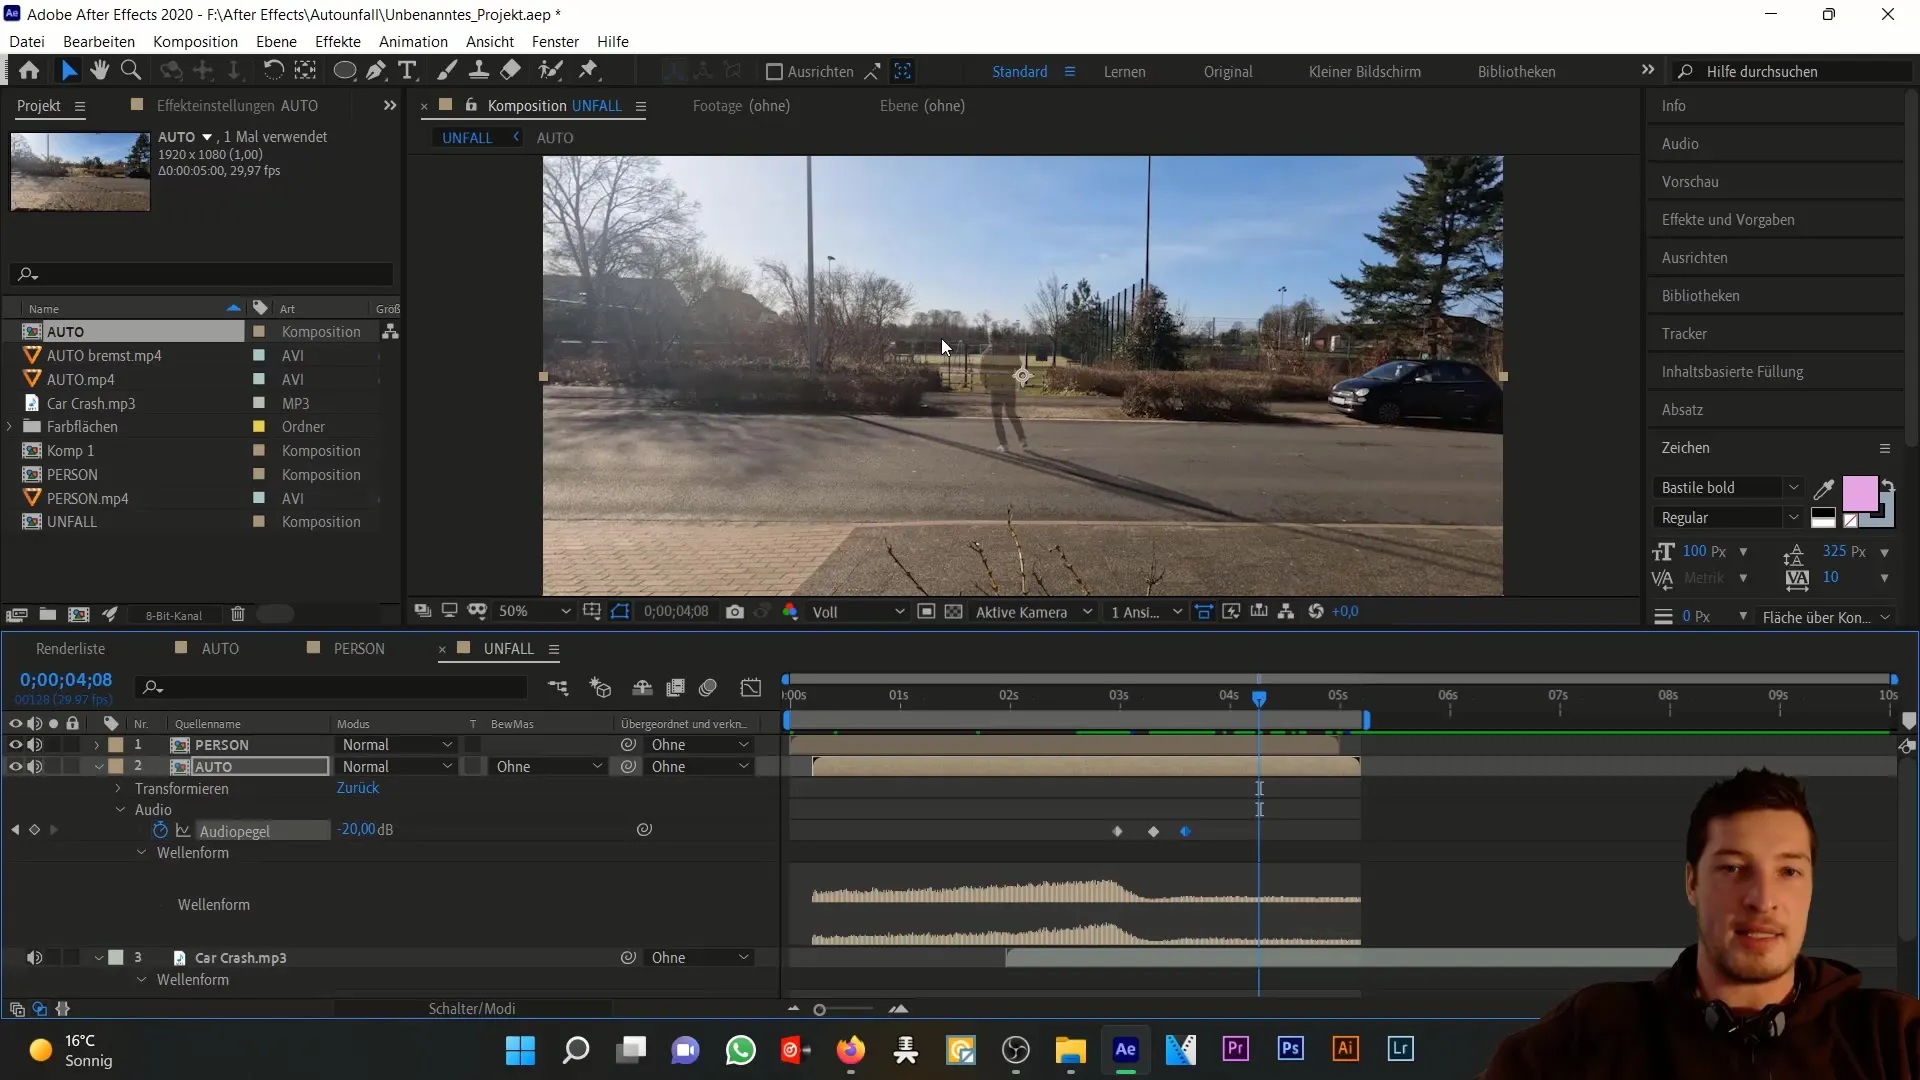
Address the dependencies of the clips considering the minimum possible benefit of external healing factors. This will help you optimize the work on the person for the next steps above and beyond.
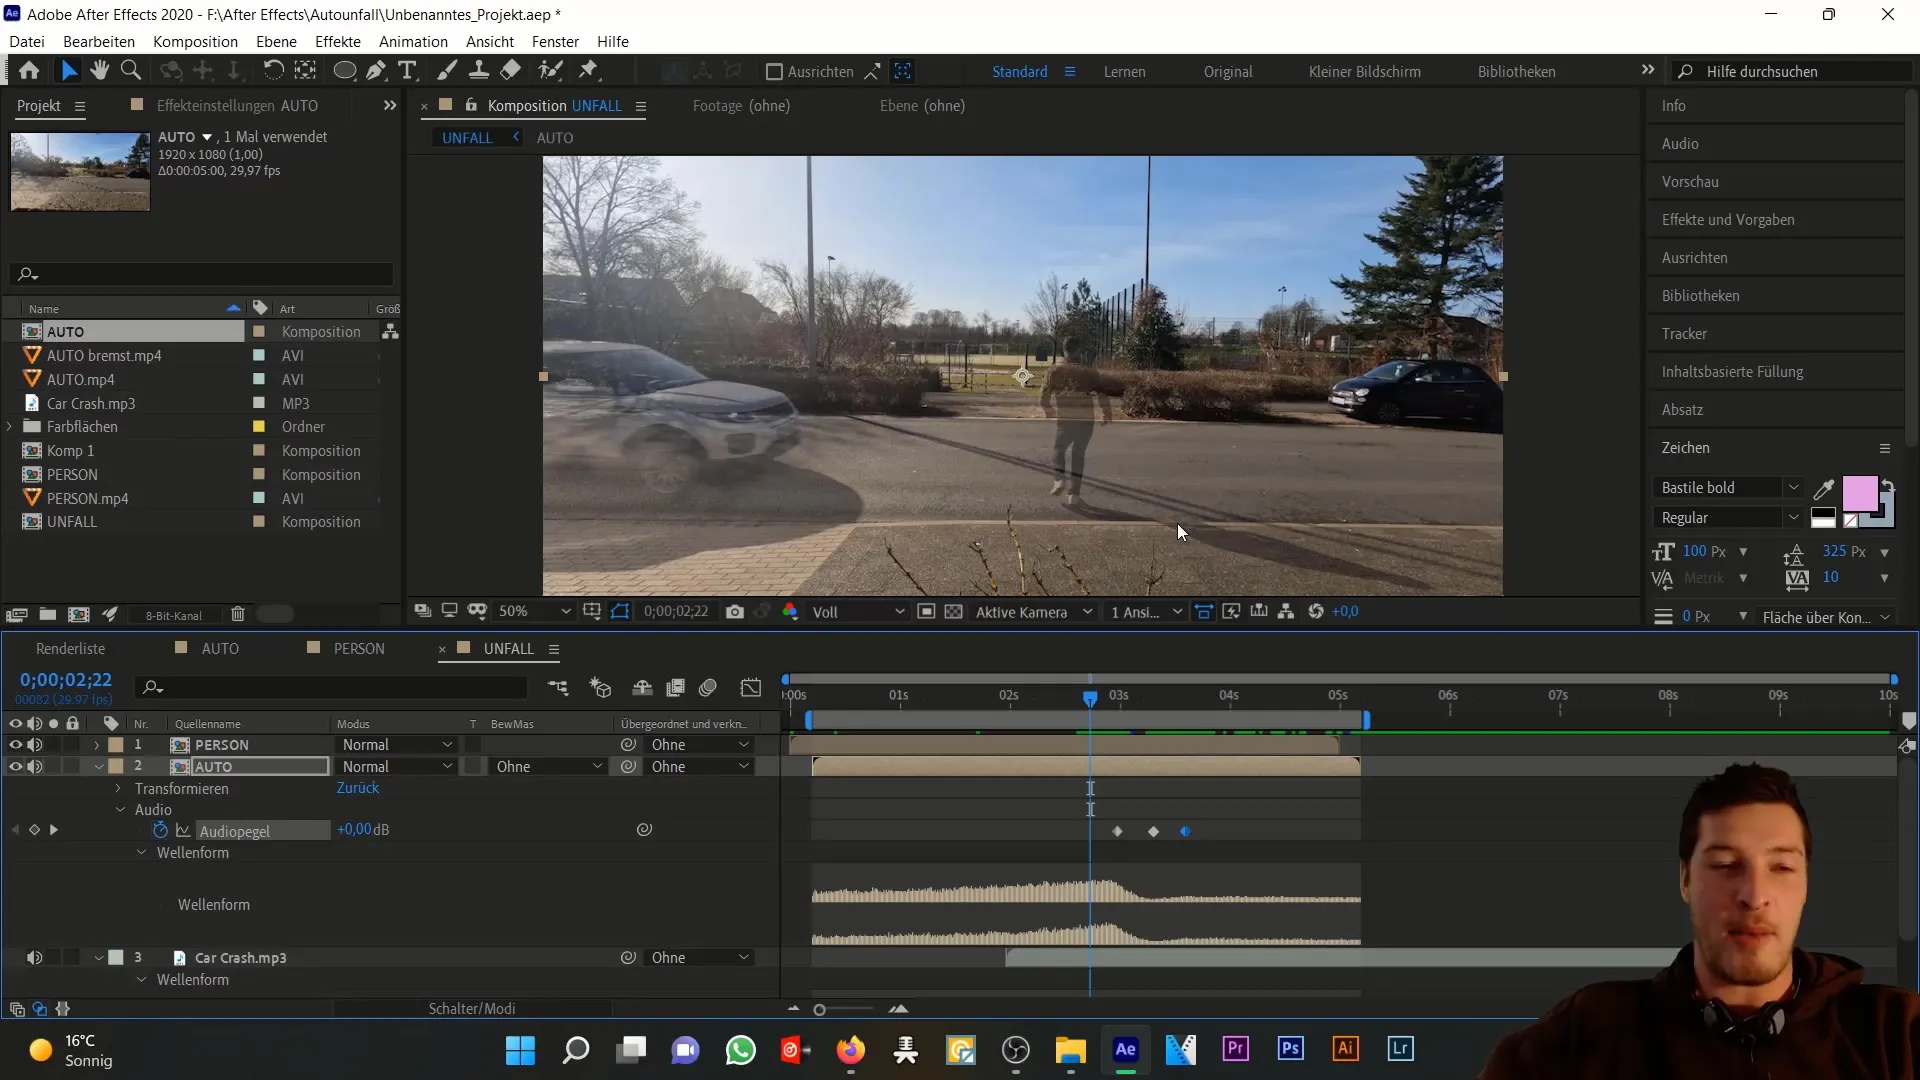
Now that the basic layer alignment is set, let's take a look at the overall project in video and audio view.
Summary
In this step-by-step tutorial, you have learned how to align the layers for simulating a car accident in Adobe After Effects. We have imported various data elements, adjusted audio tracks, and ensured that everything blends harmoniously. Timely volume adjustments, precise placement of video elements, and attention to detail are crucial for a successful simulation.
Frequently Asked Questions
How can I activate the waveform in After Effects?You can activate the waveform by selecting the audio layer and then pressing "LL".
How can I change the volume of my audio track?Place a keyframe in the timeline and adjust the decibel values.
What is the best composition size for this project?Full HD at 29.97 frames per second is optimal for this simulation.


