Here is a rather "acrobatic" trick. I have a nice text box here and I would like to insert a line between each of these individual positions. I'll draw one, holding down the Shift keywill make the line straight (1). I'll make it yellow-dashed (2).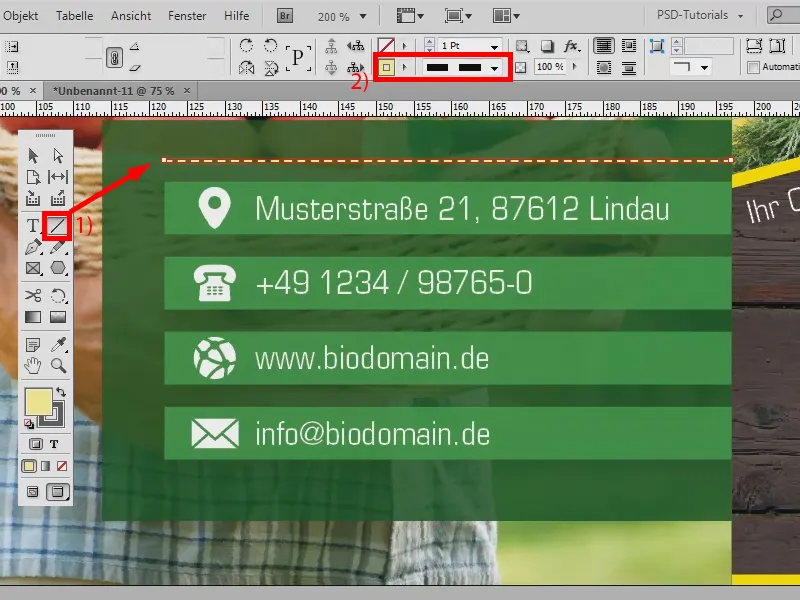
And now I want to copy the line between these positions. Of course, I could do this position by position by holding down the Alt keyand Shift, but it takes time, especially if there are many, many more units. And that doesn't have to be the case.
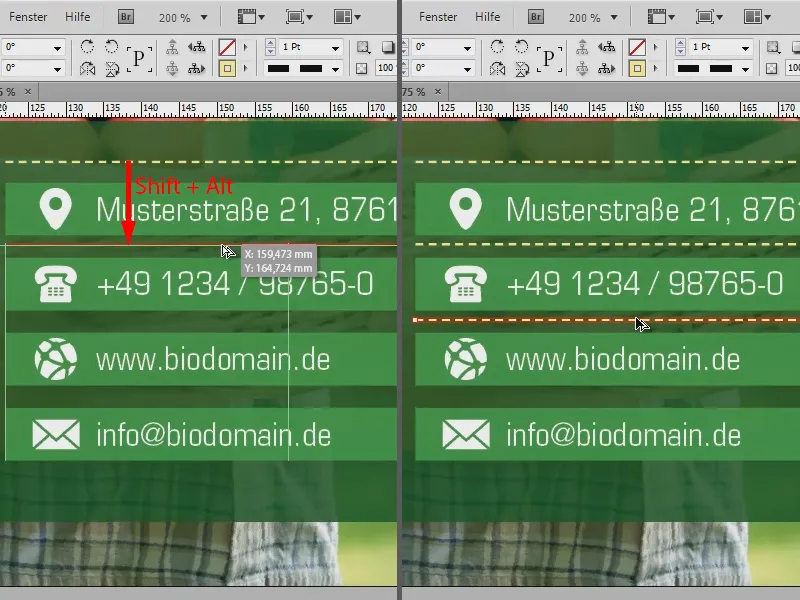
Let me draw a line between the first two texts so that I have the correct spacing (1). And now I'll copy it by holding down the Alt key, as shown above (2), but now I won't let go of the mouse button and I'll press the right arrow key. As you can see, a preview now appears showing me a new dashed line (3).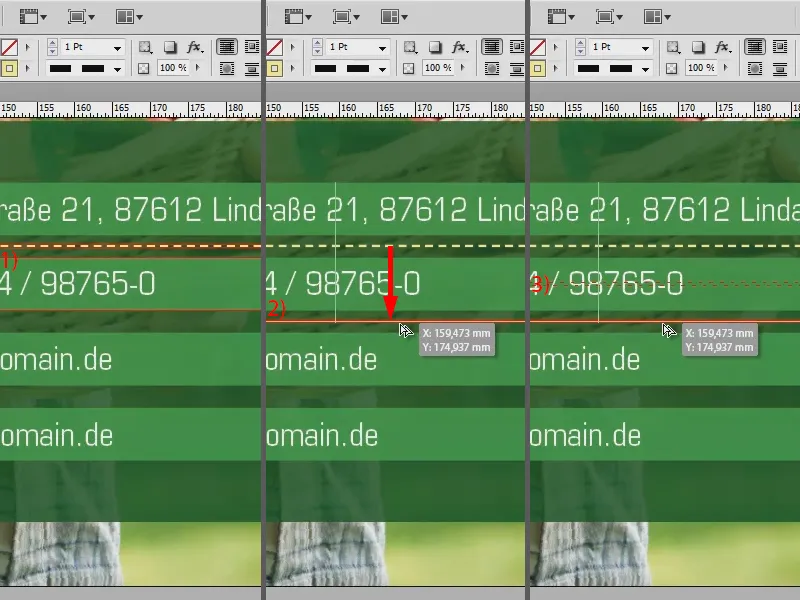
I need a few more of these, so I press the right arrow key again and then again (1). Now I continue dragging with the mouse (2). By holding down the Shift key, I can also straighten it again to make sure it fits. And then I let go (3). You can see: It doesn't quite fit the way I wanted it to, ...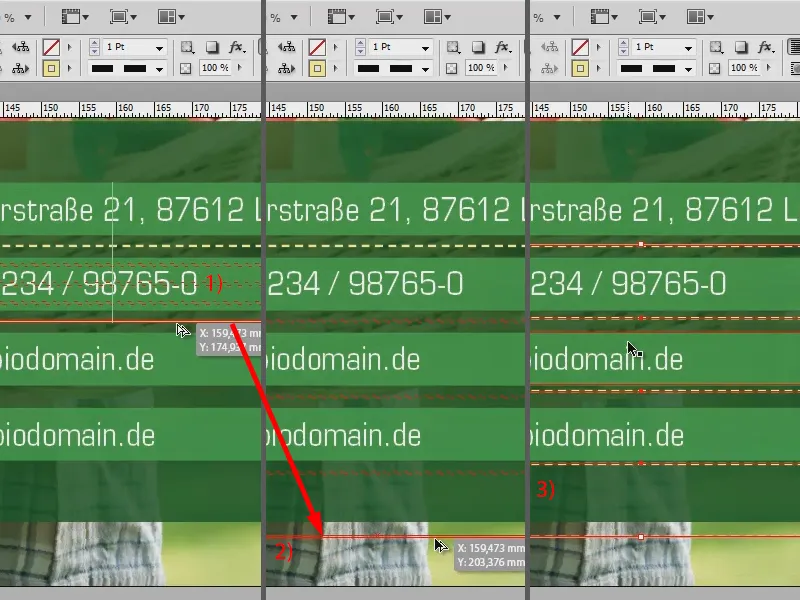
... but I can still pull it up until it fits. And I've quickly created my dashed lines between the individual positions. This doesn't just work with lines, it also works with all other shapes, even if I'd rather have a few stars here, for example.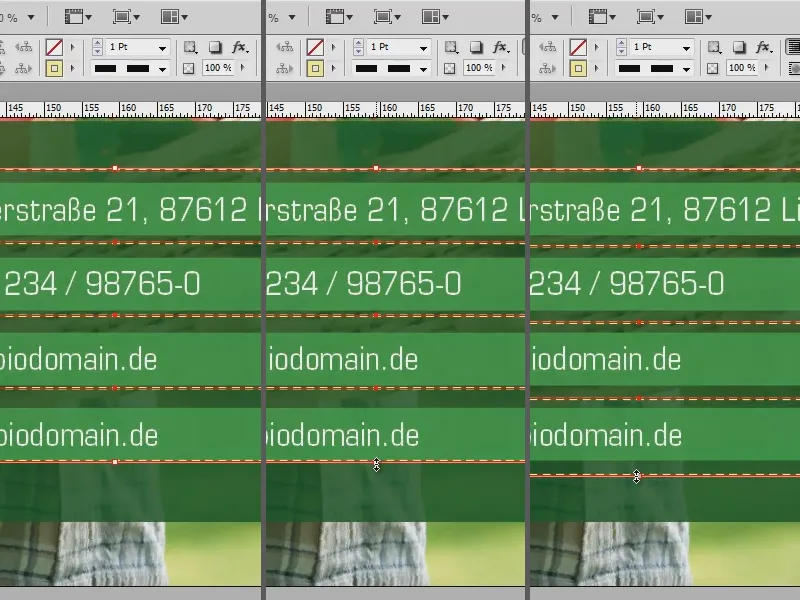
I use the polygon tool (1) for this. By double-clicking on it (2), I can say how many sides I want and how star-shaped it should be. I'll take 5 sides and set the star shape to 50% (3). I use this to draw a star. With the Shift keypressed, it's not a crooked or wide star, but a really nice star (4). I'll make it white, for example, without an outline (5).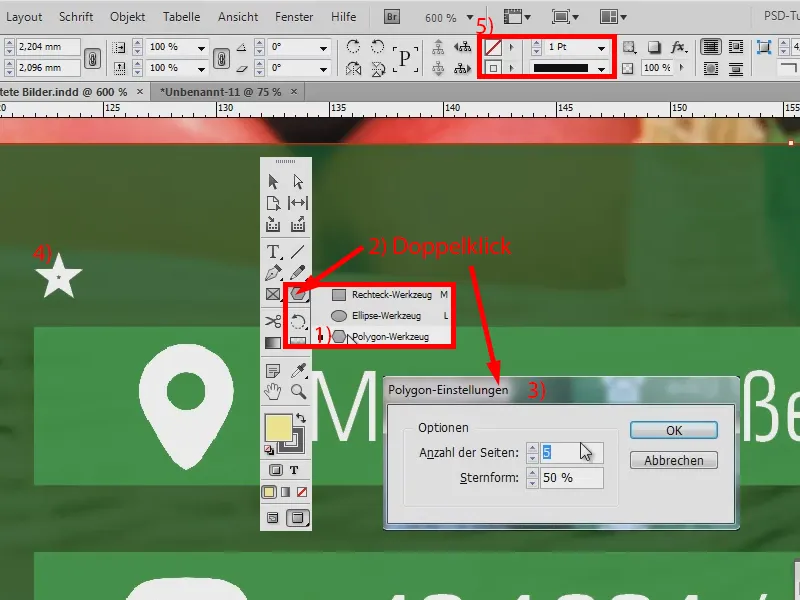
And now I want the star as a line element, so to speak. To do this, I would actually have to copy everything individually and that is really a bit time-consuming. So I press the Alt keyagain and move the star with the mouse button held down. The intelligent guides also make everything straight (1). And now I don't let go, move my mouse pointer upwards and press the right arrow key on my keyboard. This means that new stars are created. You can already see a small preview (2). Then I let go and I have my stars (3).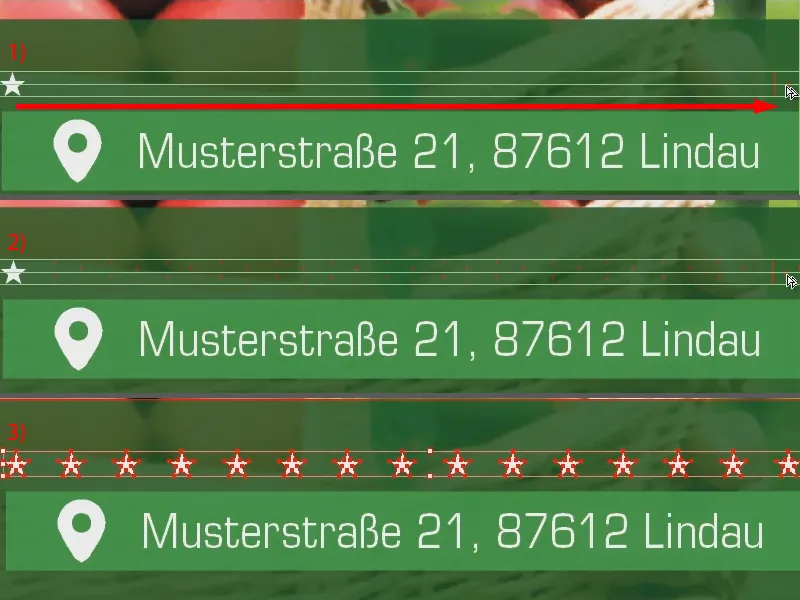
Now I can copy the whole thing again using the same procedure, move it downwards while holding down the Alt key(1) and then press the right arrow key (2). Then adjust a little (3). That's it. As you can see, this is really very, very easy thanks to the help when dragging with the arrow key. I can copy all sorts of things, it really works with all shapes.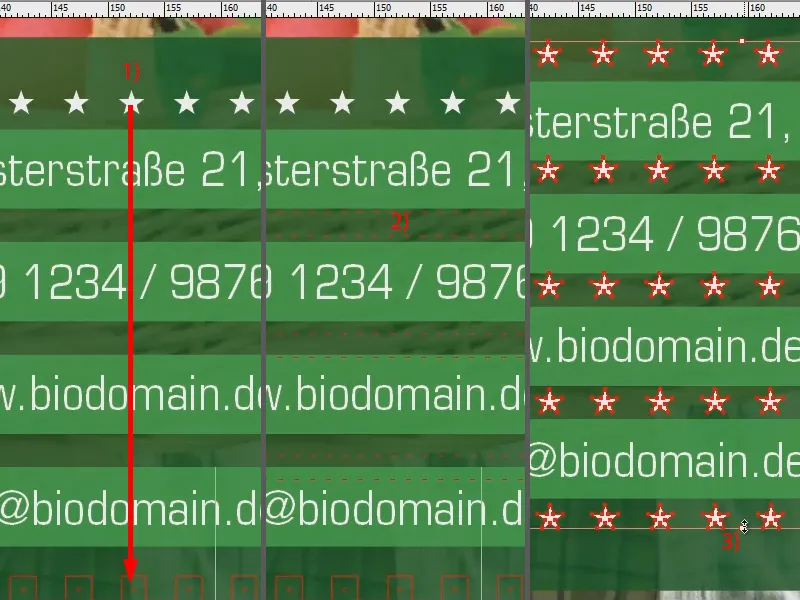
Let me create another rectangle (1). If I want to have some next to it, no problem: Drag with the Alt keypressed (2 and 3) and then right arrow key (4) and I have as many as I need (5).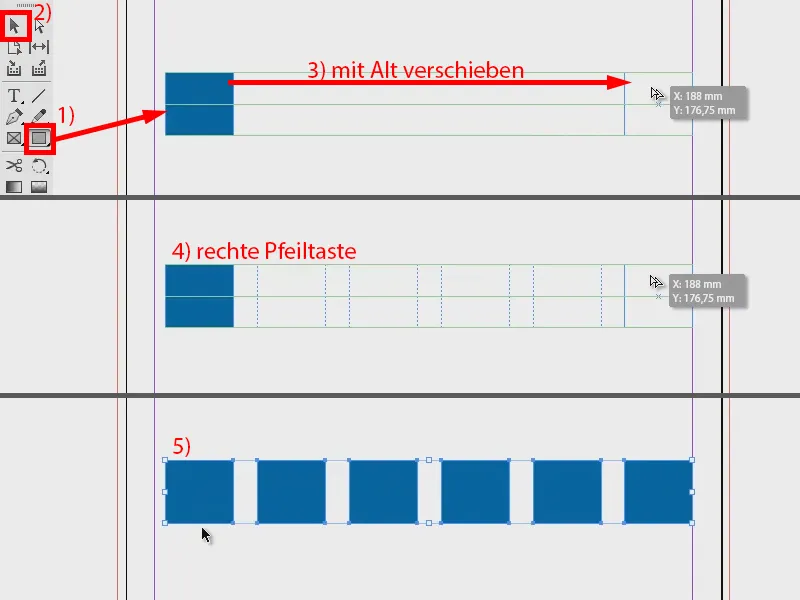
By the way: You can find the intelligent guides under View>Grids and guides>Intelligent guides. I always have them activated because they are a great help.


