The Direct Selection tool in Adobe InDesign is an indispensable tool for precisely editing paths, anchor points, and content within frames. It allows you to adjust individual elements independently, whether it's to modify shapes, move images within frames, or make specific customizations. In this guide, I will show you step by step how to effectively utilize the Direct Selection tool to make your layouts flexible and detailed. Let's get started and take full control of your objects!
With the Direct Selection Tool (Shortcut A), you can work in two different modes: Clicking on a placed object (e.g. an image) will make the object frame visible in brown color.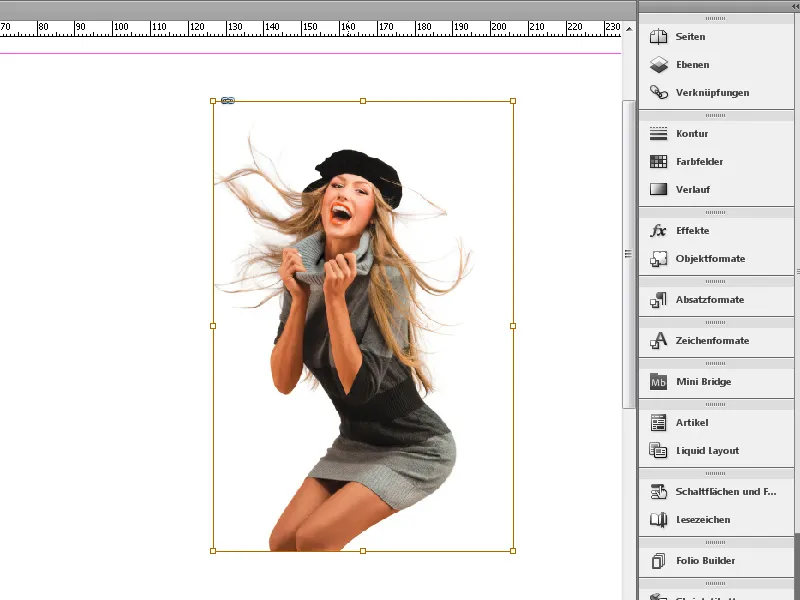
Depending on how it's fitted into the image frame, it may be congruent with it or appear larger or smaller.
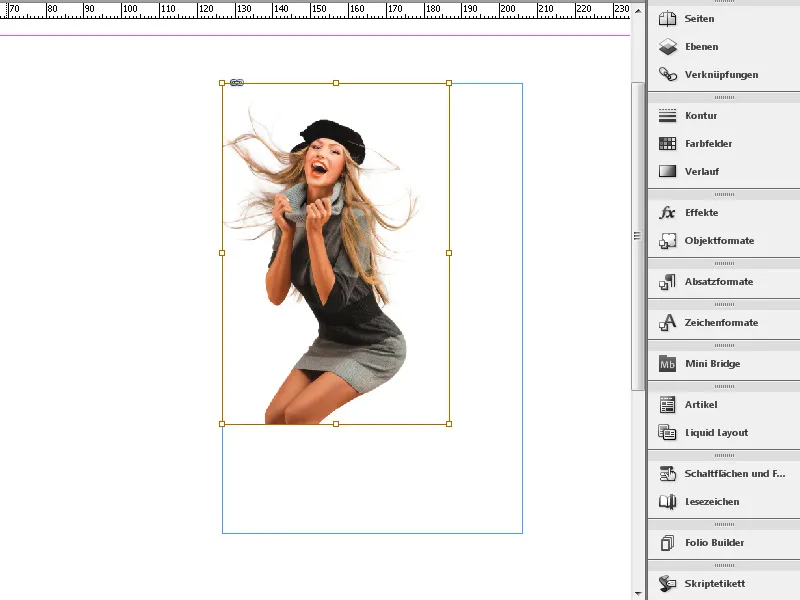
With the mouse button held down, you can now resize the image at the corners in both the X and Y axes. Pressing the Shift key while doing so will scale the image proportionally, depending on the reference point. Pressing the Alt key will scale the image from the center.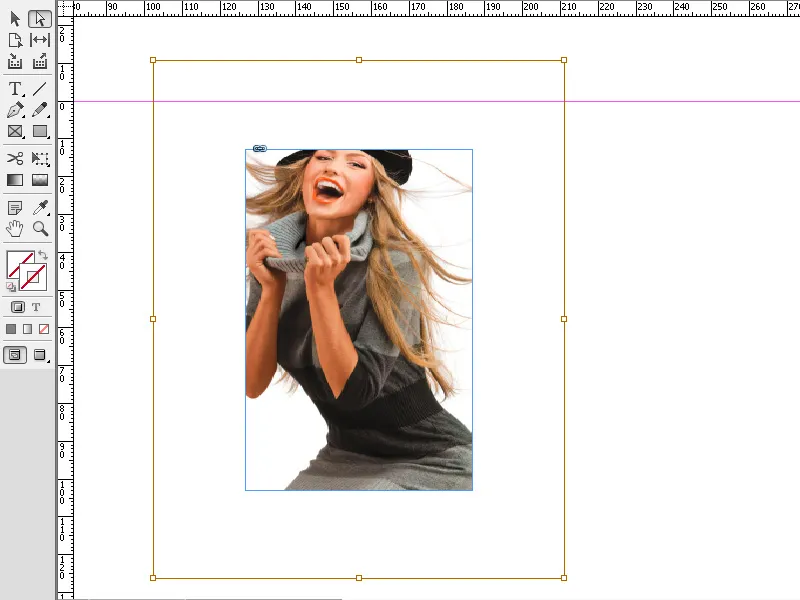
You can also simply move the image within the image frame by holding down the mouse button.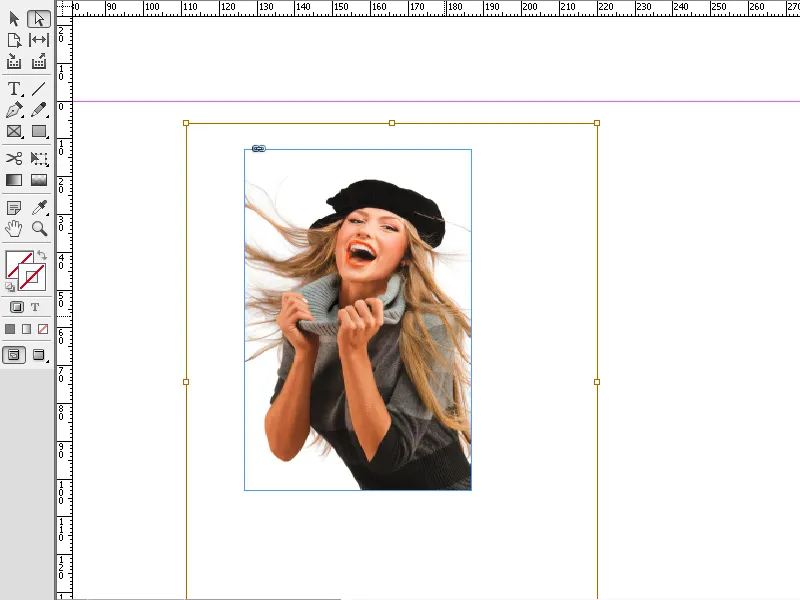
Alternatively, you can choose to select only the outline of the image. Double-click with the Direct Selection Tool on the image to do this. Now the outline will be displayed as a thin blue line with four corner points.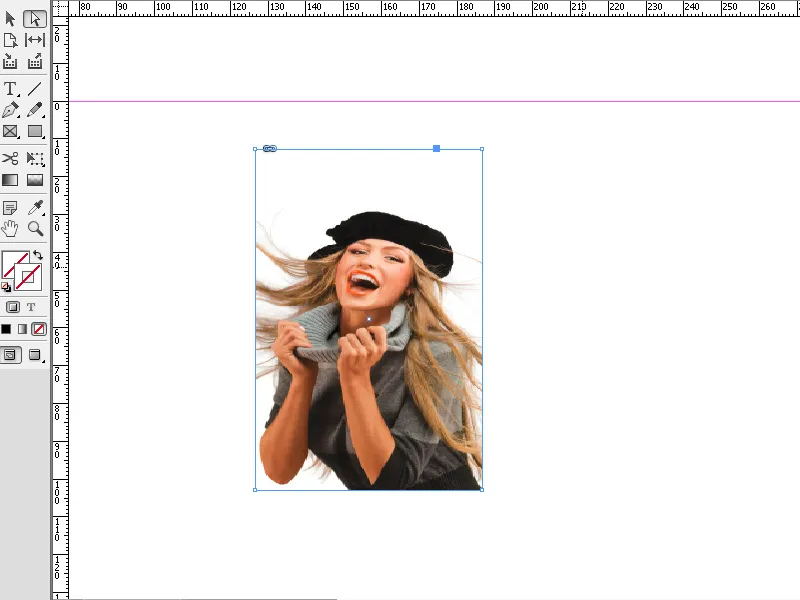
Now you can change the outline of the image by dragging a corner point with the mouse button pressed. In this mode, the mouse pointer will additionally have a small square at the bottom right.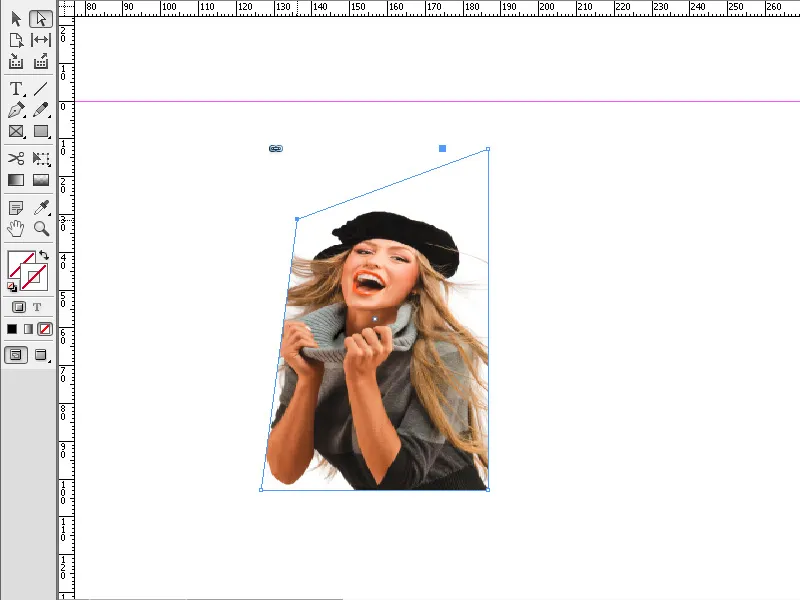
The Direct Selection Tool in Adobe InDesign is perfect for making precise adjustments to anchor points, paths, and image content. Here are the key tips on how you can make the most out of this tool:
1. Editing Anchor Points and Paths
The Direct Selection Tool allows you to directly alter the shape of objects and frames.
- How to do it: Select the tool (Shortcut: A) and click on an anchor point or a line to edit them. Drag to adjust the shape.
- Tip: Hold down the Shift key to select and edit multiple anchor points simultaneously.
- Advantage: Ideal for unique shapes and layouts.
2. Moving Image Content Independently of the Frame
You can use the Direct Selection Tool to move the image within a frame without changing the frame size.
- How to do it: Click on the content of the frame (appearing with an orange outline) and drag the image to the desired position.
- Tip: Hold Ctrl (Windows) or Cmd (Mac) to switch between the image and the frame.
- Advantage: Perfect for adjusting the image composition.
3. Precisely Modifying Paths and Curves
The Direct Selection Tool enables you to modify Bézier curves and handles.
- How to do it: Select an anchor point and drag the handles to alter the curve.
- Tip: Hold the Alt key to move individual handles independently and create asymmetric curves.
- Advantage: Particularly useful for logos, unique shapes, or creative layouts.
Additional Tips for Professionals
- Selecting Overlapping Objects:
- Click on the desired object and hold Ctrl (Windows) or Cmd (Mac) to navigate through overlapping objects.
- Utilizing Guides:
- Activate smart guides (View → Grids and Guides → Smart Guides) to ensure precise alignments.
- Reducing Anchor Points:
- To simplify complex shapes, use Object → Path → Remove Anchor Points.
With the Direct Selection Tool, you can precisely adjust objects, create shapes, and position images optimally – an essential tool for professional layouts!


