Welcome to this tutorial on the basics of video editing with Adobe Premiere Pro CC. In this video, I will guide you step by step through the essential functions of Premiere Pro by working on a practical example. You will learn how to key out a greenscreen, integrate text, and easily adjust the image. Let's get started!
Key Takeaways
- You will learn how to create a new project and set up a sequence.
- The application of the Ultra Key effect to remove the greenscreen will be explained.
- Adding text and adjusting motion options will be covered.
- You will discover how to switch your sequence to Full HD and adjust the images.
Step-by-Step Guide
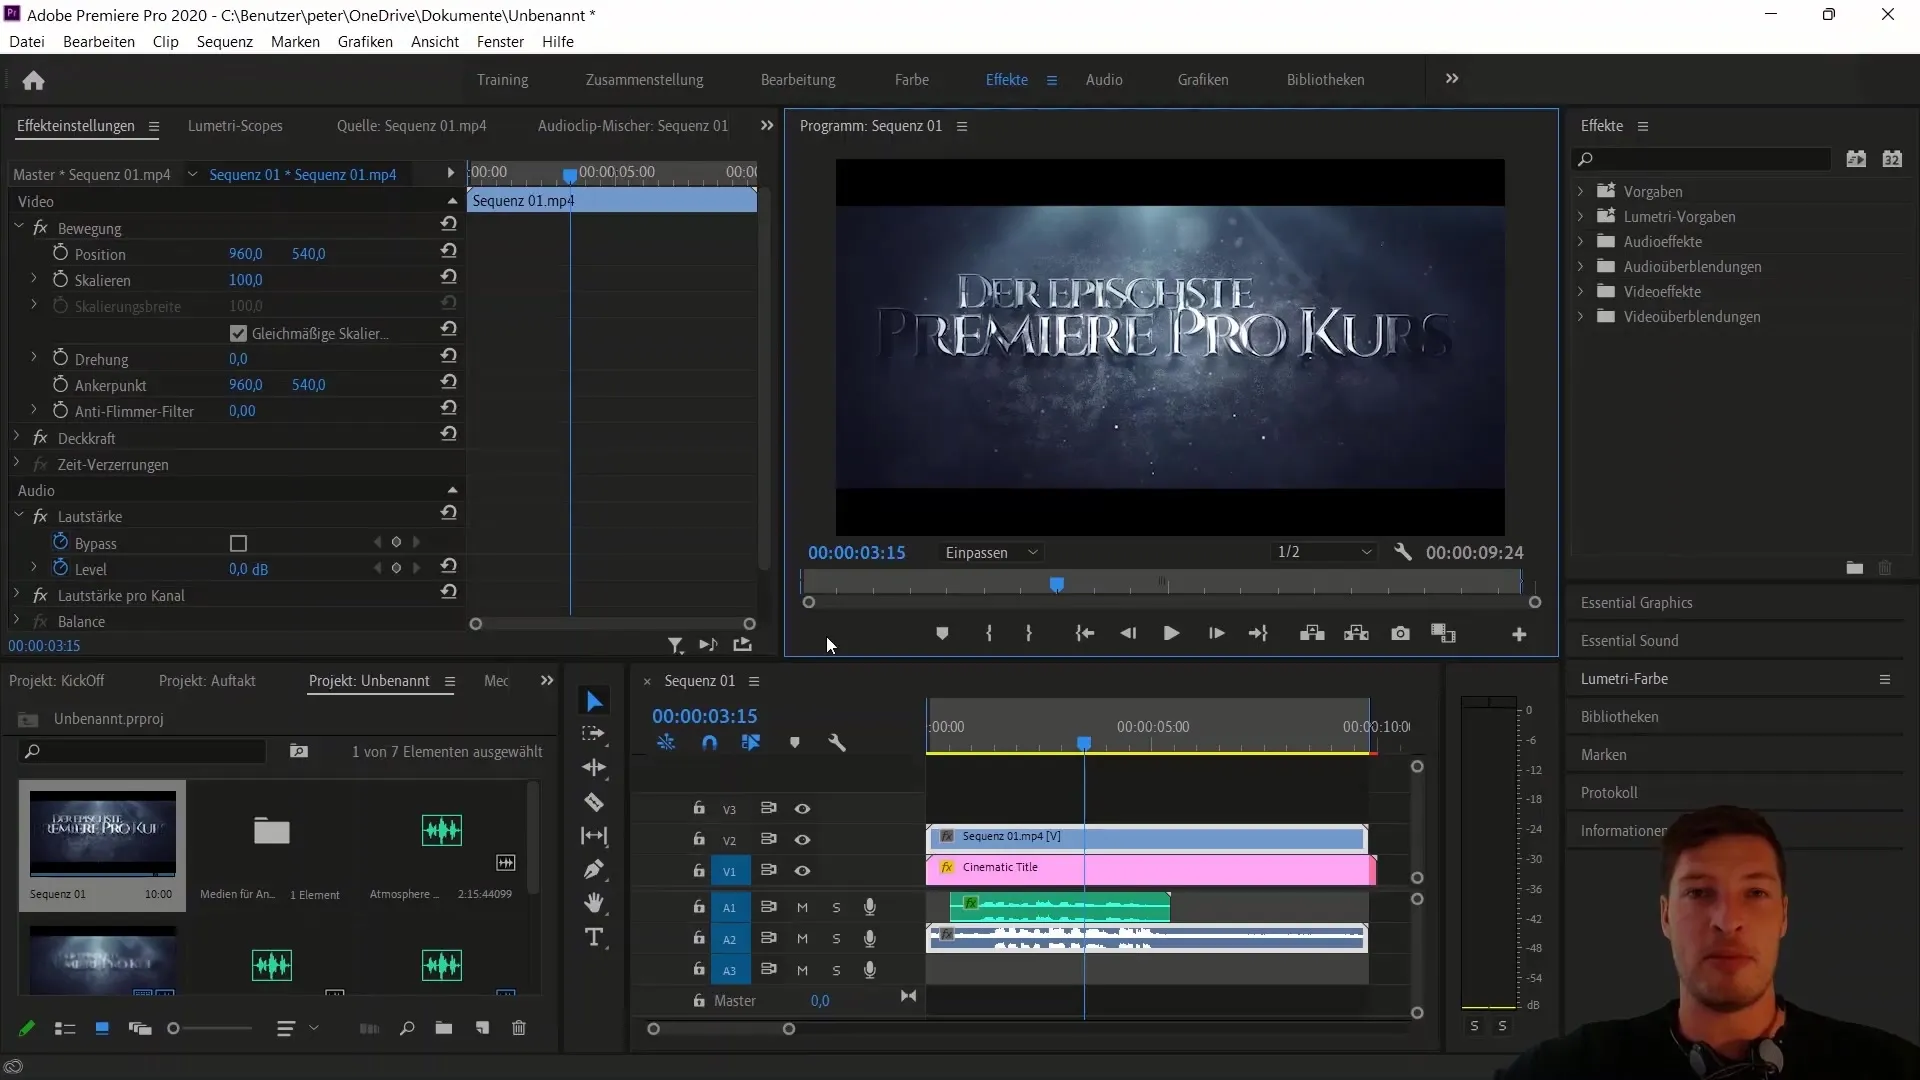
To start with video editing, you need to create a new project first. You can do this by clicking on "New" on the Adobe Premiere Pro startup screen or by pressing the shortcut Control + Alt + N if you are using a Windows PC. Give a name to the project (e.g., "Kickoff") and choose a location where you want to manage your projects. I recommend creating a dedicated folder for this.
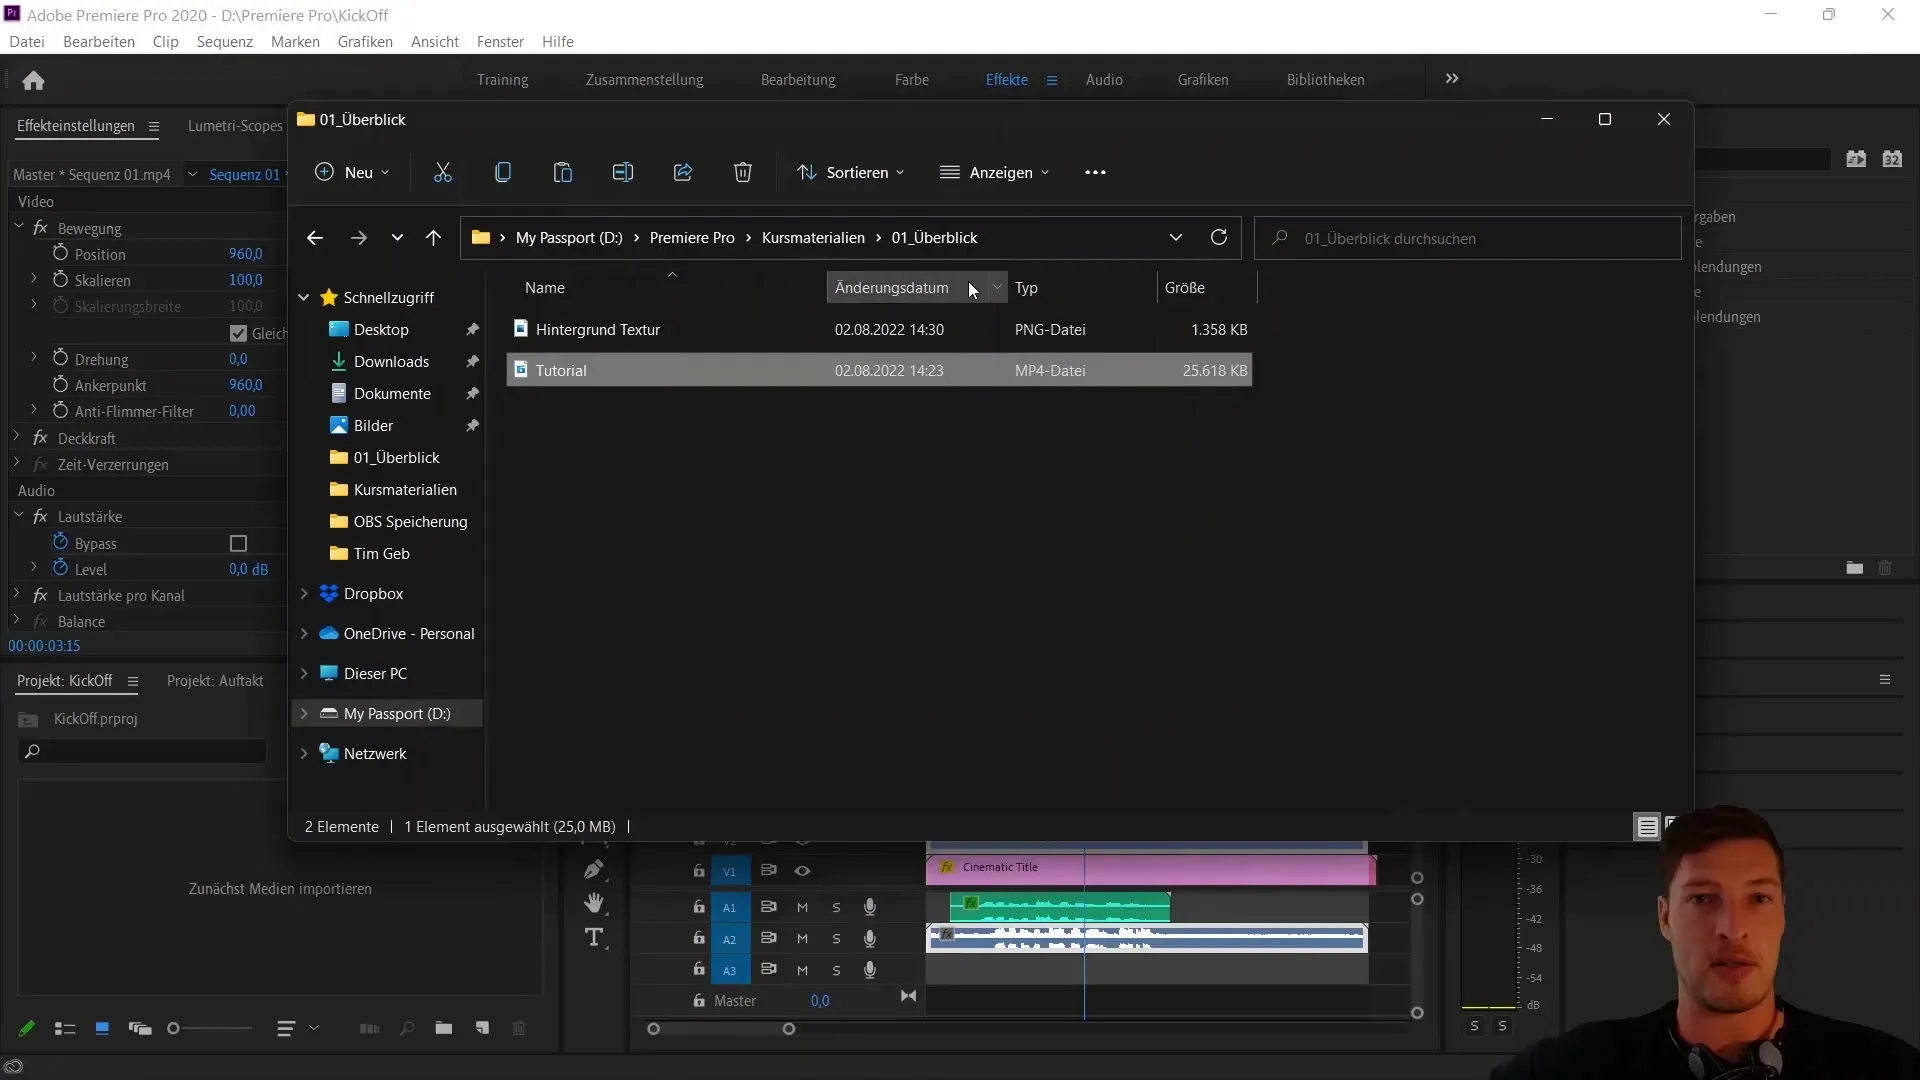
After creating the project, import the video file you want to edit. Go to the course materials and find the folder with the tutorial files. You can simply drag and drop the MP4 file into your project window to import it.
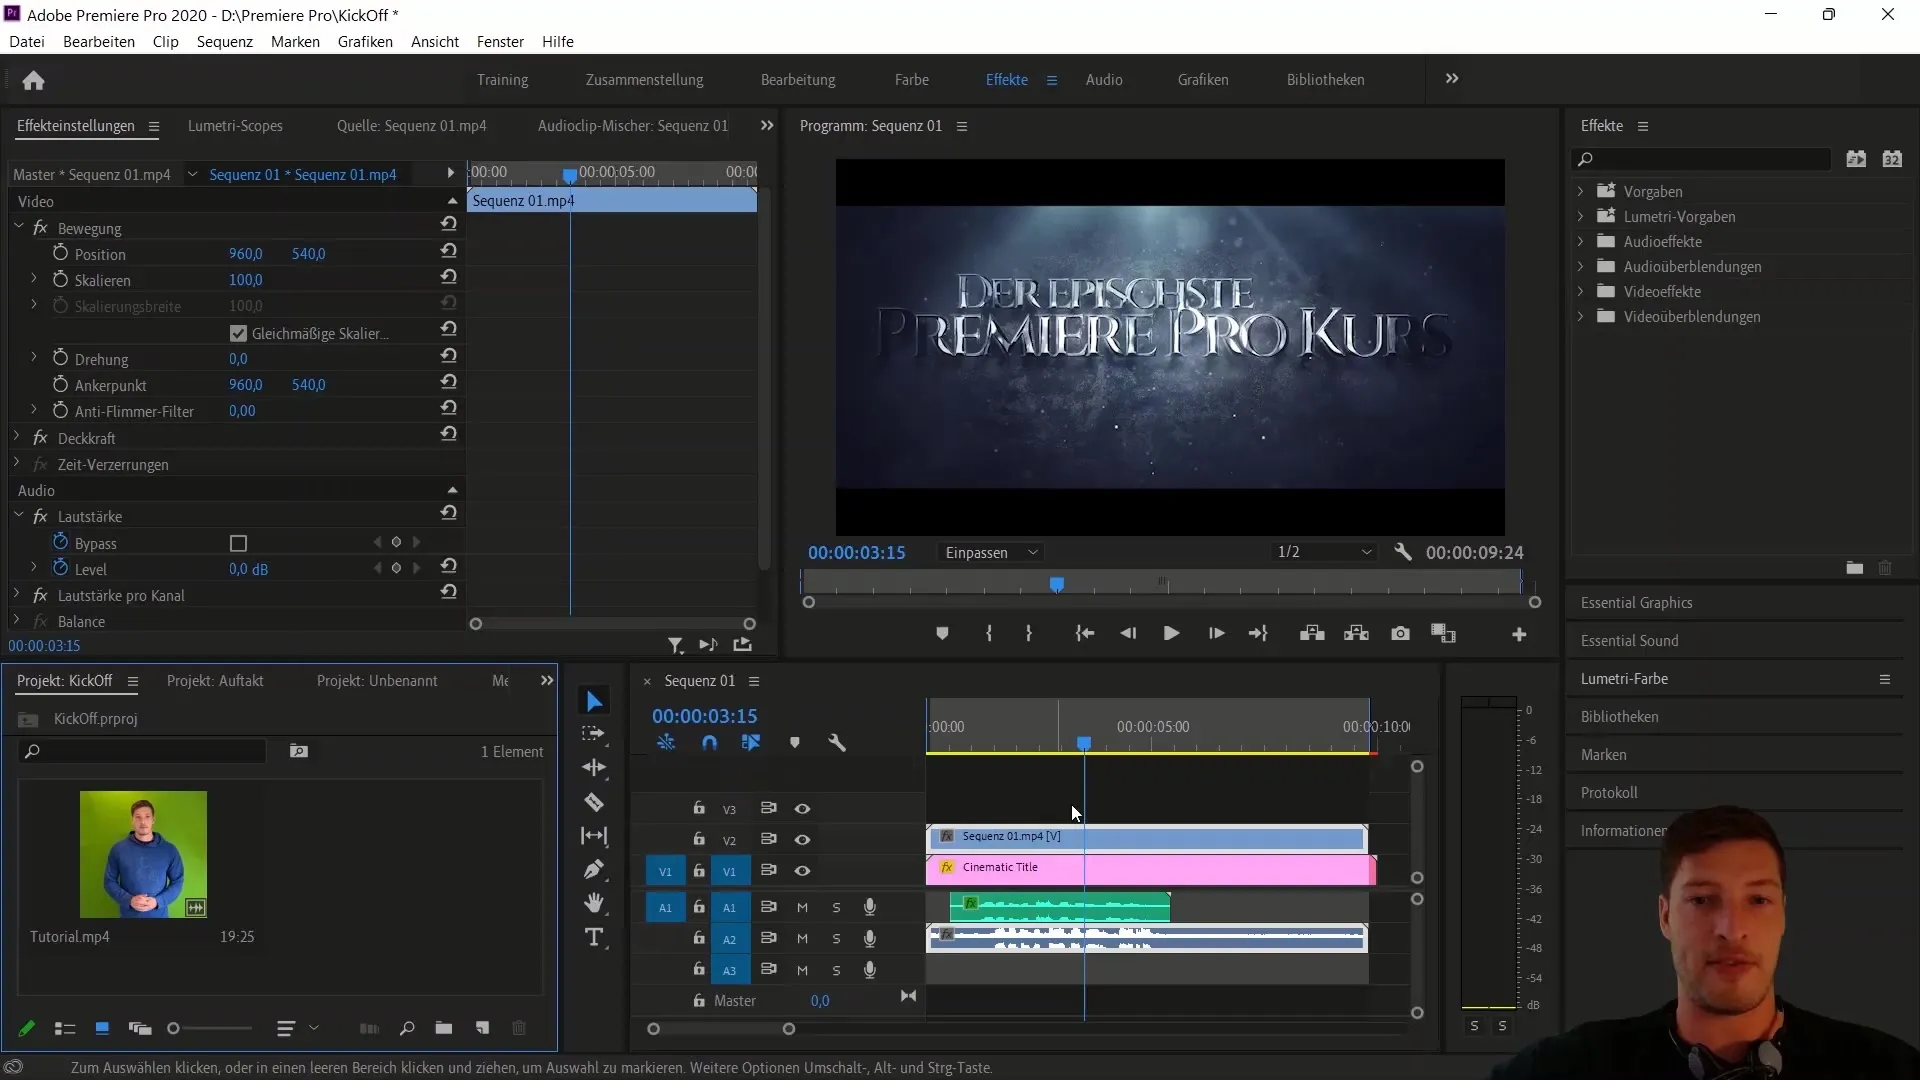
Now that the video is imported, let's create a new sequence. This can also be done by drag and dropping, by dragging the imported MP4 file into the new object window. If you prefer right-clicking, you can also use the "New Sequence from Clip" option.
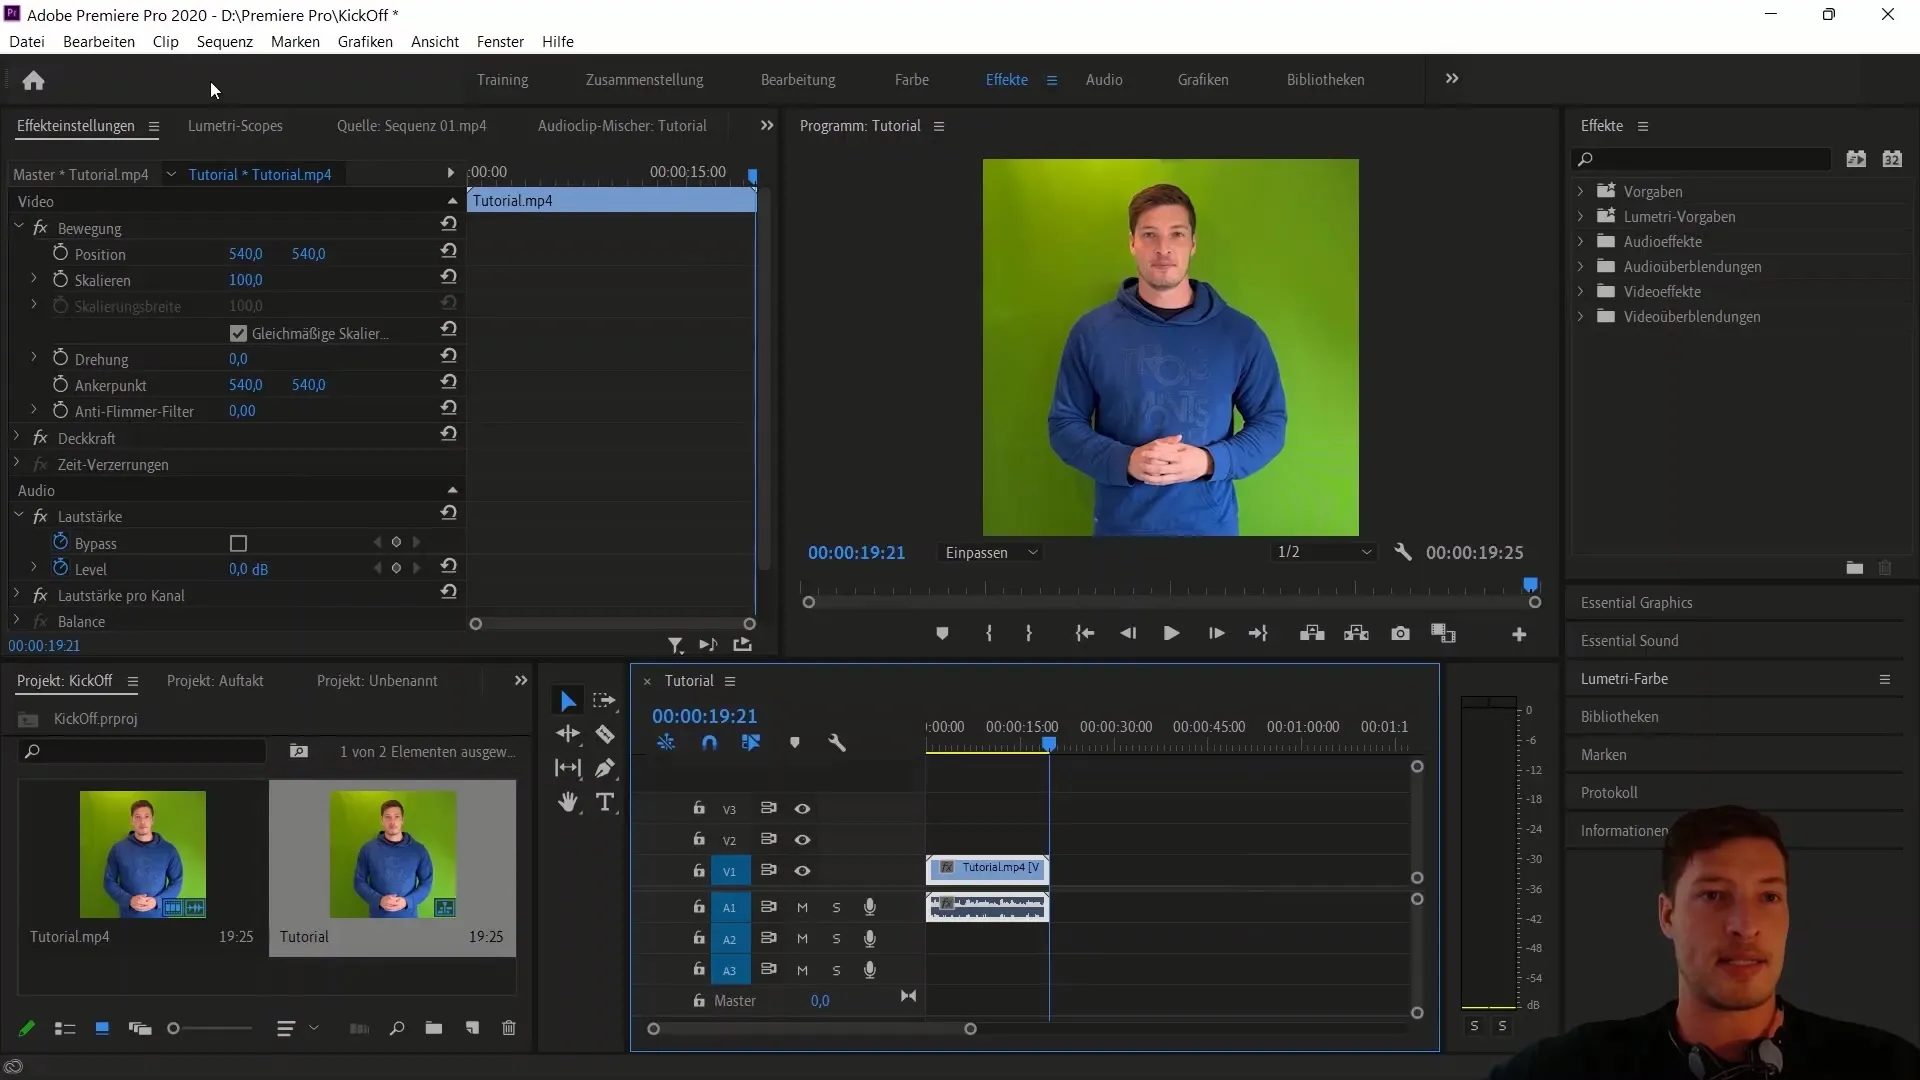
Once the sequence is created, close the old sequence to clean up your workspace. The new sequence should already display the audio and video tracks. Now, we want to switch the sequence to a common Full HD format. Go to "Sequence" and select "Sequence Settings". Change the frame size to 1920 x 1080 pixels and confirm with "OK".
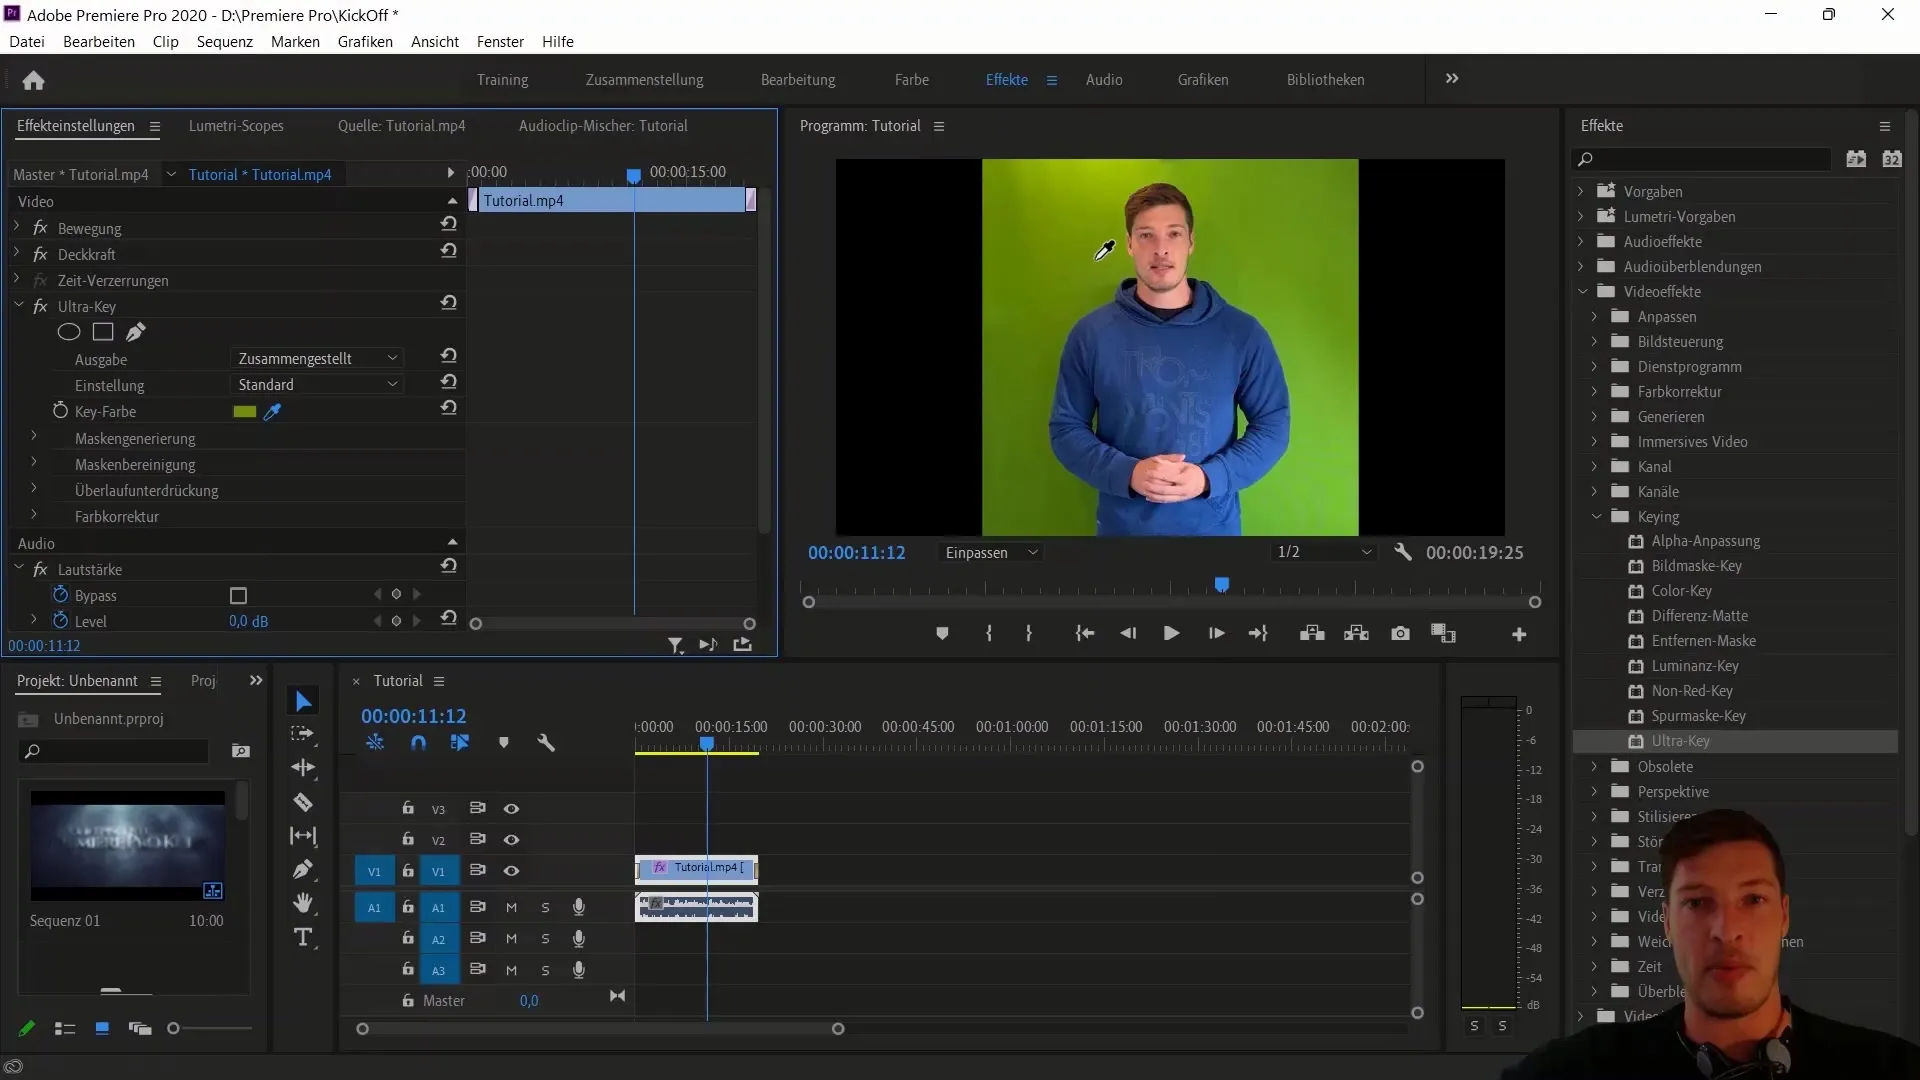
Next, we want to remove the greenscreen. To do this, go to the effects. Make sure the Effects window is visible – you can activate it through "Window" if it's not displayed. Navigate in the effects to "Video Effects" and then to "Keying". There, select the "Ultra Key" effect and drag it onto the video track with the greenscreen.
After adding the Ultra Key effect, you will have the option in the effect controls to adjust the key color. Select the picker tool and click on the green area in the image. This will eliminate the green background. To refine the result, adjust the mask generation by reducing the values for highlights and shadows.
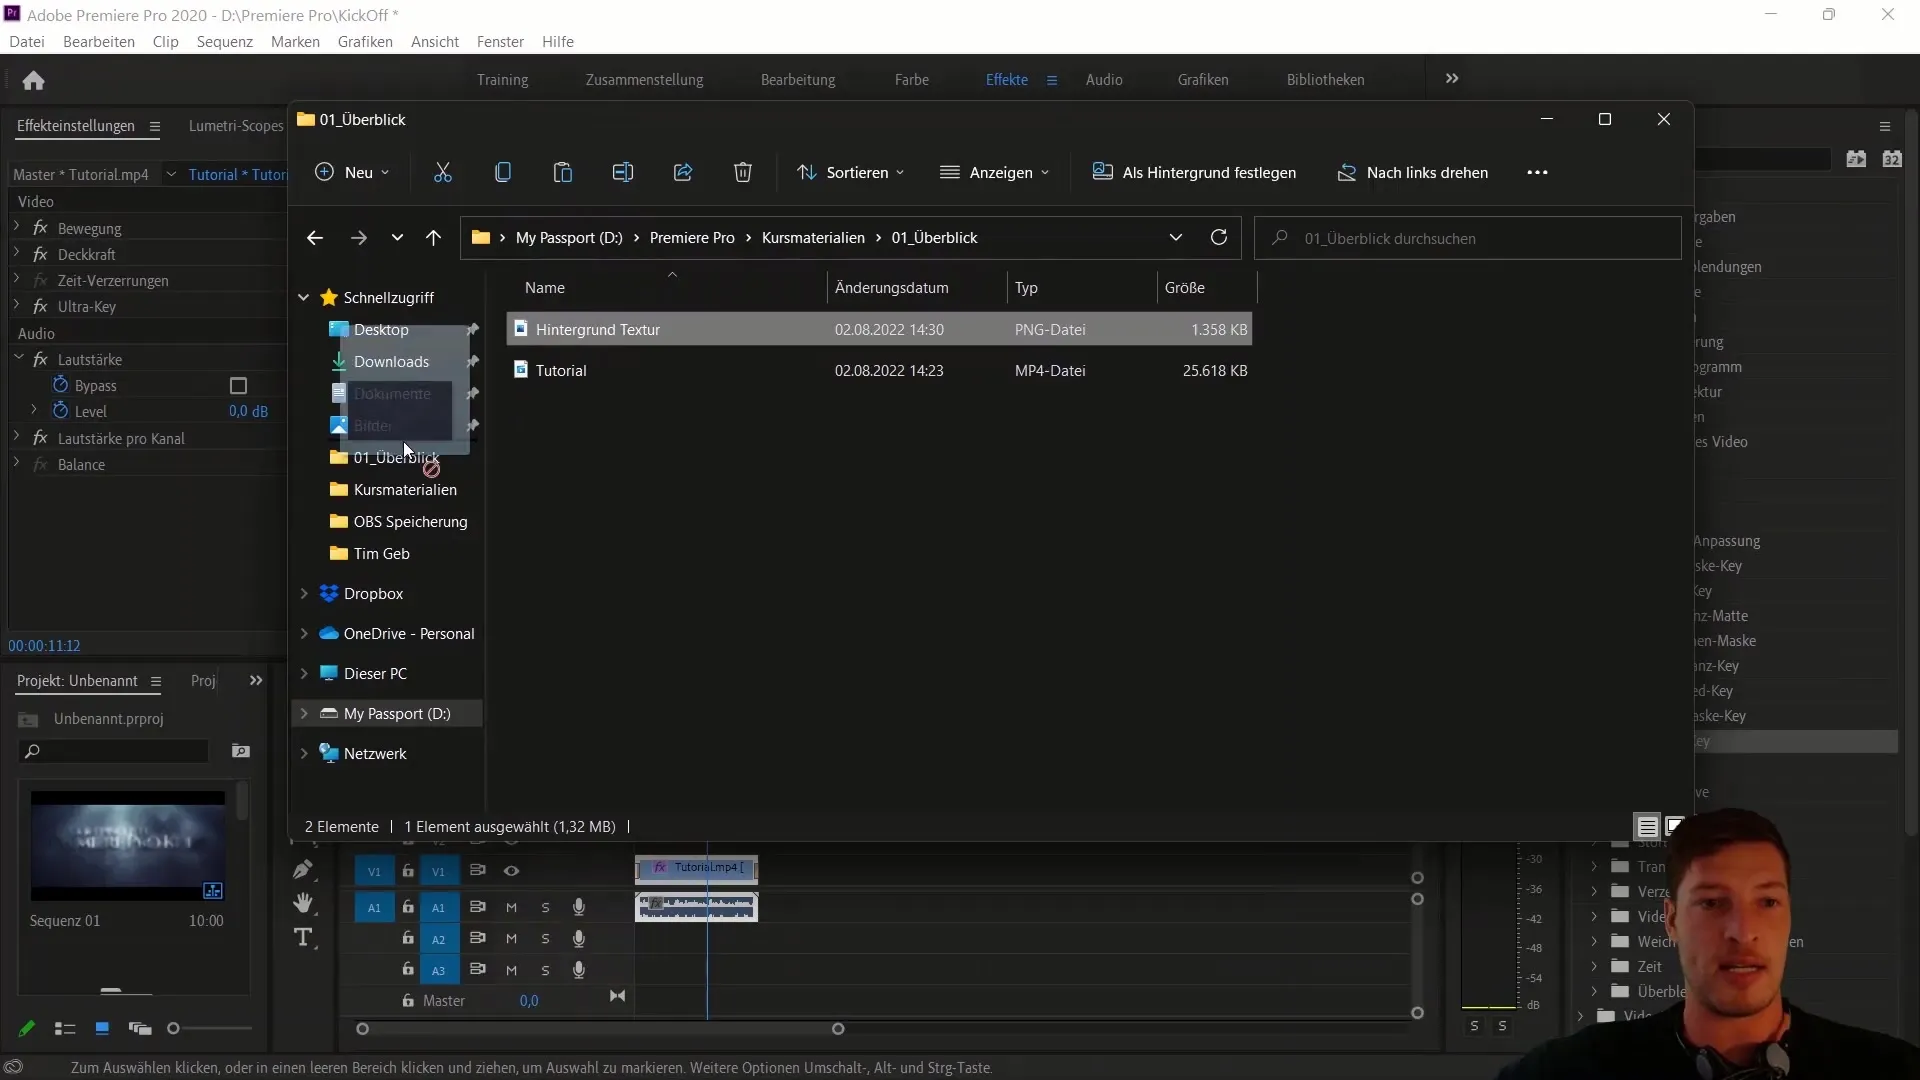
Now that the greenscreen is removed, we need to set the background. Import the background file from the course materials and drag it under your MP4 file. Make sure the background is clearly visible by scaling it accordingly. Go to the motion settings and adjust the scaling.
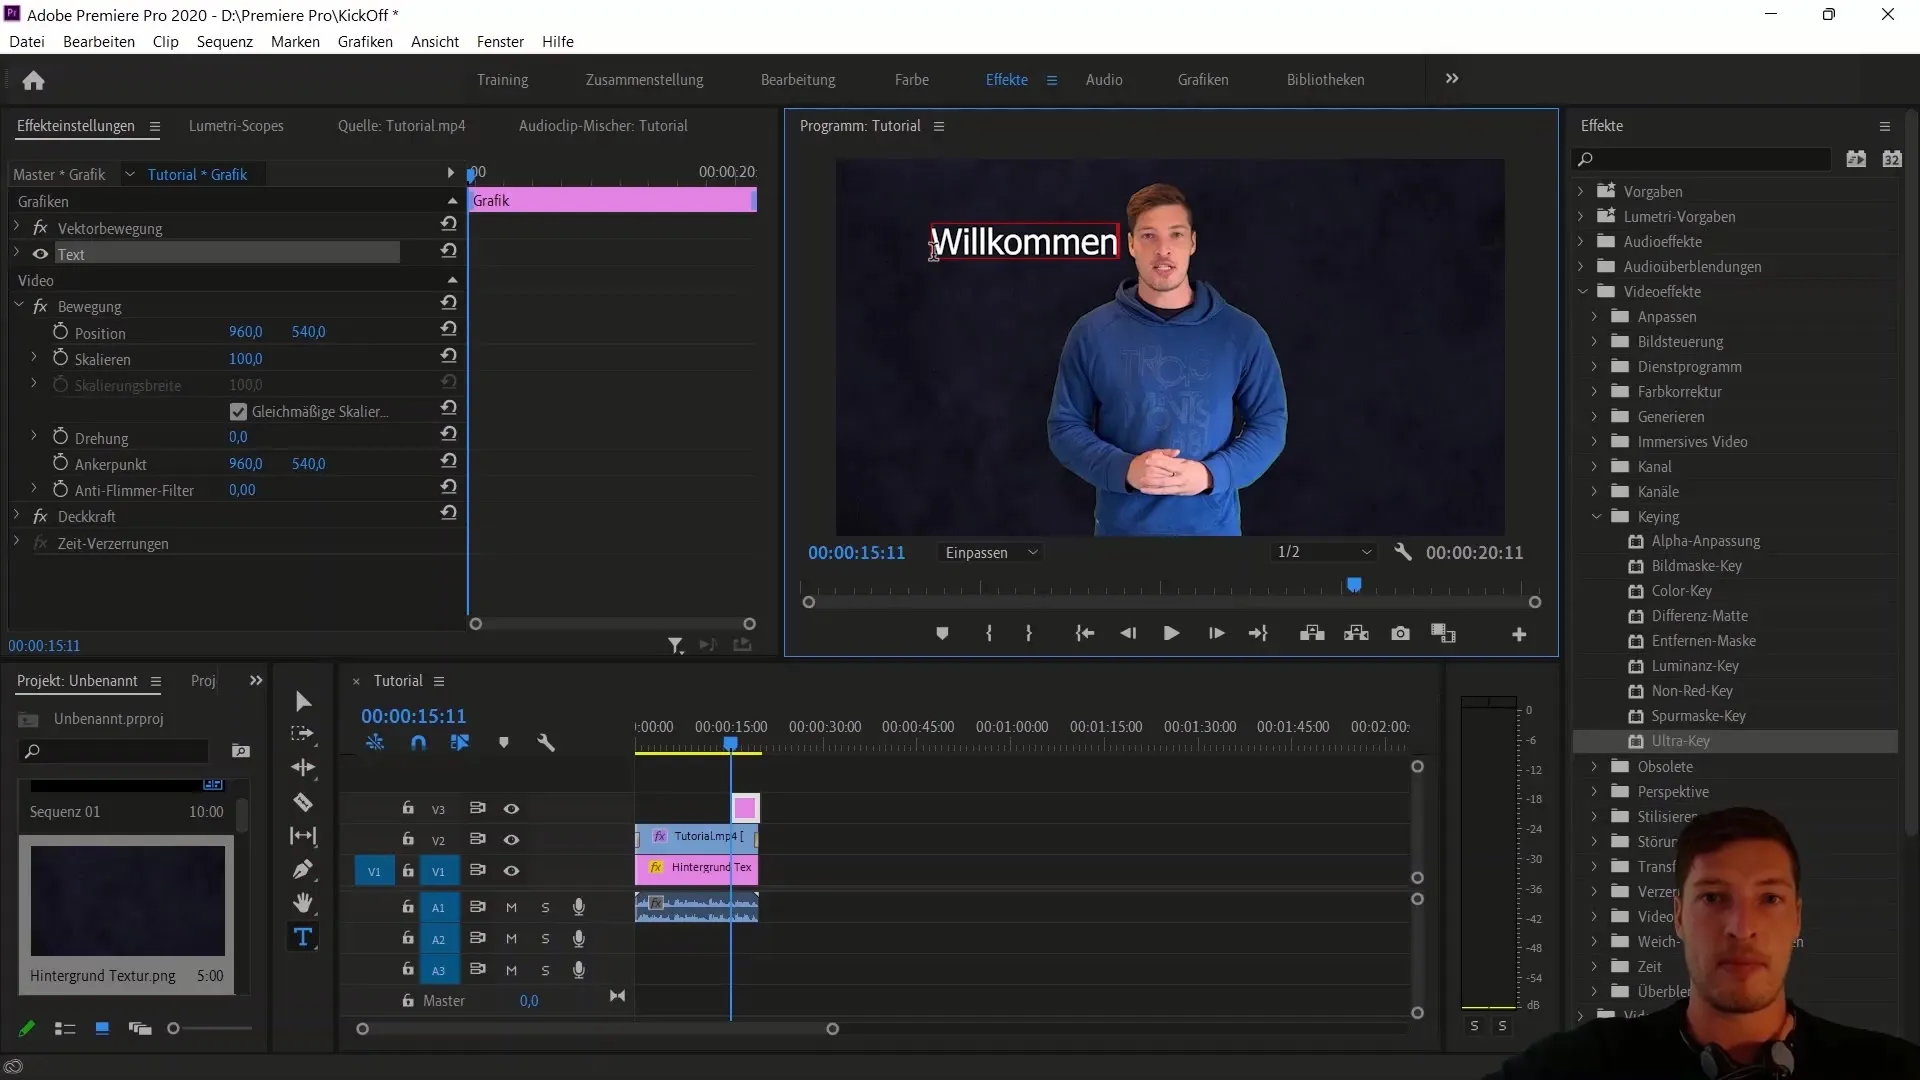
Next, we will add a welcome text. Select the text tool (shortcut "T") and click on the image to enter your text. You can adjust the text properties in the Graphics tab. Position the text so that it is clearly visible and behind you by adjusting the layer order in the timeline.
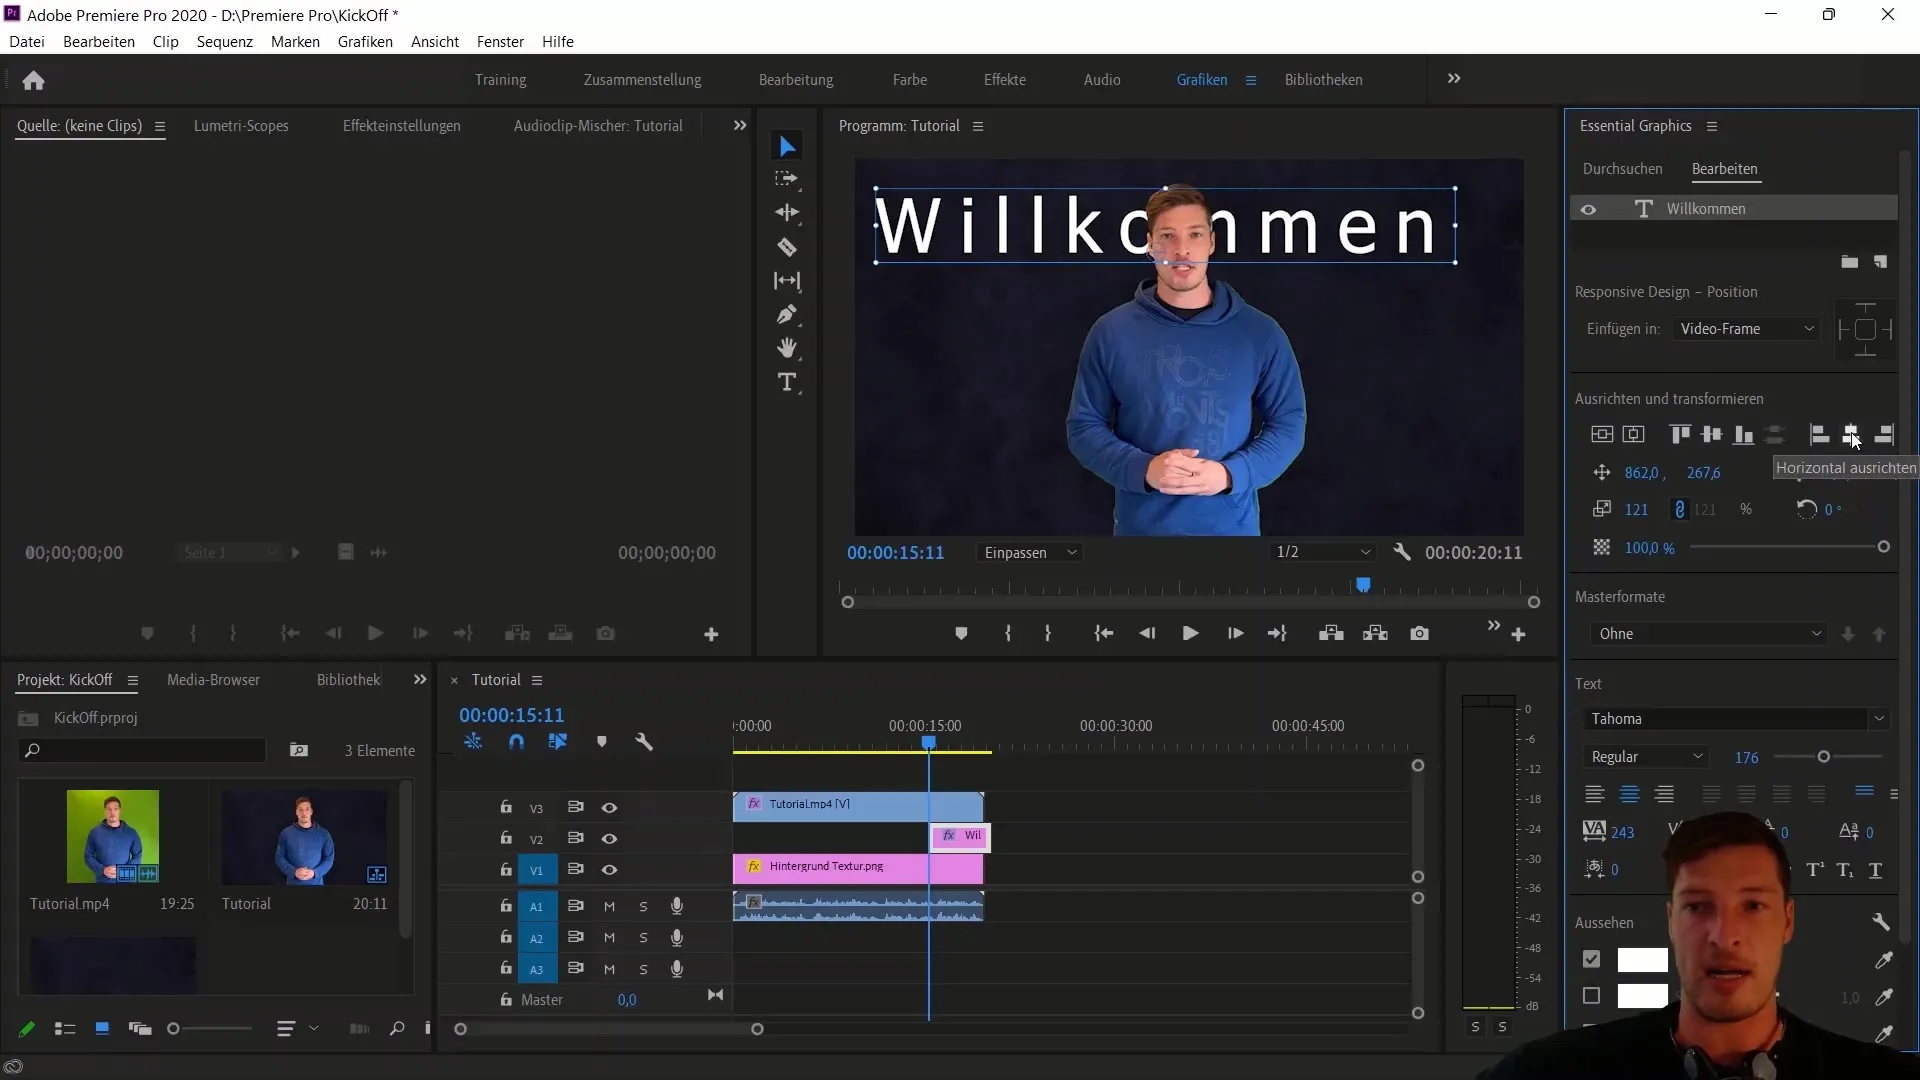
Once the text is placed, go back to the effect controls to adjust the font size and tracking. Align the text to the center and position it where you want it to appear above your videos. Check if the text appears at the right moment and ends along with the video.
The last step is for you to move out of the frame. Click on the MP4 track to open the motion options and change the X position to add an animation. Set keyframes for the initial and final positions to animate the movement to the right out of the frame.
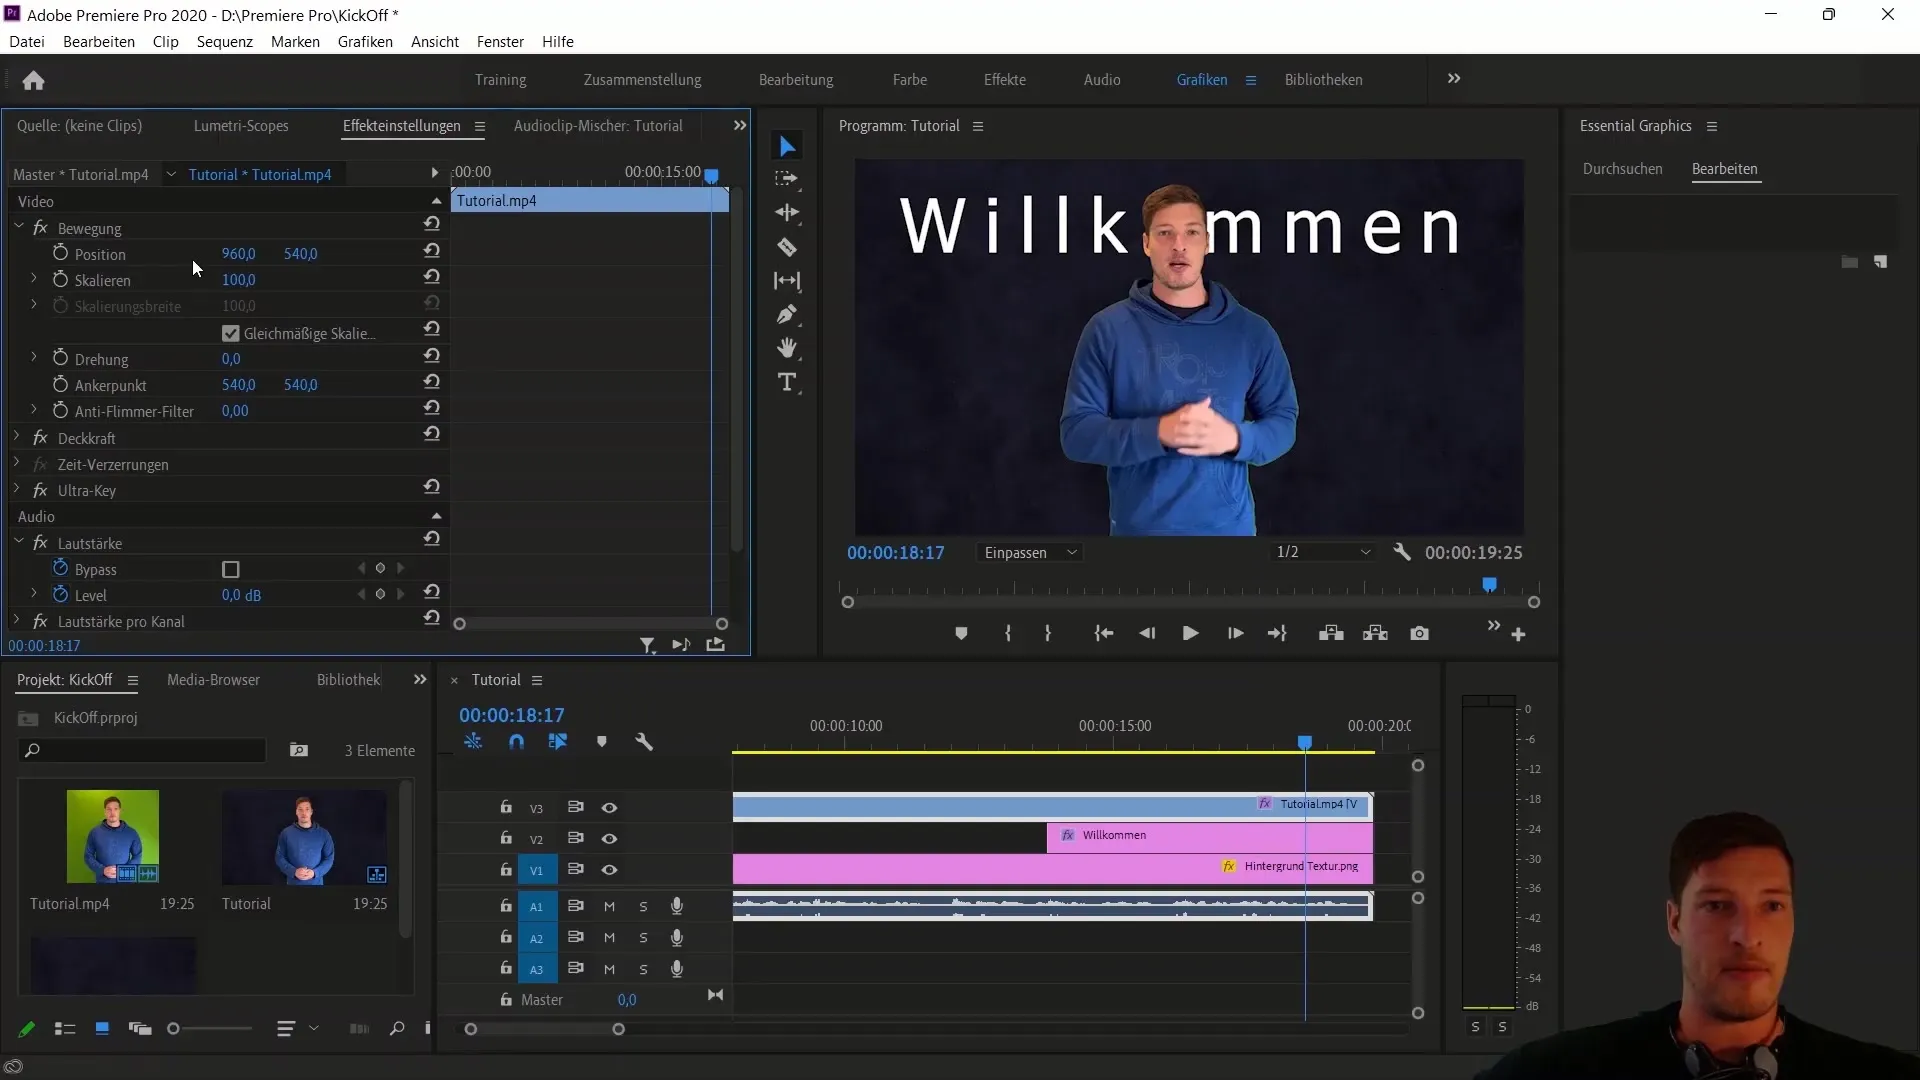
In the summary section, all details come together, and you should play your video to review the result.
Summary
In this tutorial, we have provided comprehensive knowledge on video editing with Adobe Premiere Pro CC. You have learned how to key a greenscreen, add text, adjust positions, and effects. This marks the beginning of your journey into video editing and should provide you with a solid foundation for future projects.
Frequently Asked Questions
How do I create a new project in Adobe Premiere Pro?Go to "New" or use the shortcut Control + Alt + N.
How do I import videos into Premiere Pro?You can drag and drop the file into the project window.
What is the Ultra Key effect?It is a video effect for removing greenscreens.
How can I add text to my video?Use the text tool (shortcut T) and click on the screen to write text.
How do I change the video resolution?Open "Sequence" and then "Sequence Settings" to adjust the frame size.


