In this tutorial, I will show you the different buttons and options on the left side of the Timeline in Adobe Premiere Pro CC. These features are crucial for working efficiently with your material and filtering out exactly what you need. It is important to master these basic functions in order to work quickly and effectively in video editing.
Main Takeaways
- You will learn how to activate and deactivate video and audio tracks.
- You will understand the significance of different buttons like "Mute," "Solo," and "Lock."
- It will be explained how to use source patching and targeting to efficiently manage your clips.
Step-by-Step Guide
1. Understanding the Eye Symbols Function
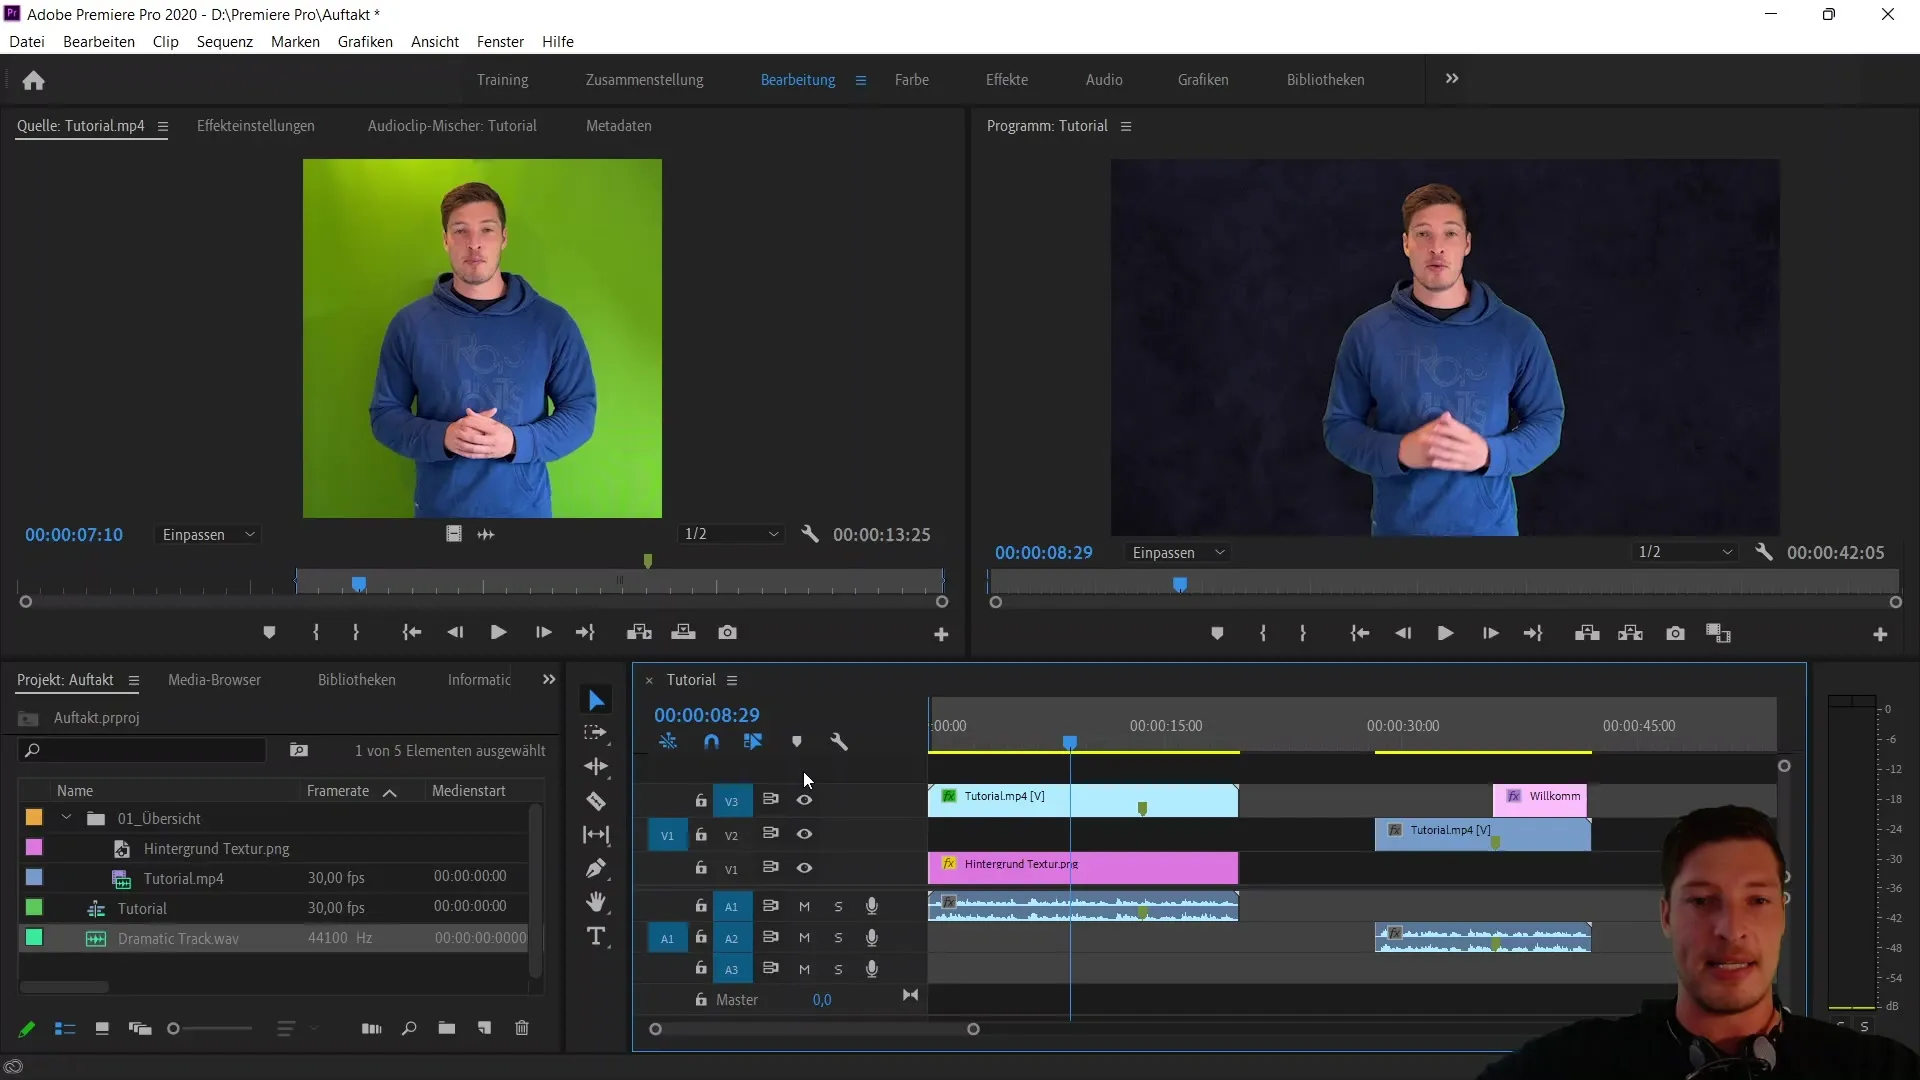
The eye symbolizes the visibility of a video track. By clicking on it, you can turn the respective video track on or off. If the track is active, you can hear and see the underlying file, otherwise, it will be deactivated in the preview. For example, if you select the track with your Tutorial mp4 and click on the eye, this deactivated track will no longer be displayed.

2. Using the Mute Button
The Mute button (M) allows you to mute audio tracks. Clicking on this button while the corresponding track is selected ensures that the audio track is not heard when playing the timeline. To do this for all audio tracks simultaneously, hold down the Shift key and click Mute. This quickly deactivates the sound of all audio tracks.
3. Activating Solo Function
With the "S" button, you can activate a solo track. Clicking on it focuses only on that audio track, while all others are muted. This is especially helpful when you want to ensure that a specific clip fits correctly with the rest of your project and you have no distractions.
4. Locking Tracks
The lock symbol allows you to lock a track. This is particularly useful when you already have a final music track that you do not want to accidentally change or move. When you lock a track, you cannot make changes to it and remain flexible in the other track.
5. Understanding Source Patching
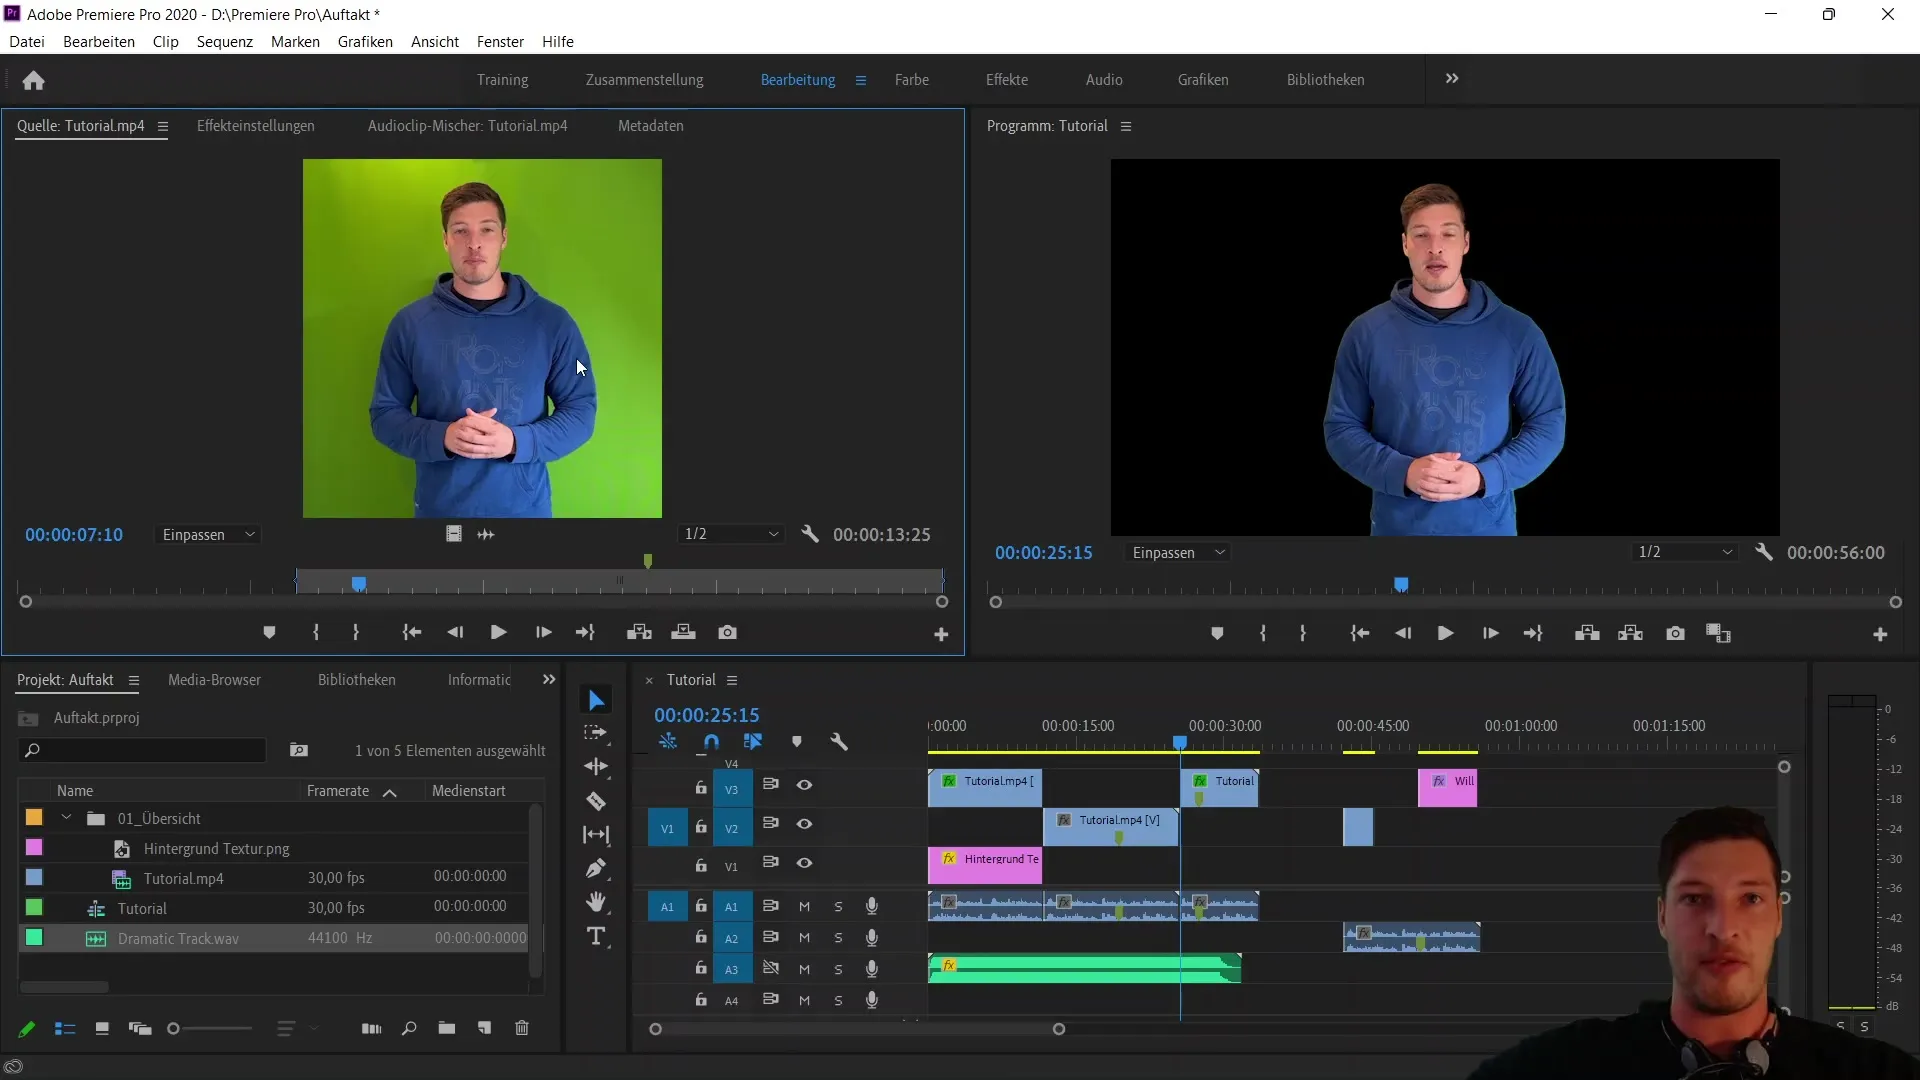
Source patching is done via the blue markers on the left side of the timeline. These markers indicate where your imported source will be inserted into the sequence. For example, if you have set an In point, the active track determines where the material will be inserted. Click on "In" and mark the tracks before activating the insert.
6. Using Targeting Markers
The targeting markers on the right side of the timeline affect how copying operations are performed within the timeline. When copying a texture file to a specific video layer, you must ensure that this layer is accepted. This ensures that your material is integrated correctly into the timeline without unwanted changes in other tracks.
7. Recording VoiceOver
Another useful function is adding a VoiceOver. By clicking on the corresponding microphone, a counter is activated, and you can start recording immediately. The audio track will then be added to the timeline instantly.
8. Zooming and Scrolling in the Timeline
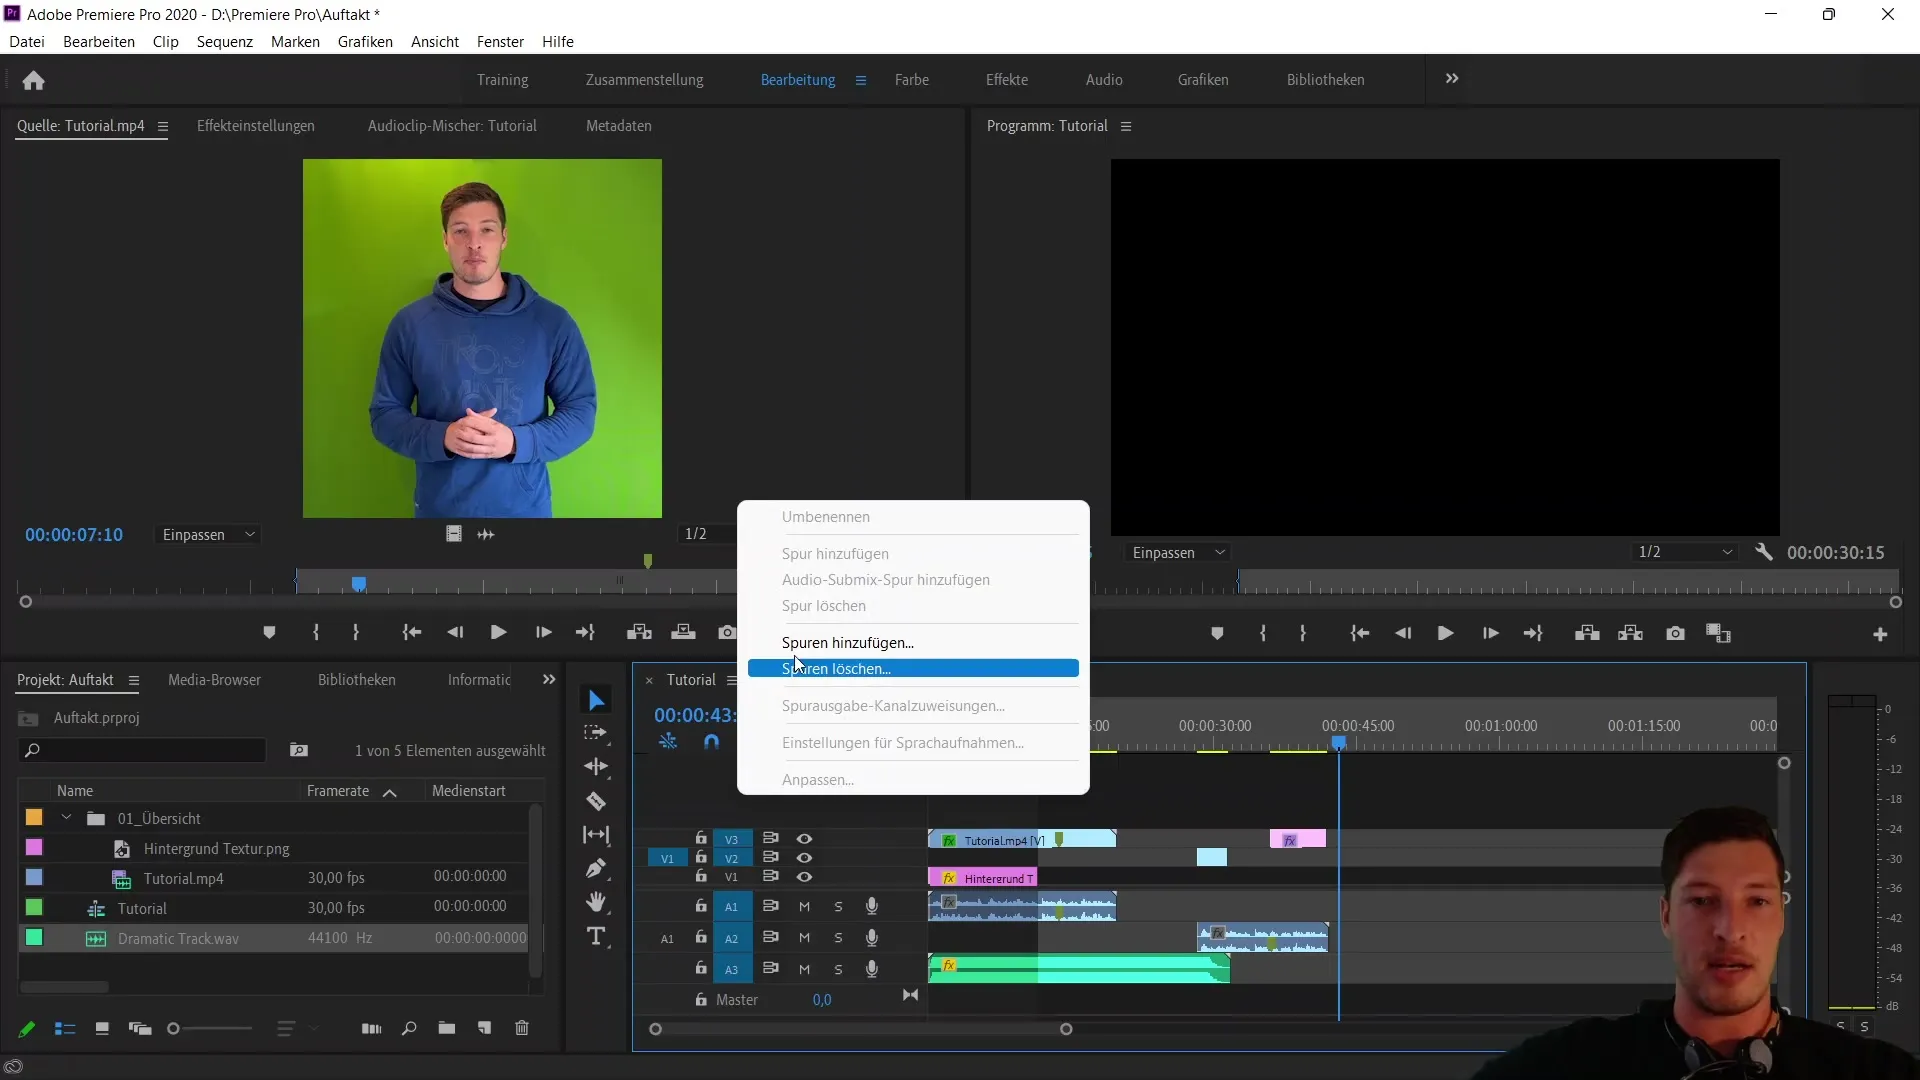
With the zoom functions, you can zoom in or out of the timeline to see more details of your clips. Additionally, you can add or remove tracks, adjusting the workspace and giving you more room to work.

9. Using the Sync Lock
The sync lock is used to ensure that videos and audios stay together while you make edits. When this feature is activated, your audio track remains untouched while you make video adjustments. Only deactivate it if you want to edit a track independently.

Summary
In this tutorial, you've learned the basic functions of the timeline in Adobe Premiere Pro CC. You now know how to enable/disable video tracks, mute audio tracks, and use important buttons like "Lock" and "Solo". You've also learned how to effectively use source patching and target routing, and how to record an effective VoiceOver. These functions are crucial for efficient and precise video editing.
Frequently Asked Questions
What does the eye symbol in the Timeline mean?The eye symbol toggles the visibility of the corresponding video track on or off.
How can I only hear one audio track?By using the "Solo" button, you can activate one audio track while muting all others.
What does the lock symbol do?The lock symbol locks a track, preventing any changes from being made to it.
What is source patching?Source patching indicates how imported sources are inserted into the sequence.
How do I record a VoiceOver?Click on the microphone symbol and begin recording, which will be stored directly in the audio track.


