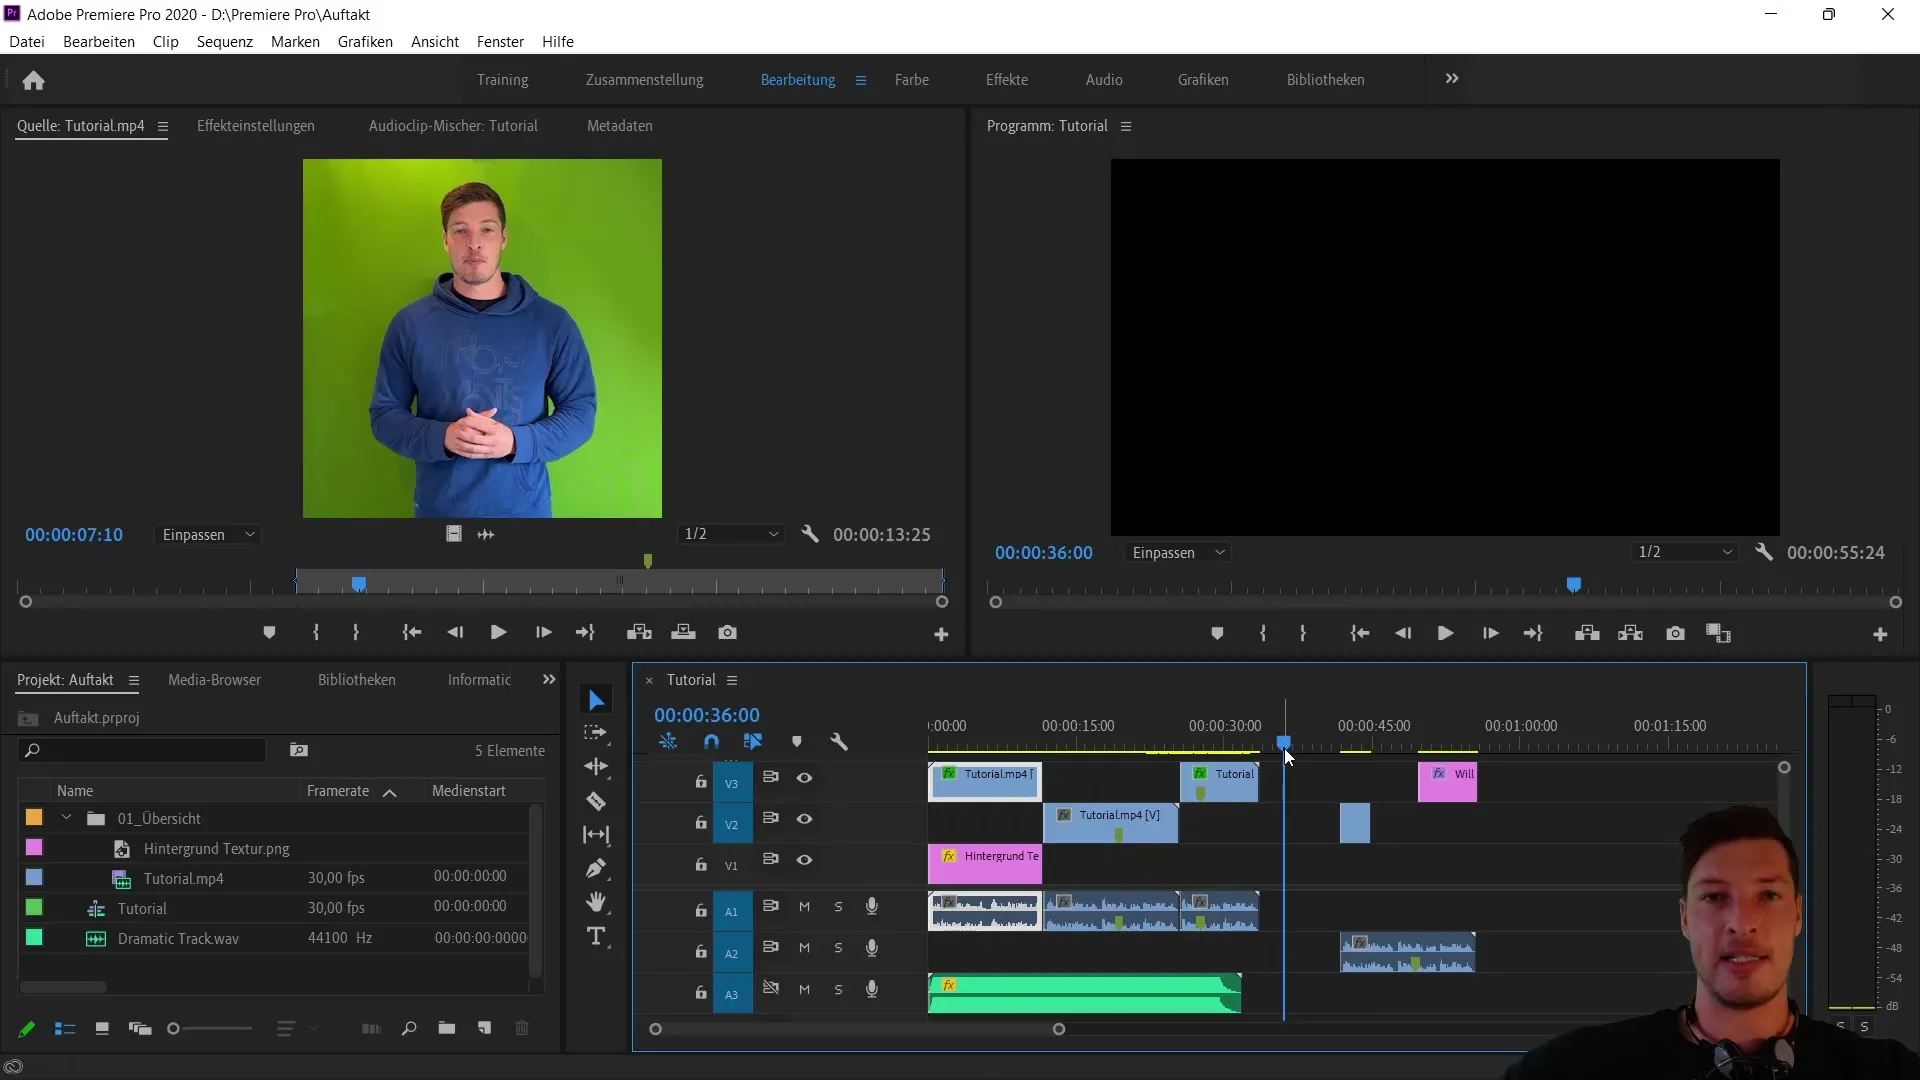
In this guide, we will focus on the five important buttons in the header of the Timeline in Adobe Premiere Pro CC. These functions are crucial for efficient editing of your videos and make it easier for you to handle imported sequences, align clips, manage markers, and special settings. By using these functions, you can better organize your projects and edit faster.
Main Insights
- Understanding the five main buttons in the Timeline.
- Effective use of nesting and alignment functions.
- Understanding the function of markers and their application.
- Adjustments via the wrench icon to enhance the user interface.
Step-by-Step Guide
It is important to first understand the marker within your sequence. You can hold down the left mouse button to move the marker left or right. Alternatively, you can simply click directly in the position field and manually enter a specific time.

For example, if you enter "36 seconds" and click outside the field, the marker will move to that time. This is a fundamental step to keep track of your editing.
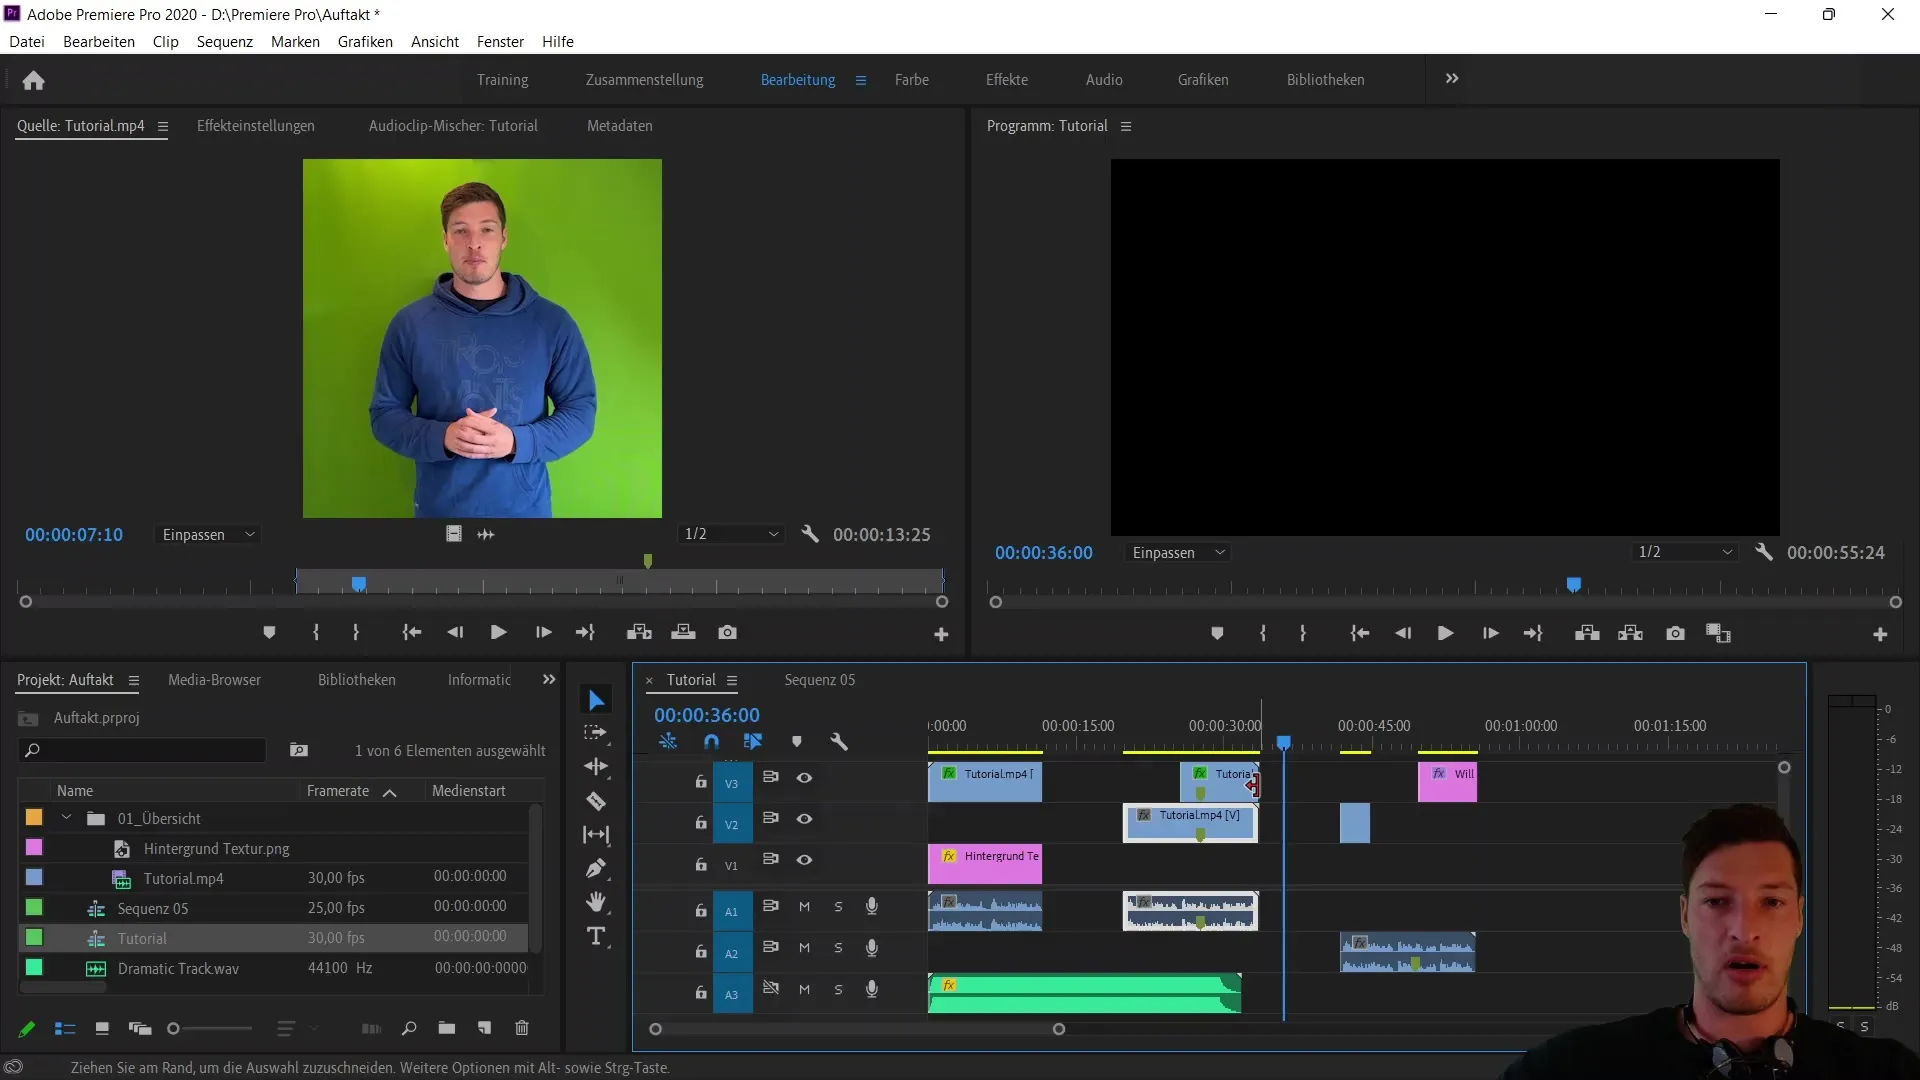
Now let's move on to the first button, which controls how imported sequences are treated. You can choose to import the sequence as "ung", meaning it occupies only one audio and one video track. Alternatively, the sequence can also be imported in its original form. Let's make this clear with an example.
Create a new sequence, for example, named "Sequence 05". When you activate the button and import a tutorial sequence, it will only display with one audio and one video track. If you deactivate the button, however, all the original layers of the sequence will be imported.
The next button is the magnet, which activates the alignment function. When you activate this and move clips in your timeline, they will "snap" to relevant positions. This means that clips will be precisely aligned at the end or beginning of other clips and to markers.

When you turn off the magnet, you can freely and individually move clips, allowing for precise control. This function is particularly useful when you value the exact placement of your clips.
The third button affects clip selection. When activated, it defines that audio and video files are treated as a single cohesive file. This is important if you want to ensure that your audio tracks remain synchronized with the video.
If you deactivate this button, only the video track will be selected. This means that when moving, you only affect the video layer, while the audio layer remains independent. It's important to pay attention to synchronizations in this case.
The fourth button is responsible for setting markers. This function allows you to set markers at specific points in the sequence to assist you during editing. You can simply use the "M" shortcut or set the marker in the menu at the current position.
Markers are particularly useful for quickly locating specific points in your sequence. You can easily undo markers using "Ctrl + Z".
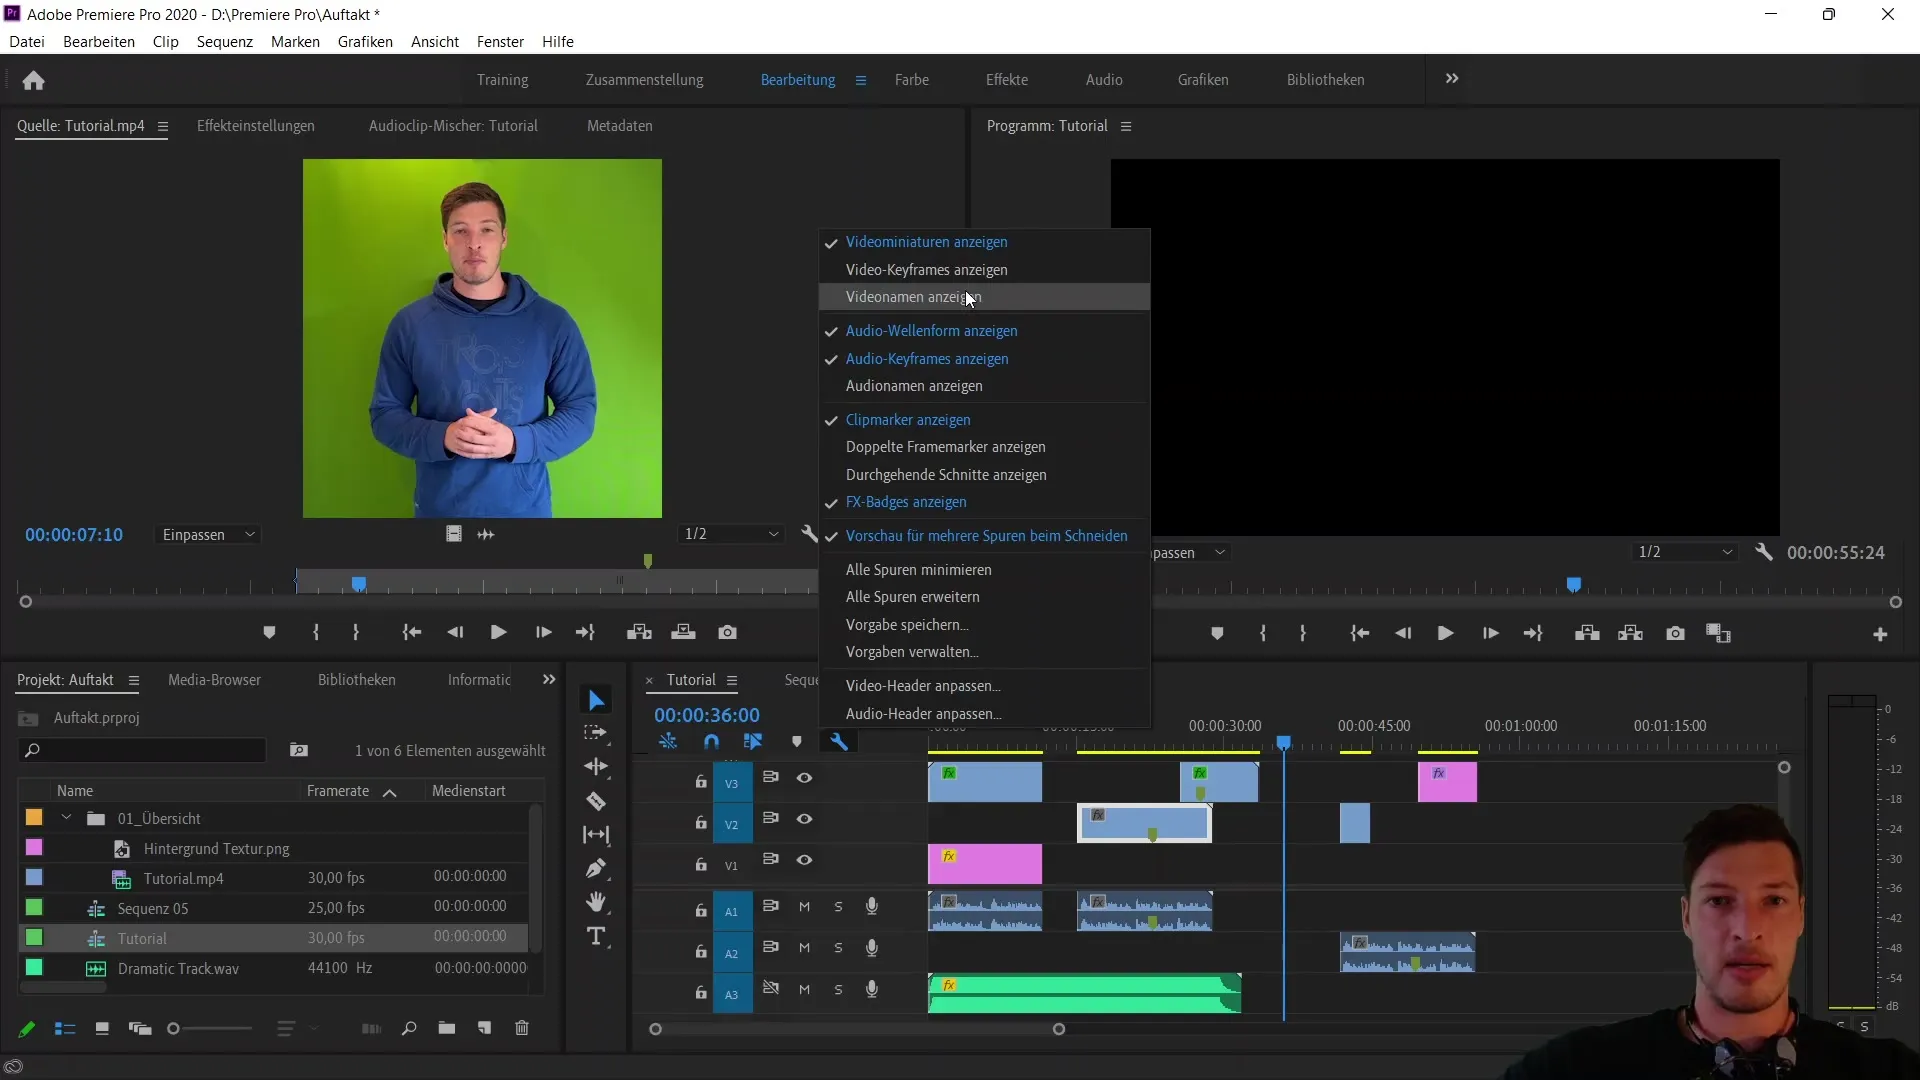
The last button is the wrench icon. Here you can make various specific settings to optimize your work experience. For example, you can hide the display of video names in the clip, which can give you a better overview.

It's advisable to keep video names visible as long as the clip length allows. However, in cases where clips are very short, it may be beneficial to hide the names to save space in the layout.
Summary
In this guide, you have learned about the functioning of the five main buttons in the Timeline of Adobe Premiere Pro CC. Understanding these functions will help you optimize your editing processes and work more efficiently.
Frequently Asked Questions
What is the function of the first button?It controls how imported sequences are treated, either as simple tracks or in their original form.
How does the magnet help in the timeline?The magnet activates the alignment function, so clips snap to relevant positions.
What happens when the linked selection is deactivated?Audio and video tracks are treated independently, which can lead to desynchronization.
How do I set a marker?You can set a marker with the "M" shortcut or through the menu at the current position.
What can I adjust with the wrench icon?Here you can make specific settings, e.g., toggle the display of video names in the clip on or off.


