In today's tutorial, I will show you step by step how to perform basic color corrections in Adobe Premiere Pro CC using adjustment layers. Adjustment layers are an excellent tool for making changes to multiple clips at once and ensuring a consistent look for your project. You will learn how to create an adjustment layer, rename it, and apply effective color corrections. Let's get started!
Key Insights
Adjustment layers allow you to make adjustments to multiple clips simultaneously. They are ideal for color corrections as they can affect the entire image without having to edit each clip individually. By using creative looks, you can give your project a specific mood.
Step-by-Step Guide
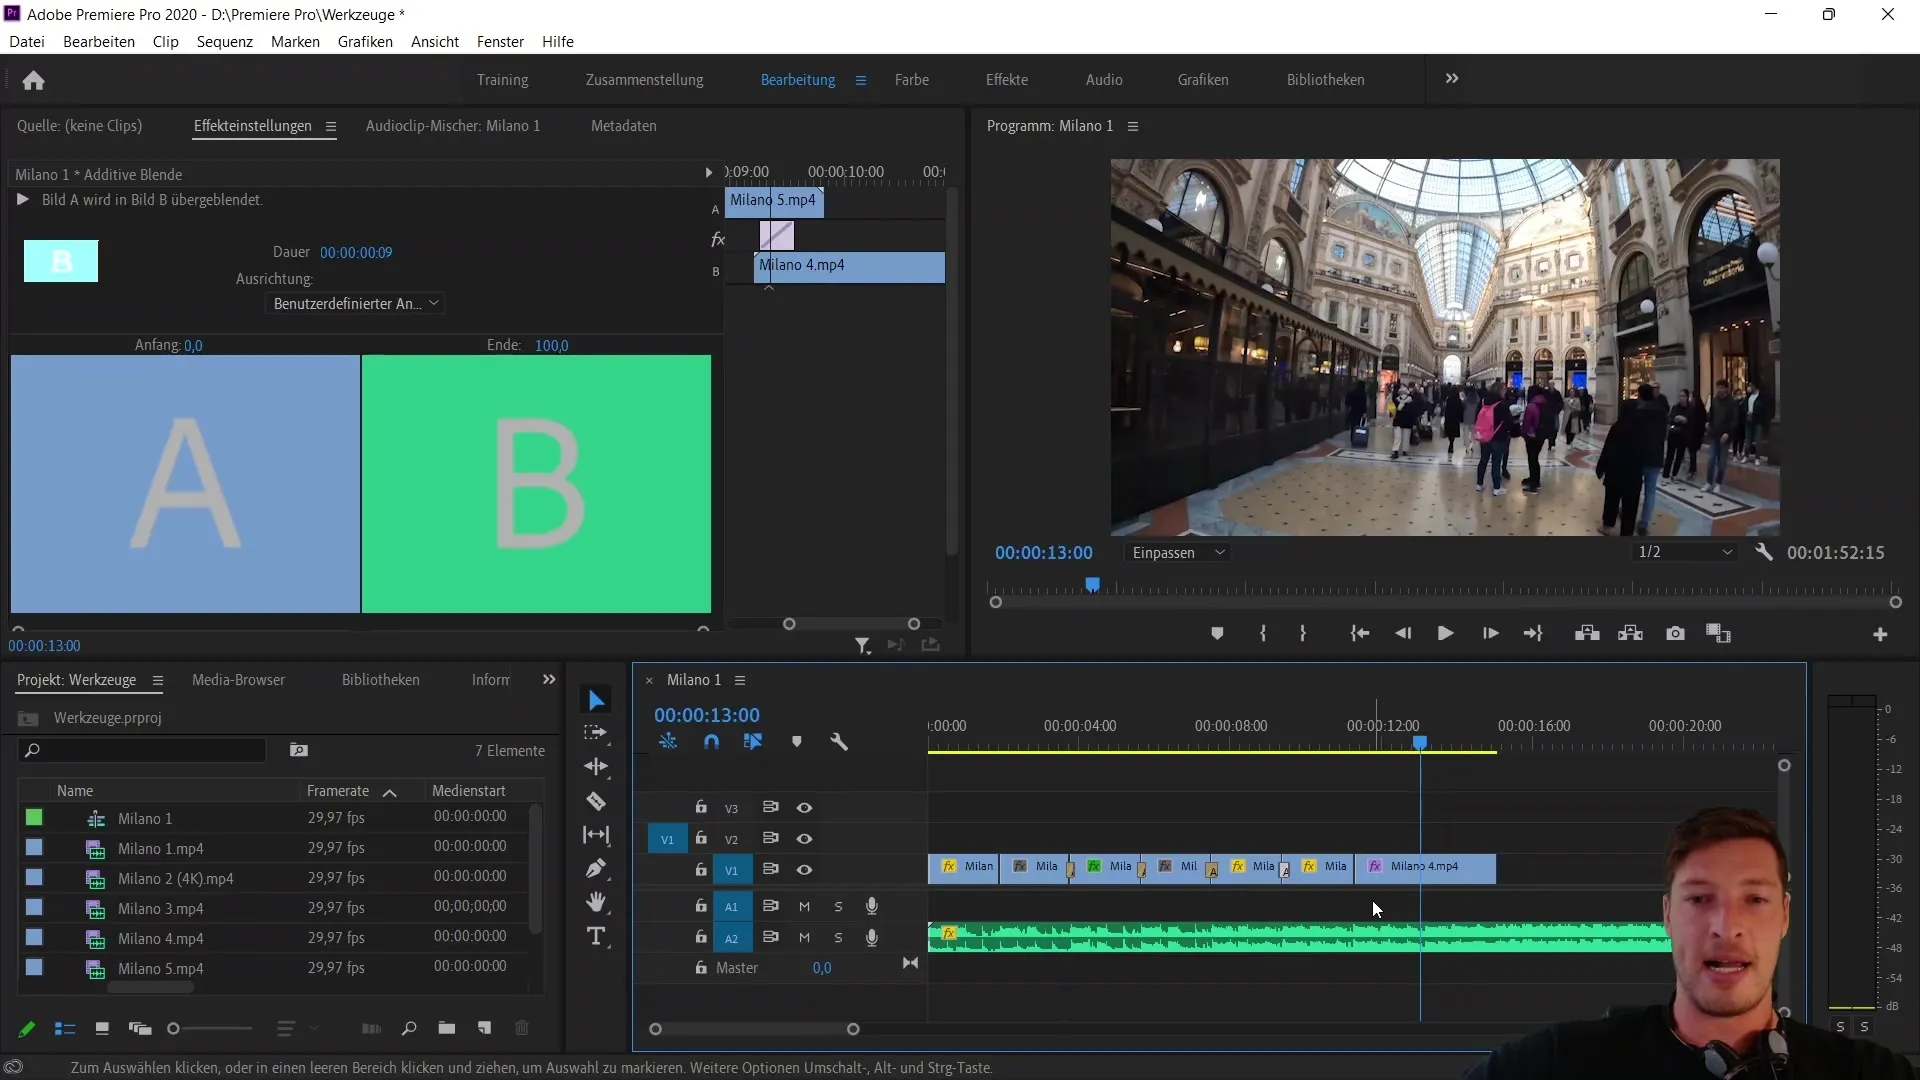
First, we will create the adjustment layer. You can do this by right-clicking on an empty area in the project window and selecting "New Item," followed by "Adjustment Layer." Alternatively, you can also click on the small icon for new items, which also gives you the option to create an adjustment layer. Once you have chosen this option, confirm the settings – in our case for Full HD – by clicking "OK."
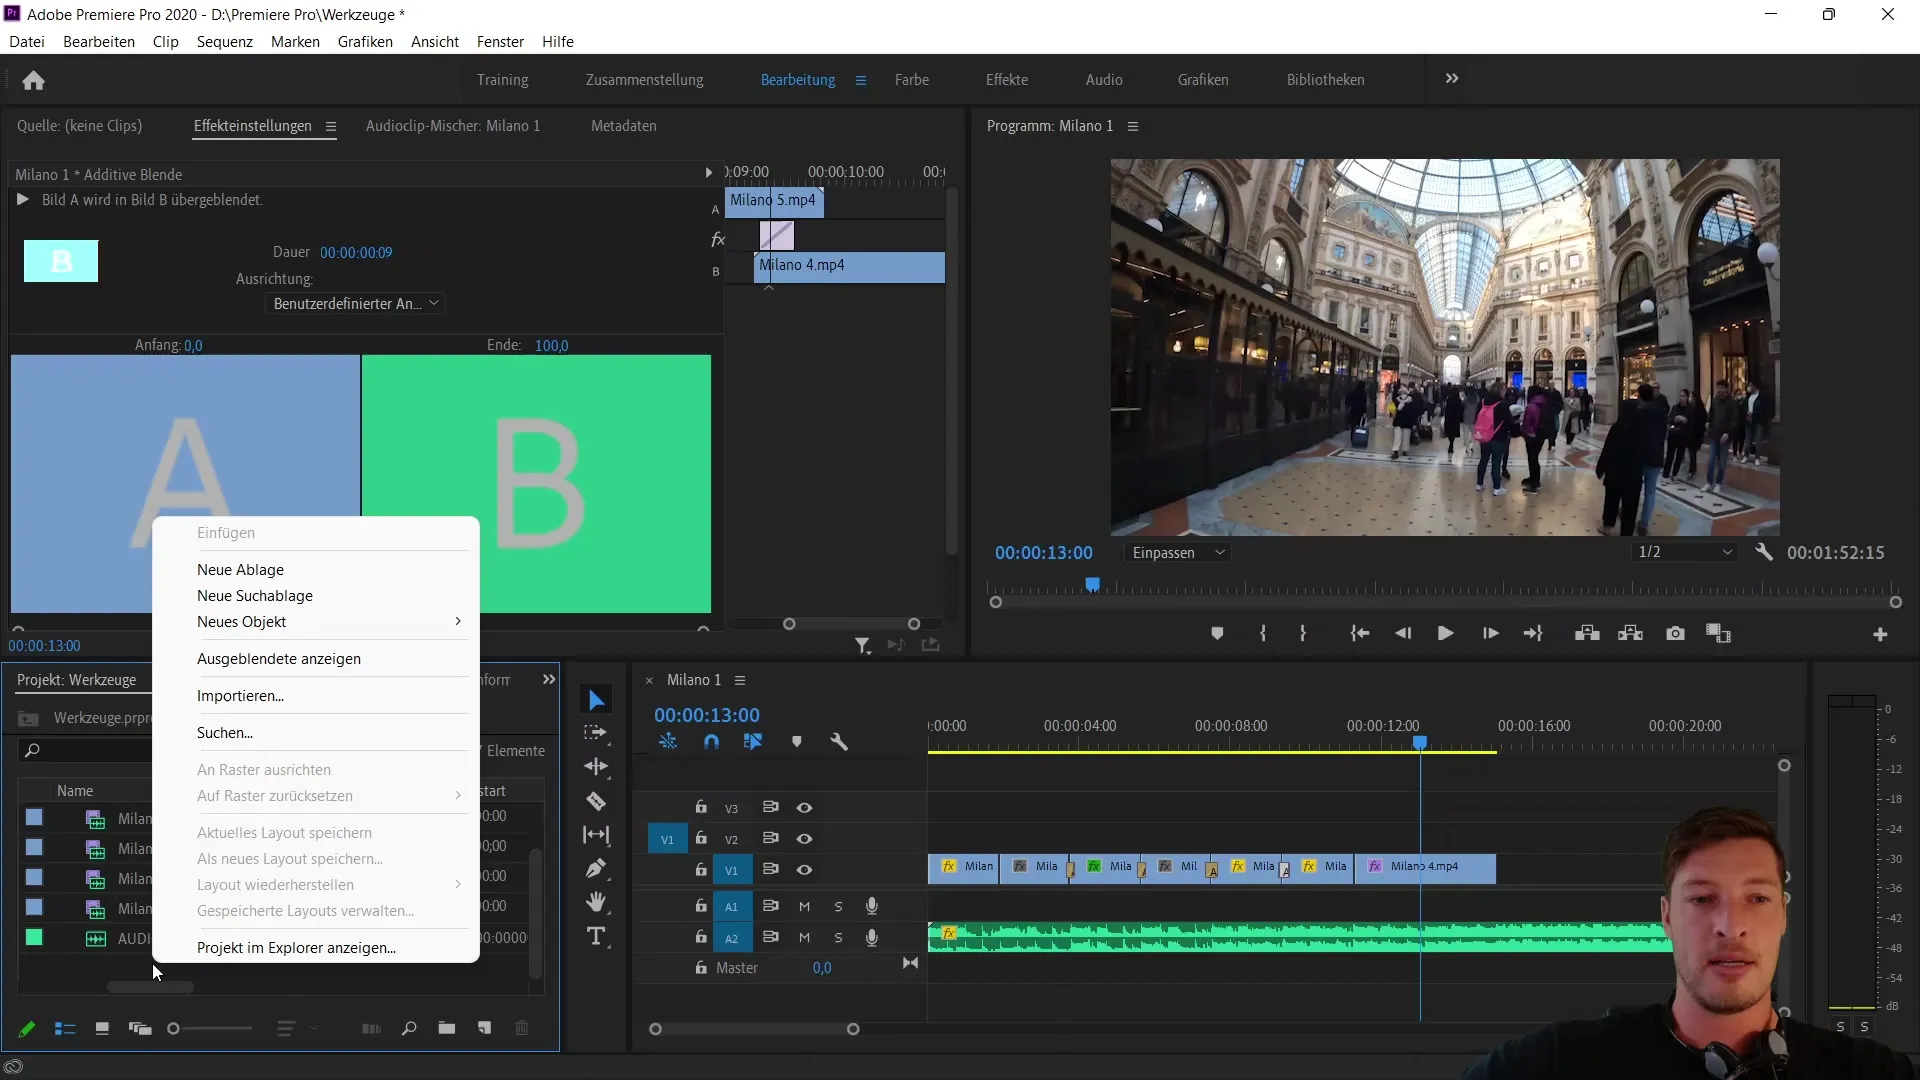
Once the adjustment layer is created, it will be displayed in the project window. You can rename all layers in the project window by selecting them and pressing the Enter key. I will name the adjustment layer "Color Corrections" to clarify its purpose. Renaming is important to quickly keep track later, especially as your project becomes more extensive.
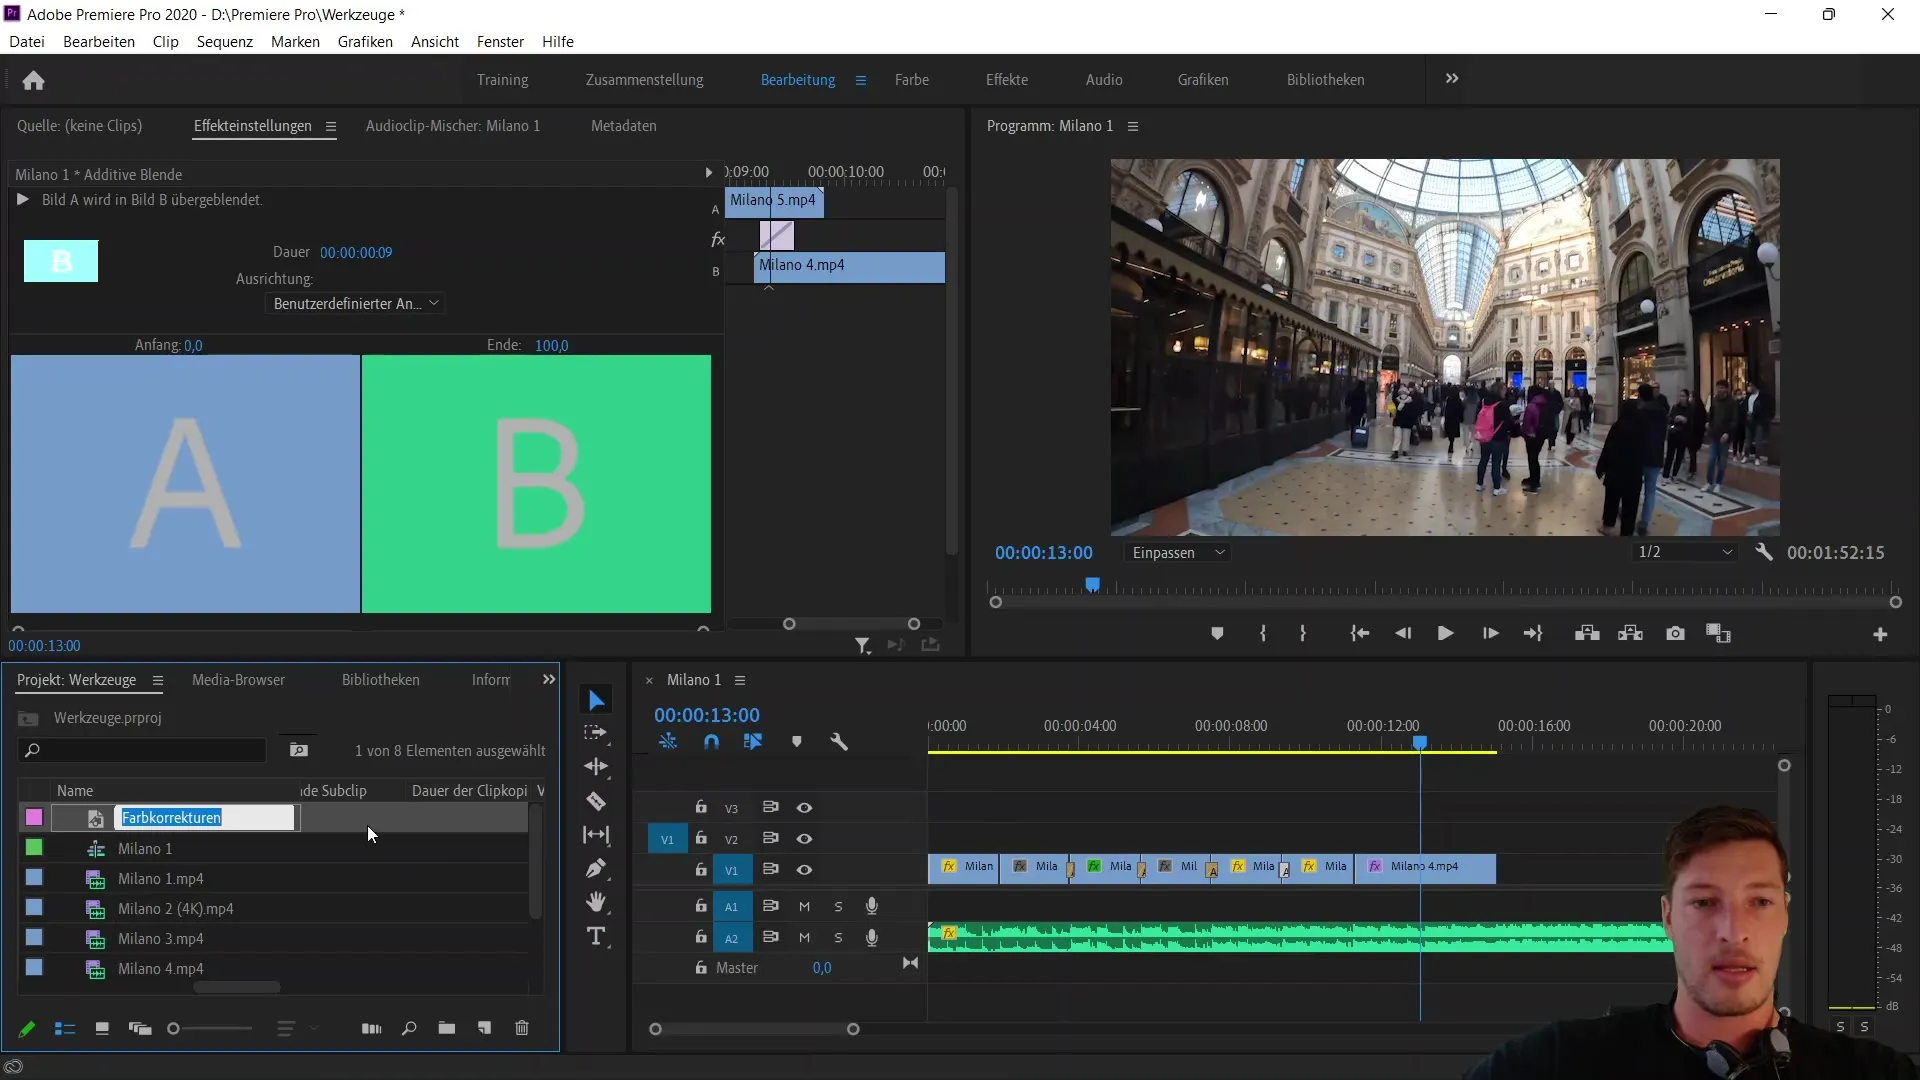
Next, drag the adjustment layer onto the timeline. Simply place it on a video track above the clips you want to correct. This layer then acts as a filter for all underlying layers. Any color correction you apply to the adjustment layer will also affect all clips below it.
Now comes the exciting part: the color correction. To do this, select the adjustment layer and go to the "Effects" tab. There, under "Video Effects," you will find the option "Color Correction," and you can add the "Lumetri Color" adjustment. I recommend accessing Lumetri Color directly from the editing tab, as it greatly simplifies operation.
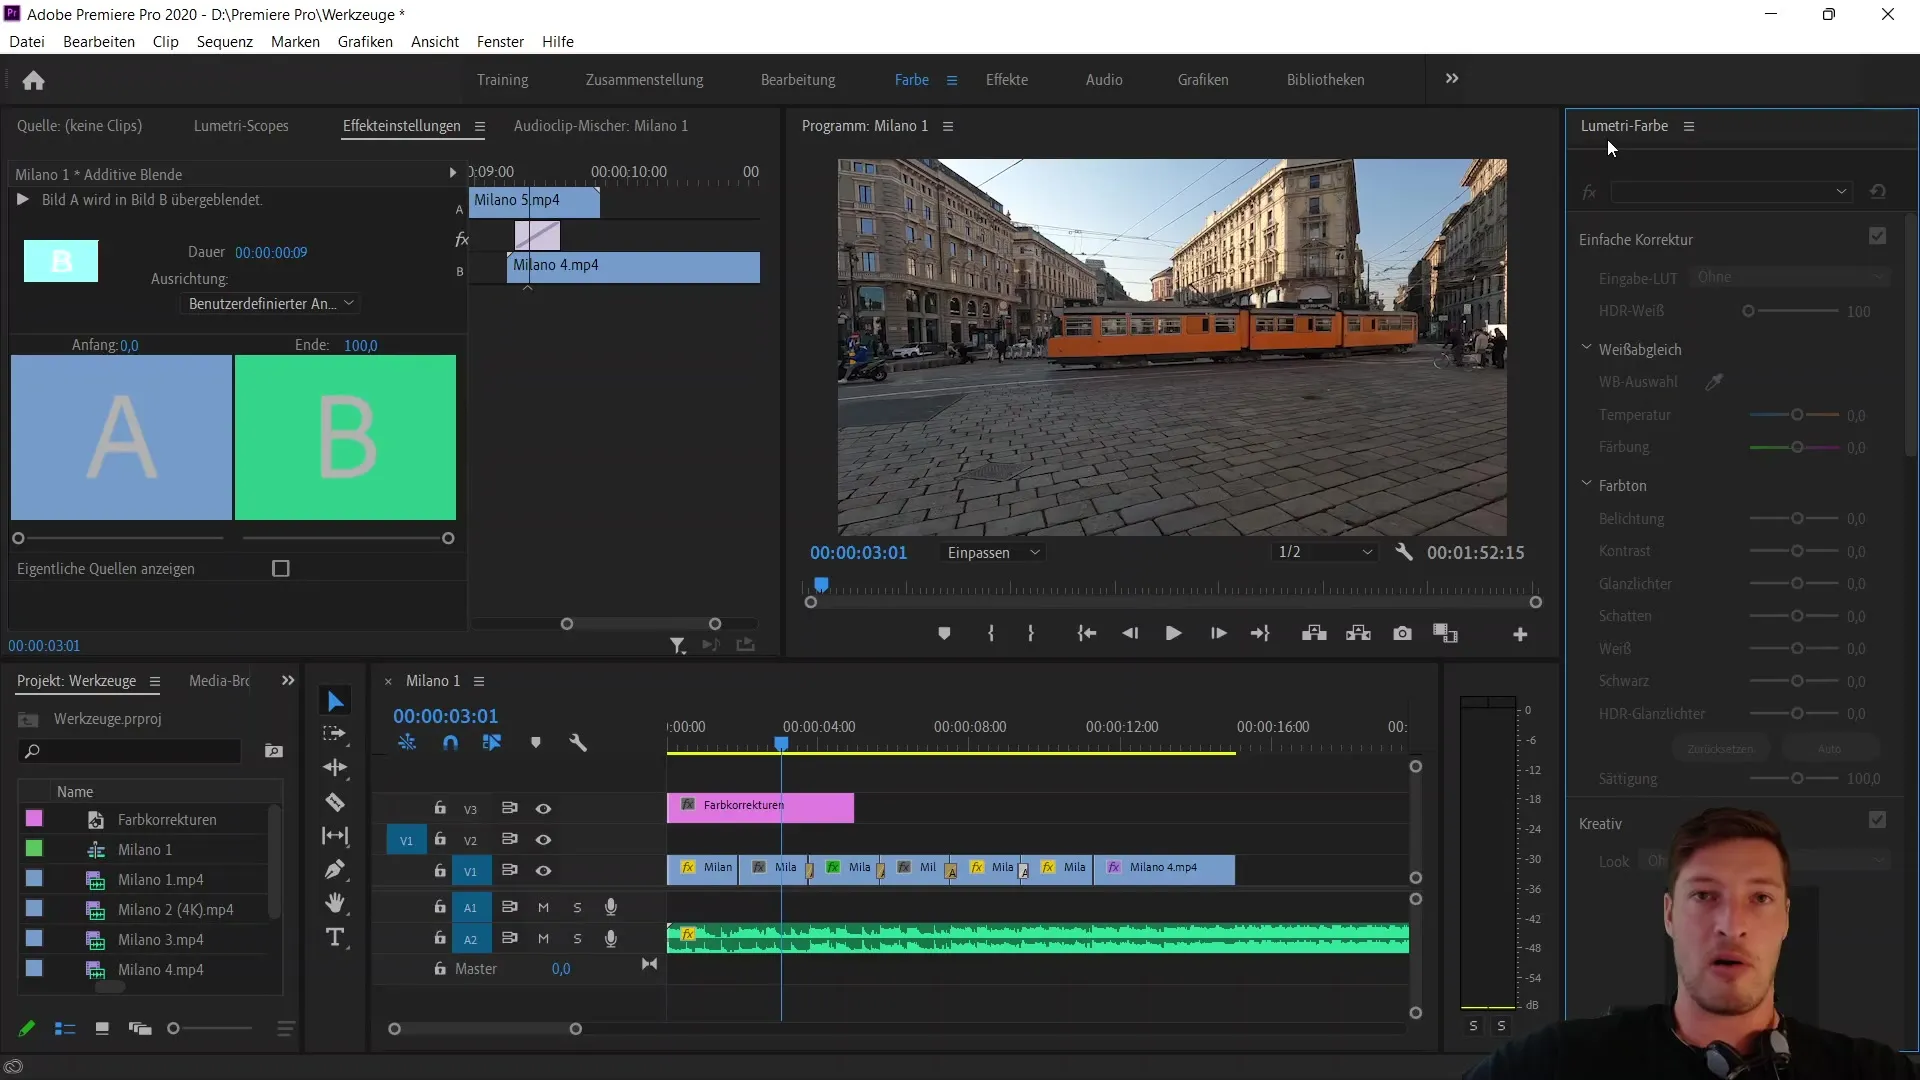
Once you have activated Lumetri Color, you will see numerous options for color correction on the left side. The first tabs are for simple and creative corrections. I won't go into too much detail here because we will delve deeper into the topic in a later section of the course. For now, it is enough to know that with simple corrections, you can optimize overexposed or underexposed clips, and creative corrections can give your project a special look.
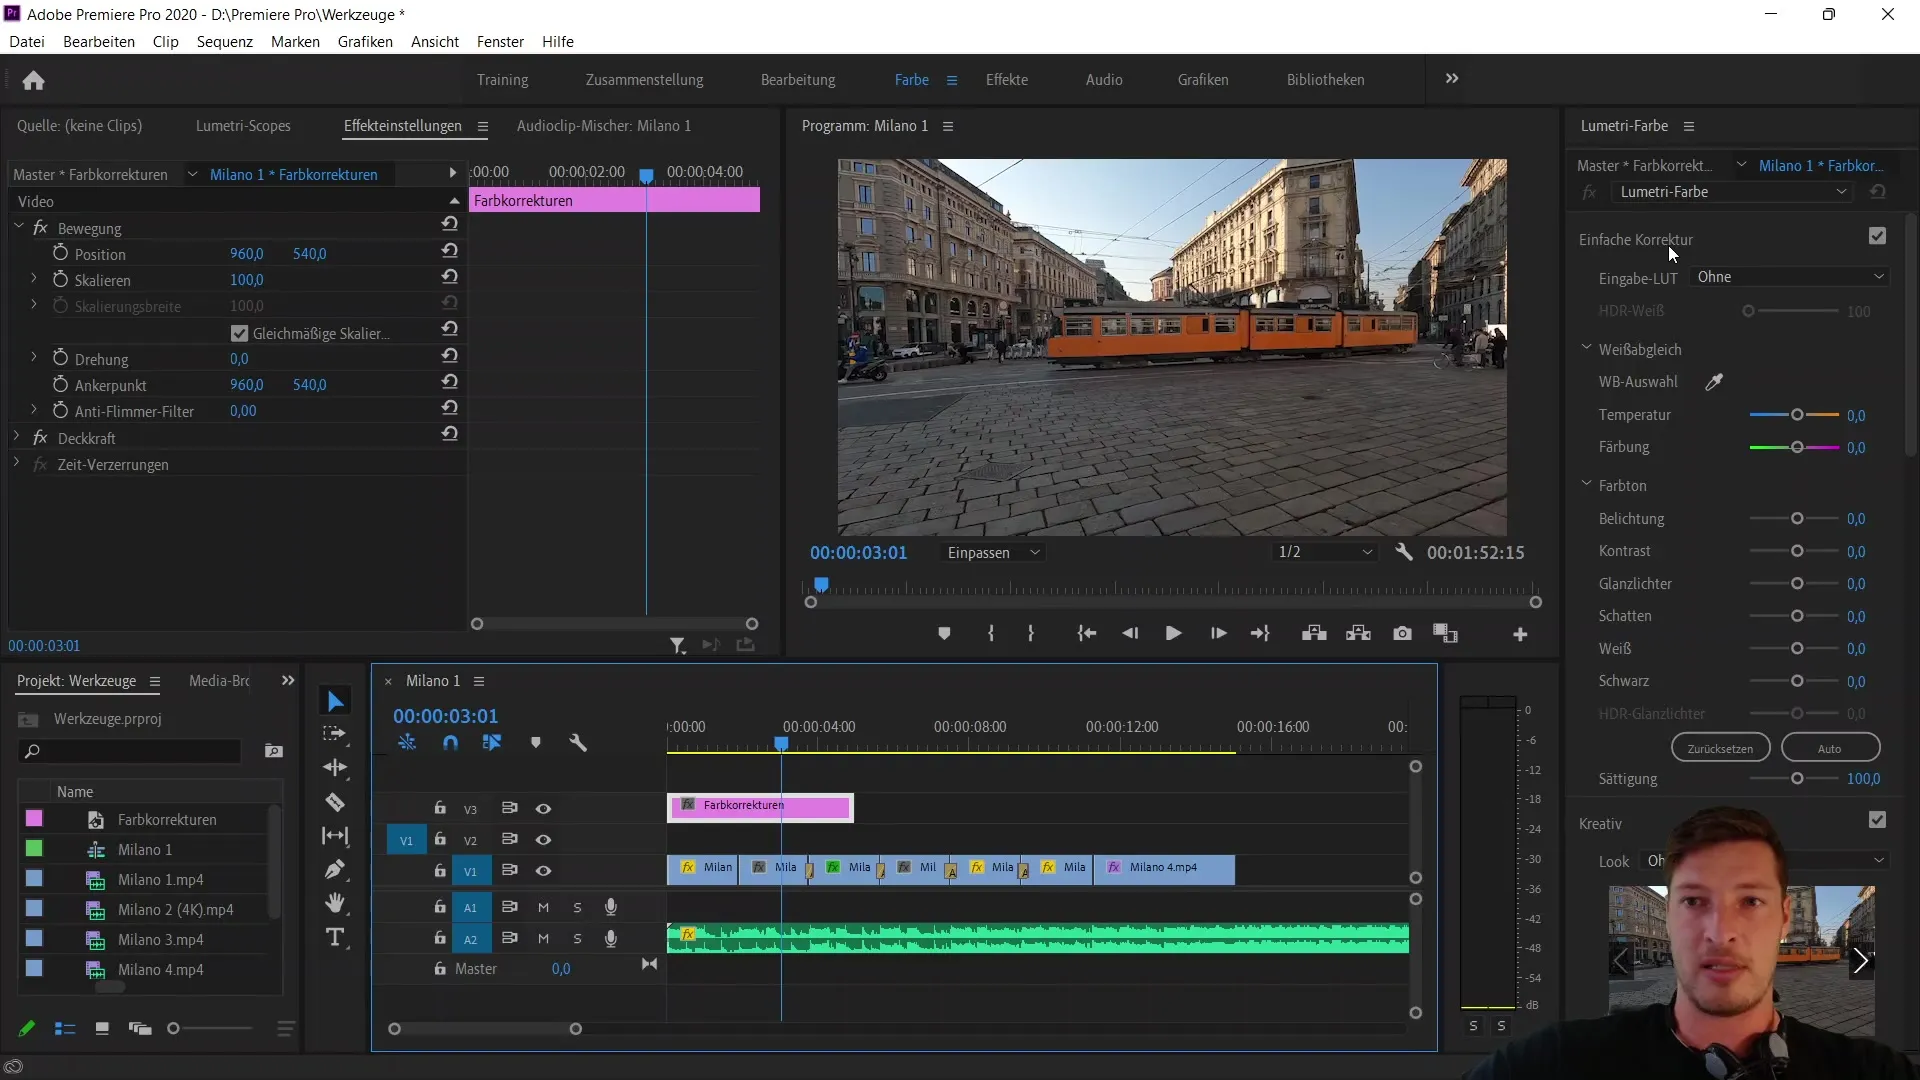
For example, if you have set that the tram clip is overexposed, you can make a simple correction here to improve the image. Creative corrections, on the other hand, can be used to define the overall style of your film, for example, by selecting a look for a Western movie.
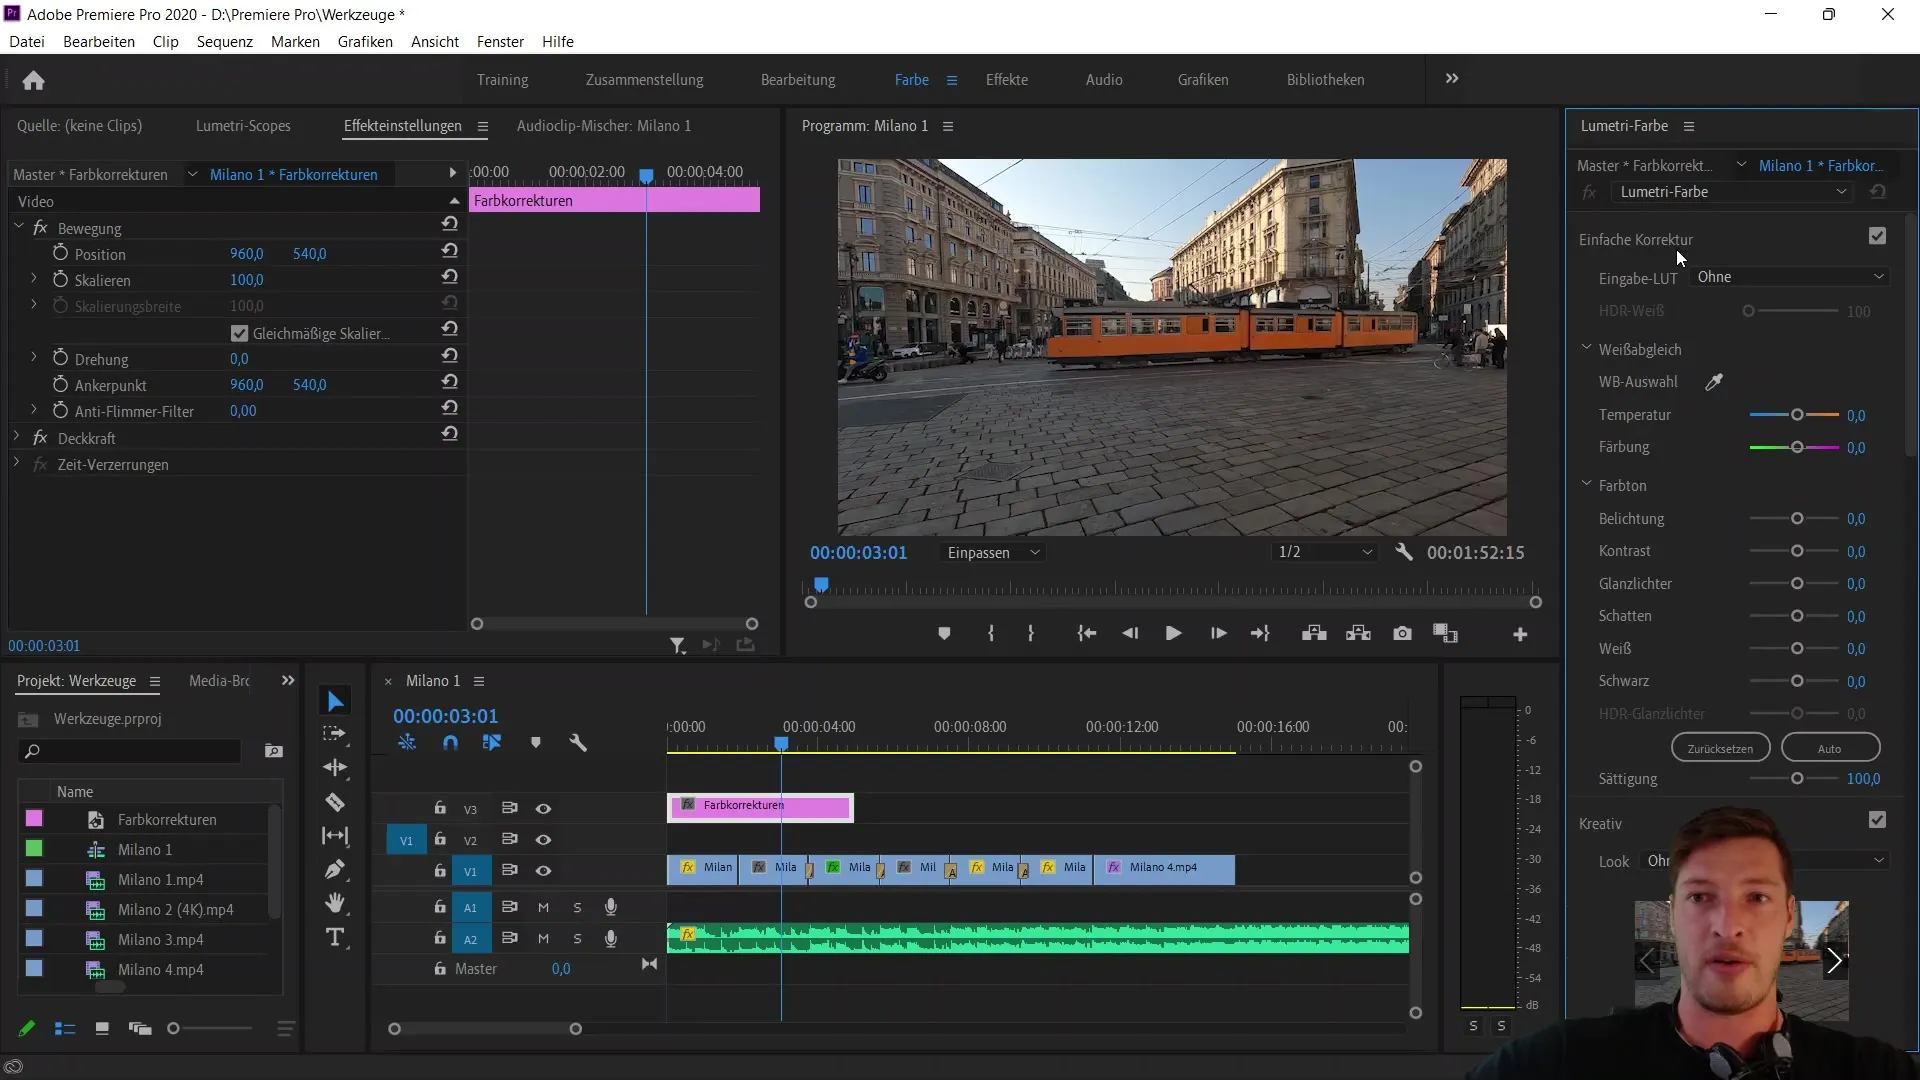
Now we begin applying a creative color correction. Premiere Pro offers various presets to choose from. You can also add external looks, known as LUTs (Lookup Tables). For the first experiment, I will try out a suggestion from the creative looks. Let's try out the "SL Big" look, for example.
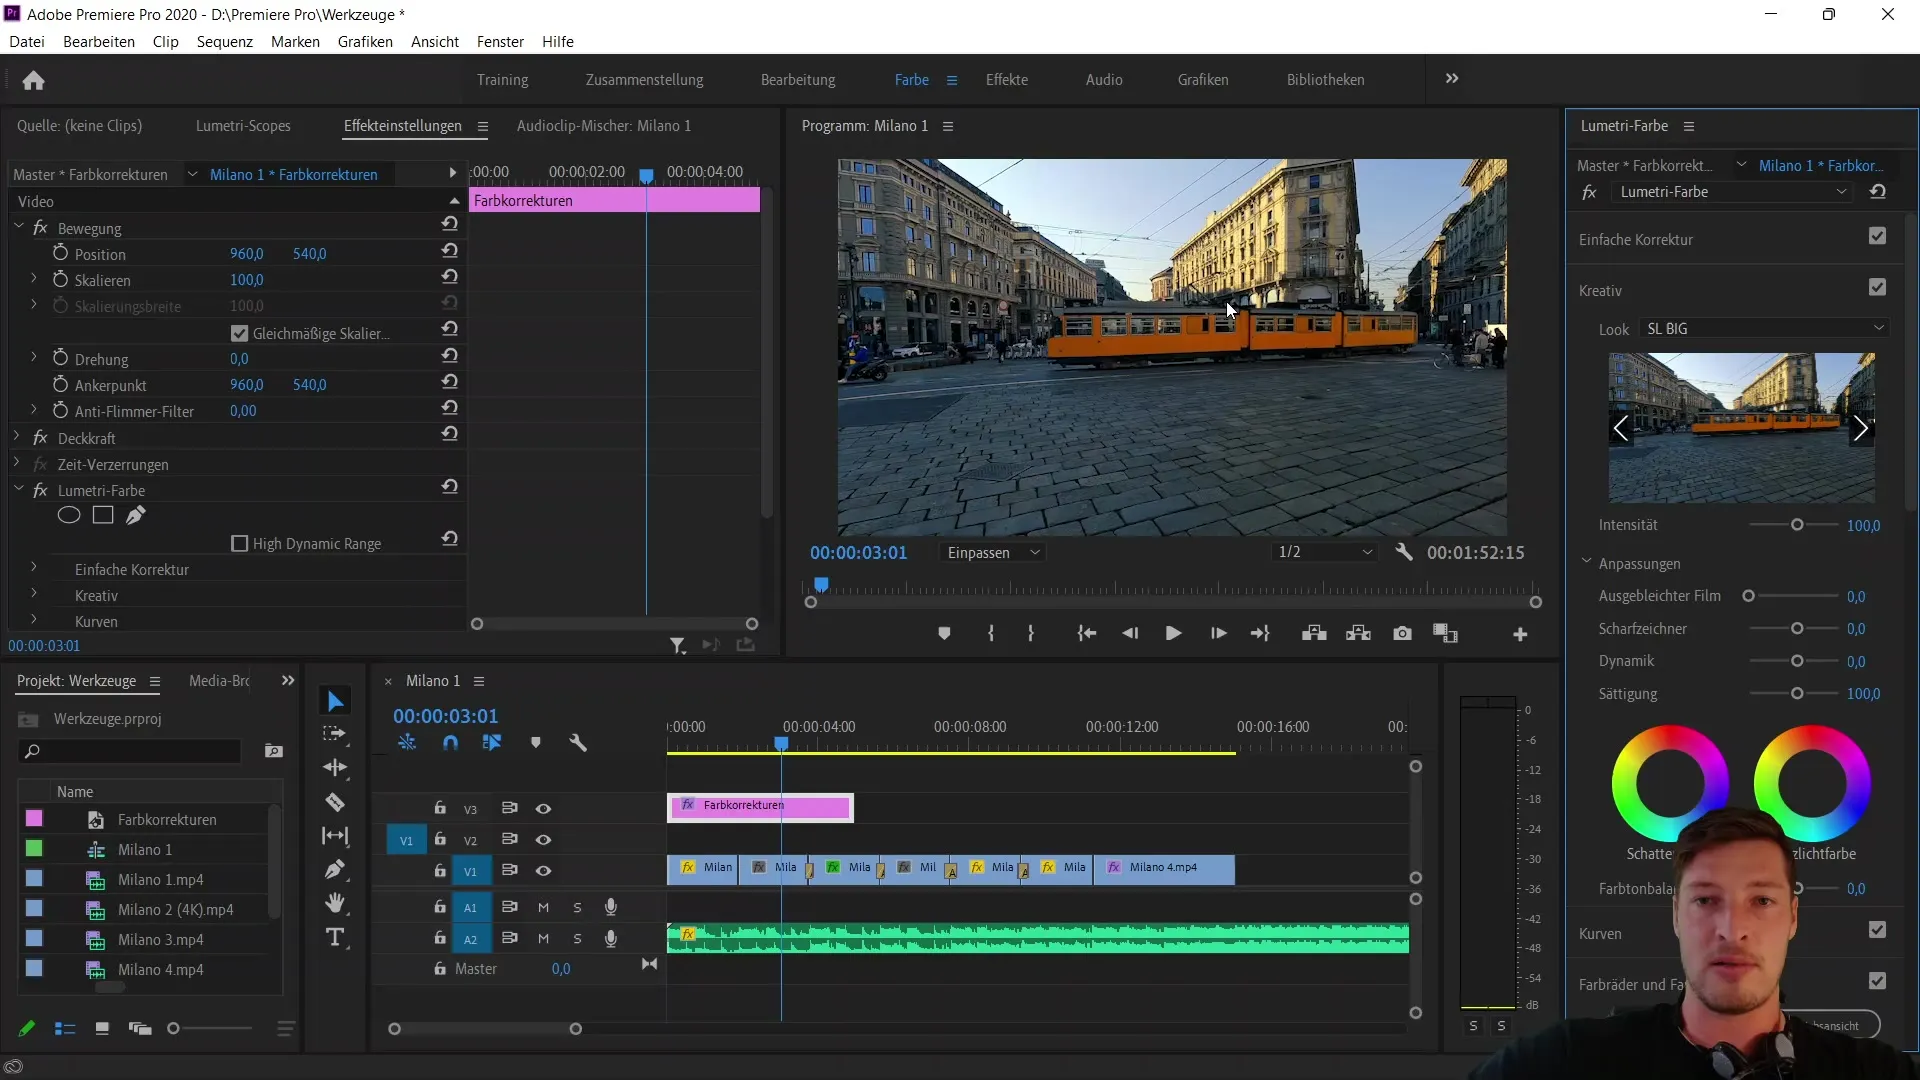
Once you have selected the creative color correction, you will immediately see changes in the clip. Make sure the adjustment layer is selected so that the changes are applied to all underlying clips. It is fascinating to see how your project gains radiance through this simple color adjustment.
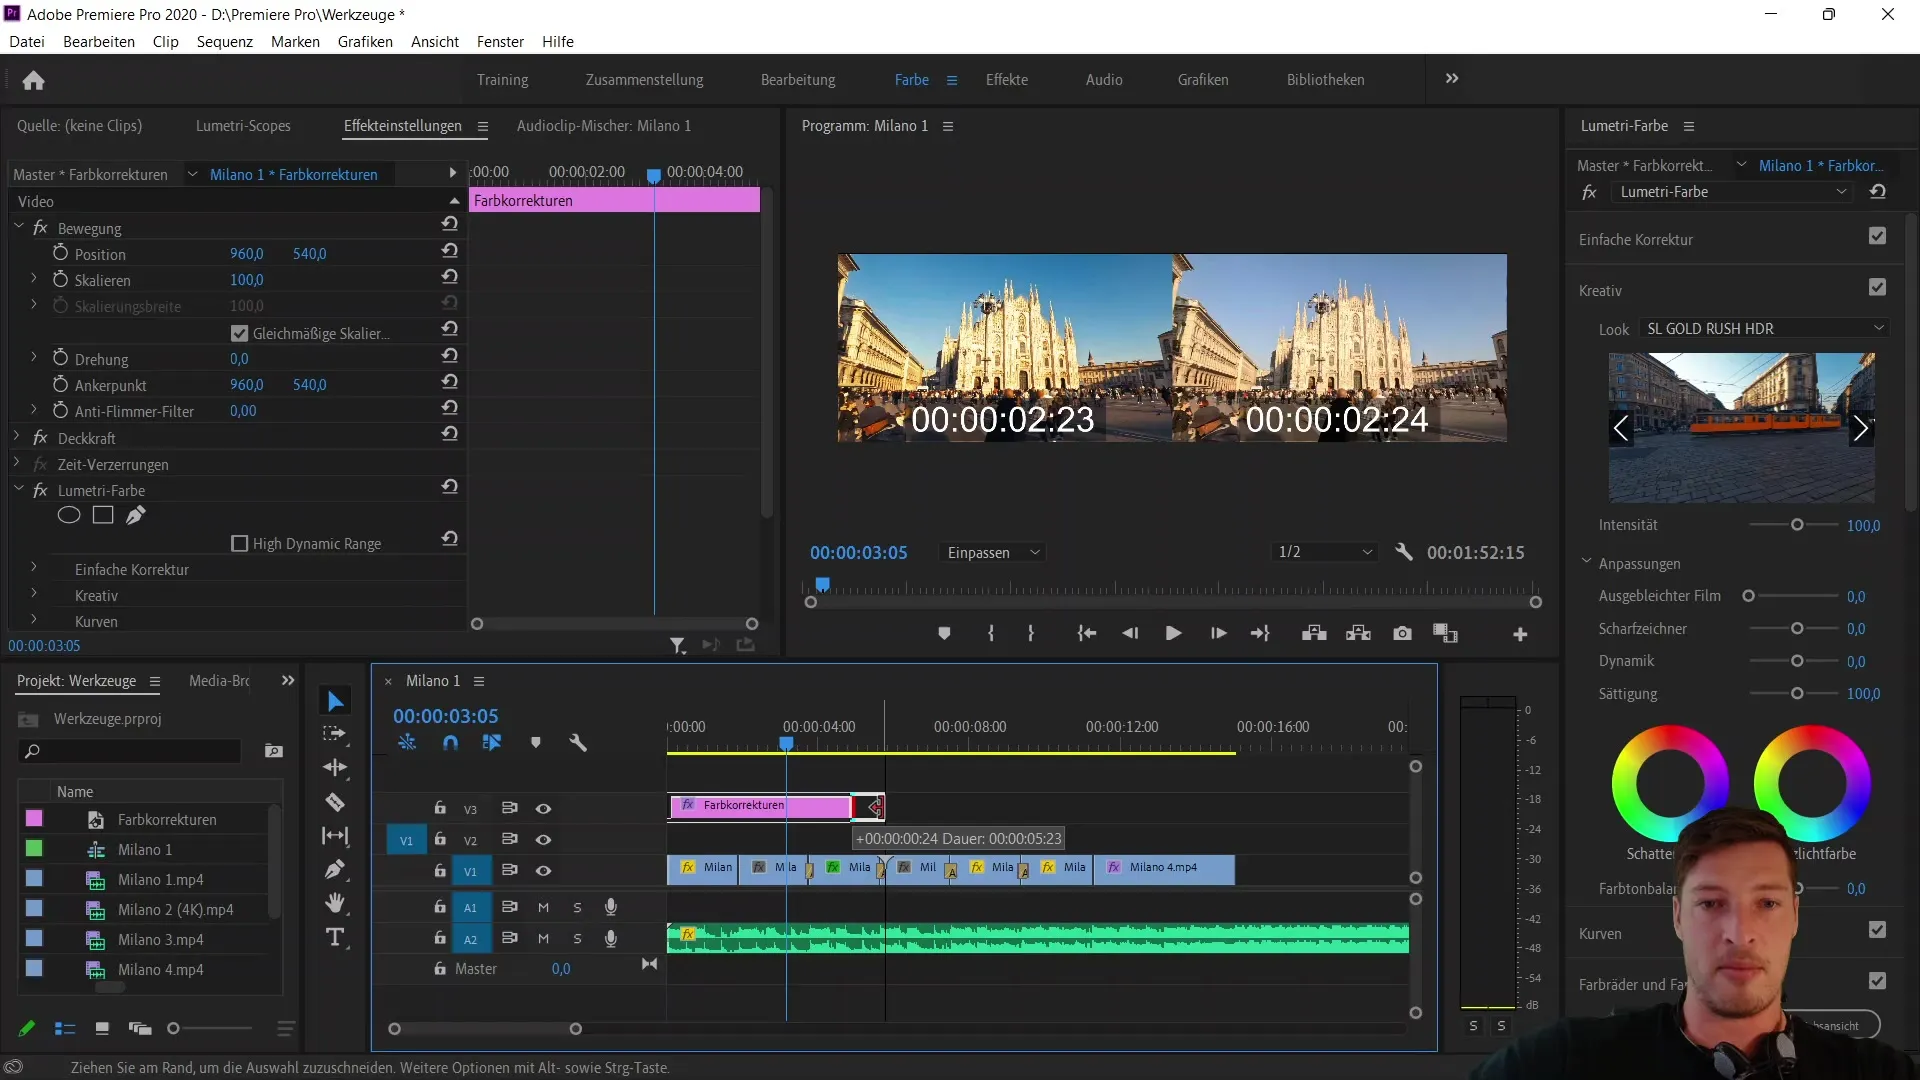
To ensure that the color correction is applied, you can adjust or move the adjustment layer. You can change the size of the adjustment layer by adjusting the scaling. Do you want to adjust only a specific area of the clip? Then simply scale down the adjustment layer.
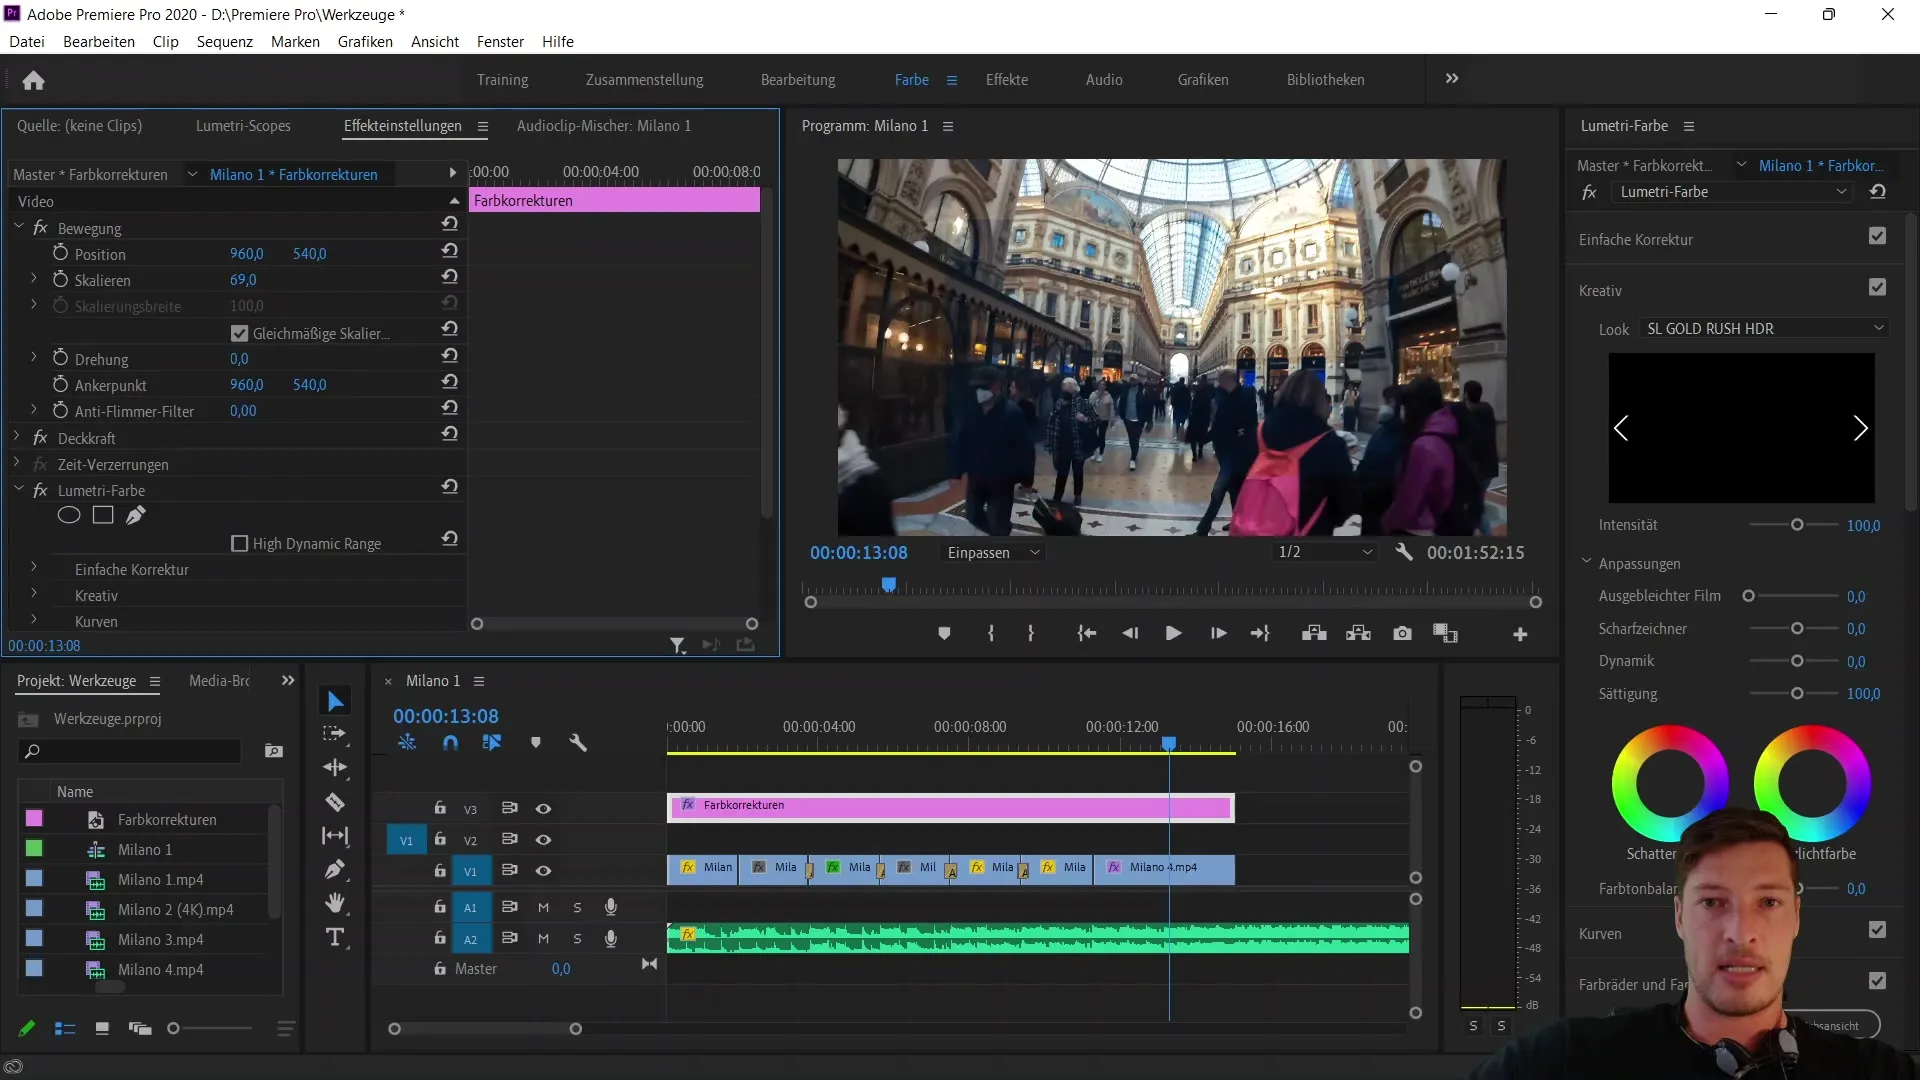
I can also move the adjustment layer to the left or right, which shows that the color corrections in the invisible areas of the image are no longer visible. This gives you more control over the applied look.
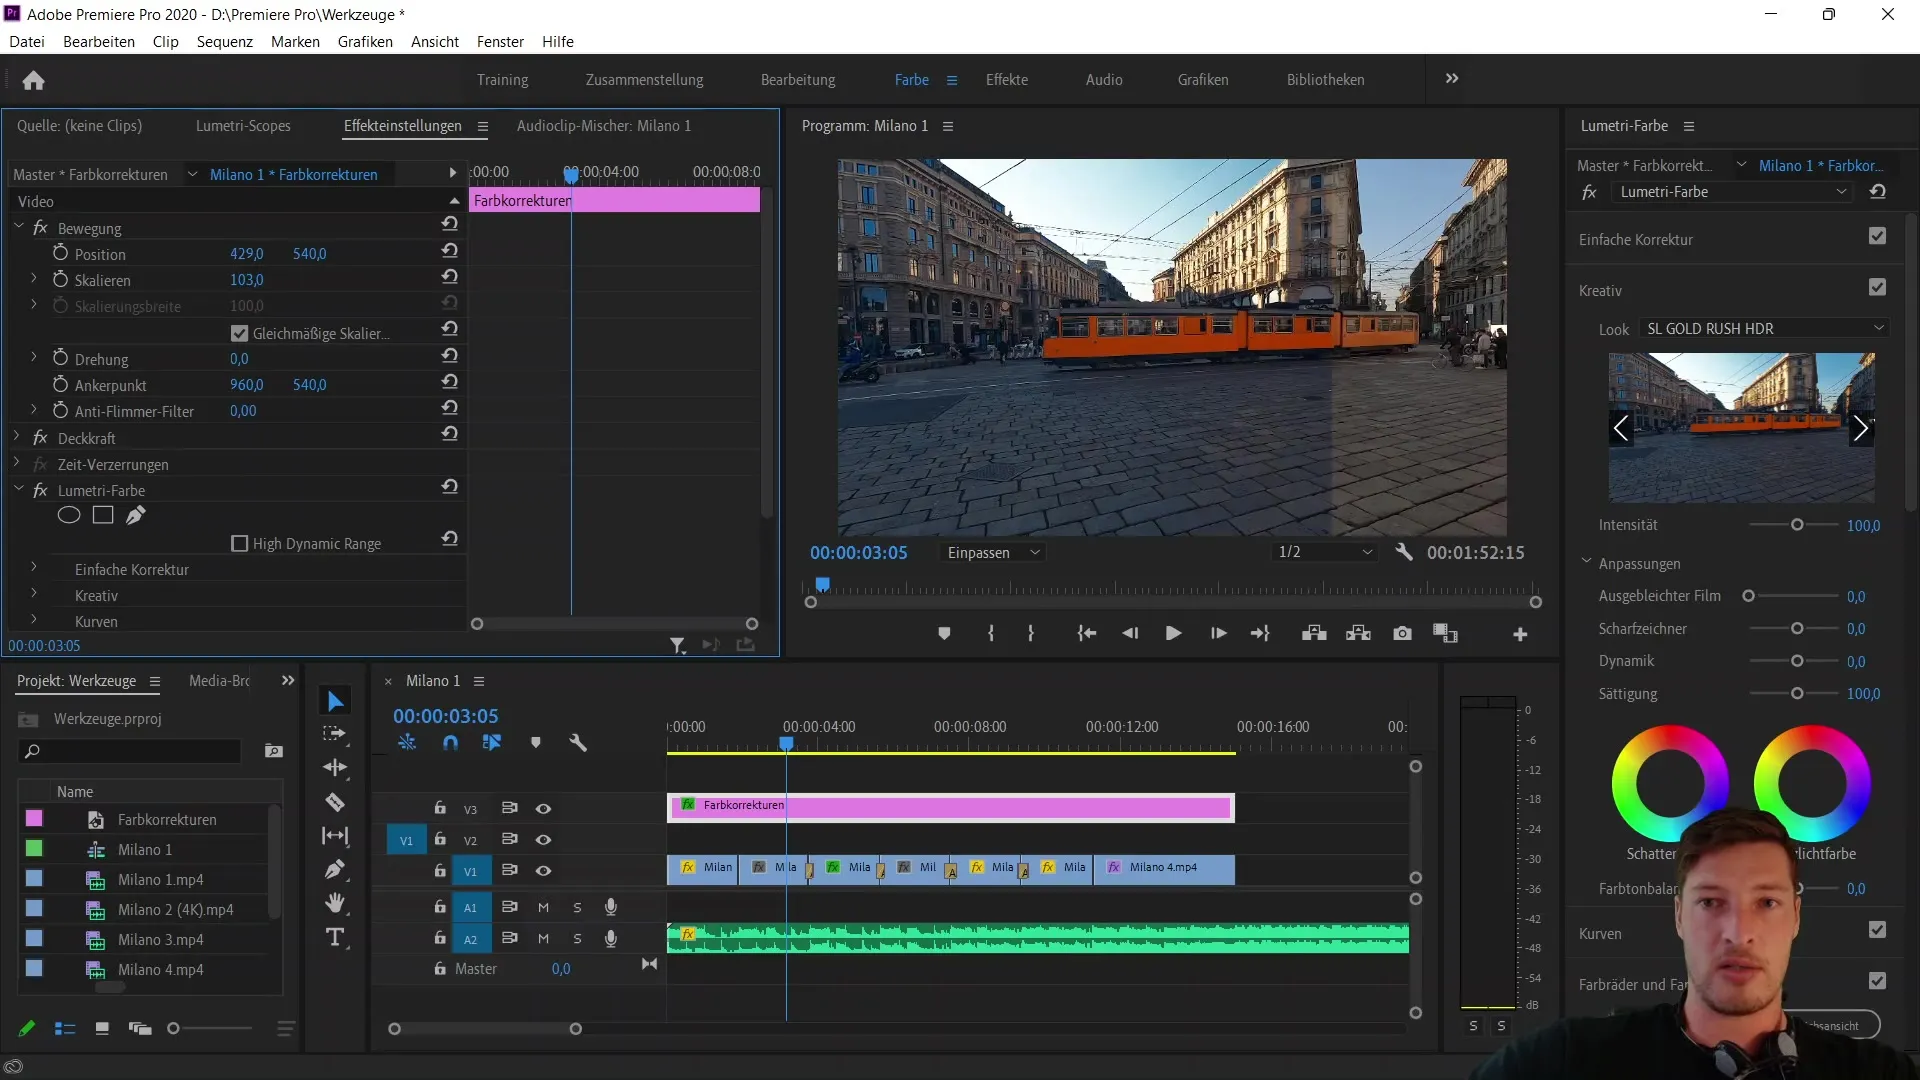
Remember, with the adjustment layer, you have numerous options to influence your clips. Whether you change the position or number of adjustments, it has the same functionality as individual clips, offering you huge flexibility in color correction.
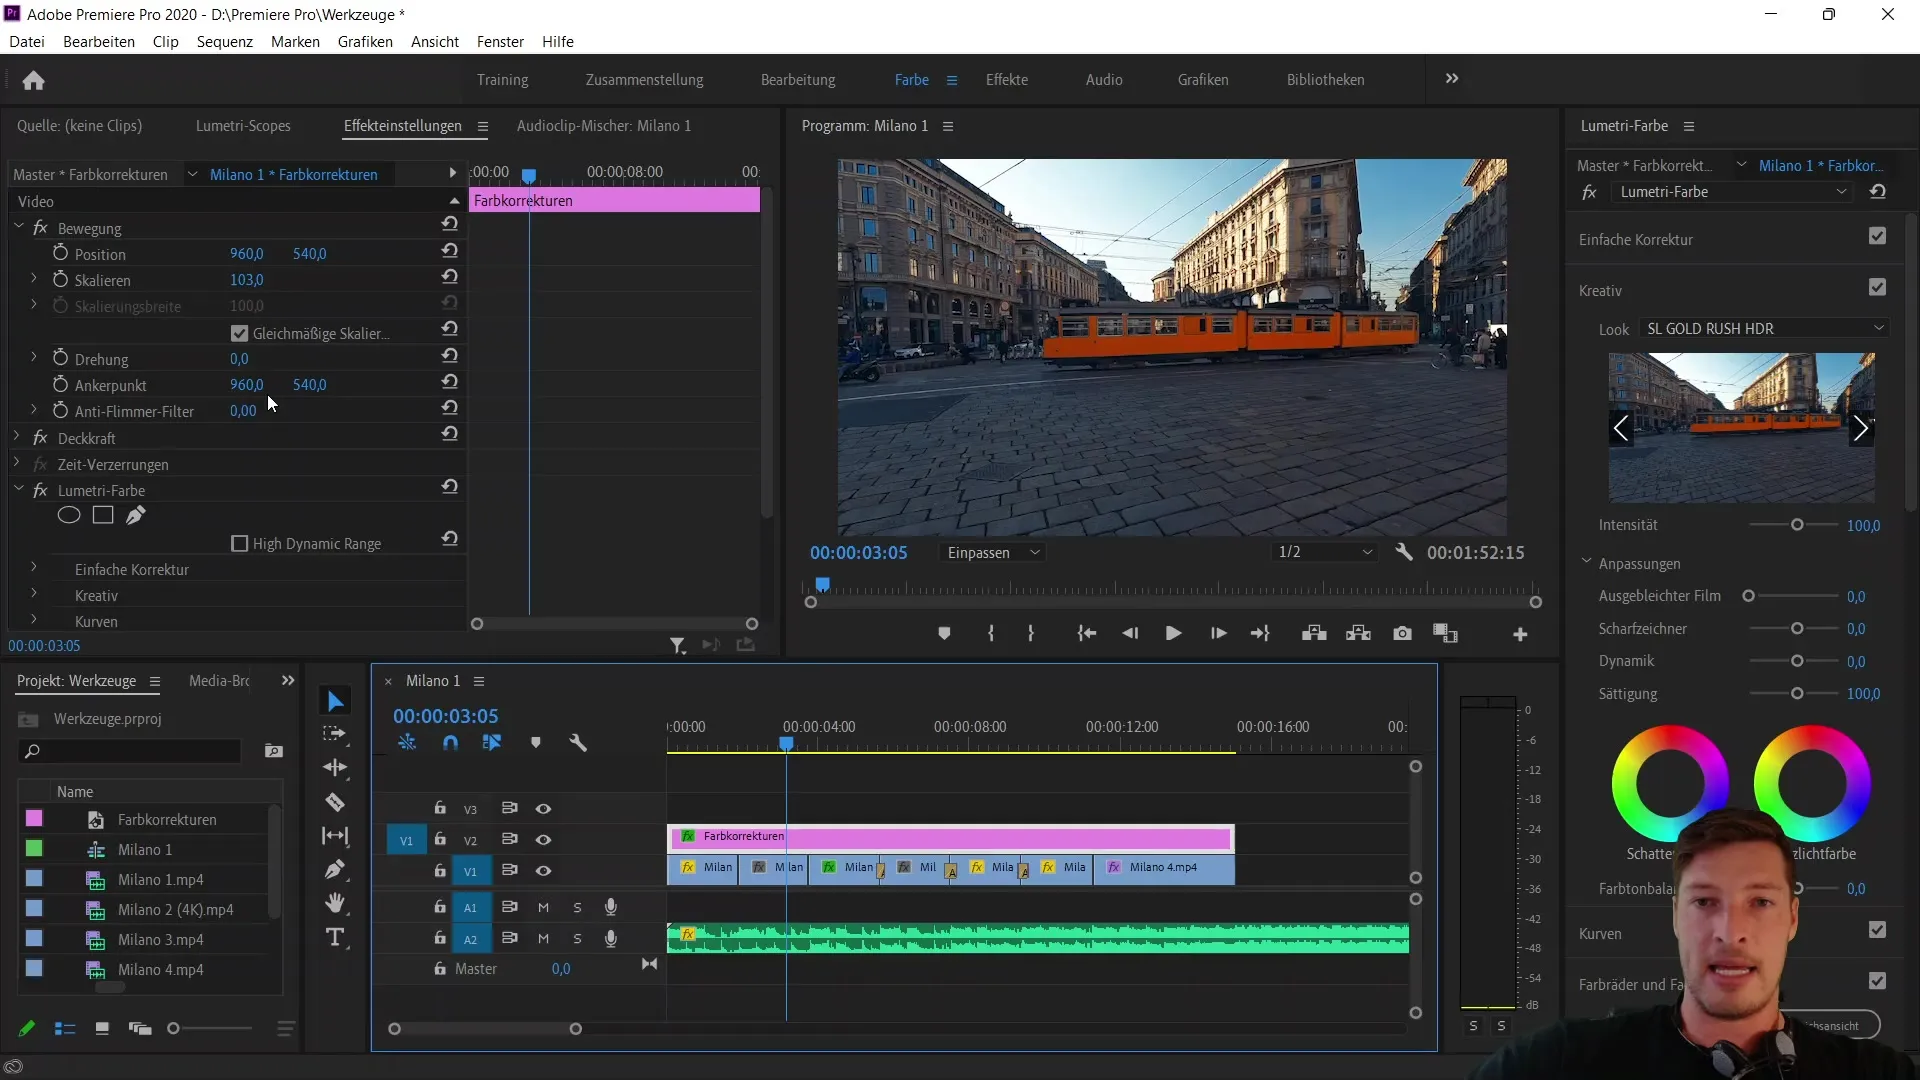
We have now learned about the functionality and possibilities of adjustment layers in Adobe Premiere Pro CC. You know how to create, name, and apply them to make basic color corrections and create creative color looks. Next time, we will focus on text creation in Premiere Pro.
Summary
In this tutorial, you have learned how to perform basic color corrections in Adobe Premiere Pro CC using adjustment layers. Adjustment layers are an effective tool to edit multiple clips at once and give consistency to your project.
Frequently Asked Questions
How do I create an adjustment layer in Adobe Premiere Pro?Right-click on an empty area in the project media and choose "New Item", then "Adjustment Layer".
Can I apply creative looks using adjustment layers?Yes, through Lumetri Color, you can apply creative looks or LUTs to give your project a special style.
Do changes to the adjustment layer affect all clips below it?Yes, the color corrections of the adjustment layer affect all clips located below that layer in the timeline.
What presets does Adobe Premiere Pro offer for color correction?Premiere Pro offers a variety of presets for simple and creative color corrections that you can apply instantly.
Can I rename the adjustment layer?Yes, you can rename the adjustment layer at any time by selecting the layer and pressing the Enter key.


