In this tutorial, I will show you how to create an animated text banner using Adobe Premiere Pro CC, where we will utilize maskings to make the text appear in a creative way. To achieve an appealing result, it is crucial to master the basic animation techniques and follow some specific steps. Let's dive in and explore the various aspects of text animation.
Key Takeaways
- You will learn how to use maskings in Adobe Premiere Pro to create text effects.
- It is possible to link the position of elements so they animate synchronously.
- The combination of shapes and text masks leads to impressive animation effects.
Step-by-Step Guide
First, you will see the current state of your sequence. You already have some elements that you can use for the animation. Start by having the end goal in mind.
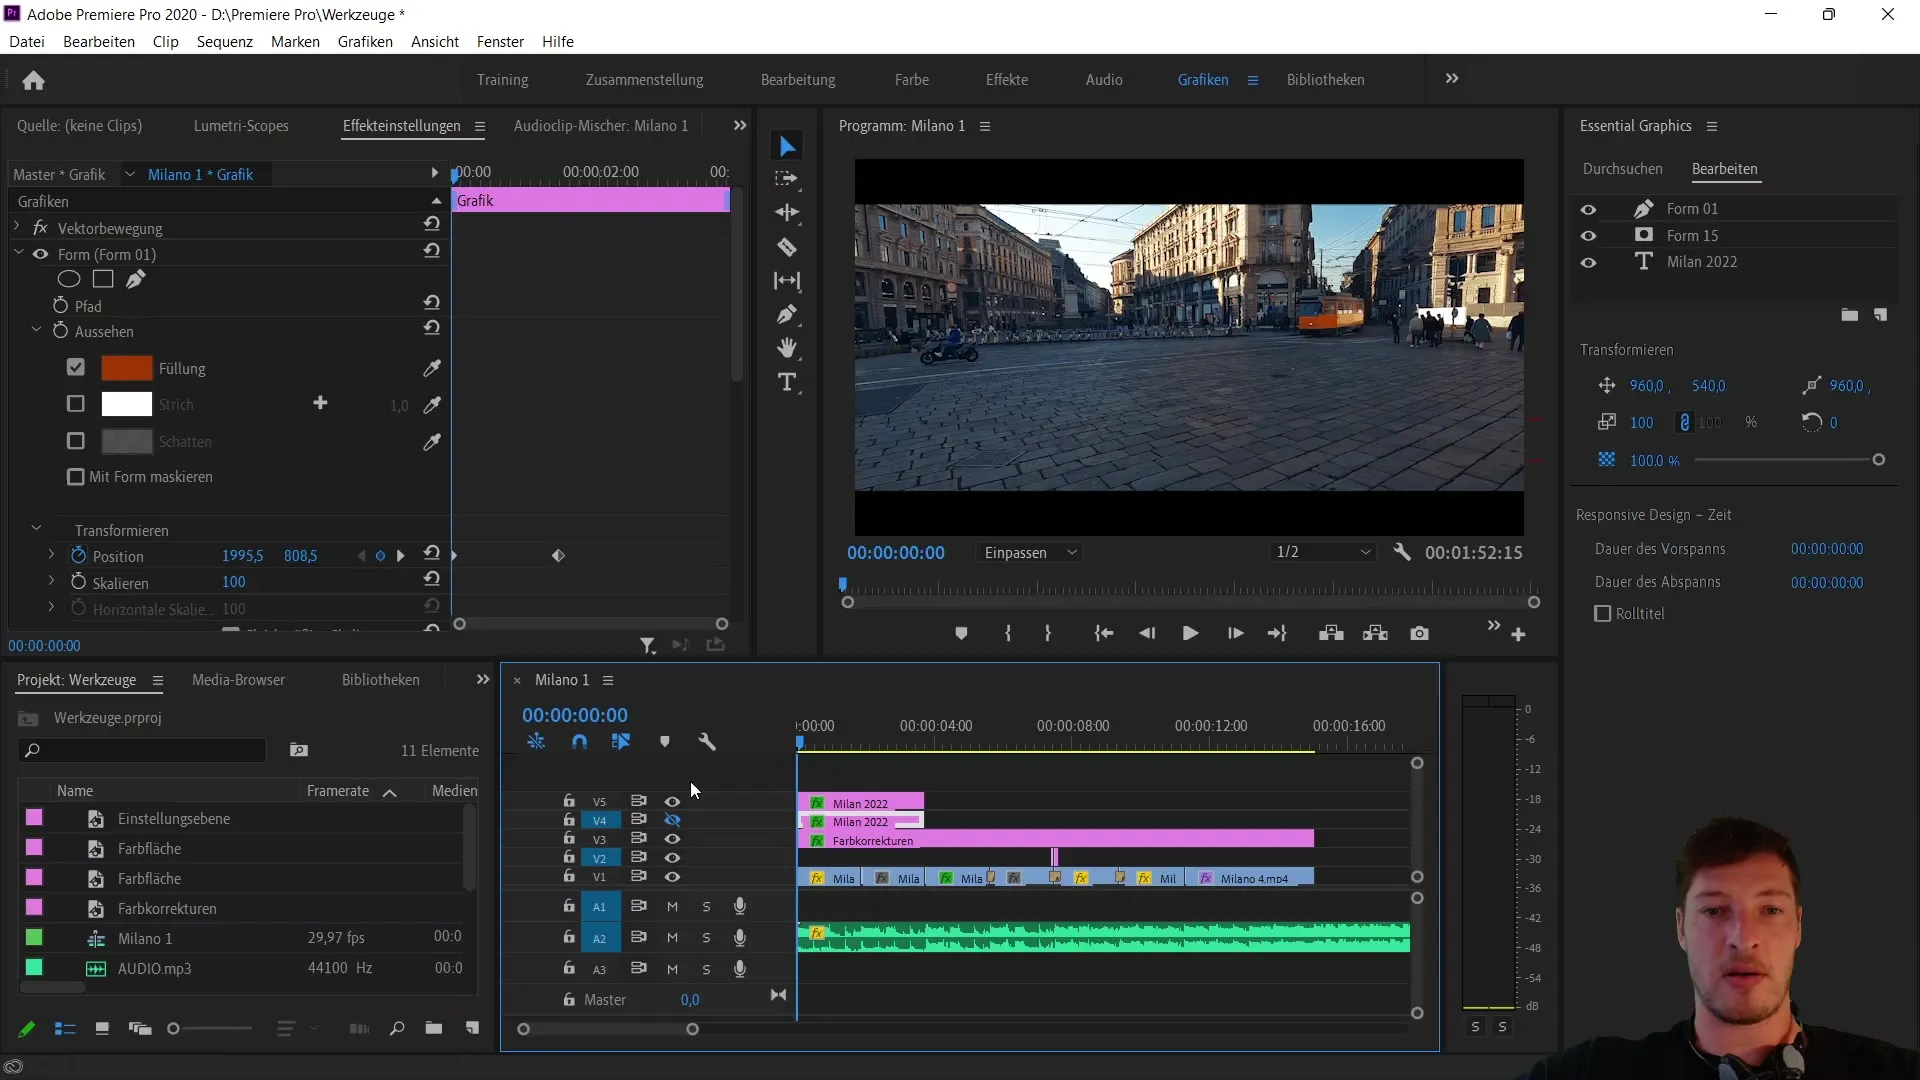
Now, we will remove the final result from the sequence and make the layer visible again to work with the current state. Select the corresponding layer and go to the motion data at the bottom in the control panel.
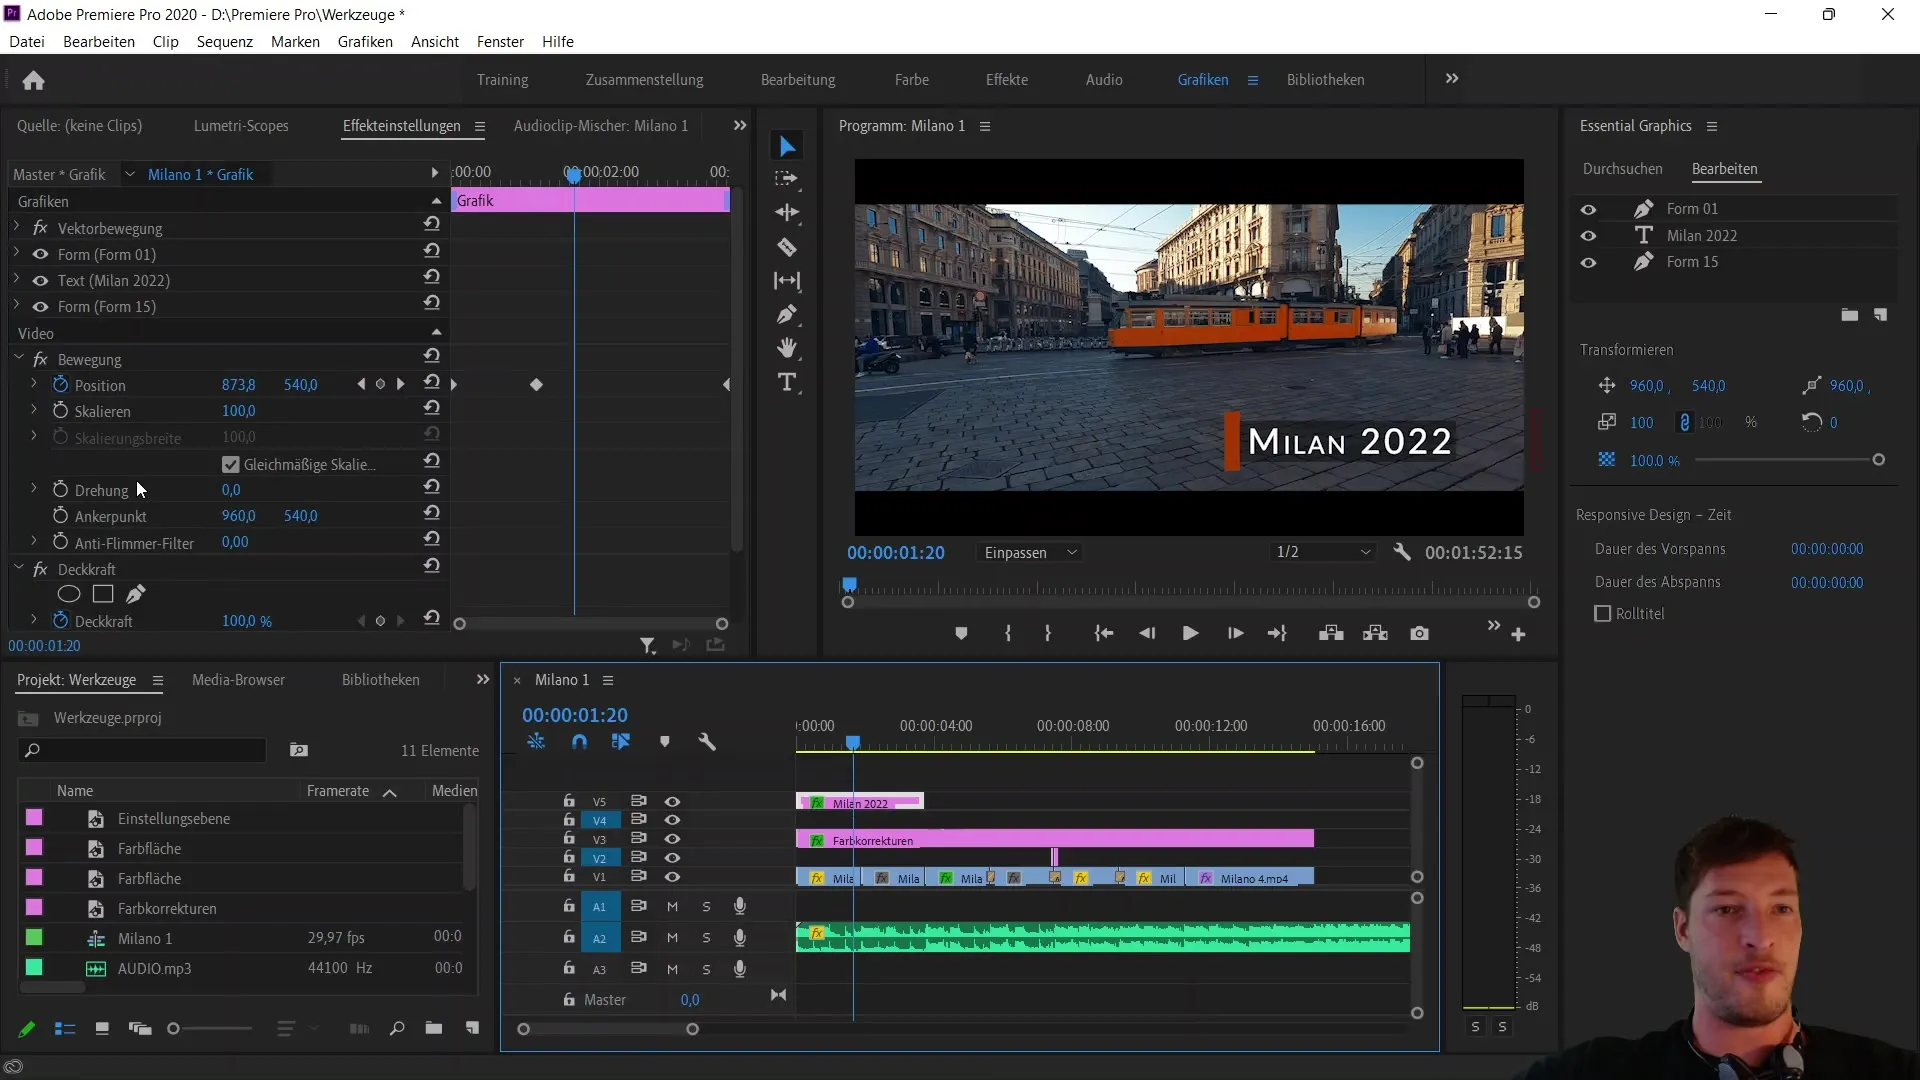
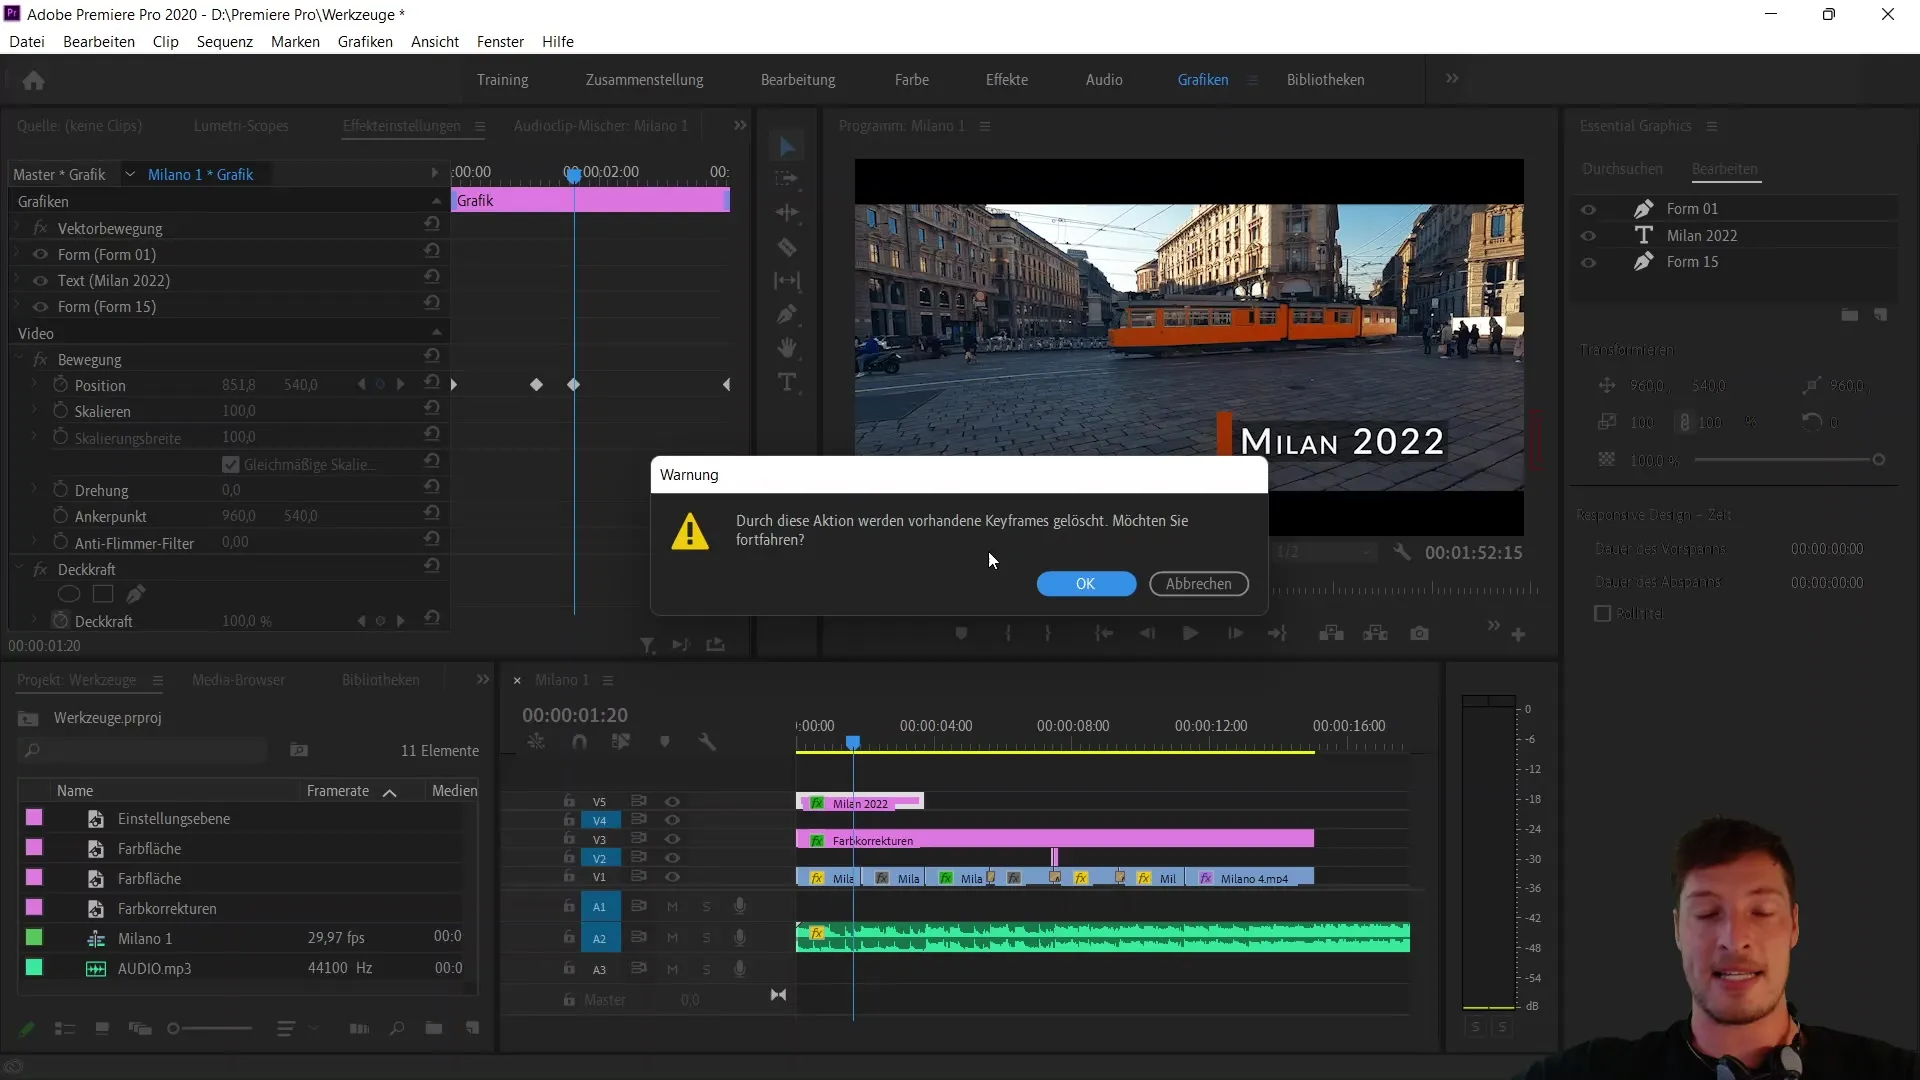
Here you will find the settings for the animated position. To reset the animation, click on the stopwatch next to the position data to remove all keyframes. Confirm the action, and there will be no more movement within the element.
Now, you can see all individual shapes created in your project. Start with the first shape, your brown bar, and the text element. Below, you will find the rectangle with reduced opacity.
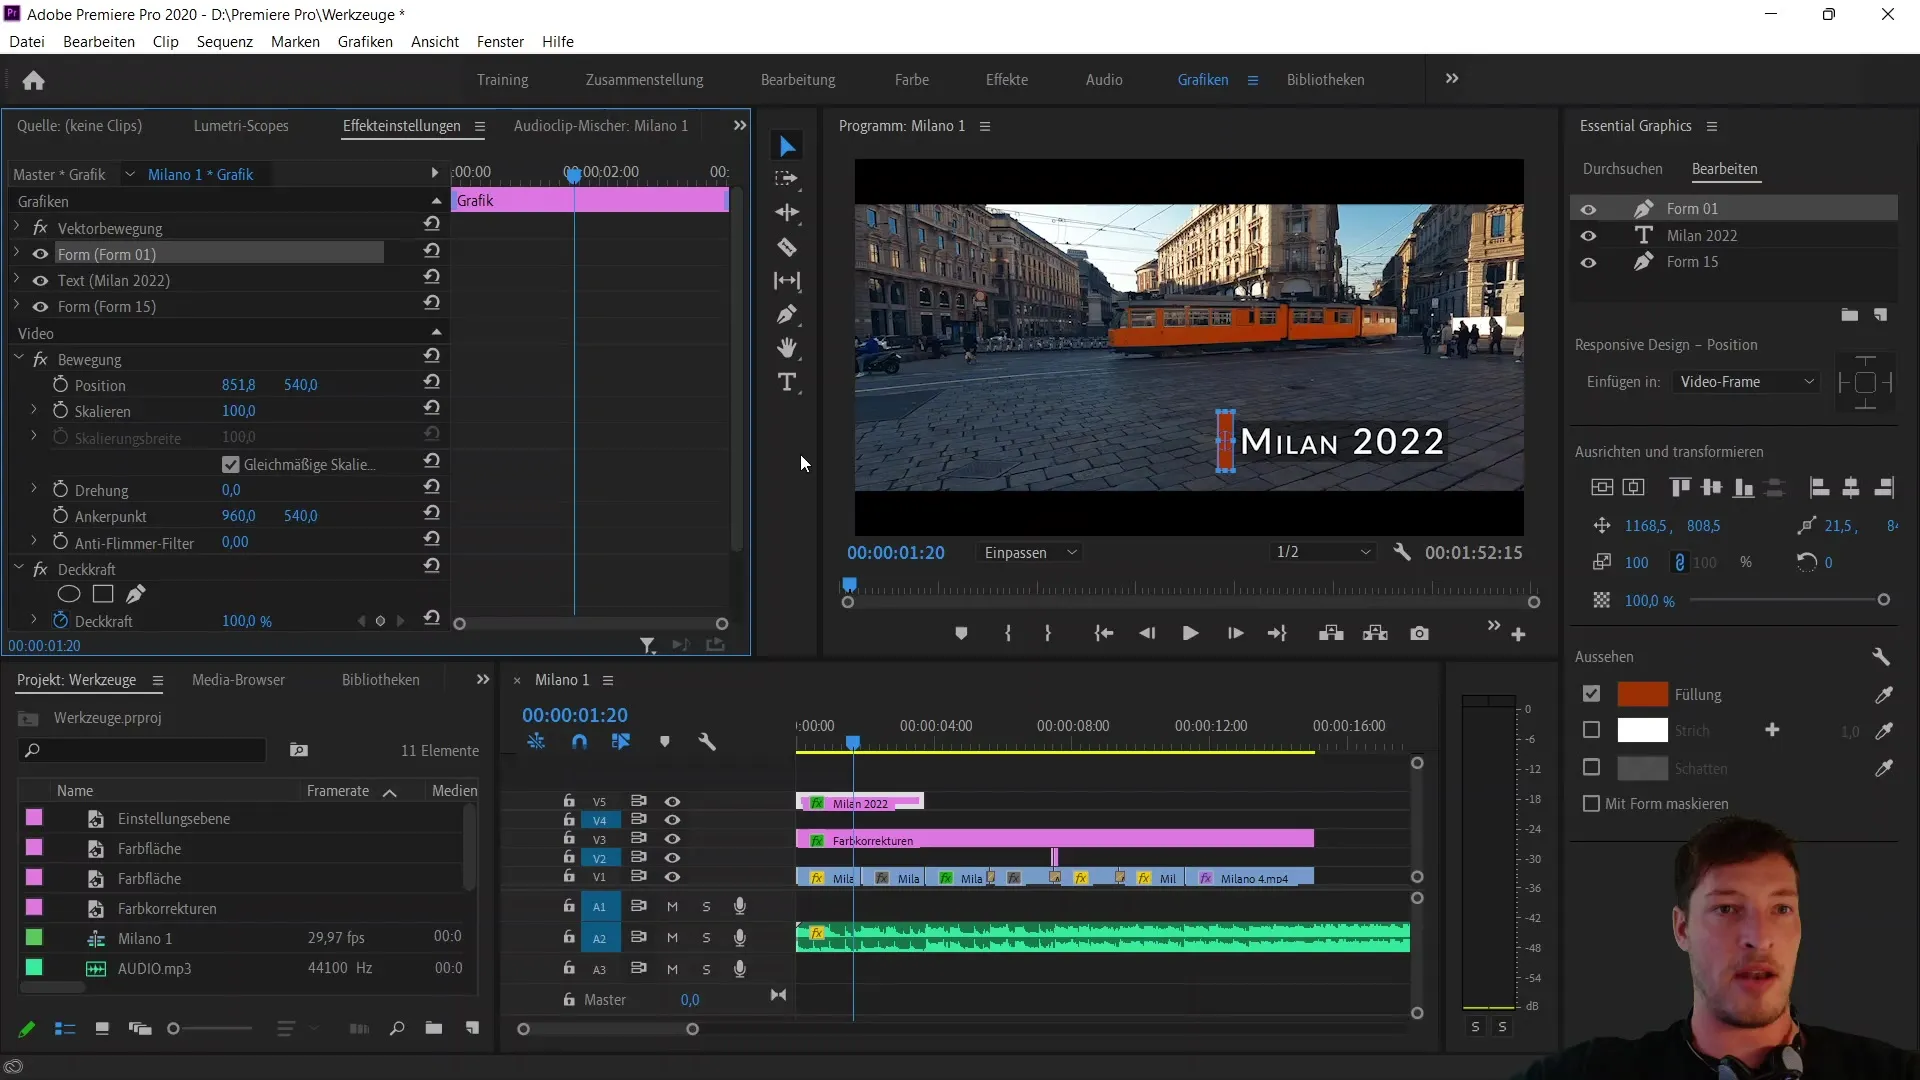
Open the settings of the first shape to edit its position. You have the option to change the position in the X-axis. Before you do that, make sure to link the position of the rectangle with the shape of the brown bar. Select the rectangle and link it via the Responsive Design Position to the first shape.
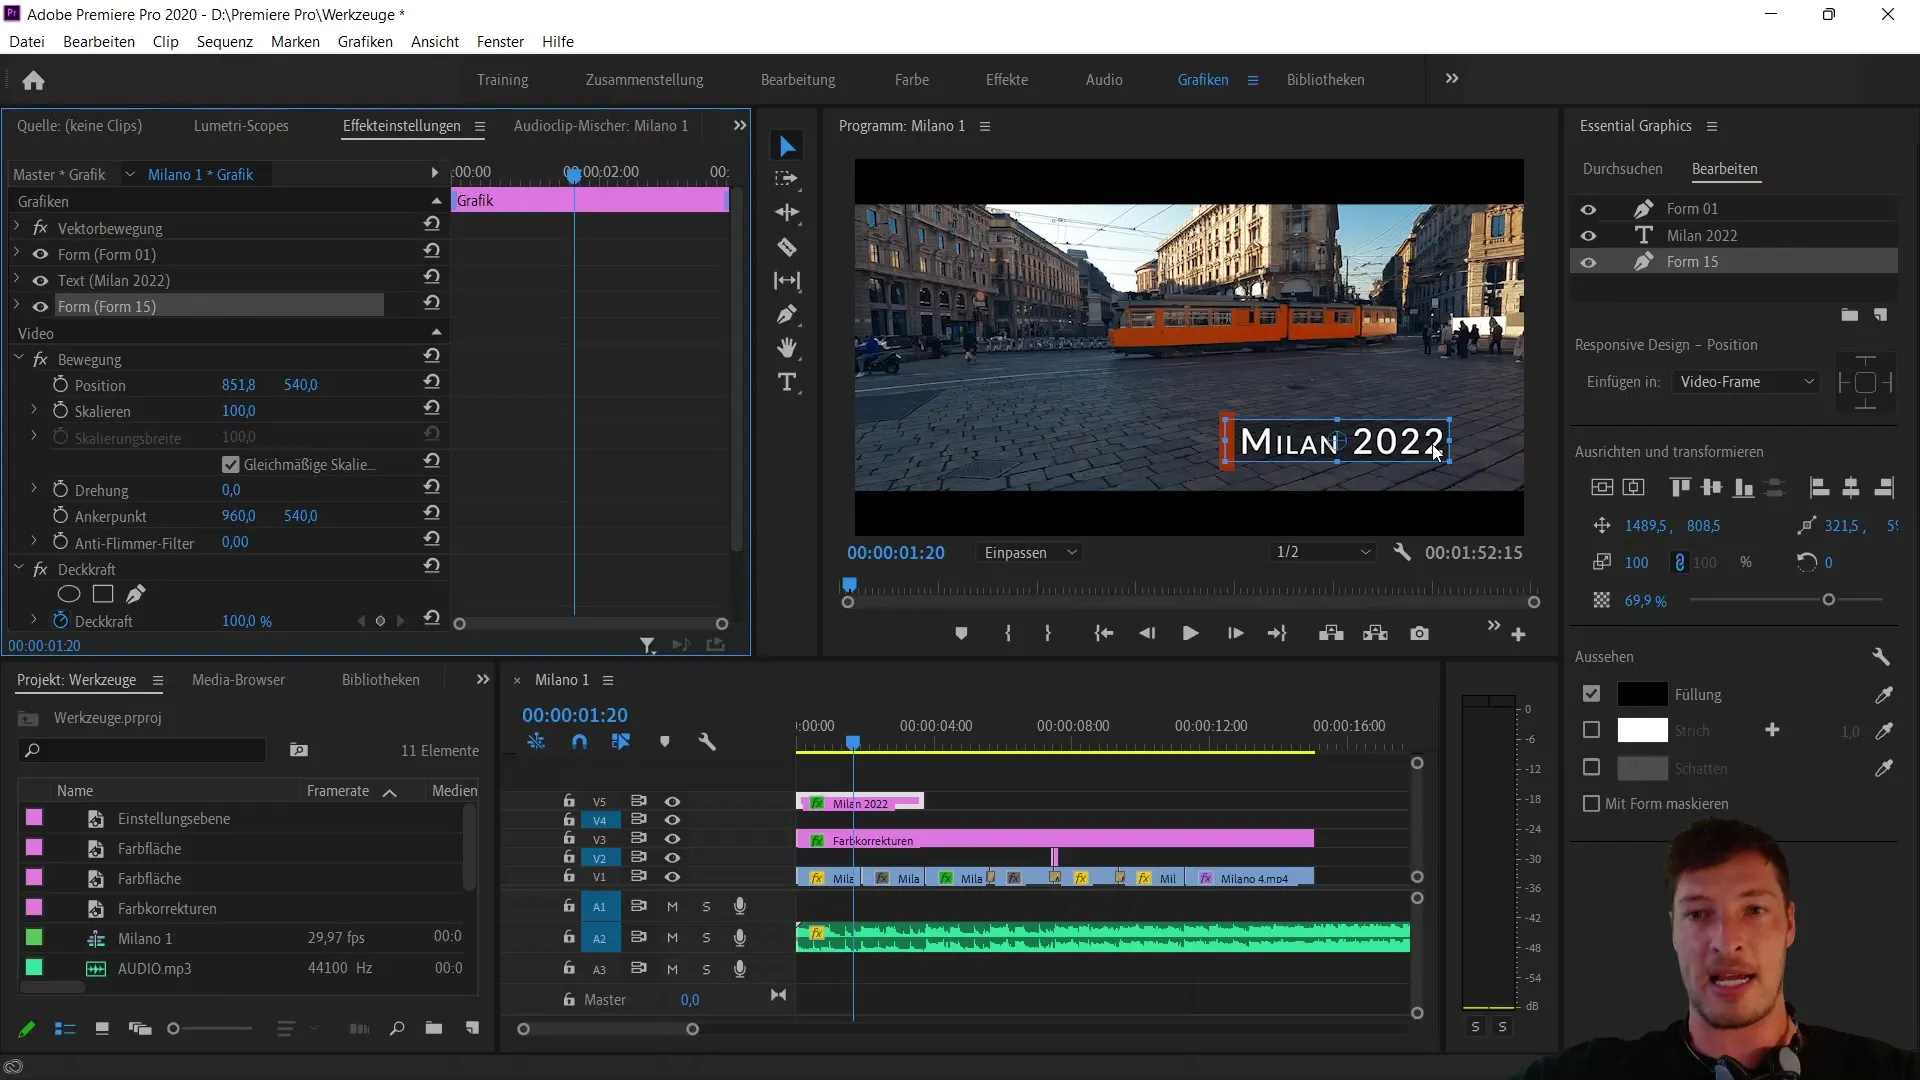
Once the edges are linked, move the rectangle near the brown bar. You will see the rectangle moving along as the positions are connected. Utilizing this linkage is crucial for the animation we will create shortly.
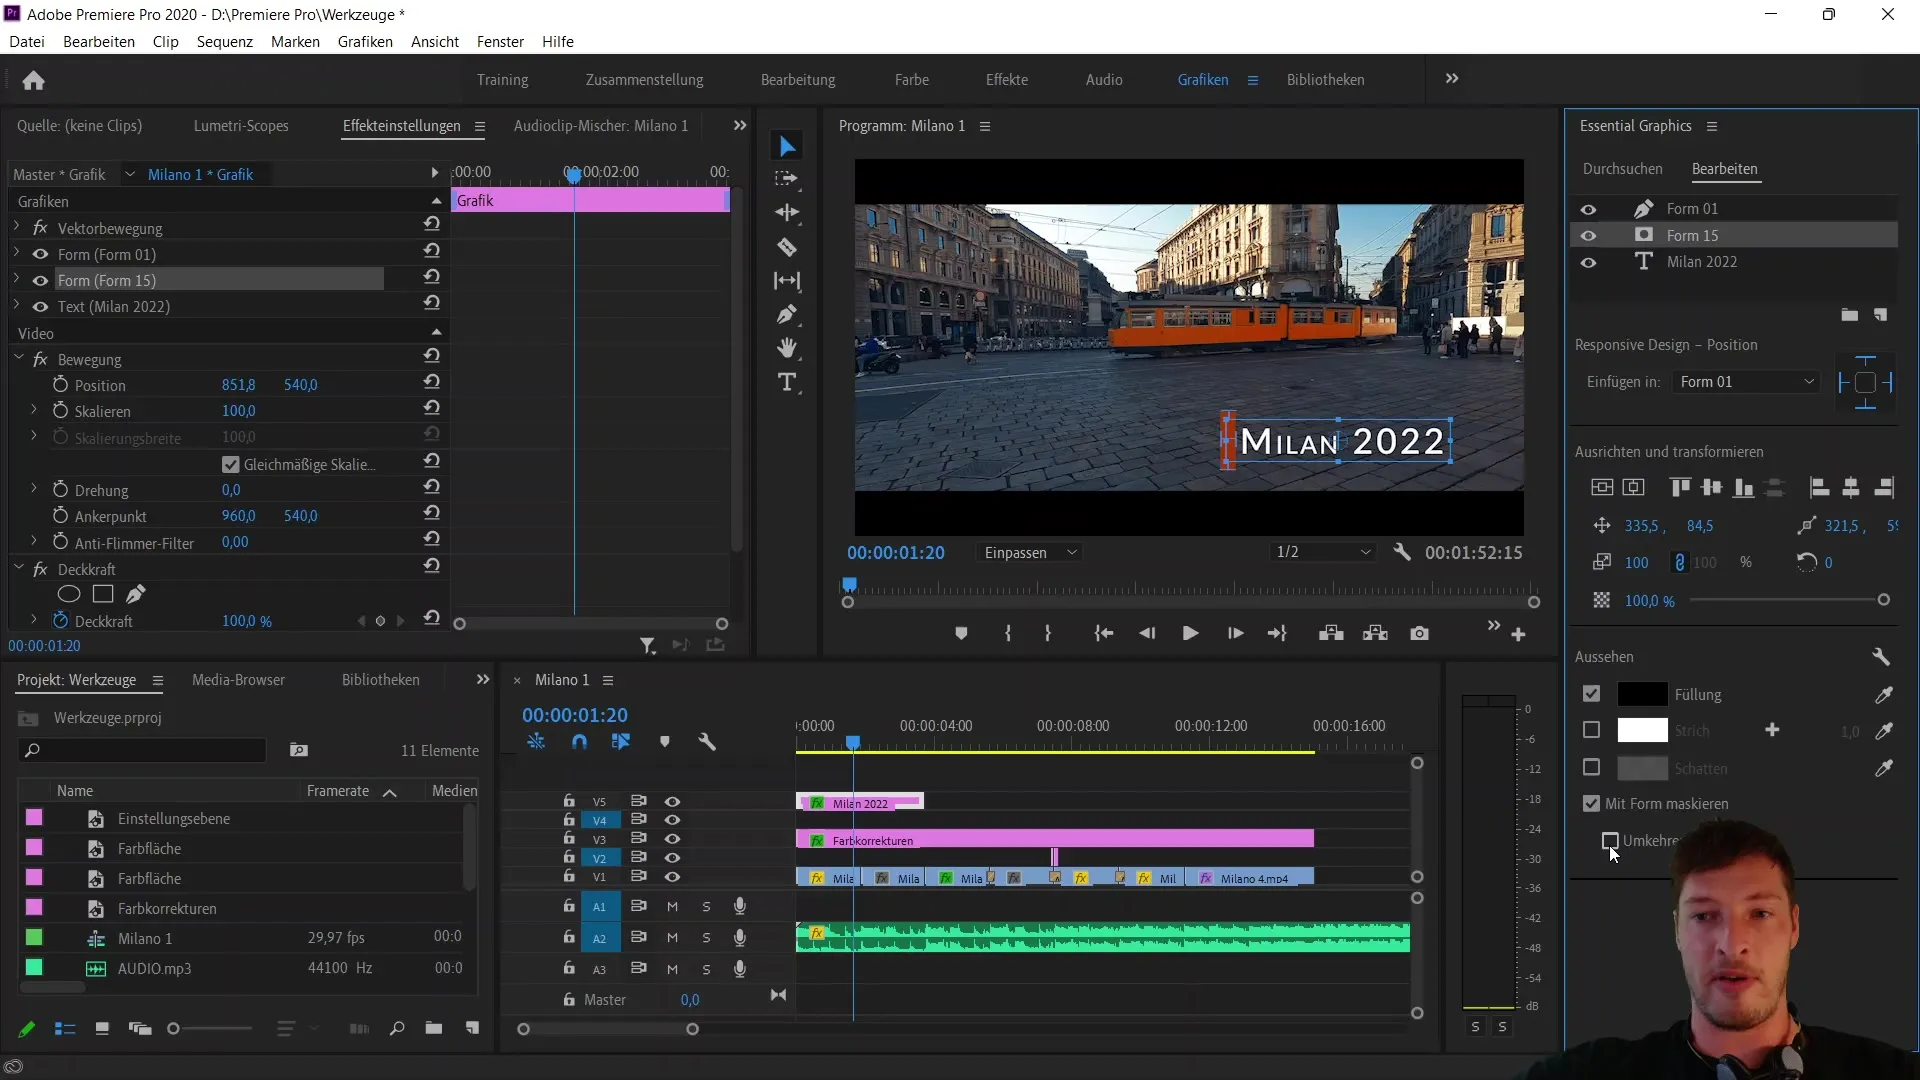
Now, we will use the rectangle as a mask for our text. Move the shape over the text. You will see that the shape covers the text due to its reduced opacity. Now it's time for the masking process. Choose the "Mask with Shape" option.

By moving the rectangle to the left, the text becomes visible and it becomes invisible when you move it to the right. This creates the desired effect.
To further refine the animation, go back to the mask settings and make sure the opacity of the rectangle is now back to 100%. This ensures that the text becomes visible at the desired moment.
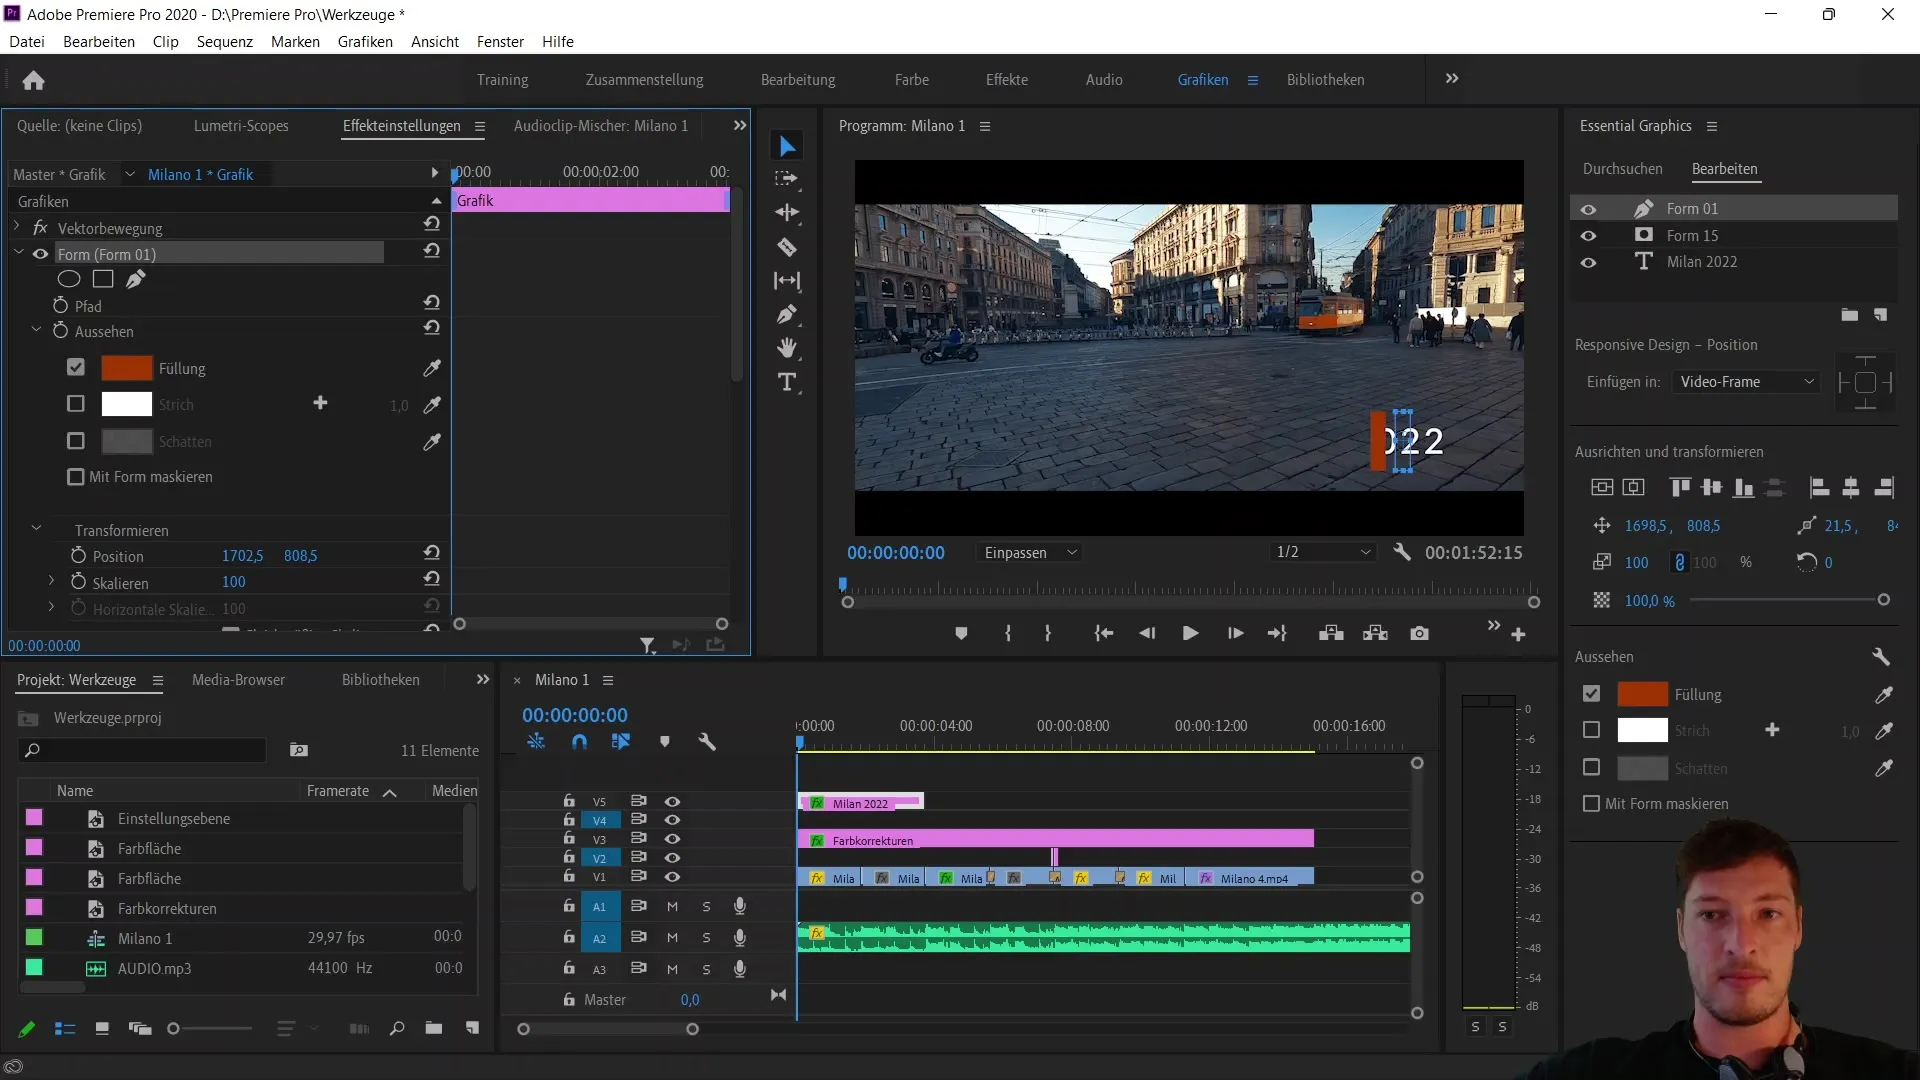
Now, it's necessary to animate the shape in its position. Set the first keyframe by placing the rectangle's position outside the visible area. Then click on the stopwatch.
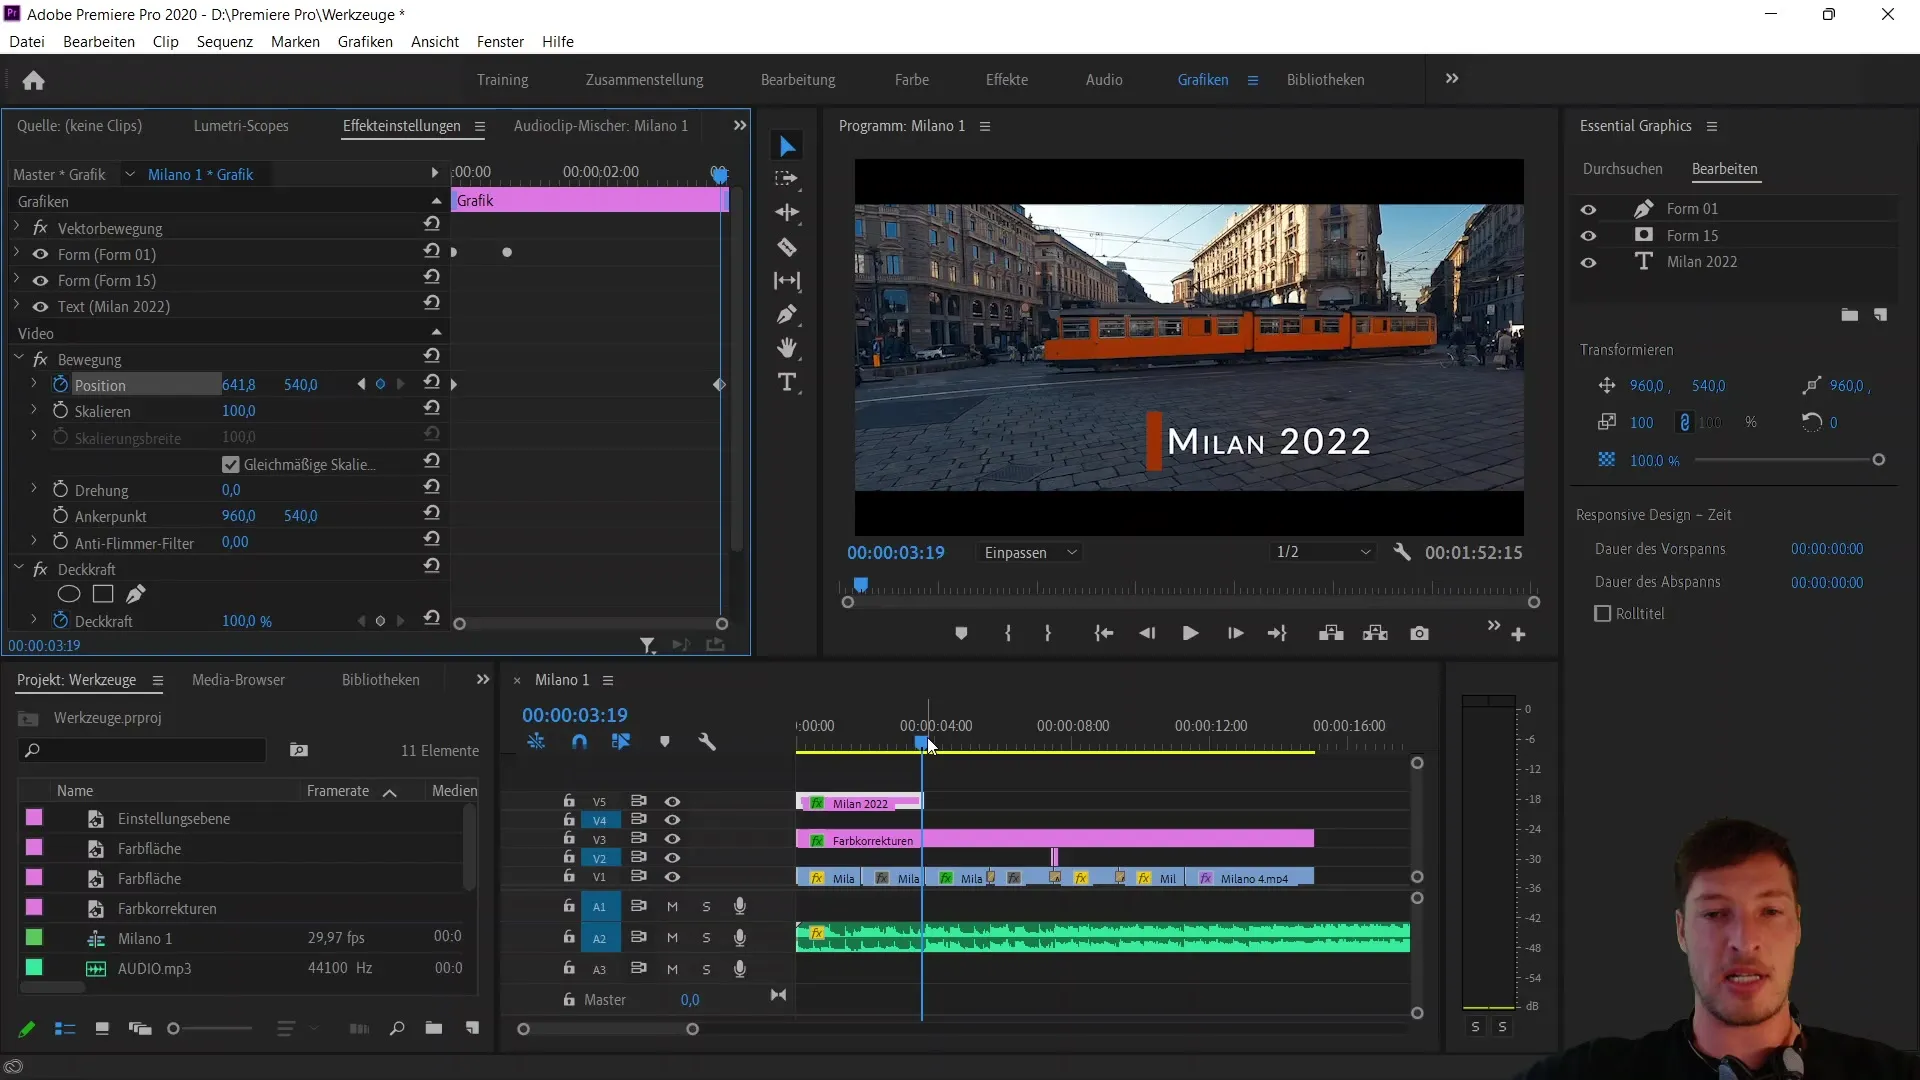
Move the rectangle about 10 keyframes to the left later on so that the text "Milan 2022" becomes visible. You can adjust the keyframe as needed to ensure a smooth animation.
Now you have successfully created your animated text banner. Experiment with more animations and see how you could further animate the entire shape to maximize the effect.
You have learned to combine and animate individual shapes to achieve impressive effects. Use responsive design to synchronize various elements in your animation.
Summary
In this tutorial, you have learned how to create an animated text banner with masks using Adobe Premiere Pro CC. Now you know how to link and animate the positions of shapes to achieve impressive results. Use the described techniques to enhance your video projects.
Frequently Asked Questions
How do you open motion data in Premiere Pro?To open the motion data, select the appropriate layer and go to the properties in the panel.
What are keyframes in Adobe Premiere Pro?Keyframes are positions on the timeline that indicate where an element should be at a certain point in time.
How can I use masks in Premiere Pro?Masks can be used by placing a shape over the object you want to mask and selecting the masking option.
What role does responsive design play in animation?Responsive design allows you to link the positions of different elements together to move them in sync.
How can I adjust the speed of my animation?You can move the position of keyframes on the timeline to change the speed of the animation.


