In this tutorial, you will learn how to save a text animation in Adobe Premiere Pro CC as a preset. This technique is especially useful if you want to use similar animations frequently in your projects. You will learn a step-by-step approach to create your own animation and save it for future projects.
Key Takeaways
By creating and exporting an animation template, you can save time and increase consistency in your video projects. Adobe Premiere Pro CC allows you to save your own graphics and animations as presets and reuse them in other projects.
Step-by-Step Guide
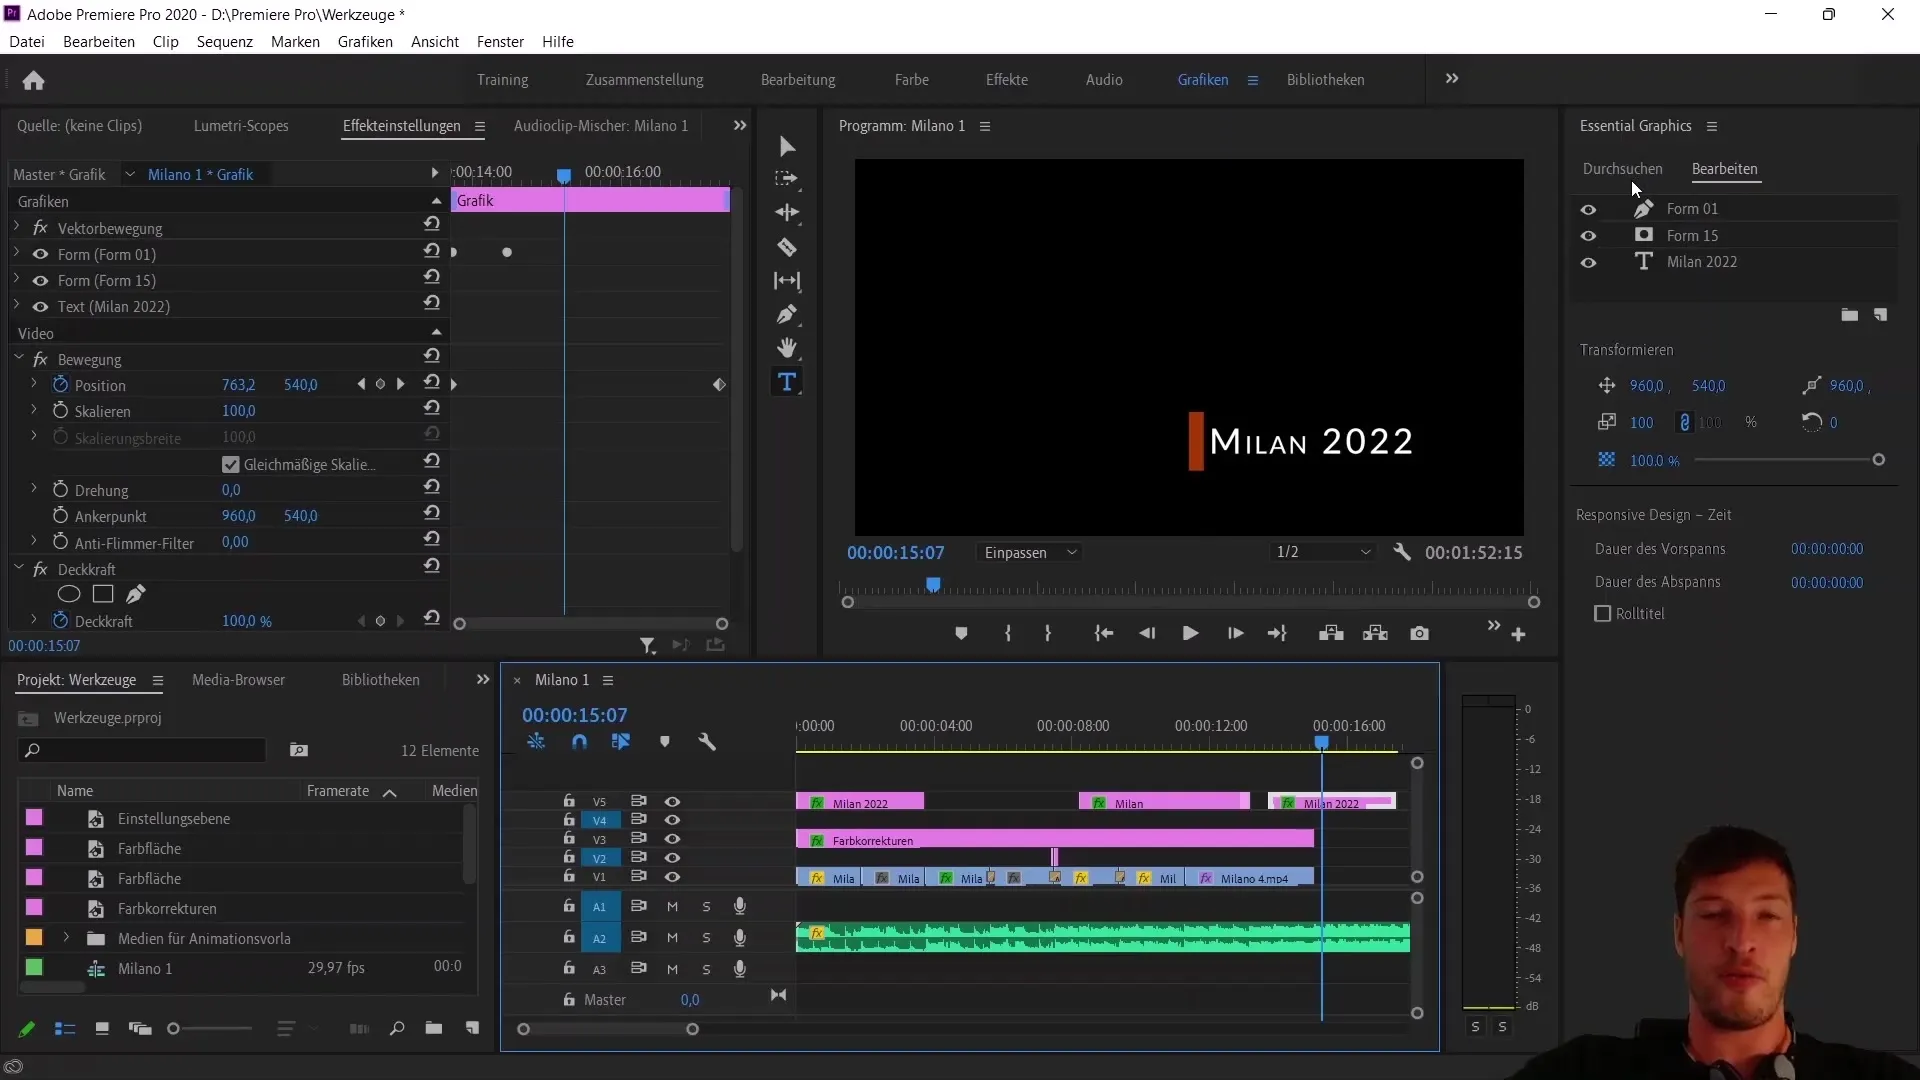
First, remember the steps from the last video where we assembled our three elements - two shape layers and the text. These elements together represent a kind of Essential Graphics. To ensure the animation is available everywhere, we now switch to the "Browse" feature.
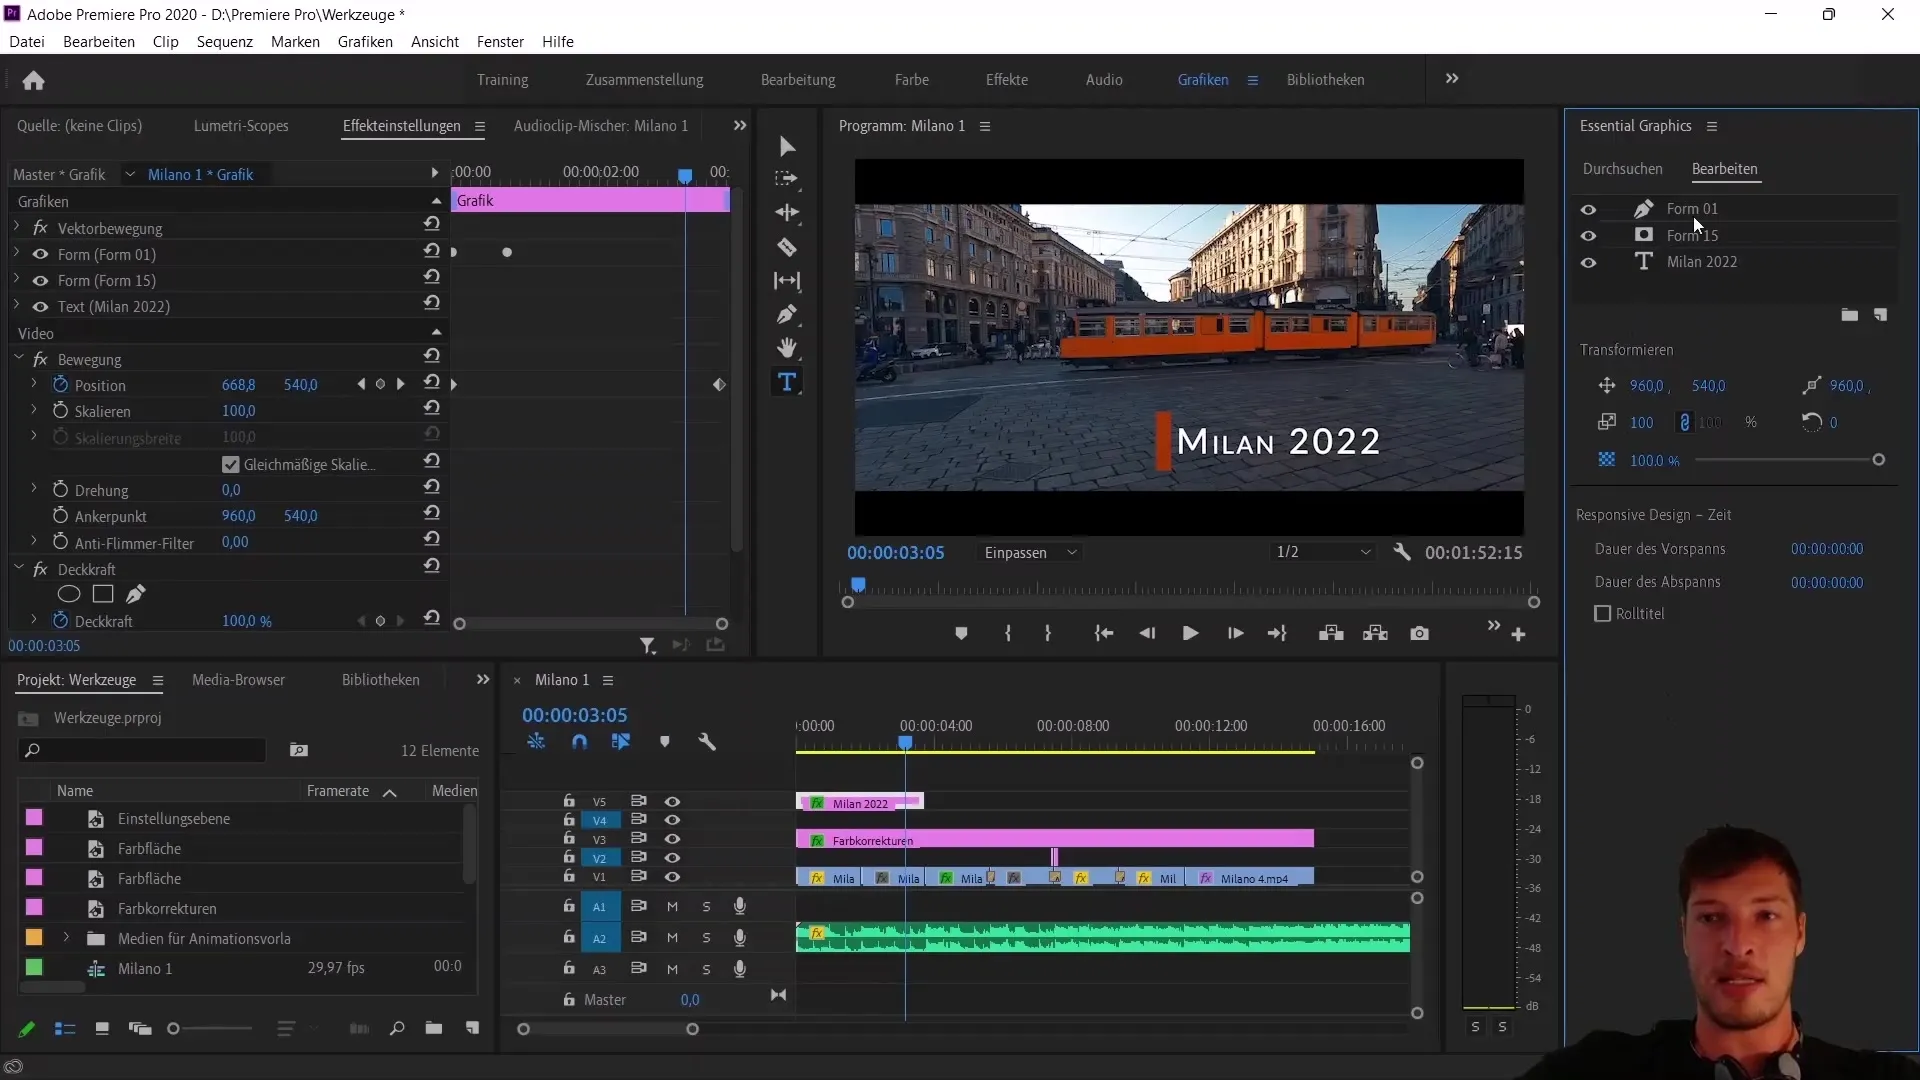
In the "Browse" tab, you can see that Adobe Premiere Pro CC already offers many pre-made elements. You can use these valuable resources to further enhance your projects. Search for "Title" to find examples of title animations that can be used in your projects.
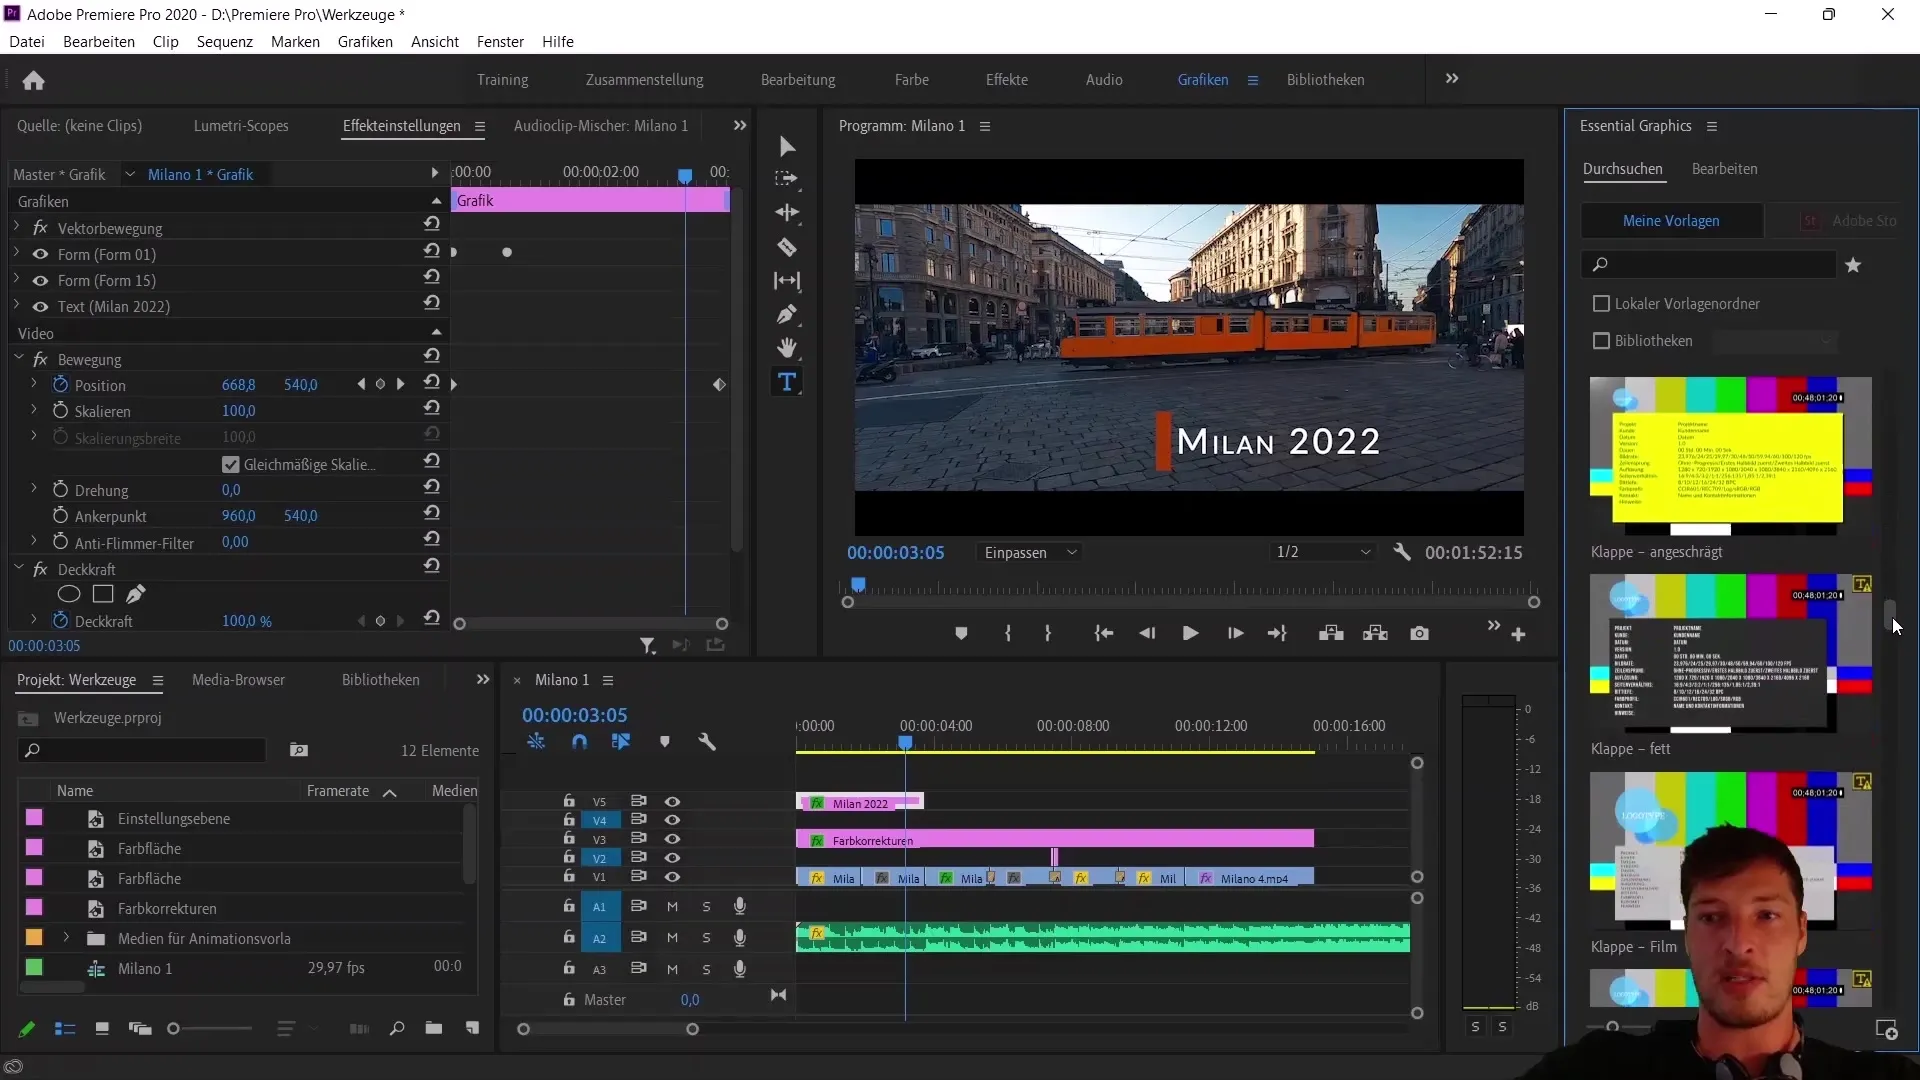
If you're looking for a modern title, simply drag it into your sequence. This works easily through drag-and-drop. It may happen that the font is not found, but this is not a major concern. The title sequence will still be adopted and will have an entrance and exit animation.
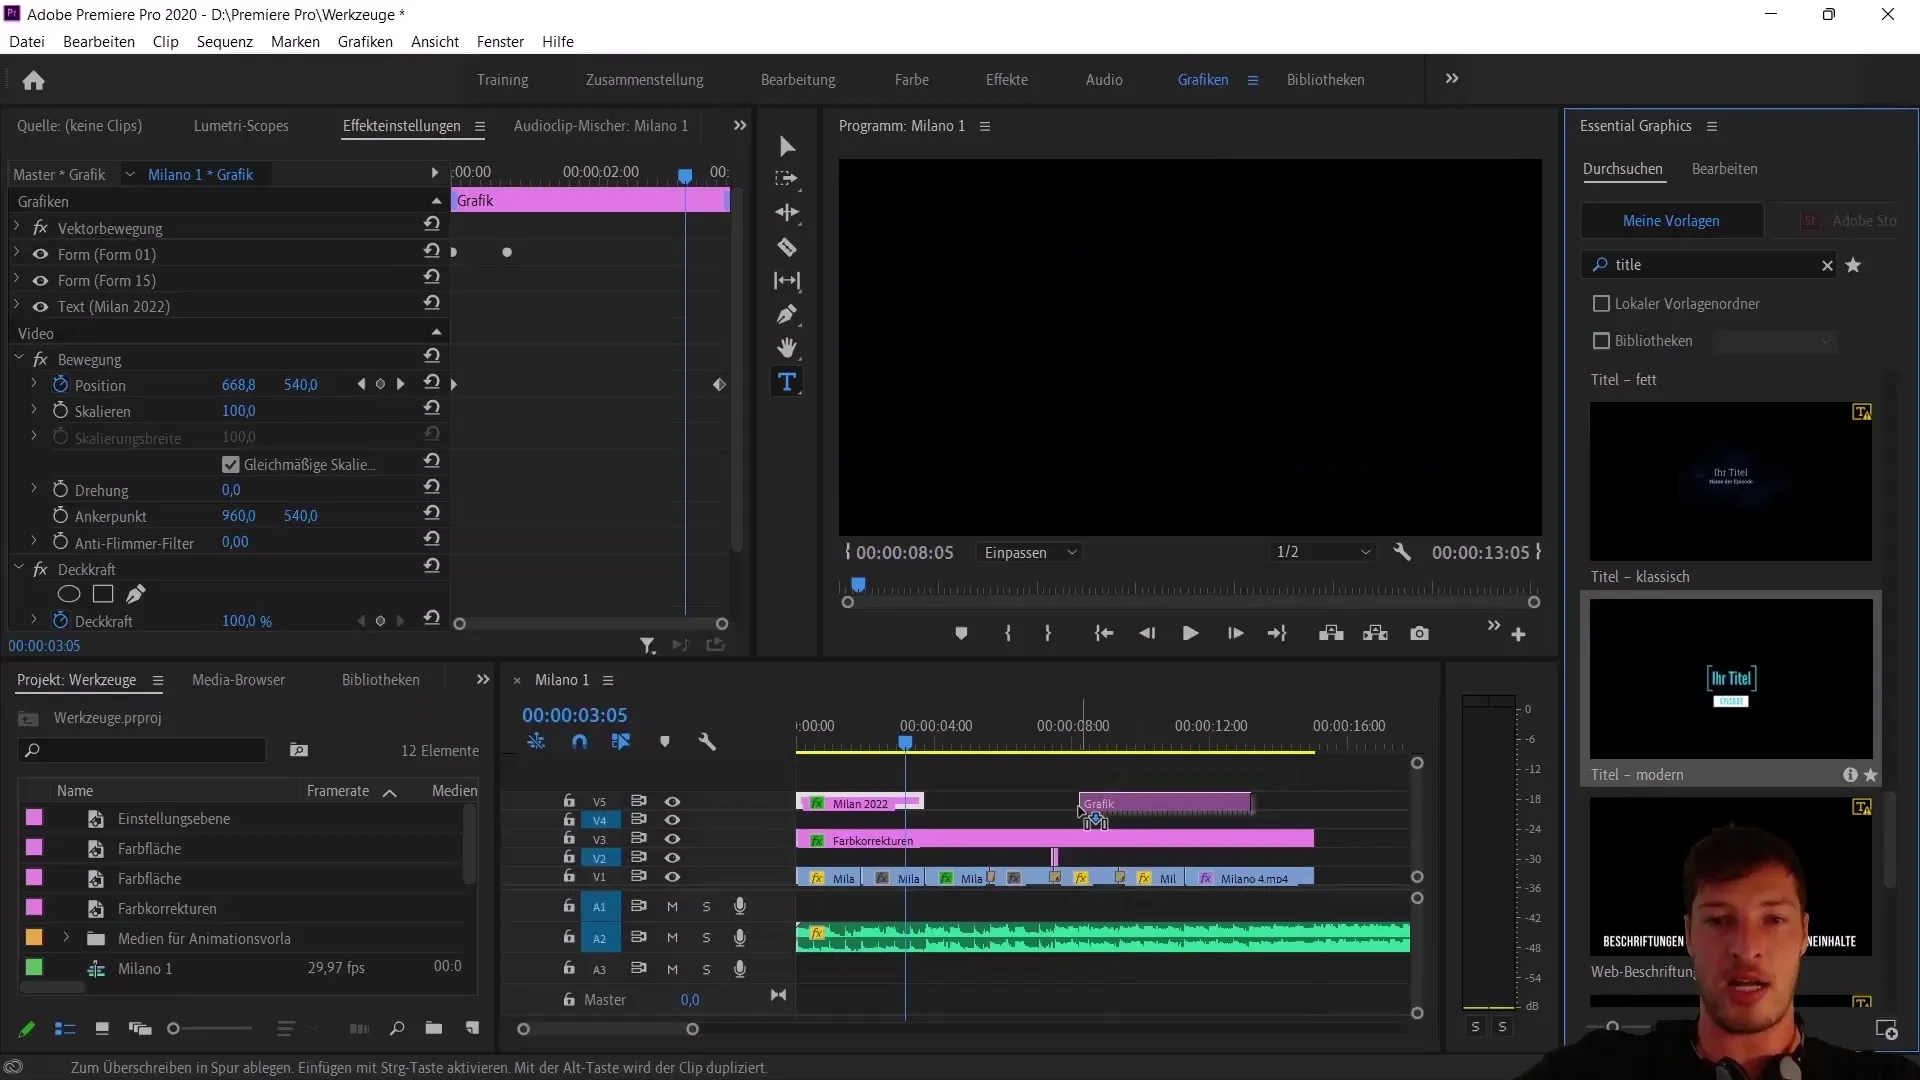
You have the option to customize the title. For example, you could change the text to "Milan" and adjust the episode and year accordingly. Similarly, you can also change the colors of the title. These adjustments allow you to develop a personalized look for your projects.
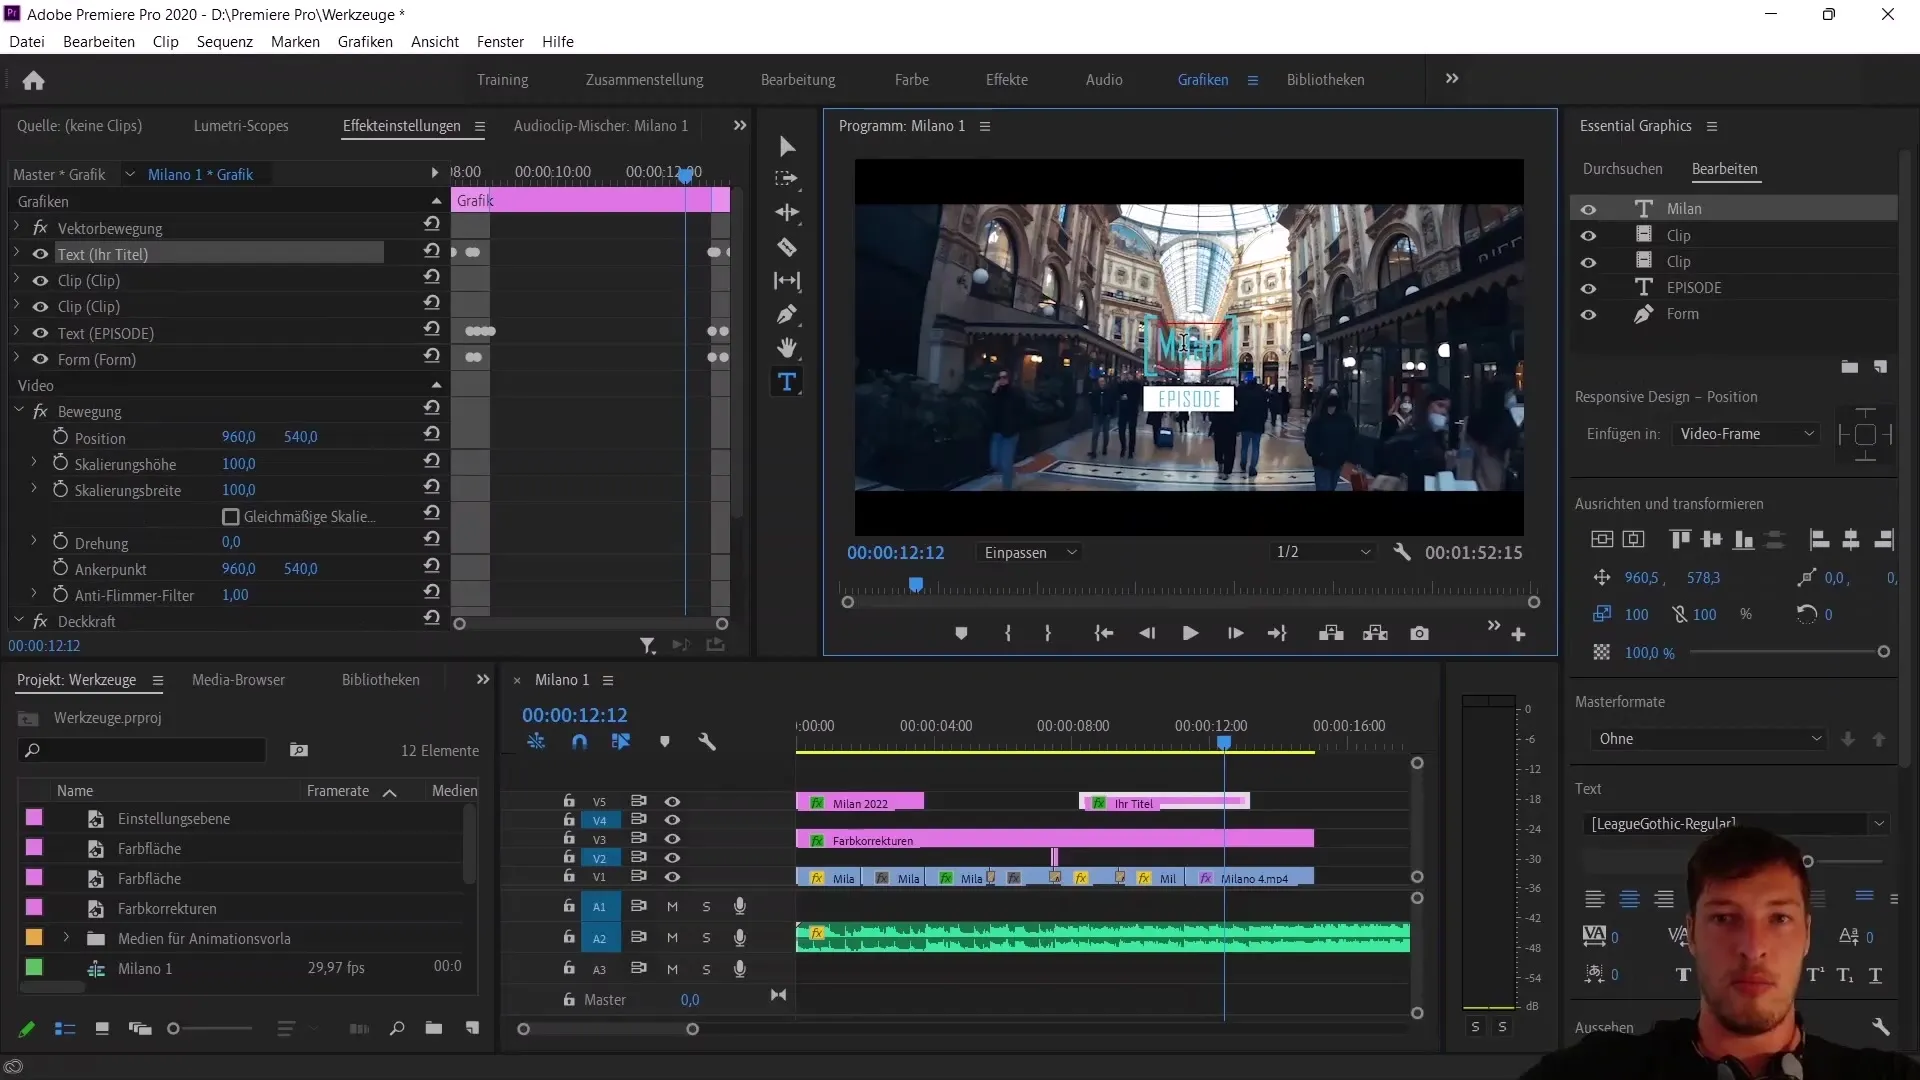
To save the animation you created as a preset, simply right-click on the sequence. Choose the option "Export as Motion Graphics template." This feature allows you to save your creation for future applications.
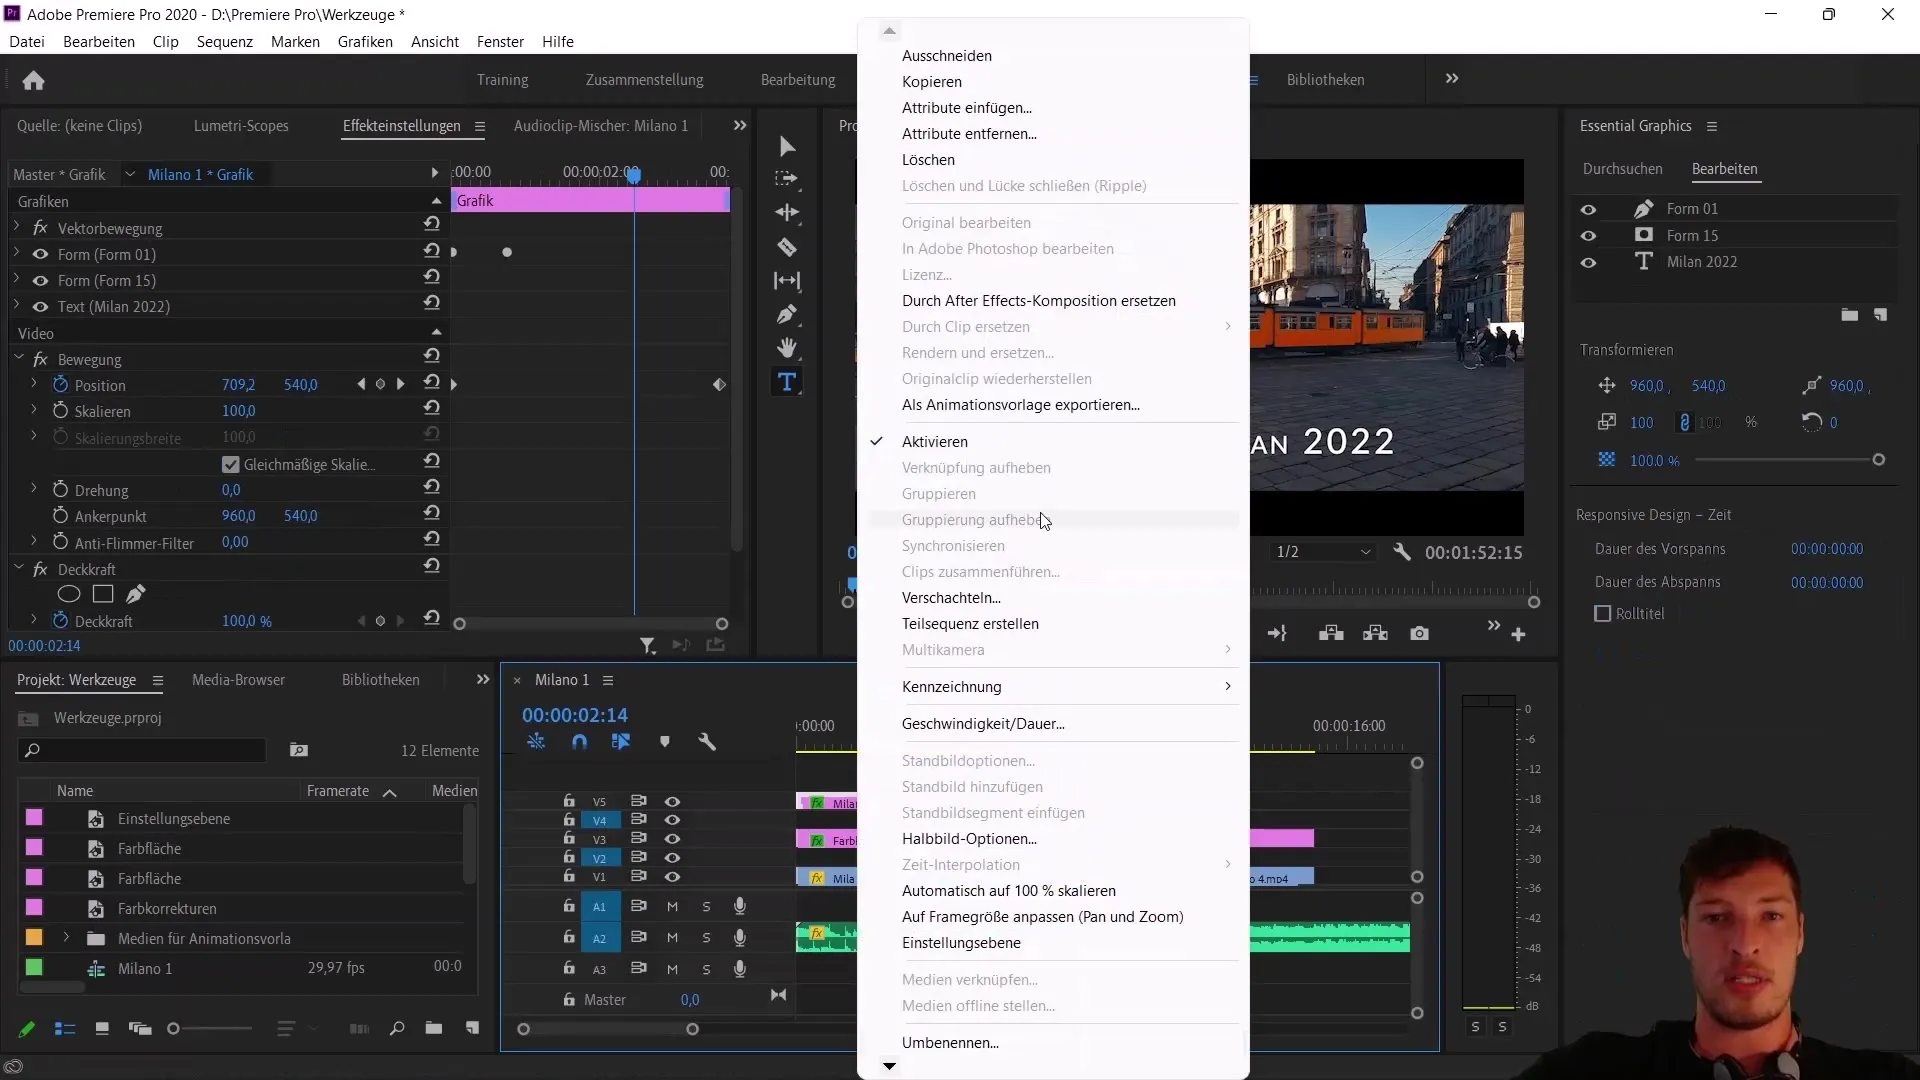
After right-clicking, Premiere Pro will prompt you to save the project before starting the export. Give the motion graphics template a name. In this case, name it "Cursor Title Effect" to clearly identify the template content.
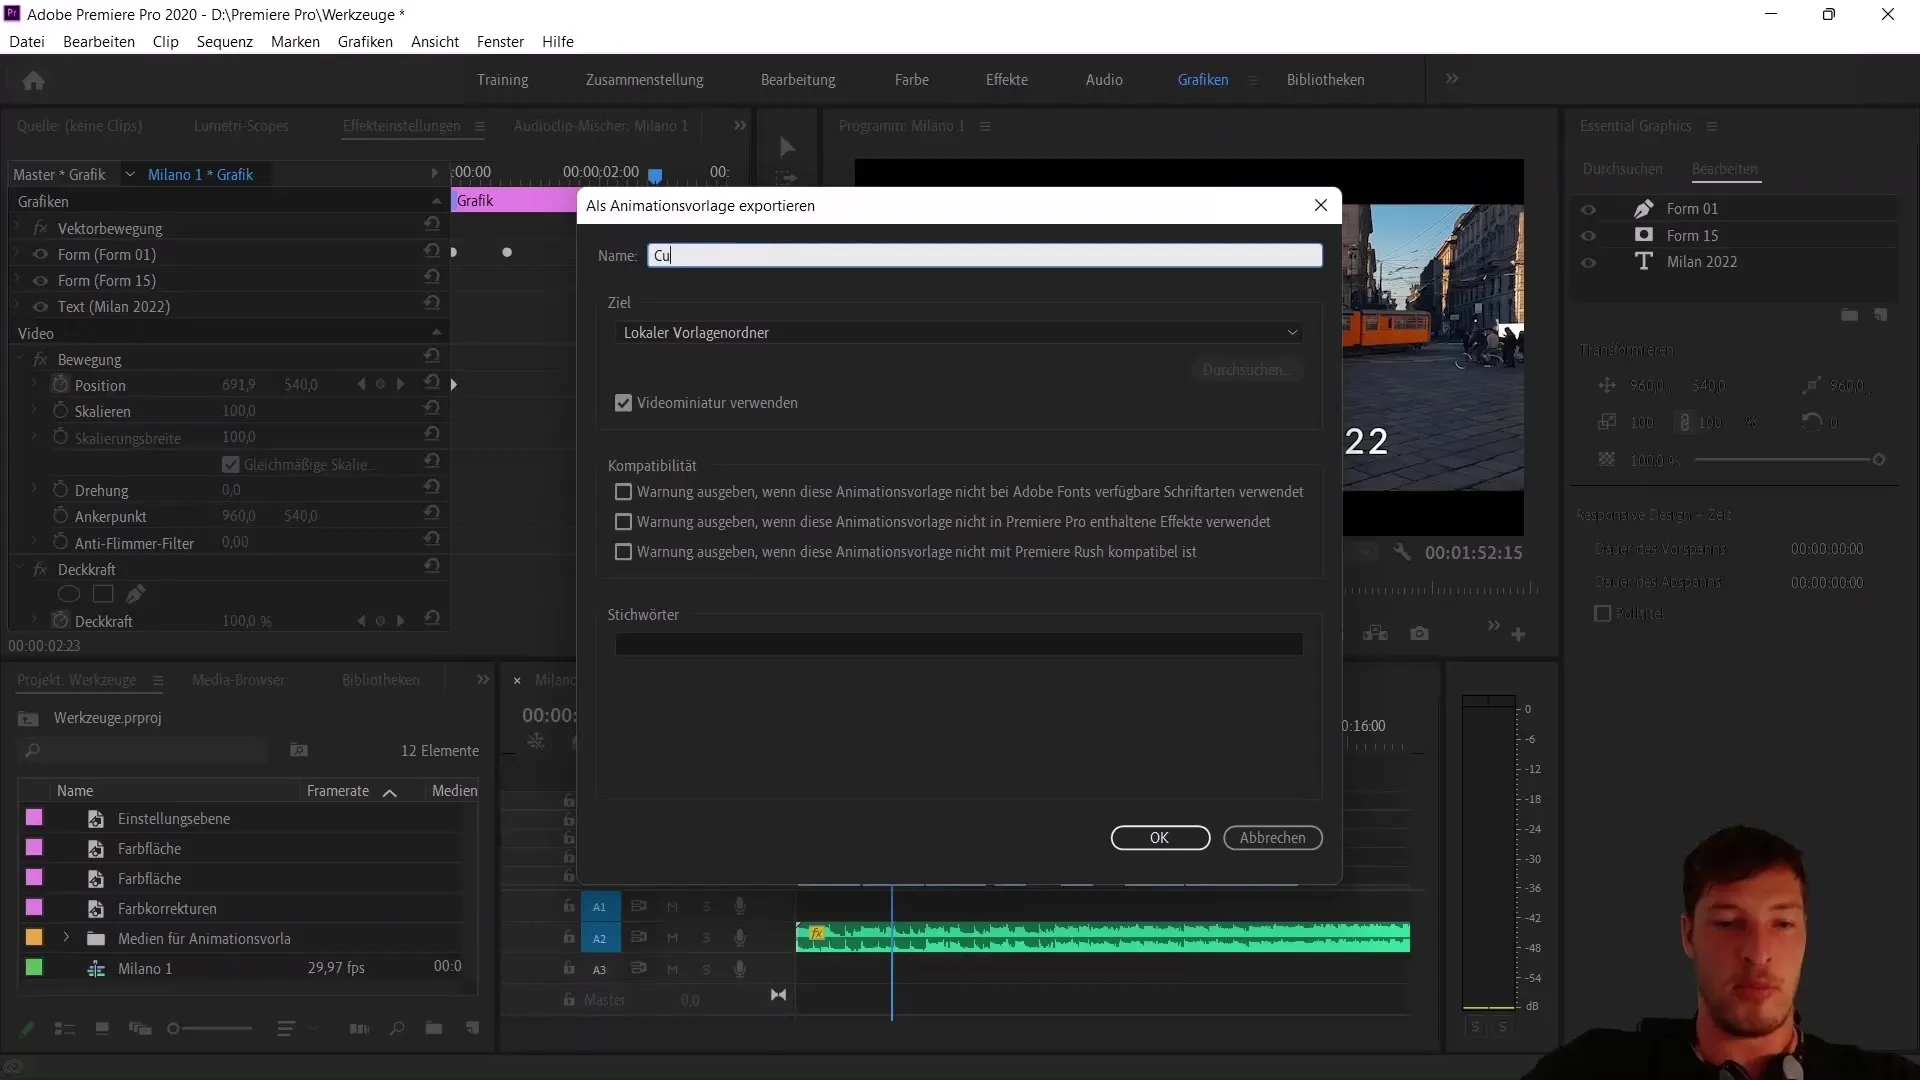
Keep the destination in the local templates folder, which makes the export quick and easy. Click on "OK" and wait a few seconds while Premiere Pro creates the template. It is important to be patient while the process completes.
Once the export is complete, you can see in the Browse tab that the "Cursor Title Effect" is now available as a preset. This means you can use it in other projects in the future with a simple drag-and-drop.
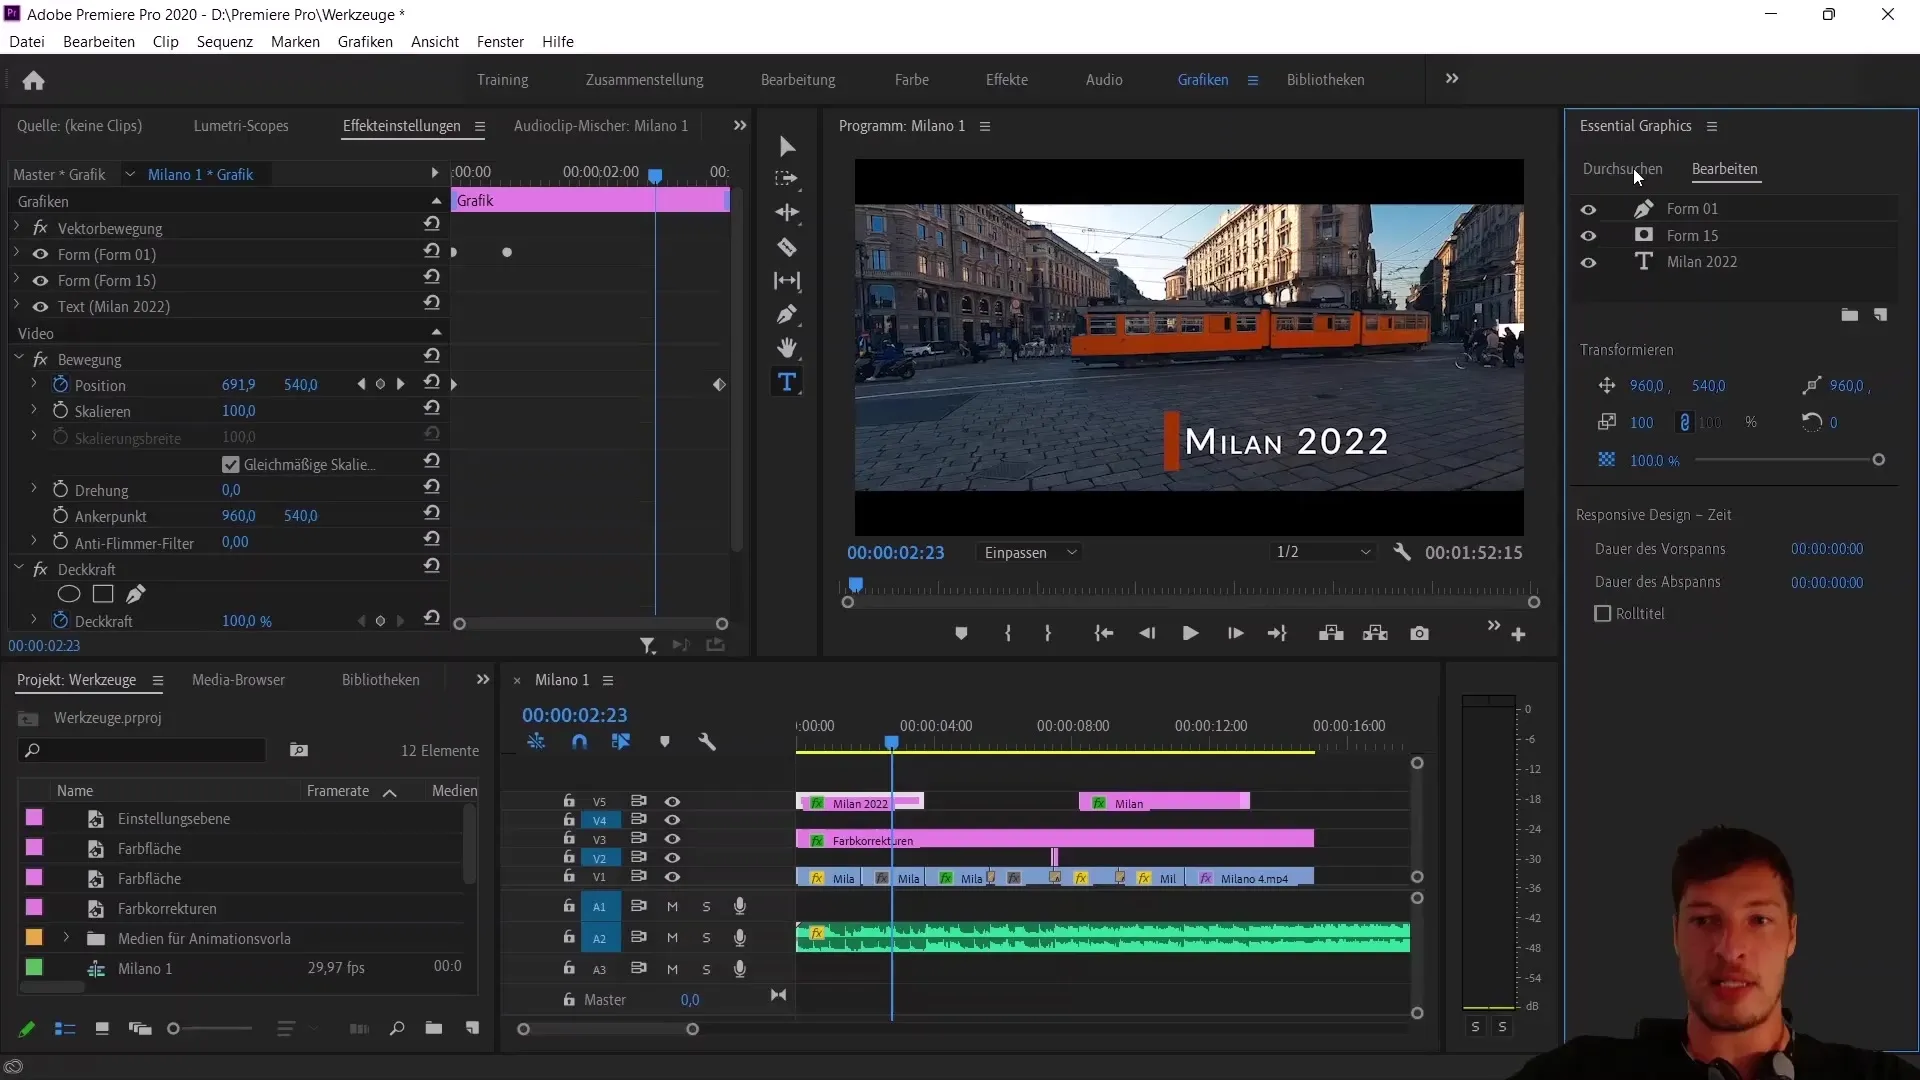
You can continue to customize the template by changing the text or the colors of the shapes. This gives you the freedom to tailor the animation to your needs.
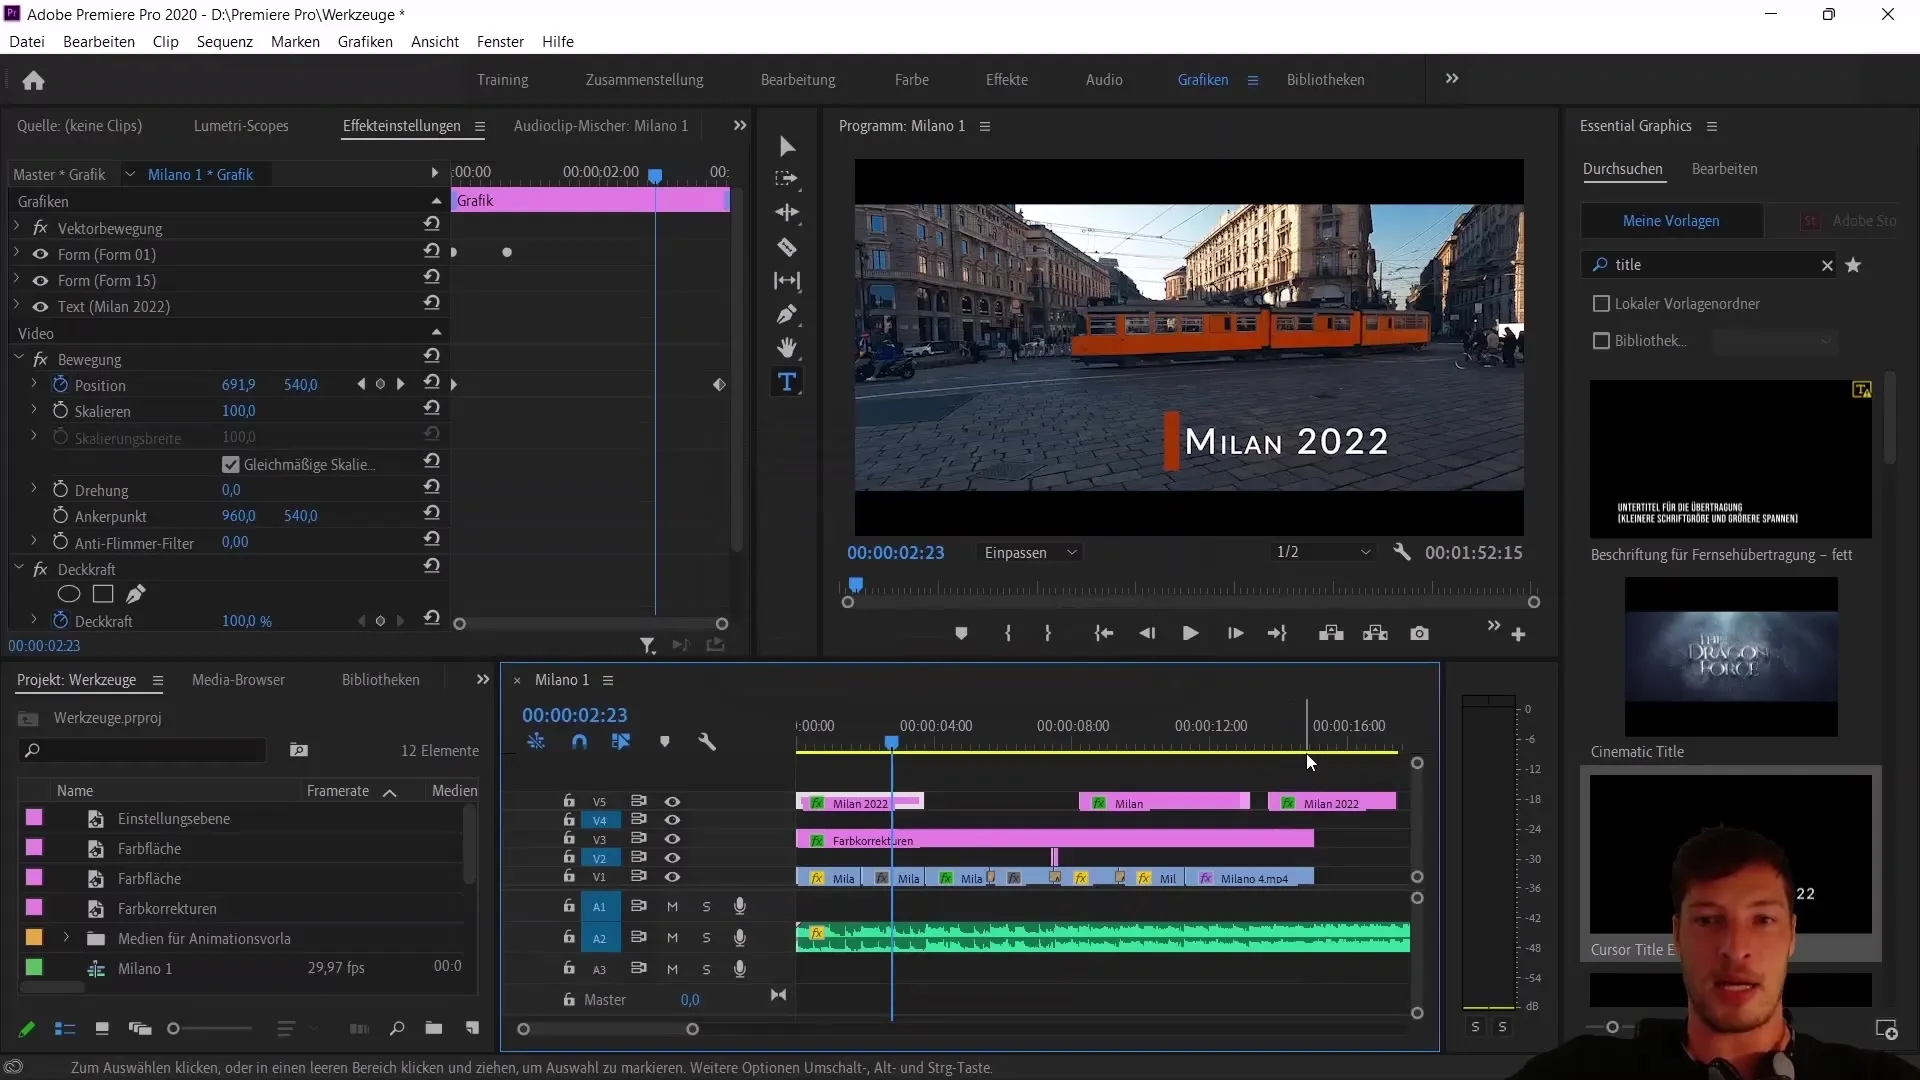
In conclusion, the Essential Graphics in Adobe Premiere Pro CC offer functionality similar to open-source. Every user can create, export, and share their own effects and settings with others.
Summary
In this guide, you learned how to save a text animation in Adobe Premiere Pro CC as a preset. You saw how to create, customize, and provide your individual animation for future projects.
Frequently Asked Questions
How do I export an animation template in Premiere Pro?Right-click on the sequence and choose "Export as Motion Graphics Template".
Can I use the exported template in other projects?Yes, you can import the template into other projects anytime using Drag-and-Drop.
What happens if the font is not found?It is not critical because the animation will still be applied.


