In this guide, you will learn how to export single frames from your video sequence in Adobe Premiere Pro. This is especially useful when you need, for example, thumbnails for YouTube or other image files. Exporting a screenshot is a straightforward way to quickly save the desired frame. We will go through the steps in detail so that you will be able to export an image in the best quality from your project.
Key takeaways
- You can export single frames from your project directly as PNG or JPEG.
- There are two main methods to export a screenshot: via the camera icon and via the export window.
- Paying attention to in and out points is crucial if you want to export a specific frame.
Step-by-step guide
First, we will remove the Creative Lower Thirds element from the video sequence to keep the screen clear. You can achieve this by selecting your element in the program and clicking on "Delete."
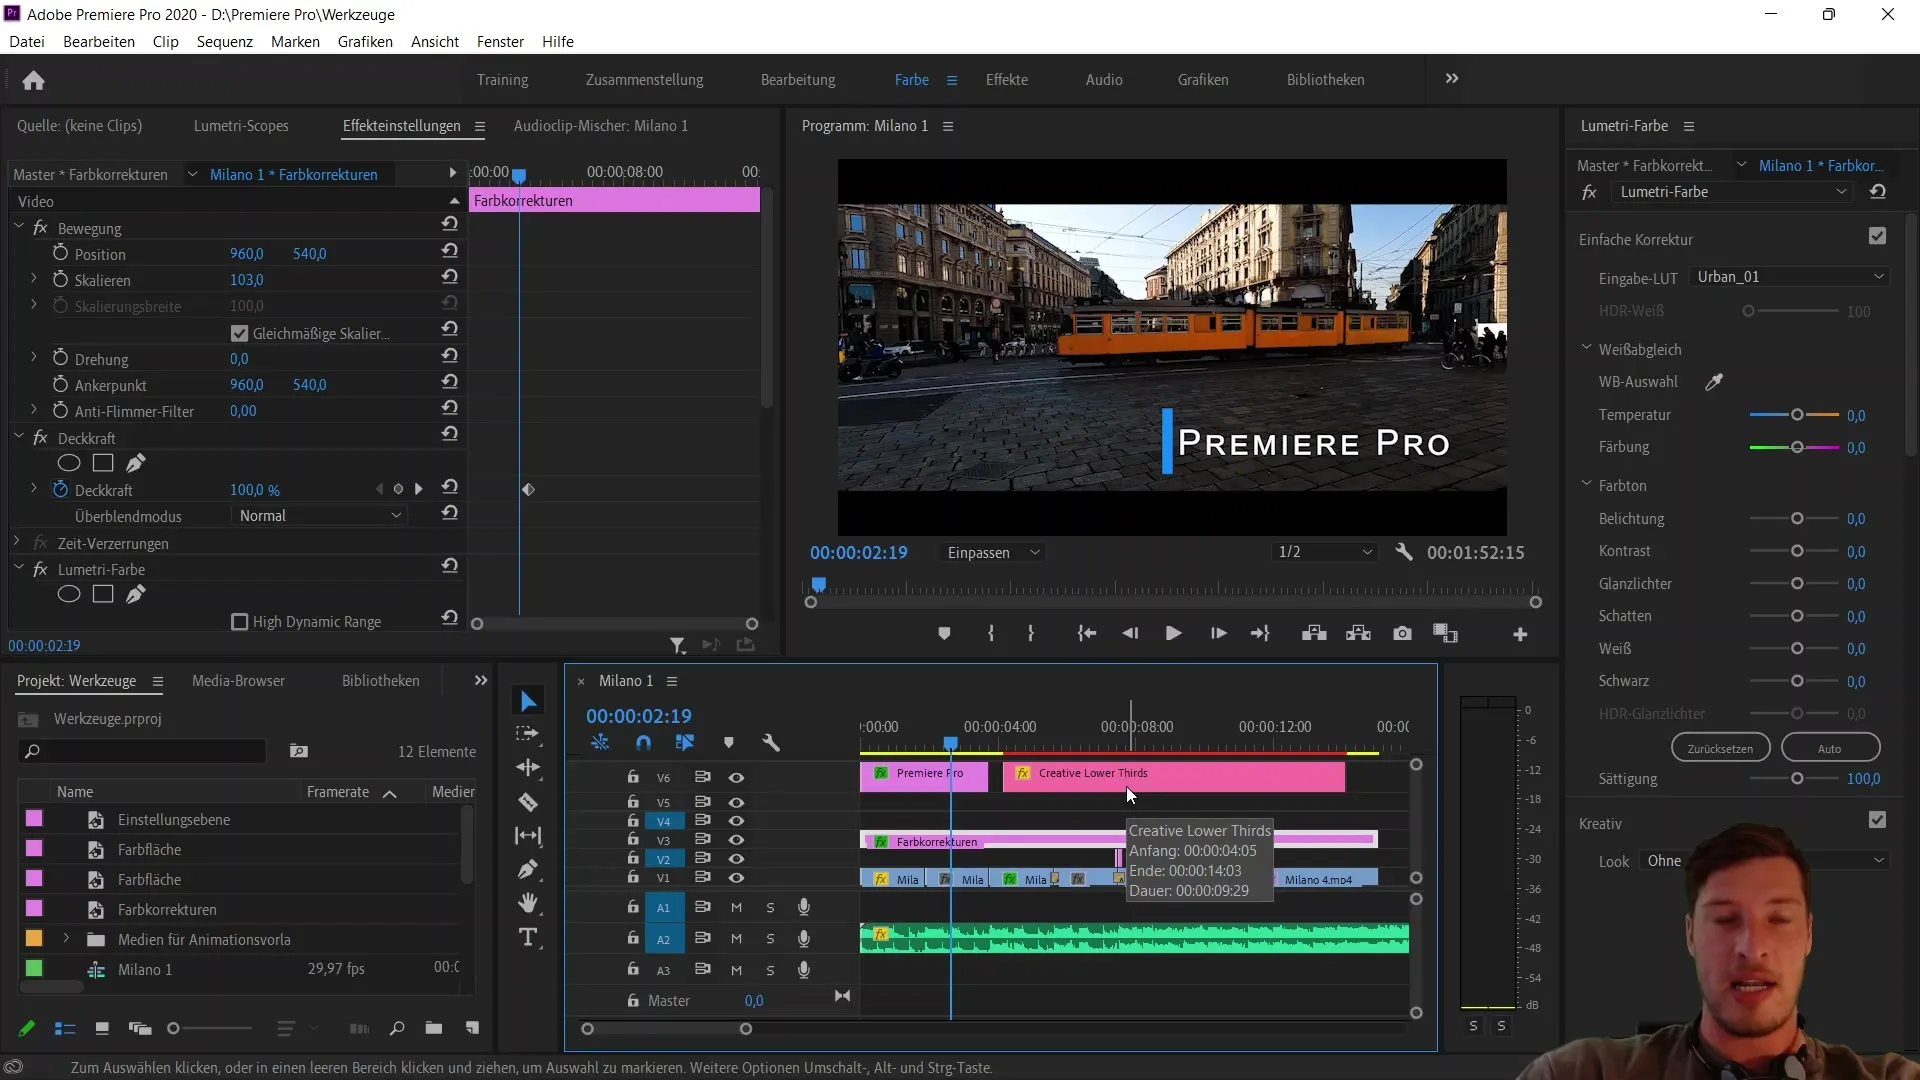
Now, let's take a look at the Essential Graphics to customize the Cursor Title Effect's color to match our current project. To do this, open the Graphics tab and select the element you want to edit. Then change the fill color to a color that matches your project and make sure the text is correct.
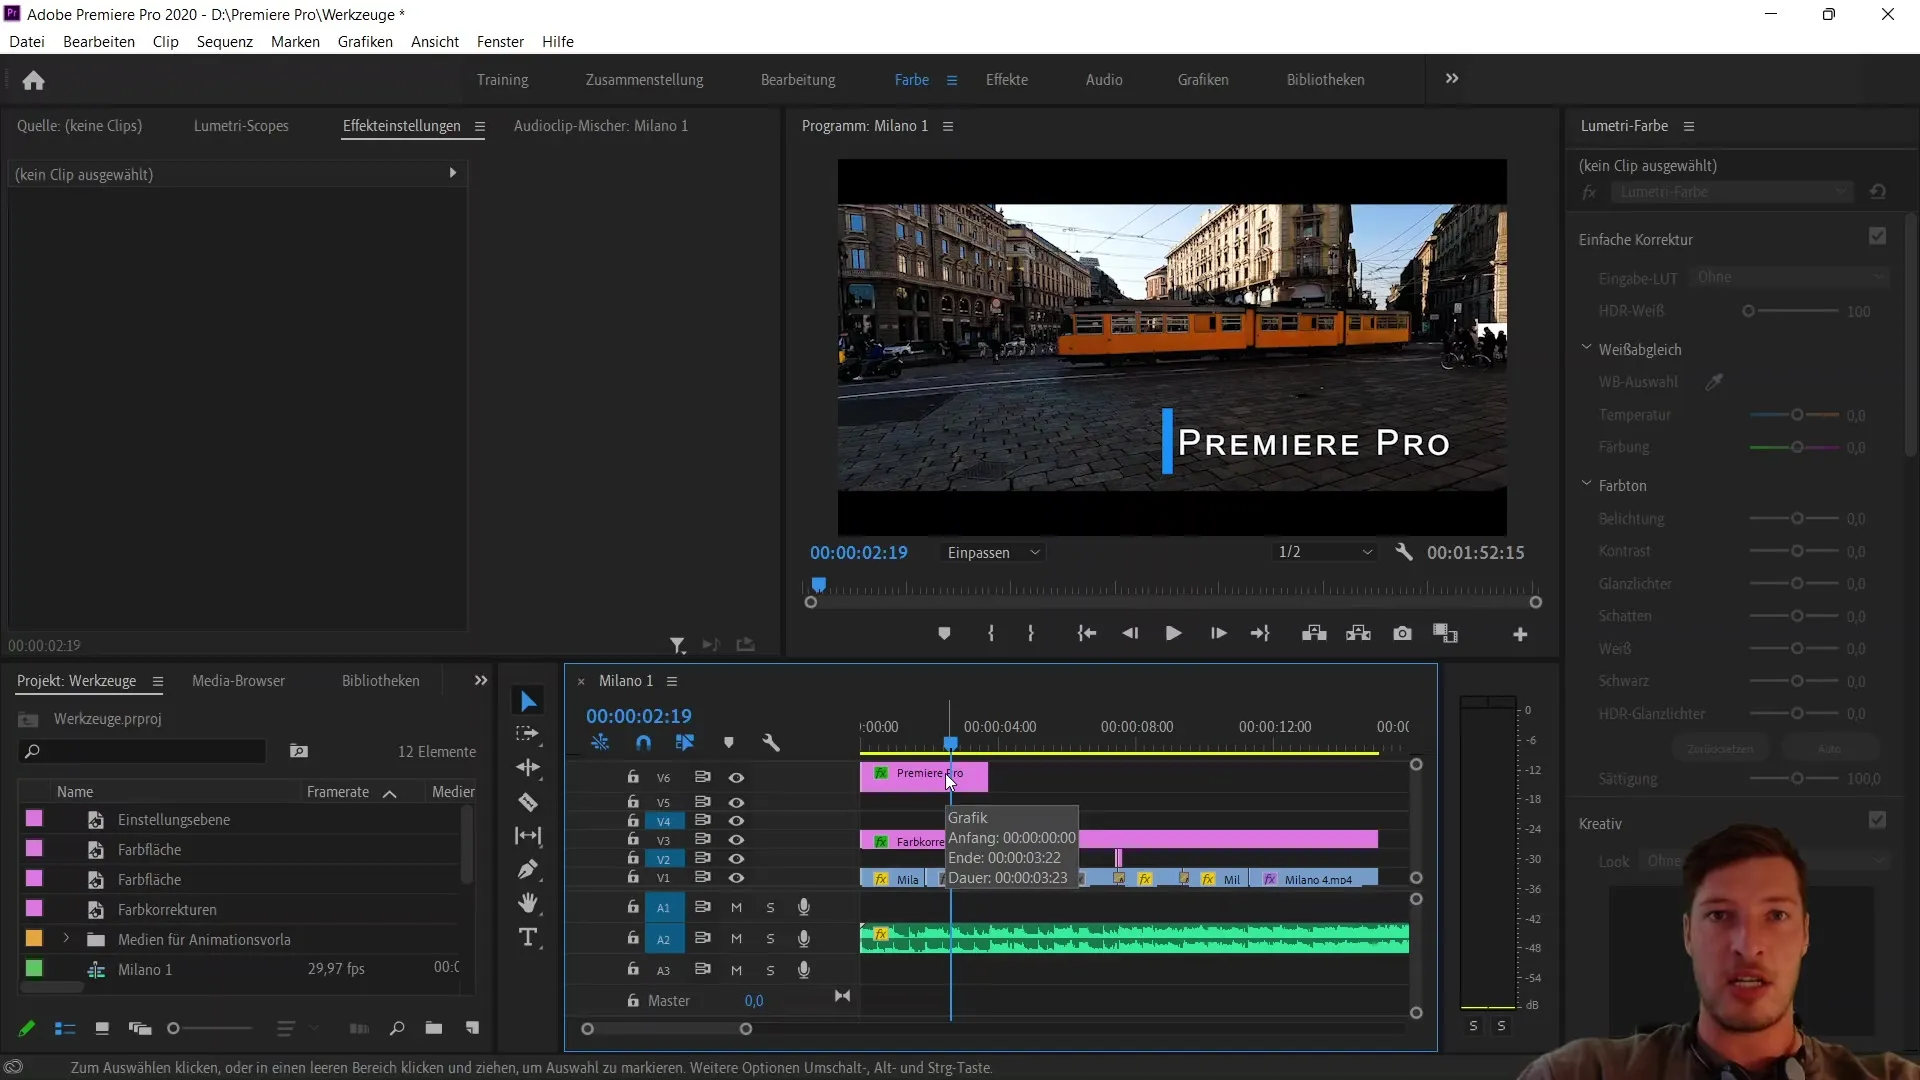
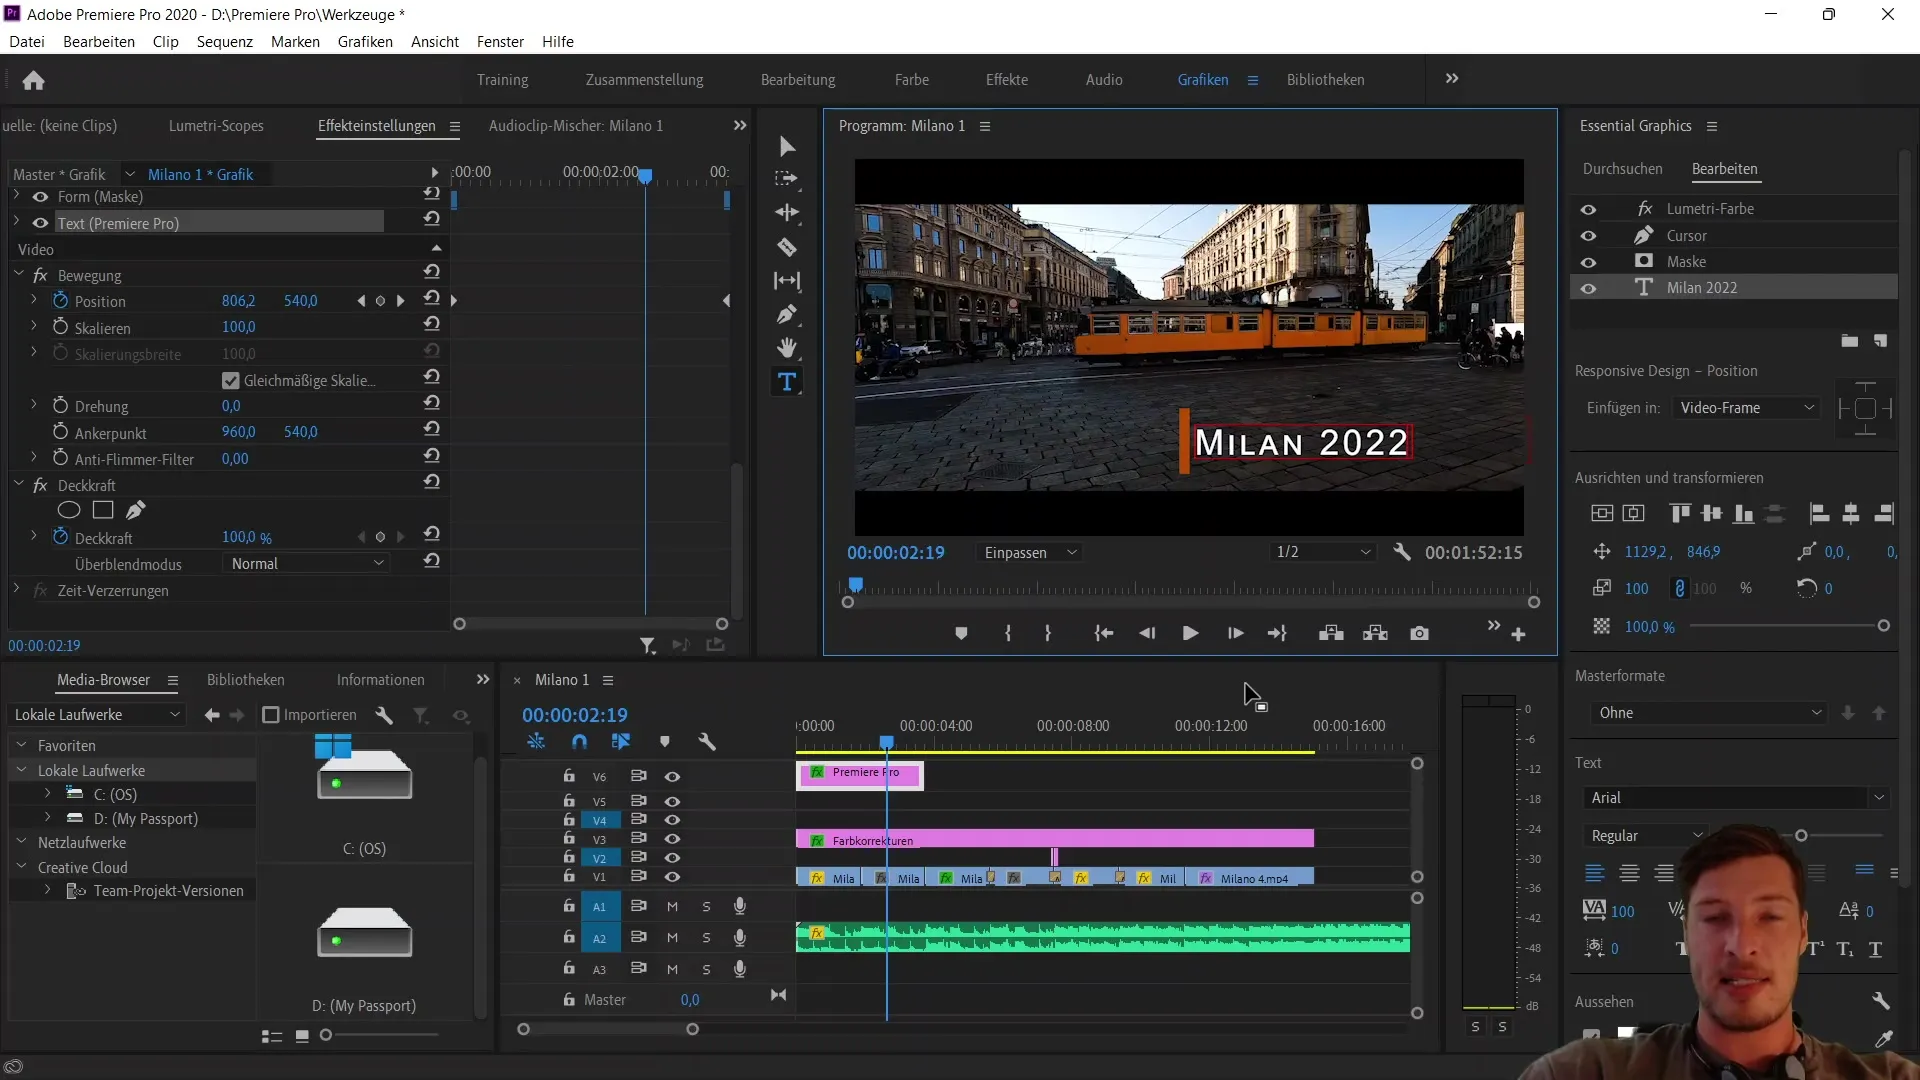
You are now ready to start exporting the sequence. In this tutorial, we will focus on outputting a screenshot, meaning exporting a single frame as an image file. We have an impressive background with the tram in Milan and the inscription "Milan 2022." We will use this frame as an example.
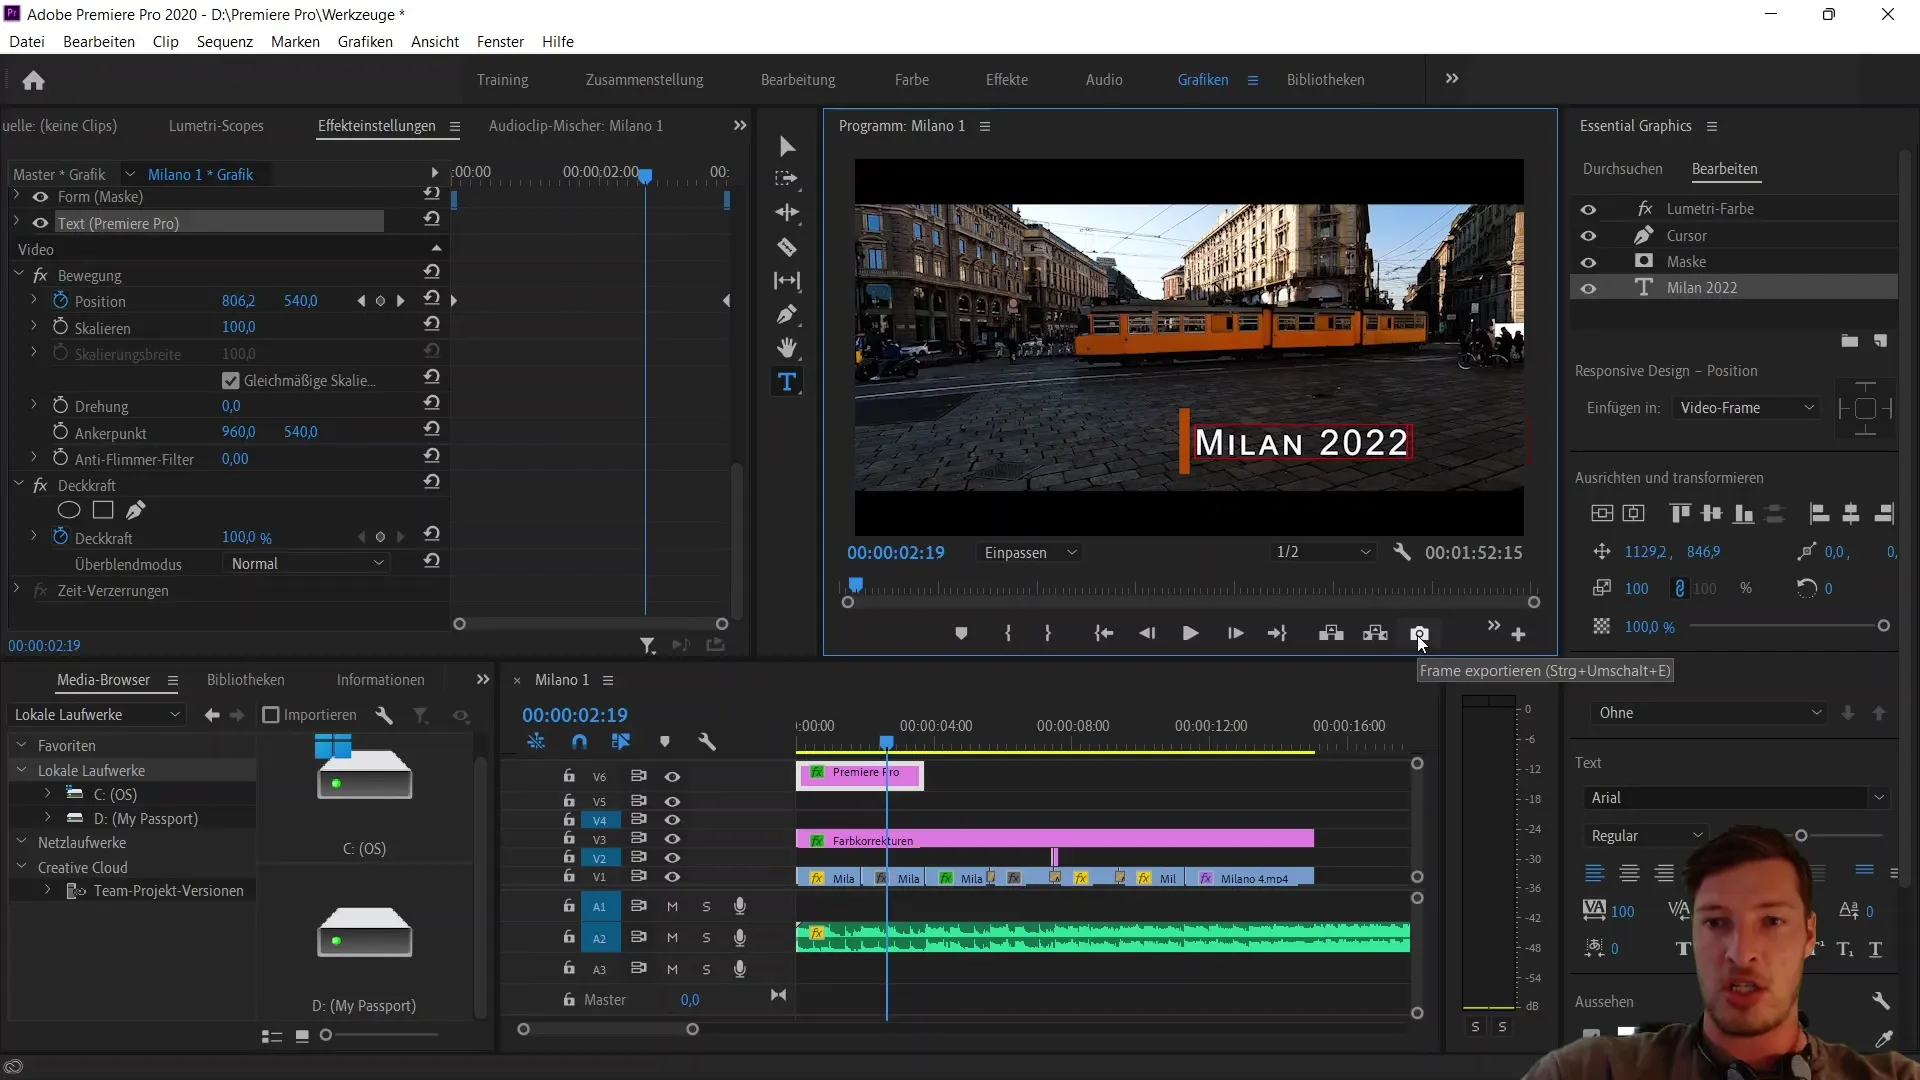
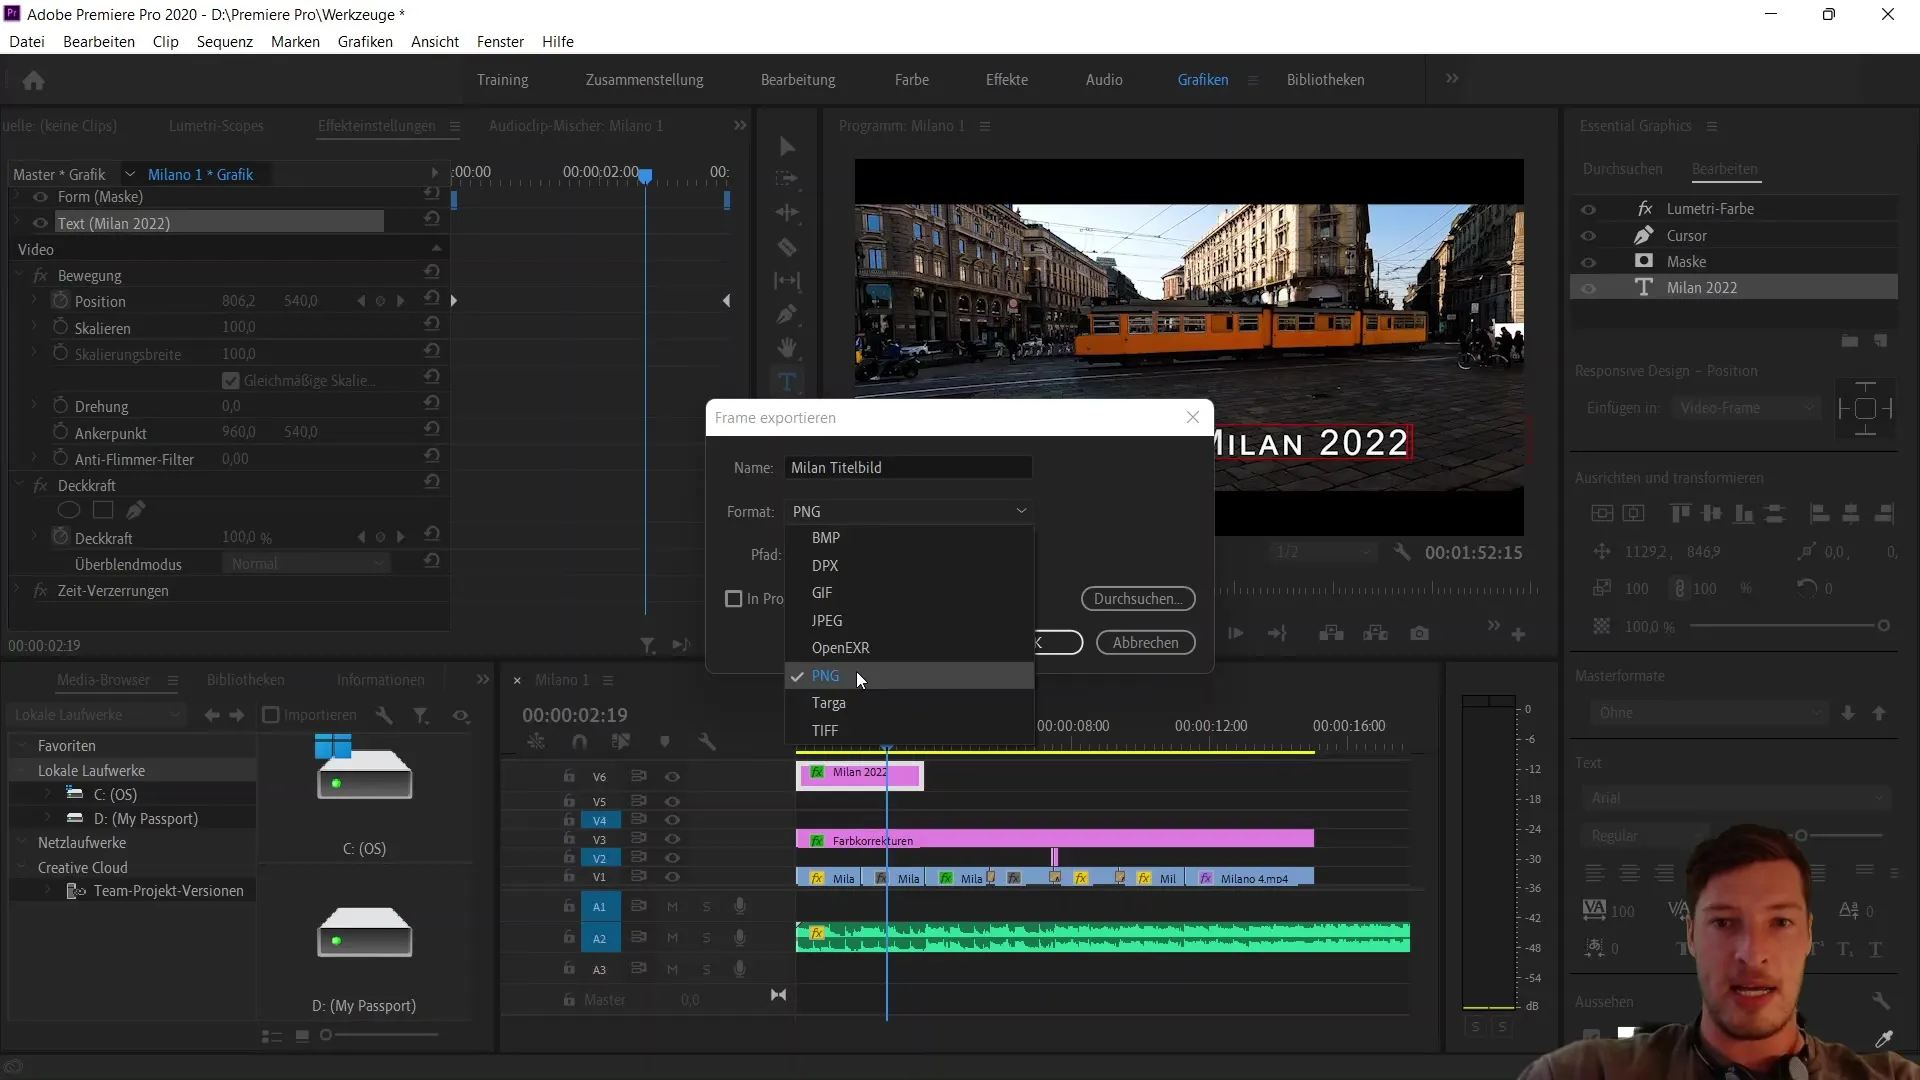
To create the screenshot, click on the camera icon labeled "Export Frame." A new window will open where you can set a name for your image. For example, name it "Milan Title Image".
In the export window, you have the option to choose the format. I recommend saving the image in PNG format to ensure the best quality. Select the PNG format from the list.
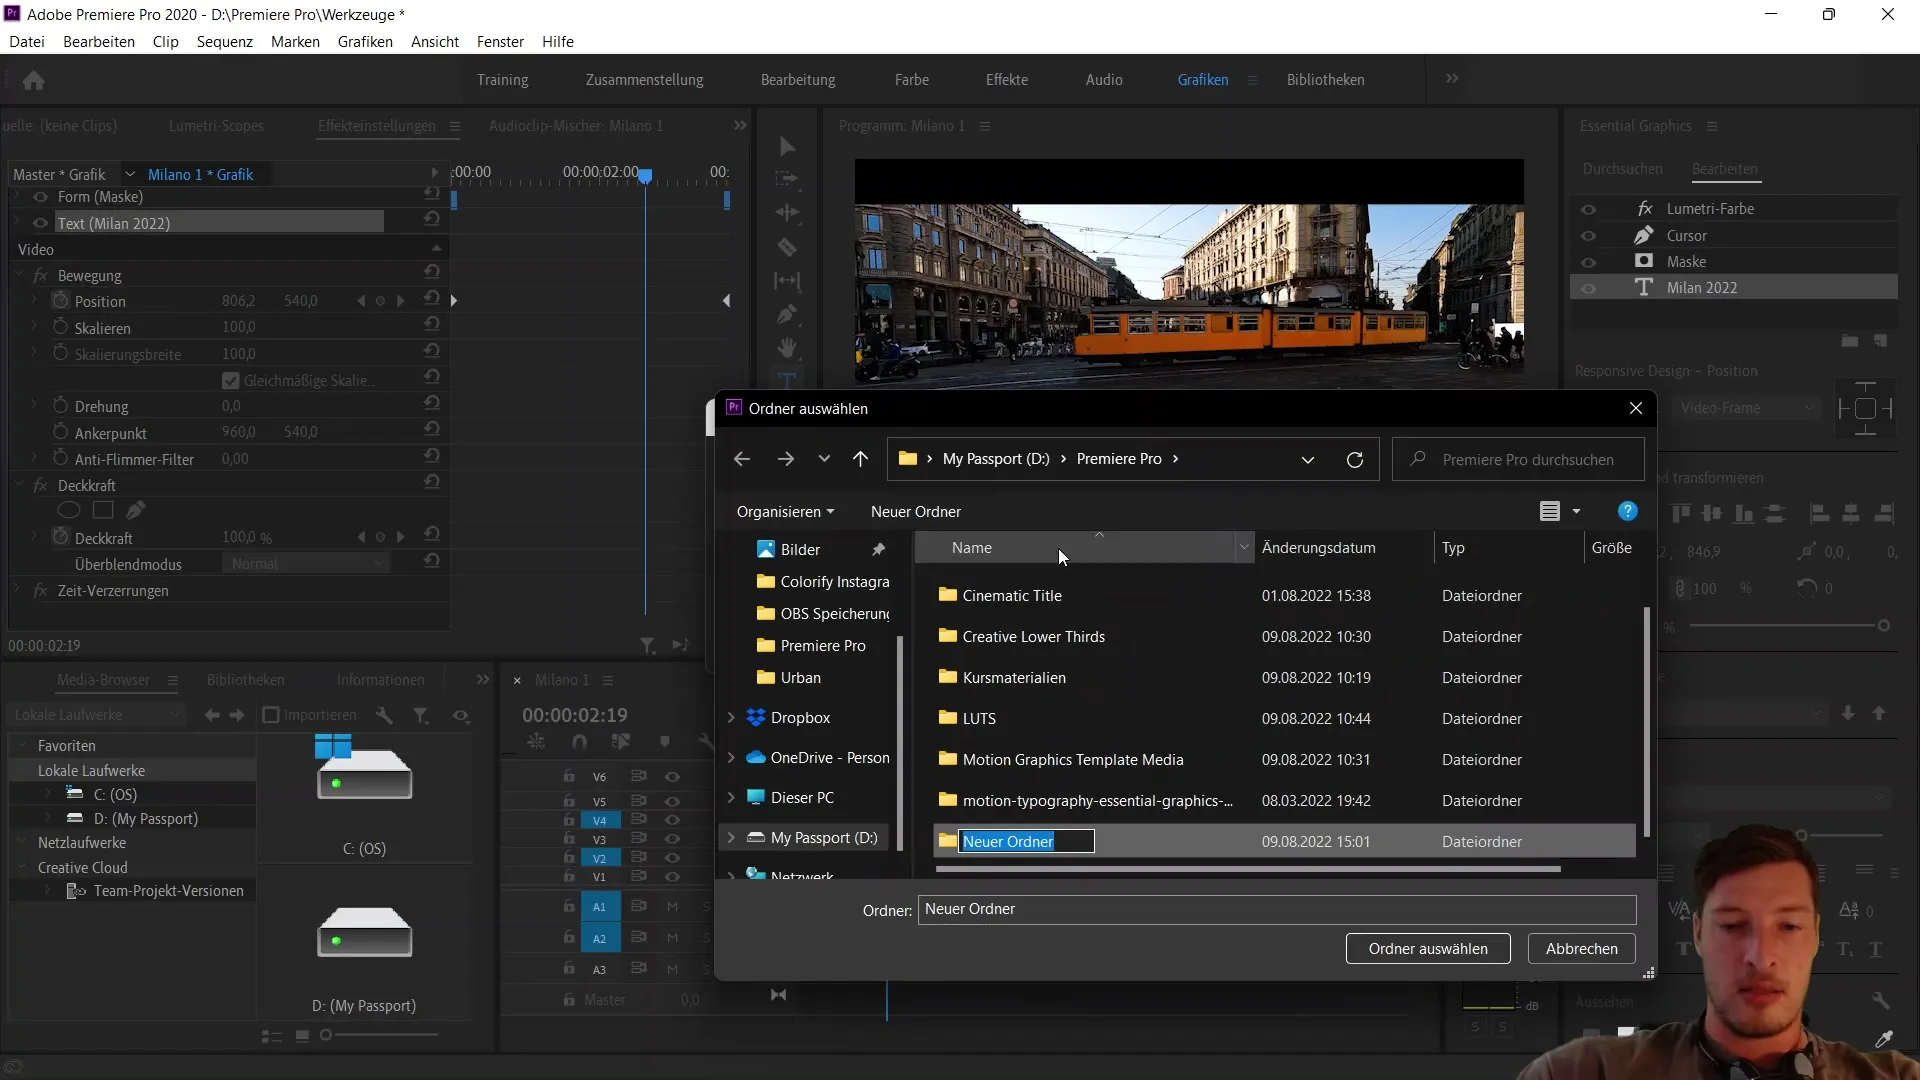
If you wish, you can create a new subfolder for your images. I recommend creating a folder named "Milan 2022." Select this subfolder to save your image file there.
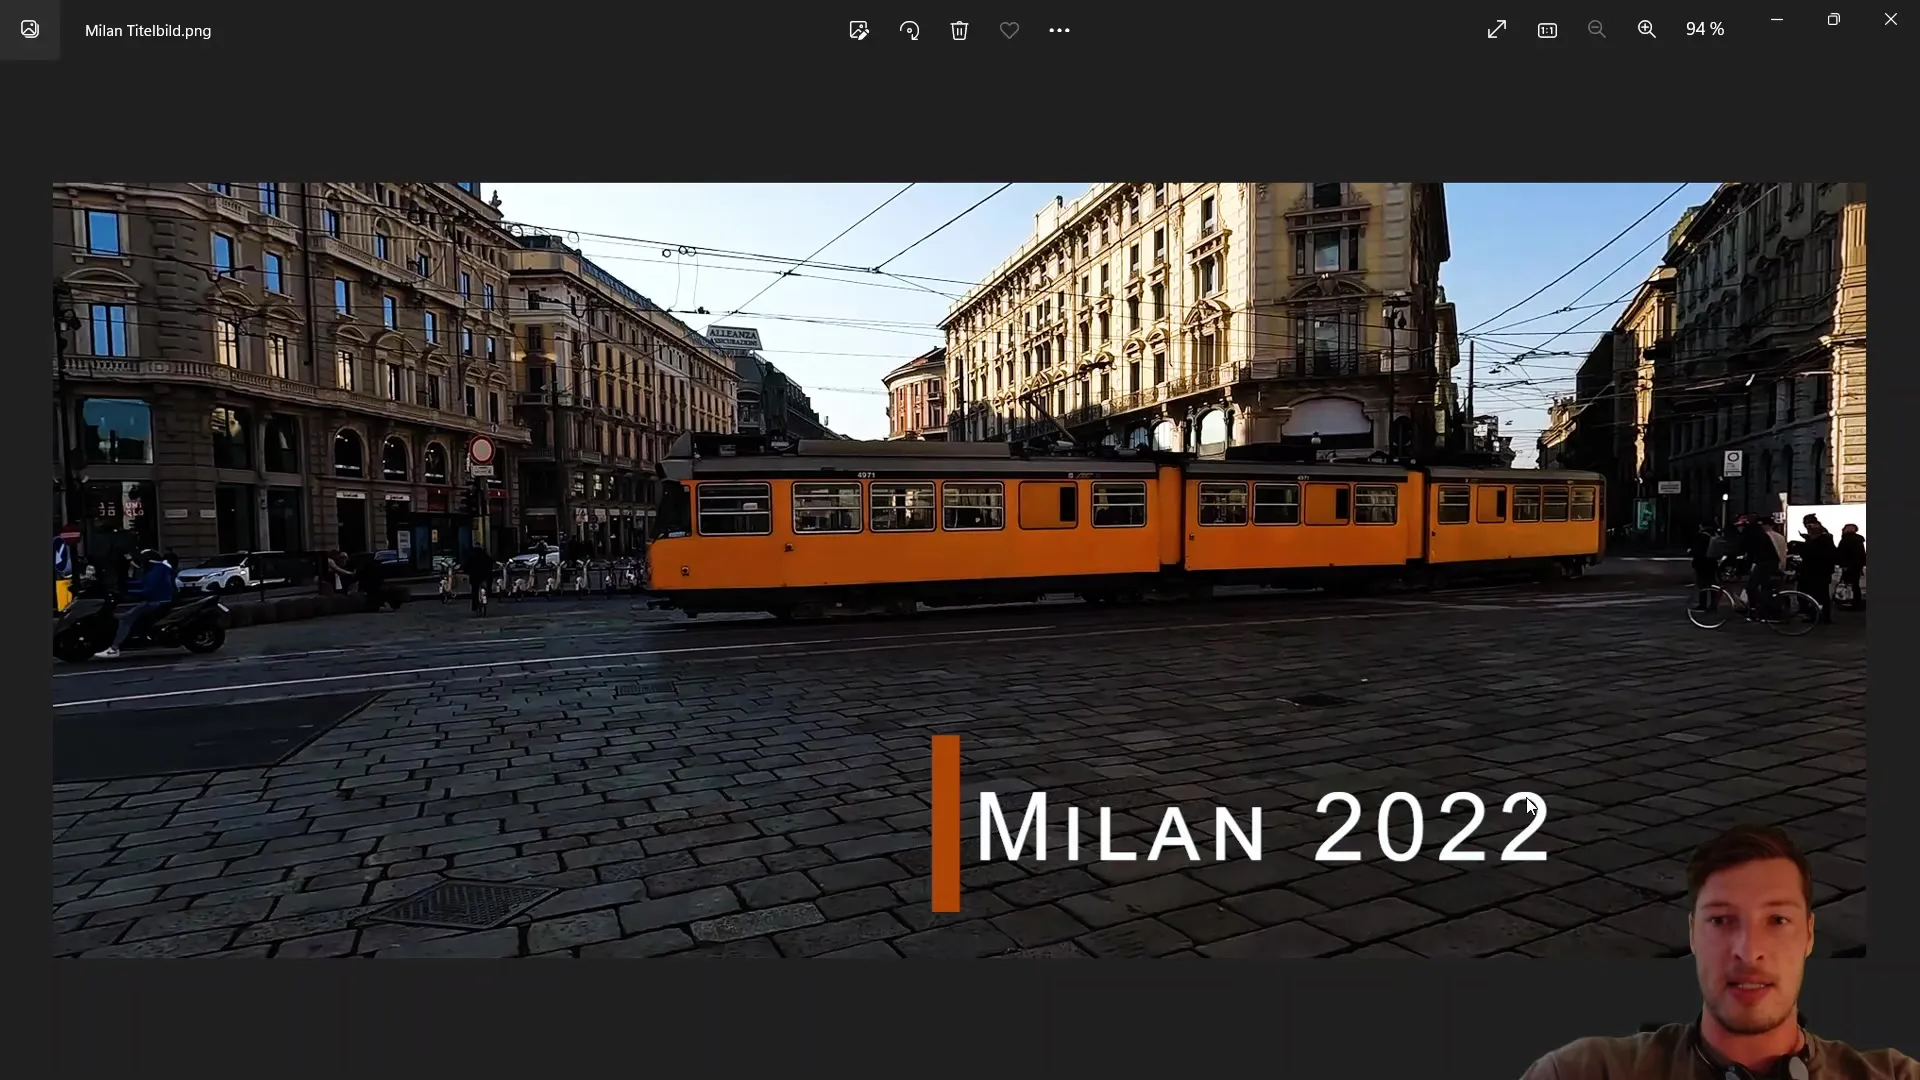
Click "OK" to start the export. Then navigate to the folder you just selected. You will see that your title image has now been saved as a PNG file. This is the easiest way to create a screenshot and save it in the project.
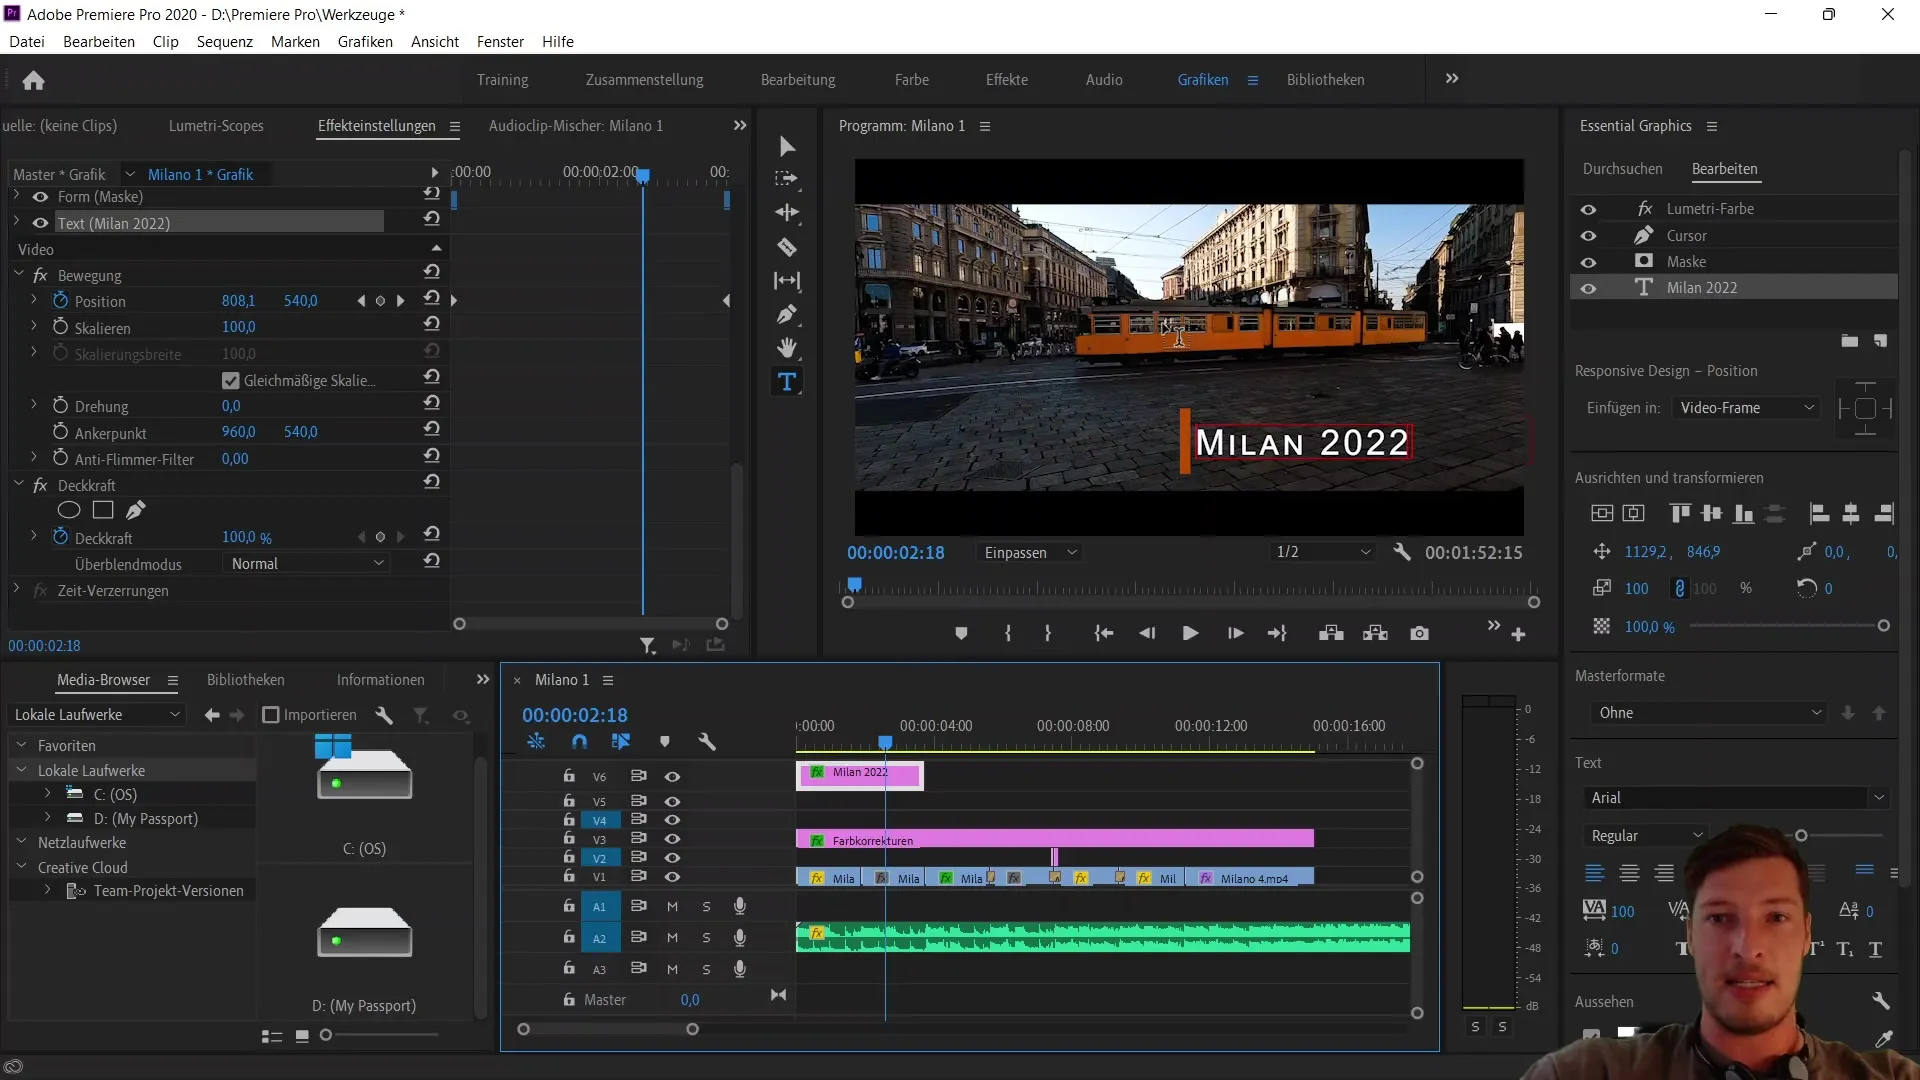
An alternative method to export a frame as an image file is through the main export window. Go to "File" and select "Export" and then "Media". Make sure to set the desired frame as in and out points. You can do this by marking the timeline and pressing "I" for in and "O" for out.
Now you can export the file again. Once again, use the PNG format to ensure you have the best quality. Since we have set the in and out points, only this one frame will be exported, not the entire sequence.
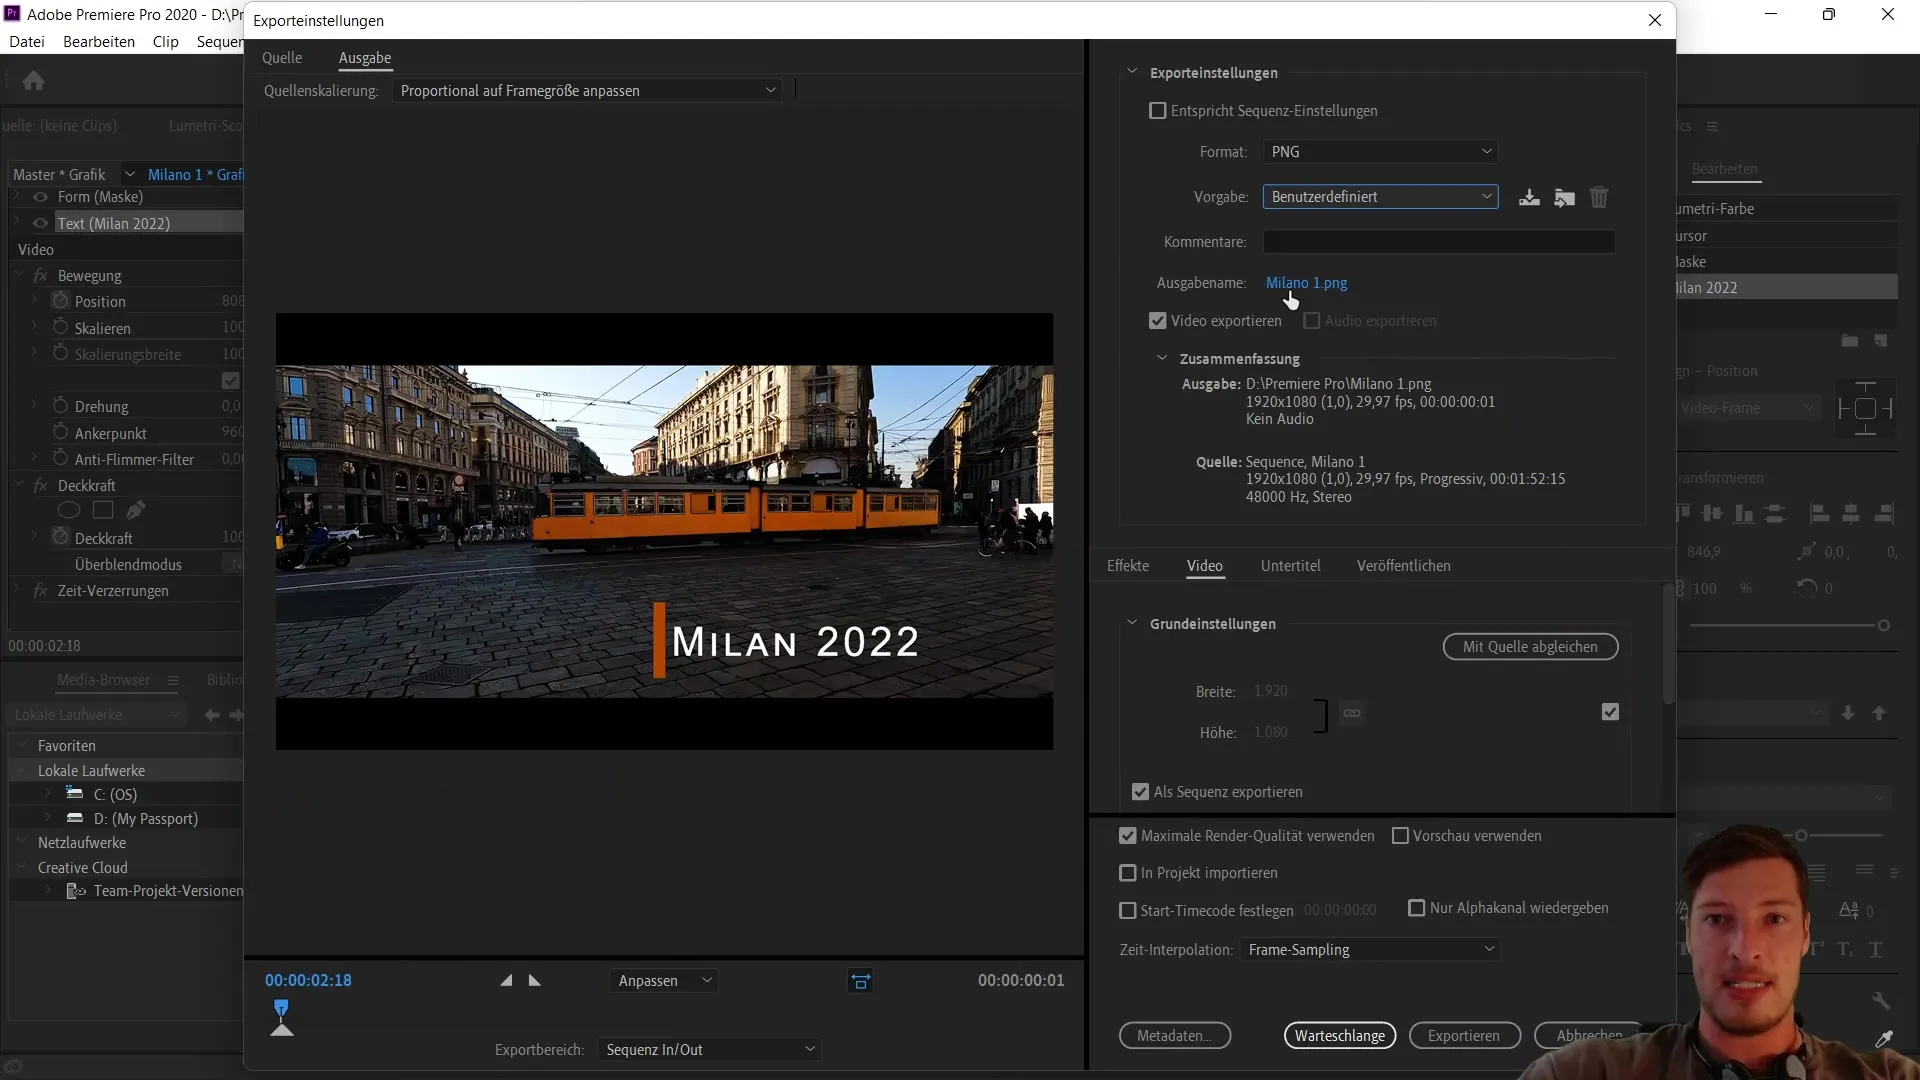
Name the image, for example, "Milan Title Image_2". Using an underscore helps you distinguish between different versions of the same image file. End the file name with an underscore to keep the sequence numbers ready in case you export multiple frames.
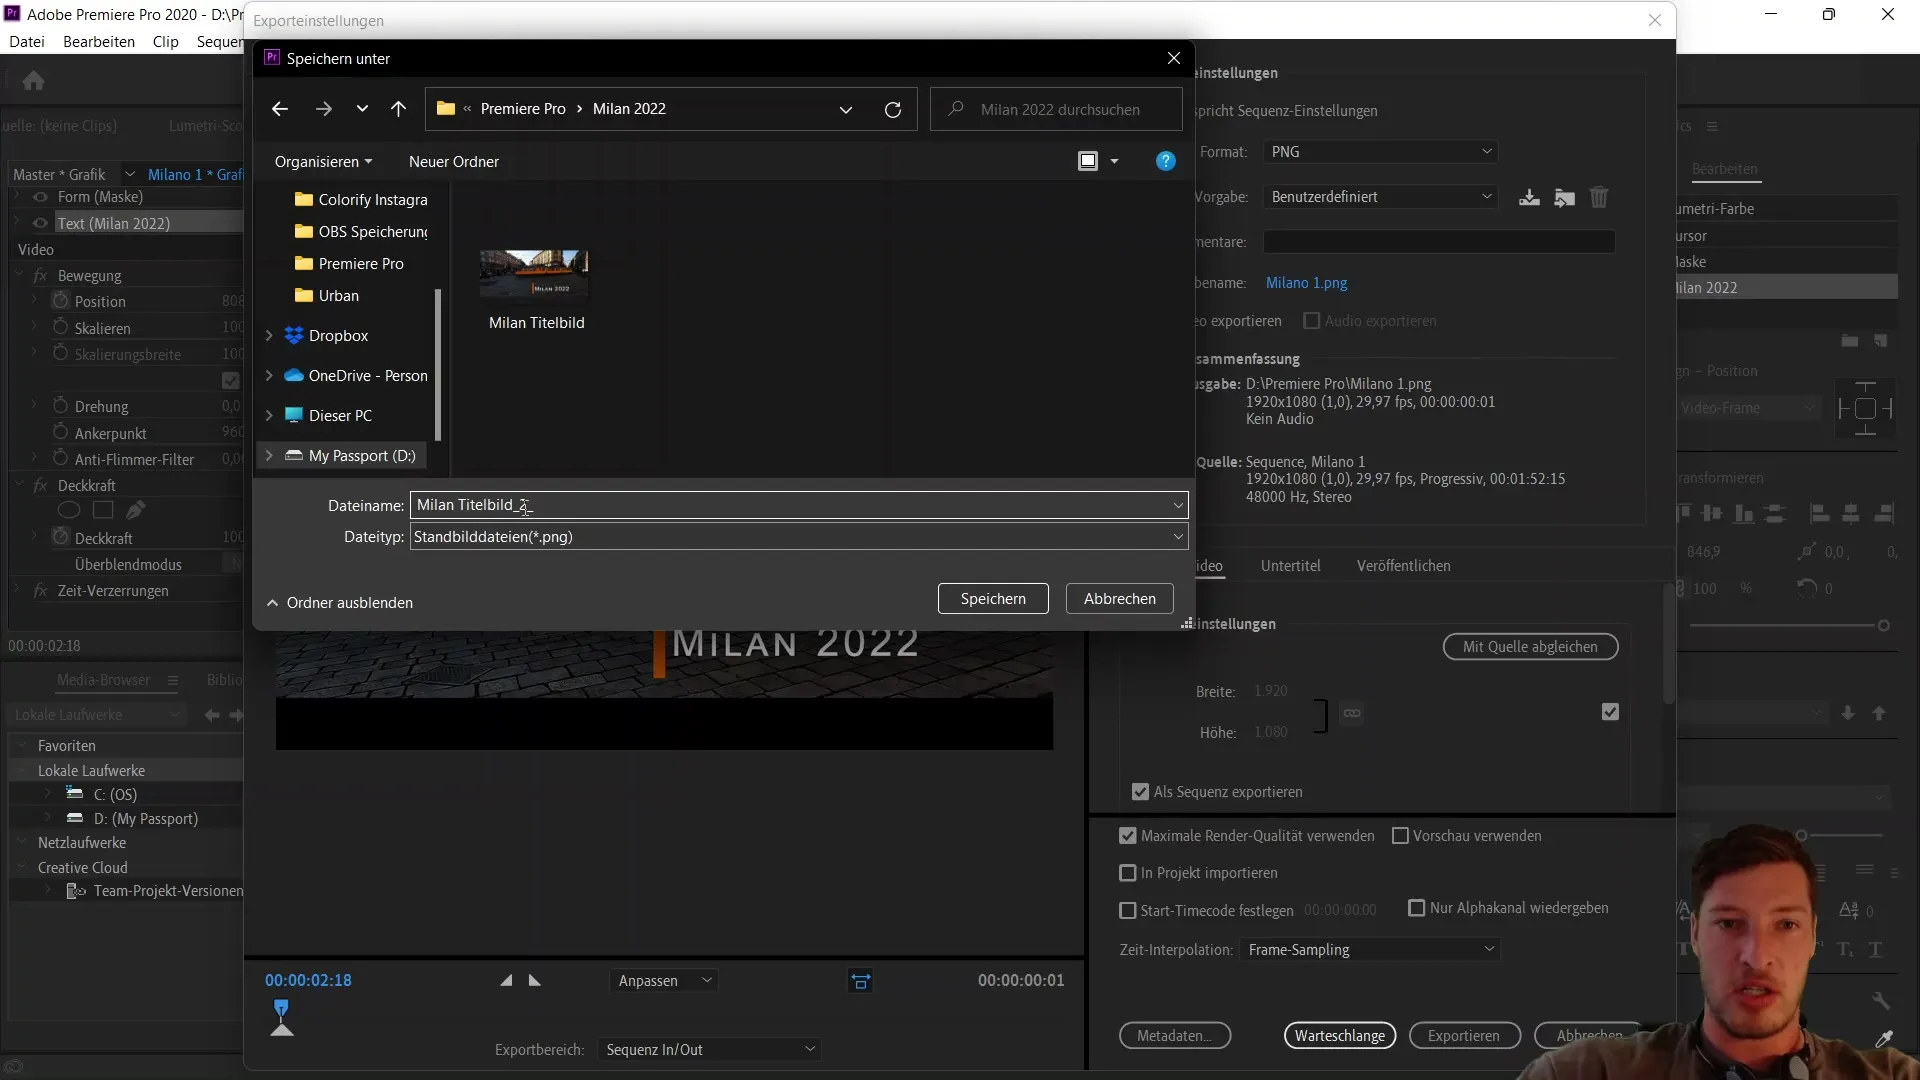
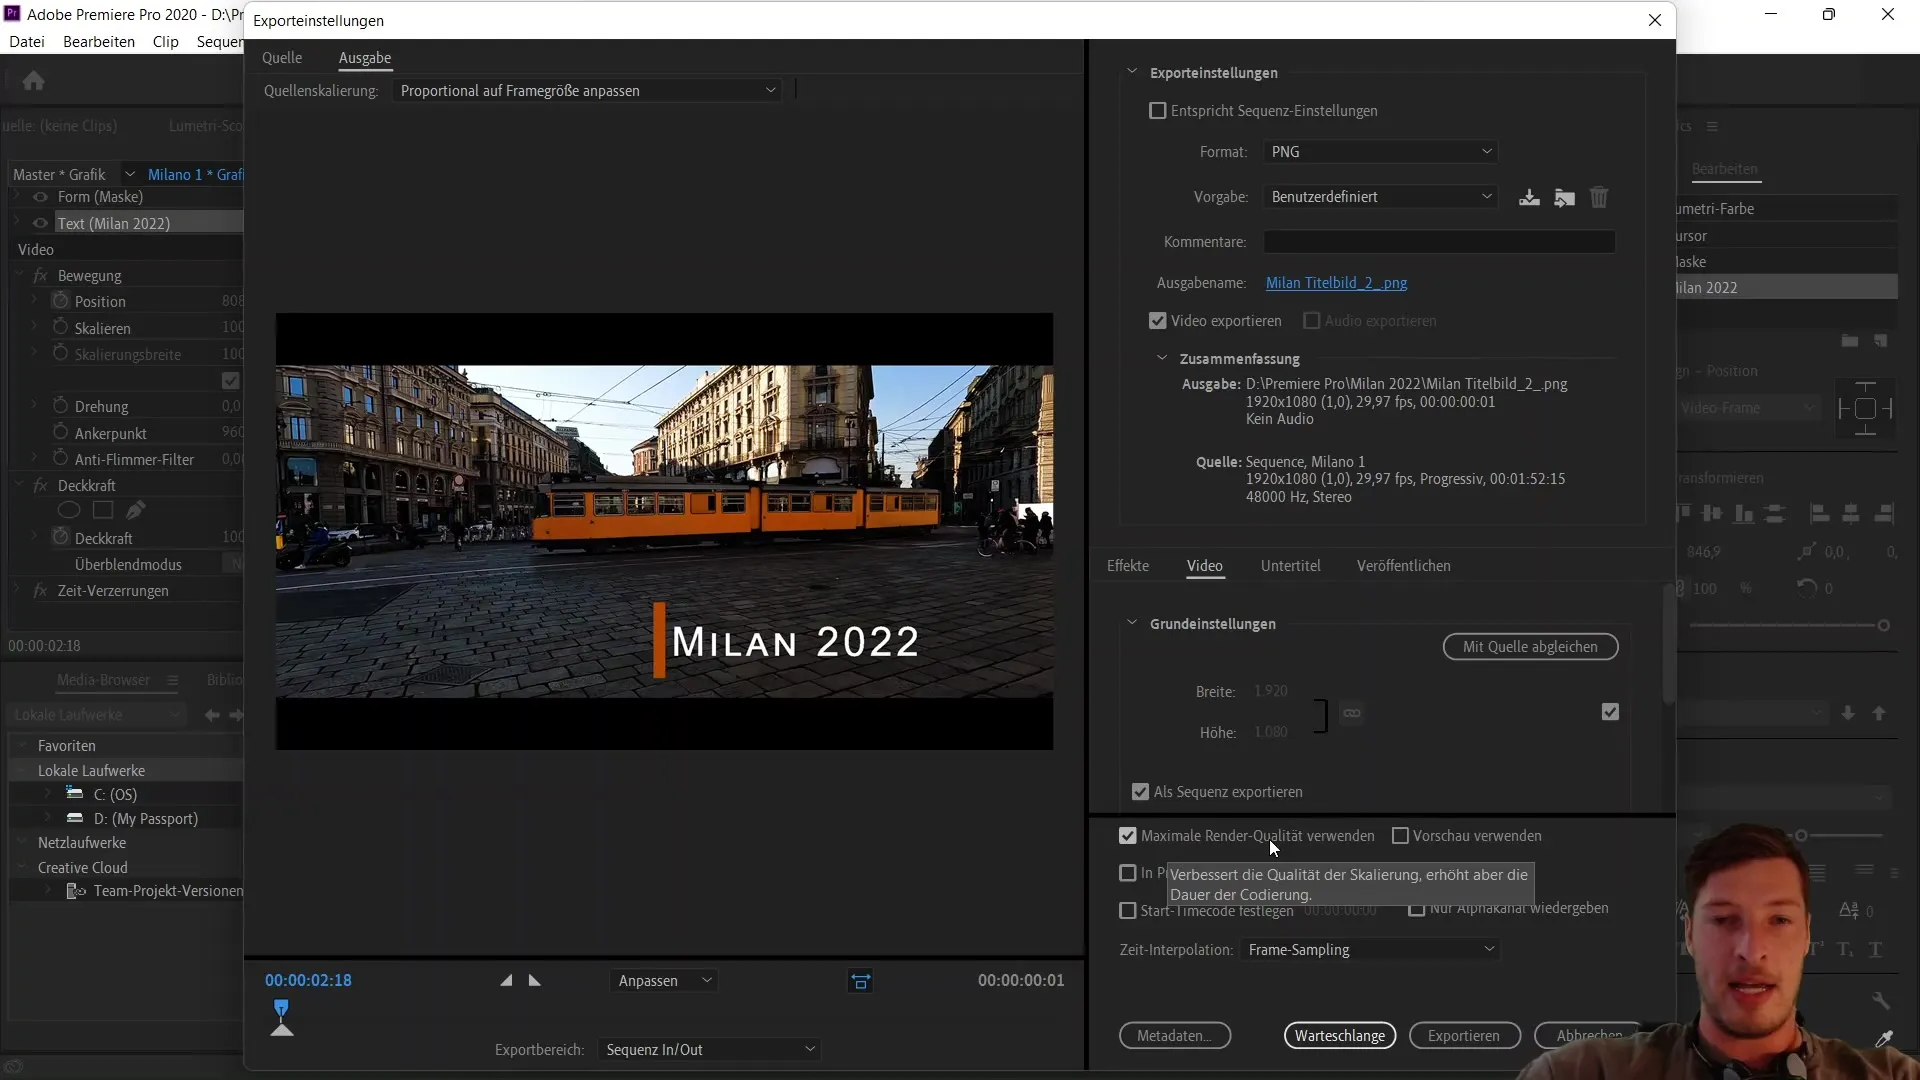
Click on "Save" and activate the option for maximum rendering quality. This can be advantageous for thumbnail projects or similar, even if the difference in a single image is minimal.
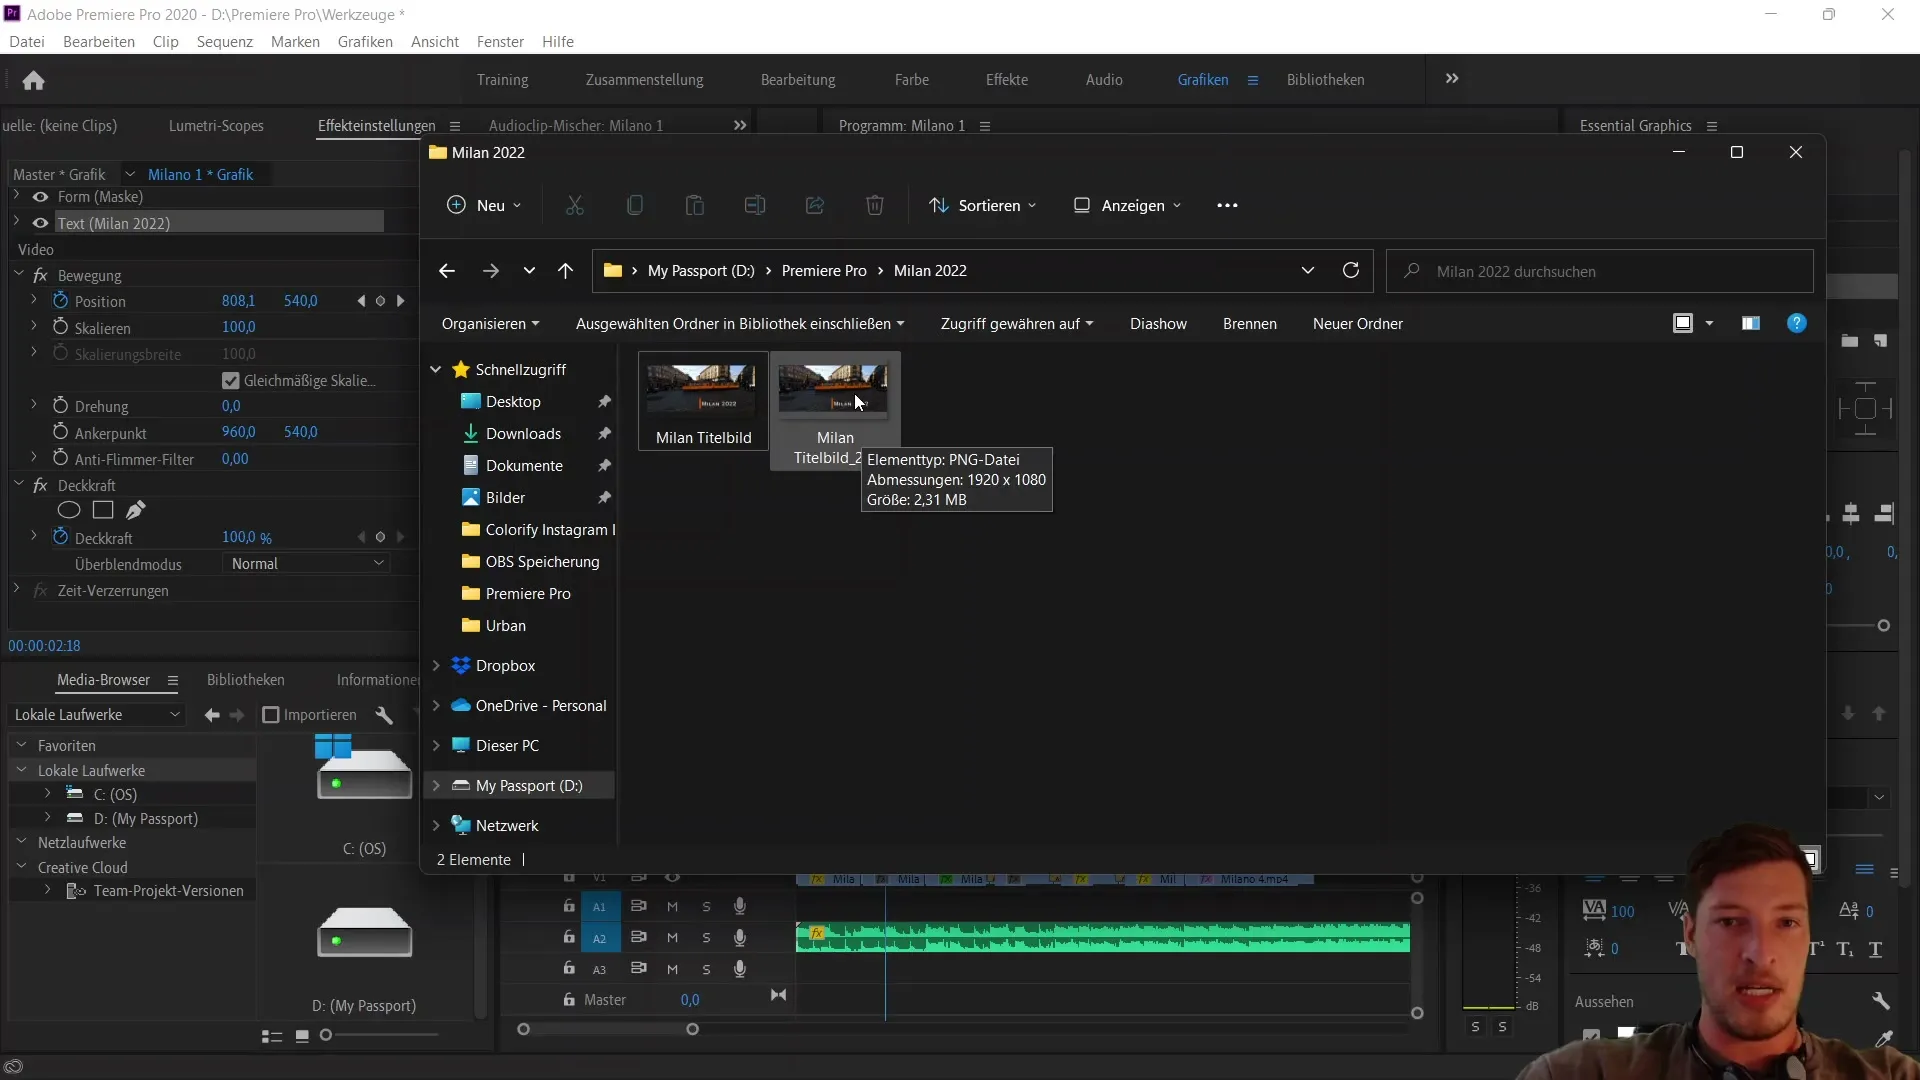
After you have completed the export, you can navigate back to the Milan folder. There you will find the image with the new name that you have saved. In my case, the size of the PNG file is 2.31 MB, which is large and of high quality for a screenshot image.
In summary, you have now learned how to export individual images with Adobe Premiere Pro CC, for example, to create a screenshot for a thumbnail. You have learned two methods: the simple way via the camera icon and the more comprehensive method via the export window, which is recommended in many cases.
Summary
In this tutorial, you have learned how to export individual images from your project in Adobe Premiere Pro. You should now be able to quickly and easily save screenshots as well as use the slightly more complex method through the export window.
Frequently Asked Questions
How do I export a screenshot in Adobe Premiere Pro?You can export a screenshot by clicking on the camera icon and selecting a name and the image format.
Which image format is recommended?It is recommended to use PNG as it offers the best image quality.
Can I export multiple frames at the same time?Yes, if you set in and out points for a range, you can export multiple frames, however in this tutorial we focused on a single frame.


