Welcome to my guide on exporting video files in Adobe Premiere Pro CC! In this tutorial, I will show you how to easily and efficiently export your sequence as an MP4 file. MP4 is a common format that offers an excellent balance between video quality and file size. Let's dive right in and go through the steps you need to follow to professionally output your video file.
Key Takeaways: Exporting as an MP4 file offers an optimal mix of image quality and file size. Make sure to select the right settings for your video to play optimally on different platforms.
Step-by-Step Guide
First, you need to set your in and out points. Navigate to the beginning of your video and set the in point using the shortcut "I." Then, go to the end of your footage and set the out point using the shortcut "O." From now on, Adobe Premiere knows which part of your material should be exported.
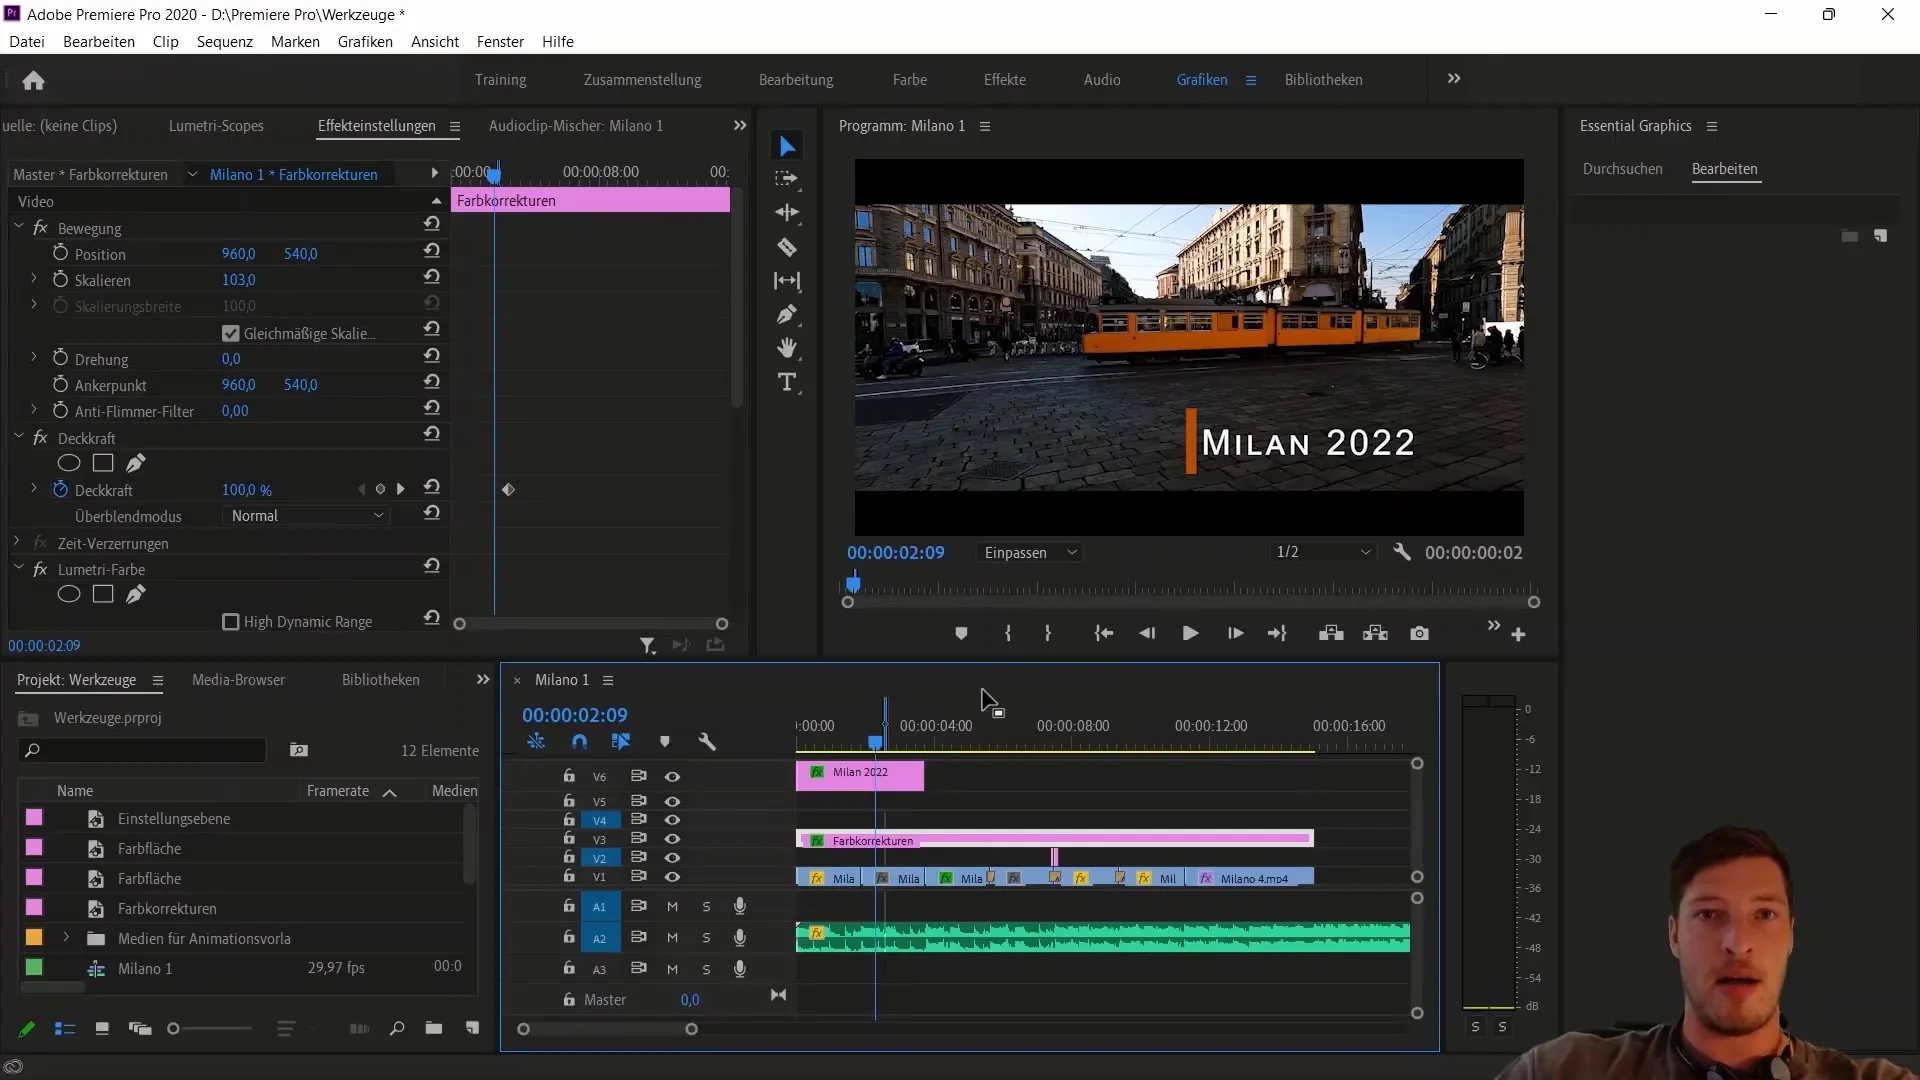
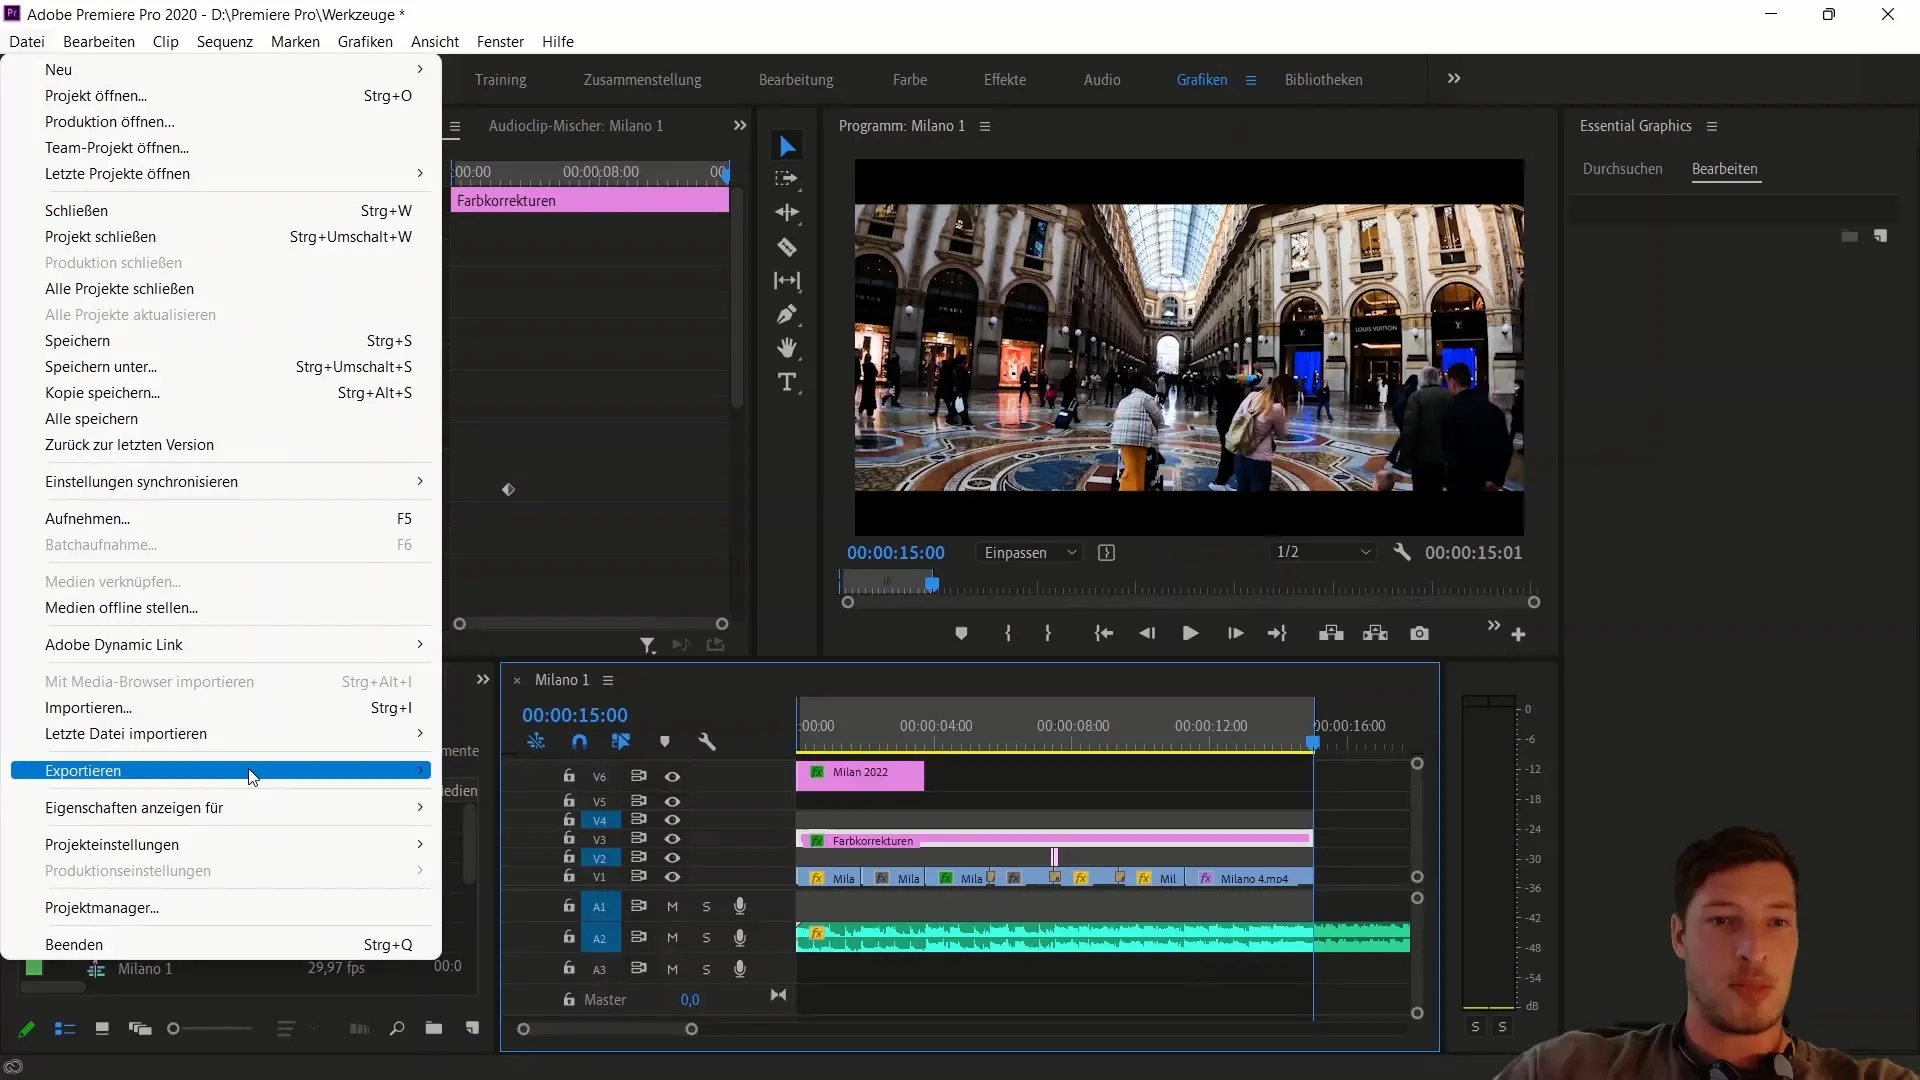
In the next step, click on "File" and then "Export". Choose the option "Media" from the dropdown menu. This will open the export window, providing you with a variety of options.
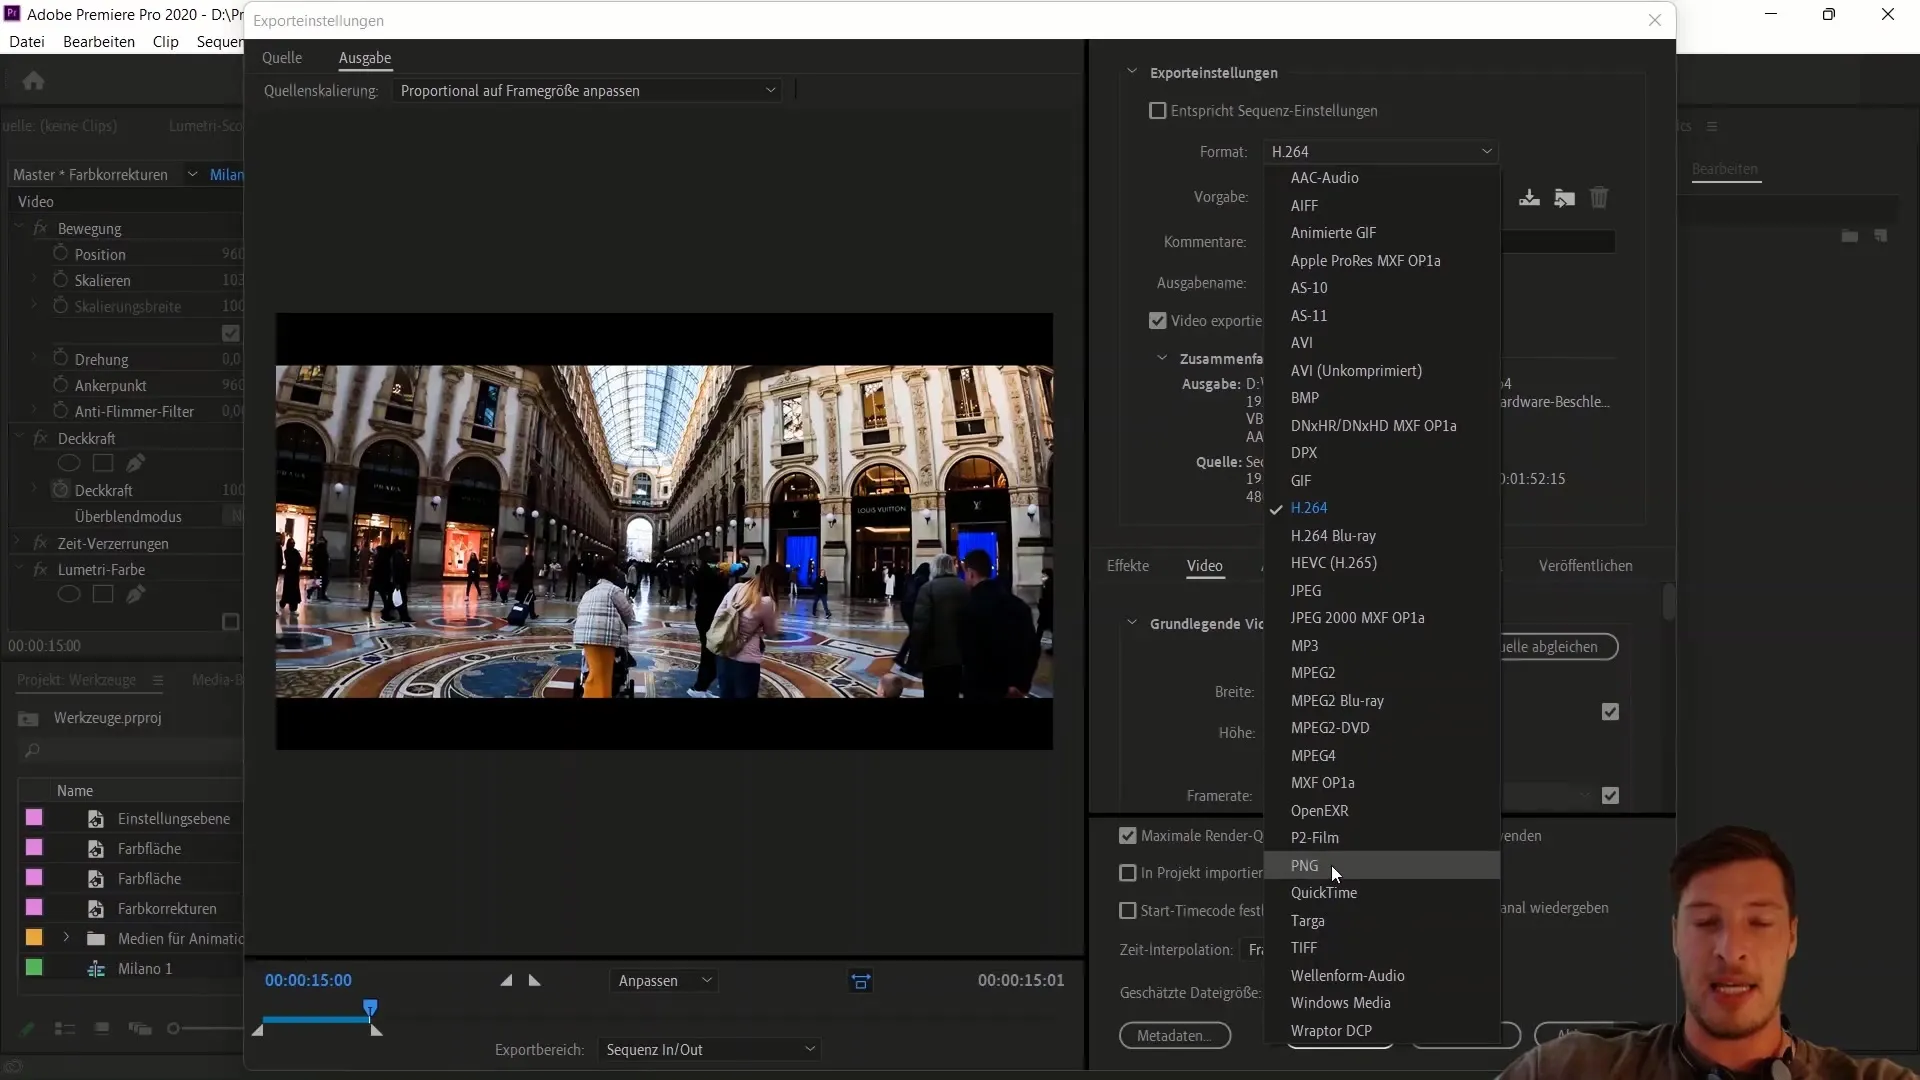
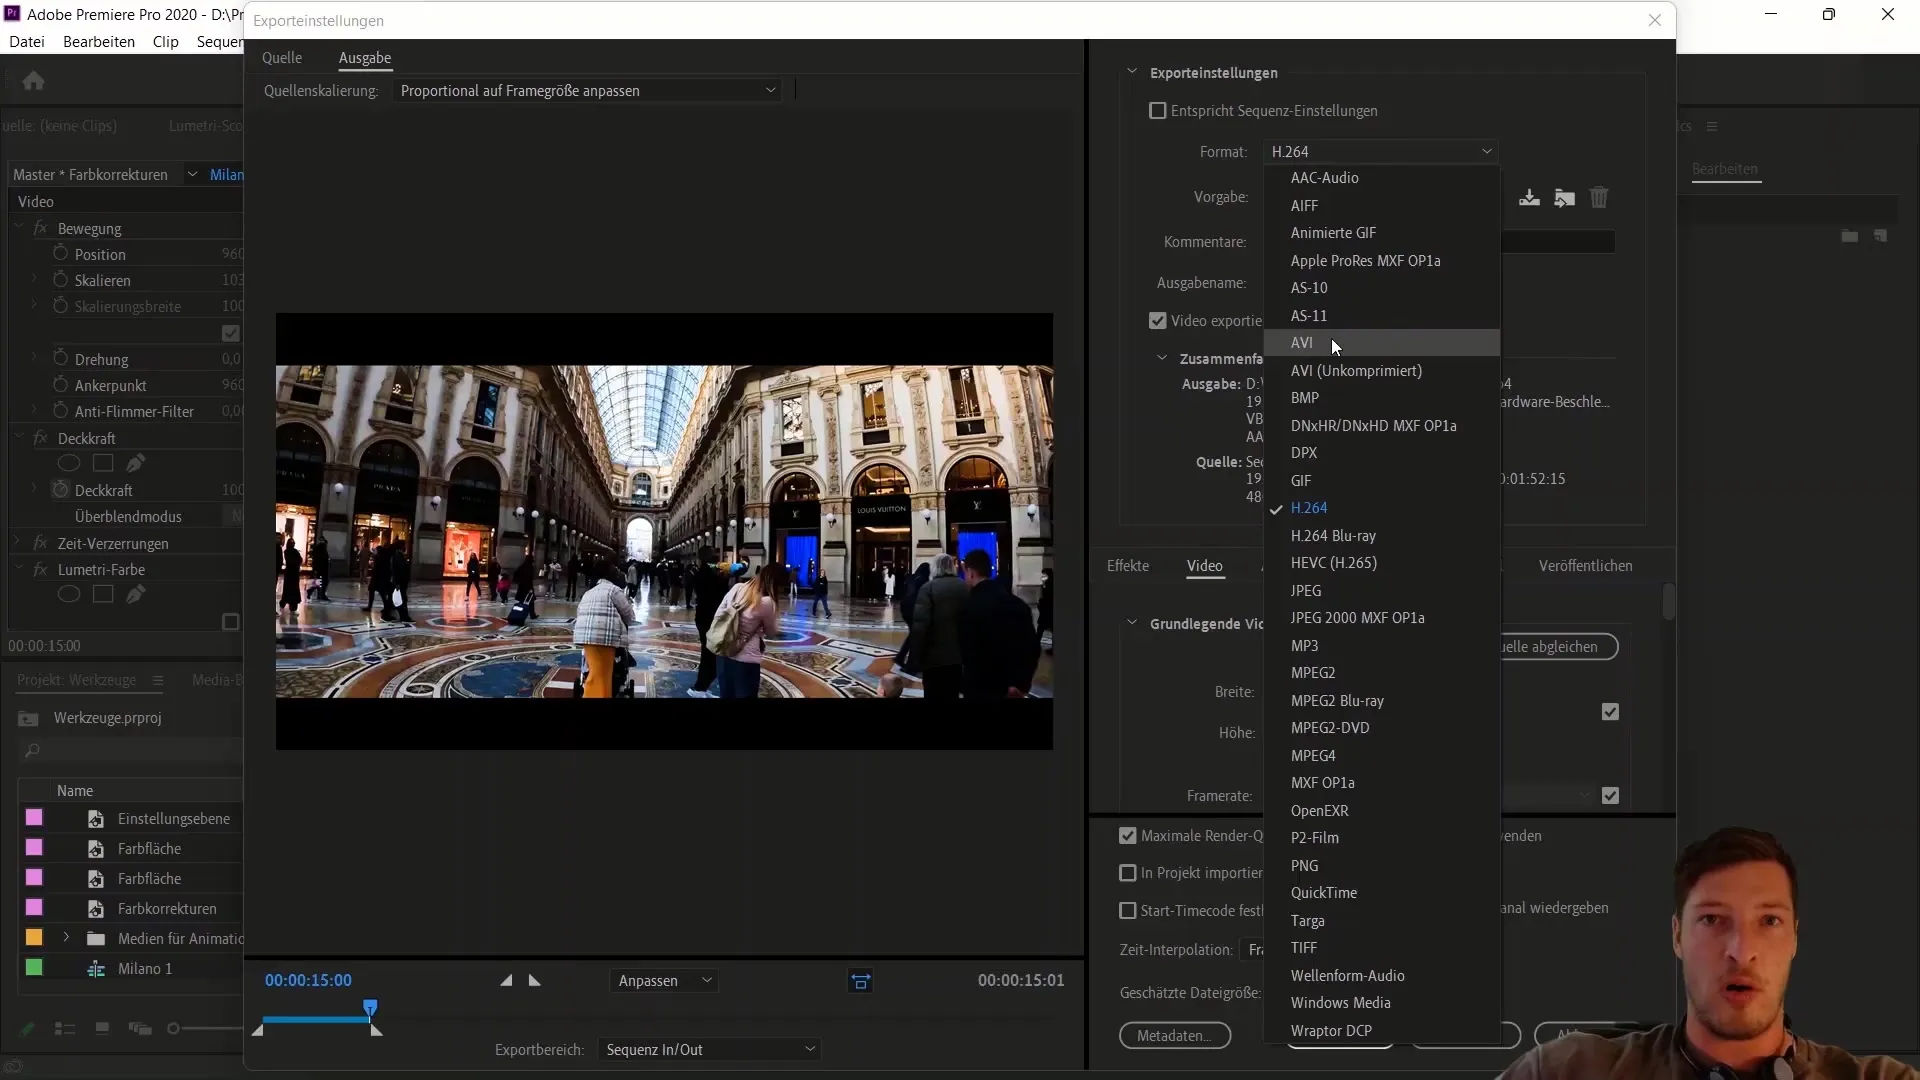
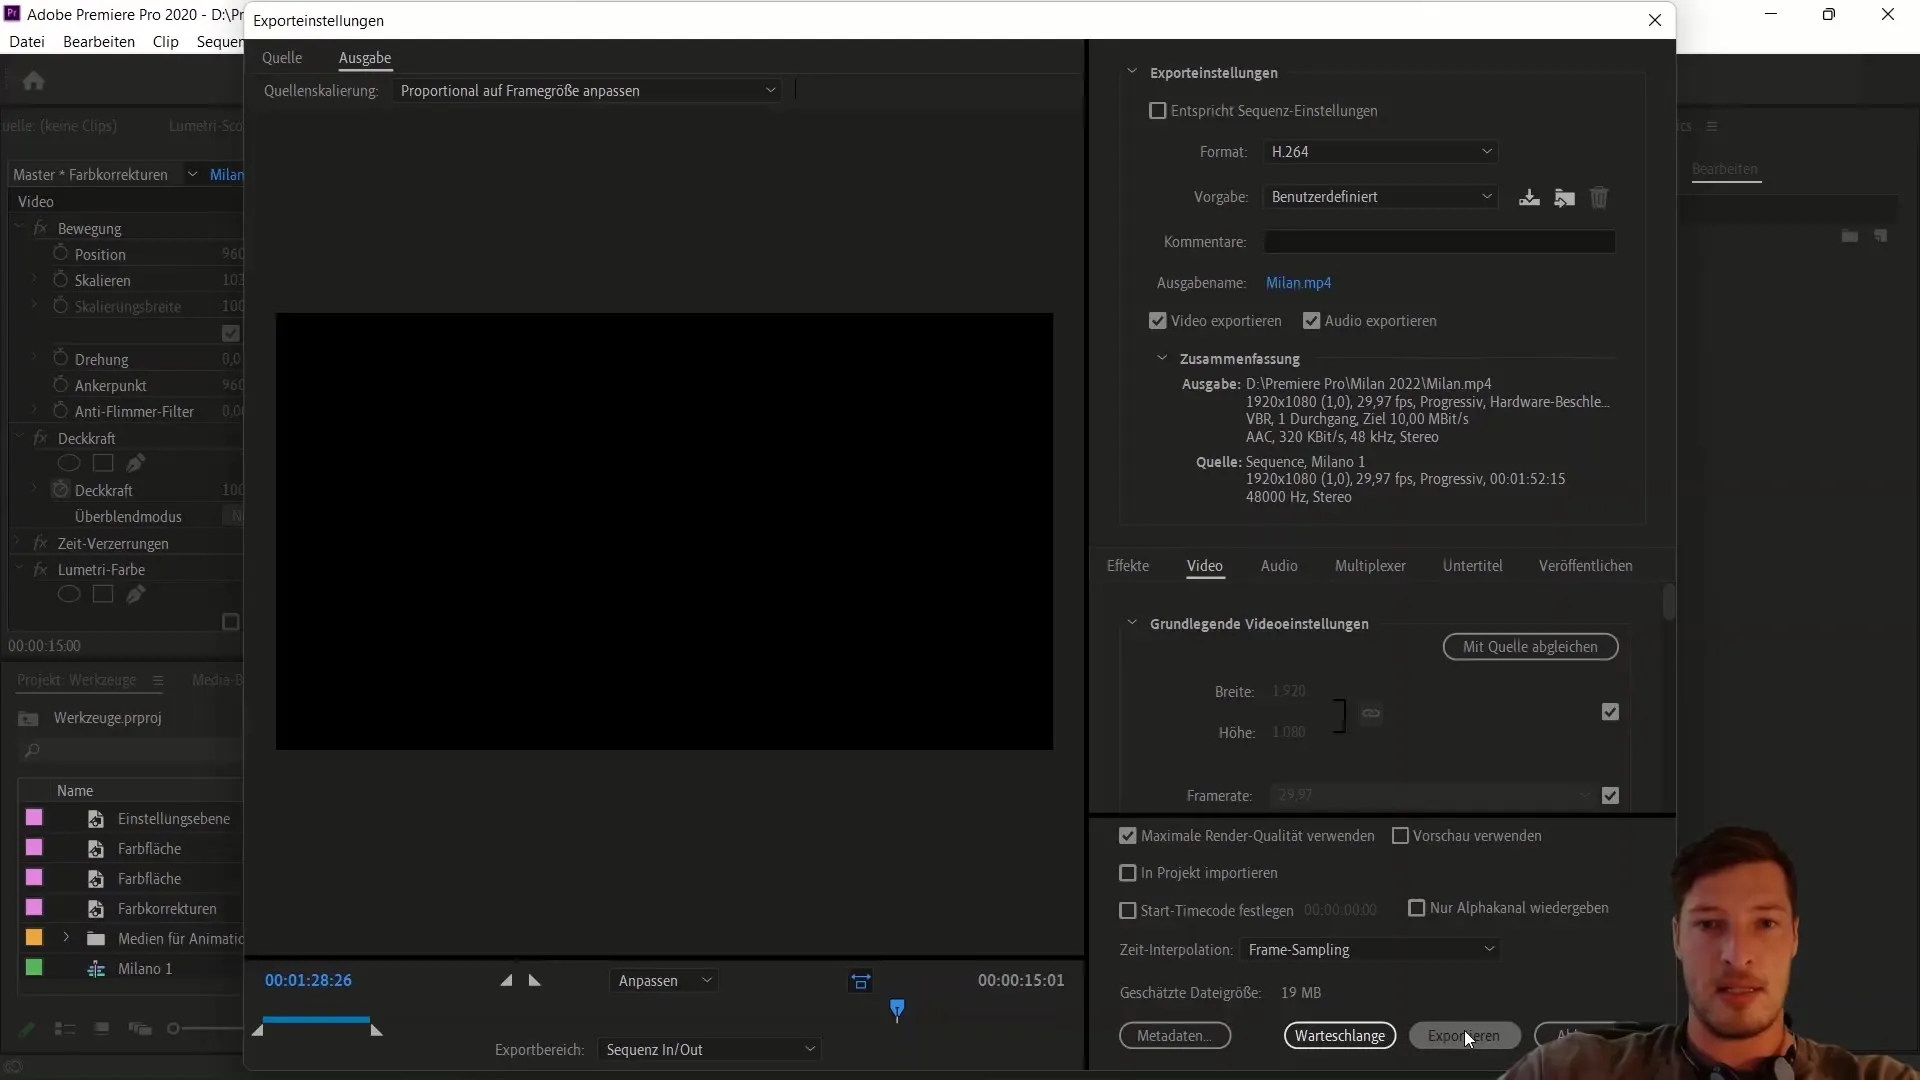
It is important in the export window to select the correct format. Change the format from the last selected image format (e.g., PNG) to a video format. The H.264 codec is a common choice here as it produces an MP4 file, optimizing both quality and file size.
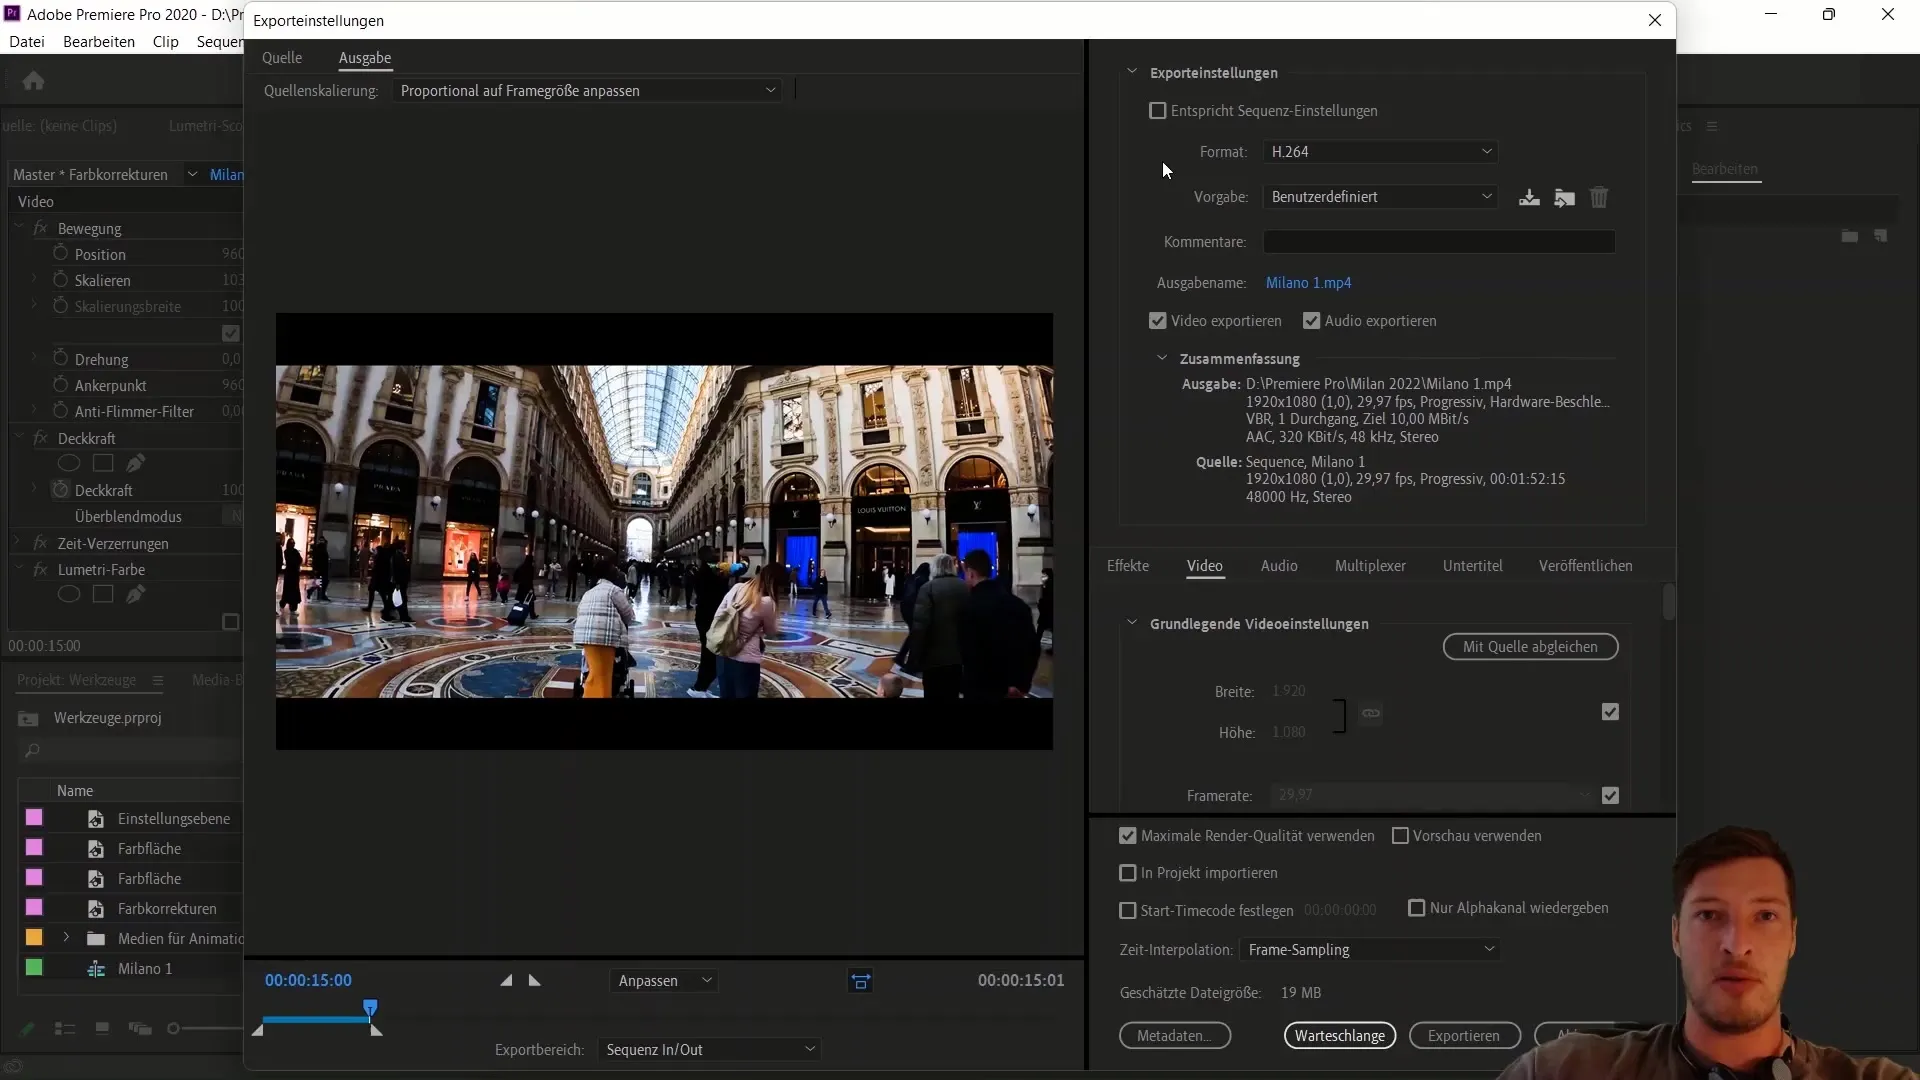
Make sure H.264 is already selected. This codec ensures that your video and audio data are efficiently compressed. This means you can achieve very good video quality while keeping the file size reasonable at around 19 MB.
You also have the option to choose other formats, but be careful with that. Formats like AVI can deliver excellent image quality but quickly result in the creation of very large files that may not be portable anymore.
Ensure that both video and audio exports are enabled. In most cases, you will need these options, so leave them enabled. You can also apply additional effects or color corrections, but I recommend doing this during the editing phase.
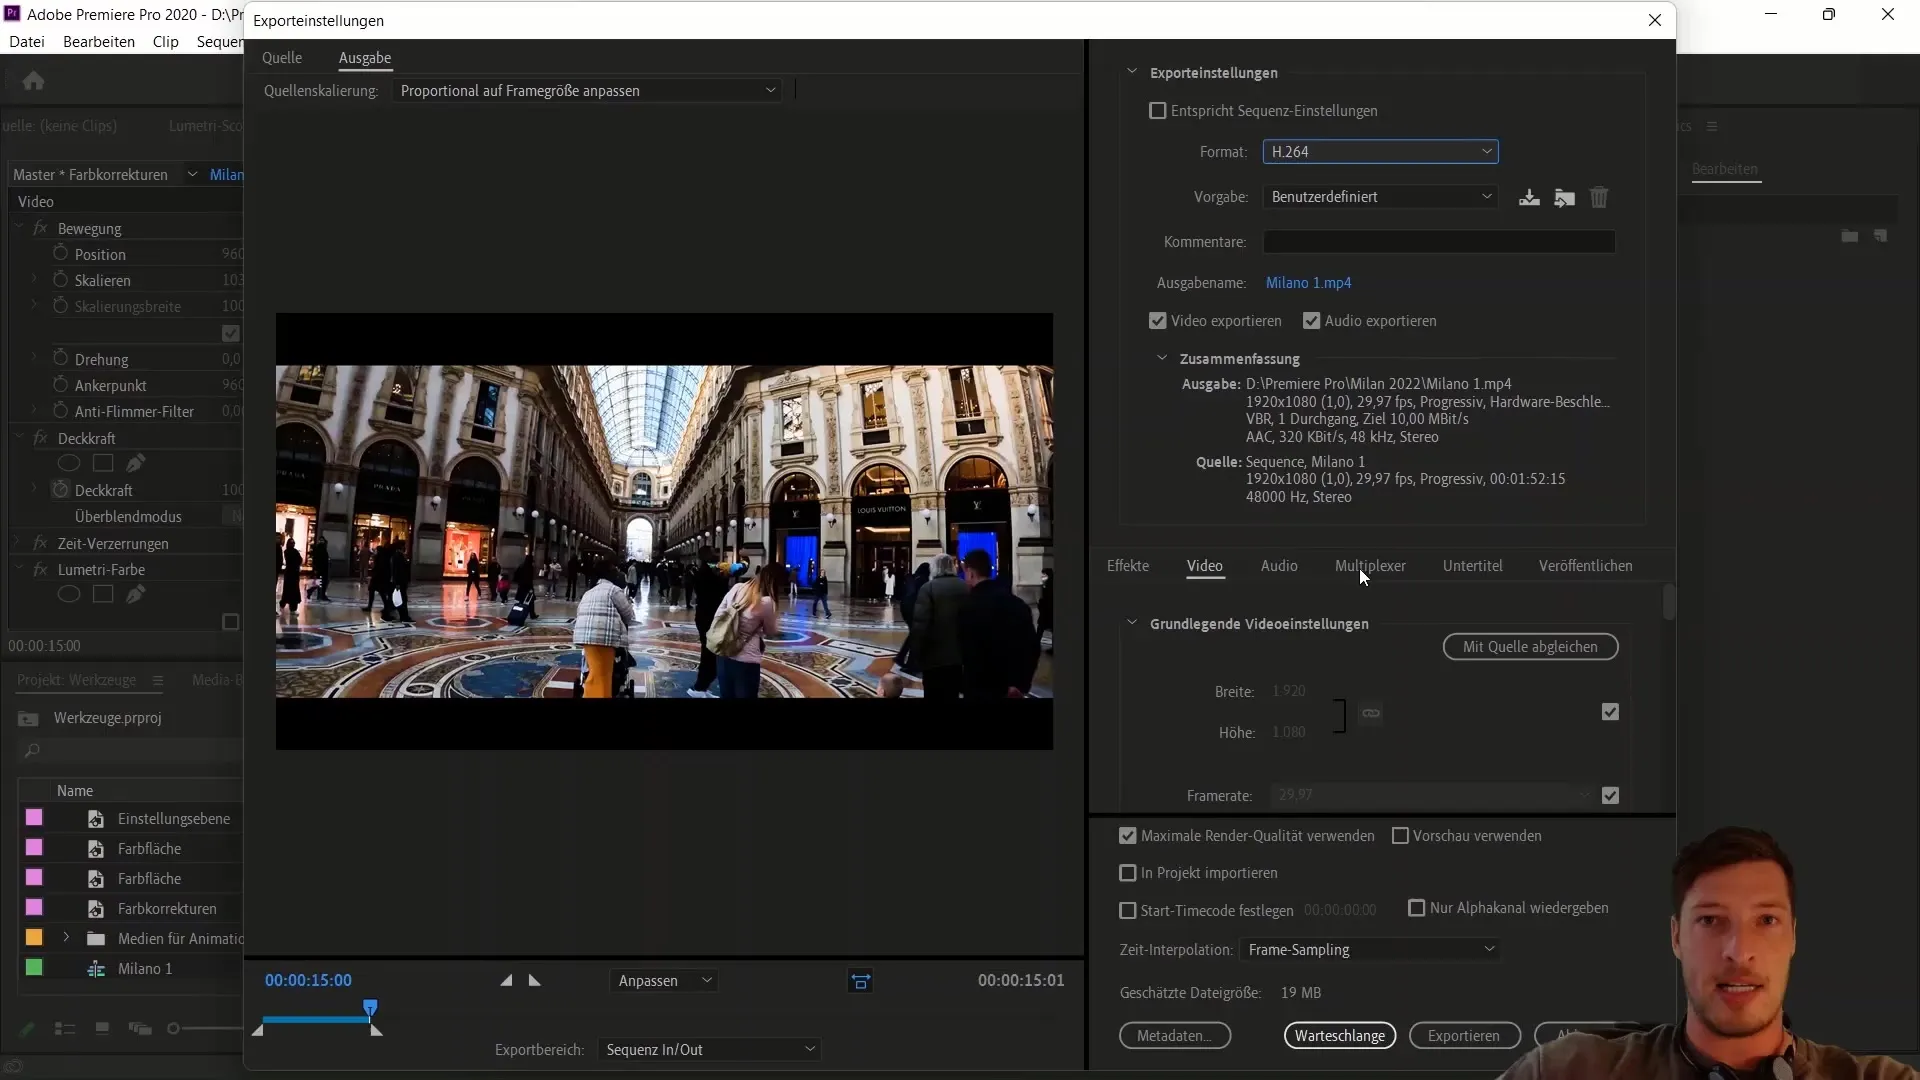
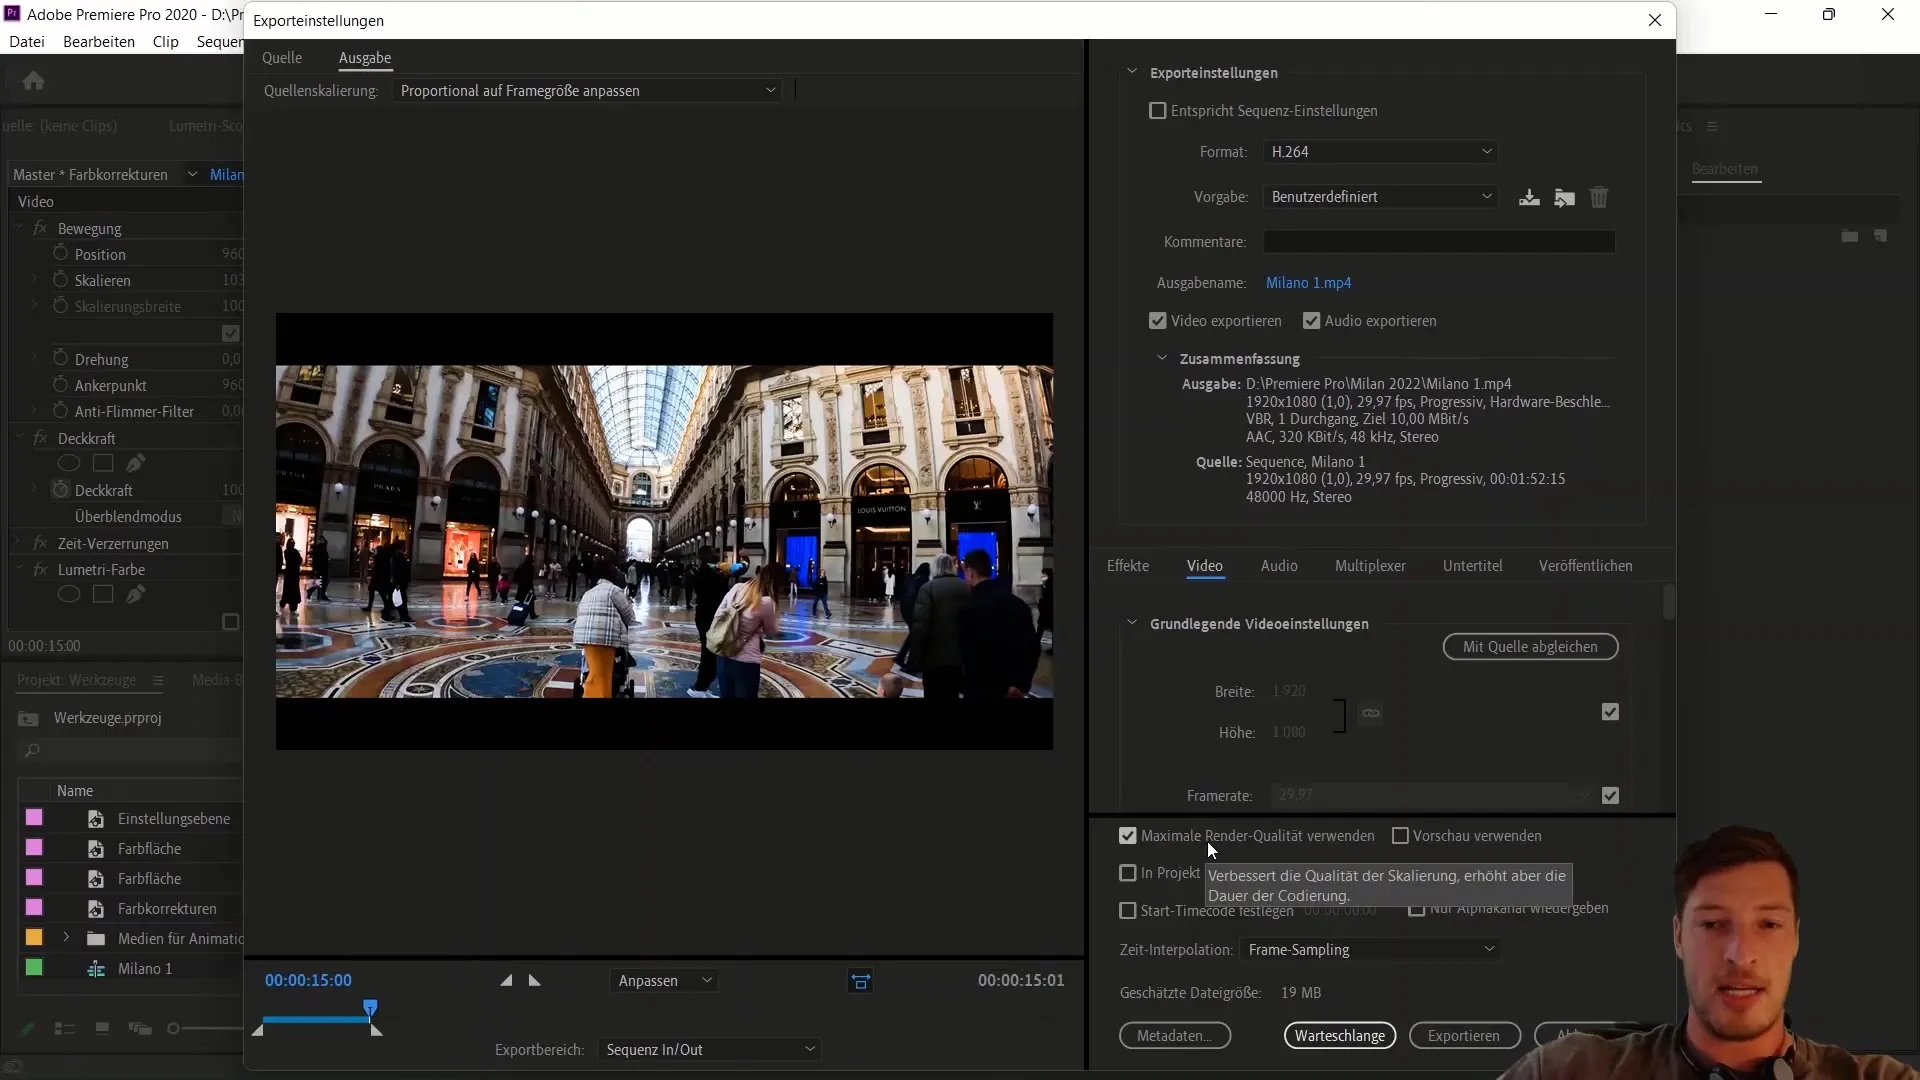
I highly recommend enabling the "maximum render quality" button. This ensures that the exported video is displayed in the best possible quality.
If you want to adjust the export range from in to out point, you can do so in the left area of the export window. You can also choose there to export the entire sequence or a custom range.
Before you proceed, change the output name. I name my video "Milan" and save it in the corresponding folder.
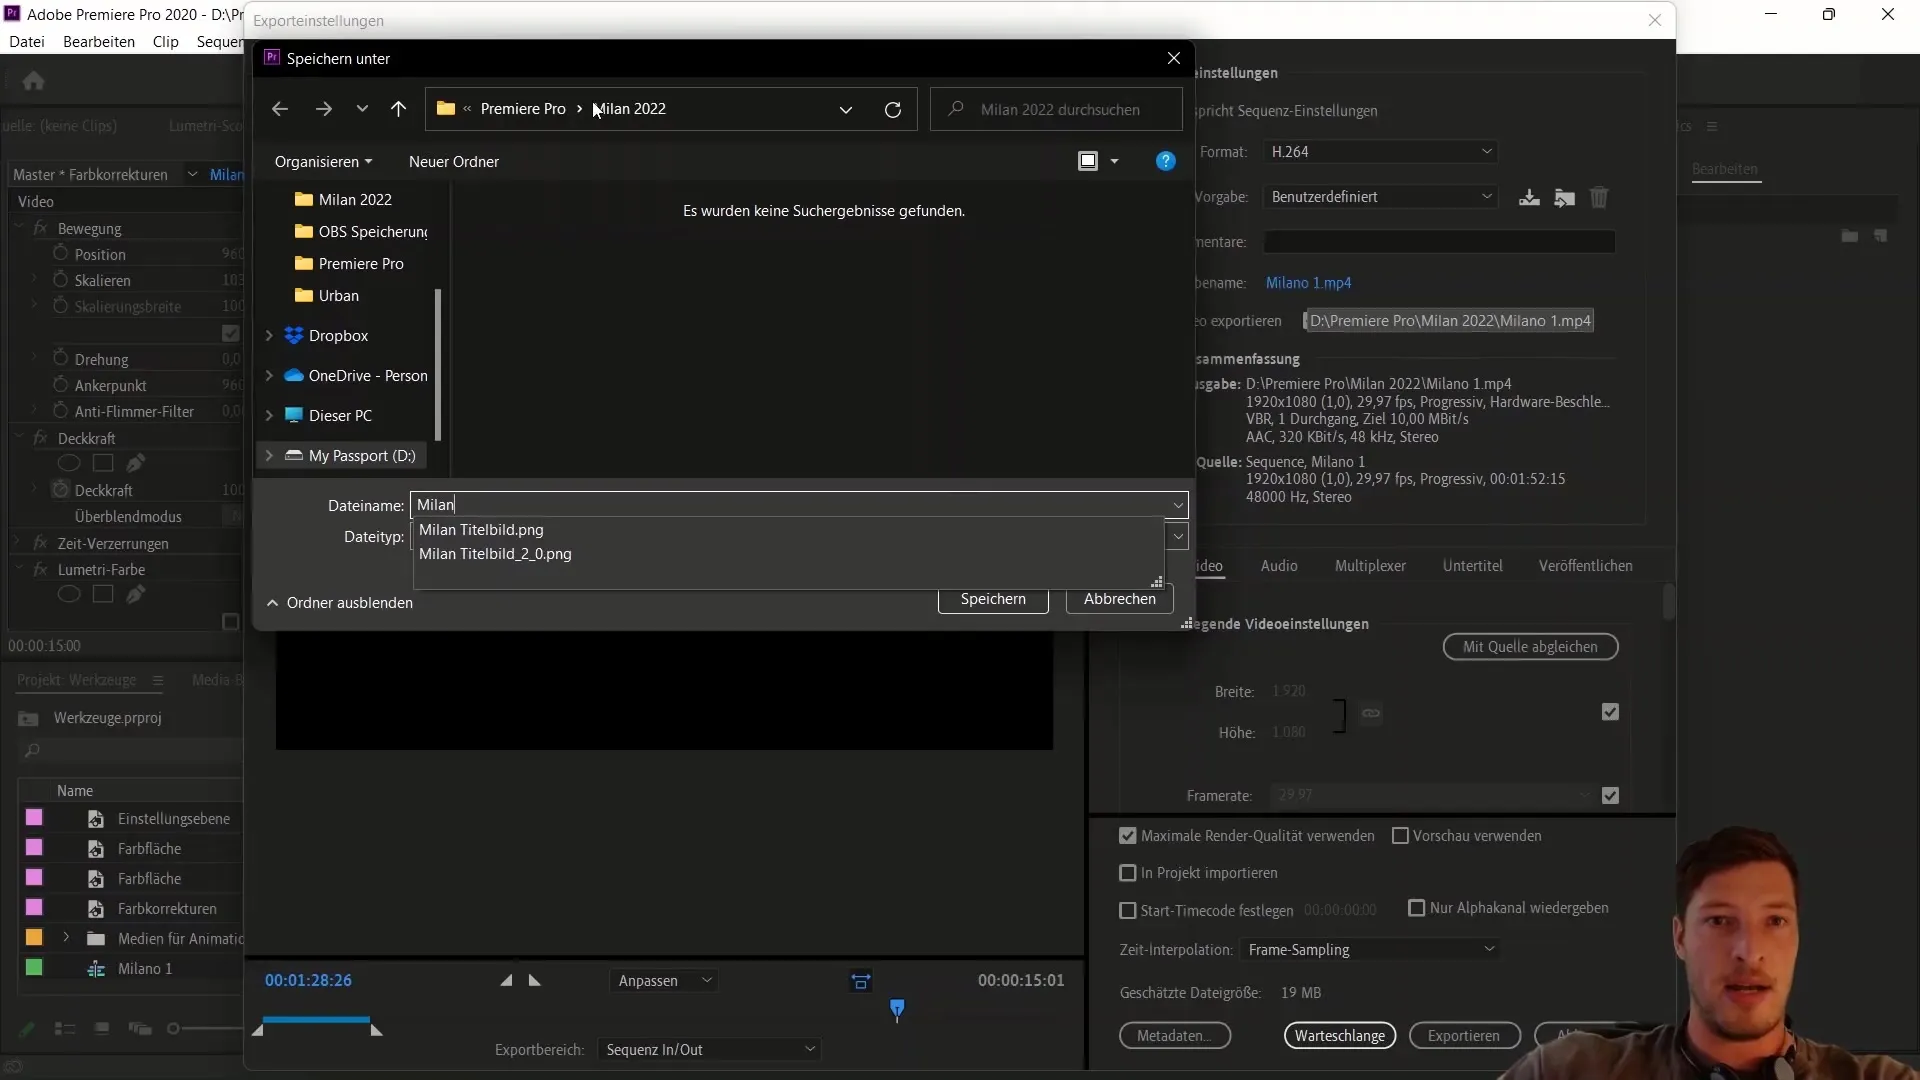
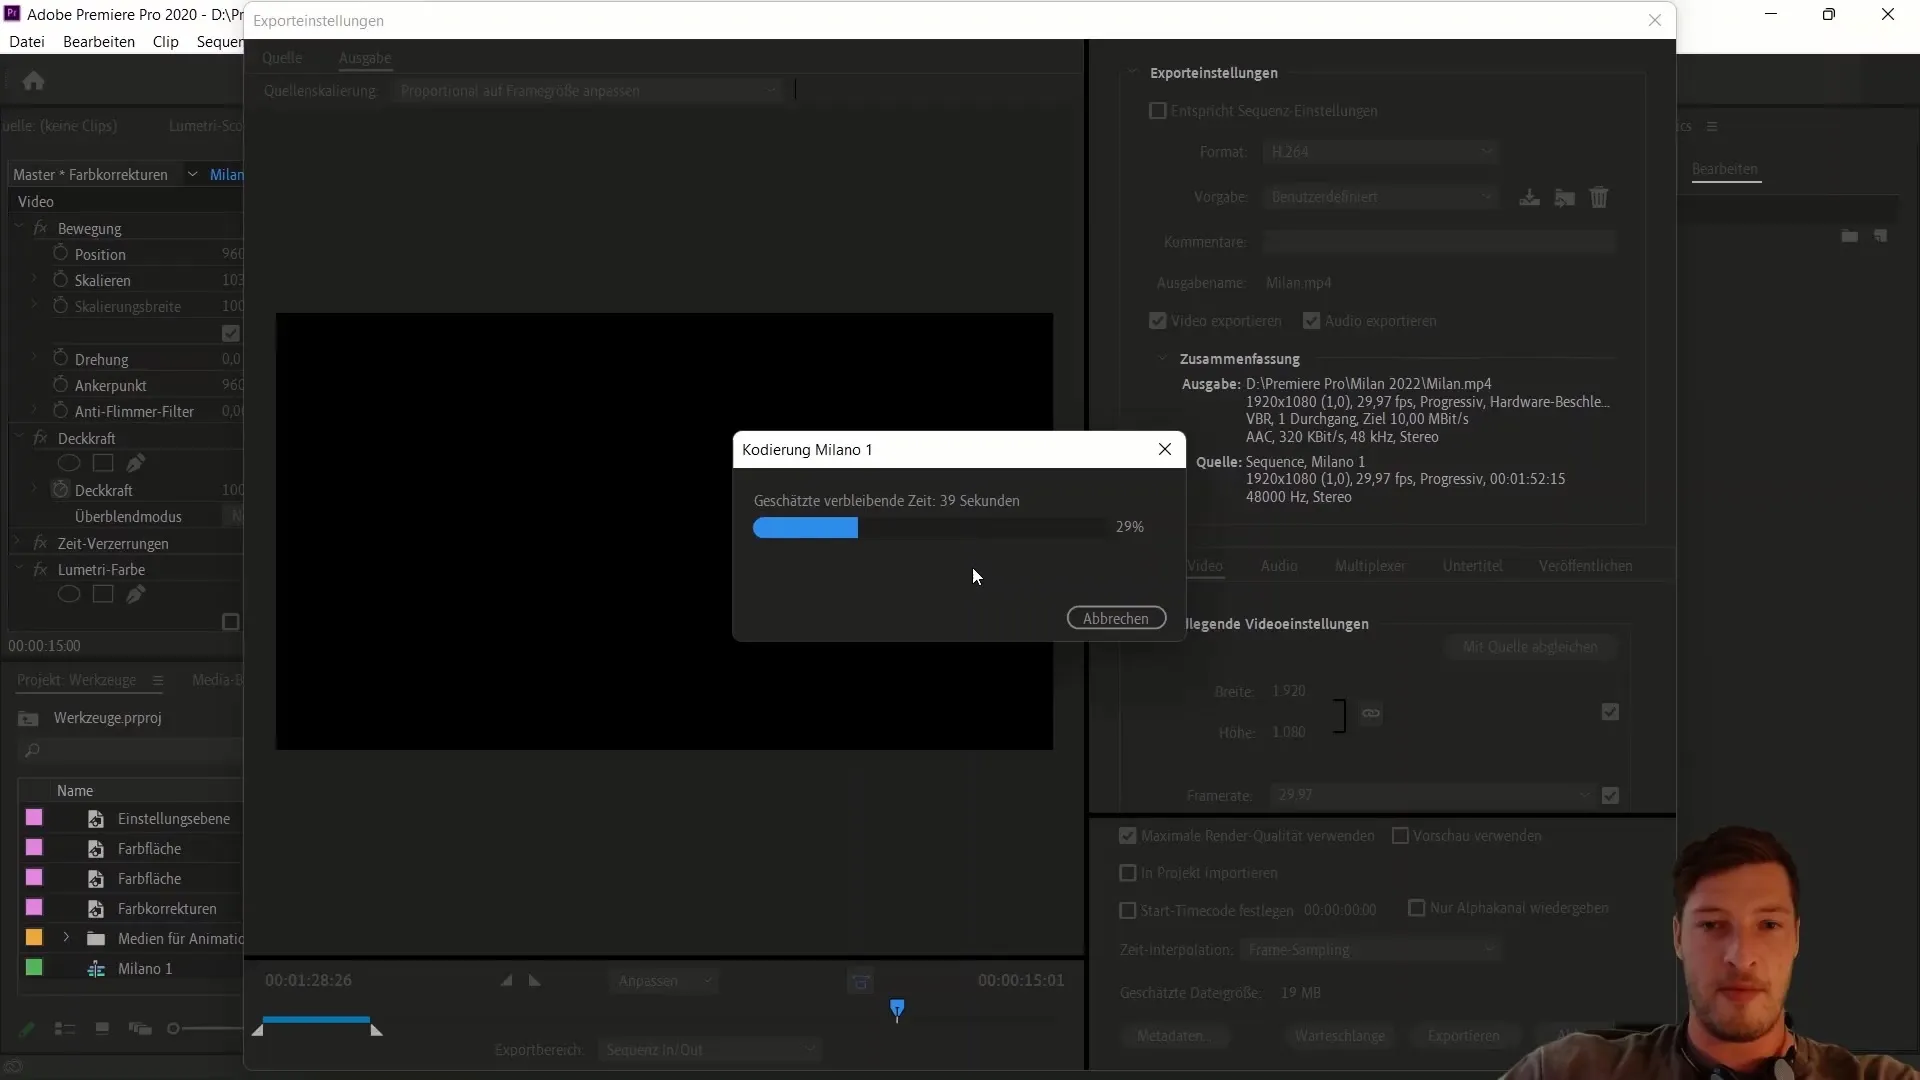
Now click on "Save" and start the export process. A progress bar will be displayed to show you the remaining time until the export is complete.
You may shorten the export time if needed, but in many cases like this, the process is relatively quick. However, it's advisable to keep an eye on the time.
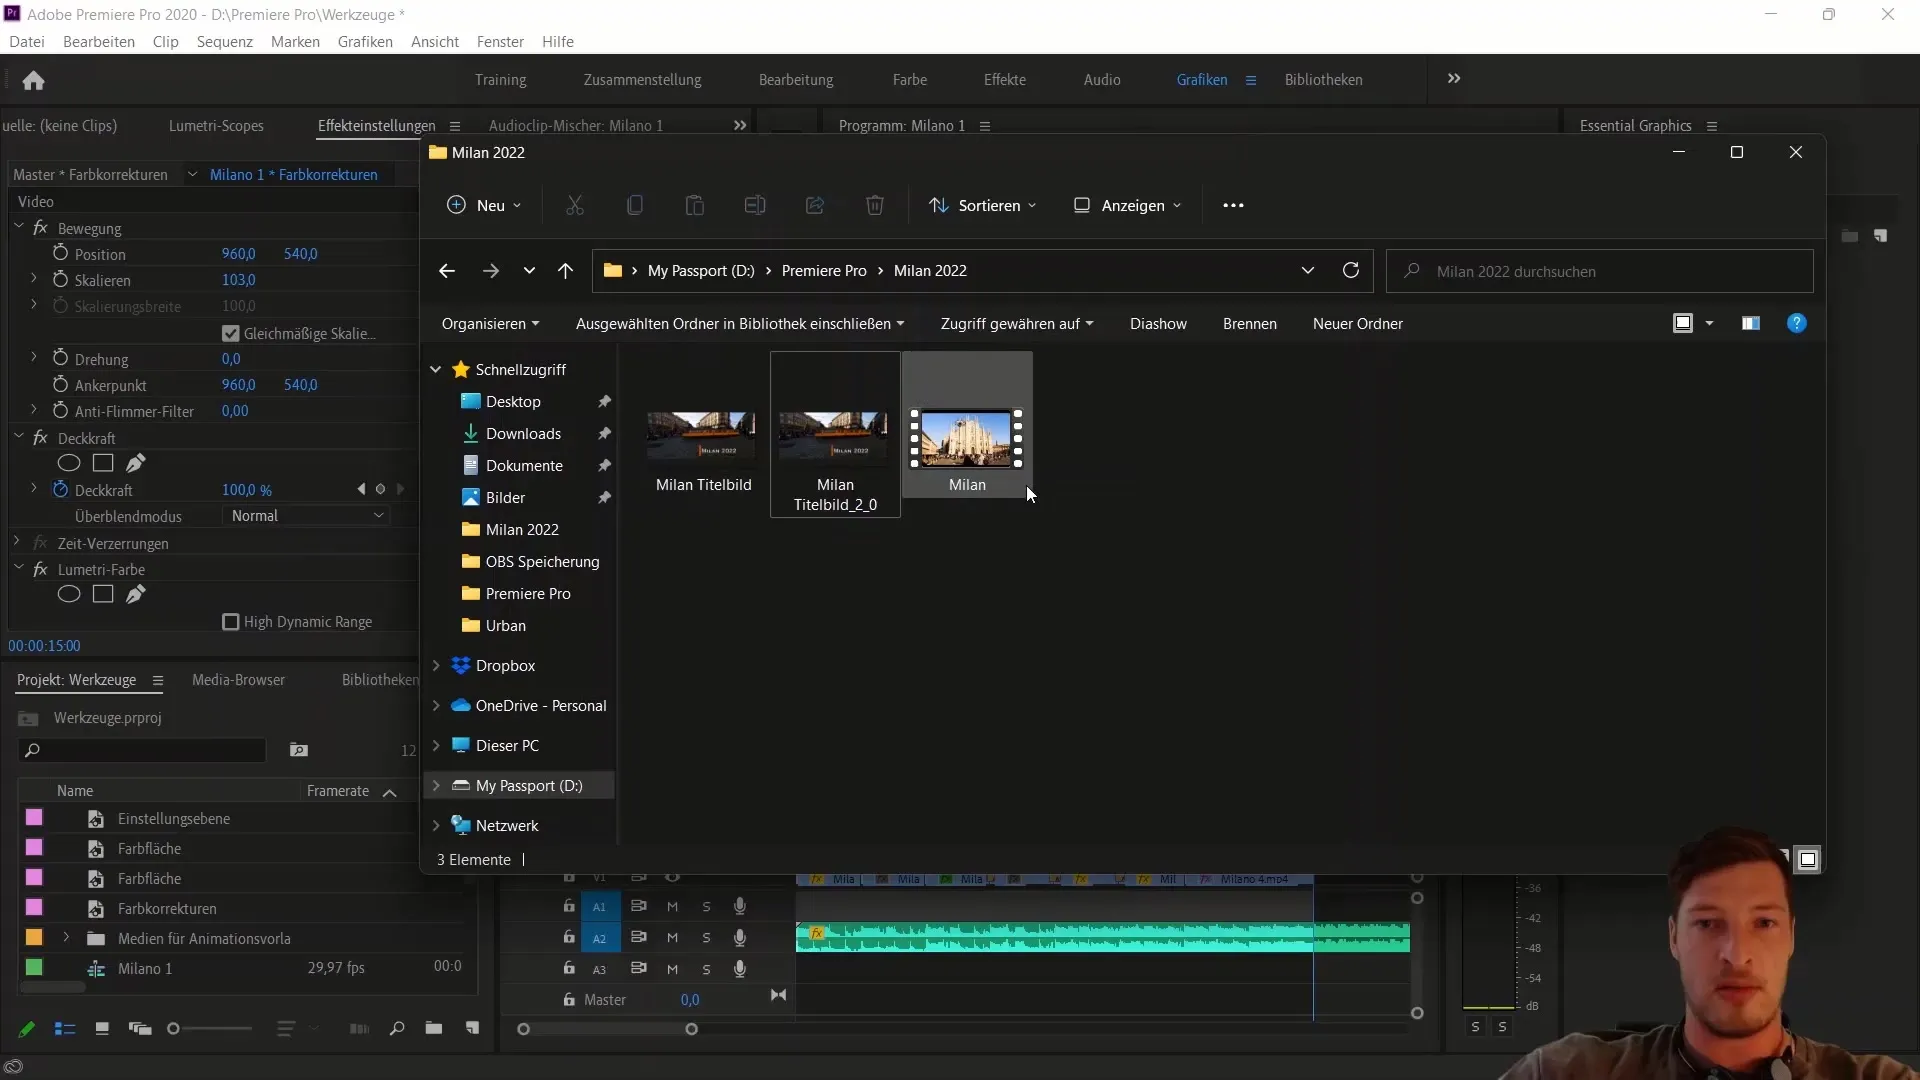
Once the export is complete, open the folder where you saved your file. Check the size, which is typically around 19 MB.
Now you can play the exported video to check the quality. Make sure the image is sharp and meets your expectations.

With these steps, you have successfully exported your video in Adobe Premiere Pro CC as an MP4! In the next video, we will focus on another common video format that you should also be familiar with.
Summary
In this guide, you have learned how to efficiently export your sequence in Adobe Premiere Pro CC as an MP4 file. I have shown you the best settings and explained why the H.264 format is the best choice for most applications.
Frequently Asked Questions
How do I set the in and out points in Adobe Premiere Pro?You can set the in point by pressing "I" and the out point by pressing "O".
Why should I choose the H.264 format?H.264 offers an optimal balance of video quality to file size and is supported by many platforms.
How do I change the file name during export?In the export window, you will find the option to change the output name before clicking Save.
What happens if I don't activate maximum render quality?If you do not activate this option, the quality of your exported video could be affected.
Can I export other formats as well?Yes, you can choose other formats such as AVI, but be careful with the file size.


